 Jason P.
Bot-thoven: A Musical Robot Performer
Problem/Issue
From Honda’s theremin playing robot (Tsujino, Okuno, & Mizumoto, 2014) to the robot used in Nigel Stanford’s music video “Automatica,” a numerous number of instrument-playing robots have been created in the past. While instrument playing robots demonstrate impressive accuracy in hitting correct pitches or performing in perfect rhythm, these robots lack performing with musical expression that one would find through a human performer (Kemper & Barton, 2018). Human performers use techniques such as dynamics - difference in volume levels - and articulation - difference in the clarity of sound - in order to convey various musical emotions to the listener. With Bot-thoven, we propose to develop a robot that can perform with musical techniques like that of a human performer.
Approach
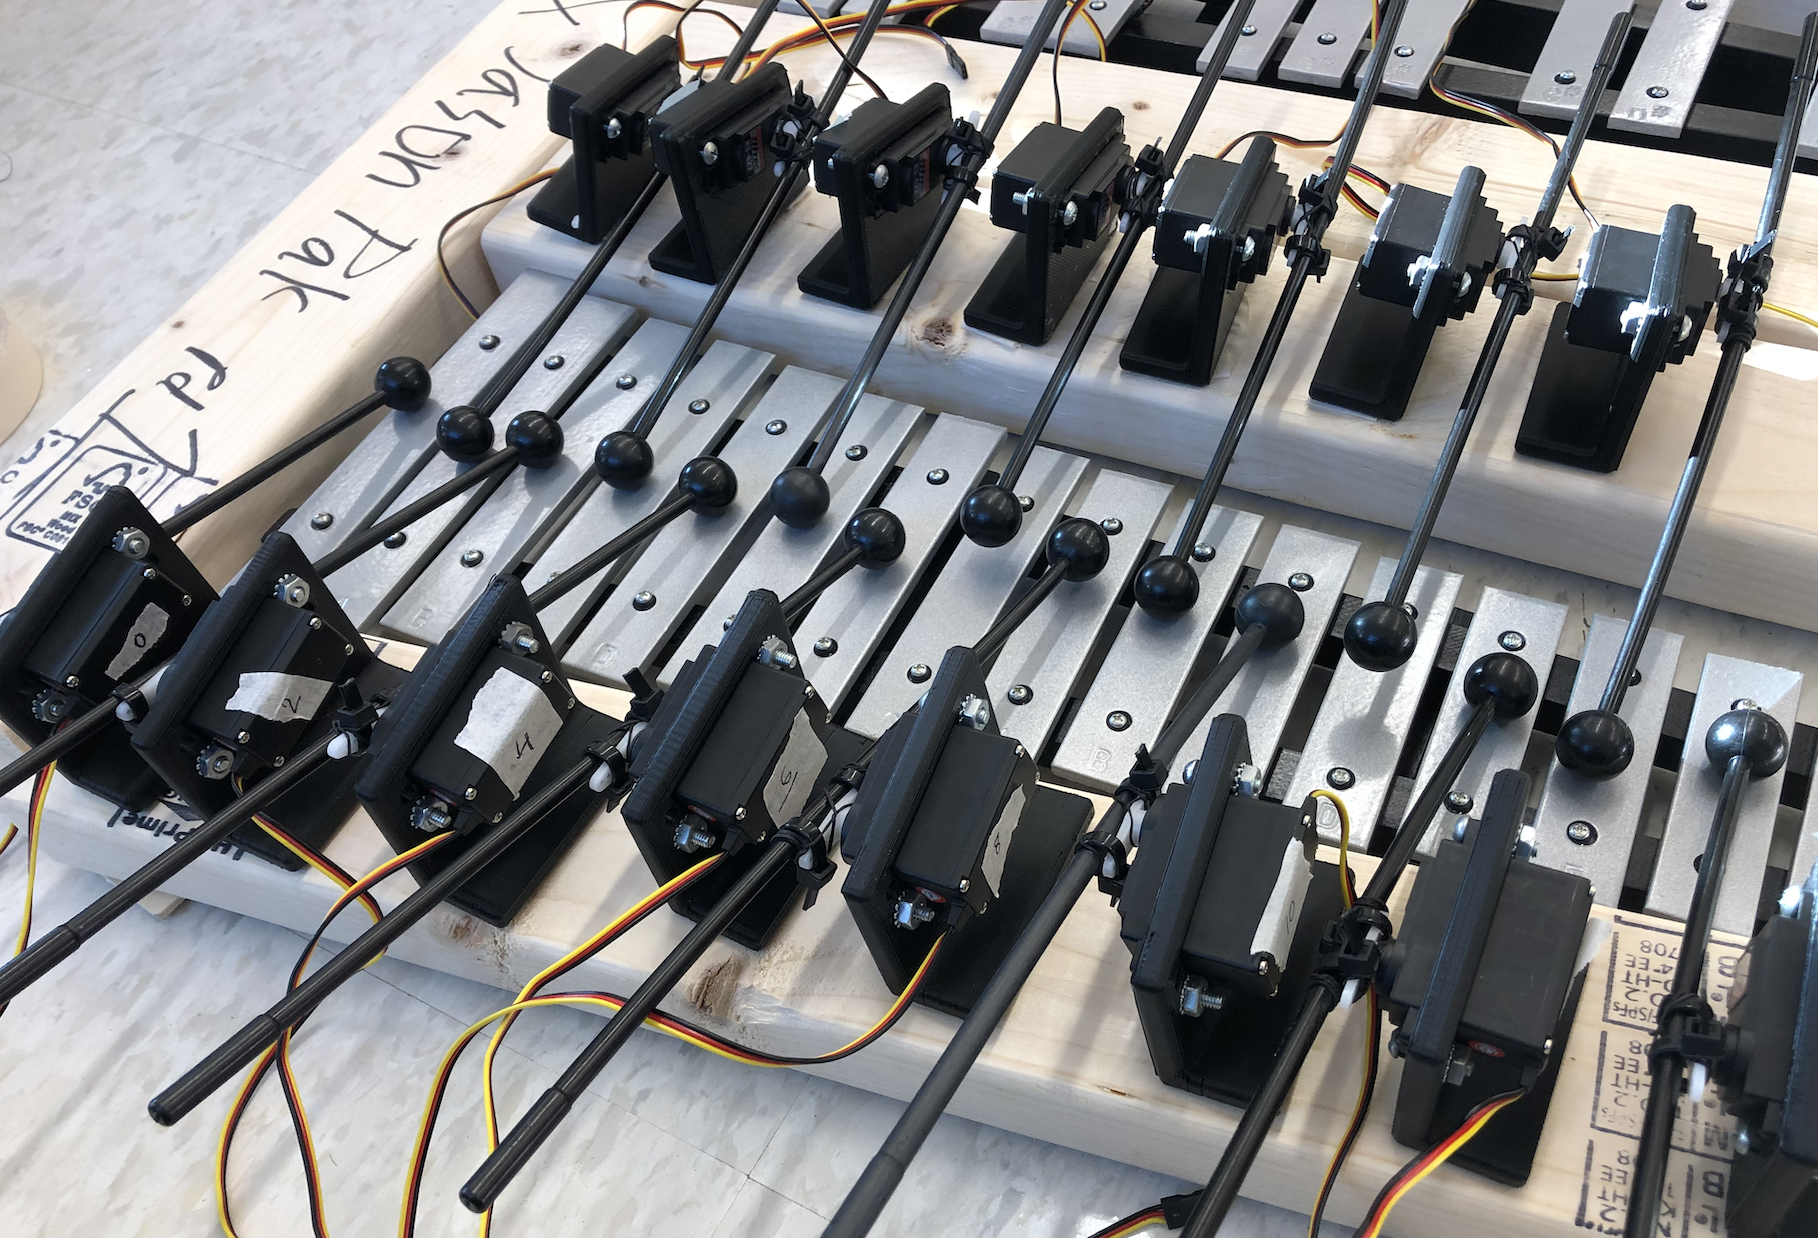
We have chosen the xylophone to serve as the instrument for our project. Research shows that the strength at which a xylophone key is struck conveys different emotional responses for a listener (Chau & Horner, 2016). The six emotional categories which showed the strongest effects due to differing strengths was calm, mysterious, comic, angry, scary, and sad, with softer strokes especially conveying comical emotions while harder strokes conveyed mysterious and angry feelings.
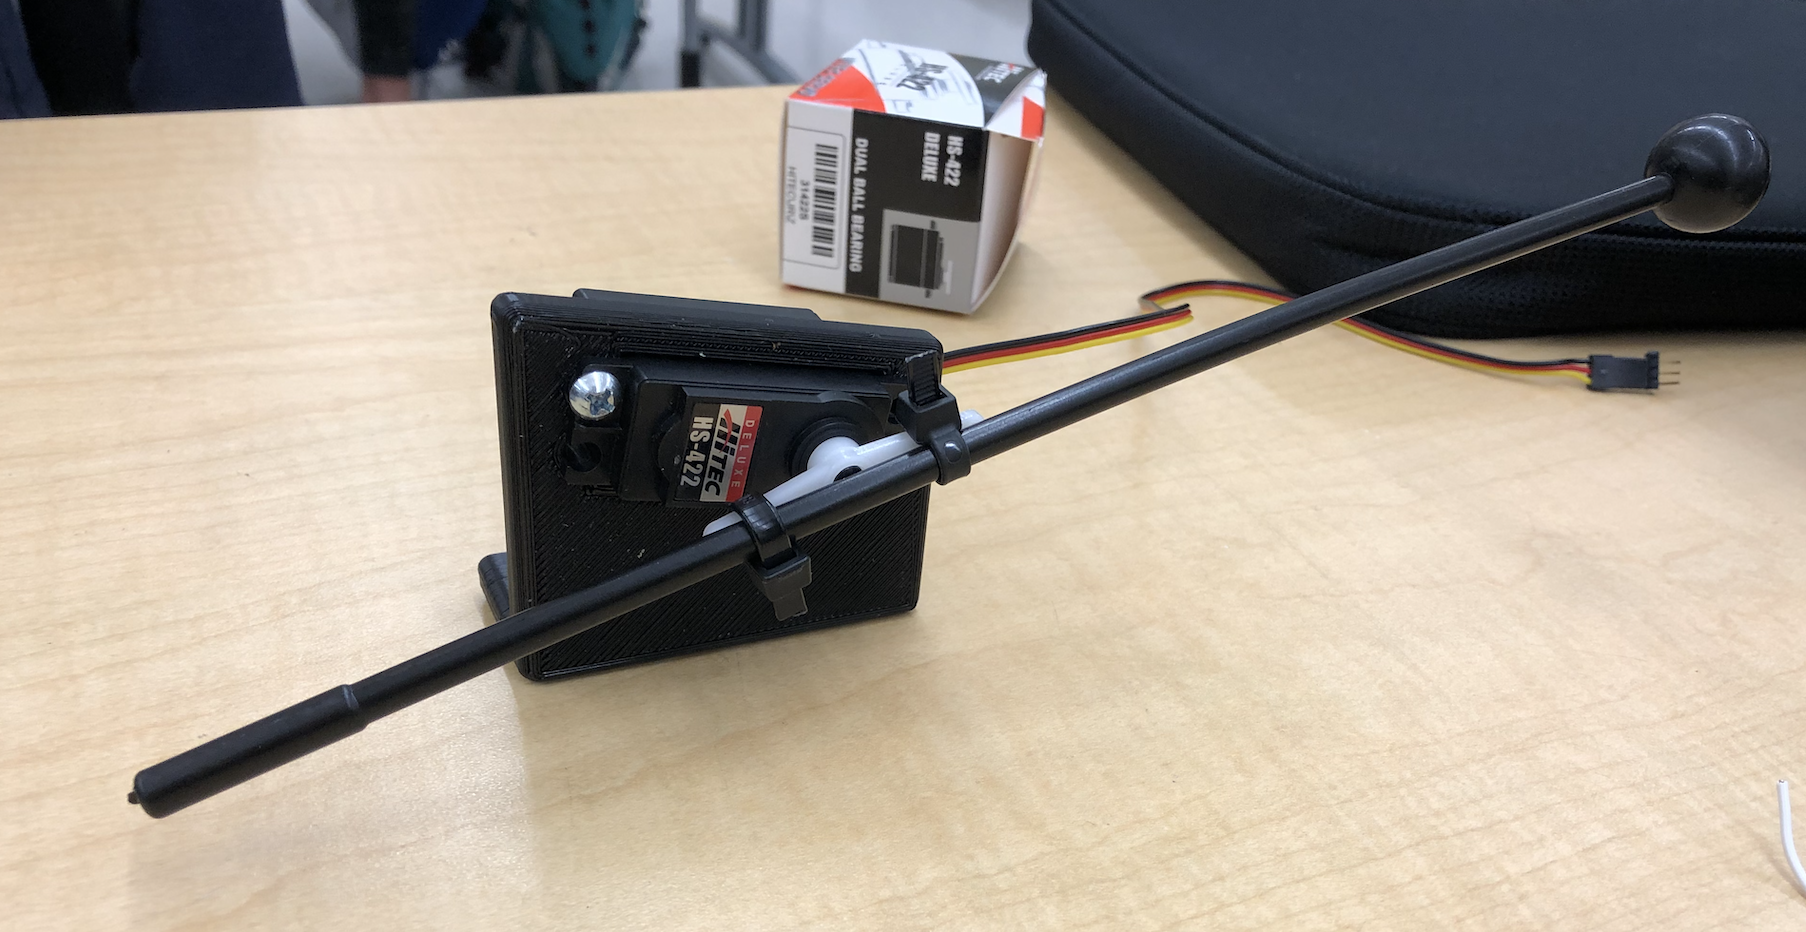
Research shows two possible ways to vary the strength at which a xylophone key is struck on a robotic instrument. One is through time varying torque as used by drum-playing robots when achieving a diverse drum stroke pallet (Gopinath & Weinberg, 2016). Regarding the xylophone mallet as a rod and the pivot point where the mallet is controlled by the servo as a fulcrum creates a time varying torque resulting in a diverse range of applicable forces for an instrument playing robot. A second option is through changing a servo’s rotation degrees per second (Oh & Park, 2013). By changing the rotation degrees per second on a servo, a mallet-servo system can strike a key at different velocities, resulting in an instrument playing robot to perform at various dynamics.
We used servo motors and an Arduino microcontroller to accurately strike the xylophone keys with the desired dynamic and articulation. Like how the method used by Oh and Park (2013) was formulated for a xylophone-playing robot, we will similarly change the rotation degrees per second on each servo to achieve the desired dynamic level. By achieving this goal, our project achieved the aspect of performing on an instrument with musical expression like a human performer. An Adafruit 16-Channel 12-bit PWM/Servo Driver will be used to control the 30 servo-mallet system required for this project.
Impacts
Creating a musical instrument-playing robot will allow anyone to listen to a personalized live performance at any time or location. The robot will be able to perform any given repertoire with musical expression like a human performer. While our project currently focuses on a single instrument - a xylophone, our work on how to have robotic instruments play with dynamics and musical techniques has the potential to be applied for a variety of instruments. The expansion of our research to various instruments will give listeners even more freedom in personalization. In addition, music has been shown to help dementia and Alzheimer’s patients in helping regain memory loss. Our technology has the potential to be used in the field of music therapy - where Bot-thoven can be set up in nursing homes to help residents use the power of music for positive recovery. Through the creation of our project, we hope to share the gift and joy of music with the community and those around us.
References
Chau, C., & Horner, A. (2016). The Emotional Characteristics of Mallet Percussion Instruments with Different Pitches and Mallet Hardness. In Proceedings of the 42nd International Computer Music Conference (ICMC) (pp. 401-404). Utrecht,...
Read more »


 Dan Kitchen
 Robotic Arm&Hand
 Luke J. Barker
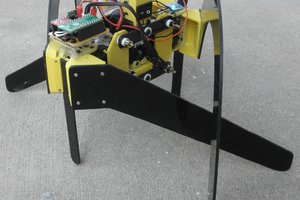
 Gertlex