kutluhan_aktar
Note: The module refers to the apparatus depicted in the schematics.
I used an ESP-WROOM-32 Development Board to create the module updating the gift card's database table on the localhost because I had it available at the time.
Of course, you can use any other microcontroller that can make an HTTP GET request instead of the ESP32 Development Board.
Note: I made an iteration of this gift card working with the command-activating buttons without a microcontroller for the test run, which you can access on your dashboard on TheAmplituhedron.

To go to inspect the gift card using the command-activating buttons, click here.
First of all, download the required libraries for Arduino IDE below to continue the following steps.
Required Libraries:
For ESP32 Development Board, click here.
Step 1: Create a database table on the localhost
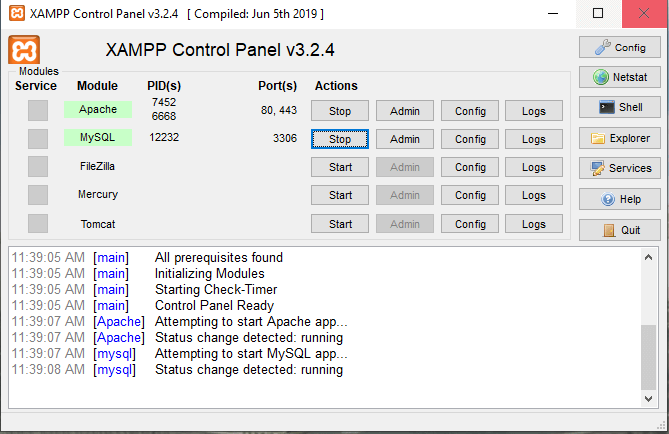
As the localhost, I recommend you use XAMPP: however you can use any other localhost provider than XAMPP for this project. Download XAMPP here.
In order to send commands to the gift card from the module, you need to create a database and a database table named both 'giftcard' on the localhost. The module updates the 'giftcard' database table by making HTTP Get Requests to the convey.php file. And, the index.js file collates data instantly from the 'giftcard' database table through ajax calls: the process is well-explained below.
Initiate XAMPP.
Create a database named giftcard.

Create a database table named giftcard. You can view the code in SQL in the table.sql file.
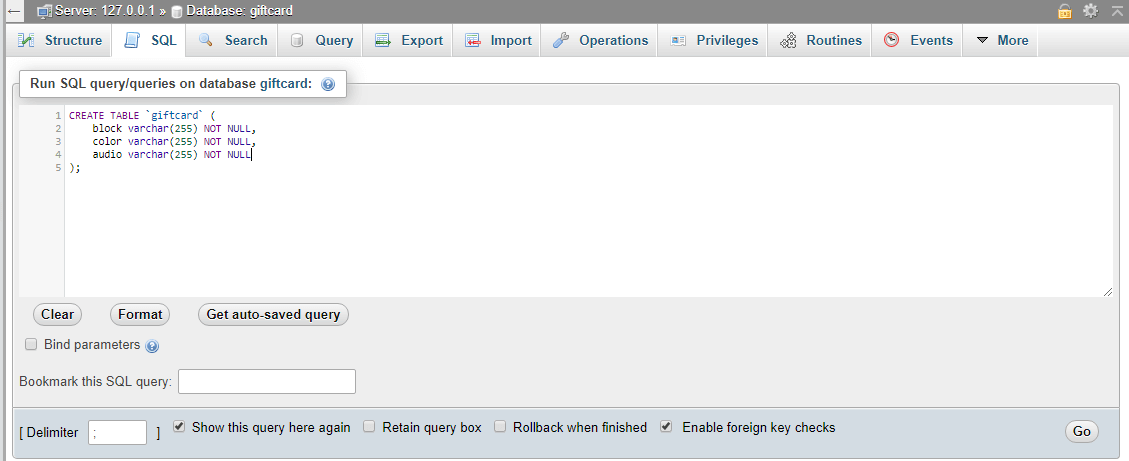

Insert default variables to the table - block, color, and audio. You can view the code in SQL in the table.sql file.

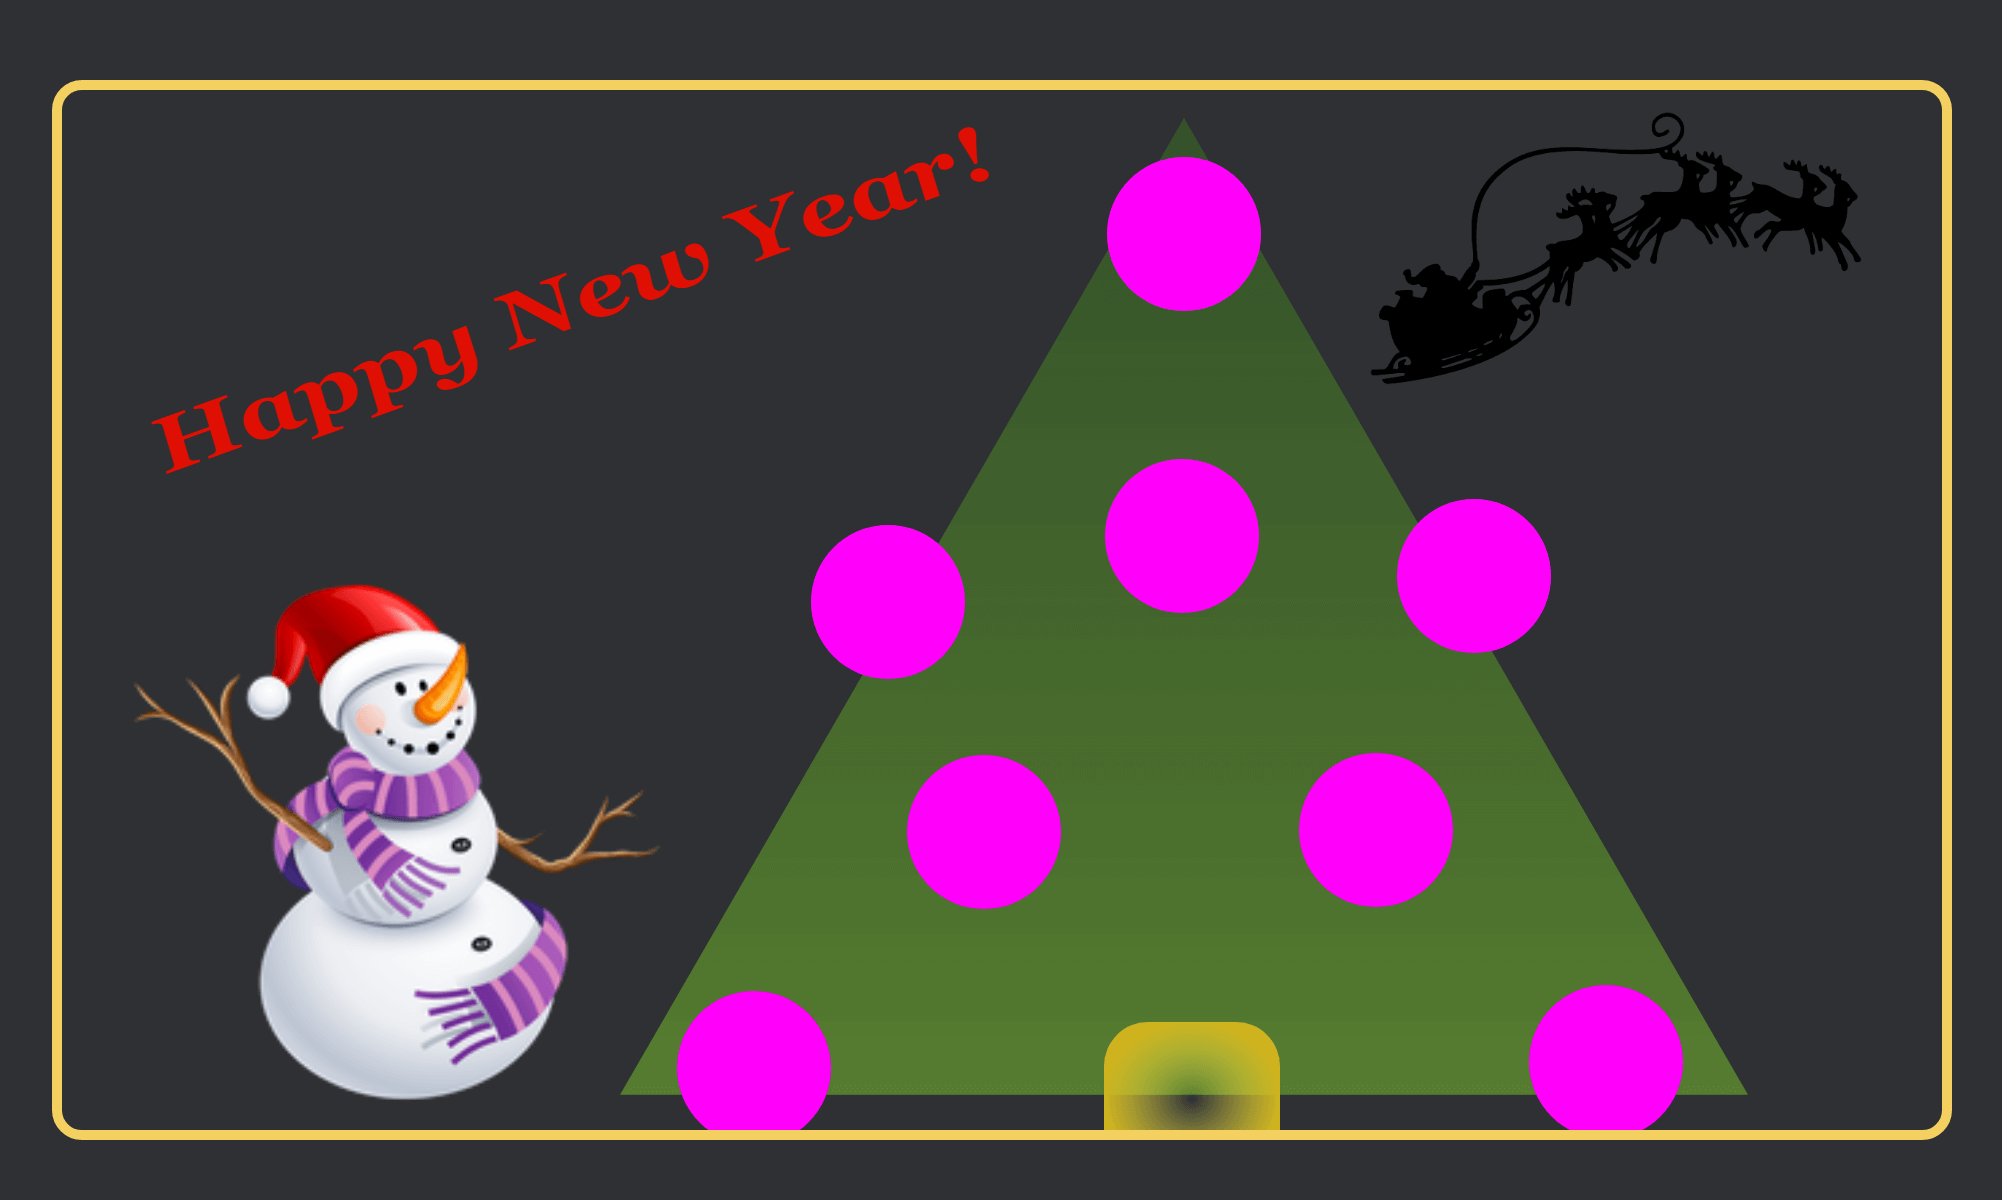
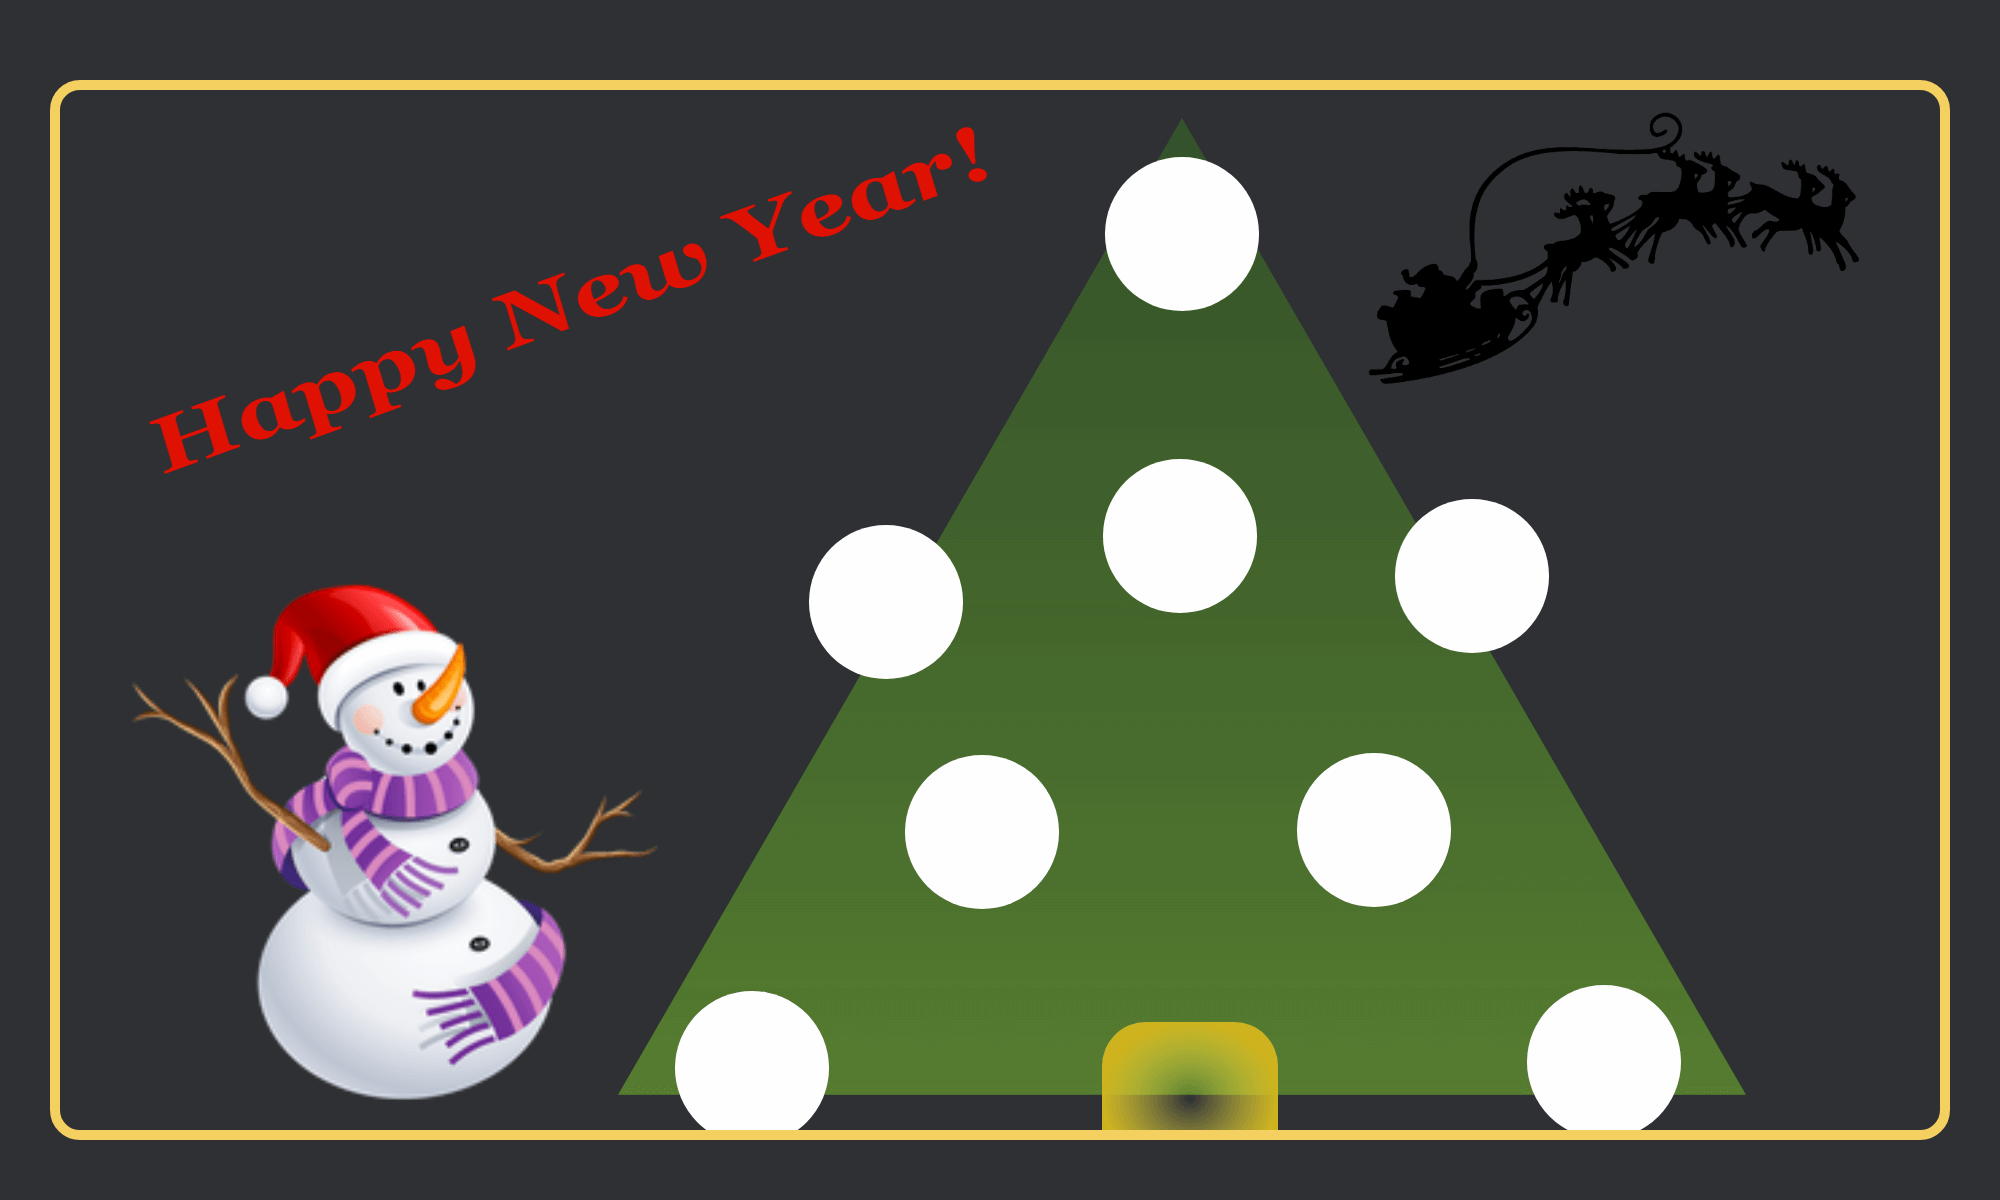
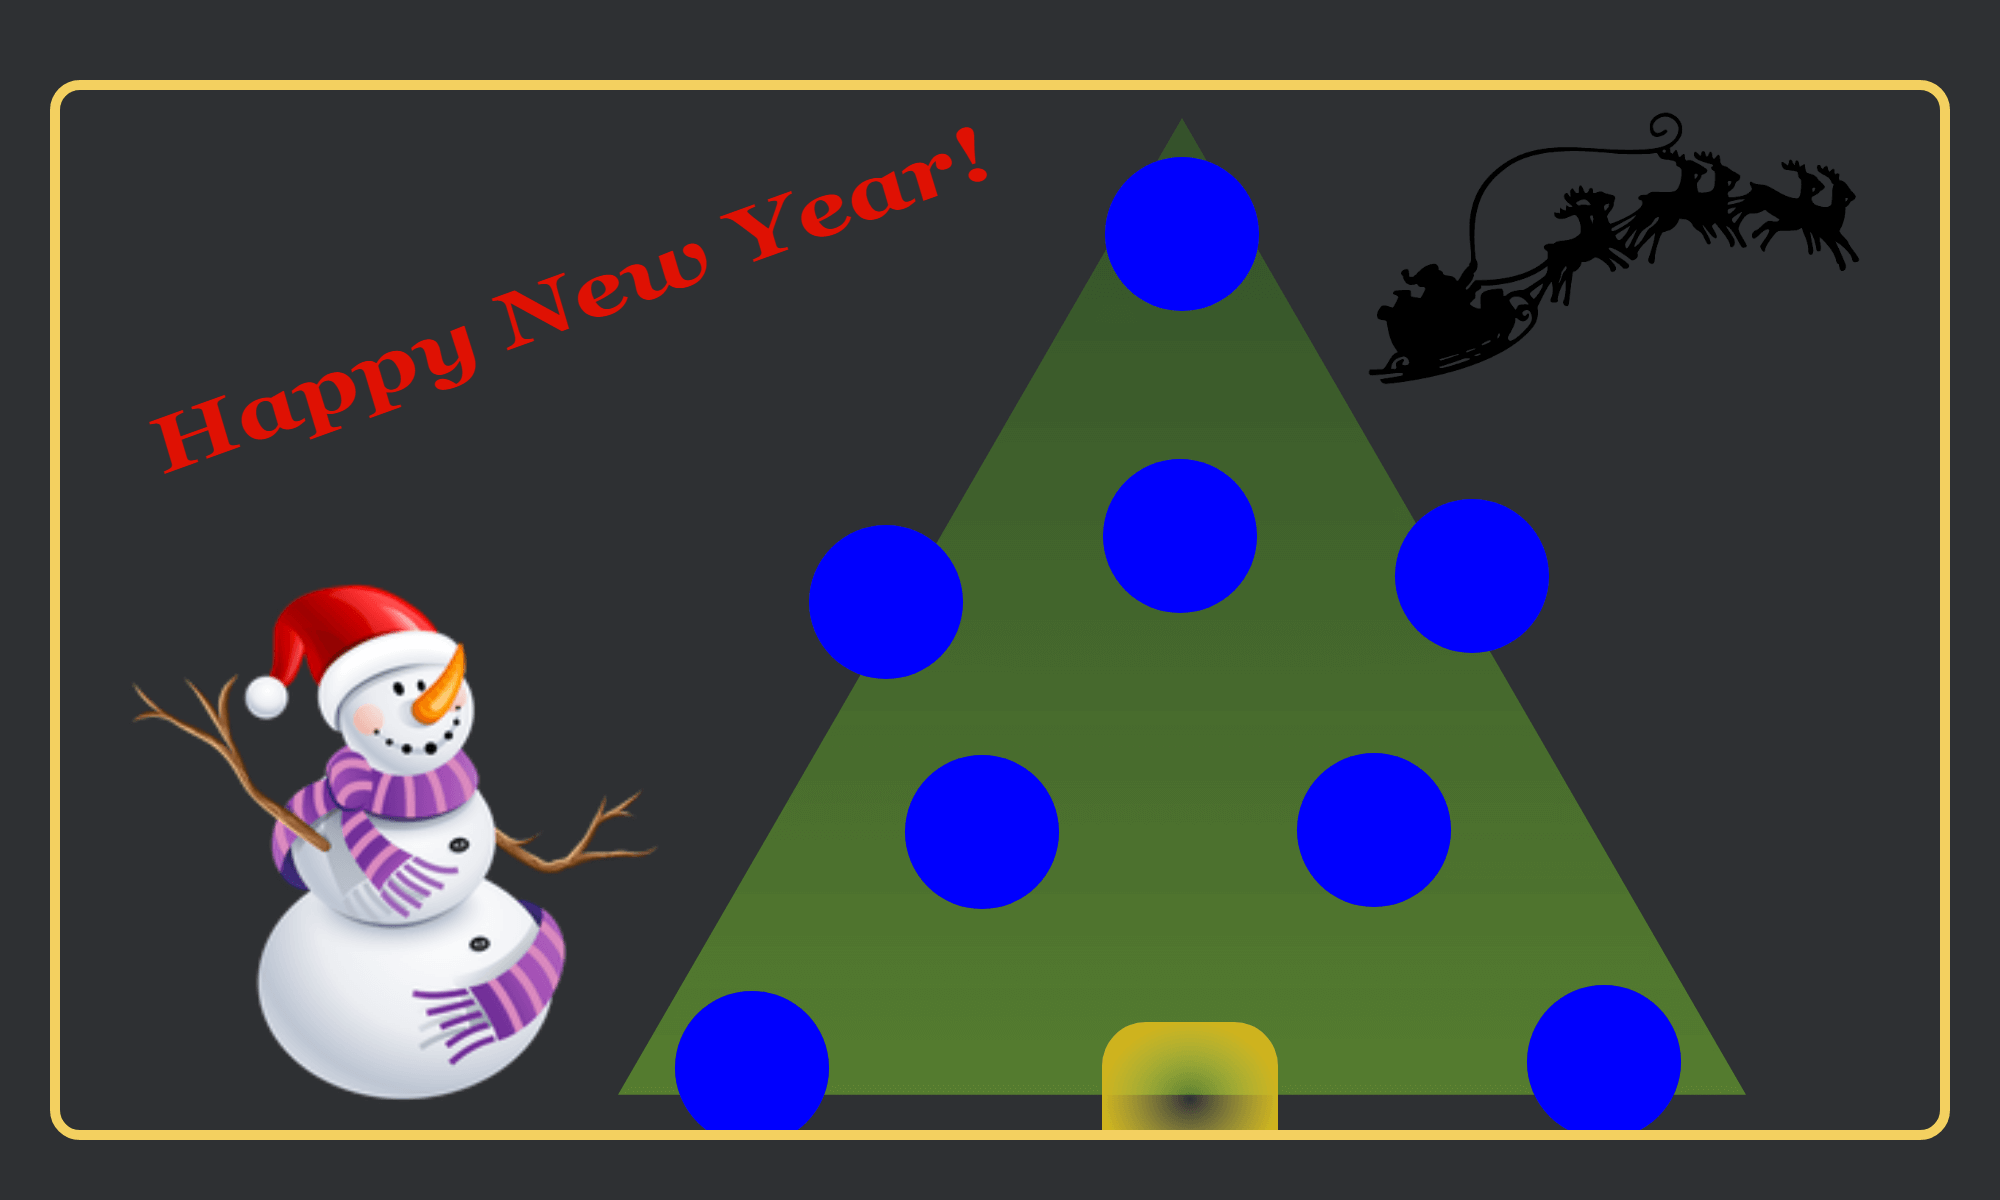
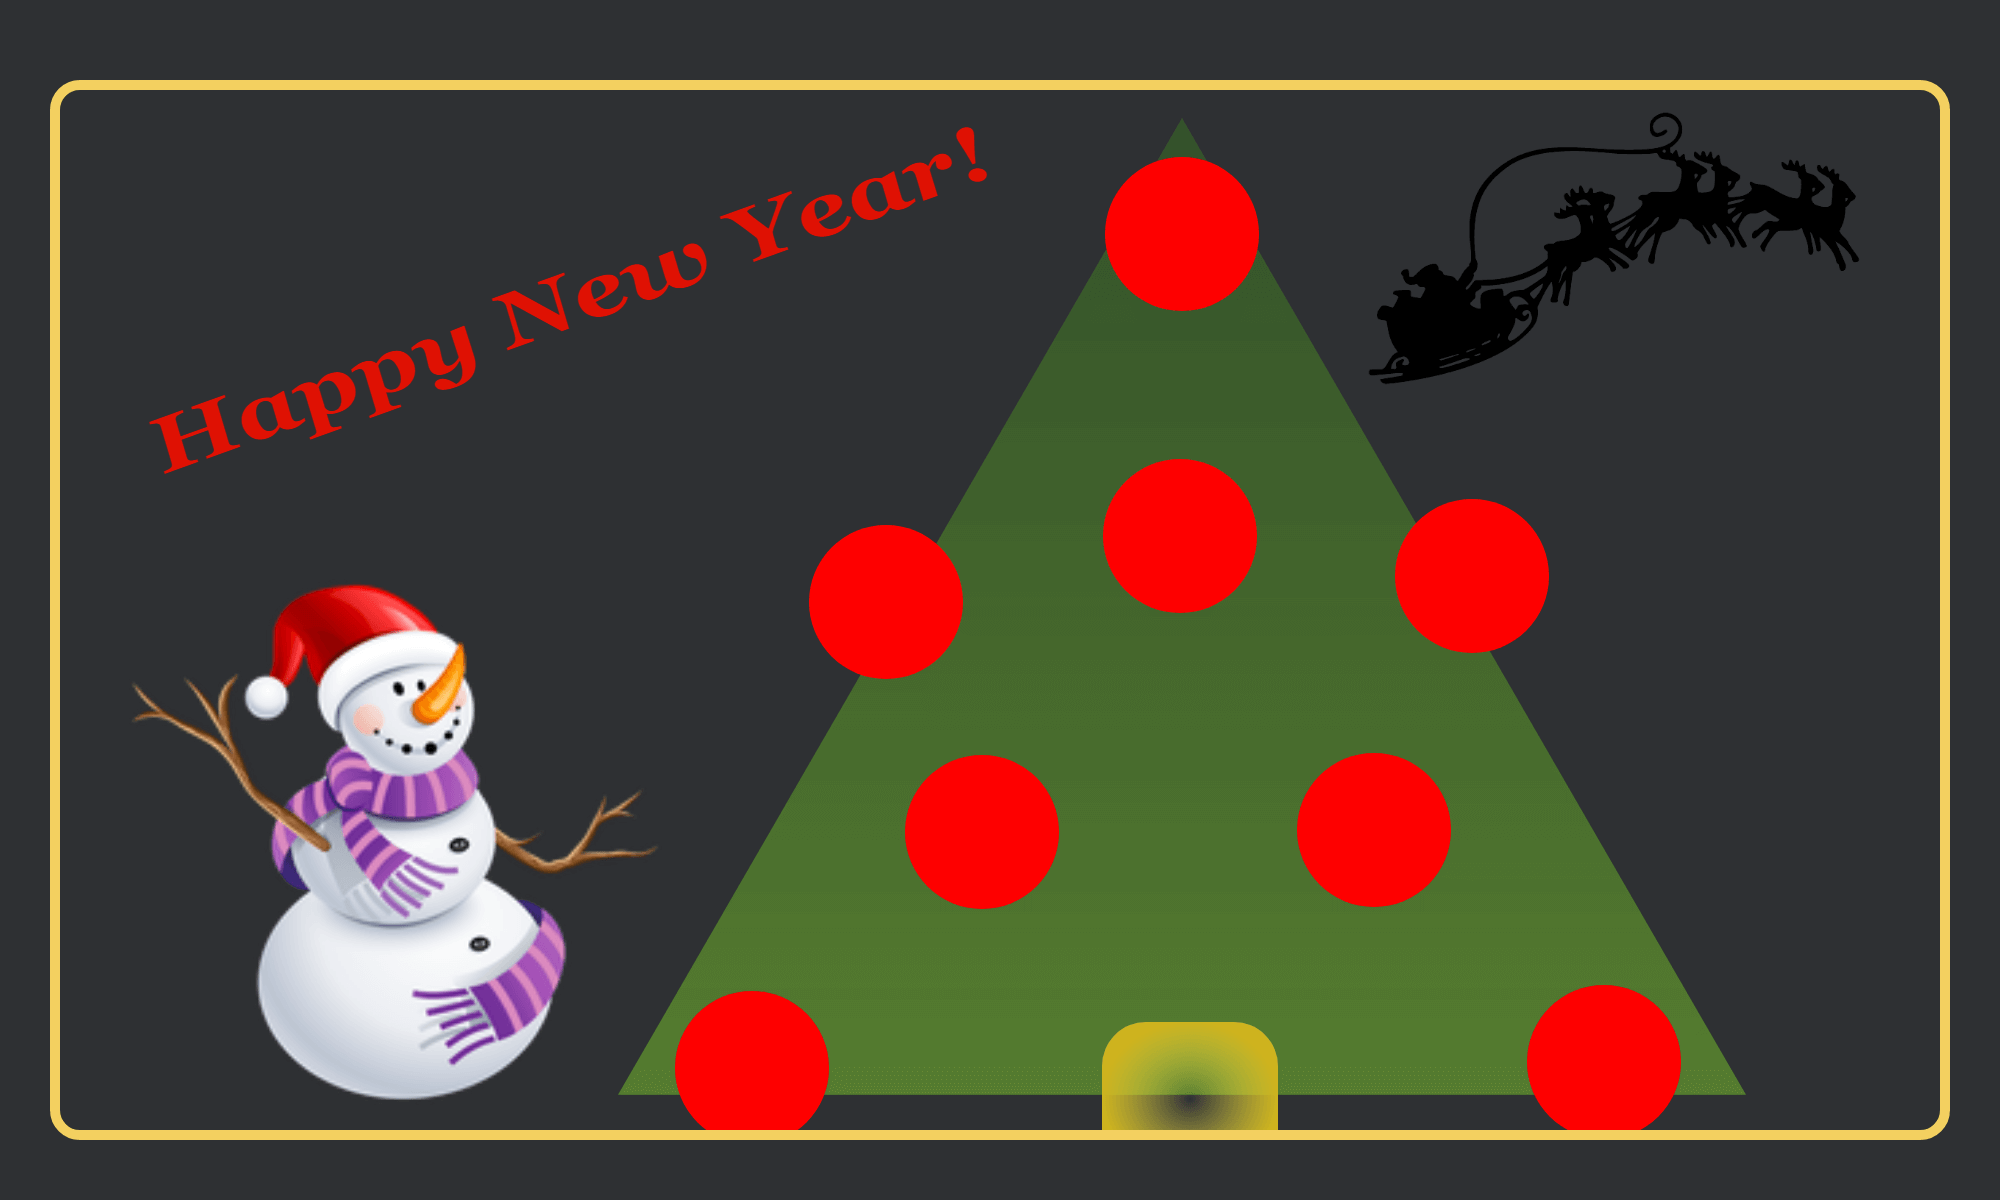
Step 2: Designing the gift card
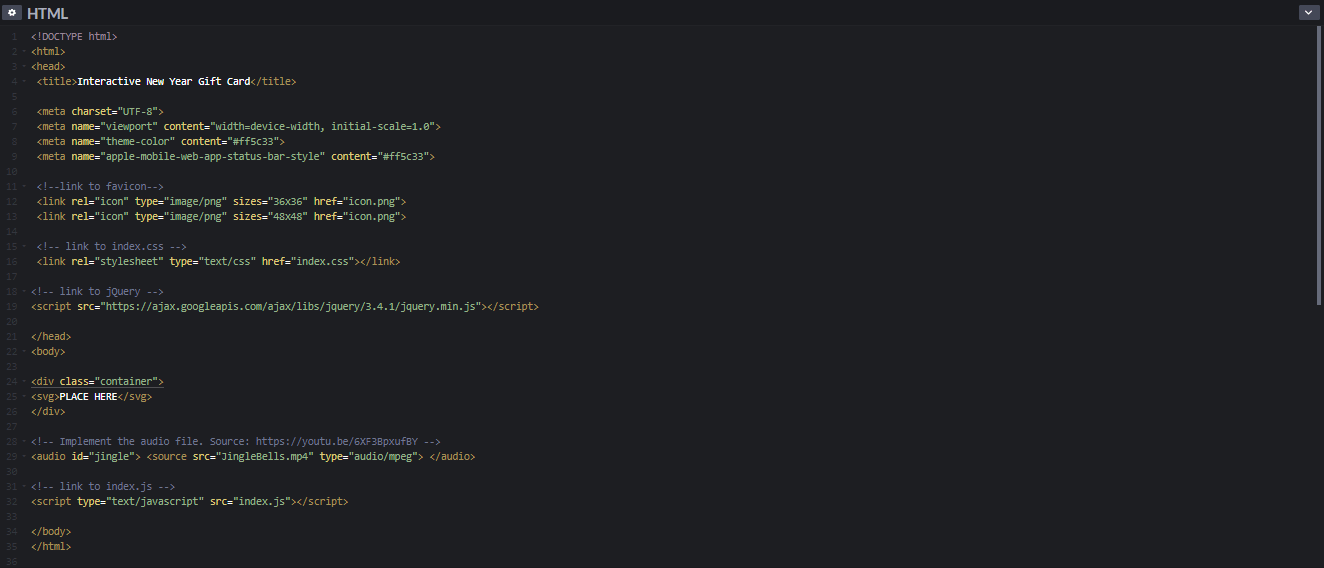
I coded the gift card design in SVG format to be able to change the color of the Christmas tree embroidery by choosing an RGB color pattern on the module. The gift card SVG image is embedded on the index.html file: but you can download the image separately from here.

Step 3: Updating the database table via the module to collate data
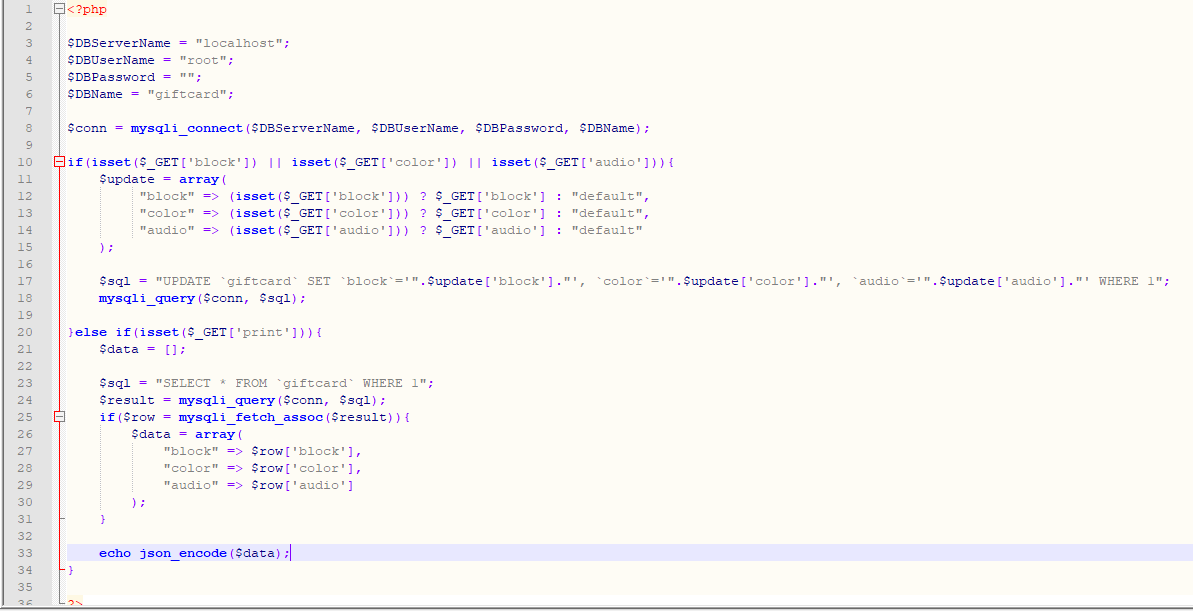
In the convey.php file:
Define the connection settings.
If block, color, or audio variables is transferred from the module;
Using the ternary operator, create the update array.
Update the database.
If the print variable is transferred from the index.js file through an ajax call;
Create the data array.
Select from the database table.
Using the json_encode() function, print variables in JSON format.
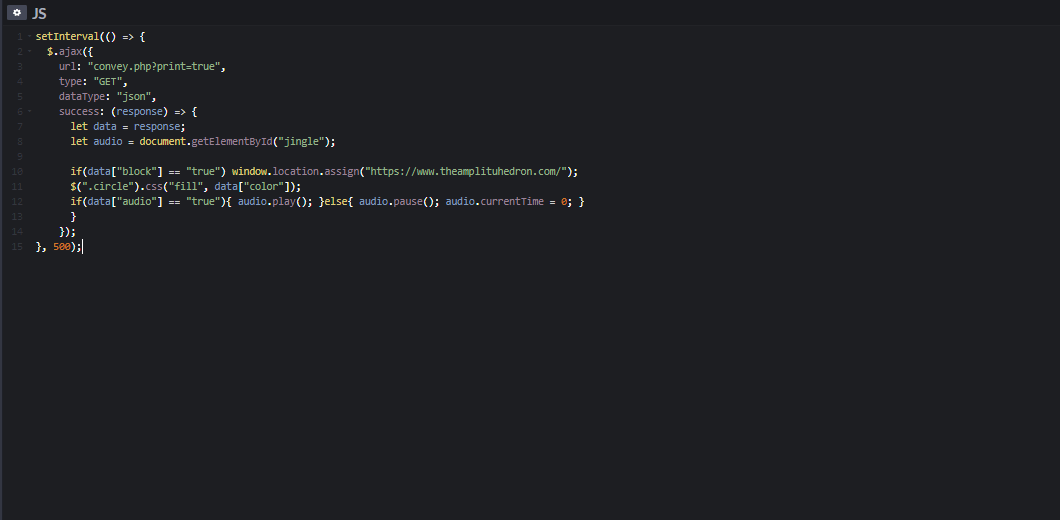
In the index.js file:
Activate the setInterval() function.
Make an ajax call to the convey.php file to send the print variable.
Get data in JSON format.
If the block variable is true, redirect the gift card to the home page of TheAmplituhedron. You can choose any other web page to redirect.
Fill circles with the color from the color variable.
If the audio variable is true, play Jingle Bells.
Step 4: The module
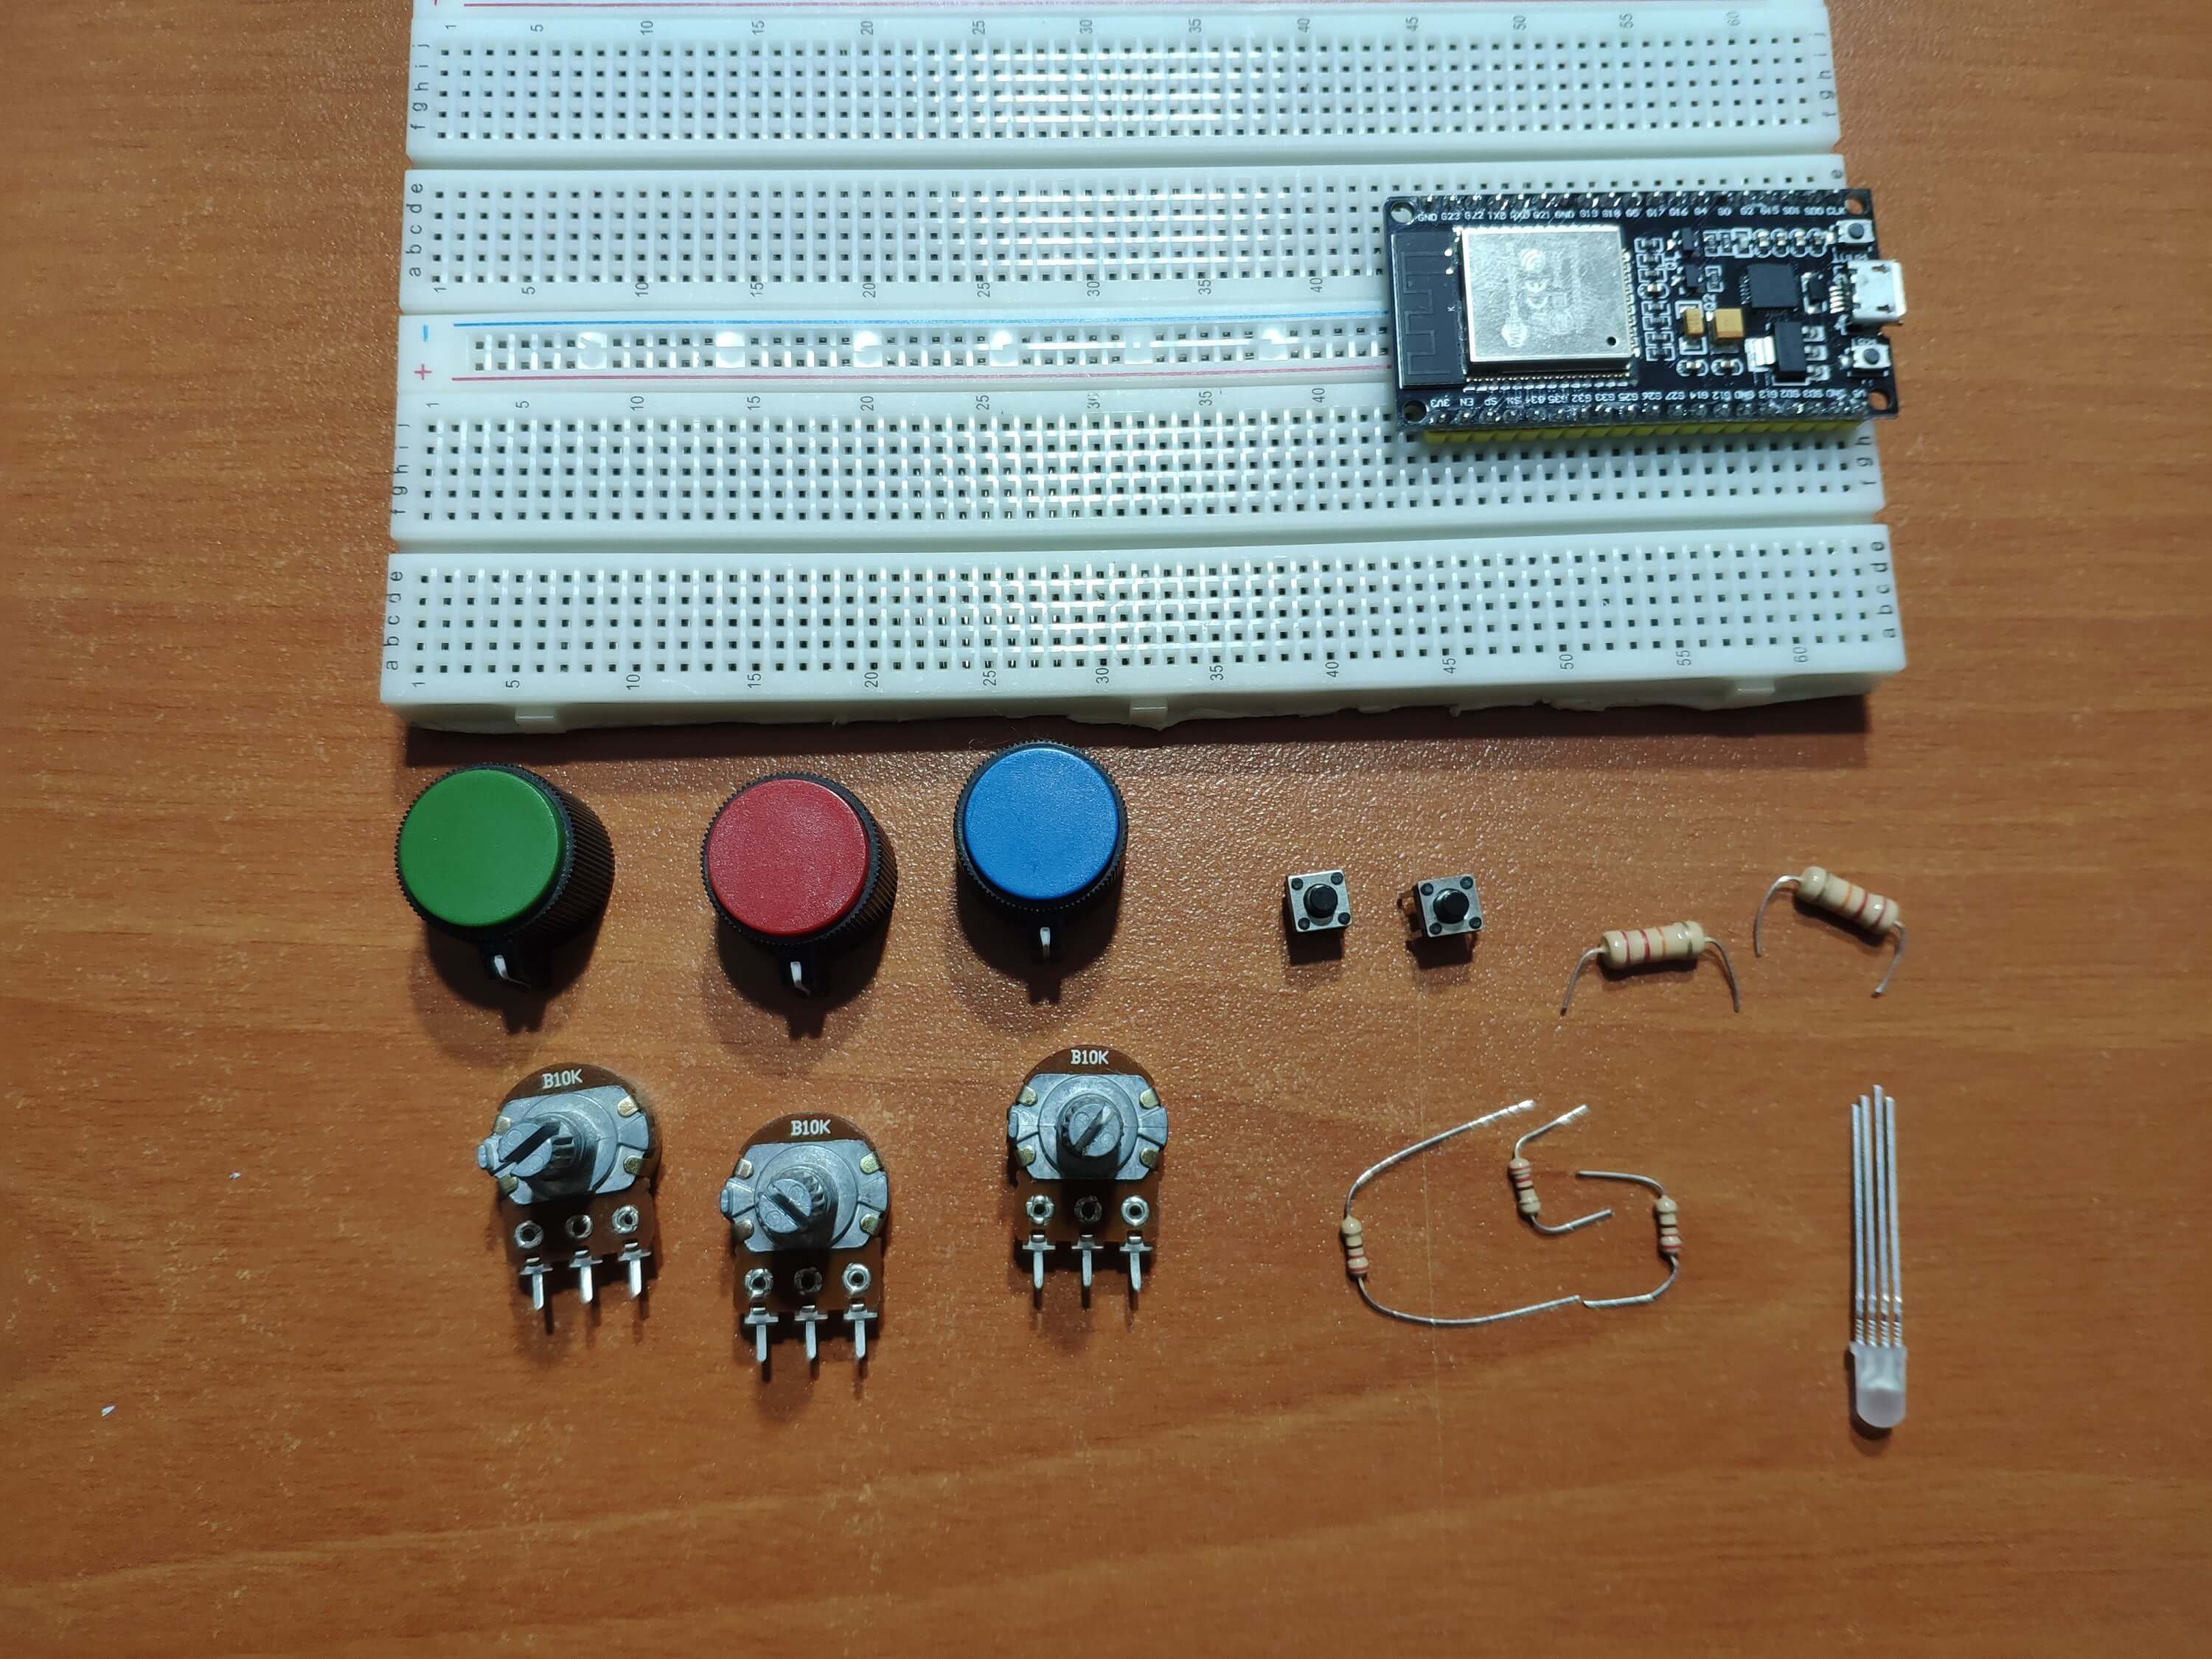
The module is composed of an ESP-WROOM-32, three potentiometers, and an RGB LED.
Due to the settings of ESP-WROOM-32, you need to use ledc functions to define PWM signals for the RGB LED.
Syntax:
PWM channel - from 0 to 15
PWM signal frequency - 5000Hz (recommended)
Duty cycle resolution - from 1 to 16 bits (8-bit resolution gets values from 0 to 255)
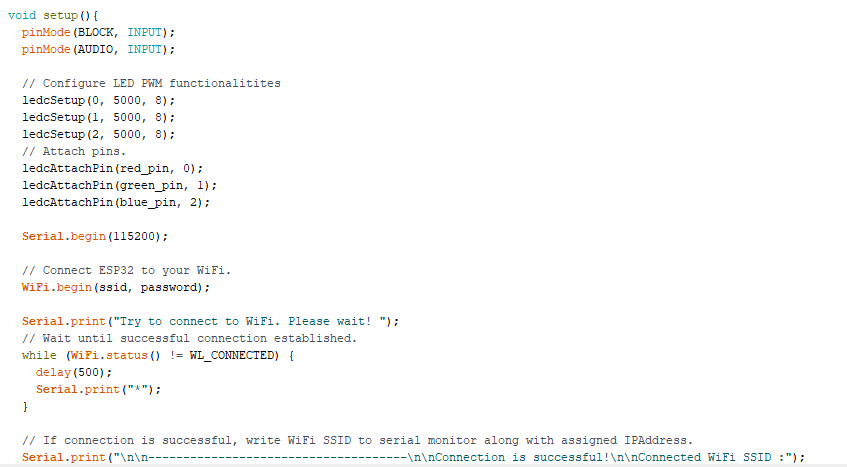
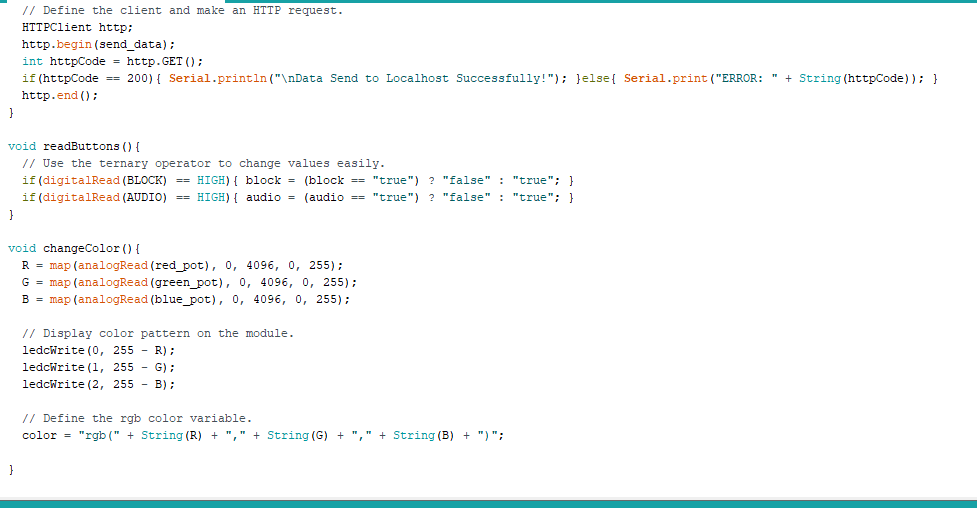
Make an HTTP Get Request to the convey.php file to transfer variables.
Use the ternary operator to change values easily with buttons.
Map the analog input - from 0 to 4096.
Get the RGB color pattern from potentiometers.
Display the color pattern using the ledcWrite() function.
Check whether the connection to the localhost is successful or not on the serial monitor.

Features
Without installing the gift card on your computer, you can test its features using the command-activating buttons on the inspect page.
1) Block the gift card using the module.
2) Change the color of the Christmas tree ornament and embroidery by choosing an RGB color pattern on the module.

3) Play or pause the Jingle Bells instrumental version integrated into the gift card via the module.
On the localhost, you can test the features executing the convey.php file manually:
.../convey.php?block=false&color=rgb(255, 0, 255)&audio=false
Important: To download all mentioned files, including JingleBells.mp4, card.svg, and icon.png, click here.
Important: To go to the interface of the gift card on your dashboard to get further information and download all the mentioned files, click here.
Connections
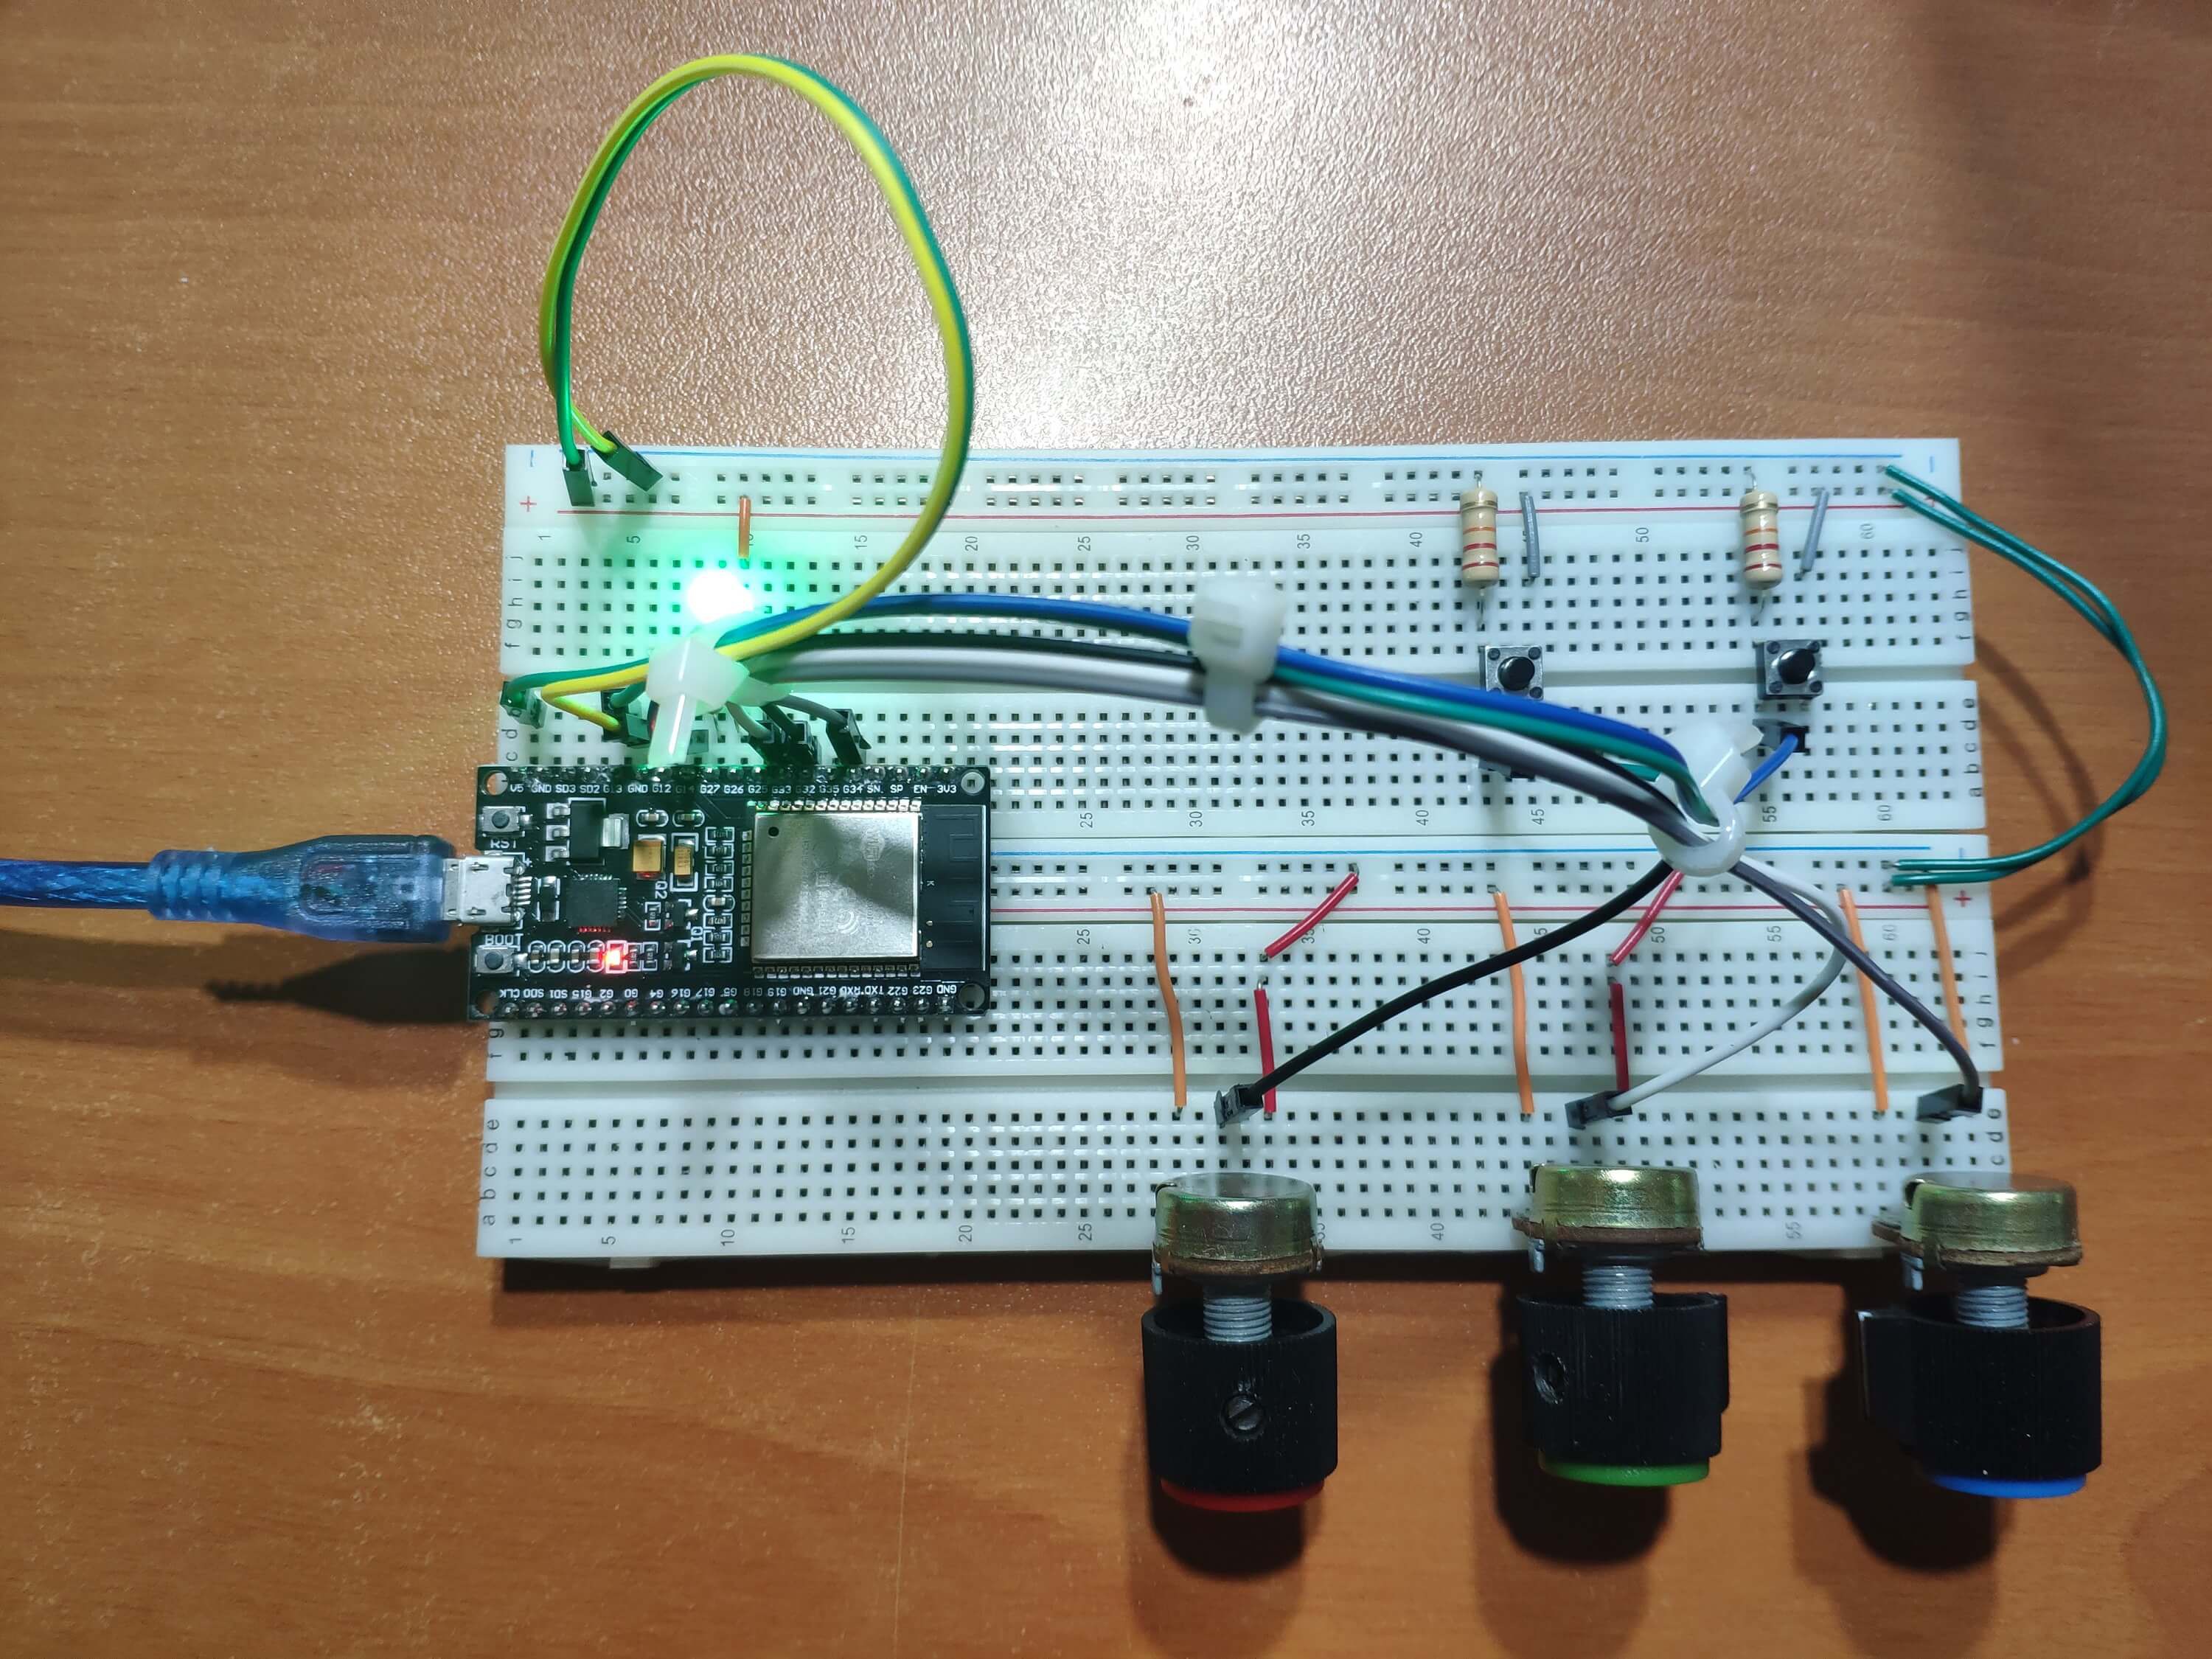
All pin layout and connections are well-explained in "IoT-Interactive-New-Year-Gift-Card.ino" below.
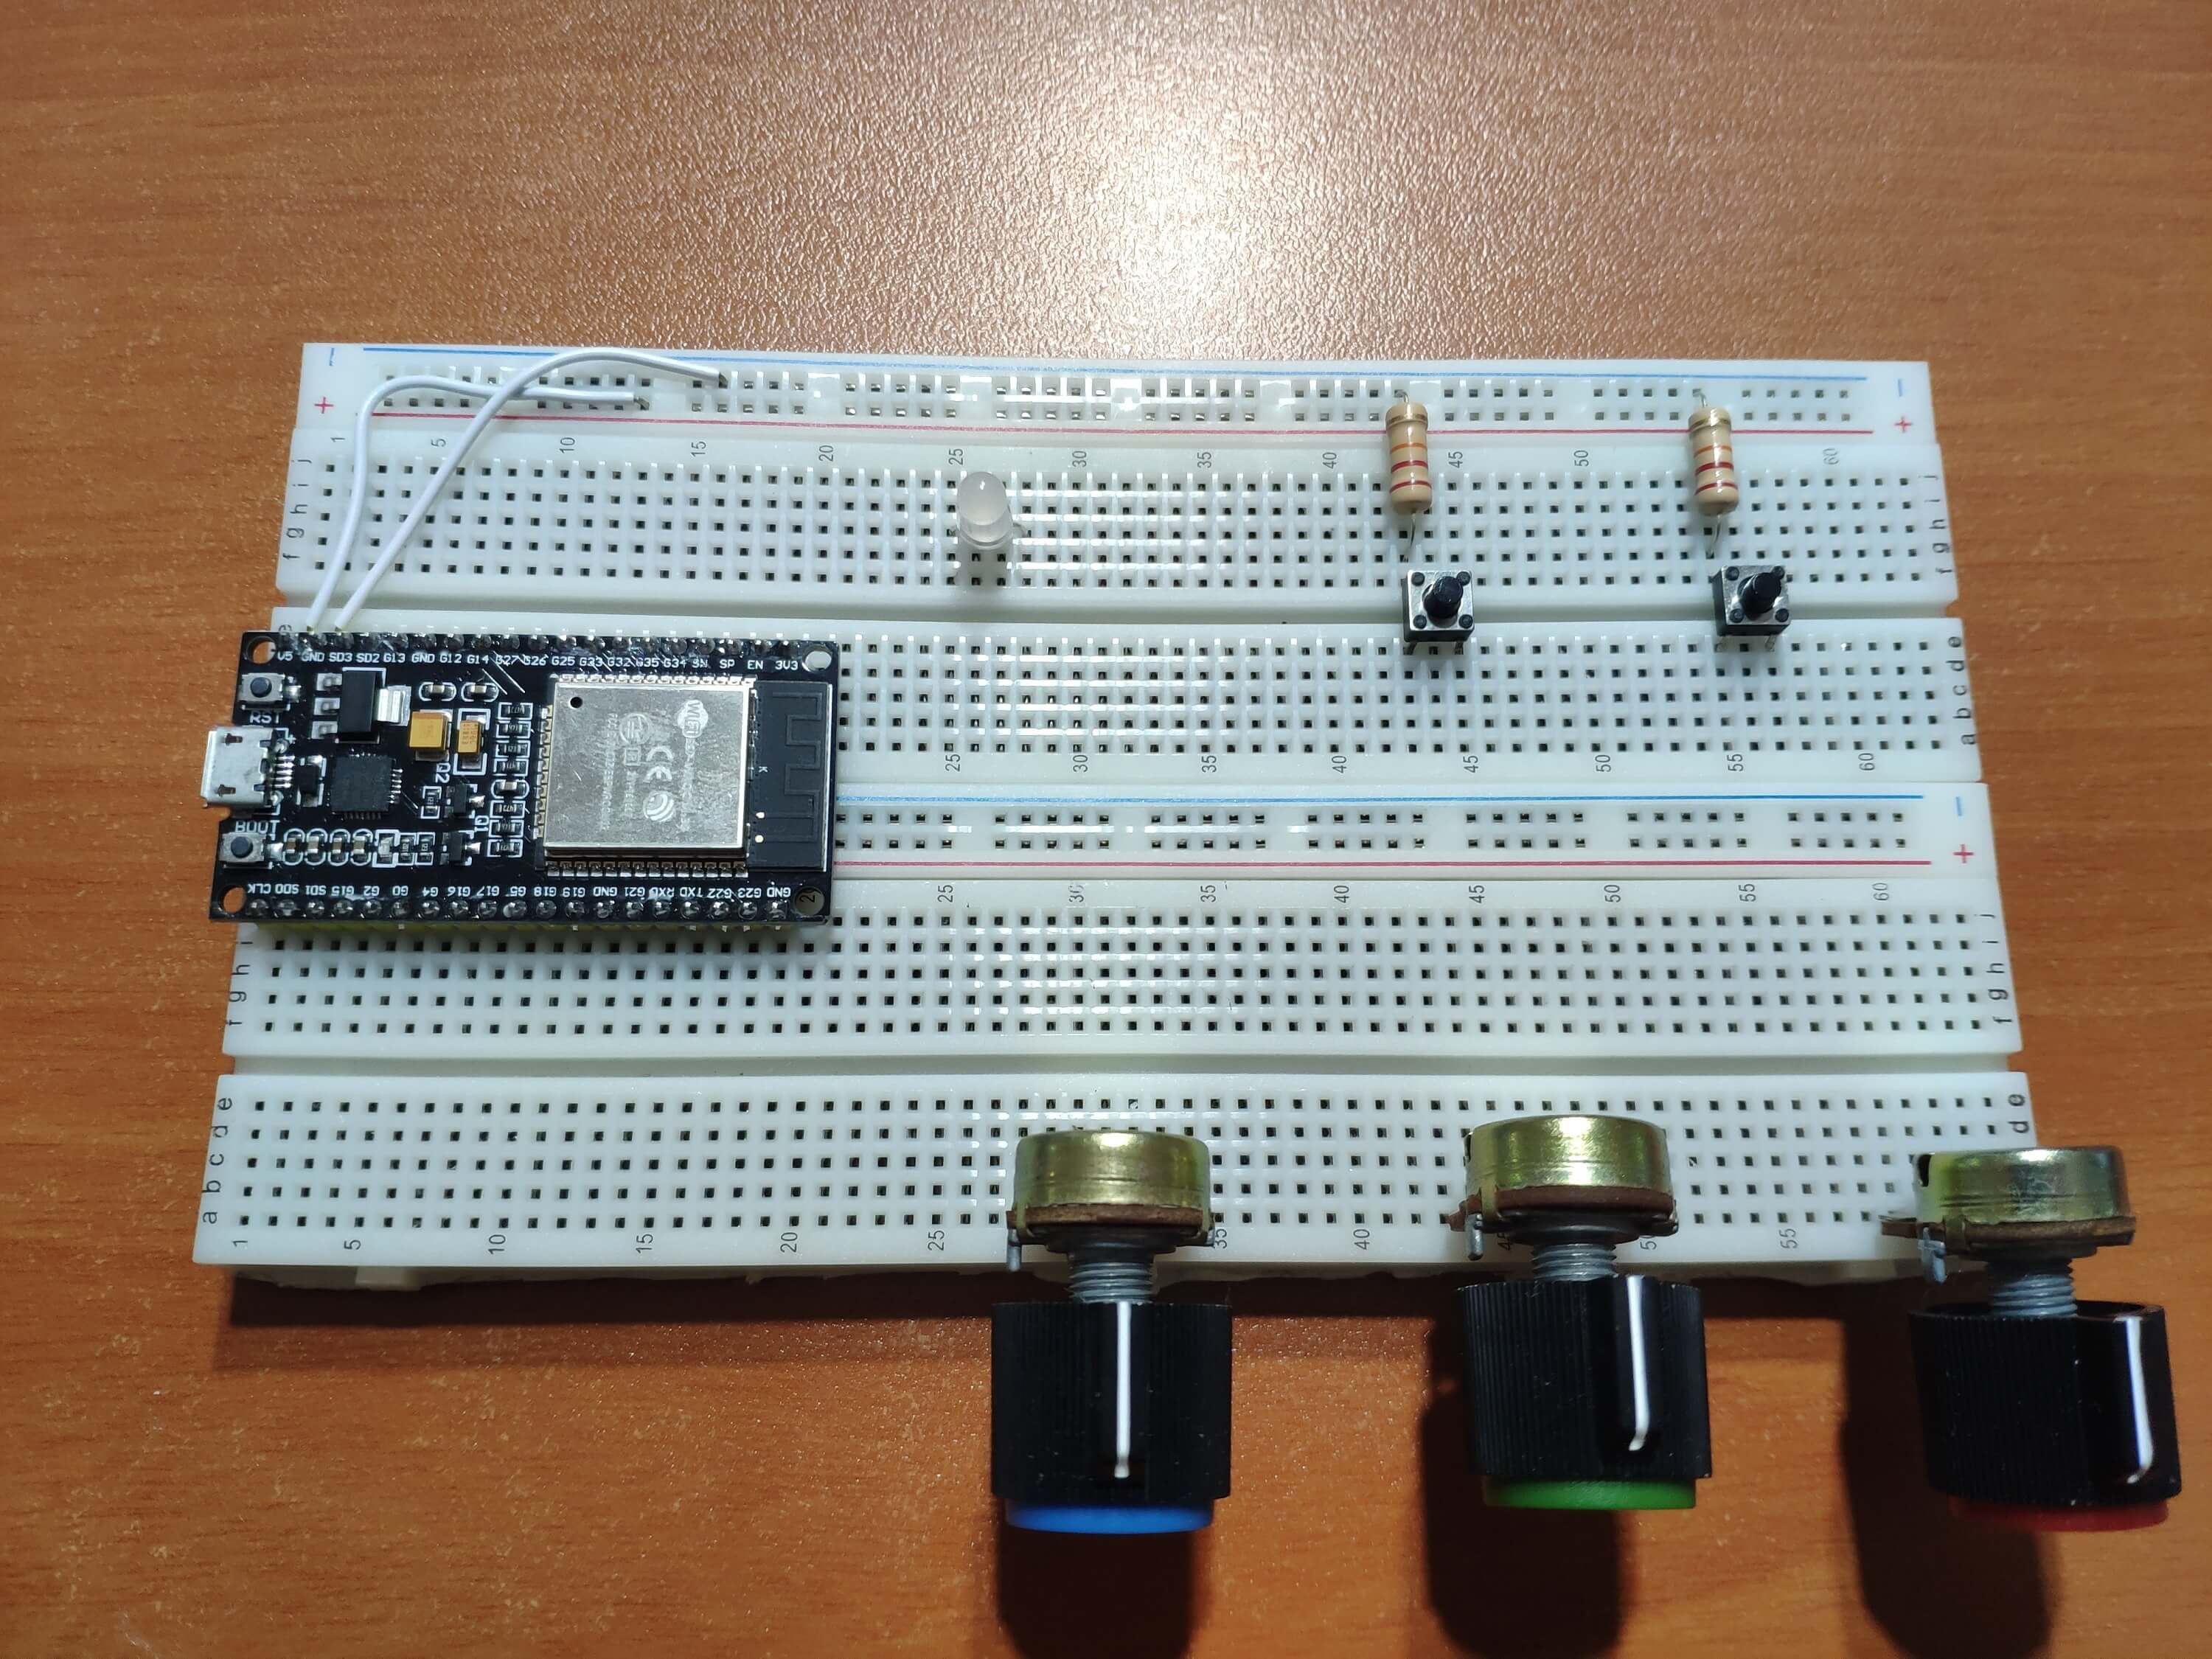
Affix two breadboards with each other to attach components properly without adding redundant wires. Make hardware connections as depicted in figures below: