After using the keyboard for a few weeks (and getting much better at touch-typing in the process) I got very much used to it, so I was hesitating if I should scavenge it and rebuild it with the new PCBs that just arrived. And if I should, then which one?
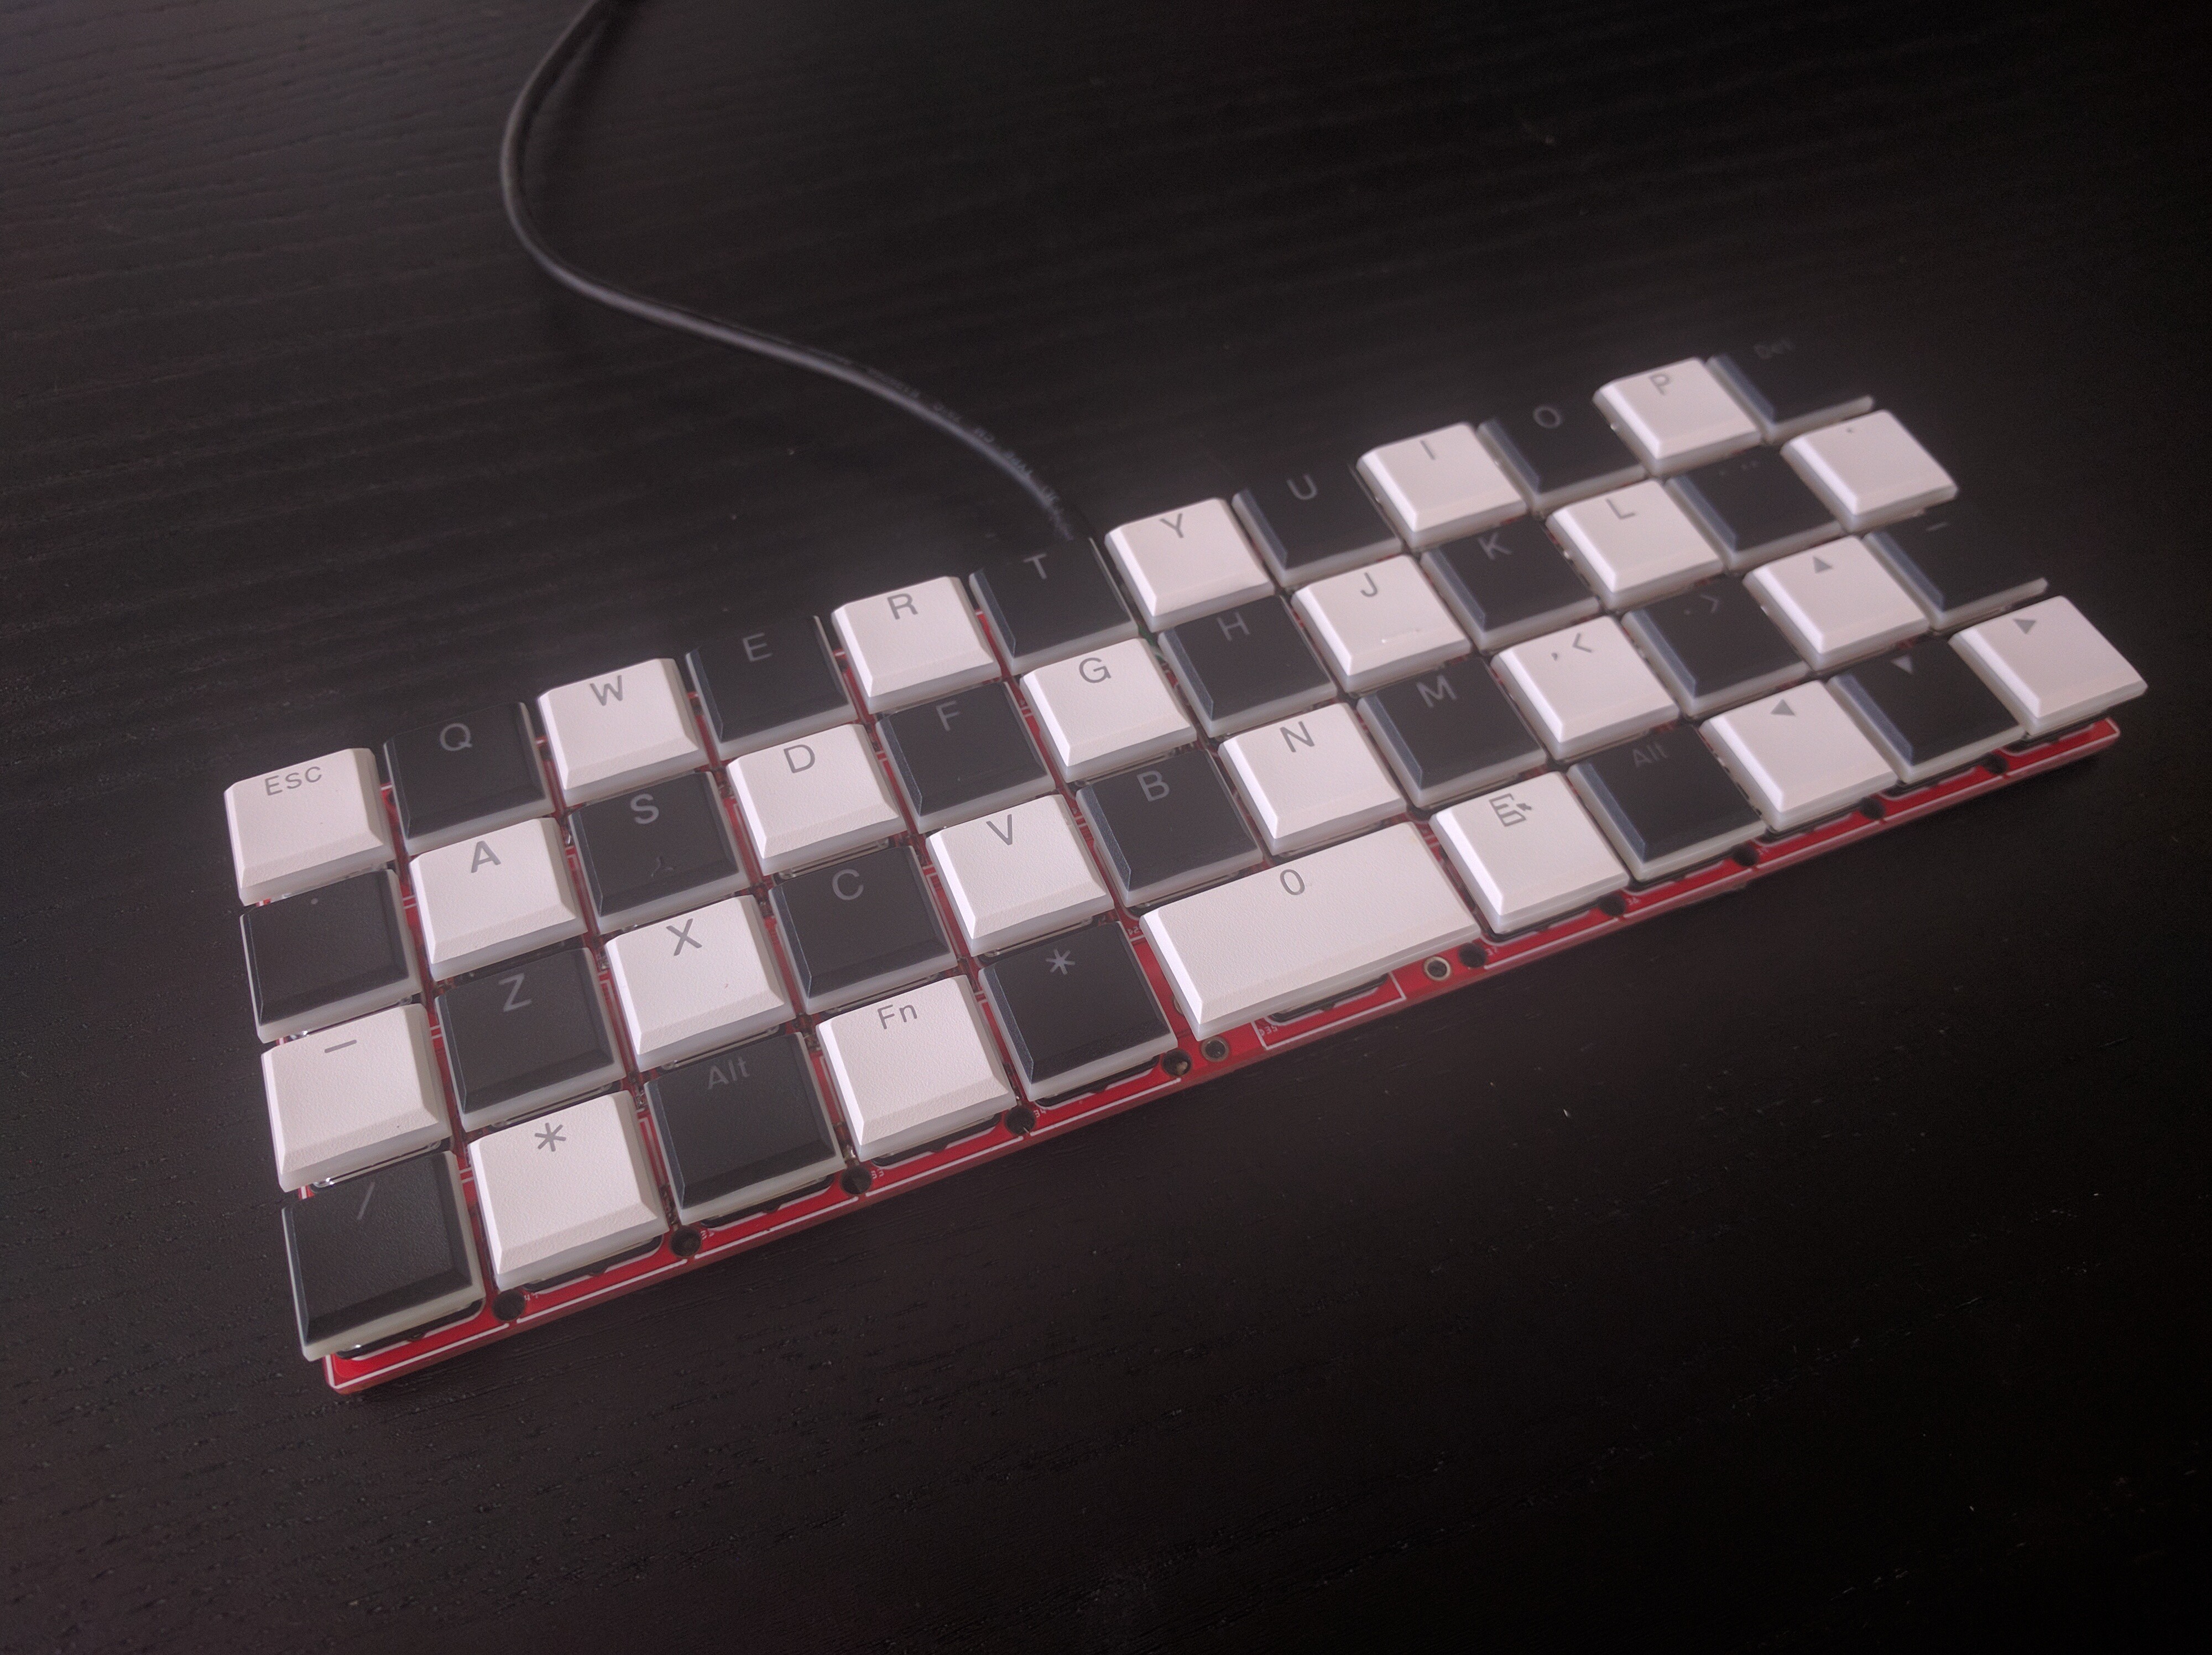
In the end I decided to do it, and also to scavenge the #5plit Keyboard Clone, so that I can build both versions. The 48-key version went first:

Nothing surprising in here, I just had to edit the layout matrix to include the two extra columns, and it just works. I'm using it right now, and it works great for me. It's definitely a keeper. I didn't even need to add a stabilizer under the space. Oh, of course I reversed the D+ and D- labels for the USB cable, but that's easily fixed.
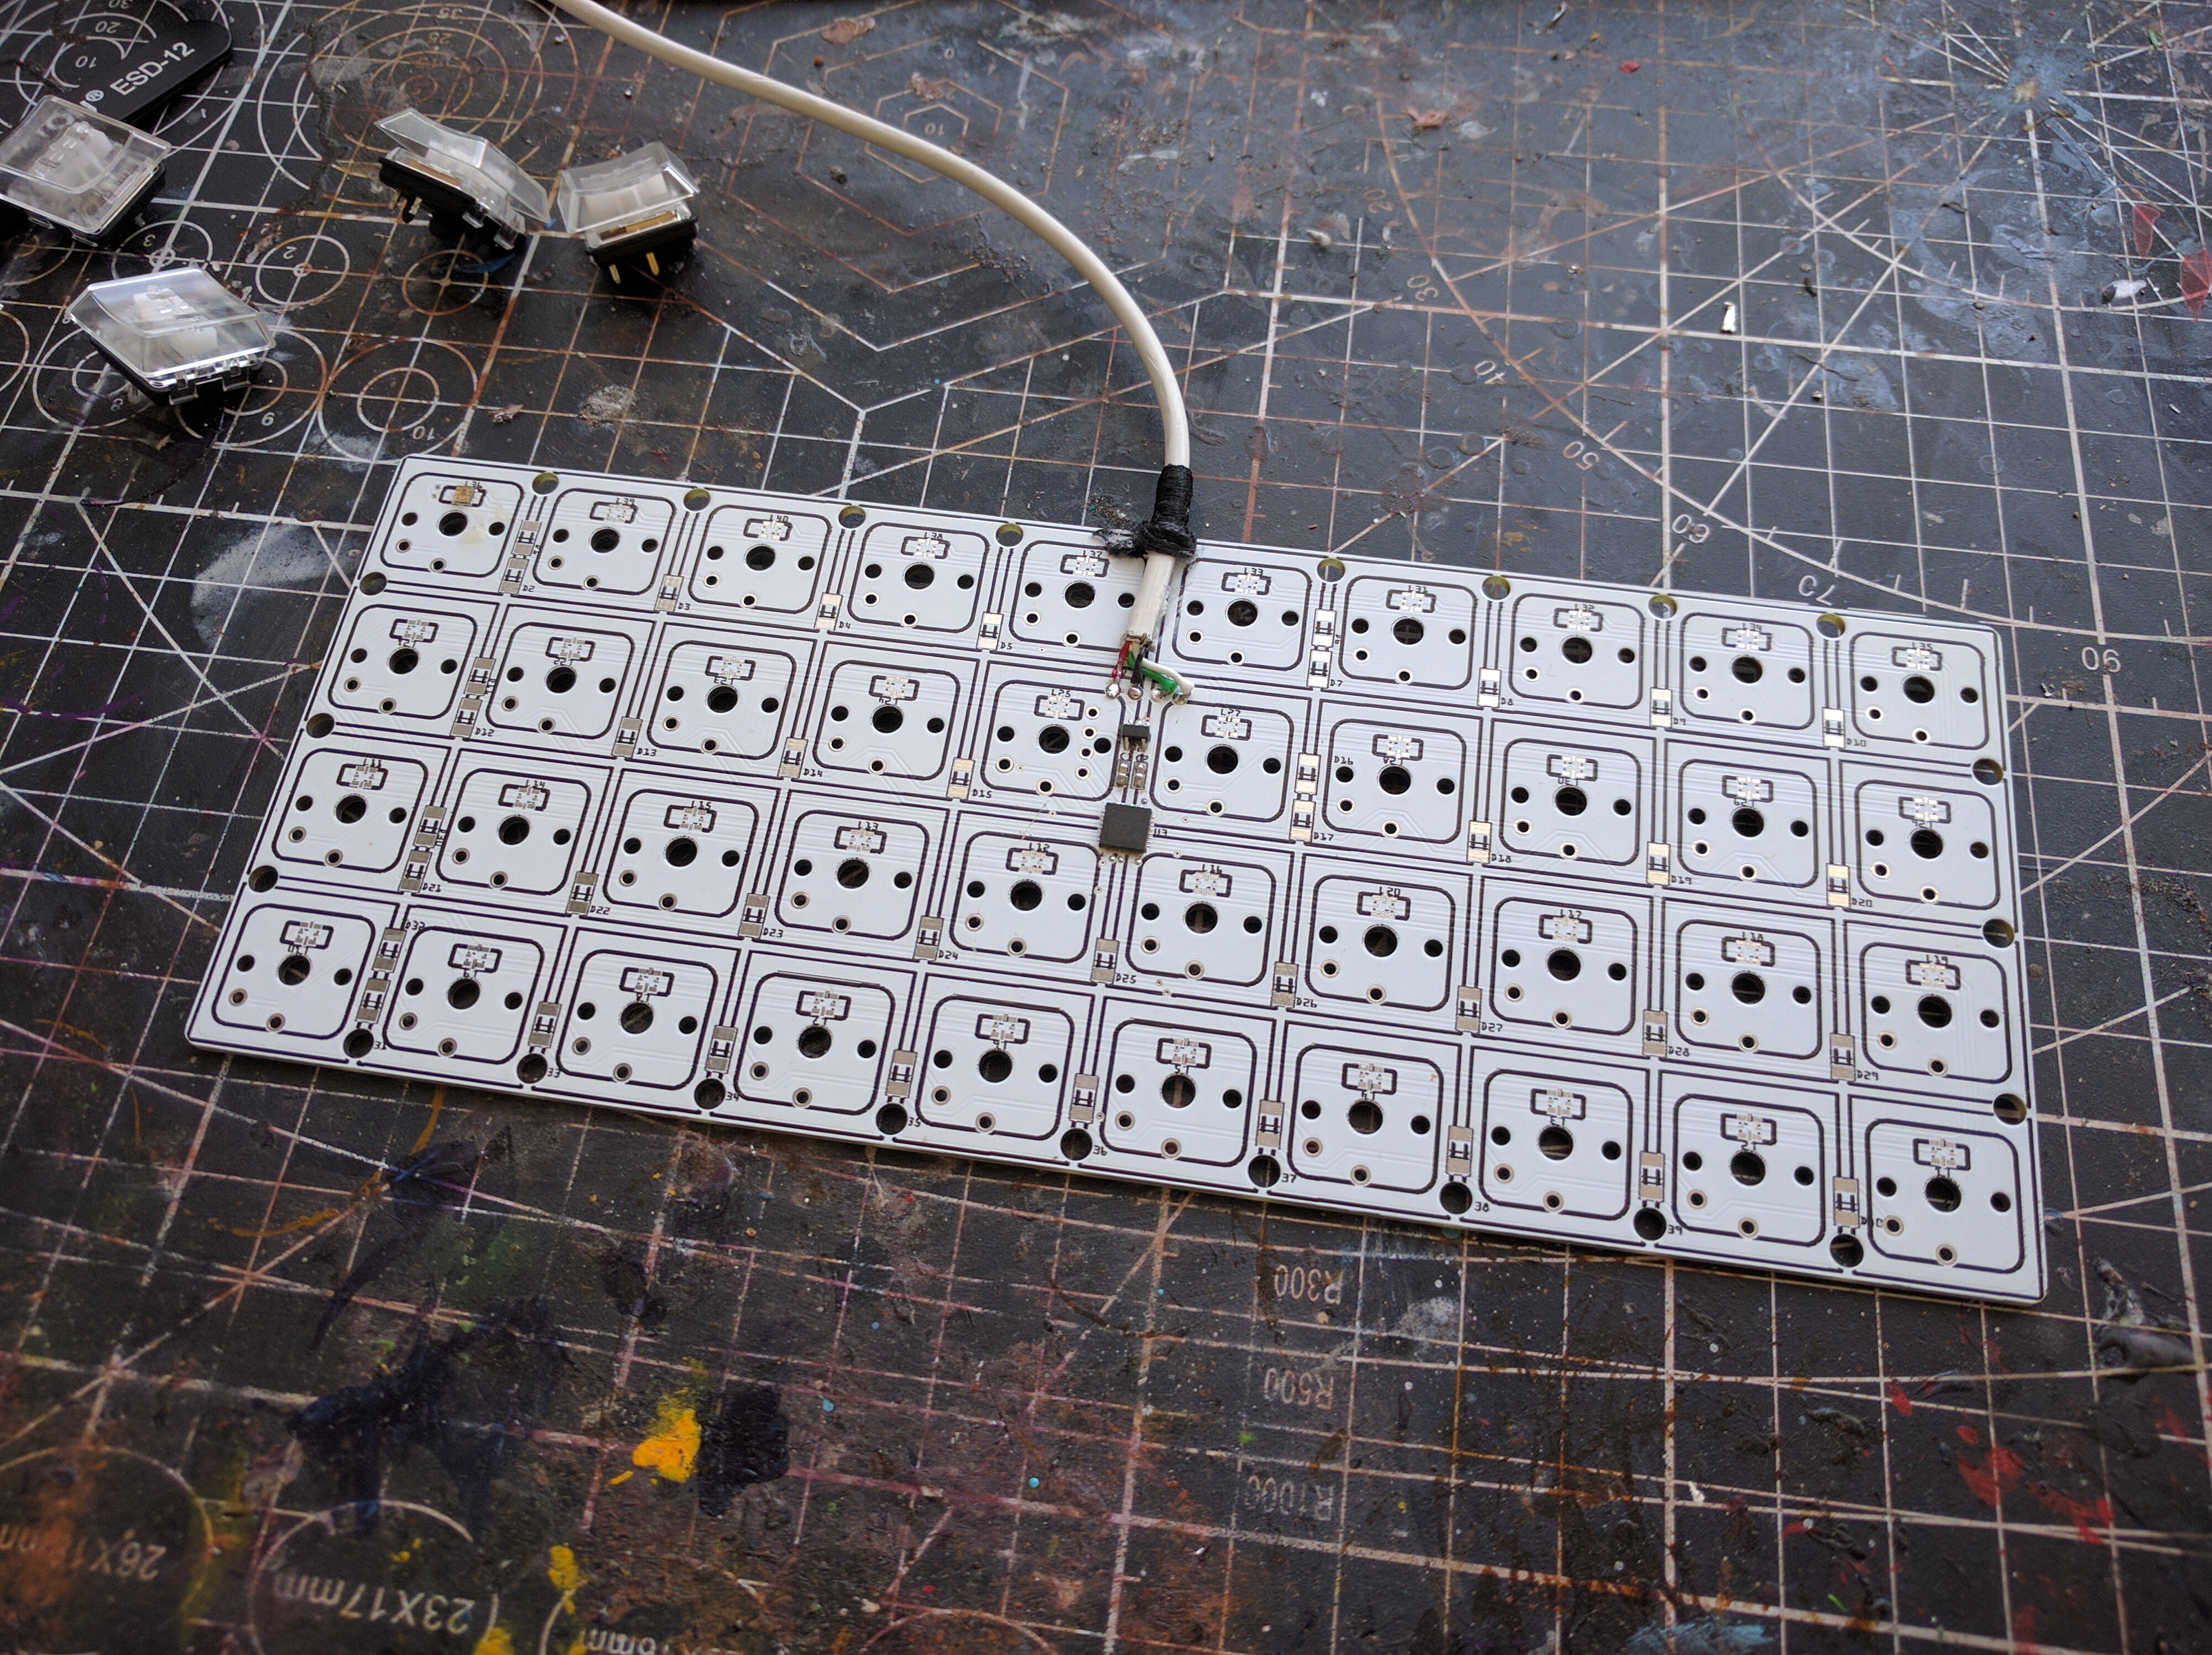
Then I came back to the smaller one, but with LEDs. Turns out that soldering by hand a string of 40 SMD APA102 LEDs is more work than I anticipated:

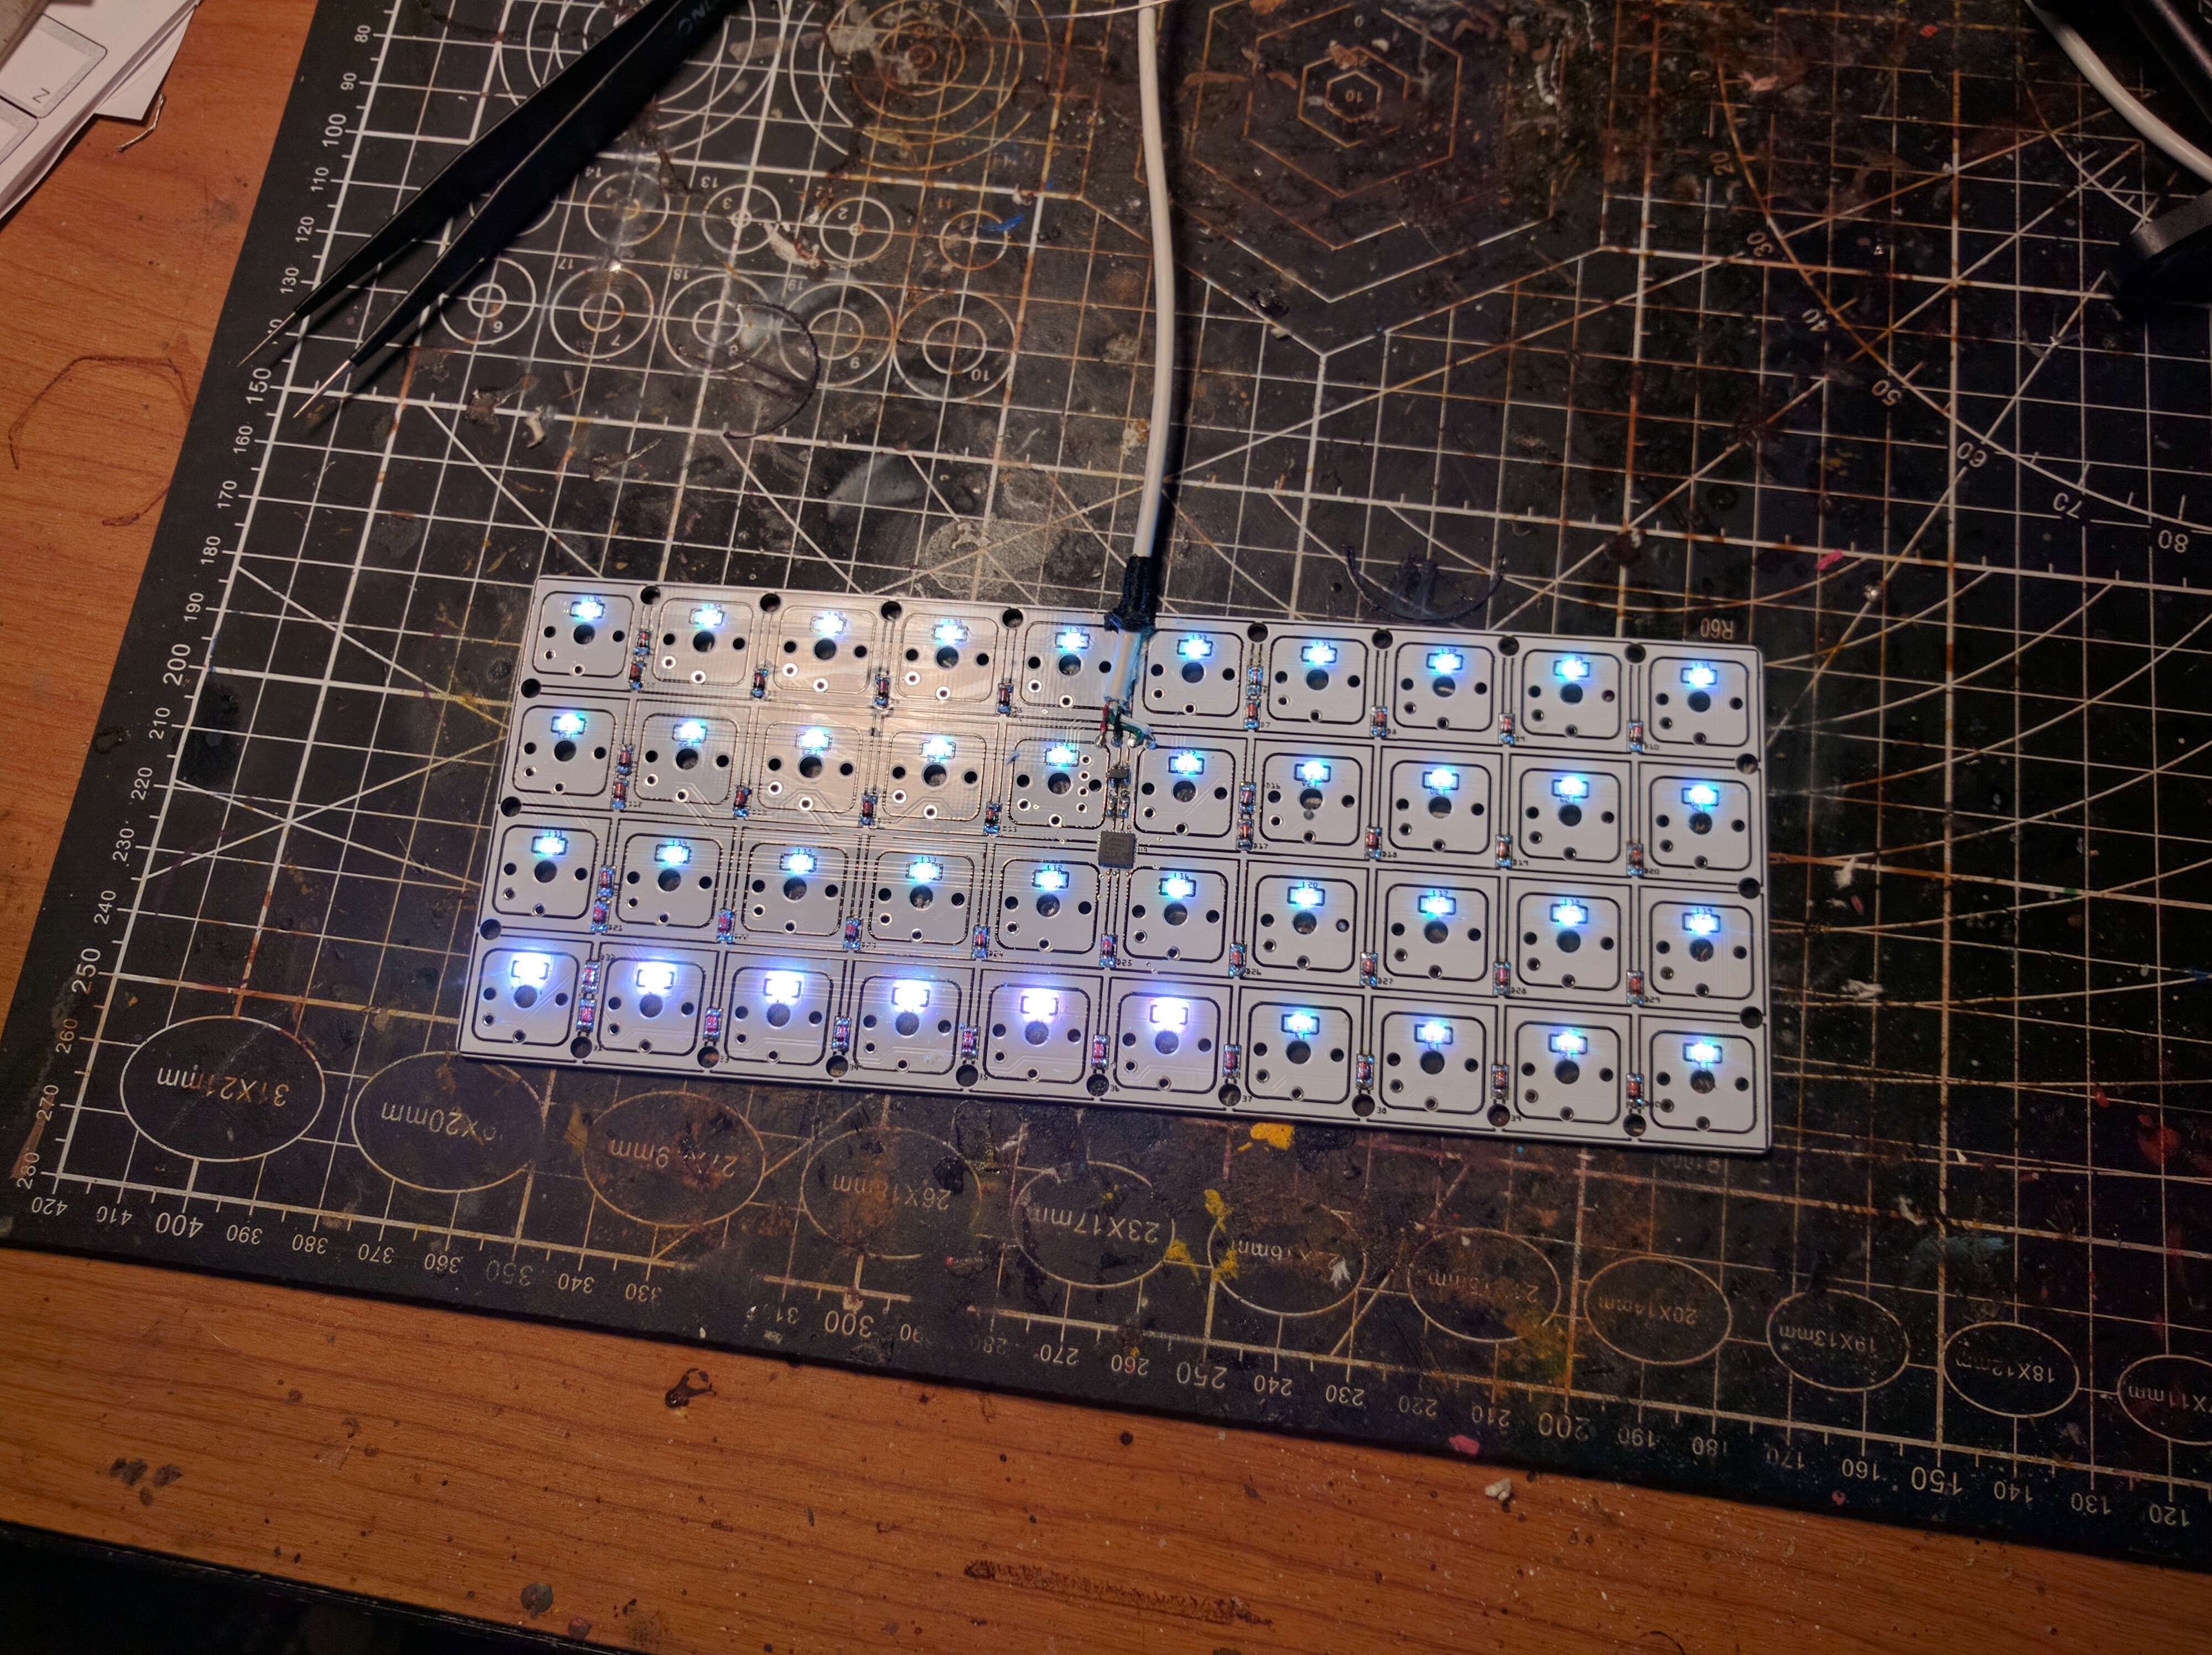
After several hours of looking for shorts, re-soldering, fixing bad joints and generally having a bad time, I finally got them all to light up:

And no, I have no idea why the last 6 of them are brighter. Probably a glitch in the matrix. You get it? Hahahaha. Anyways...
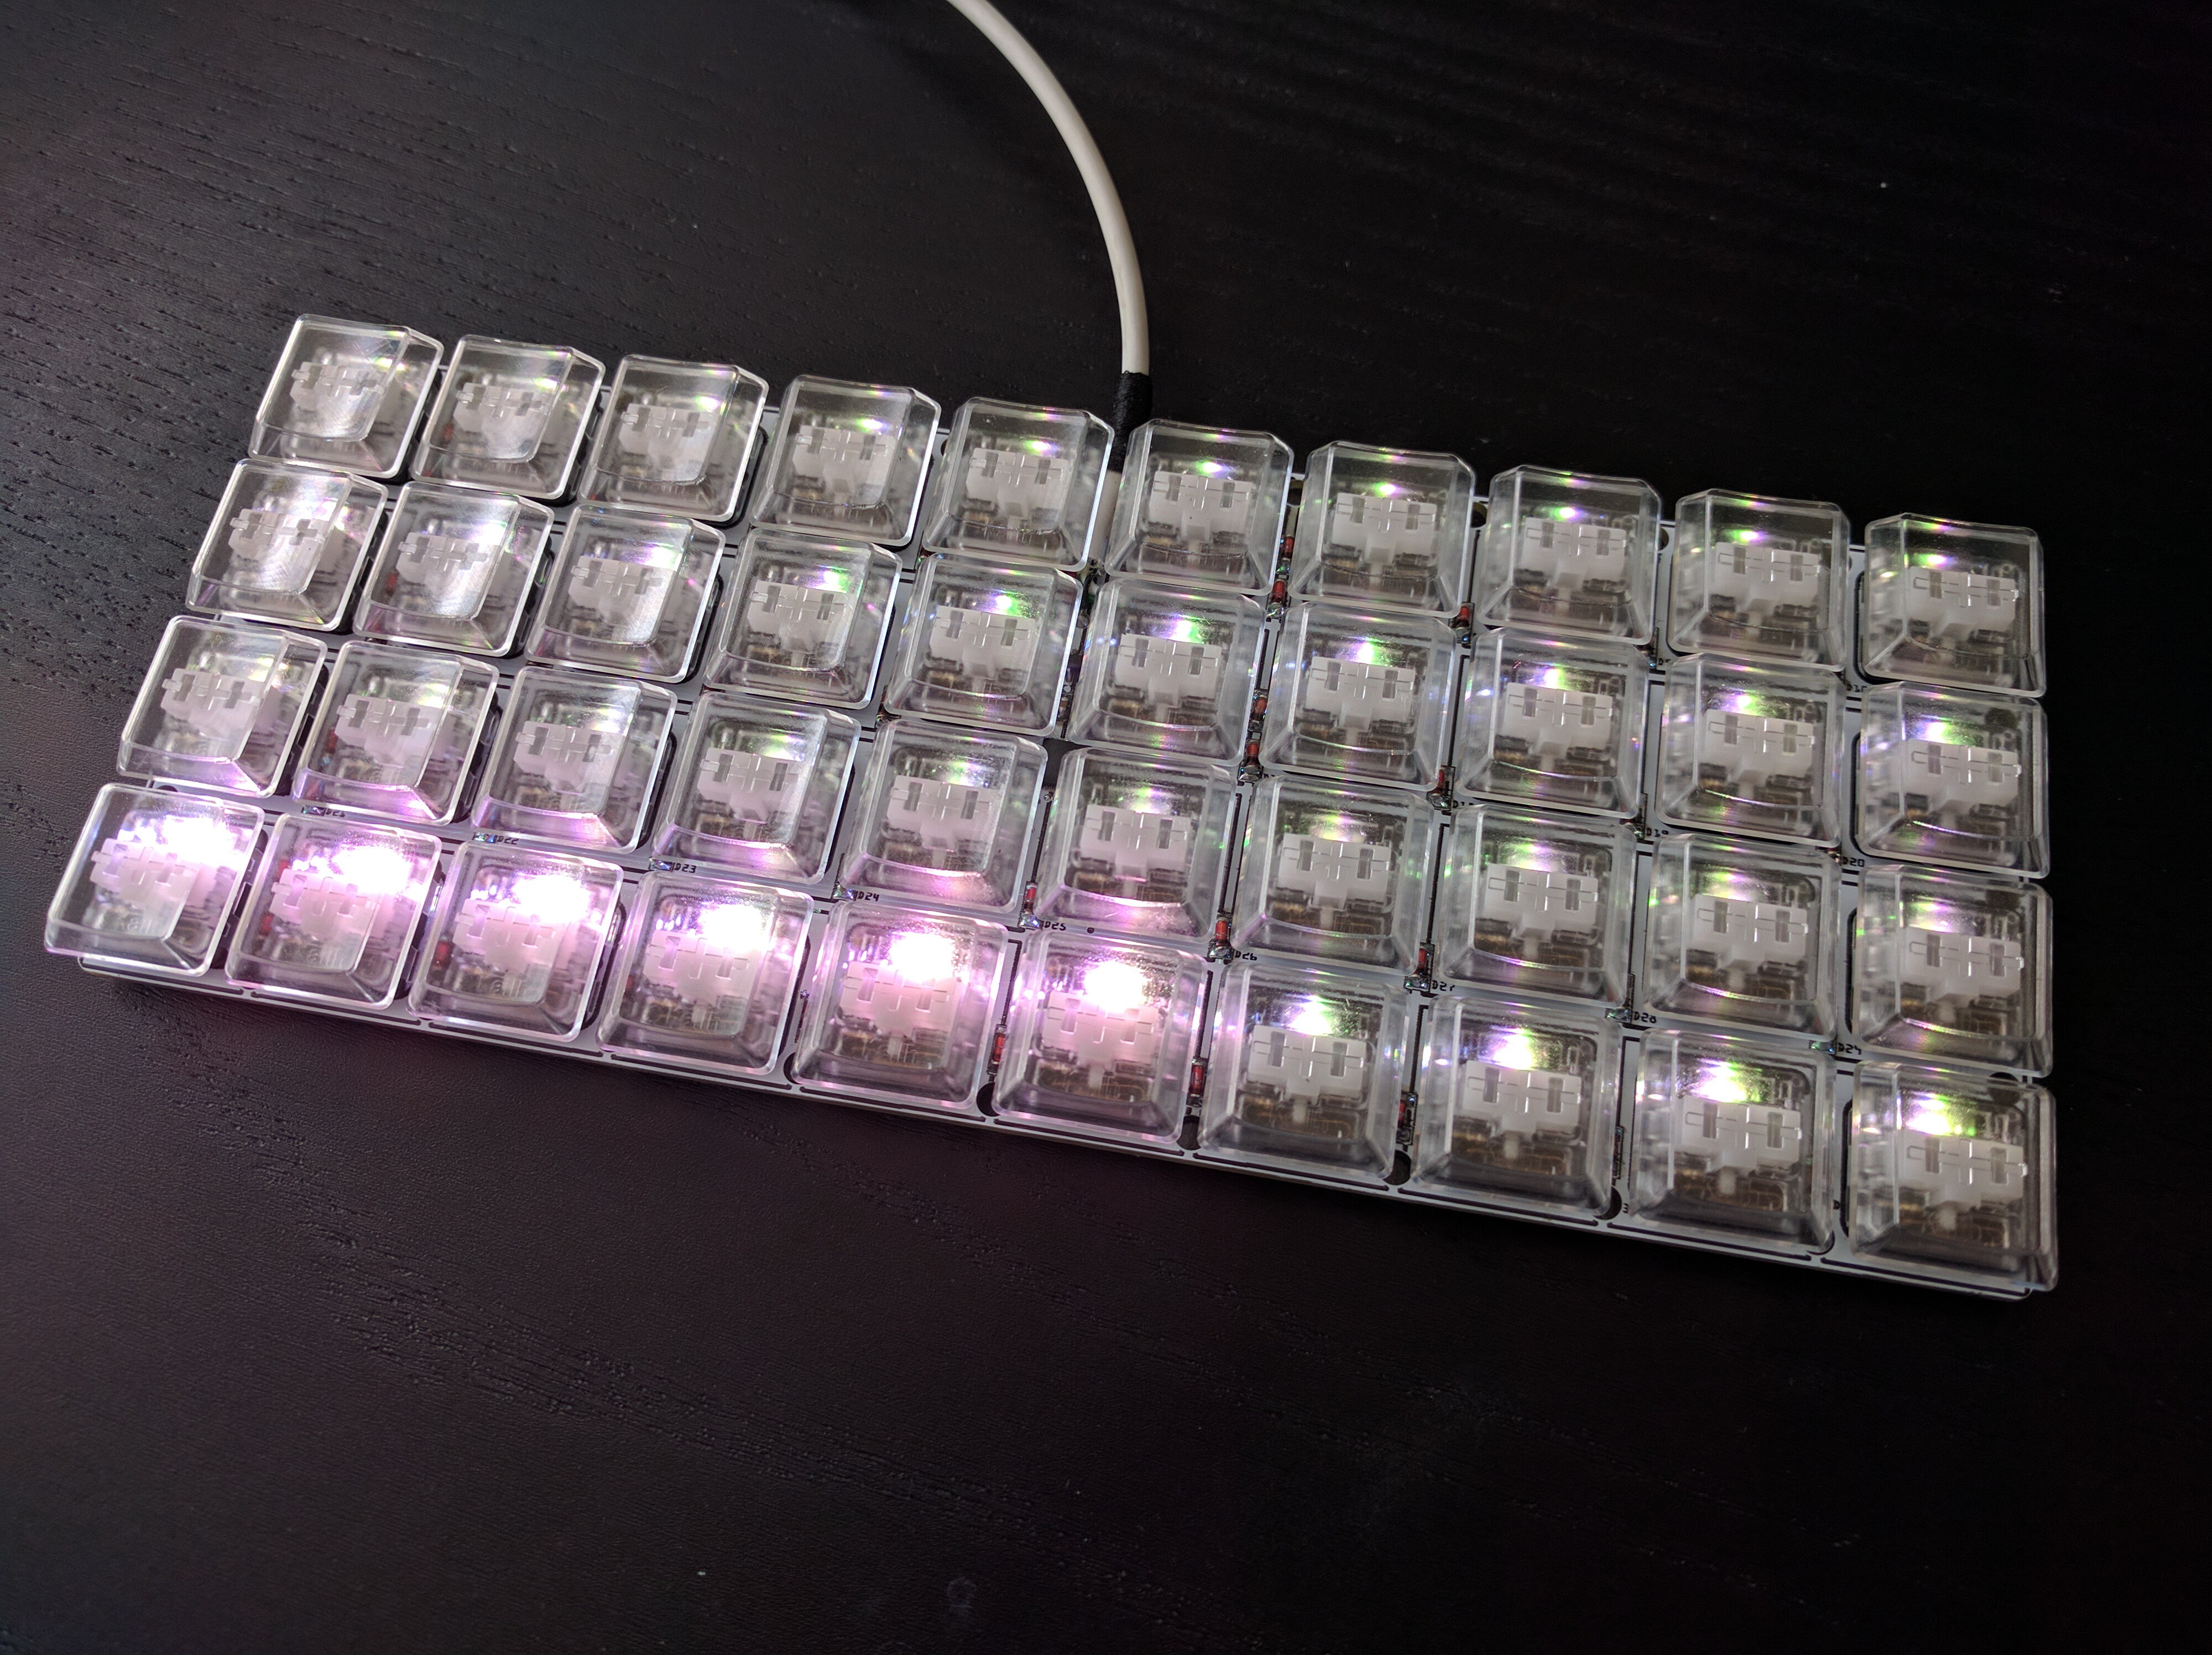
Adding the switches and some transparent key caps was just a formality:

Right now I left it with the keyboard code, but I'm thinking I could use it as a macro keyboard instead, with each key just sending a unique key combination when pressed. And of course with some fancy LED animations. But that's just all code.
I was considering putting those PCBs on Tindie as kits, with all the elements except switches and cable already soldered, but after debugging the LEDs, I think I will pass on that. I might do it with the bigger one without the LEDs, though. I wonder if there would be any interest in that?
 deʃhipu
Discussions
Become a Hackaday.io Member
Create an account to leave a comment. Already have an account? Log In.