 Gee Bartlett
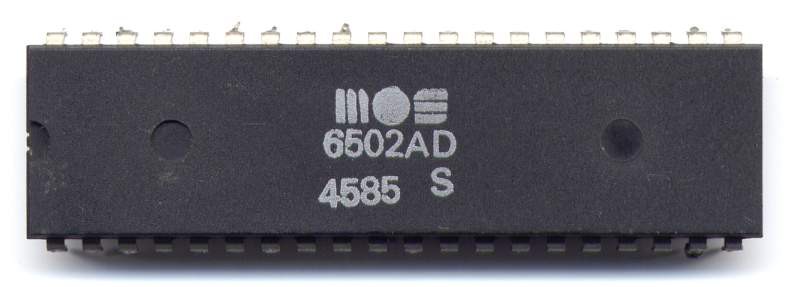
First thing was some initial investigation about whether implementing a 6502 emulator/interpreter has ever been done. I found two good sources of information were a blog post but JEELABS and a pure C interpreter written by Mike Chambers for a NES emulator which uses the 6502 processor.
The JEELABS project was amazing as he also had a version of Microsoft BASIC running as well as a low level kernel. The only thing that put me off of the project was the whole interpreter was contained within the same C file. The other point with the JEELABS code it was using the Arduino IDE which although I like and often used there isn't an easy way to trace and debug which I would really feel far more comfortable, and the Arduino IDE is pretty good at adding unnecessary code.
This is the point I took a deep dive in to the both sets of code to see how it is implemented.
the basic outline is first you call:
reset6502()
Which resets all the registers and sets the 6502 Program Counter to 0xFFFC which is the reset vector this is the memory location that the 6502 loads the address of the first instruction/Opcode.
Then you use a loop with either:
step6502()
This will perform an individual 6502 CPU cycle. Or:
exec6502(uint32_t tickcount)
This will perform multiple CPU cycles give by 'uint32_t tickcount'
The emulator performs one of two callbacks.
uint8_t read6502(uint16_t address)
Can be used inside your main.c and expects a value to be returned so if you returned nop values the system would endlessly nop.
void write6502(uint16_t address, uint8_t value)
Can be used inside your main.c to store data as if it was a memory location or peripheral device.
At this point it was time to think about what I was going run this all on. JEELABS had used an STM32F103 (bluepill) which was bigger and more powerful than i as going to need for this.
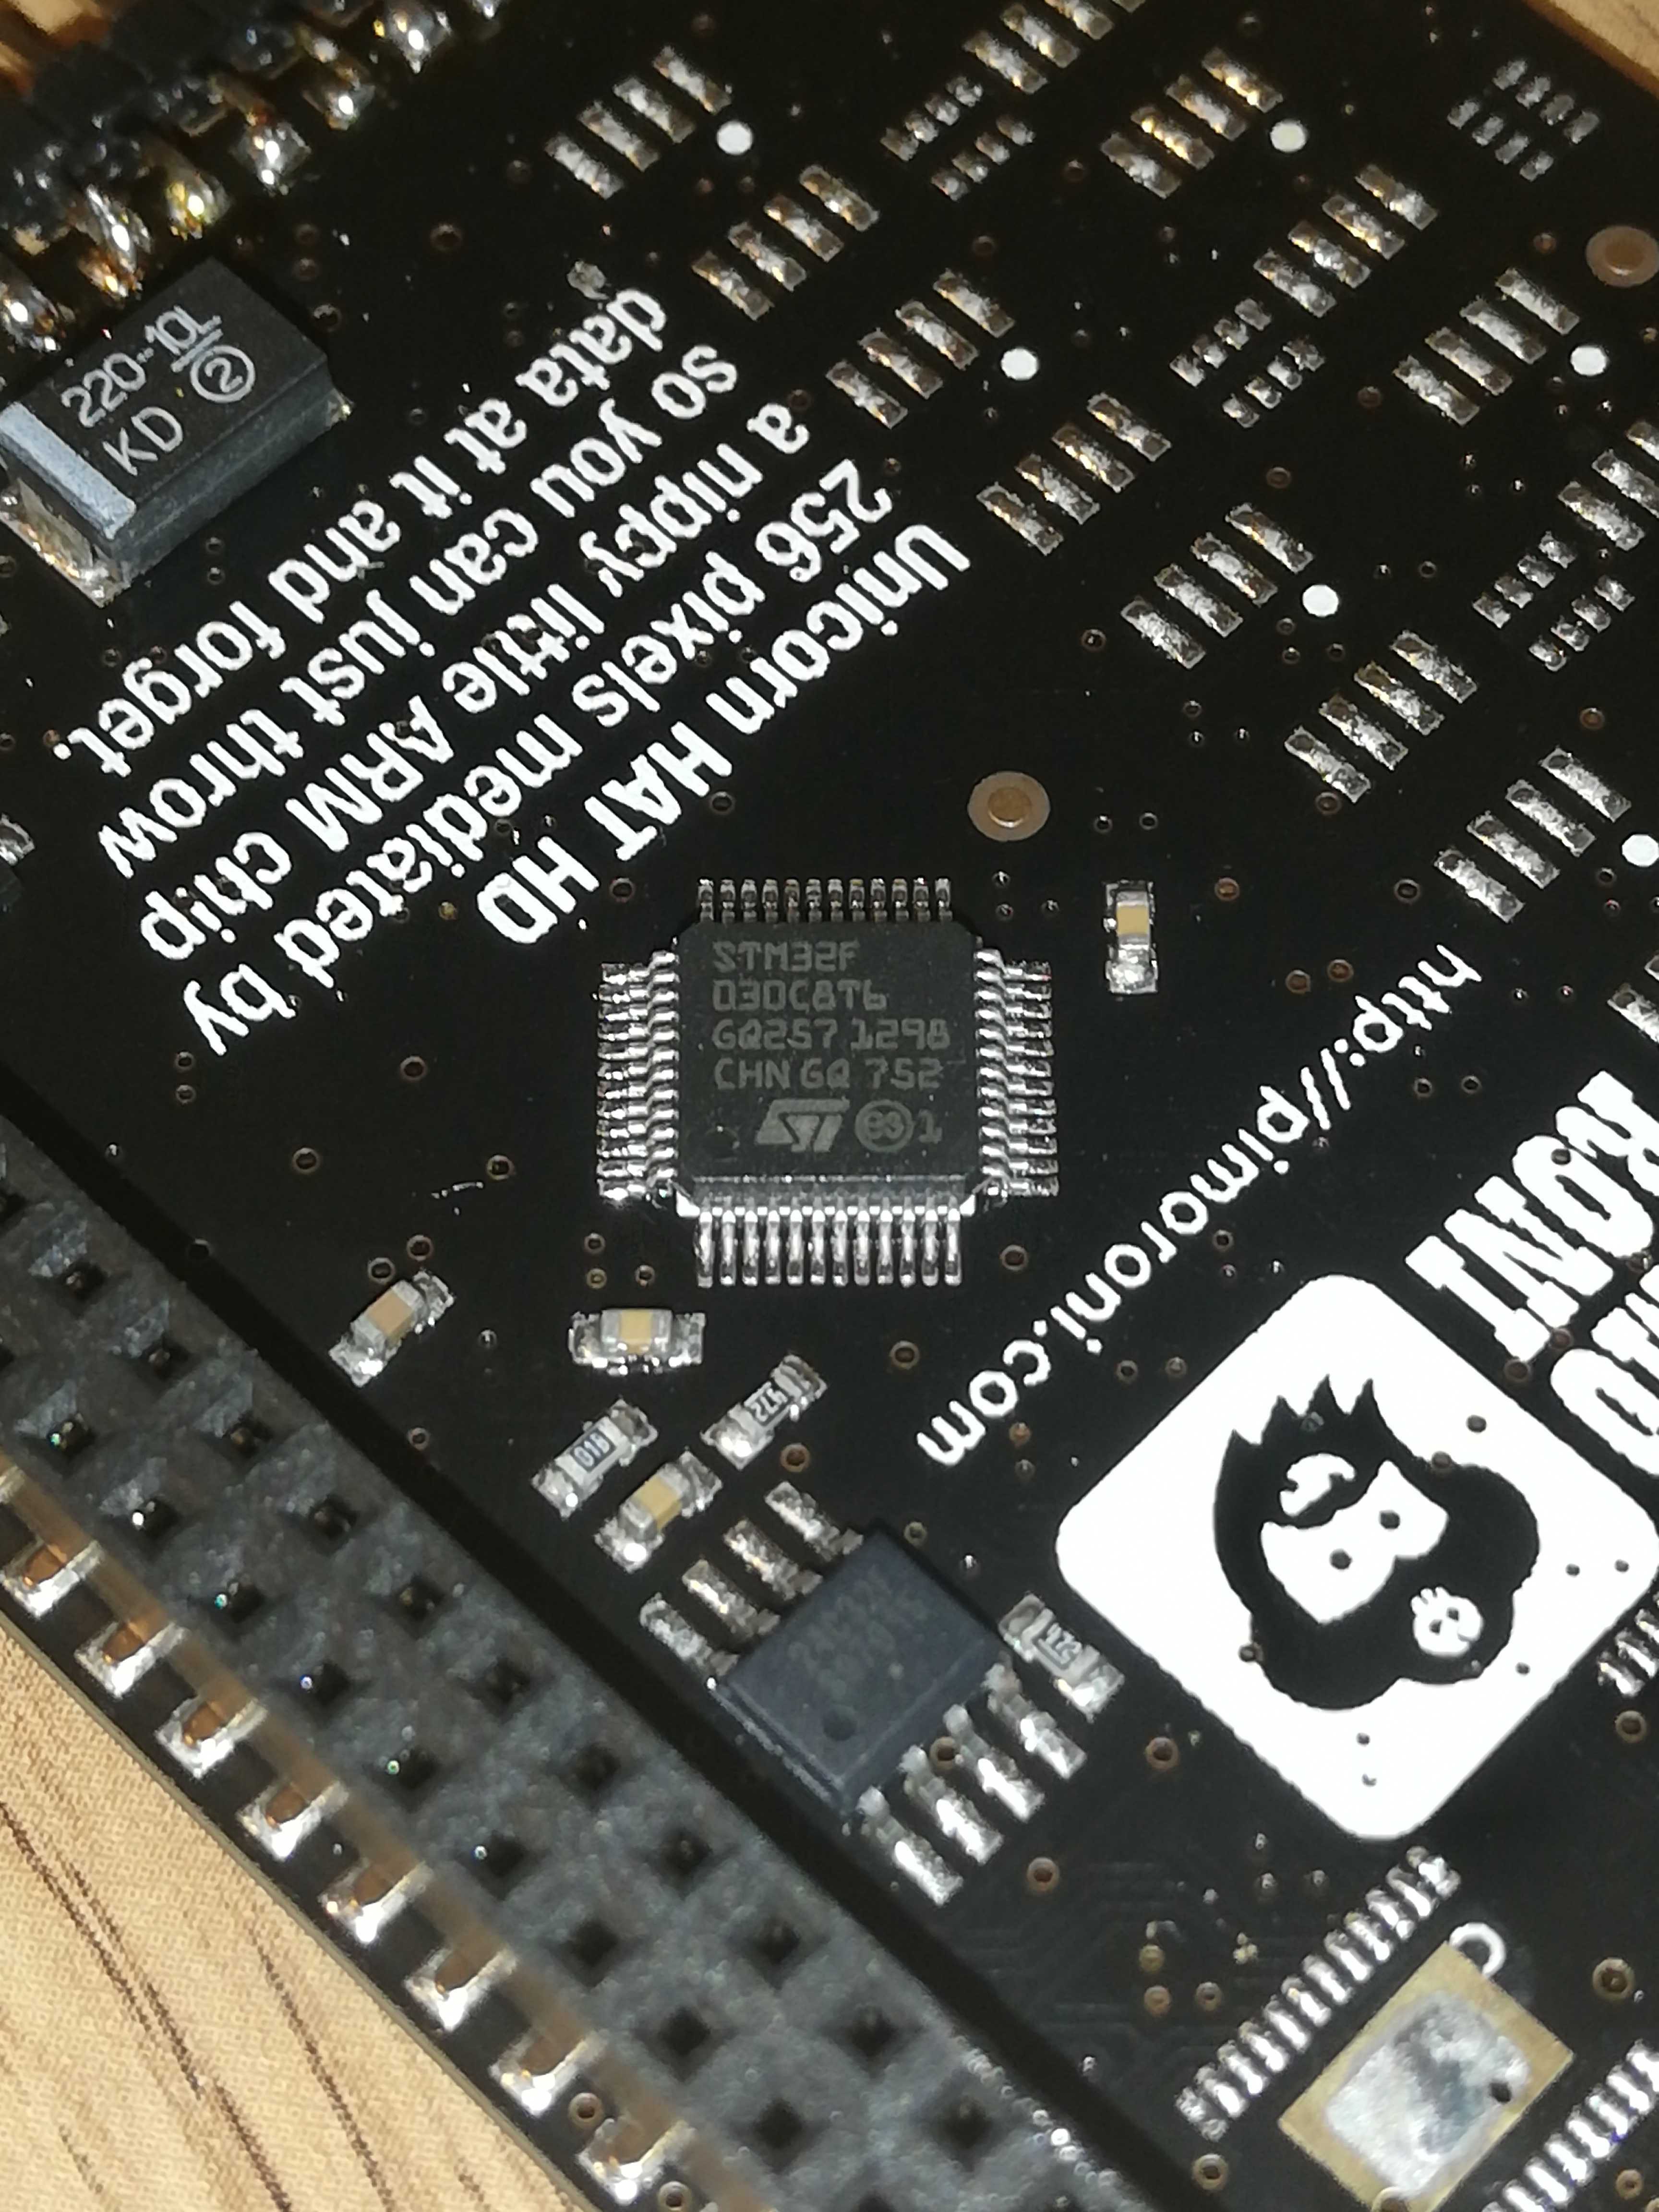
I first picked an STM32F030C8 for my platform, but as i'll explain in another post failed for a bit.
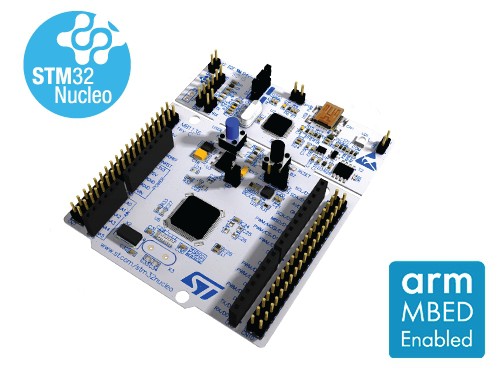
So just because I had it lying around I decided to use a STM32F401RB which I just happened to have laying around as a Nucleo-64 development board.
Will update more at a later point.....
Discussions
Become a Hackaday.io Member
Create an account to leave a comment. Already have an account? Log In.