 David Tucker
So previously I came up (well dug up) a mathematical relationship between speed and power. And I wrote a simple program to test this out by varying both while cutting. That test was lacking in many ways so I decided to improve things.
For one I was using pine to test with, and the rings in the wood were influencing the results, so I dug around my local hobby shop and found a piece of 12 mm thick basswood to test with. I was also cutting each segment as an independent step, turning the laser on and off between steps, that resulted in slightly deeper cuts at the start and end of each segment. Finally I was not properly leading in and out of the cut so the cut speed changed at the ends of the cut.
My new program uses much smaller segments (0.5mm) and much more smoothly adjusts each parameter over the range.
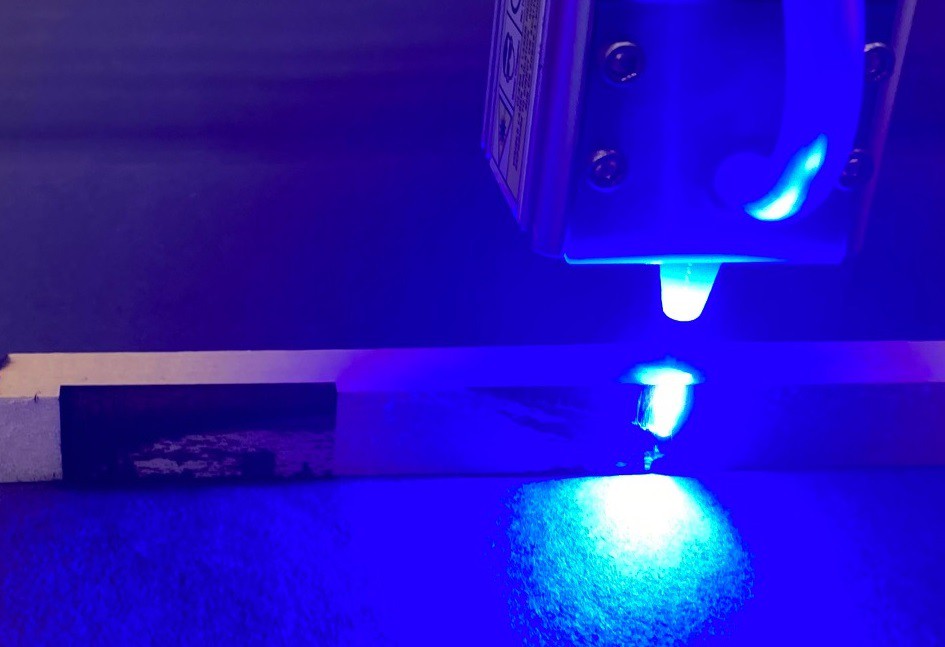
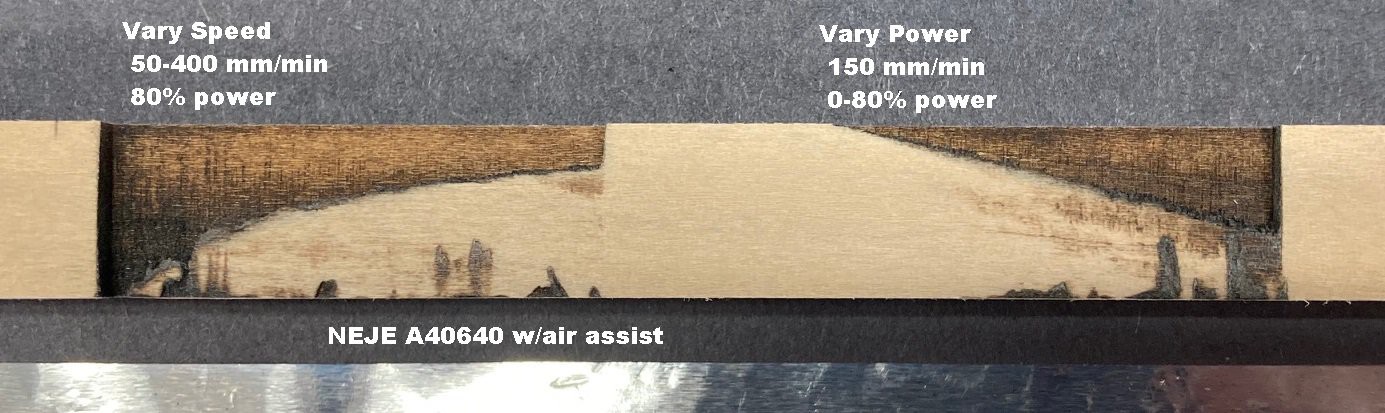
In the above image, on the left, I'm varying speed from 50-400 mm/min at 80% power with a 0.2 mm stepover between passes and focused at 22 mm below the frame with my NEJE A40640 module with air assist. You can just see that 12 mm of wood is not enough material for the slowest speeds, I probably need a piece at least 16 mm deep to fully capture everything. The cut is very clean down to about 6 mm and then it tends to get a bit scorched. 6mm is probably a reasonable working depth for this laser for day to day use, although it does have the ability to cut very deep! Notice the logarithmic (1/x) shape to the curve as we speed up the movement. We quickly loose depth at first but then the loss trails off dramatically.
On the right I varied the power from 0-80% at 150 mm/min. You can see that this is exceptionally linear now that I have my code sorted out properly. Also there is a lot less damage to the material than when running at 50 mm/min, I suspect 150-200 mm/min is a good lower bounds on speed if you want to save the material from damage.
I tried to set both of these up to minimize the chance of cutting over the same spot twice by using a 0.2 mm stepover. I probably could have pushed it a bit further but this seems to have worked much better than when using a 0.05 or 0.1 mm stepover. And the basswood is much more uniform while not being so soft that it burns excessively.
I am amazed at how narrow the kerf (waist) is on this laser, compared to my other laser there is very little variance when raising the power or lowering the speed. I did not document it, but I ran these same tests with my other laser and the results were a lot messier.
I wrote another test to vary the height while holding the speed and power constant. However that test turned out to be a dud. I struggled to get that test to produce consistent results. I think part of the problem is that my air source is moving with the laser head. It would work much better if I could cut into clear acrylic, something to try for sure if I ever get my hands on a CO2 laser.
---
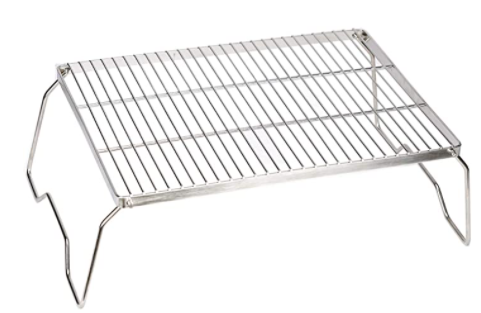
I have also been digging around some more trying to come up with a better laser bed that is strong enough not to flex too much, that is flat, and that provides plenty of ventilation and support. One idea I found is a folding camp grill for a fire pit. It is similar to a cooling rack but it has a frame built in and is made from thicker wires so it has less flex. Unfortunately being for backpacking these tend to run a bit small so I can't get one large enough to cover the full range of my laser.
You can also get replacement racks for a bbq grill. The bars are much thicker and spaced at around 1" apart. That may be too much for holding paper, it is something to consider at least.

These are all chrome plated and lasers don't really like highly reflective surfaces. You could paint them black, that would help, but you can also get ones made out of cast iron or that are enameled black as well.
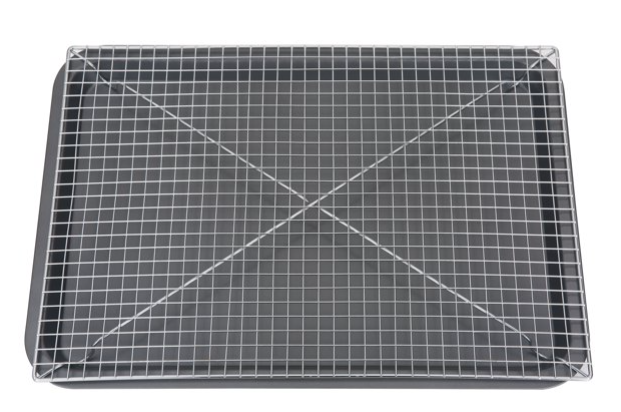
Finally Walmart sells this jerky pan set for $10 that is similar to a baking pan and cooling rack but the rack sits on top of the edge of the pan giving a more continuous surface, plus it is dirt cheap. This is unlikely to be as flat or strong as the grill racks but it is significantly cheaper and you don't have to come up with a sub surface to put it all onto.
On the sub surface side, my local hardware store sells slate tiles that are matt black and 12"x24" for $4 or so. These are probably as good as using aluminum or galvanized steel plate as a base and it cost less as well. It is a shame that sheet steel is so expensive, my big box store sells it for $30-$60 a sheet.
Anyway I may dig up an excuse to go to Walmart and pick up the jerky rack, it is not perfect but it is close enough and the price is good enough for experimentation. I would probably 3D print spacers to help tie it all together and keep it level, attaching the whole thing to a wooden base that is flat and that clips into my spoiler board.
Discussions
Become a Hackaday.io Member
Create an account to leave a comment. Already have an account? Log In.