 David Tucker
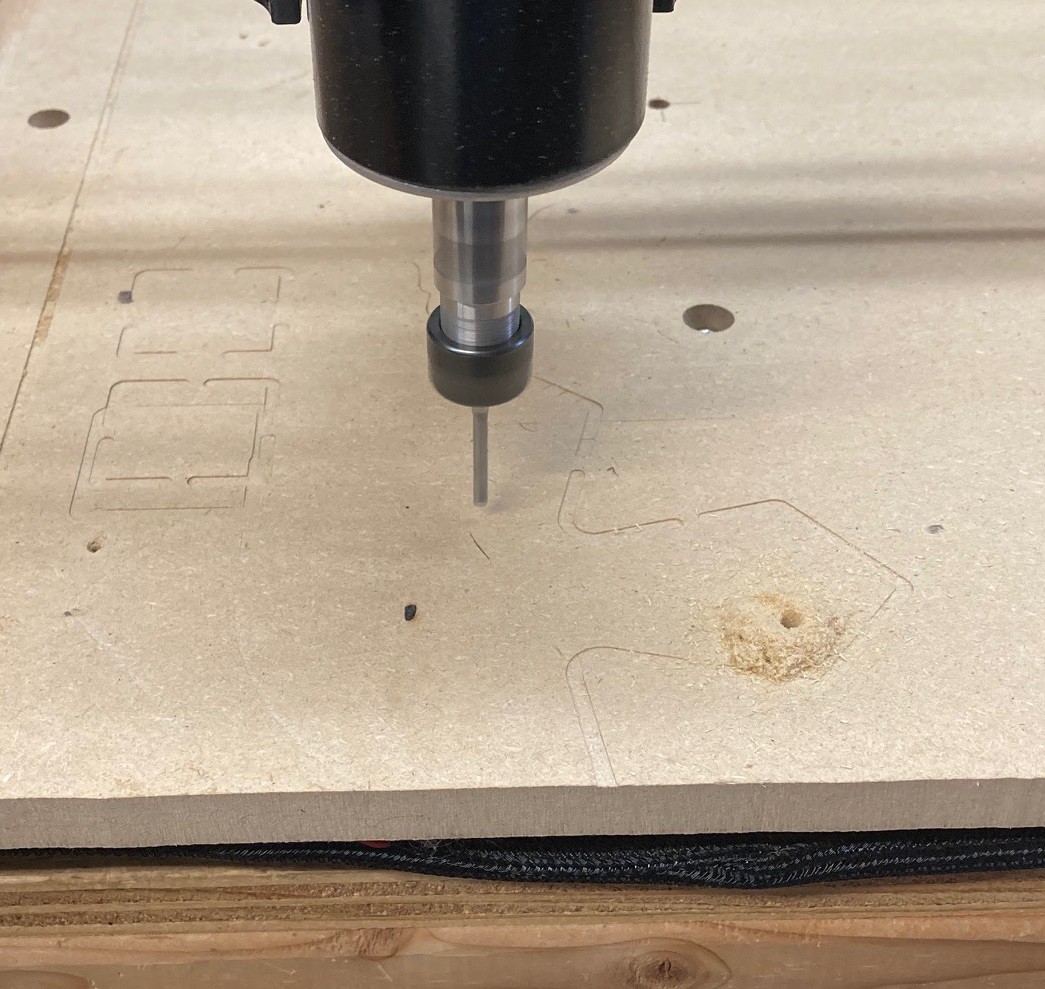
I'm getting closer on my rotary axis. I finally found the time to sit down and make all of my cuts. First I added in holes in my baseboard between the existing holes I cut to hold down my spoiler board. This works but it is one of those areas where I messed up early and now I have to live with it. Initially I spaced the holes to match the spoiler board so there spacing is not symmetric or convenient. If I make a new version of the machine I will be sure to make a more uniform grid of tiedown points.

I then cut the same holes in the spoiler board to act as passthroughs. This is a perfect example of how an upcut bit works, it pulls all the sawdust up out of the cut almost like an ant hill.
Finally I tried out the CA glue and painters tape trick to put corresponding holes in my fence so it can be held down better. The CA glue trick worked much better than I would have thought. It holds things down with just enough force to get the job done but does not hold so tight that pulling the part up is a pain.
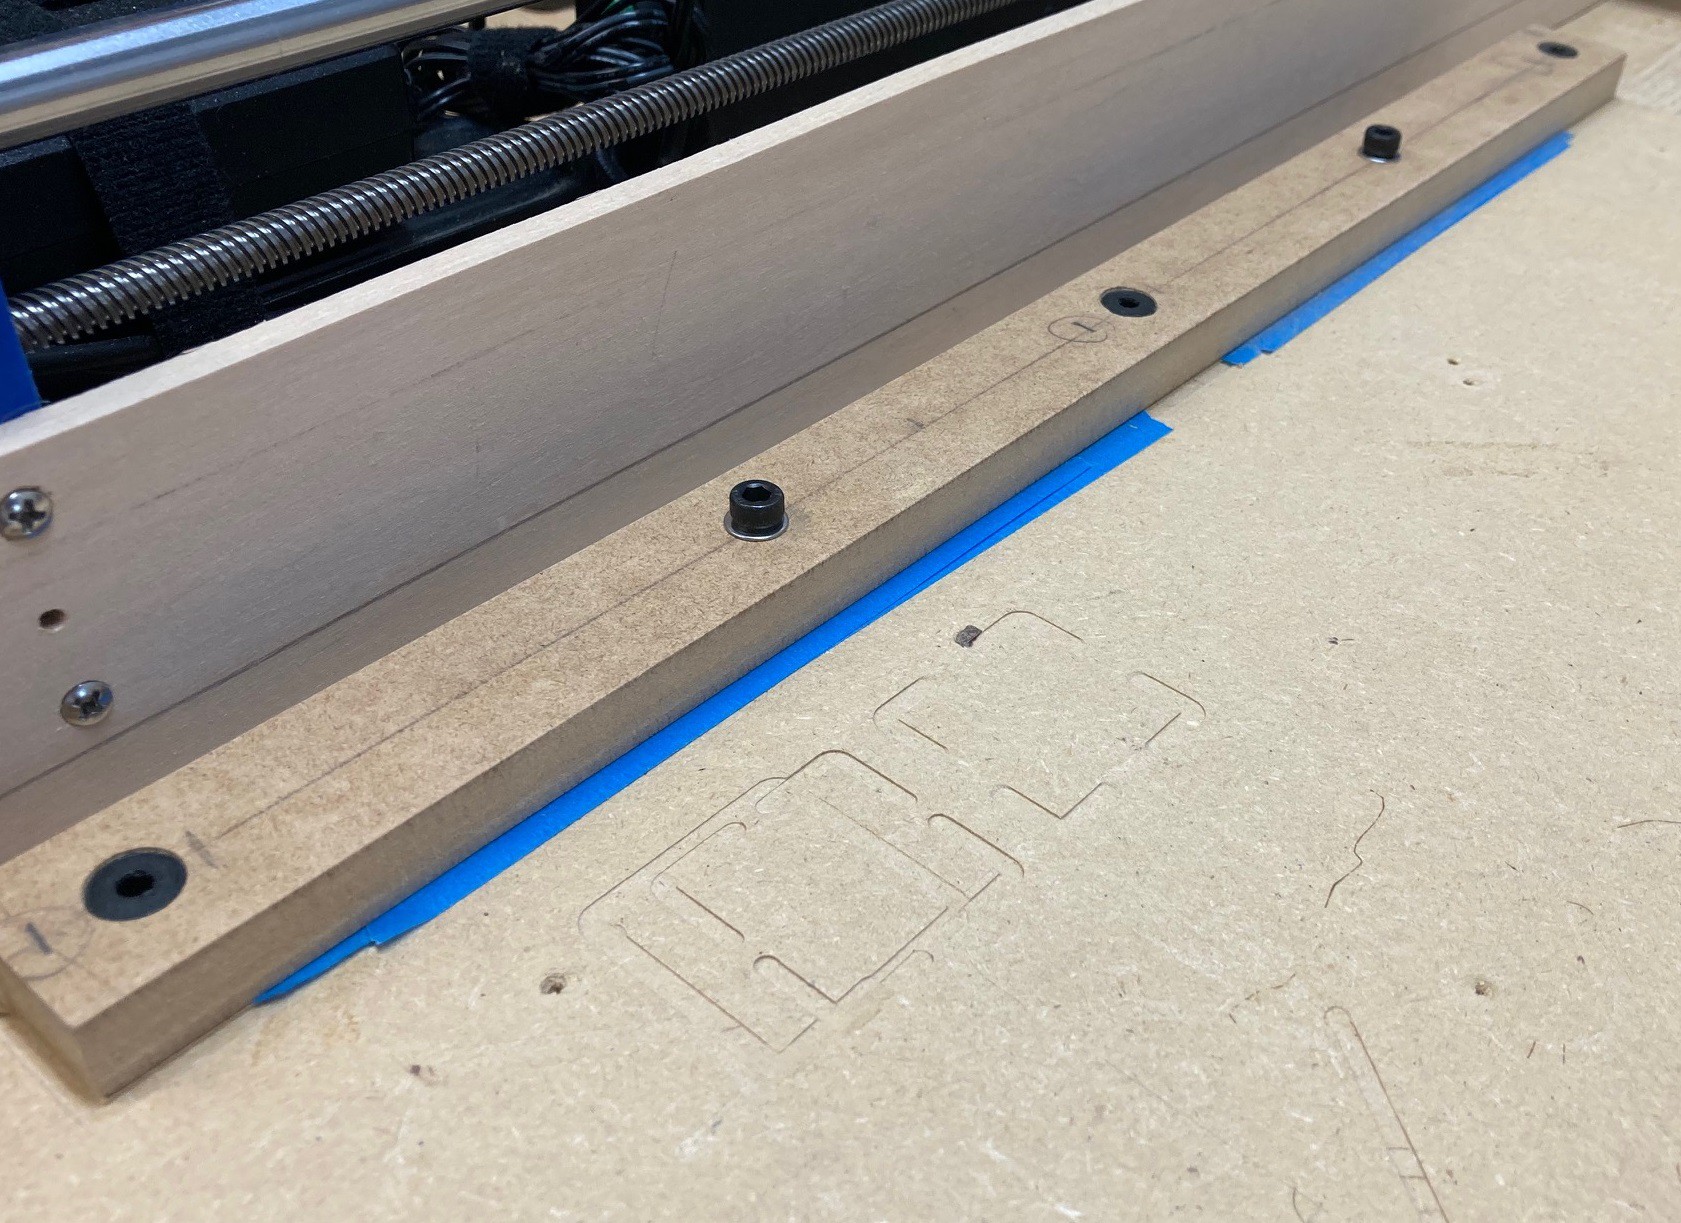
Again if I had to do this over again I would change things around. I would use 2 reference pins to hold it in place and put the hold down screws at the edges. I would also try to use more holes so that it would be easy to add in a corner bracket that does not take up a lot of room. And finally I would experiment with using beveled heads that can be countersunk to better hold this in registration, right now I can move the fence a mm or so before tightening it up. This is not a huge deal, but it would be nice if the fence was more accurate.
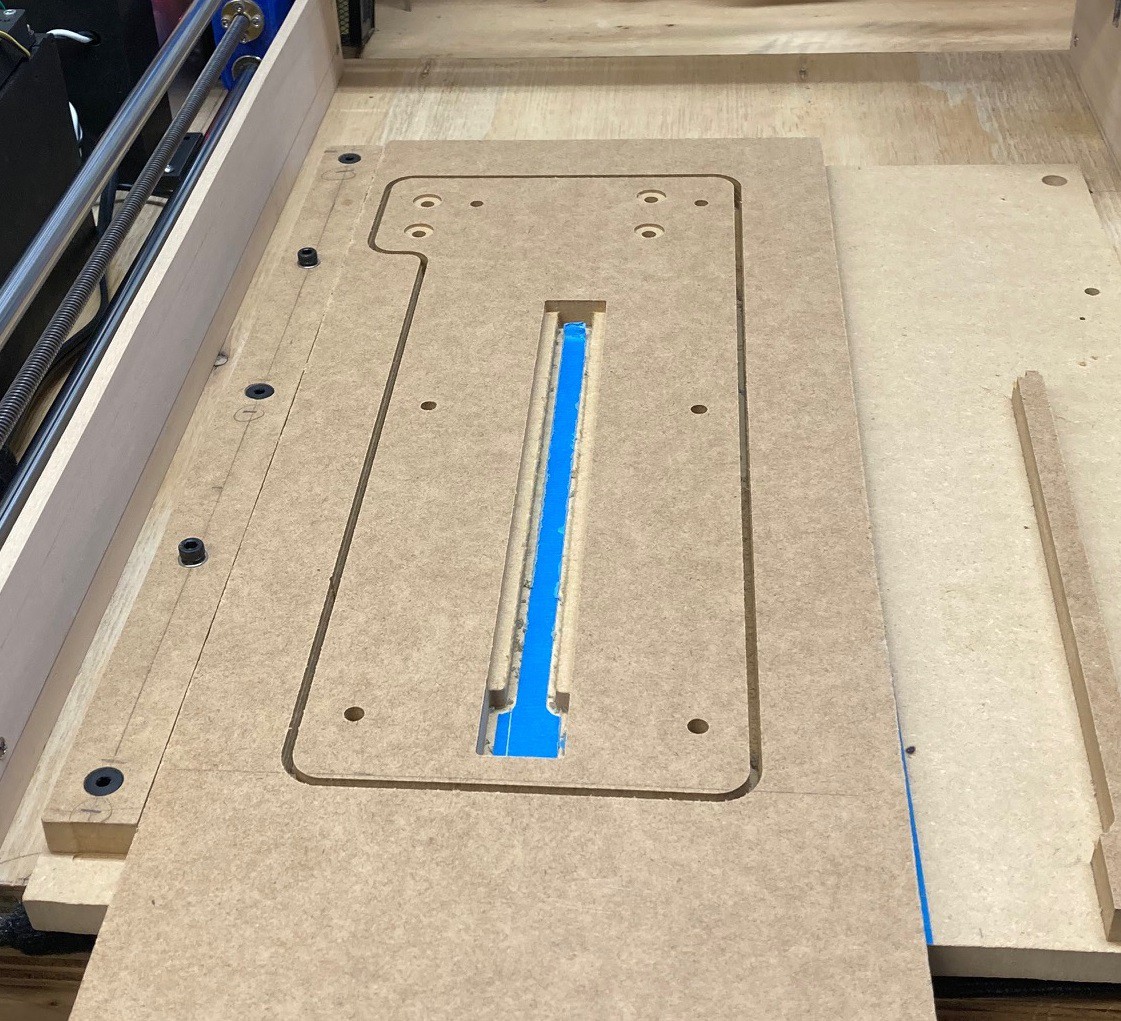
Finally time for the big cut. Again I used the CA glue trick. It worked well but it only took a tiny bit of force to remove the center cut. I was trying to minimize how much CA glue I used and I don't know that any of it ended up under this cut.
It just took a tiny bit of sanding and now it is all ready to be assembled. I really like the precision of the CNC, it is so much better than trying to cut things out by hand.
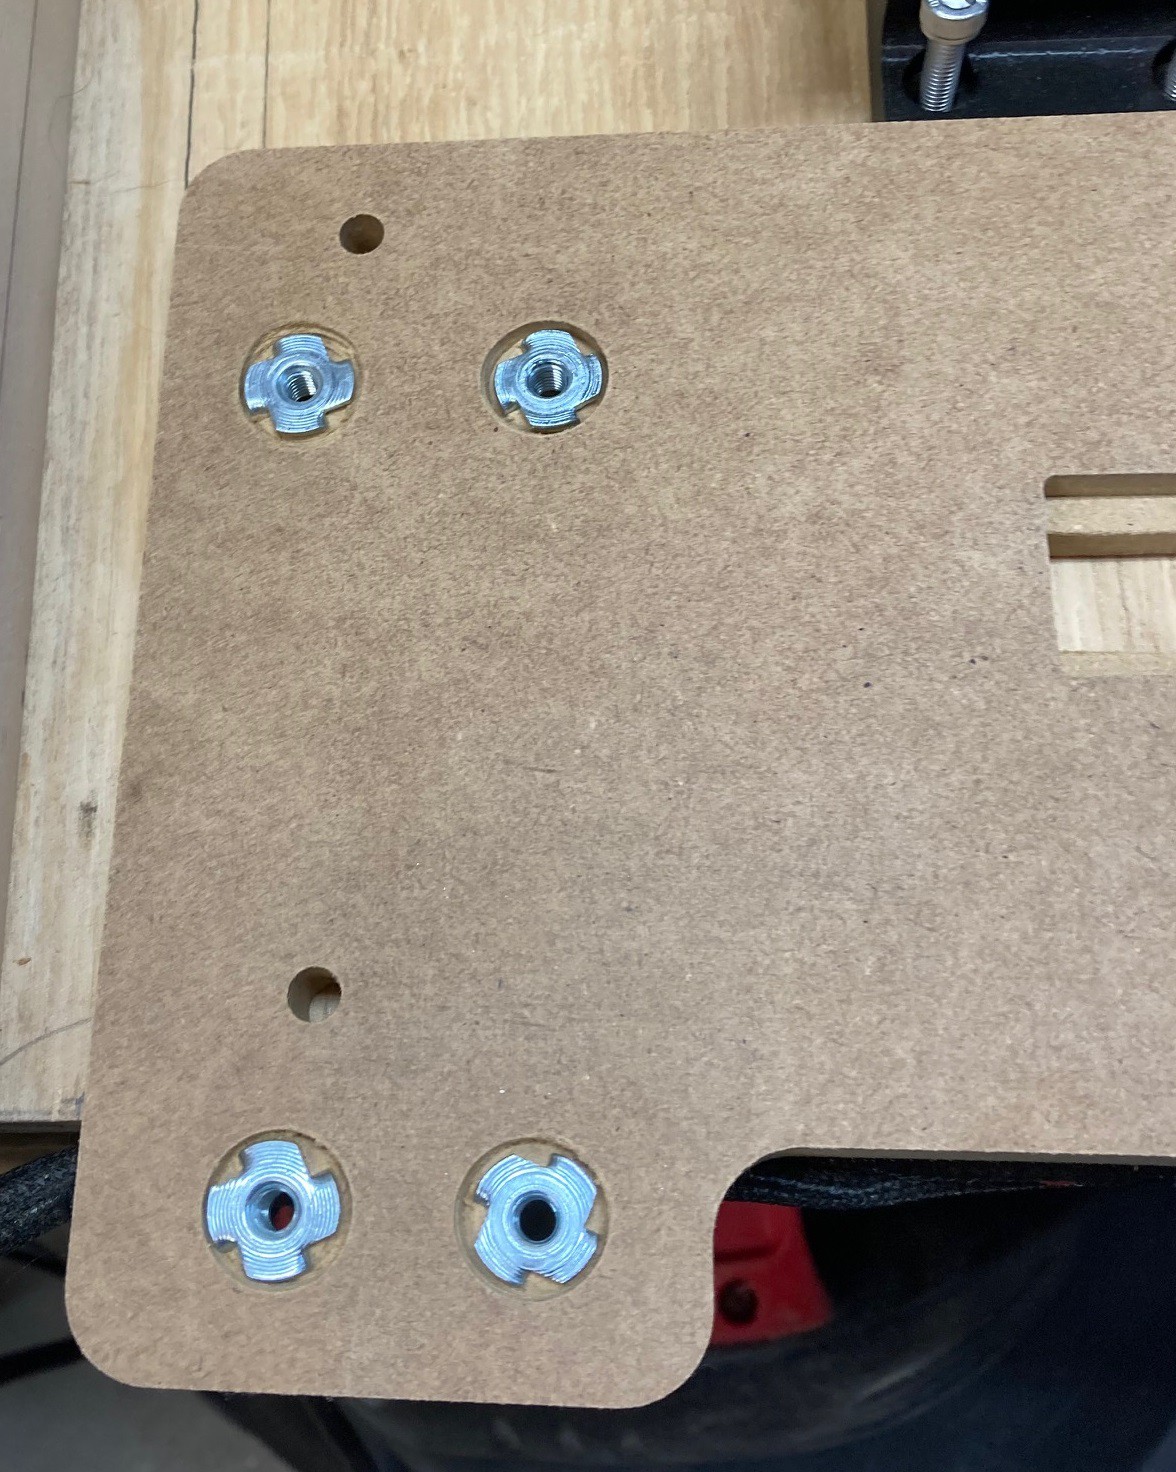
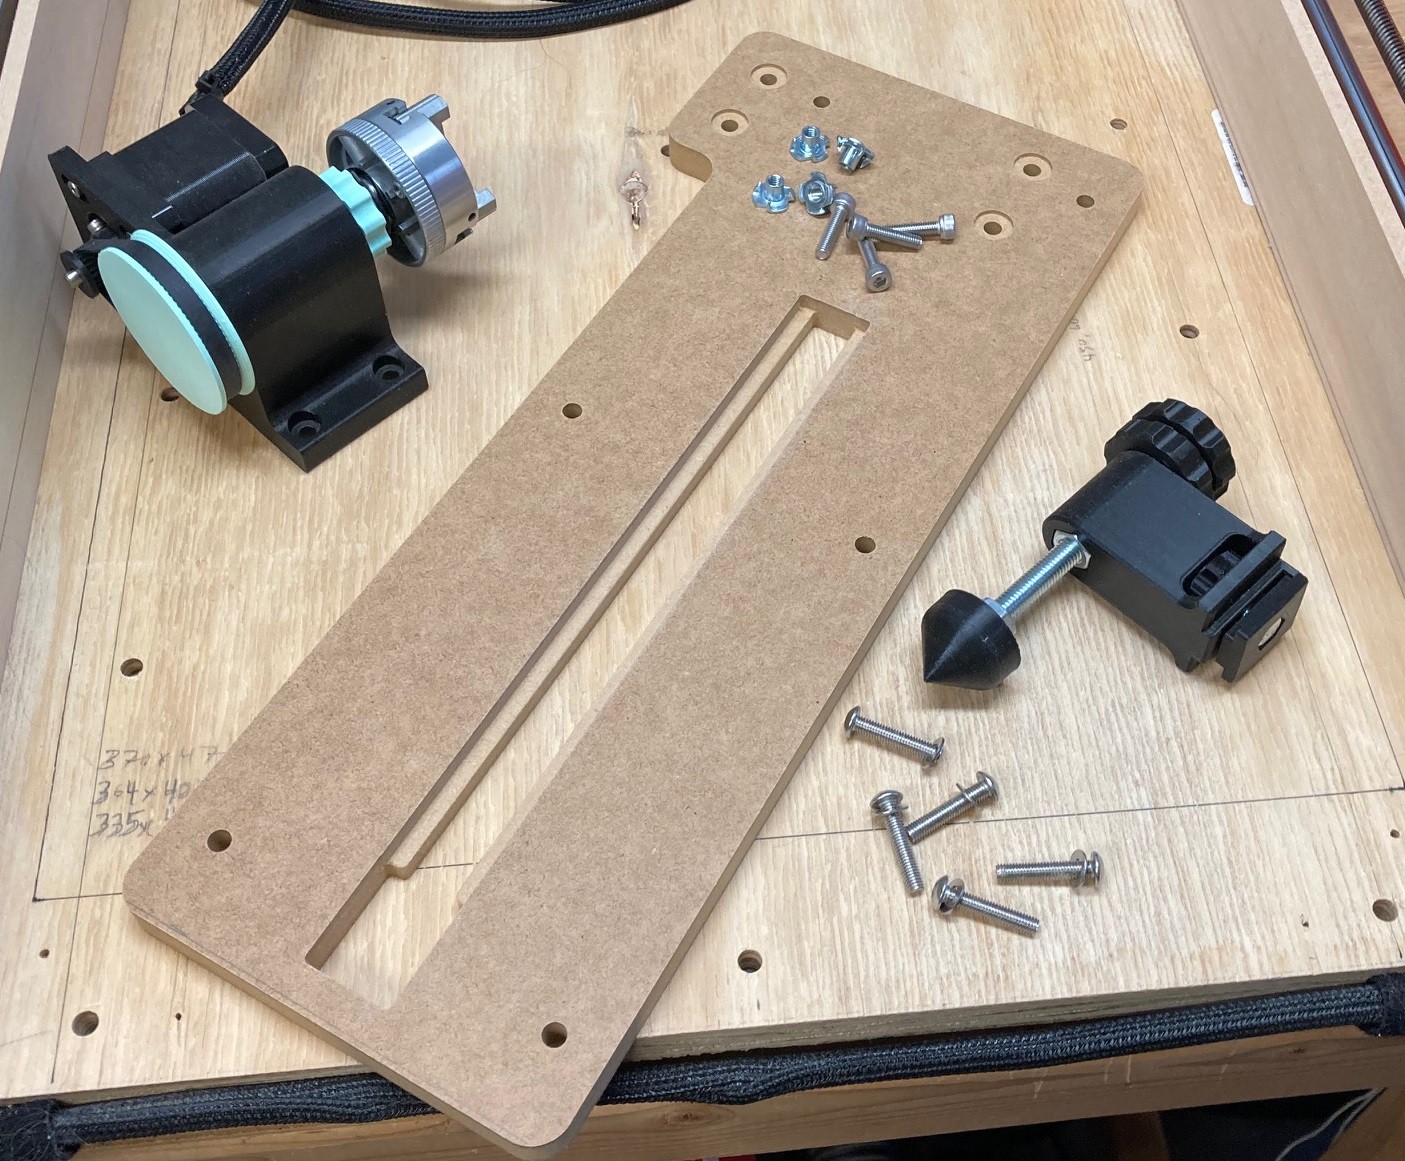
I measured the counter sunk holes wrong and they ended up too small and too shallow. I had to use a spade bit in the drill press to enlarge the holes. It made a bit of mess but at least the piece was saved.
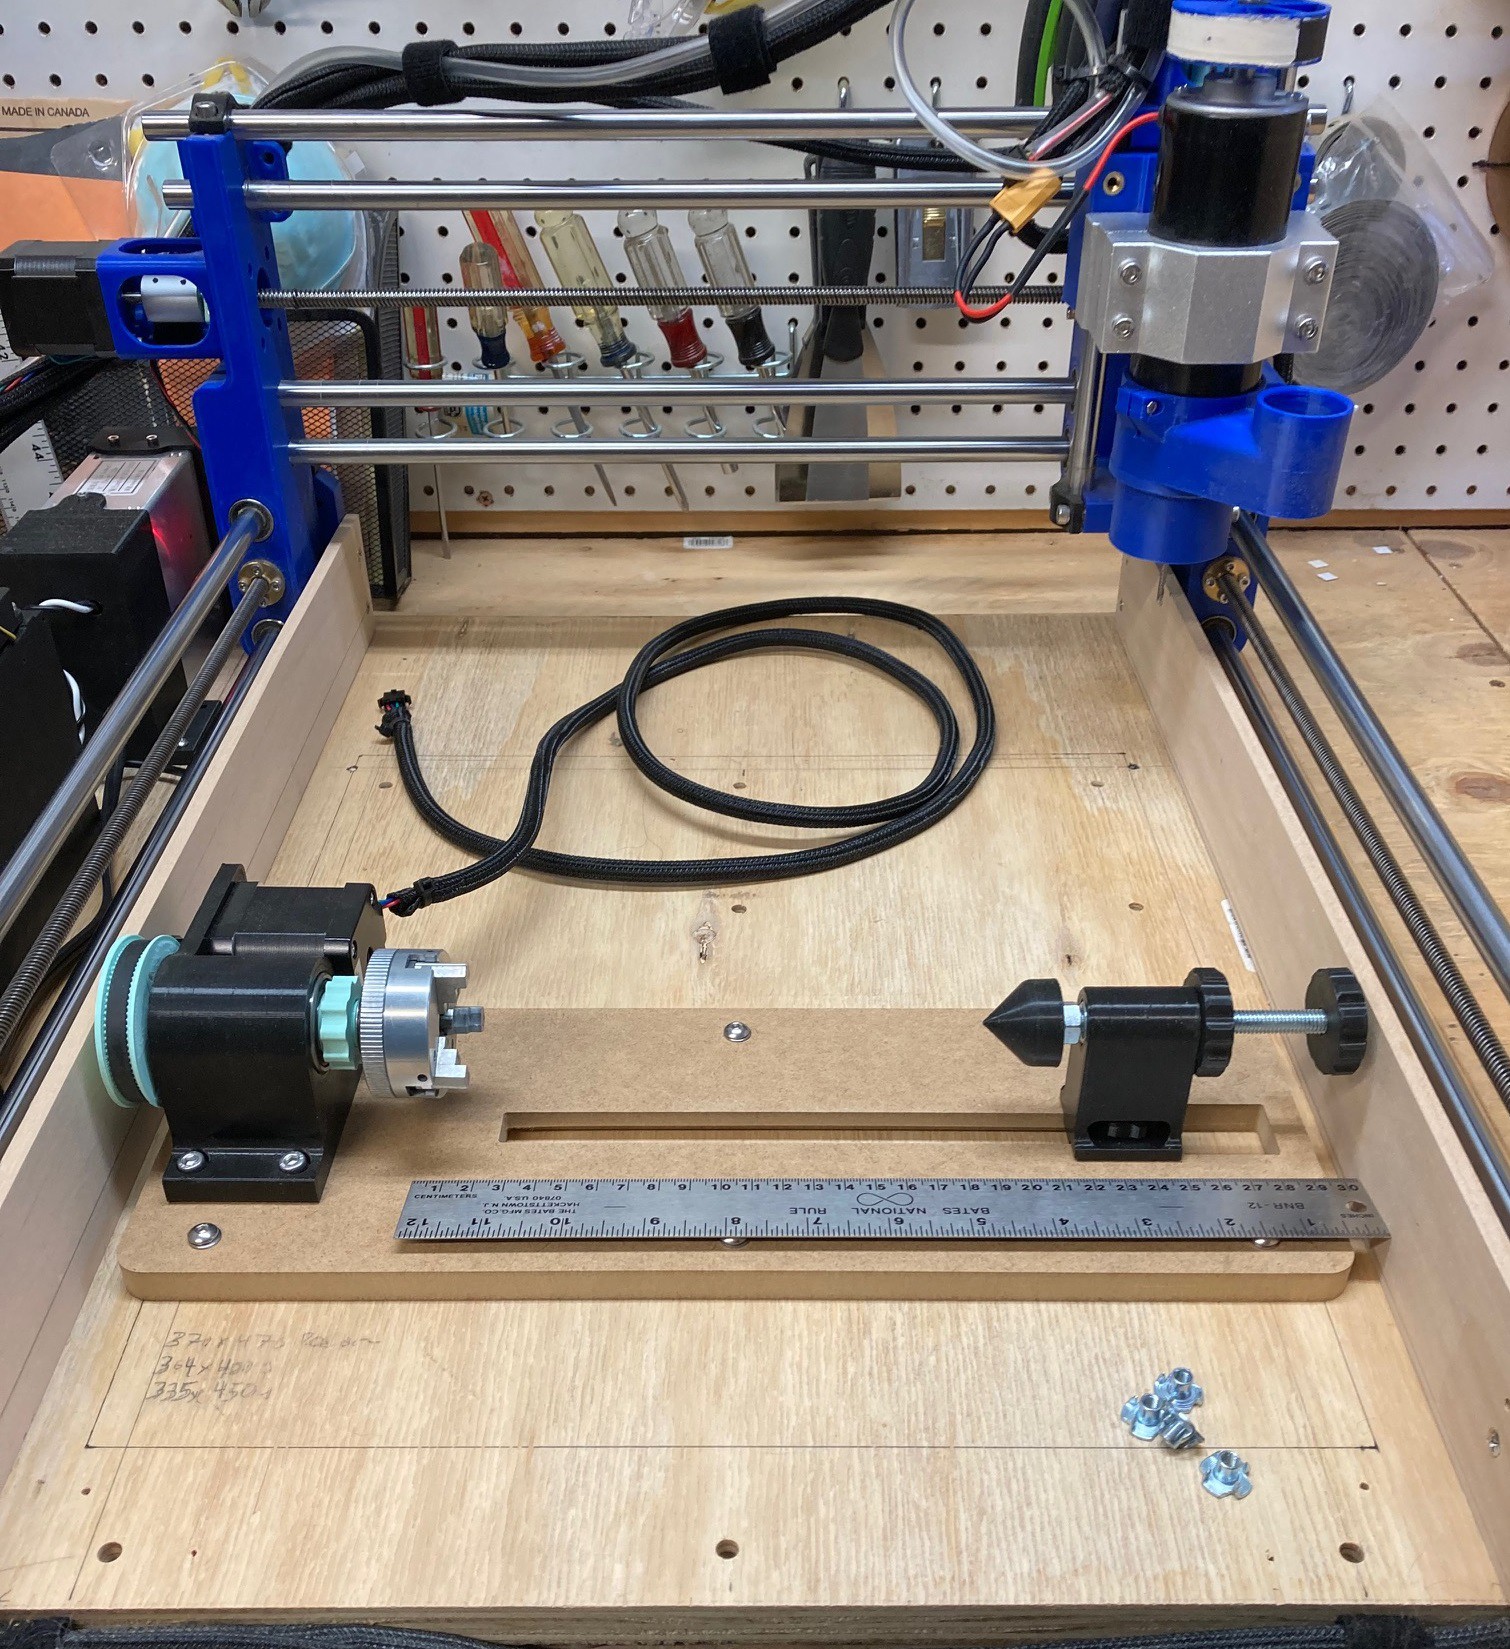
It all fit together in the end, I ended up with a maximum working distance of about 19 cm, that is not very much but it should be enough to experiment with. I wish it was the full 46 cm of working distance in the y direction.
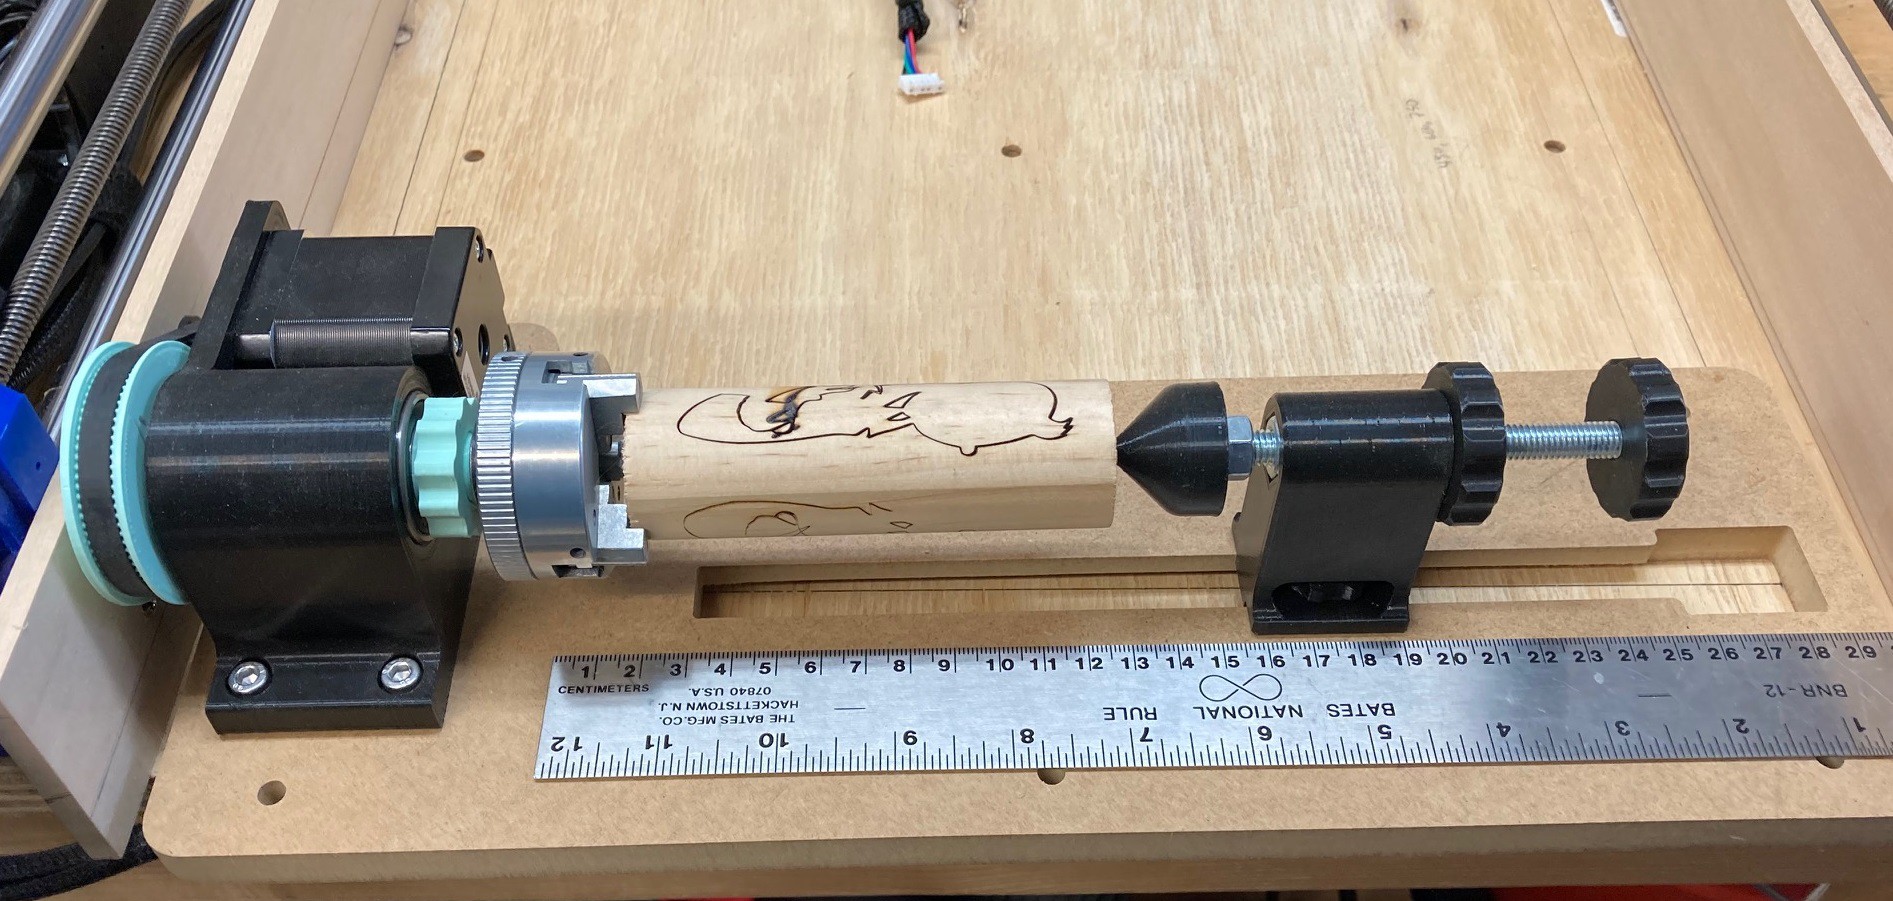
I chucked up a quick piece, without drilling a hole for the tail stock. It has a bit of flex to it, so I probably will need to beef up some parts of it, but it has promise. I need to make a centering jig for drilling the hole in my test piece, I have a feeling that will help stiffen things up some. There is flex on both ends, I suspect that is coming from the bearings, or the bearing housings. Also the quill is a bit flexible as well, I may double up the bearing at the tip so the quill is better supported.
Anyway I need to get some longer bolts that can pass through the bed so I can tie this all down, and then I need to try some test cuts and see how well it works.
Discussions
Become a Hackaday.io Member
Create an account to leave a comment. Already have an account? Log In.