 lion mclionhead
After a minor tweek to the firmware to make it easier to calibrate the motors, the traction module didn't have any problems. The ship was at a point where further improvement would require exponential amounts of money. Bigger motors would be the 1st upgrade, but super expensive. Higher voltage batteries would be a cheaper but still expensive option.
The container is the weakest link. Nothing is lighter than coroplastic. The 1st container out of 1.2mm panels was a brick. Lions have since printed most panels as .8mm thick. There was some intriguing work to print .2mm panels out of .06mm layers. That would be below the Ender 3's bed deformations. .4mm panels out of .2mm layers with isogrids might work.
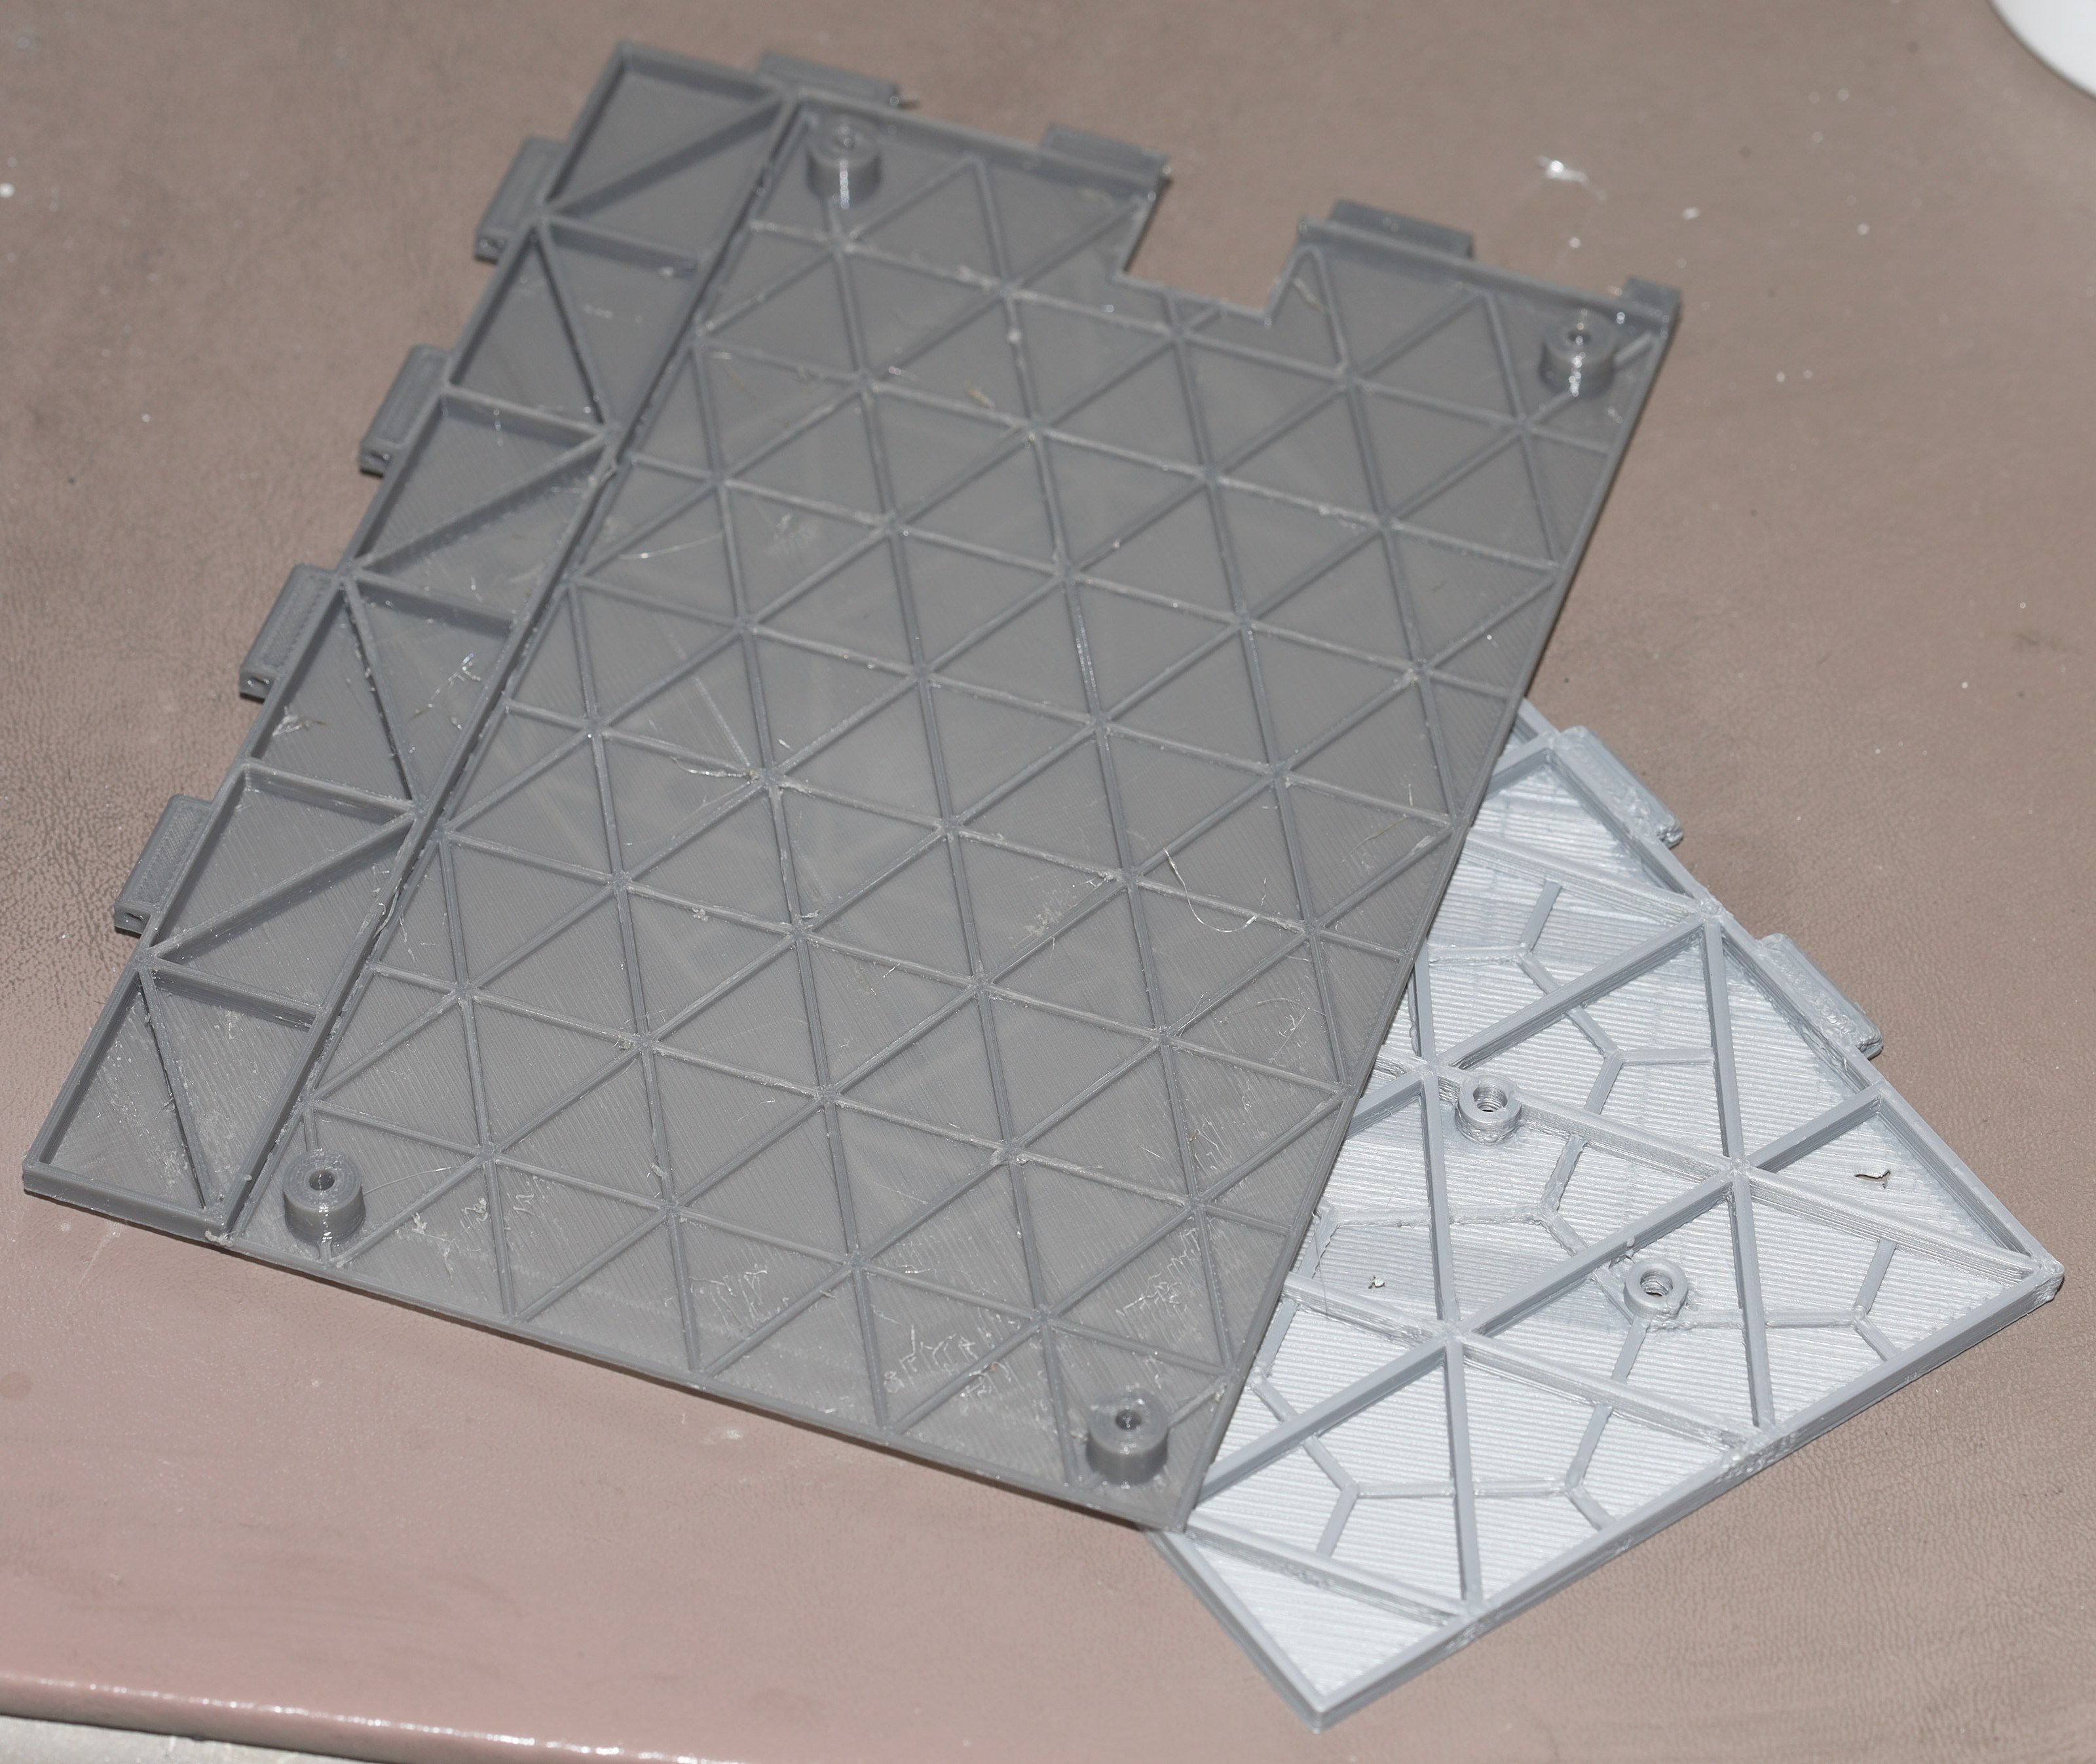
A variety of test panels were printed out of PETG & PLA. They were .4mm thick backings & 3.6mm thick isogrids. They had to be printed with a .4mm nozzle to minimize the weight, which took much longer than a .8mm nozzle.
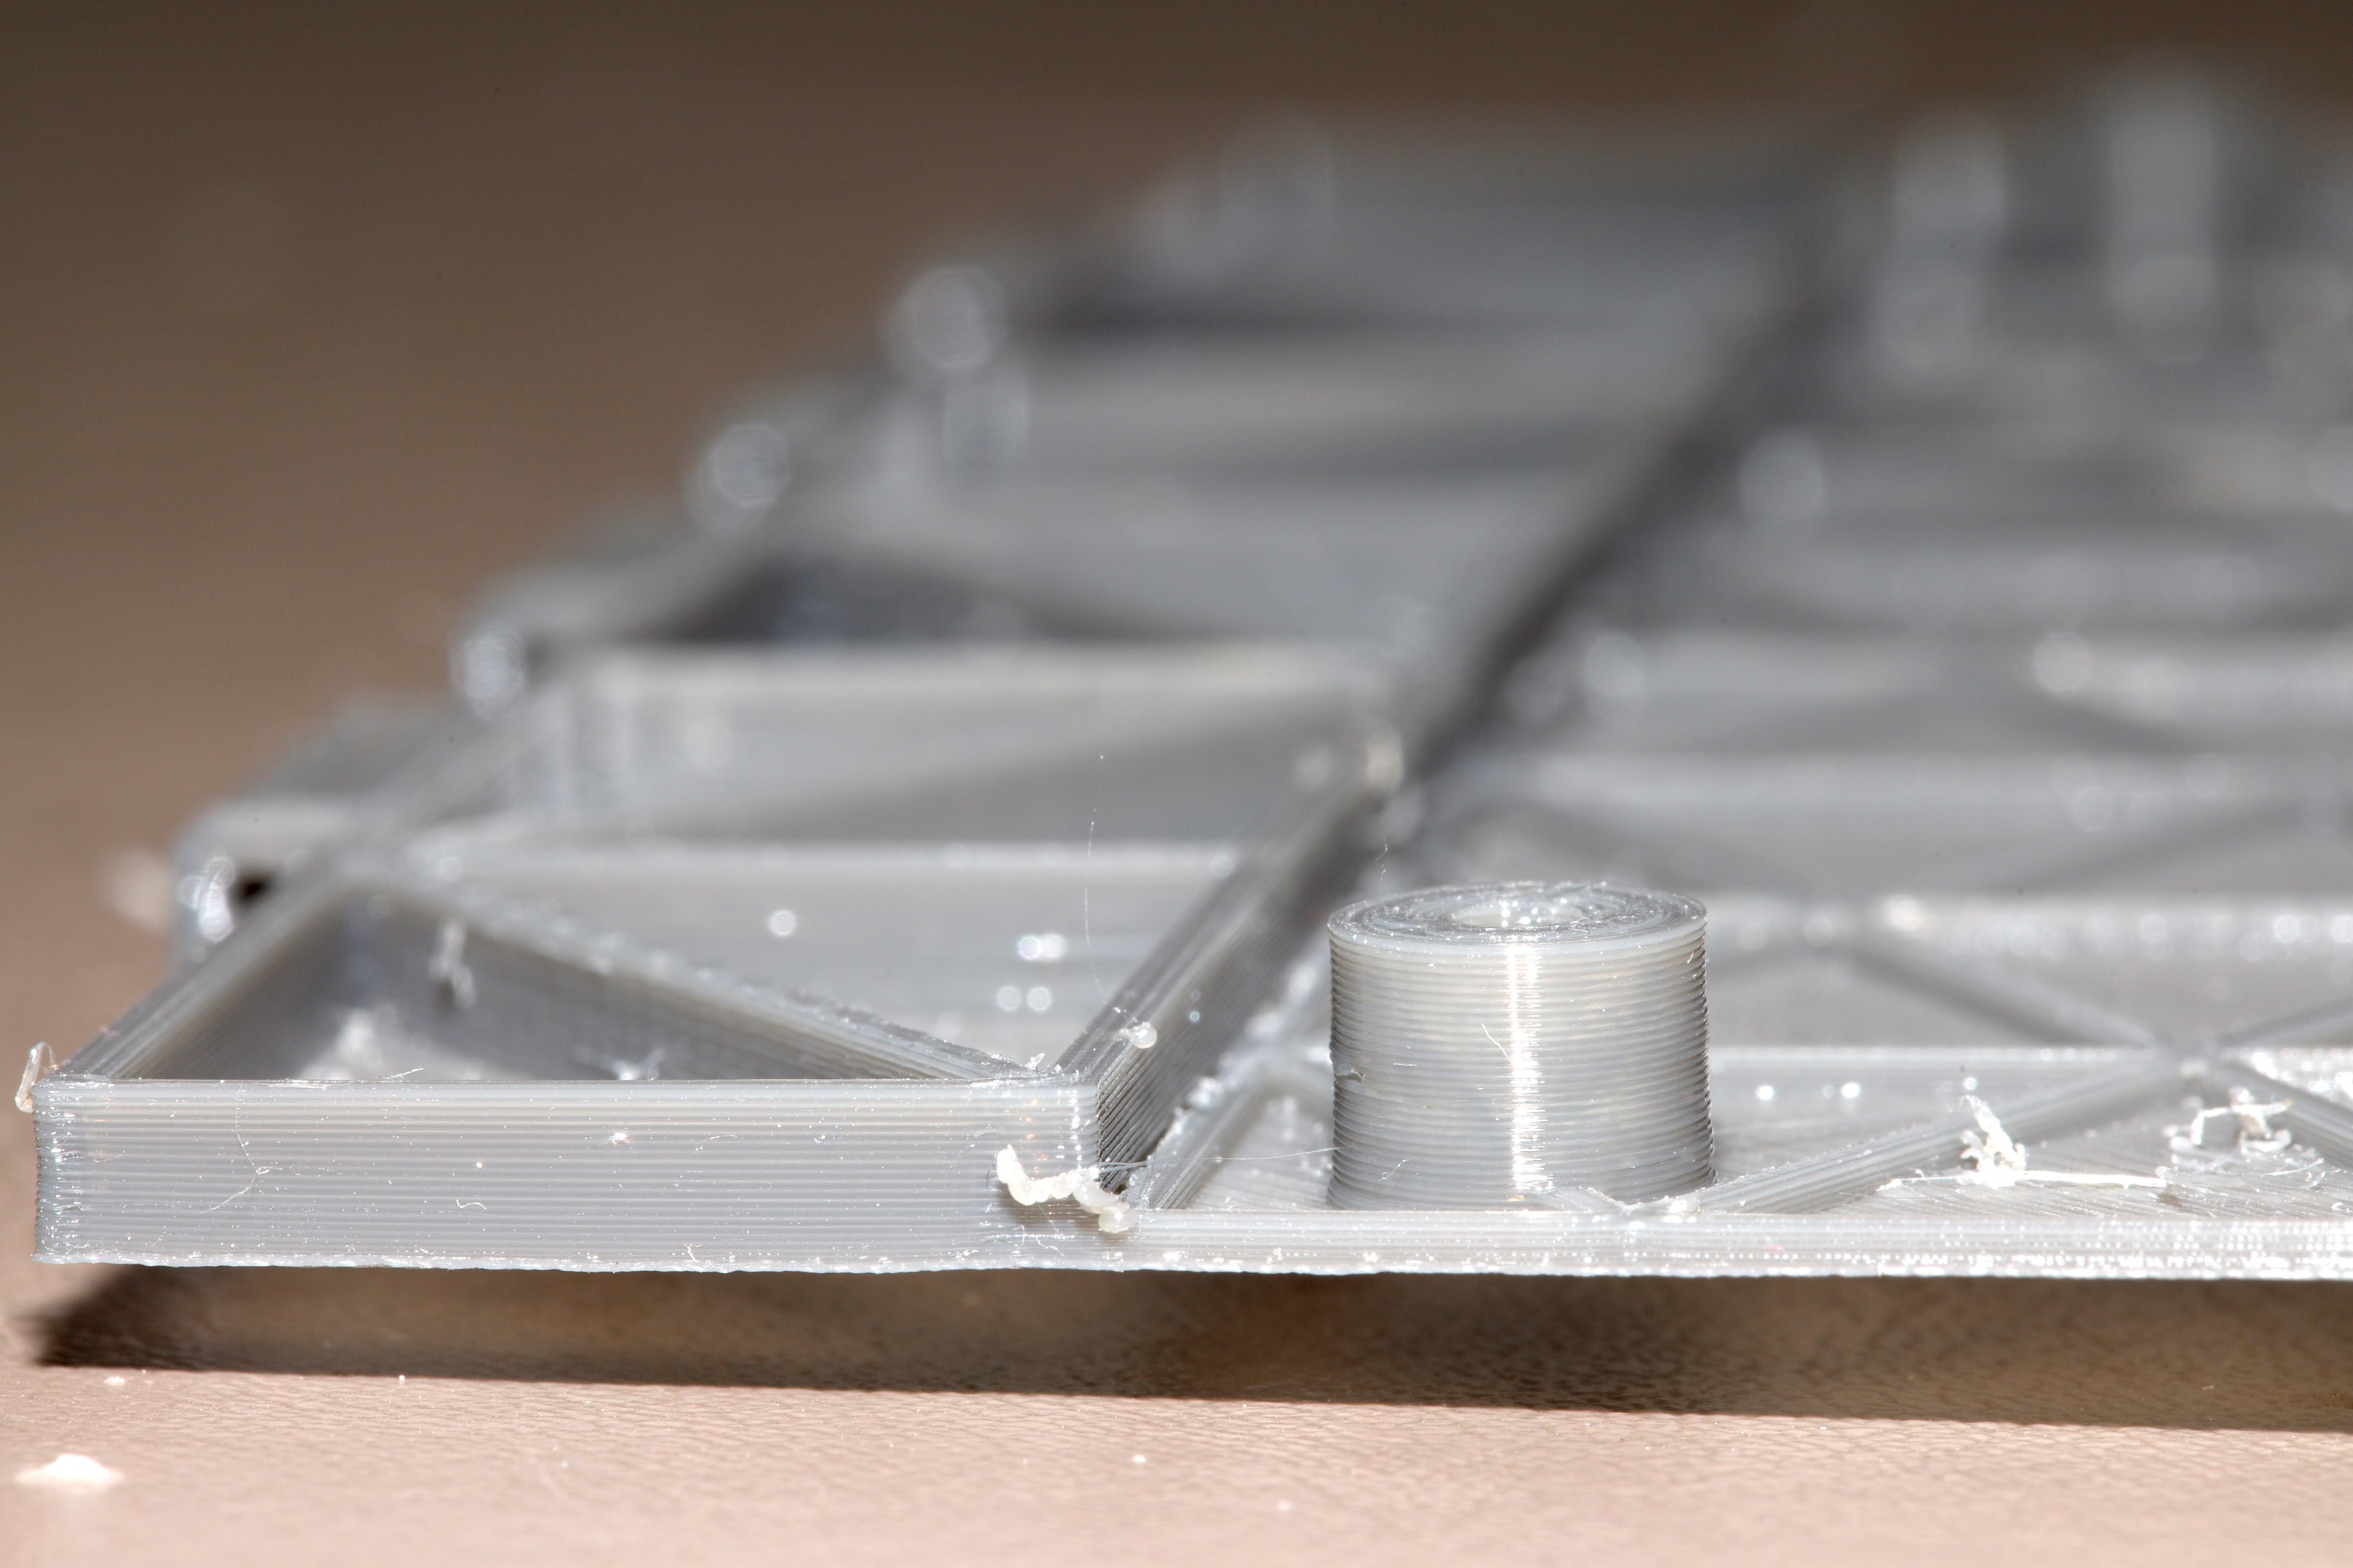
Cura failed to slice an upside down overhang, leaving out a top shell.
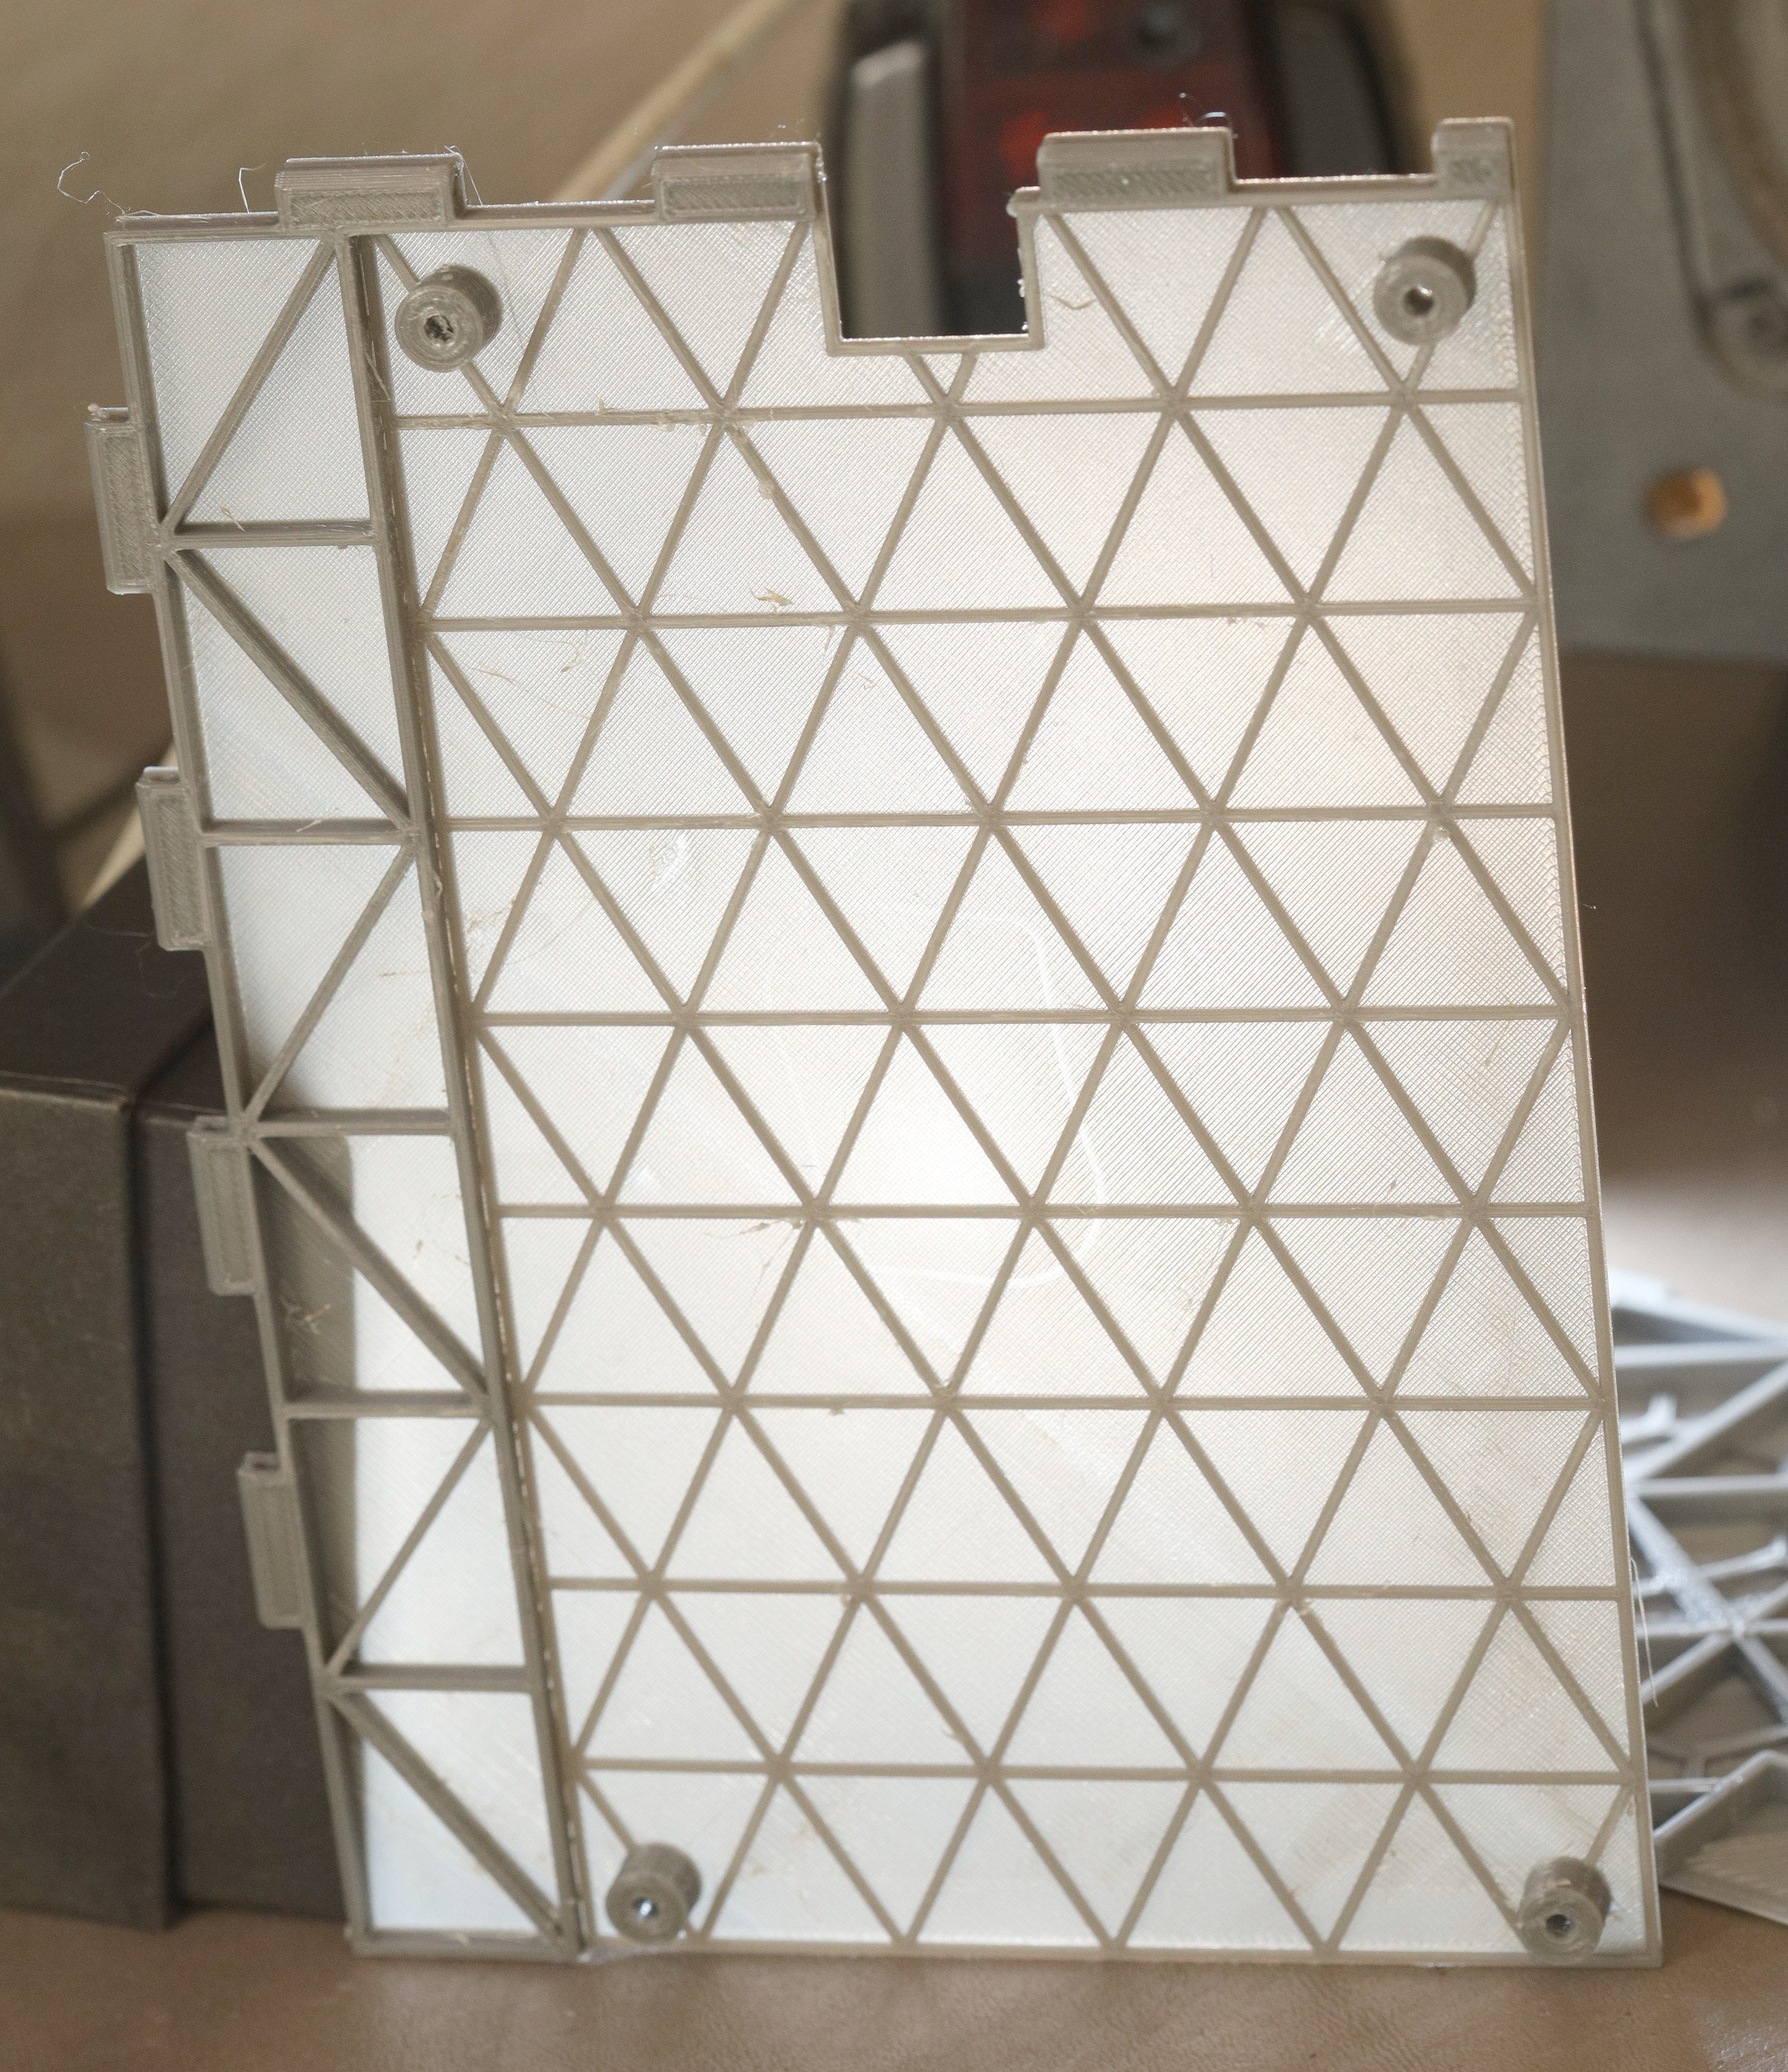
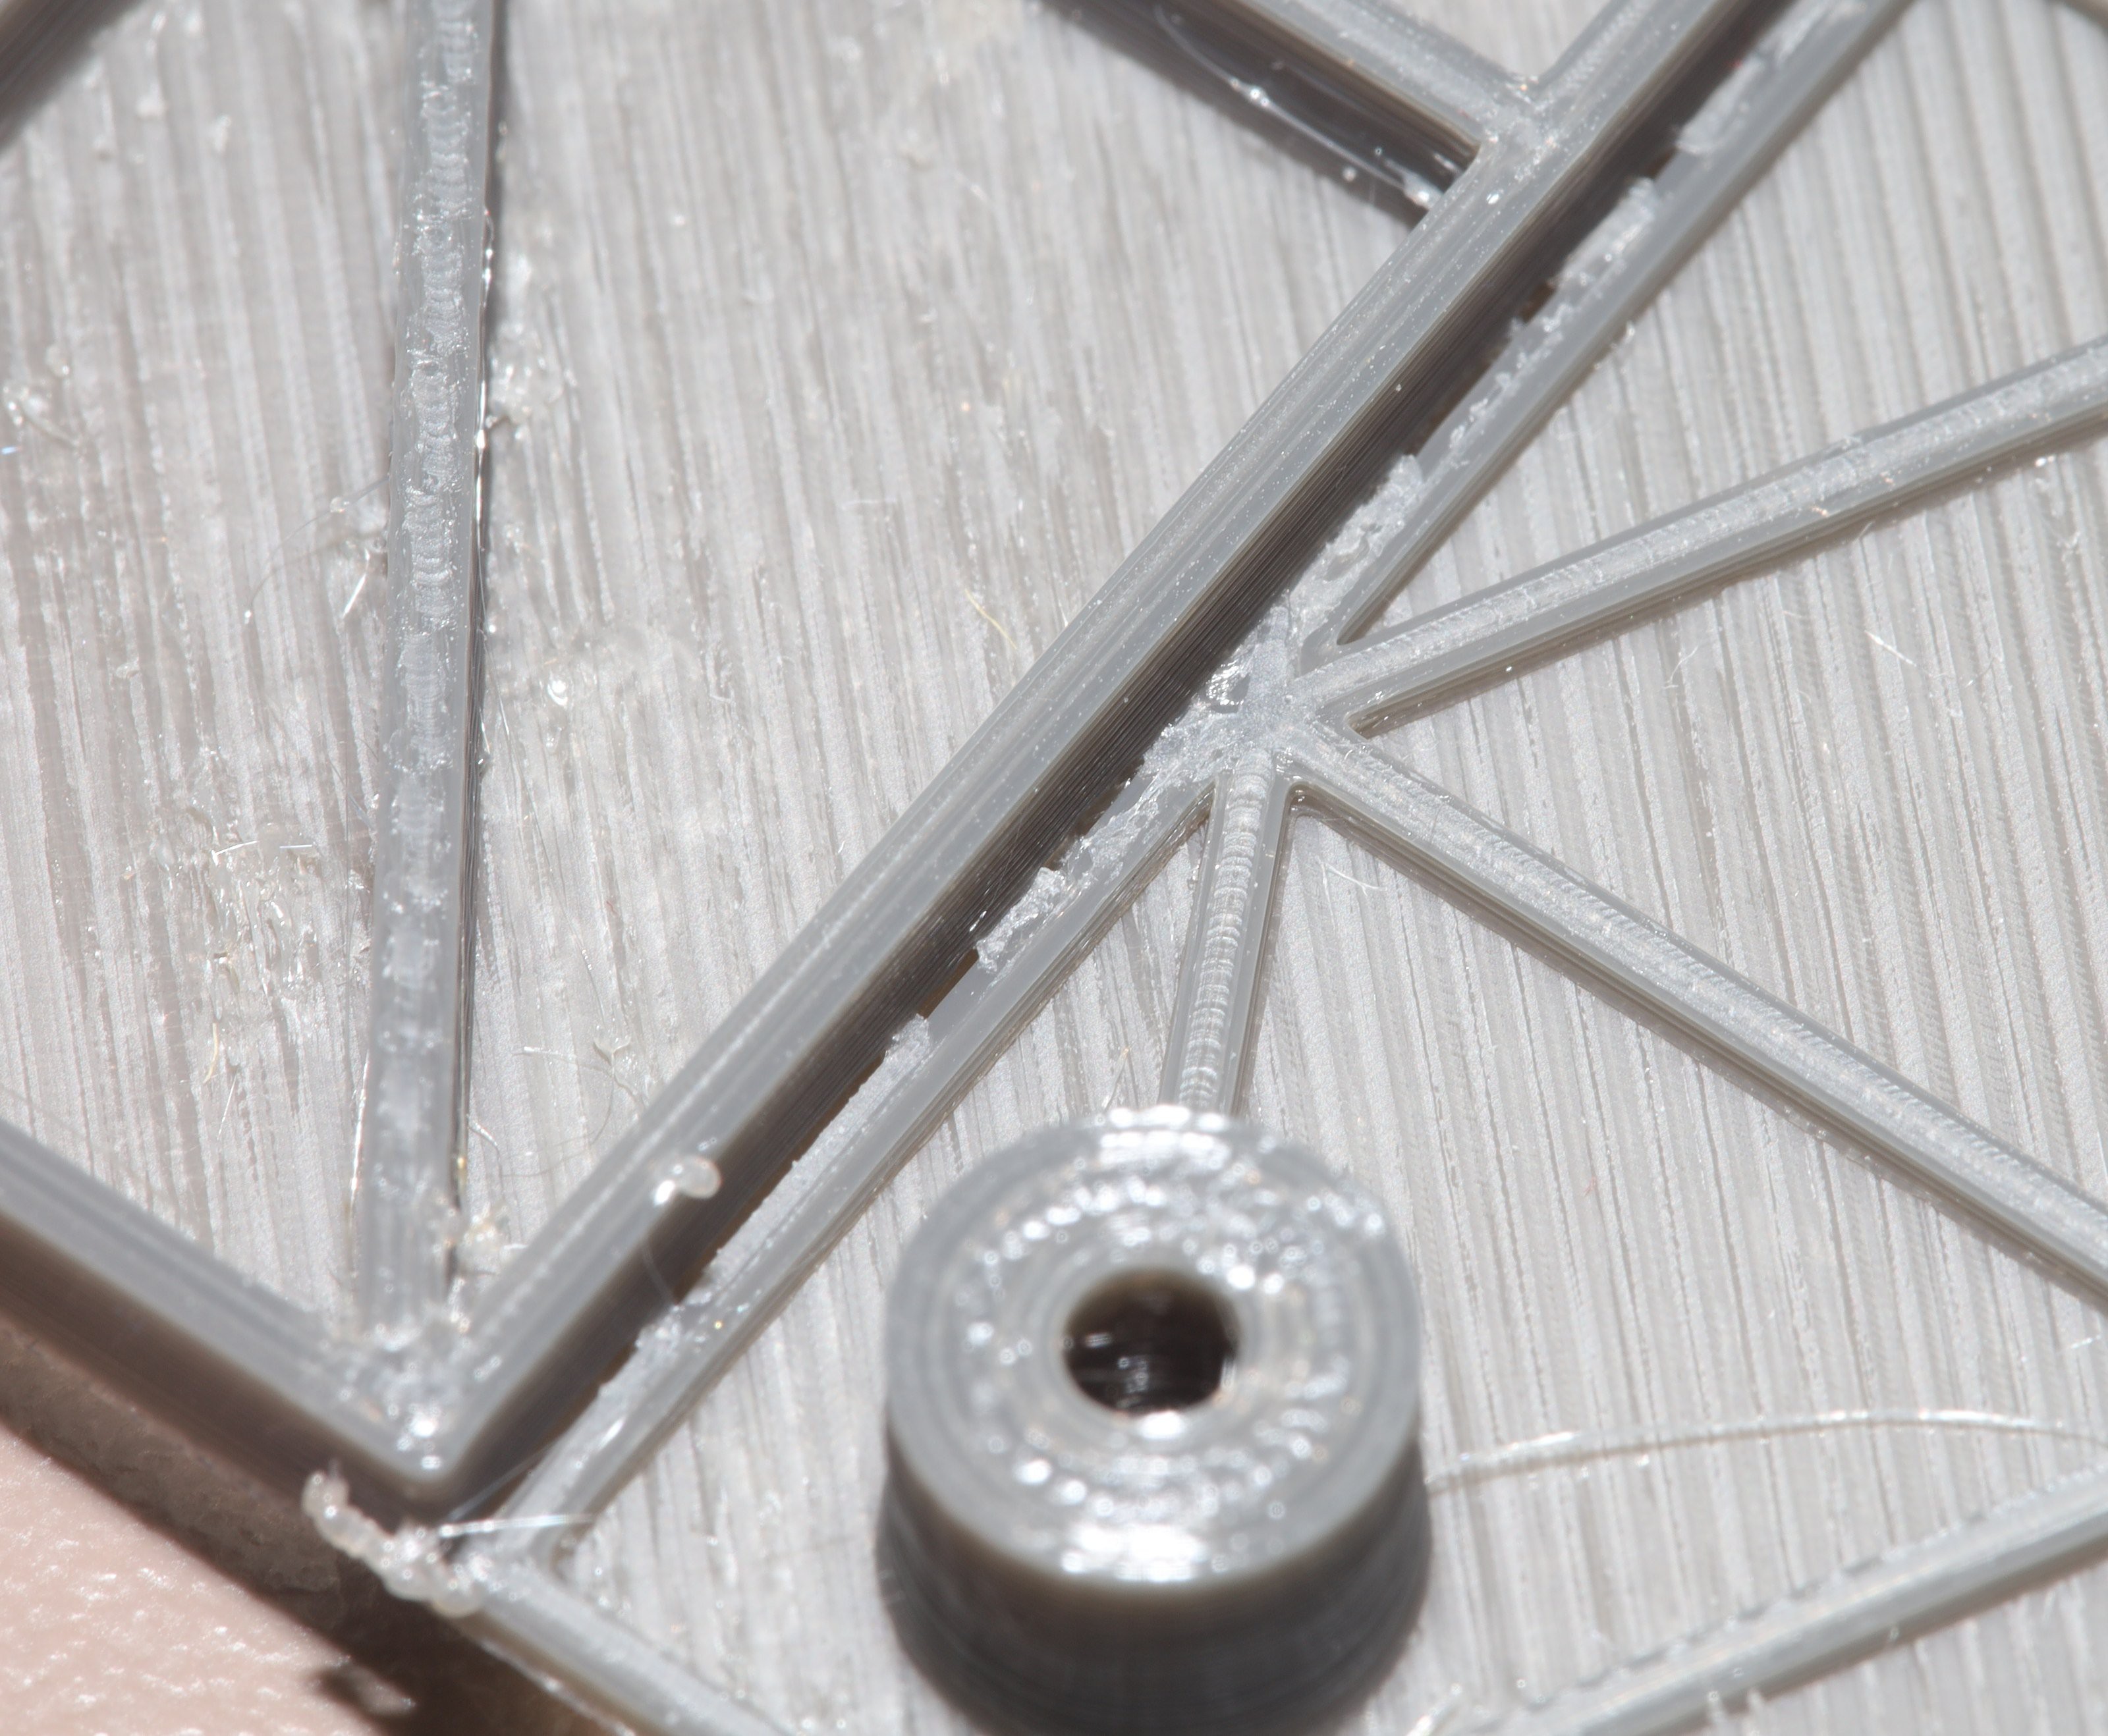
The .4mm panels were quite translucent & light, but about as strong as a single side of coroplastic. PETG was a failure in both strength & weight, but it was more resistant to heat. It would be a good material for motor encoders but not panels. The panels would stay good old PLA.
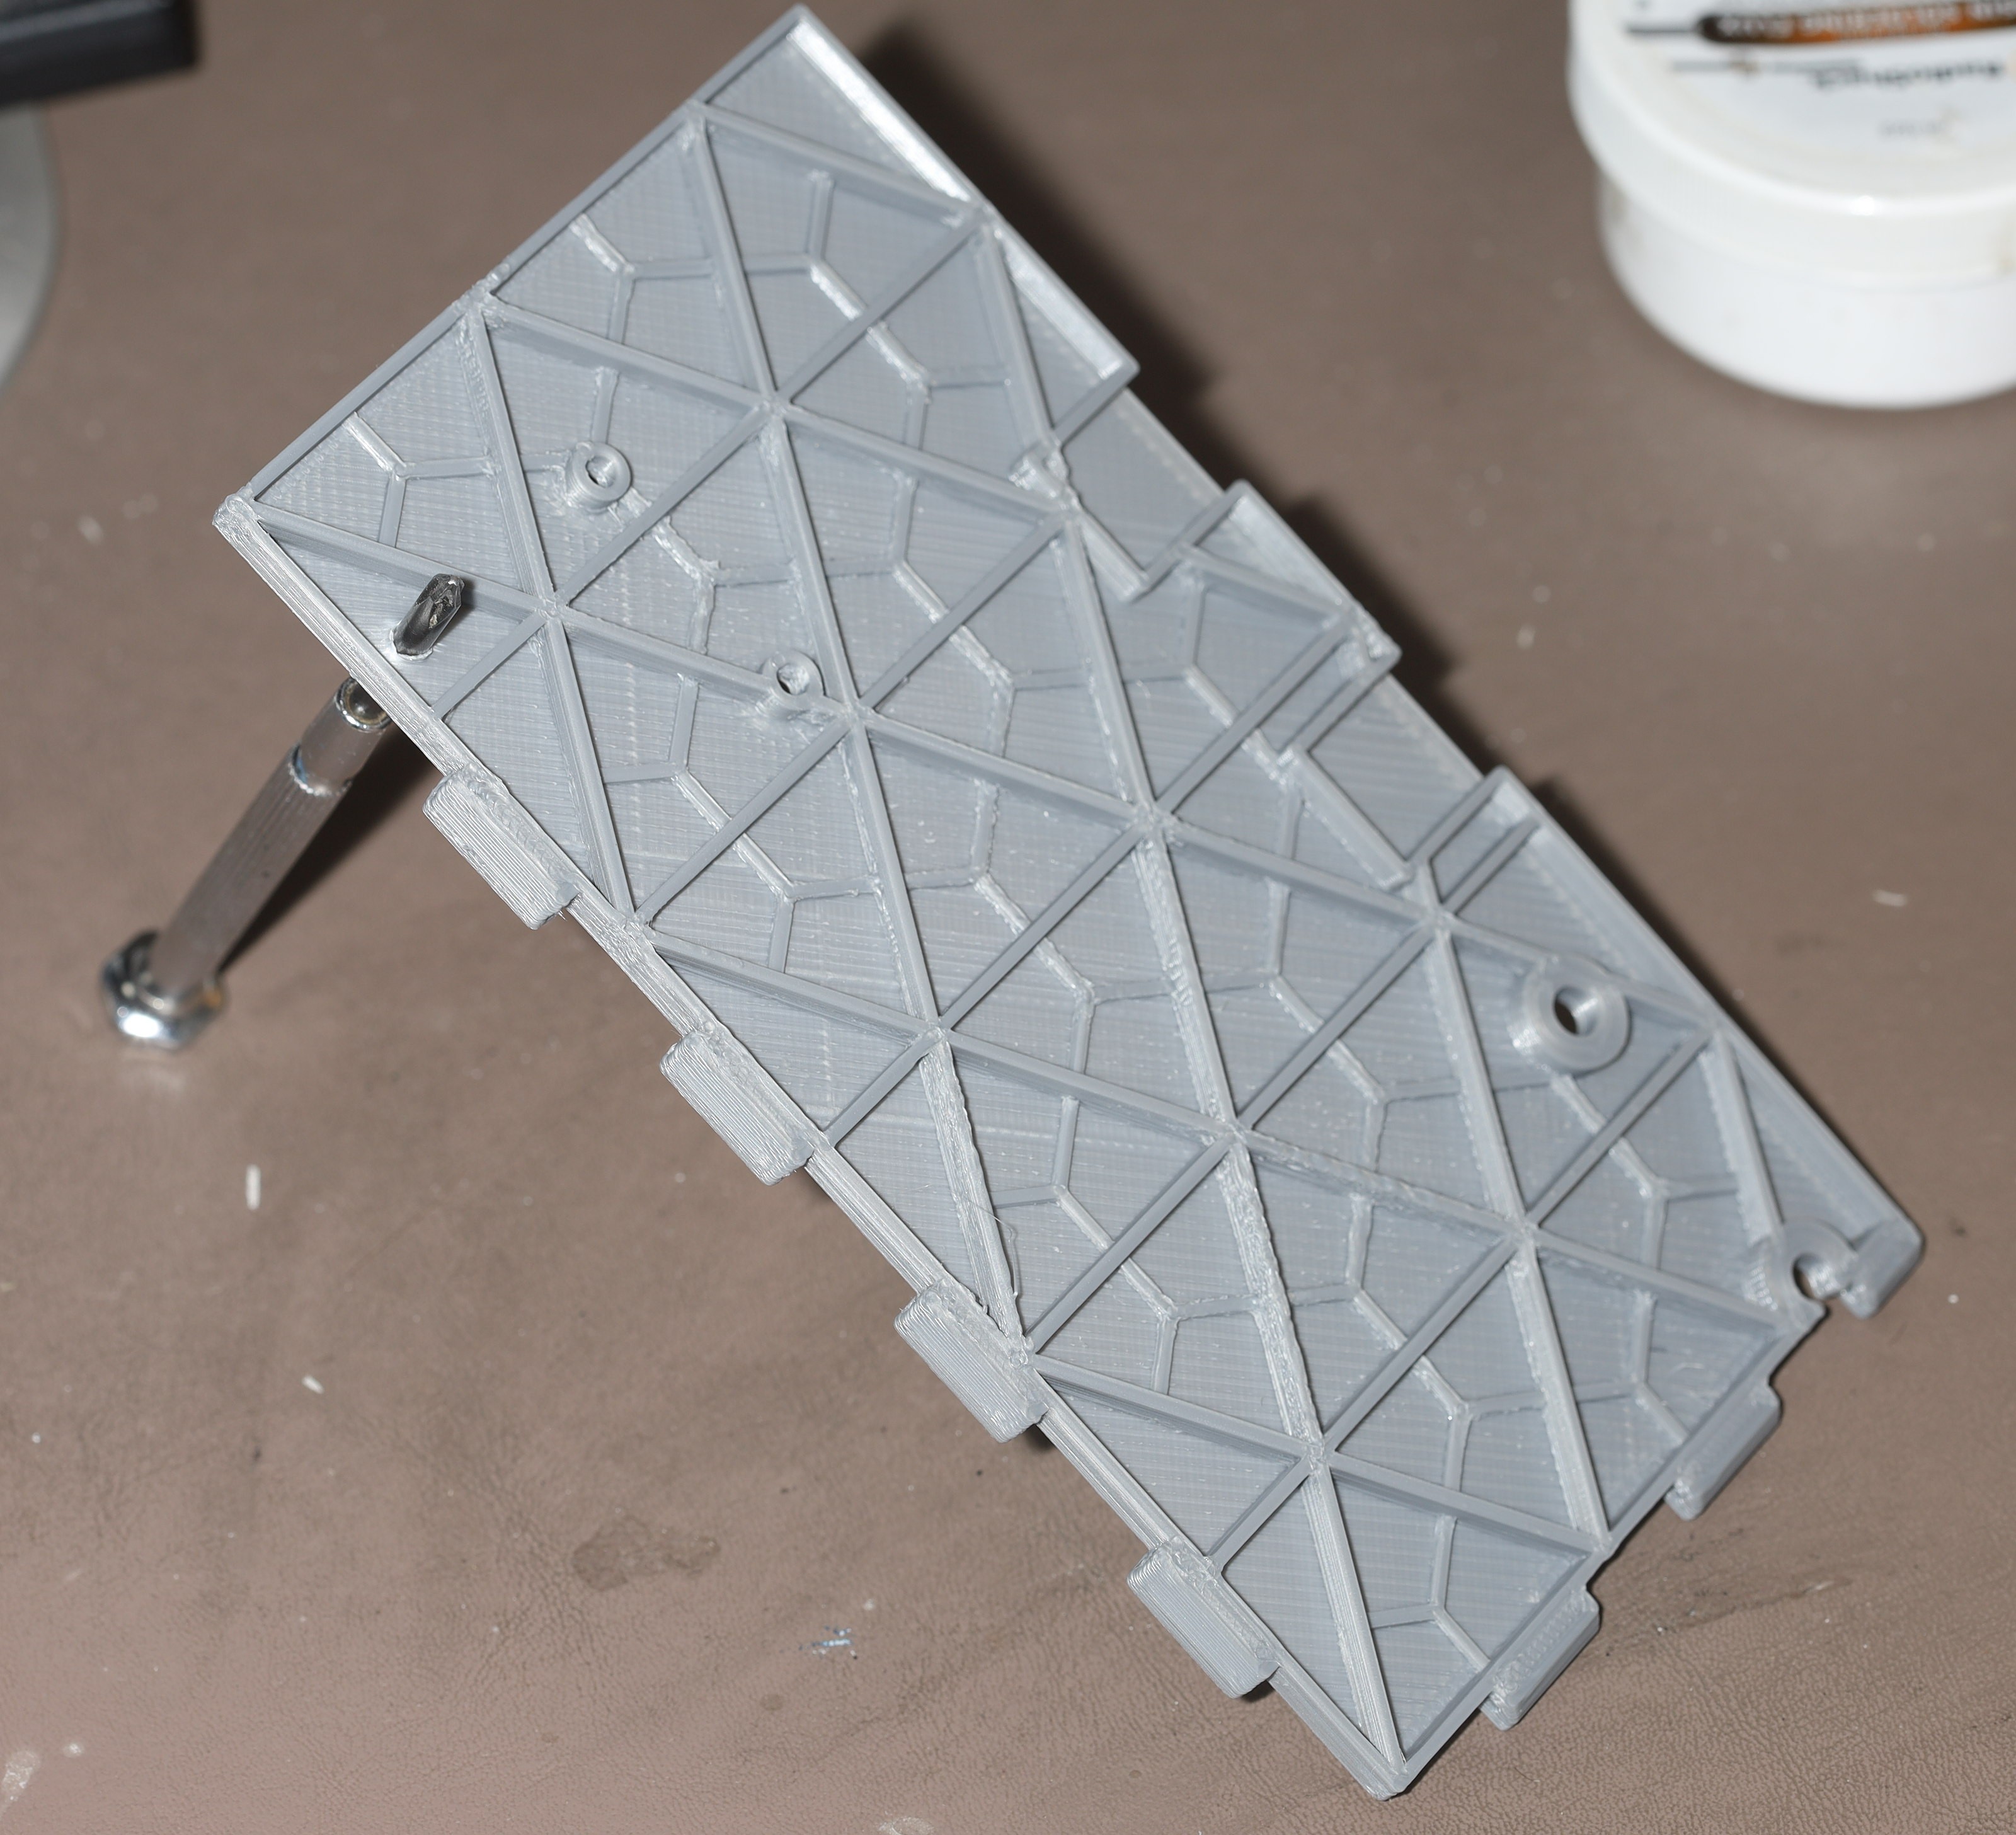
The mane test was poking it with a screwdriver. The trick with the .4mm panels was to set up the bed leveling game. There couldn't be any squishing of the 1st layer. A better way to get the 1st layer to stick without squishing it was to wash the bed in dishwashing soap. Skin oil was the enemy of adhesion.
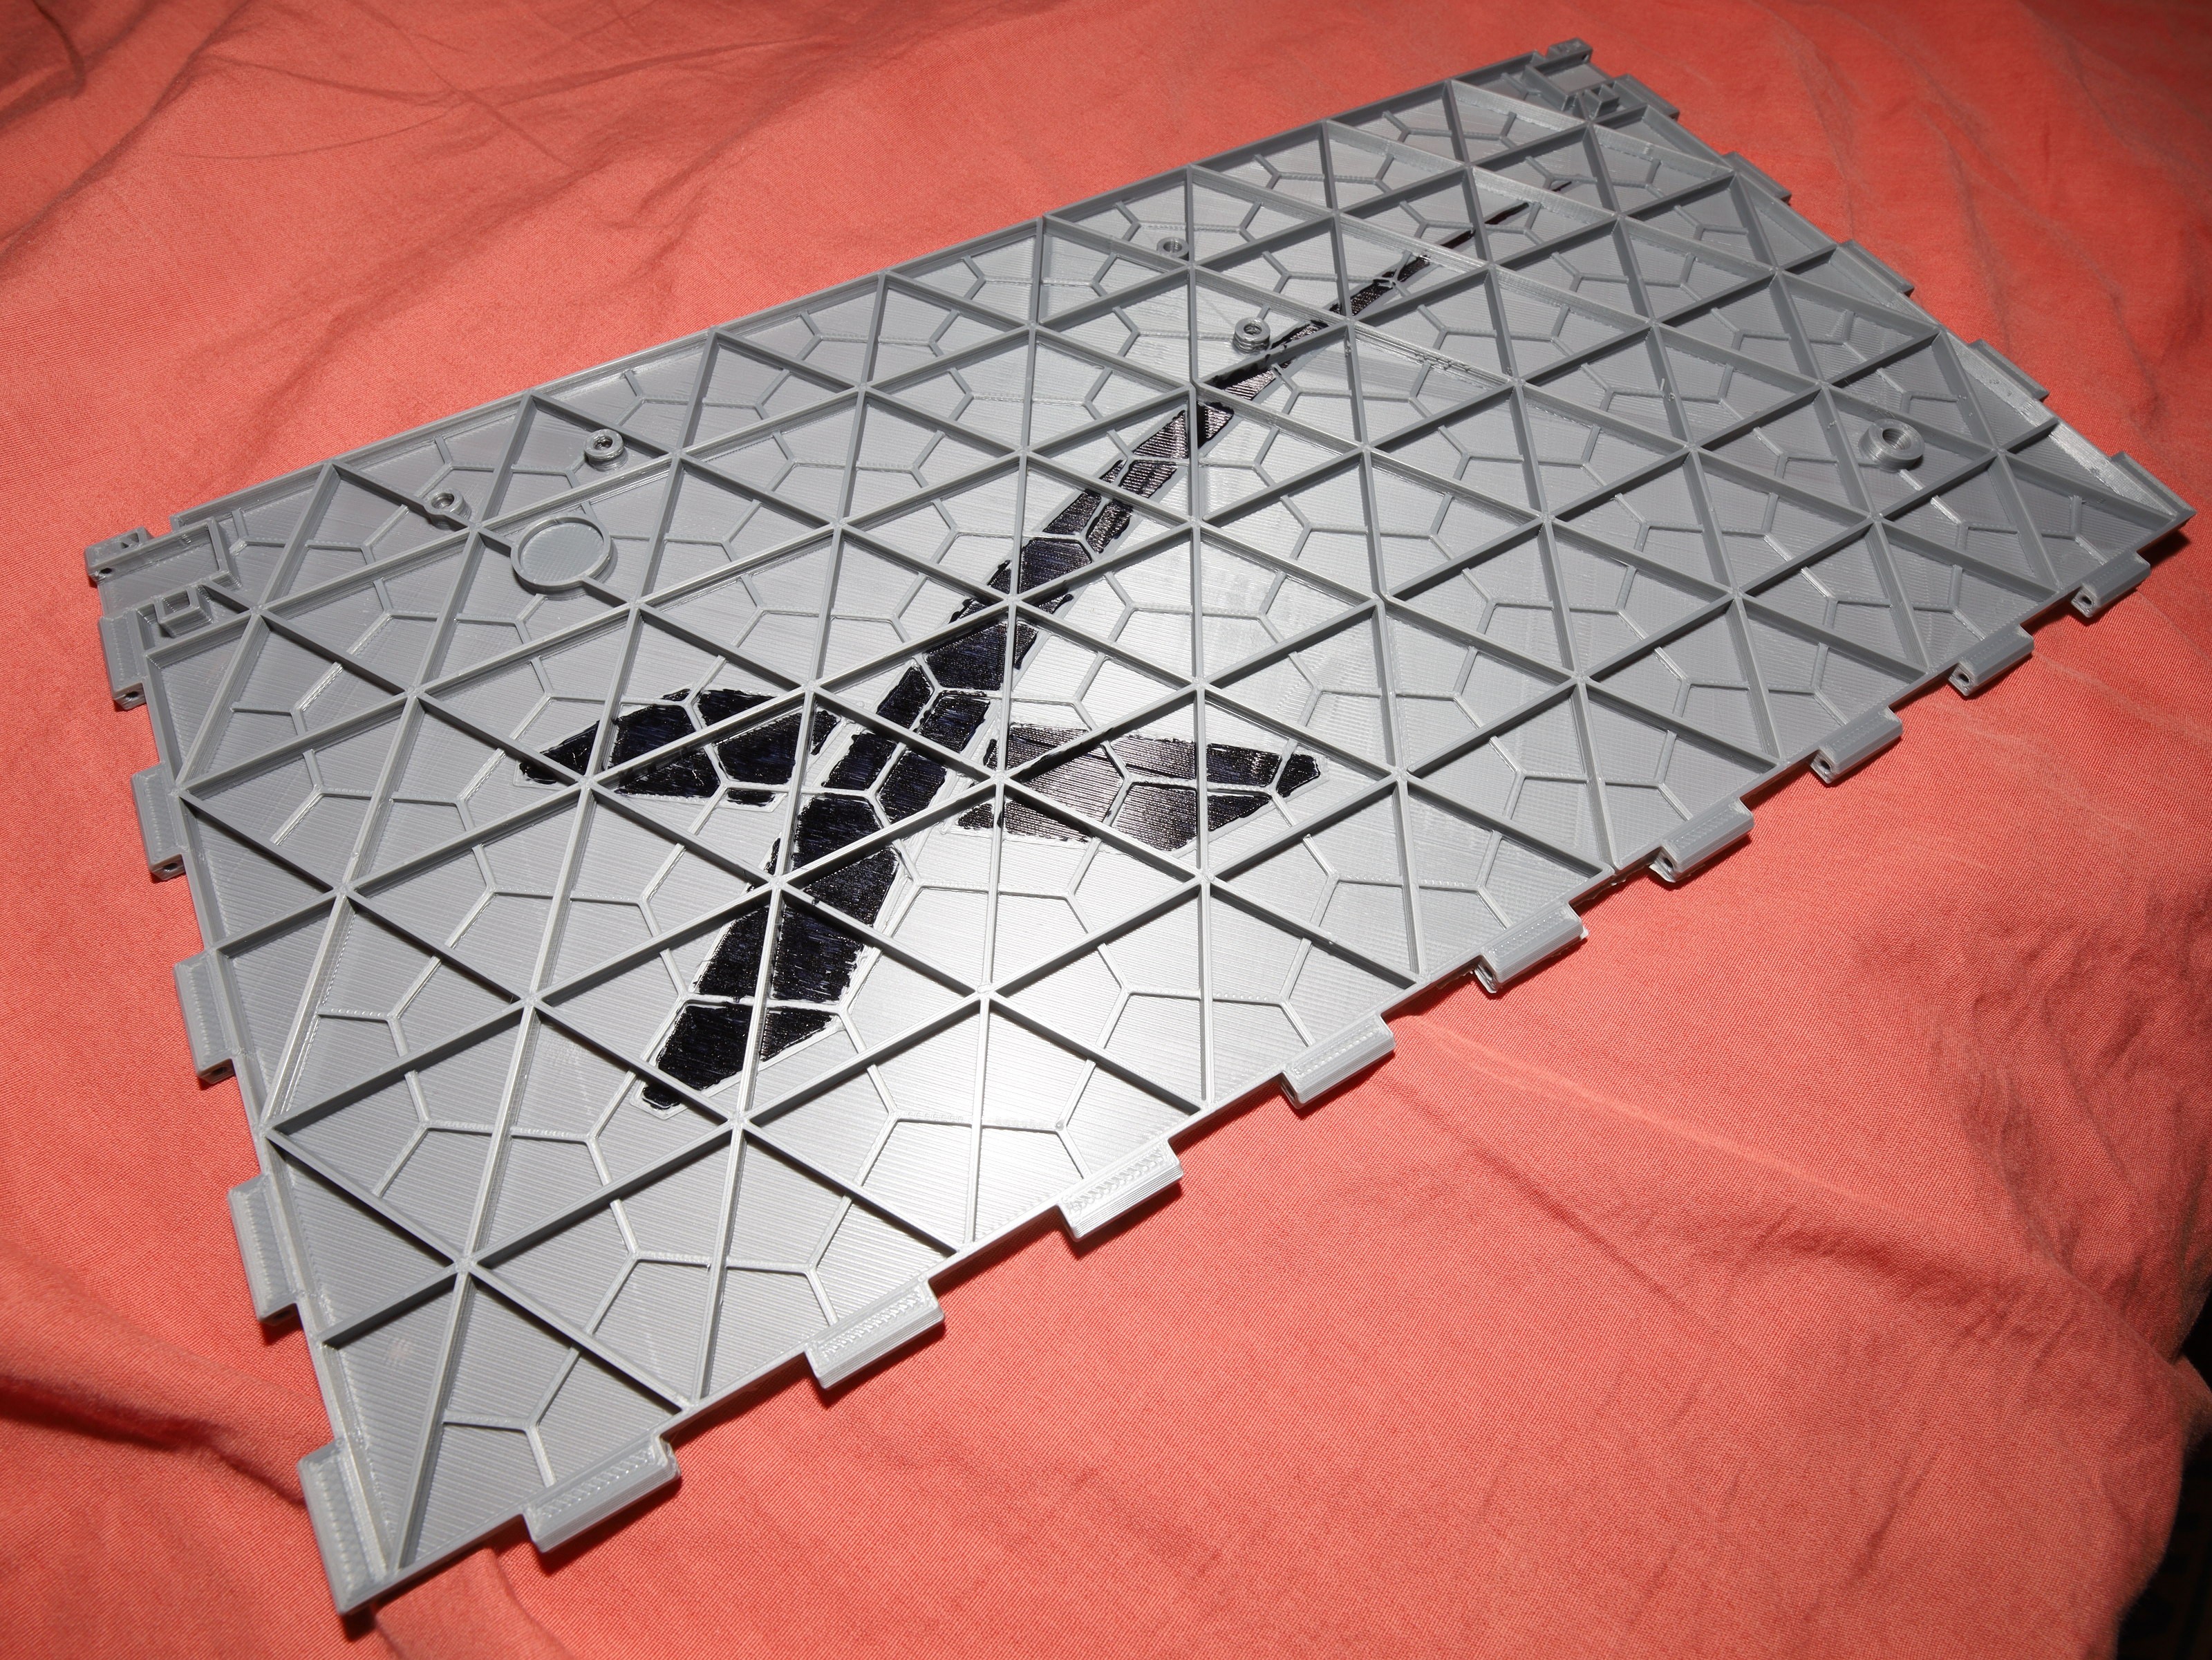


Over several days, panels slowly churned out. A new painting scheme using a sharpie was somewhat successful. It had a hard time getting into the corners between the isogrid lines. A raised border didn't do as good a job at confining the ink as raised painted areas, but raising the painted areas would use more material.


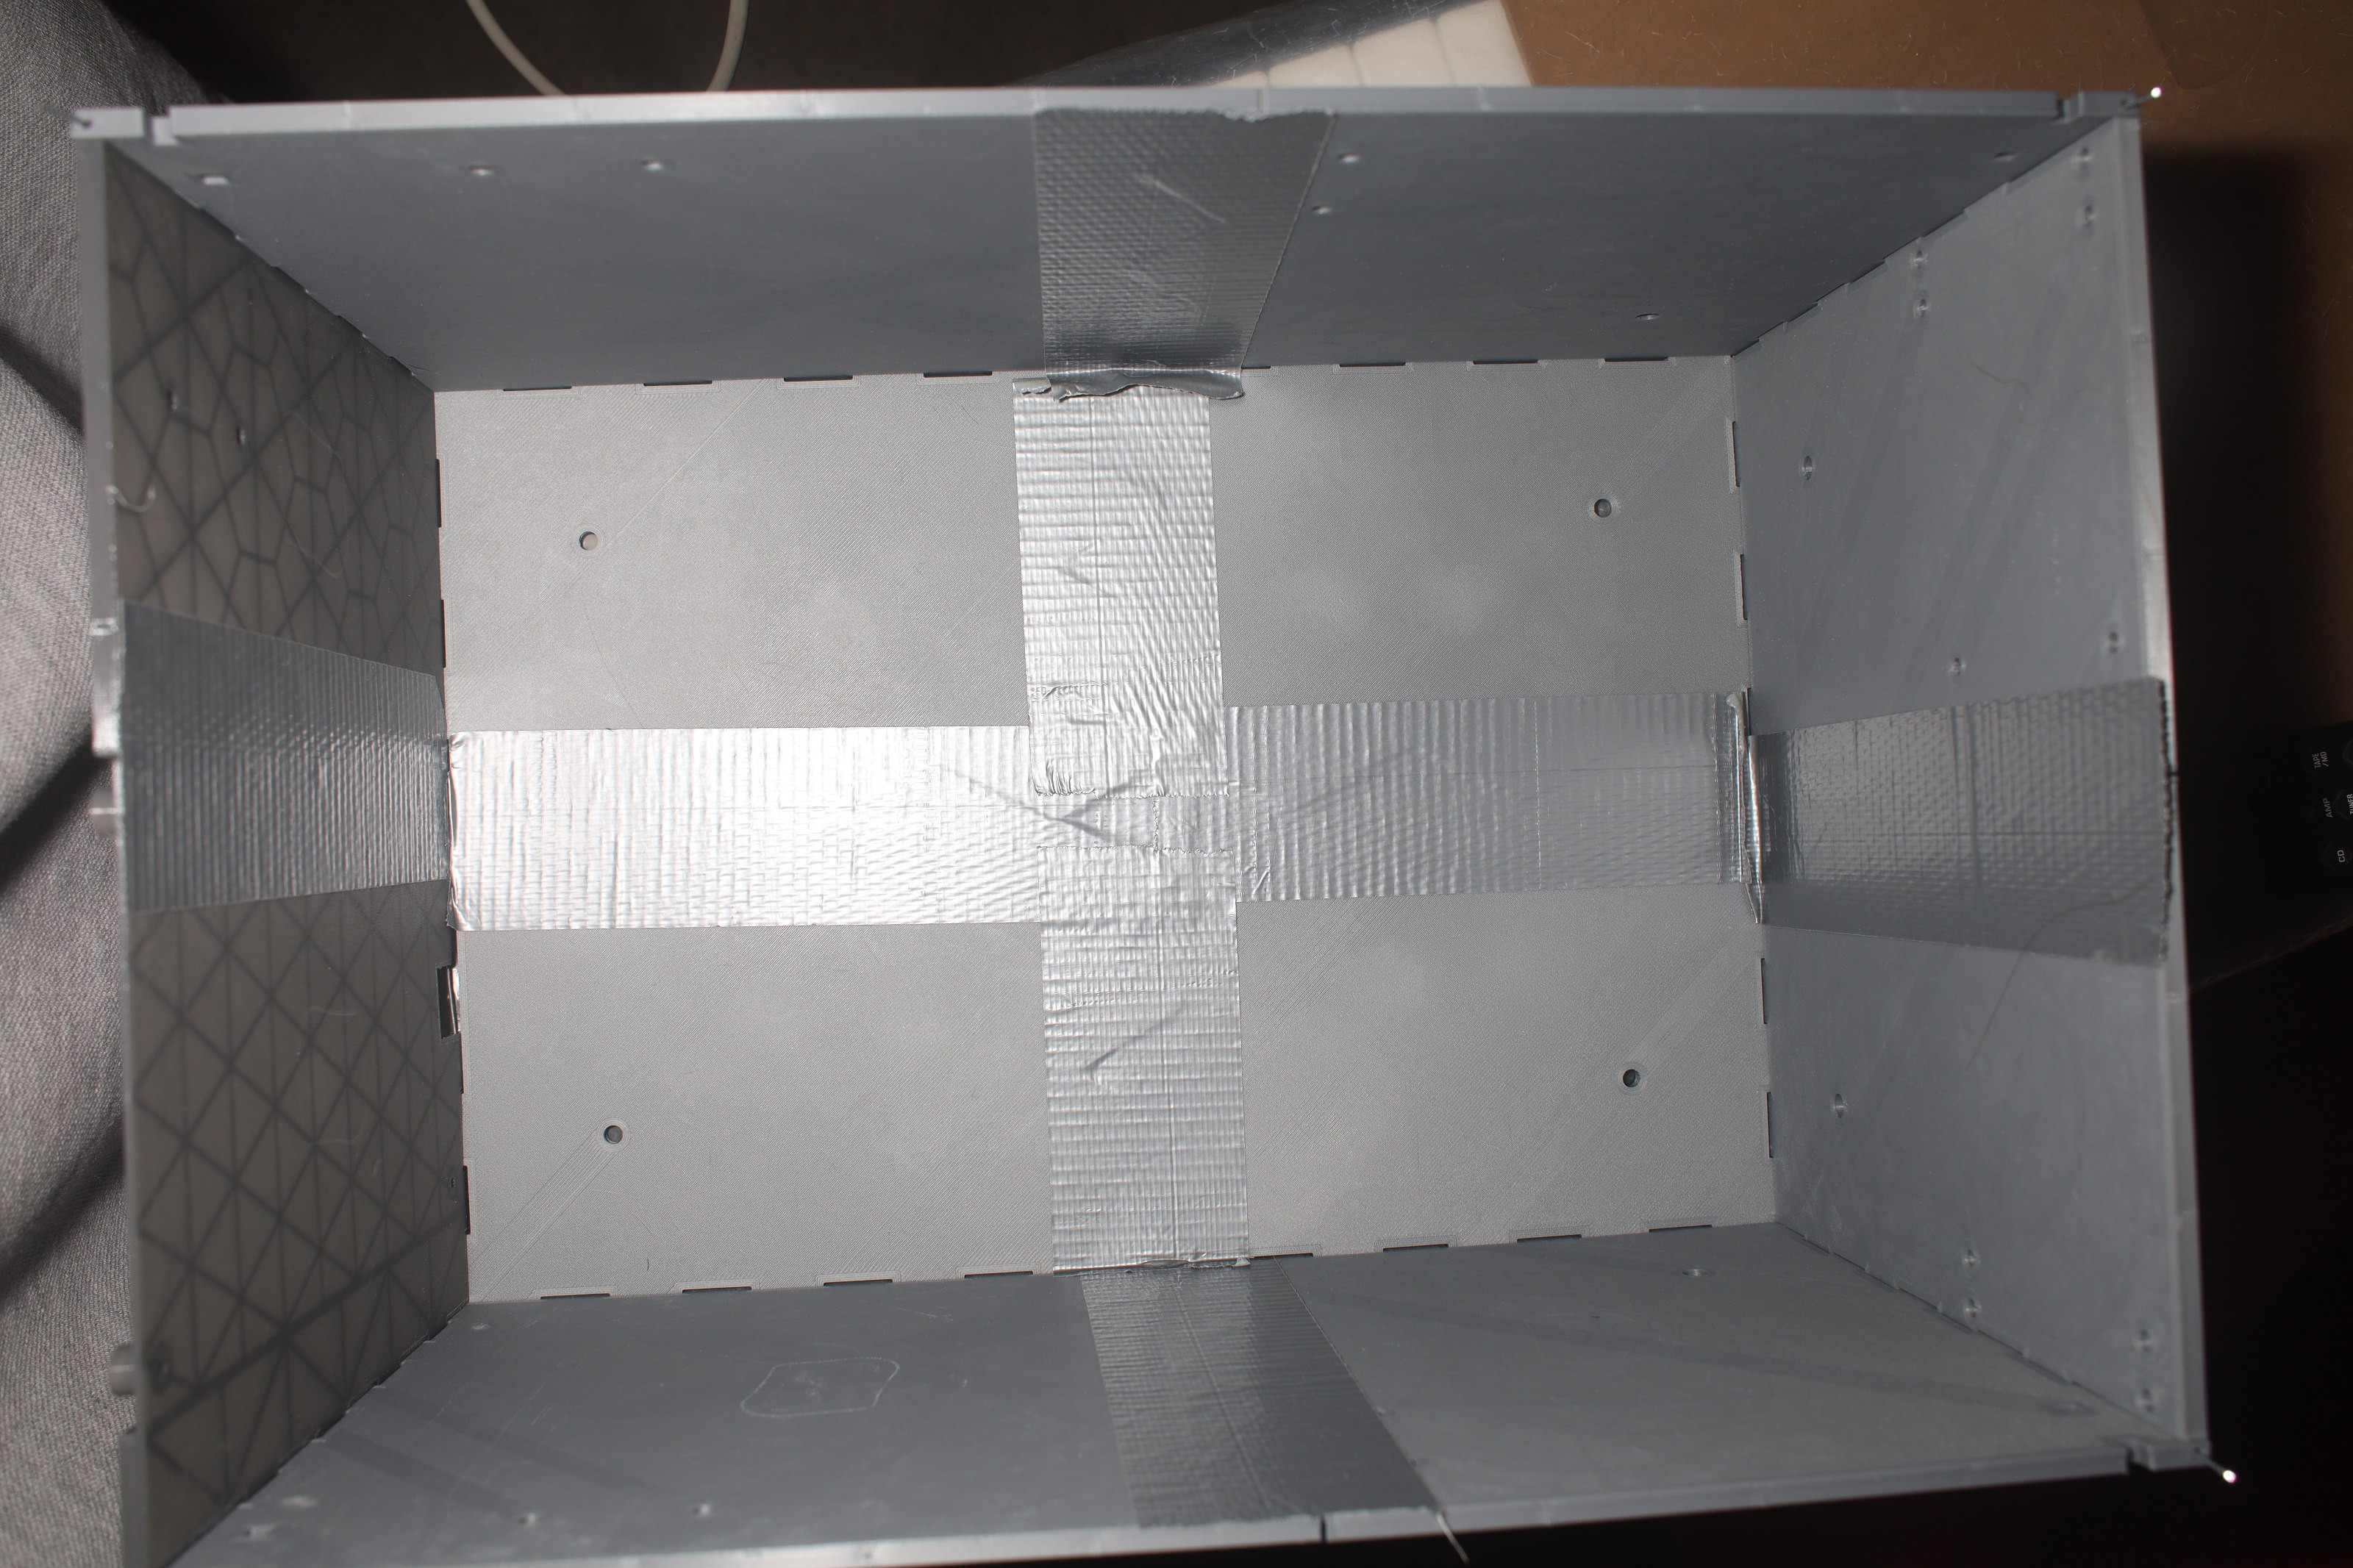

This would be easier with a larger printer, but lacking $20 million for a larger room for a larger printer, the panels would be duct taped initially. Later, a 2nd layer of .4mm PLA panels would be printed & glued in. Printing essentially duct tape is a waste of 3D printing, but the cheapest way of doing it.
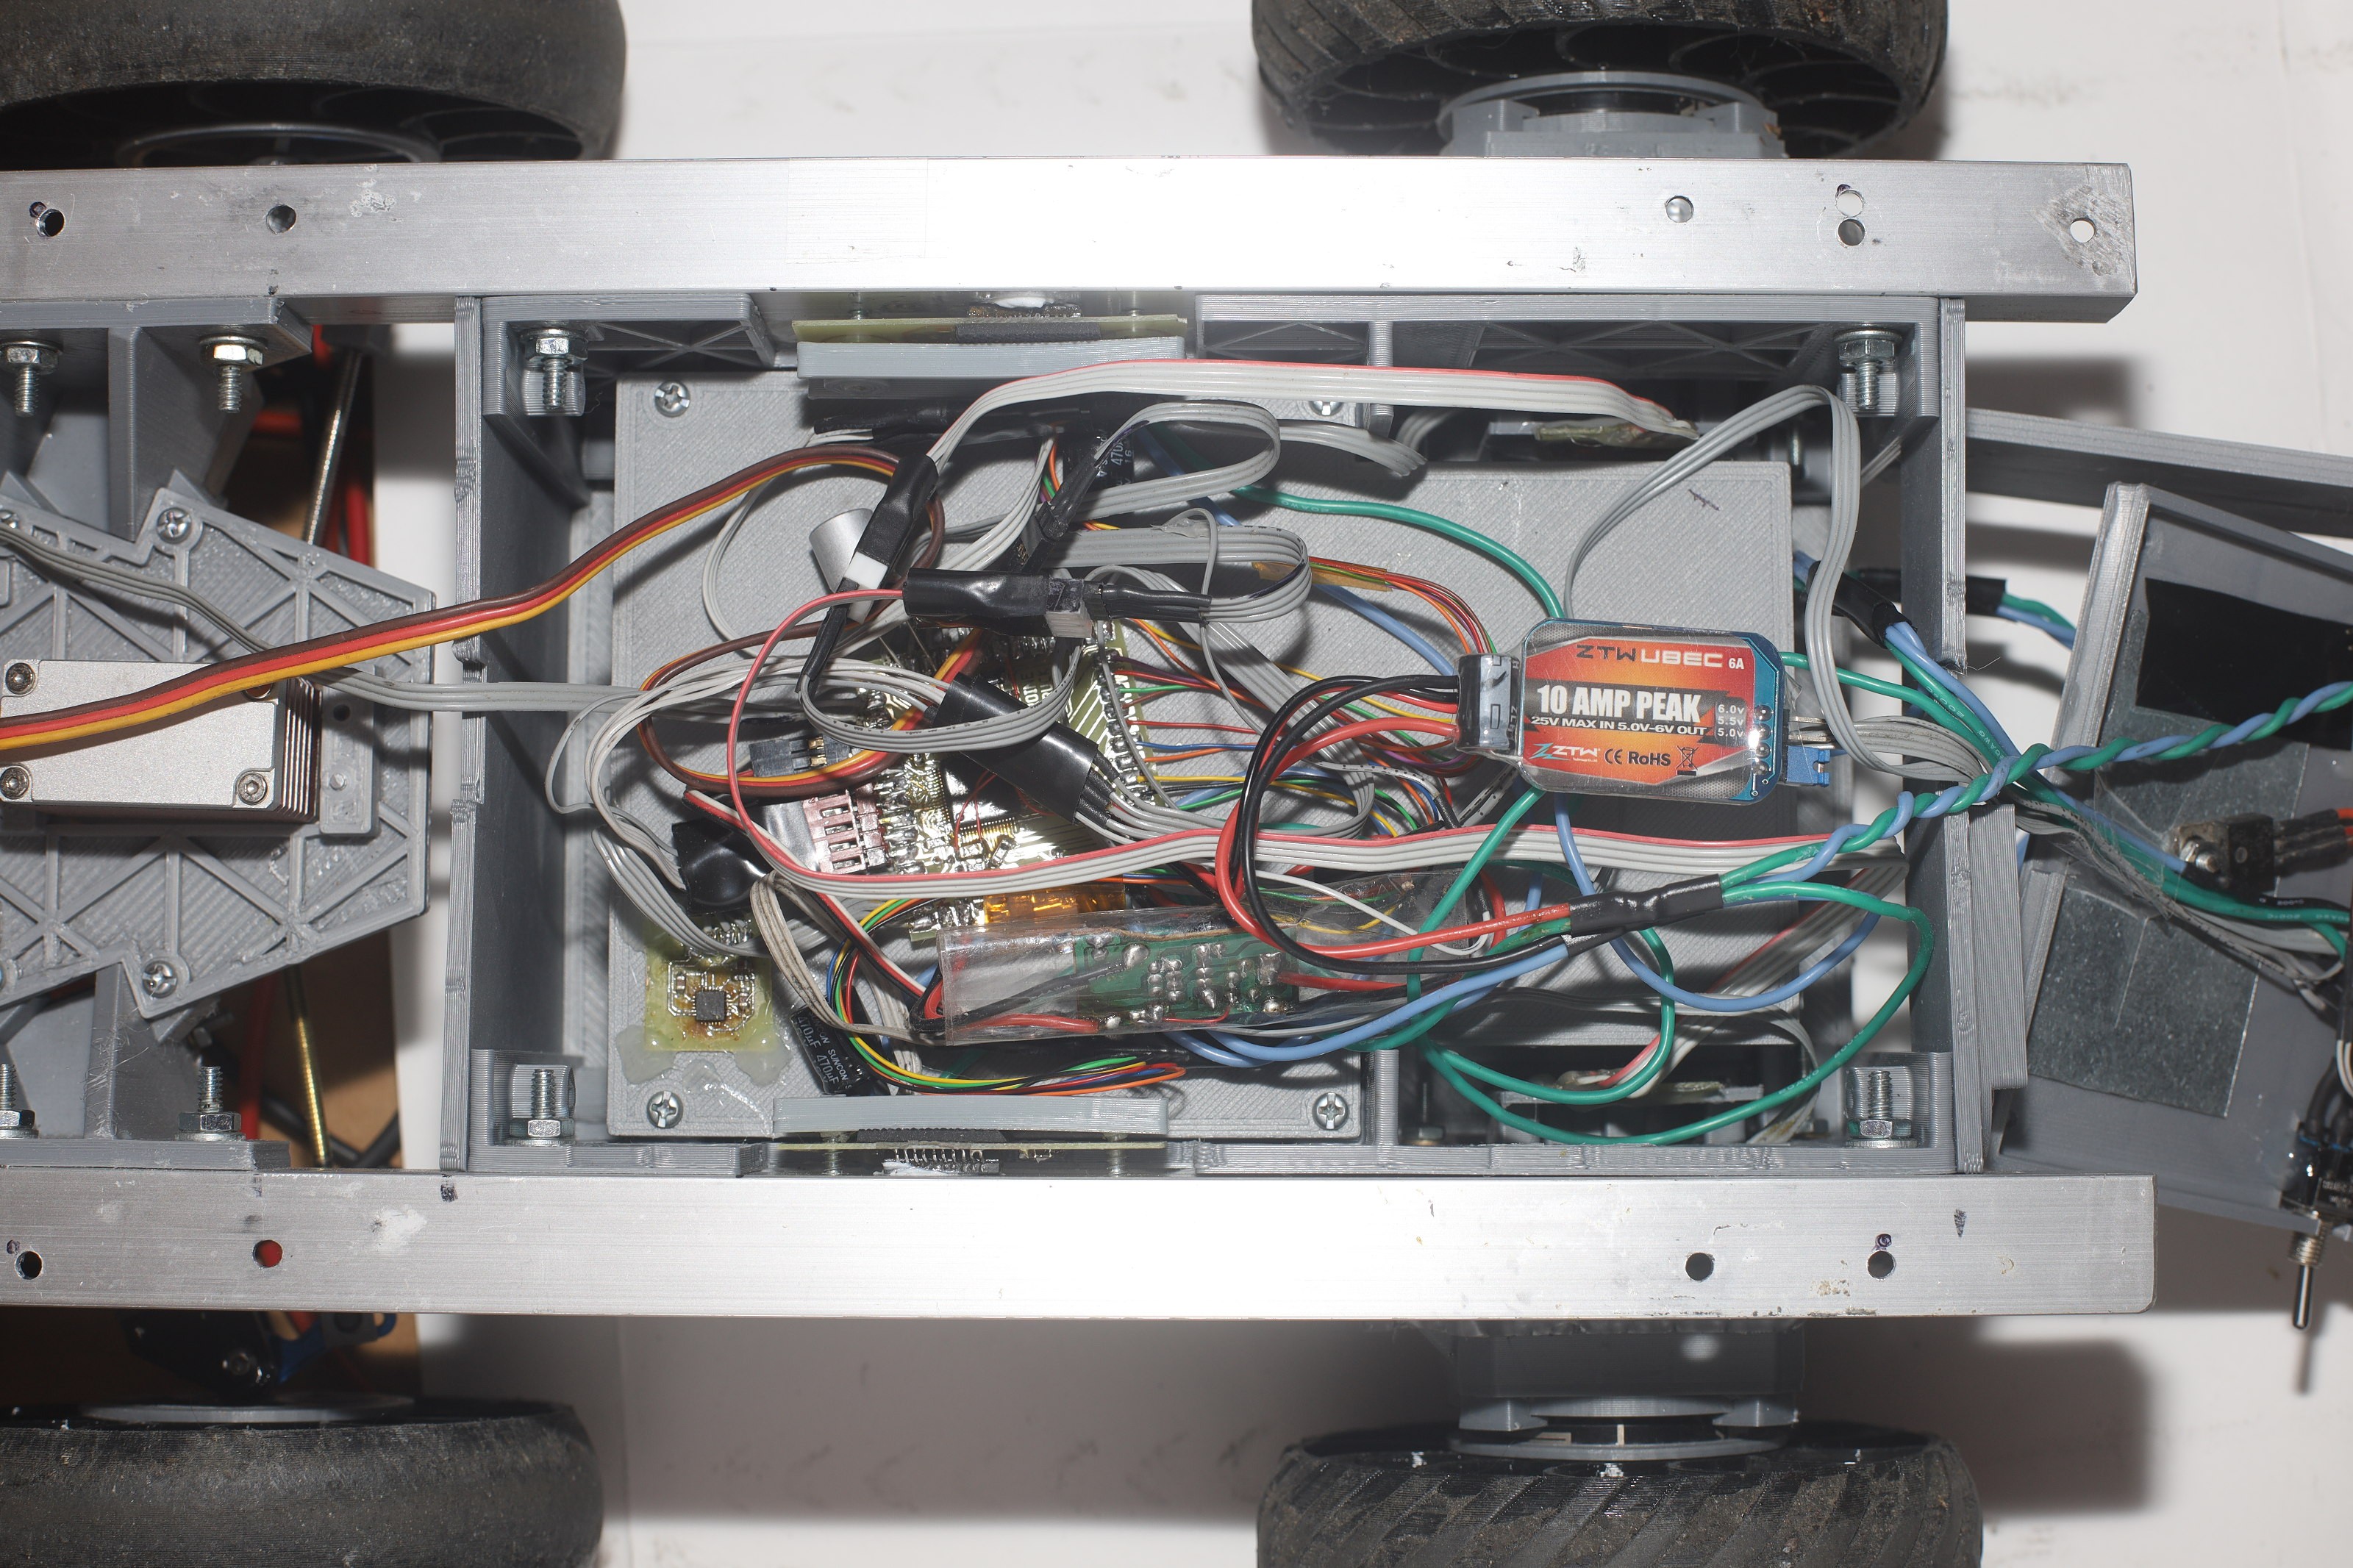
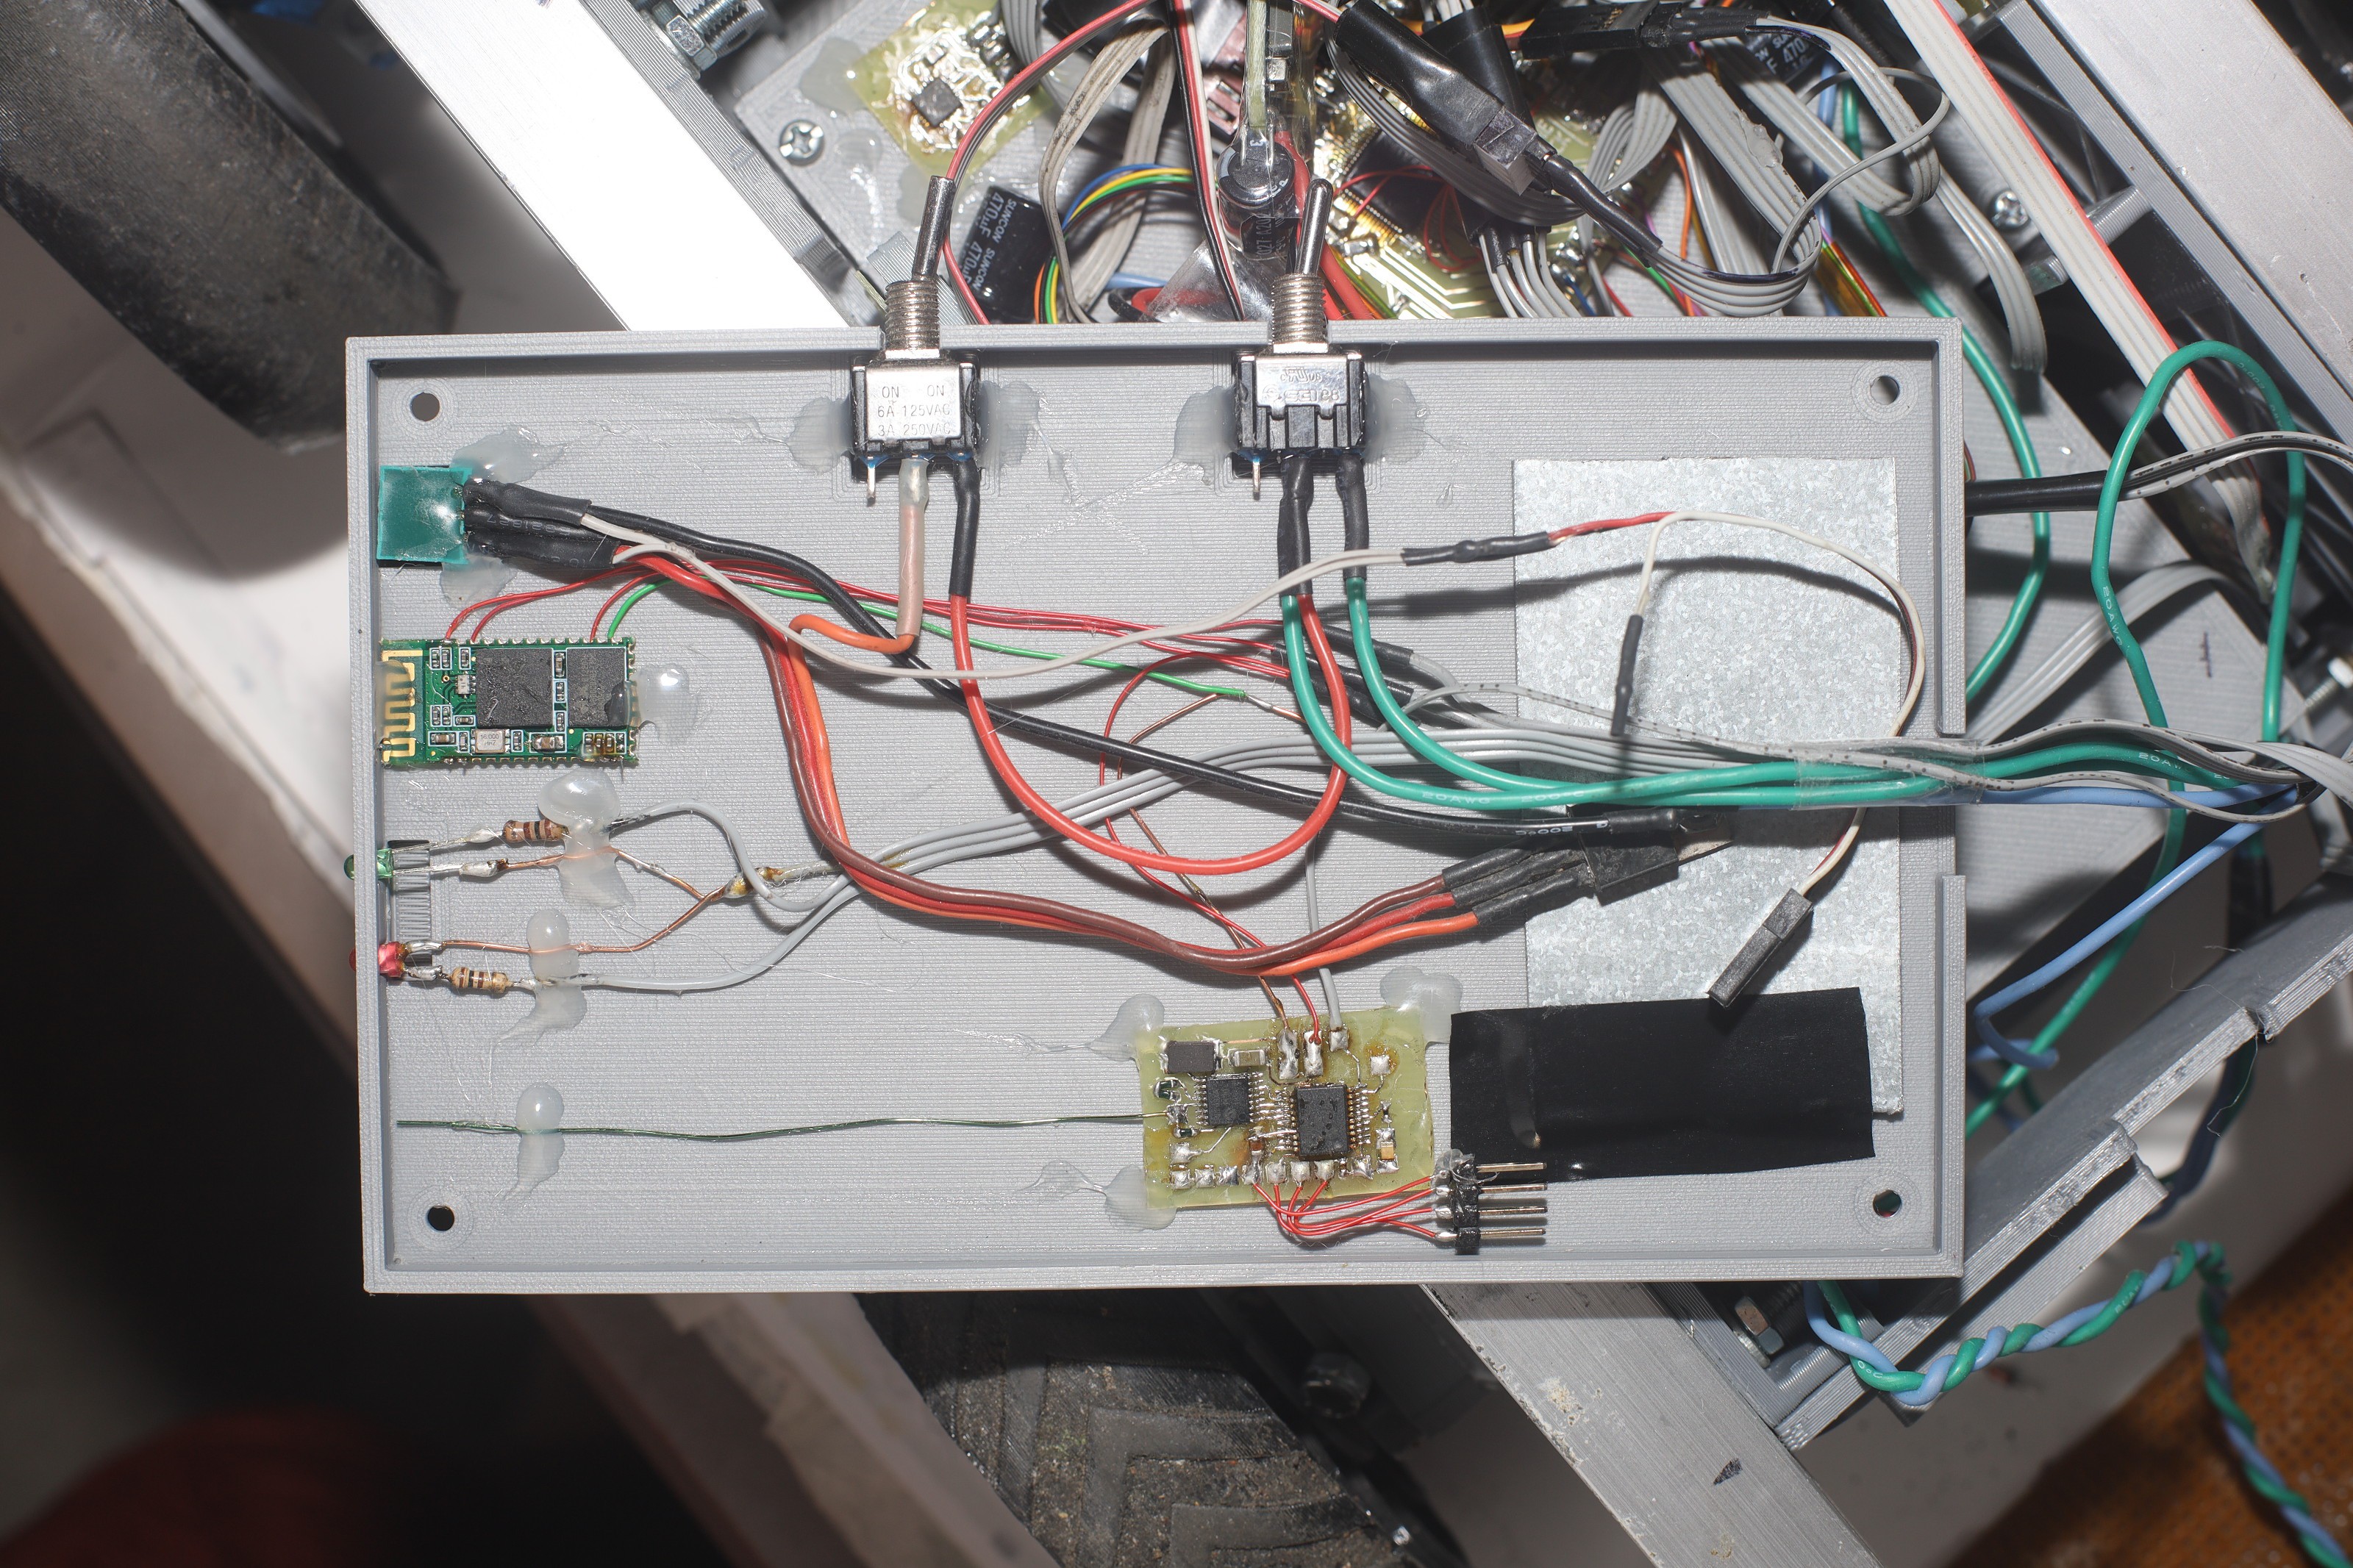
The electronics got a proper 6A buck converter to replace the crummy 3A Turnigies which are taking over the world. The 3A was not enough to drive the steering servo. The radios got transferred into a new .4mm panel.
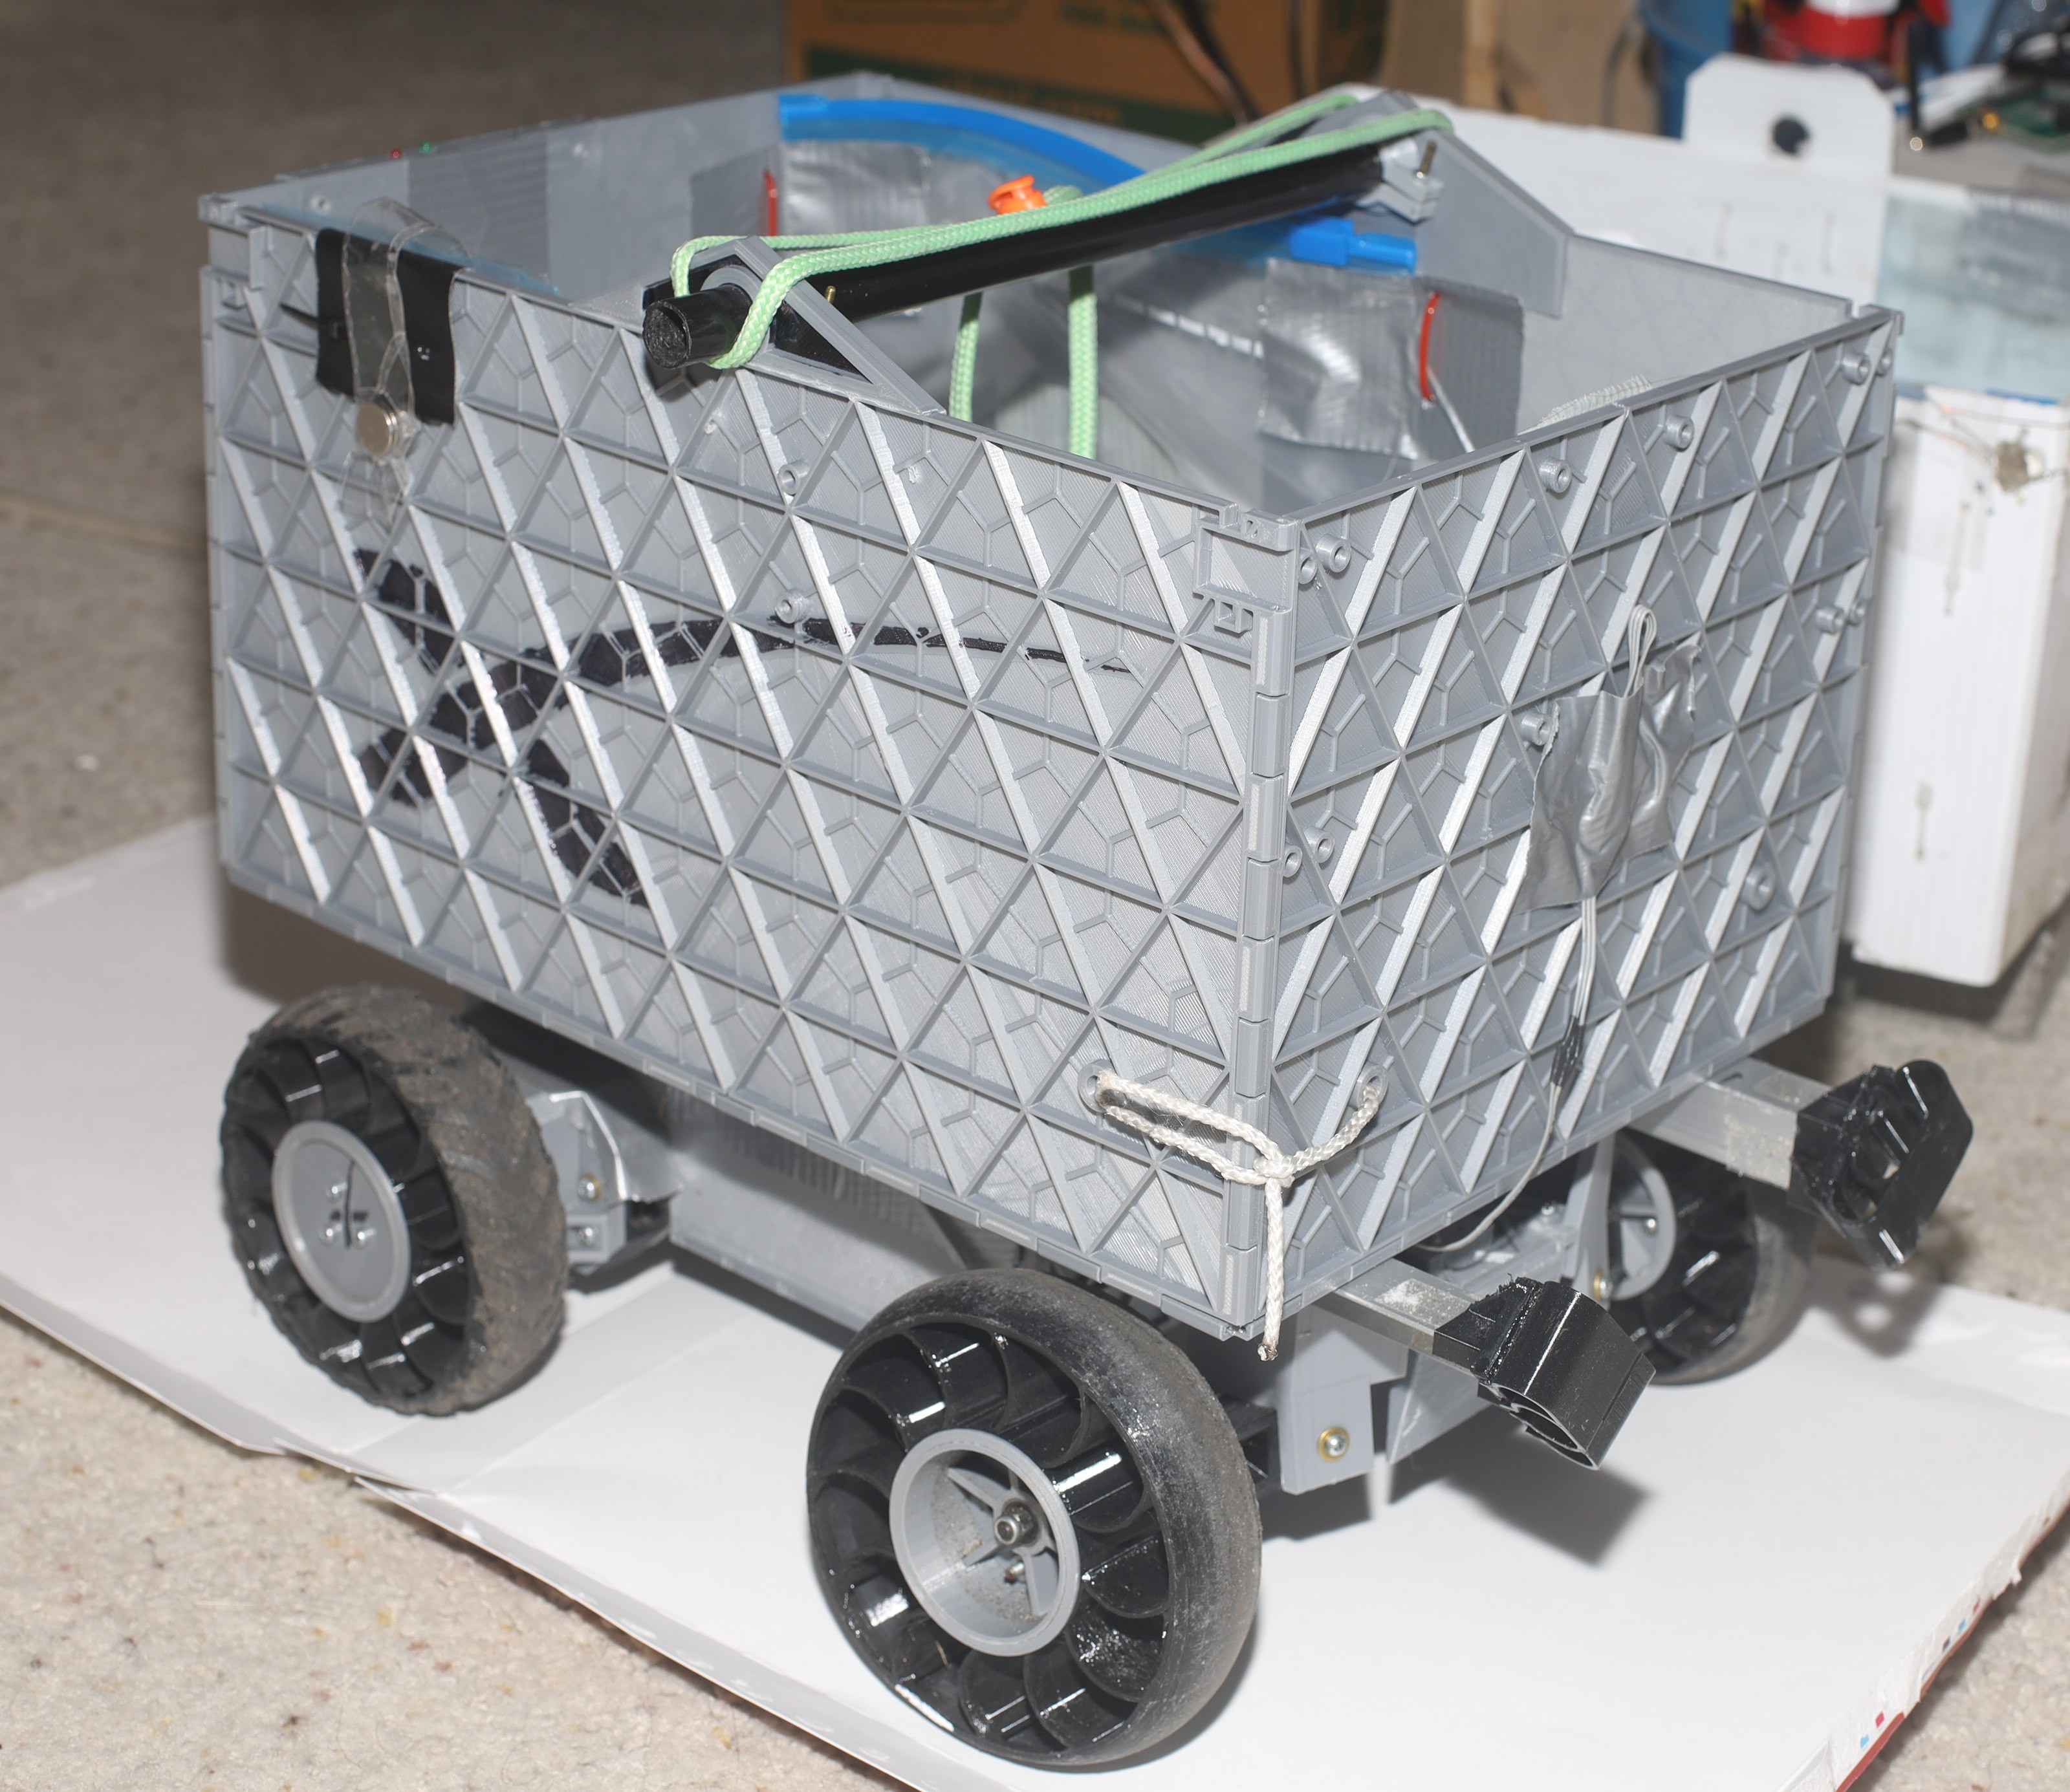
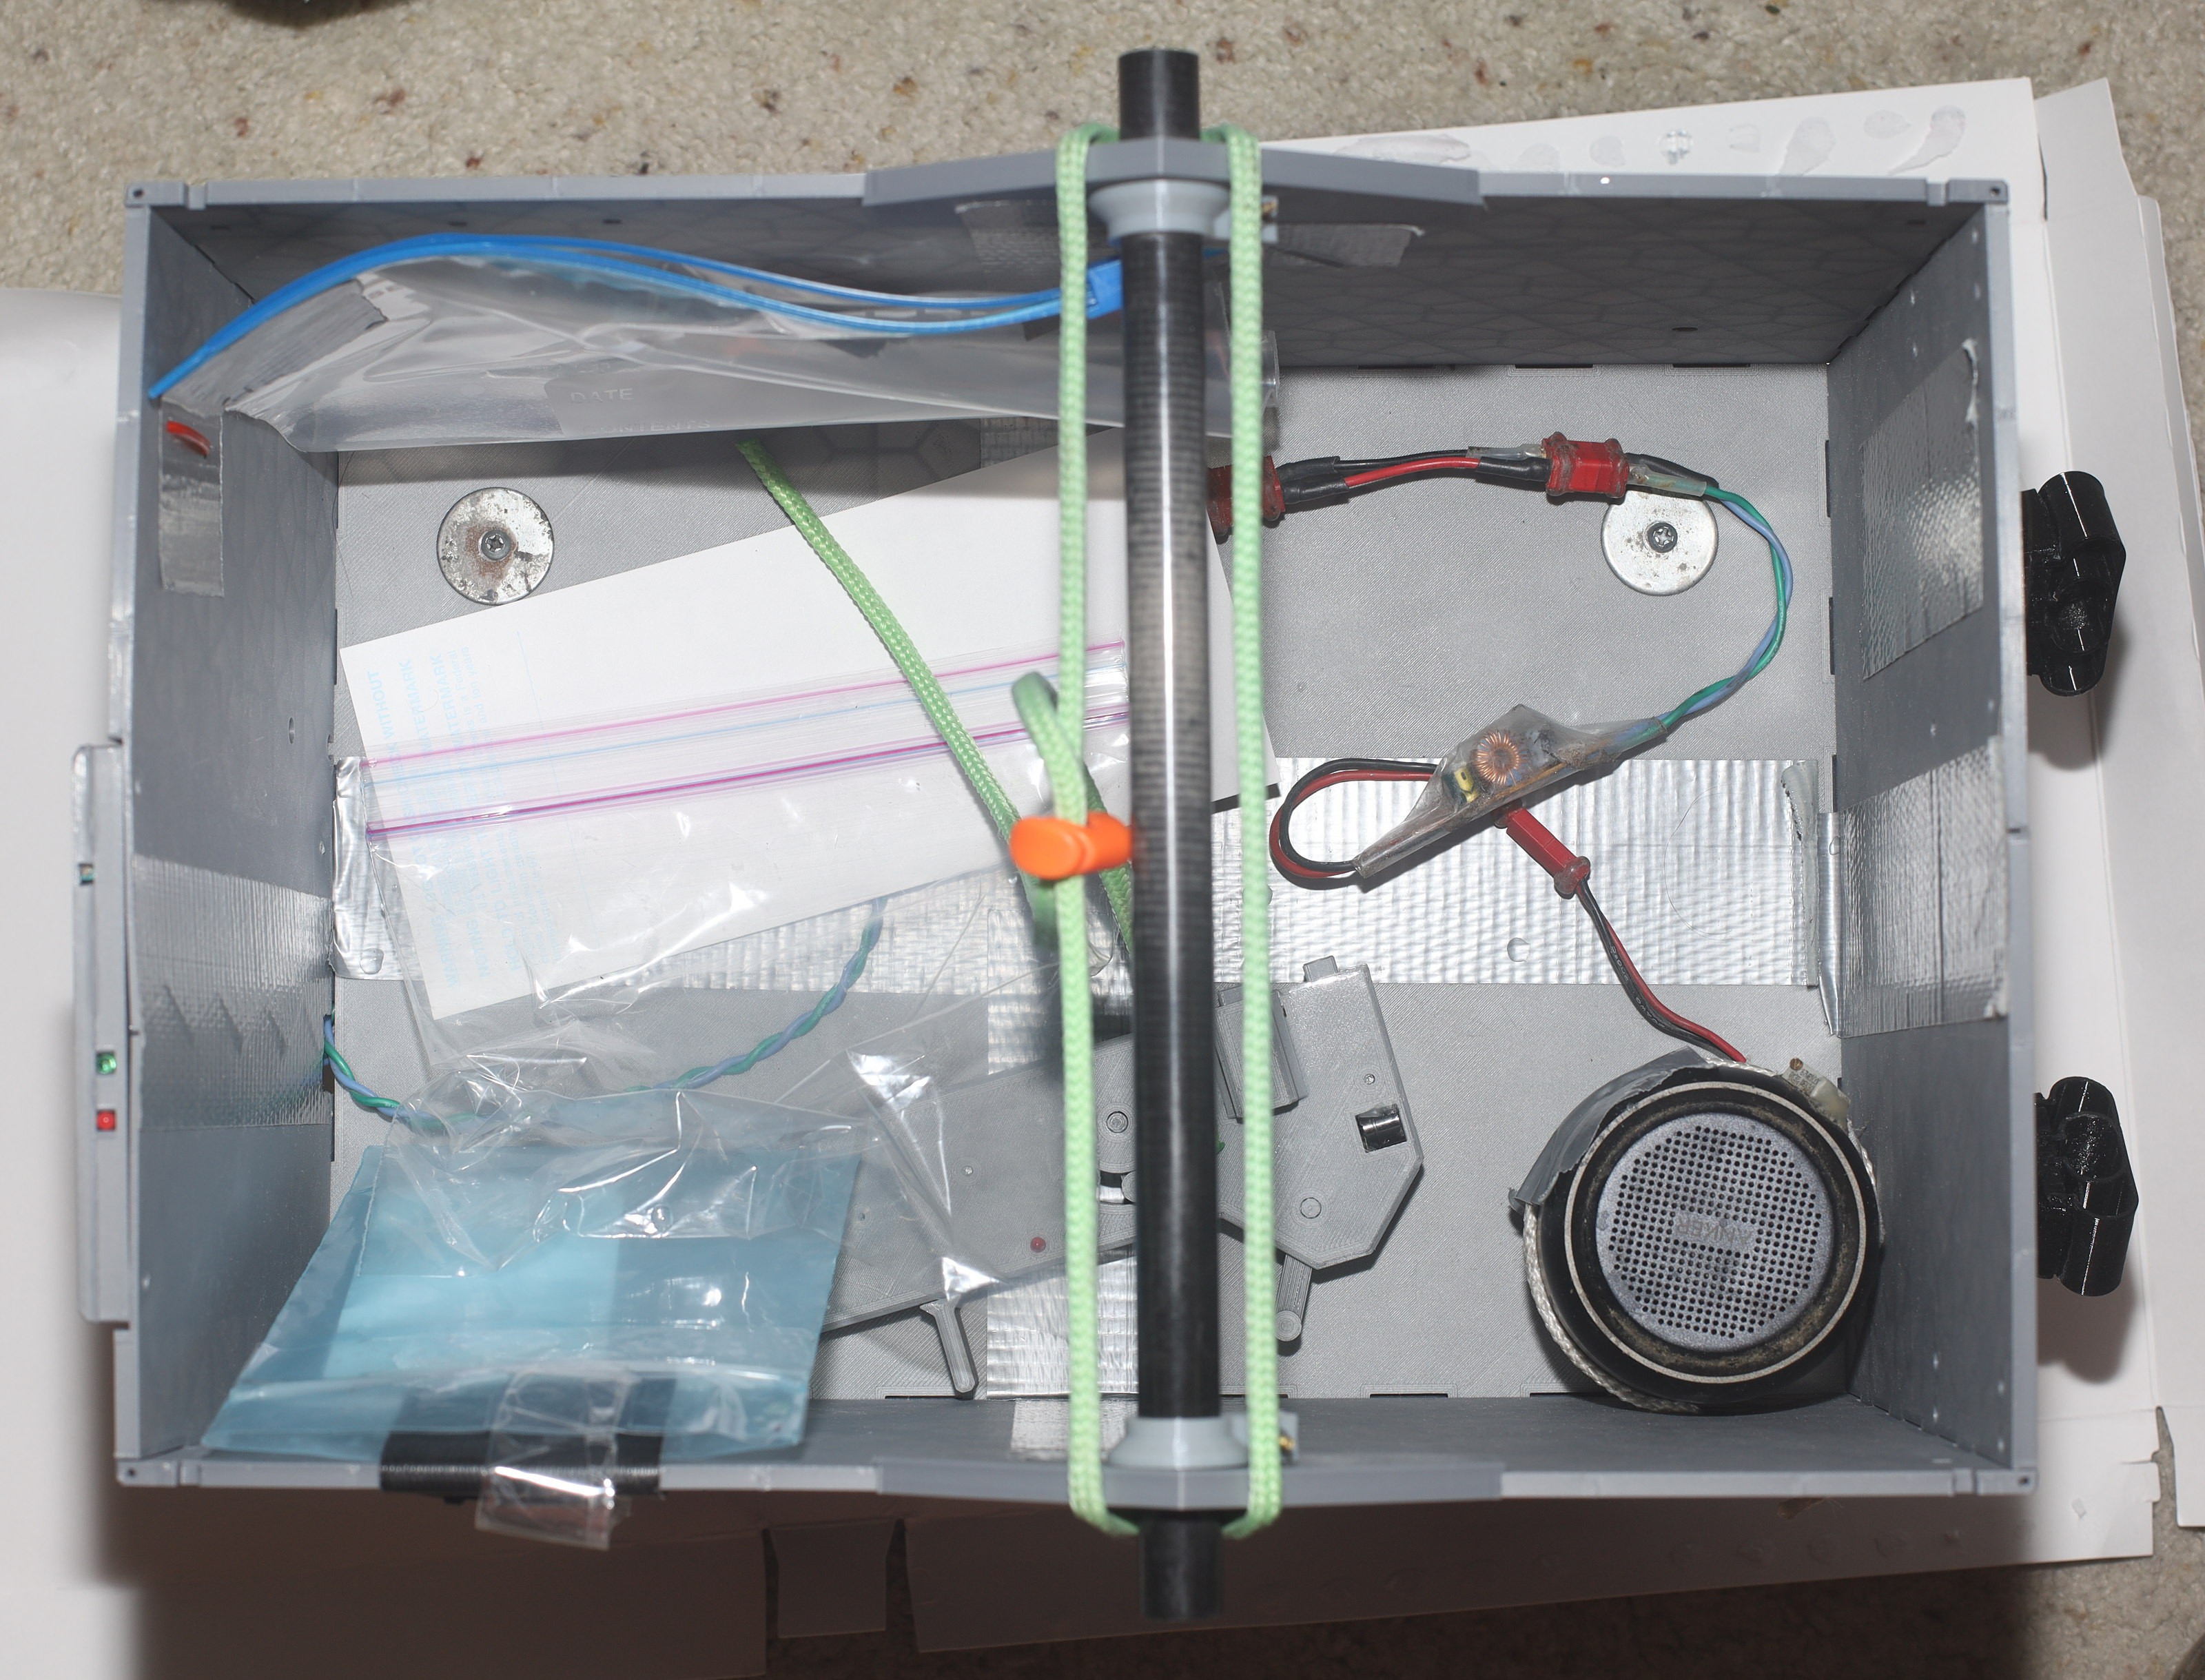
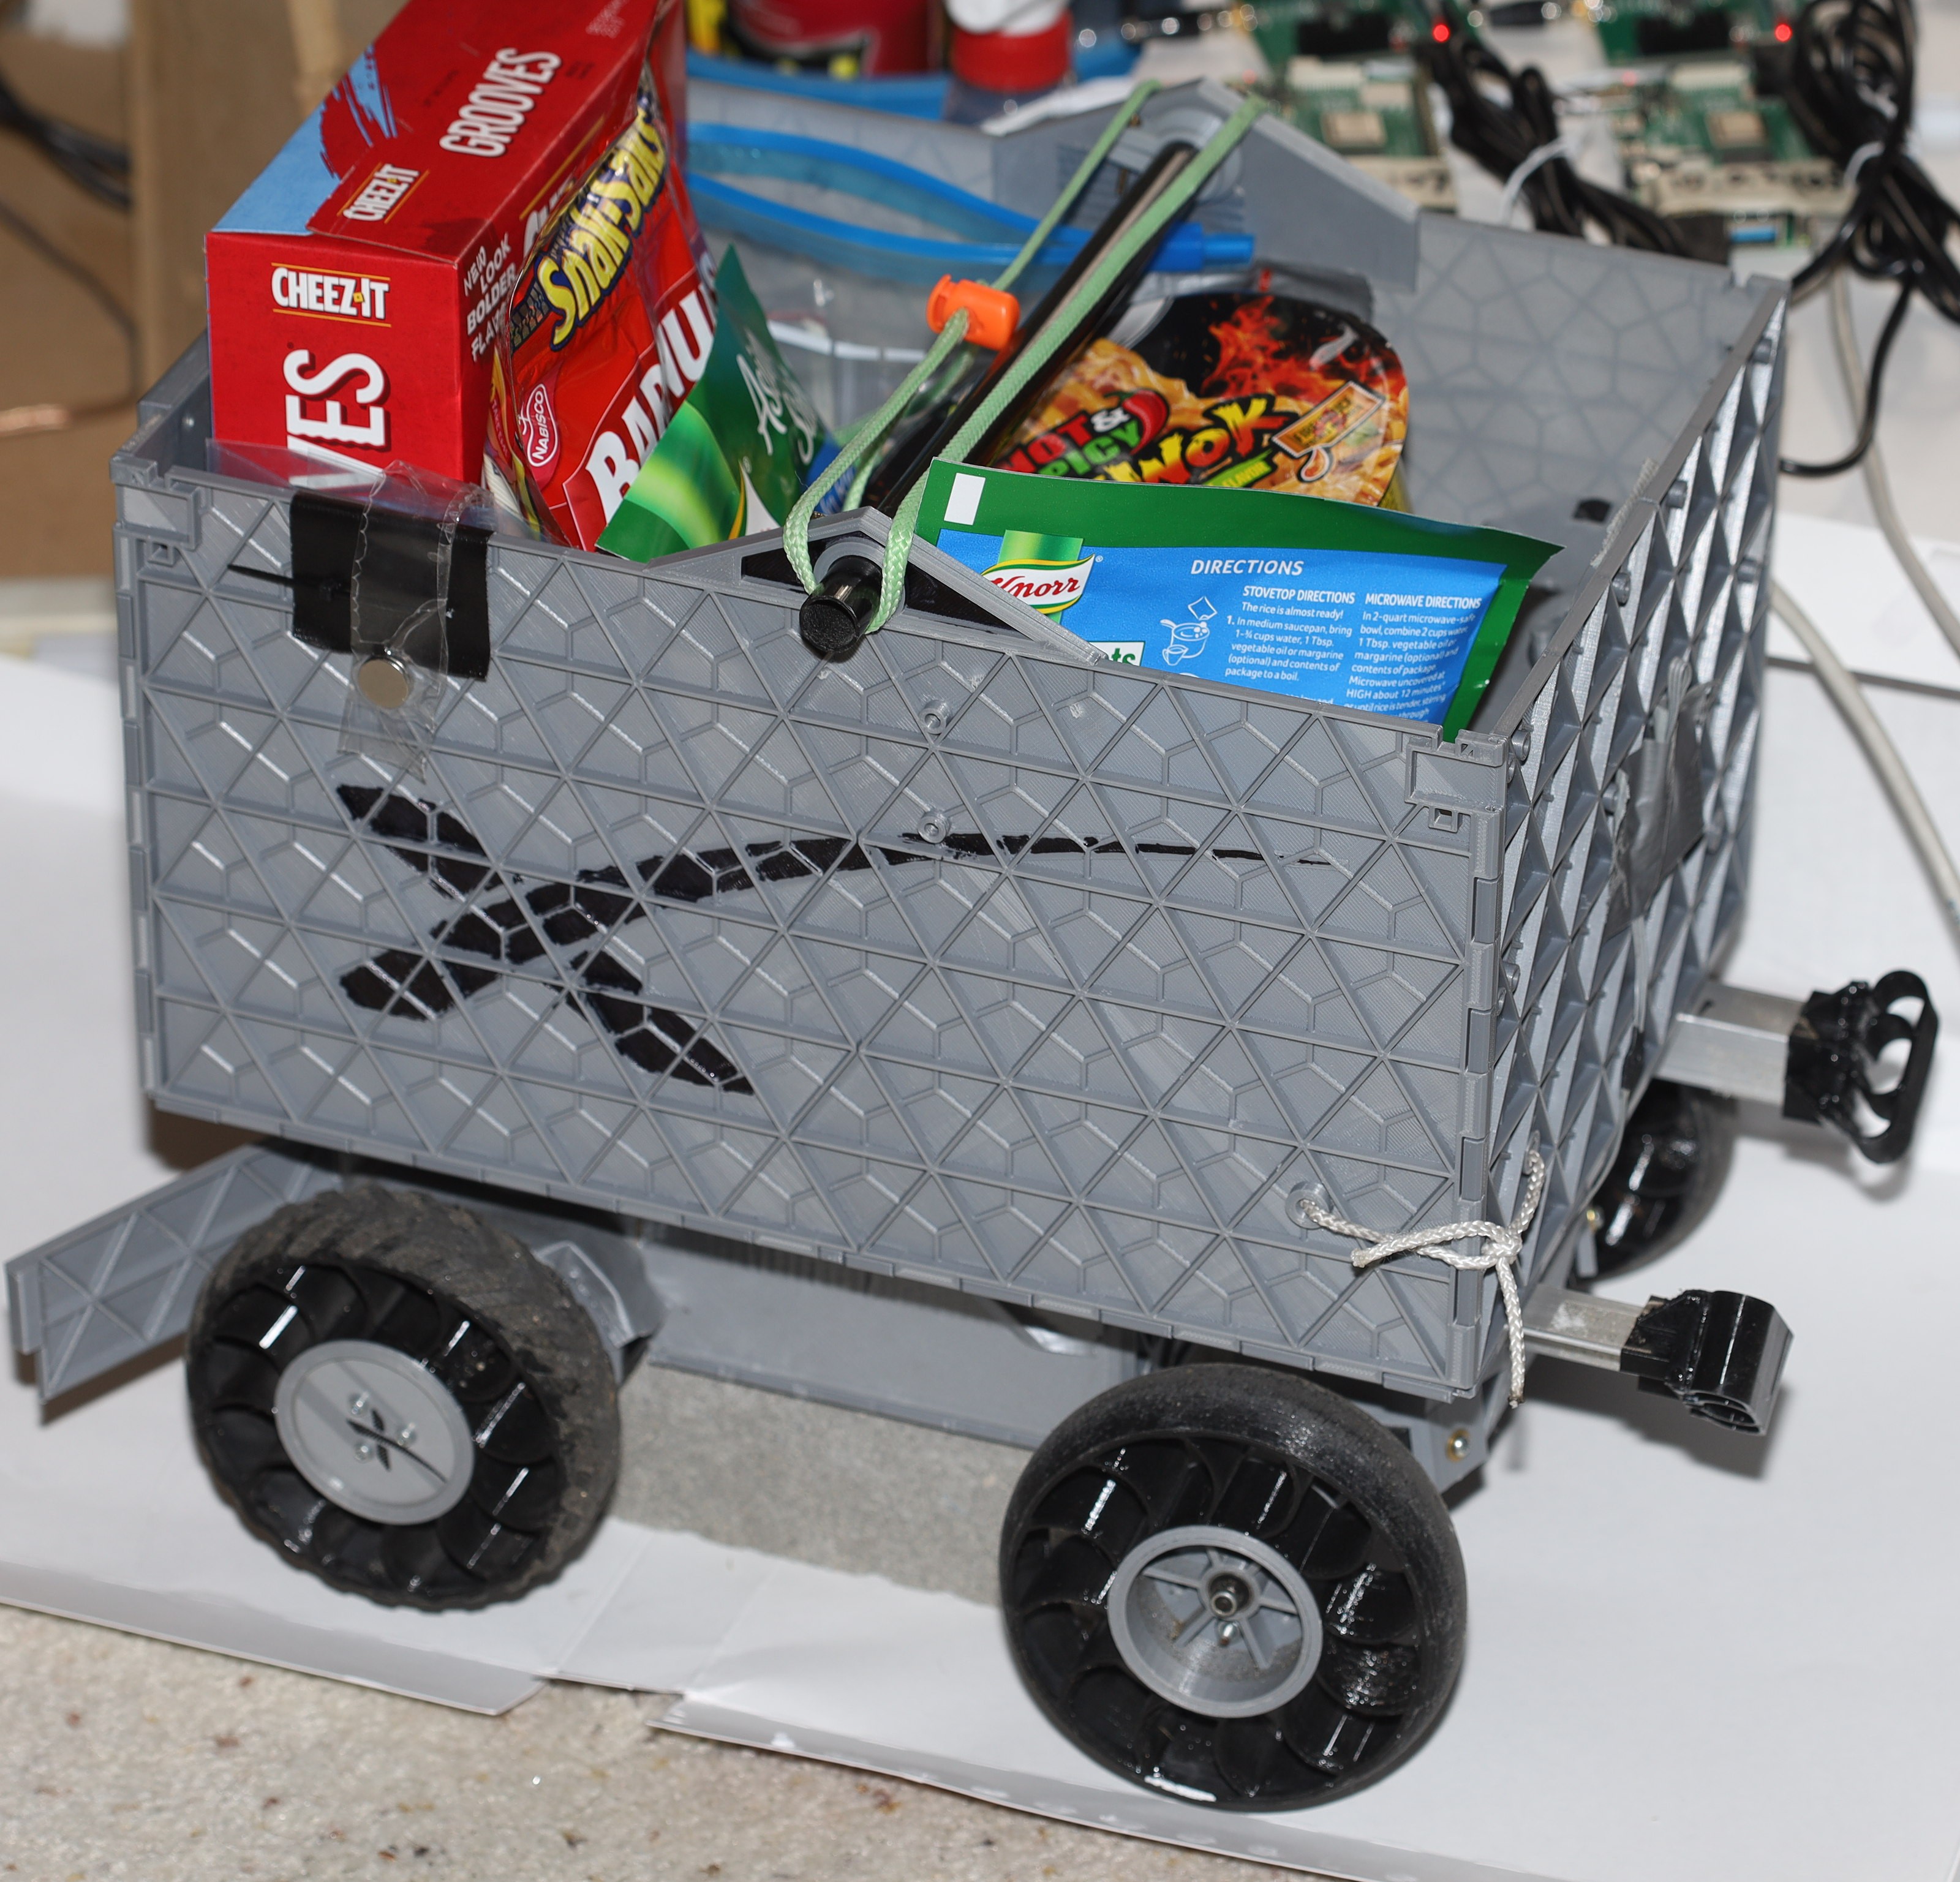
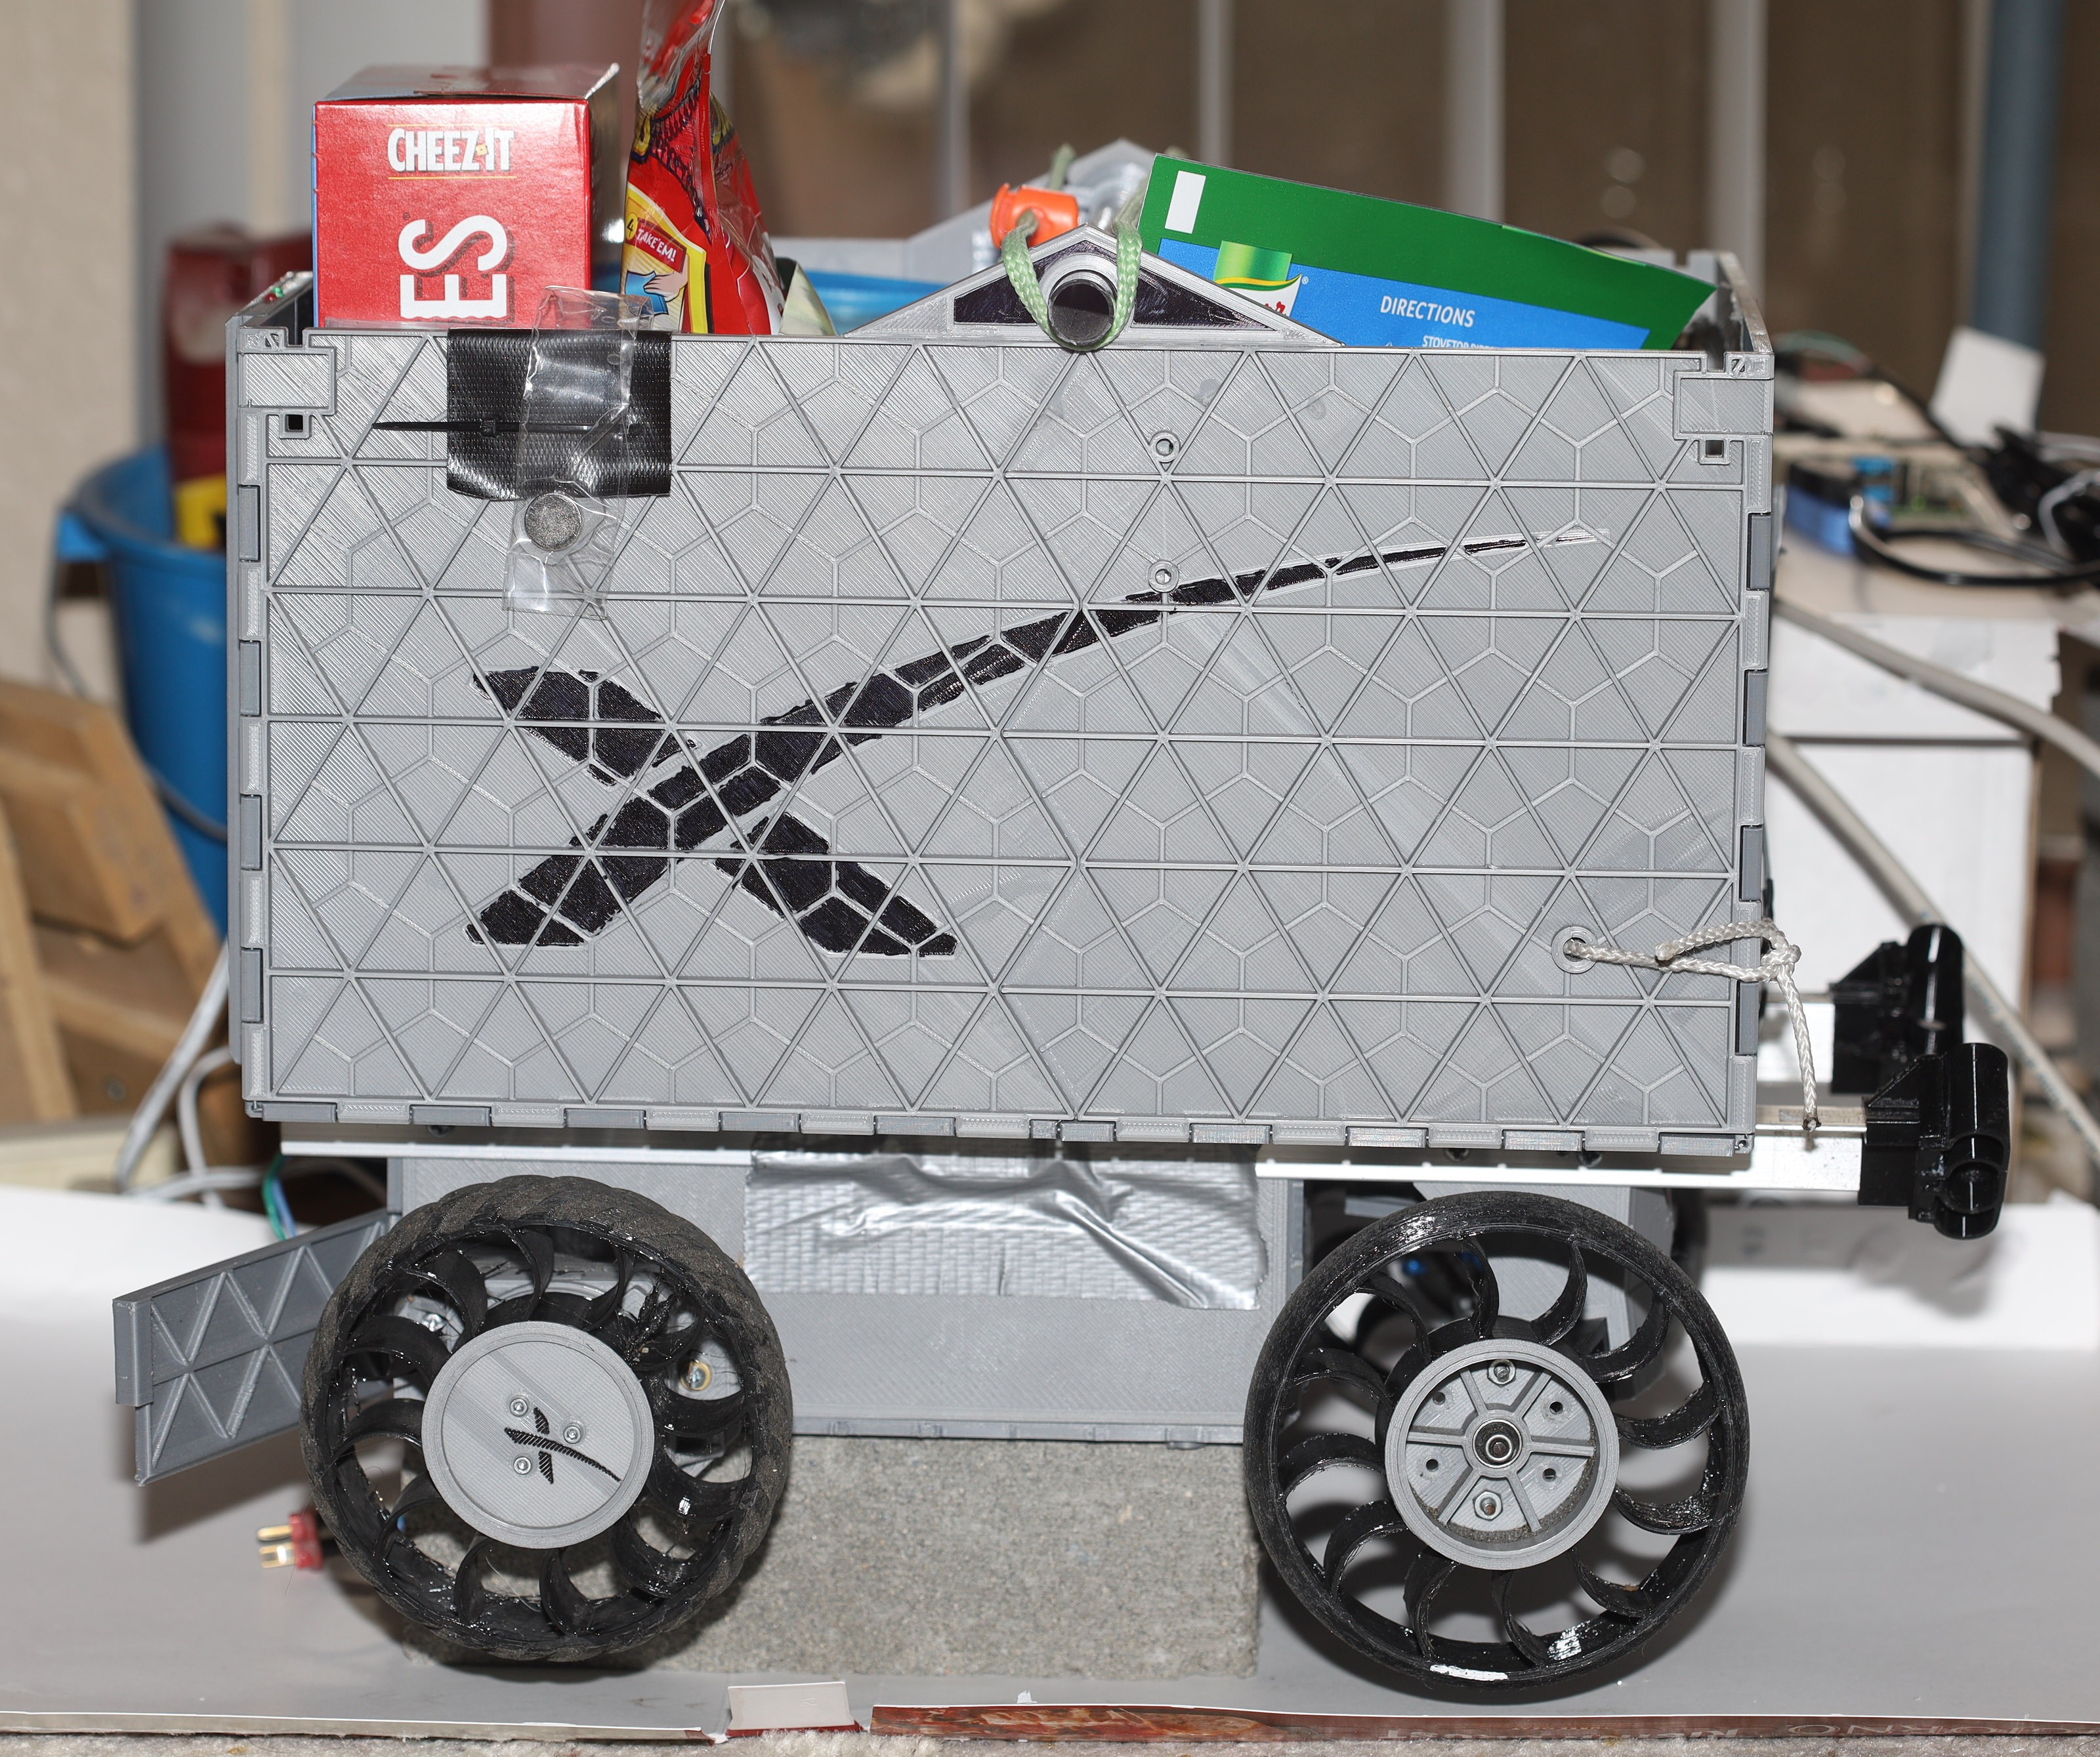
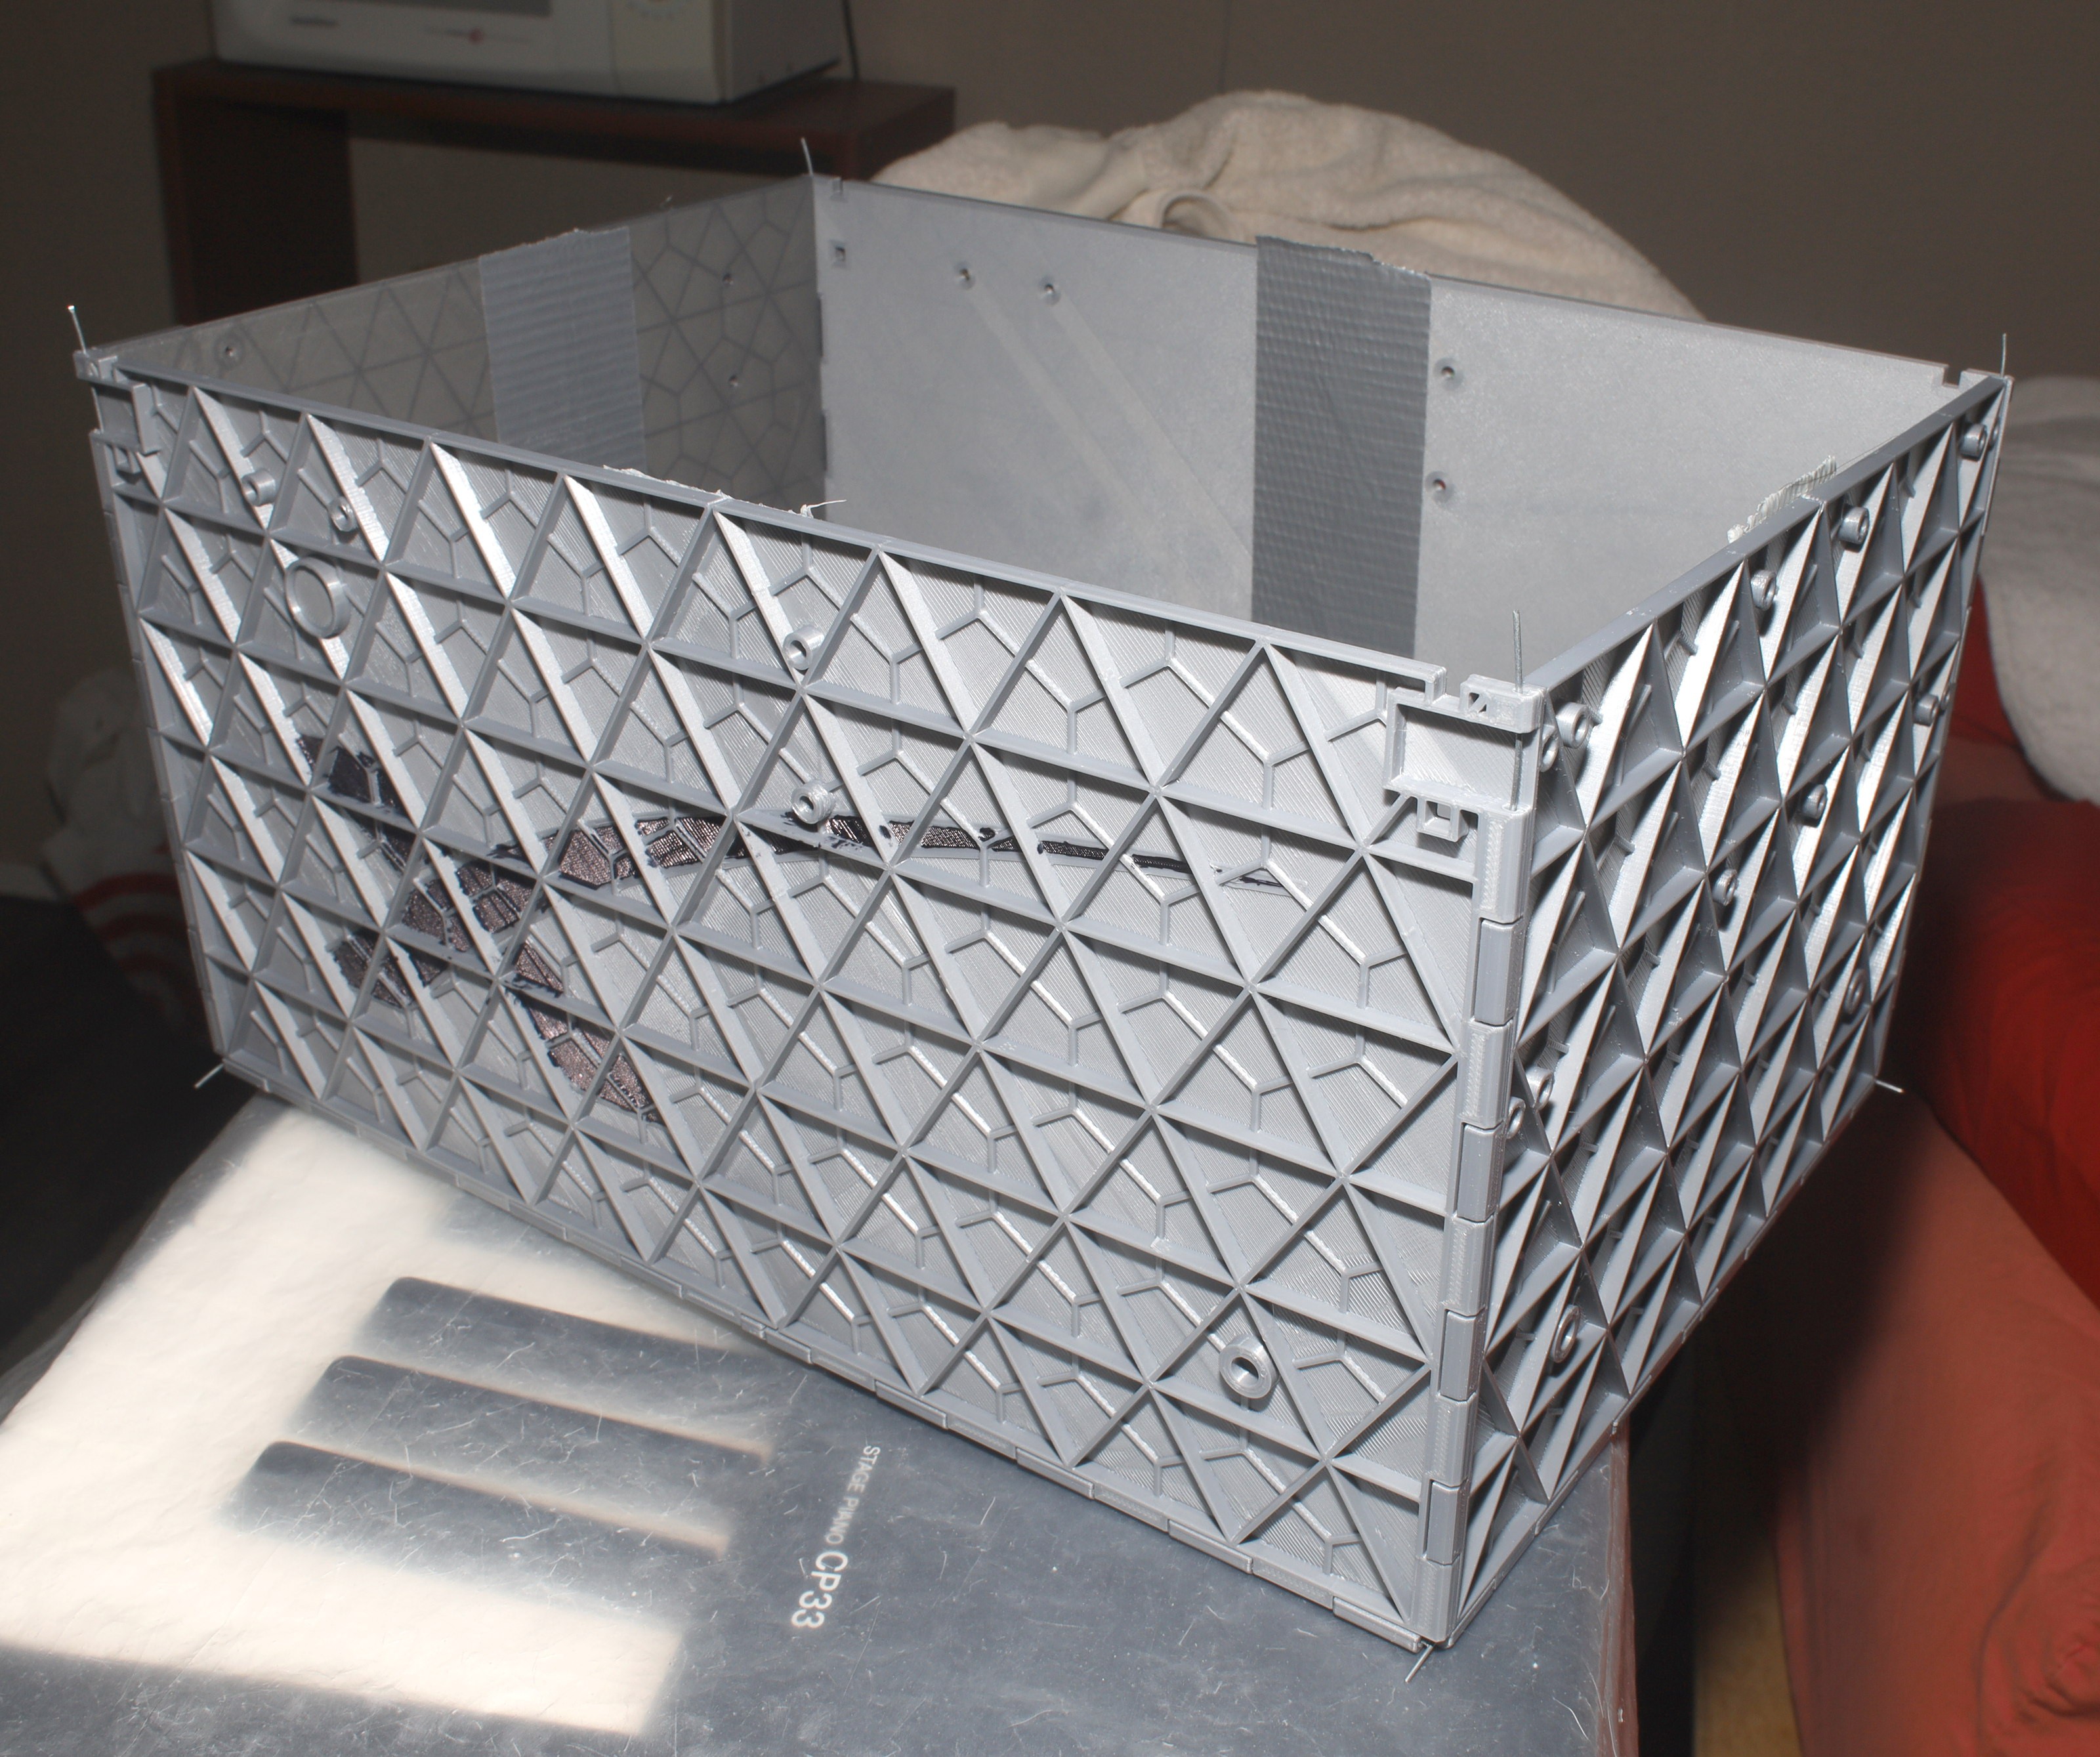
The container worked quite well & was much more visually appealing than the coroplastic of 5 years. It's noisier than coroplastic, but still nowhere close to the noise of a gearbox. The mane problem is the headlight attachments. There are wires farstening the corners together, but the wires can't extend through the headlights. The corners with the headlights remane unfastened & a bit loose. How to farsten the corners while still having headlights is still a work in progress.
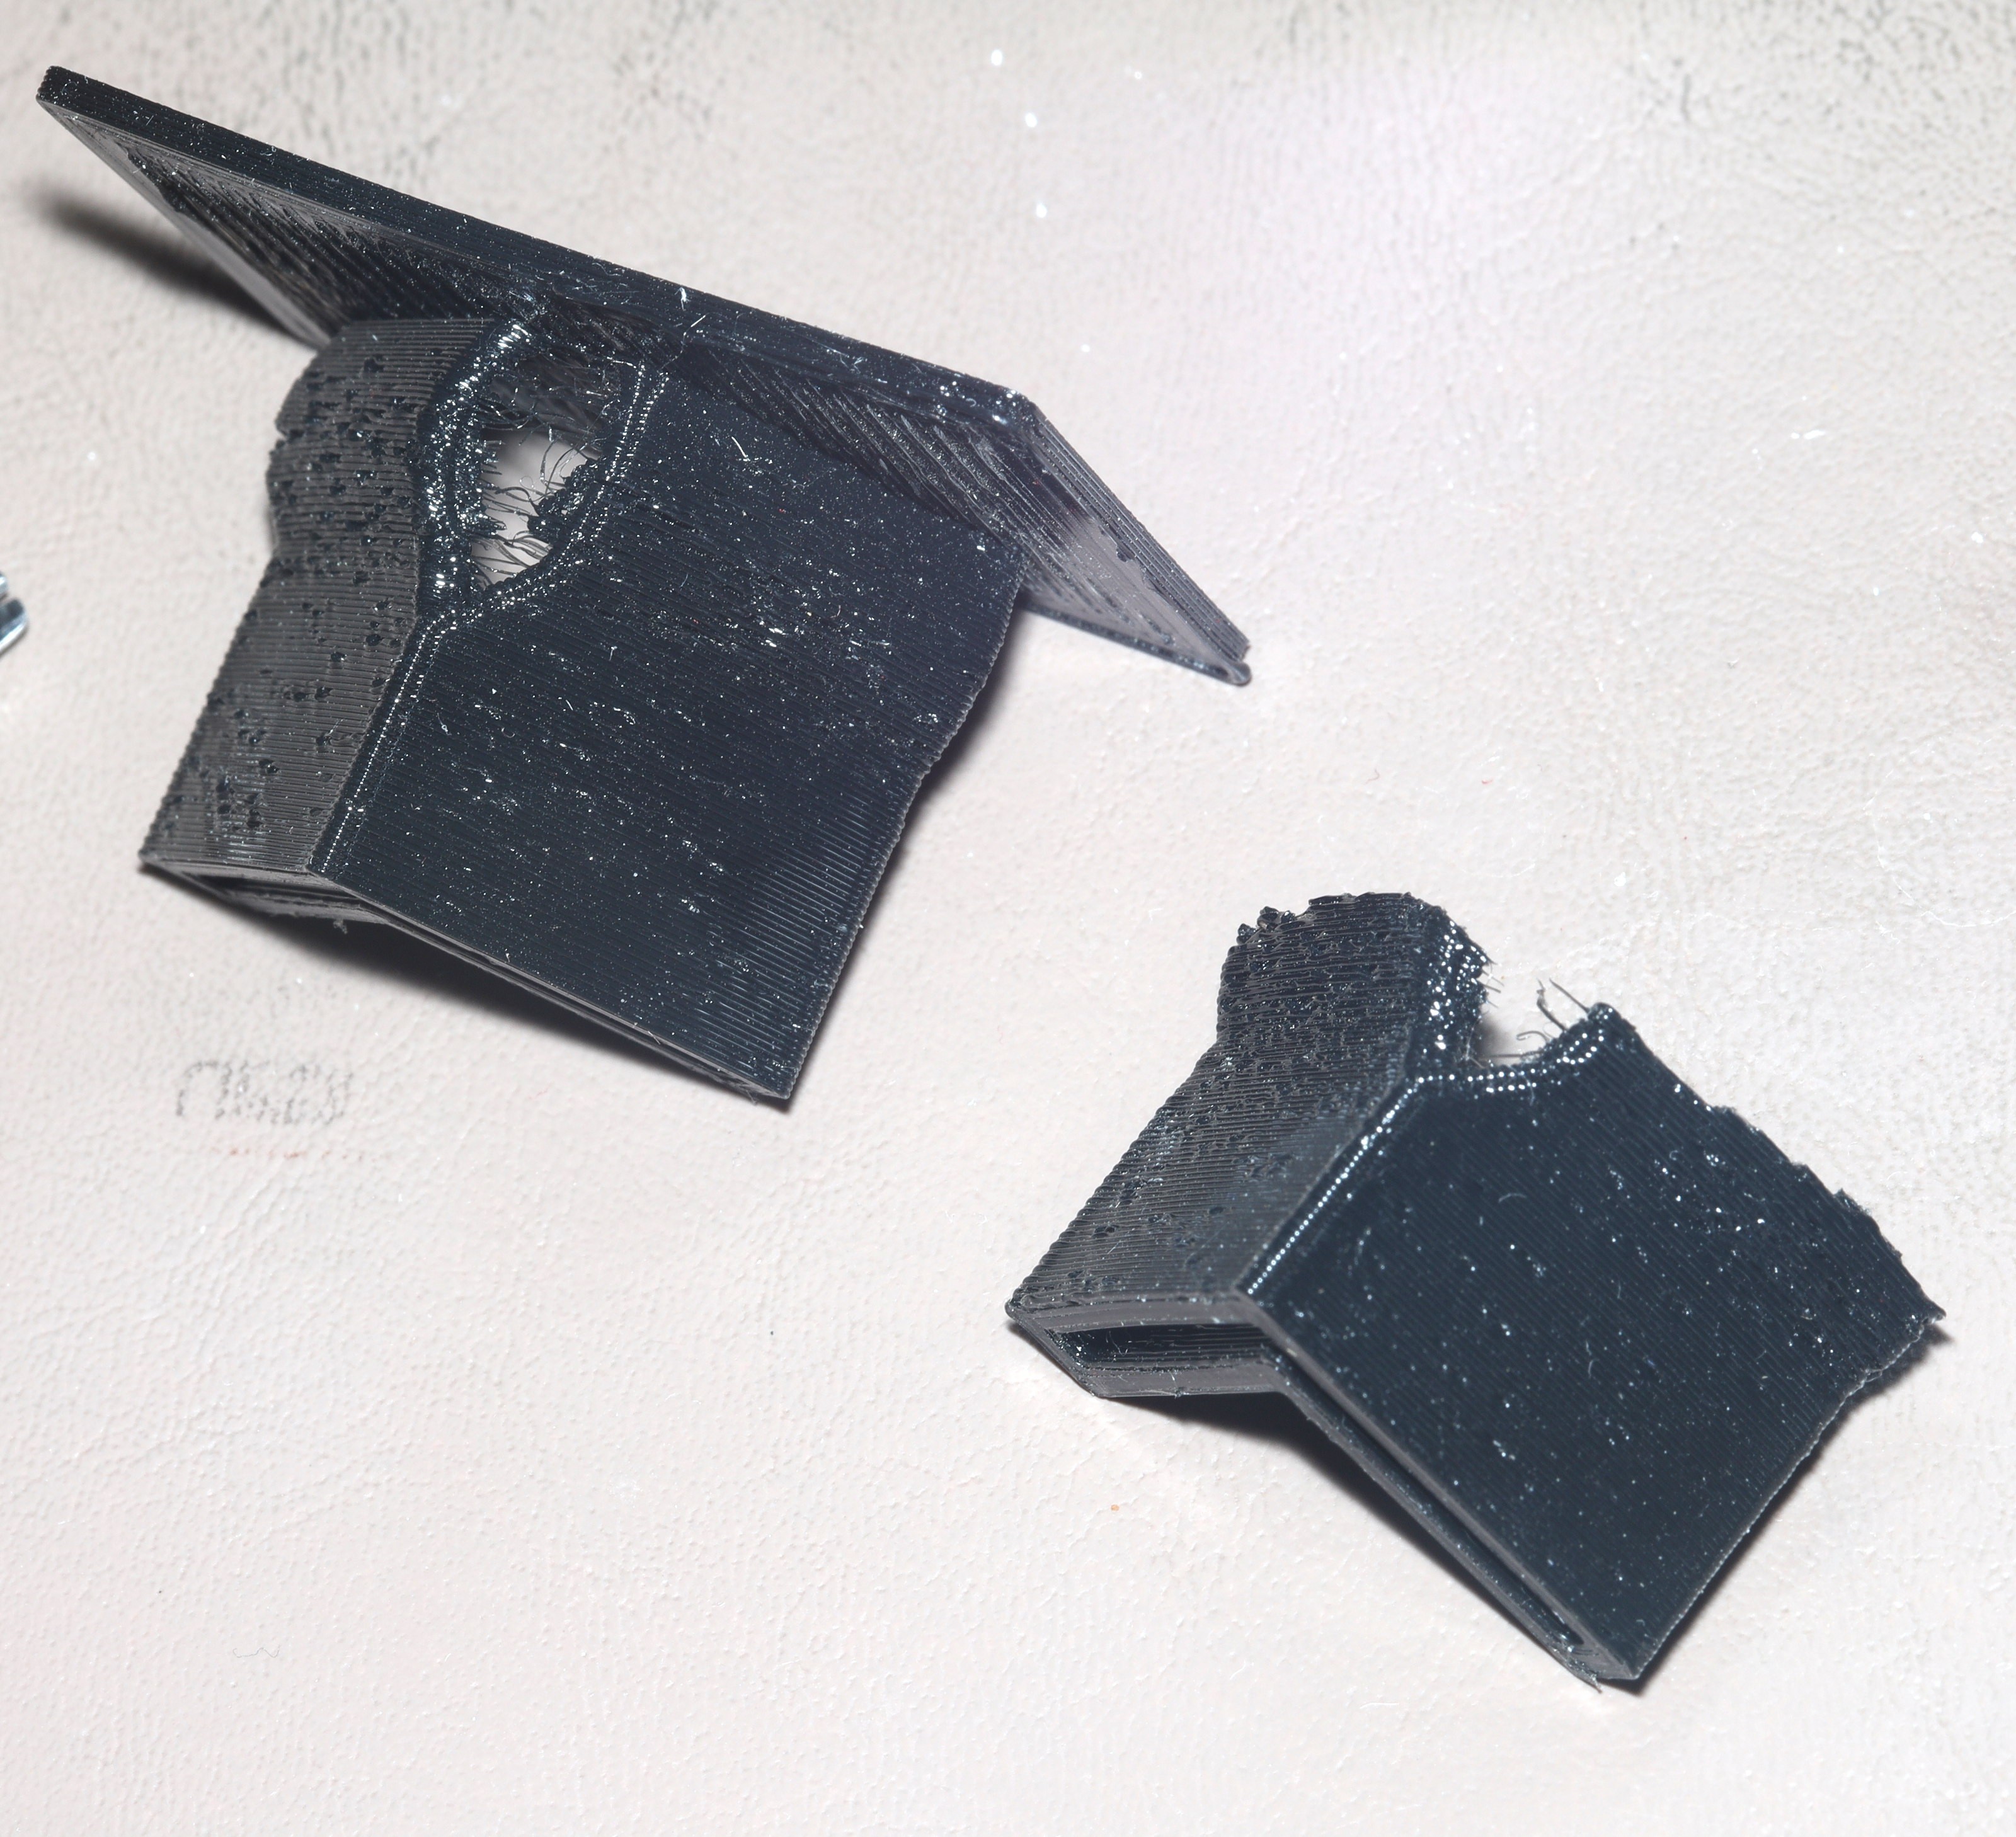
The 2nd set of bumpers broke, so a 3rd set of bumpers were printed. TPU can't flex between the laminations without delaminating. The laminations had to be rotated.
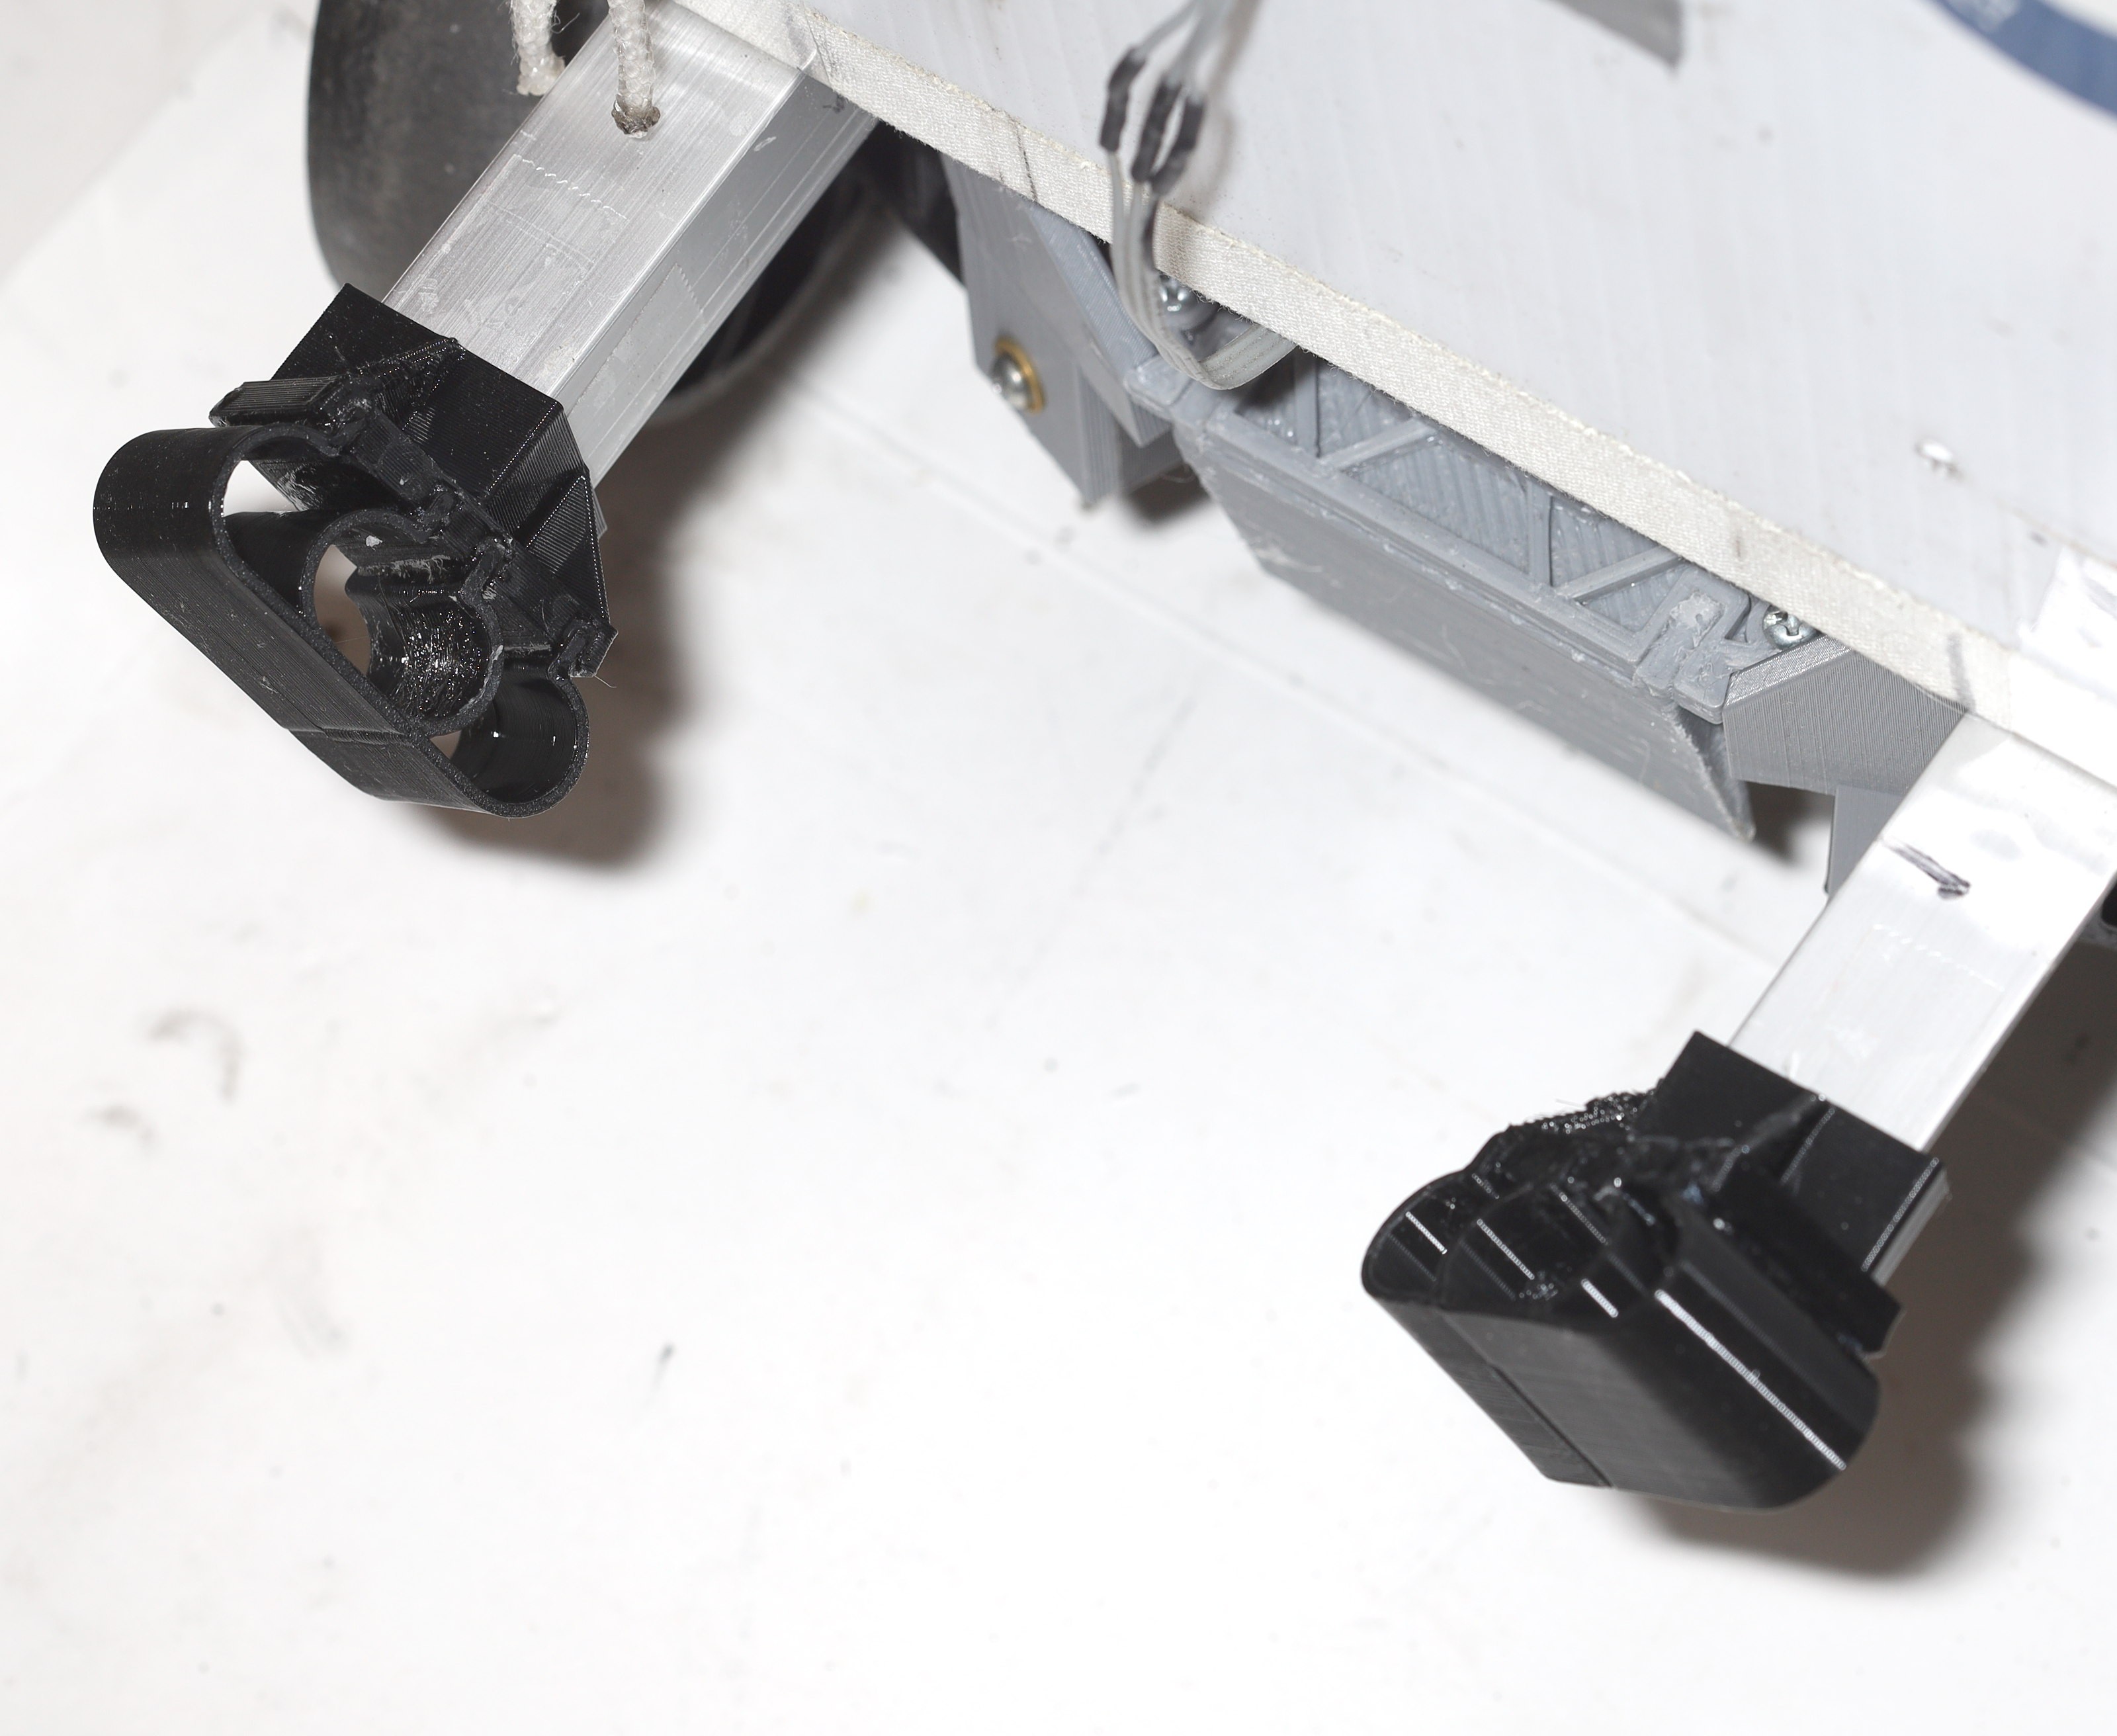
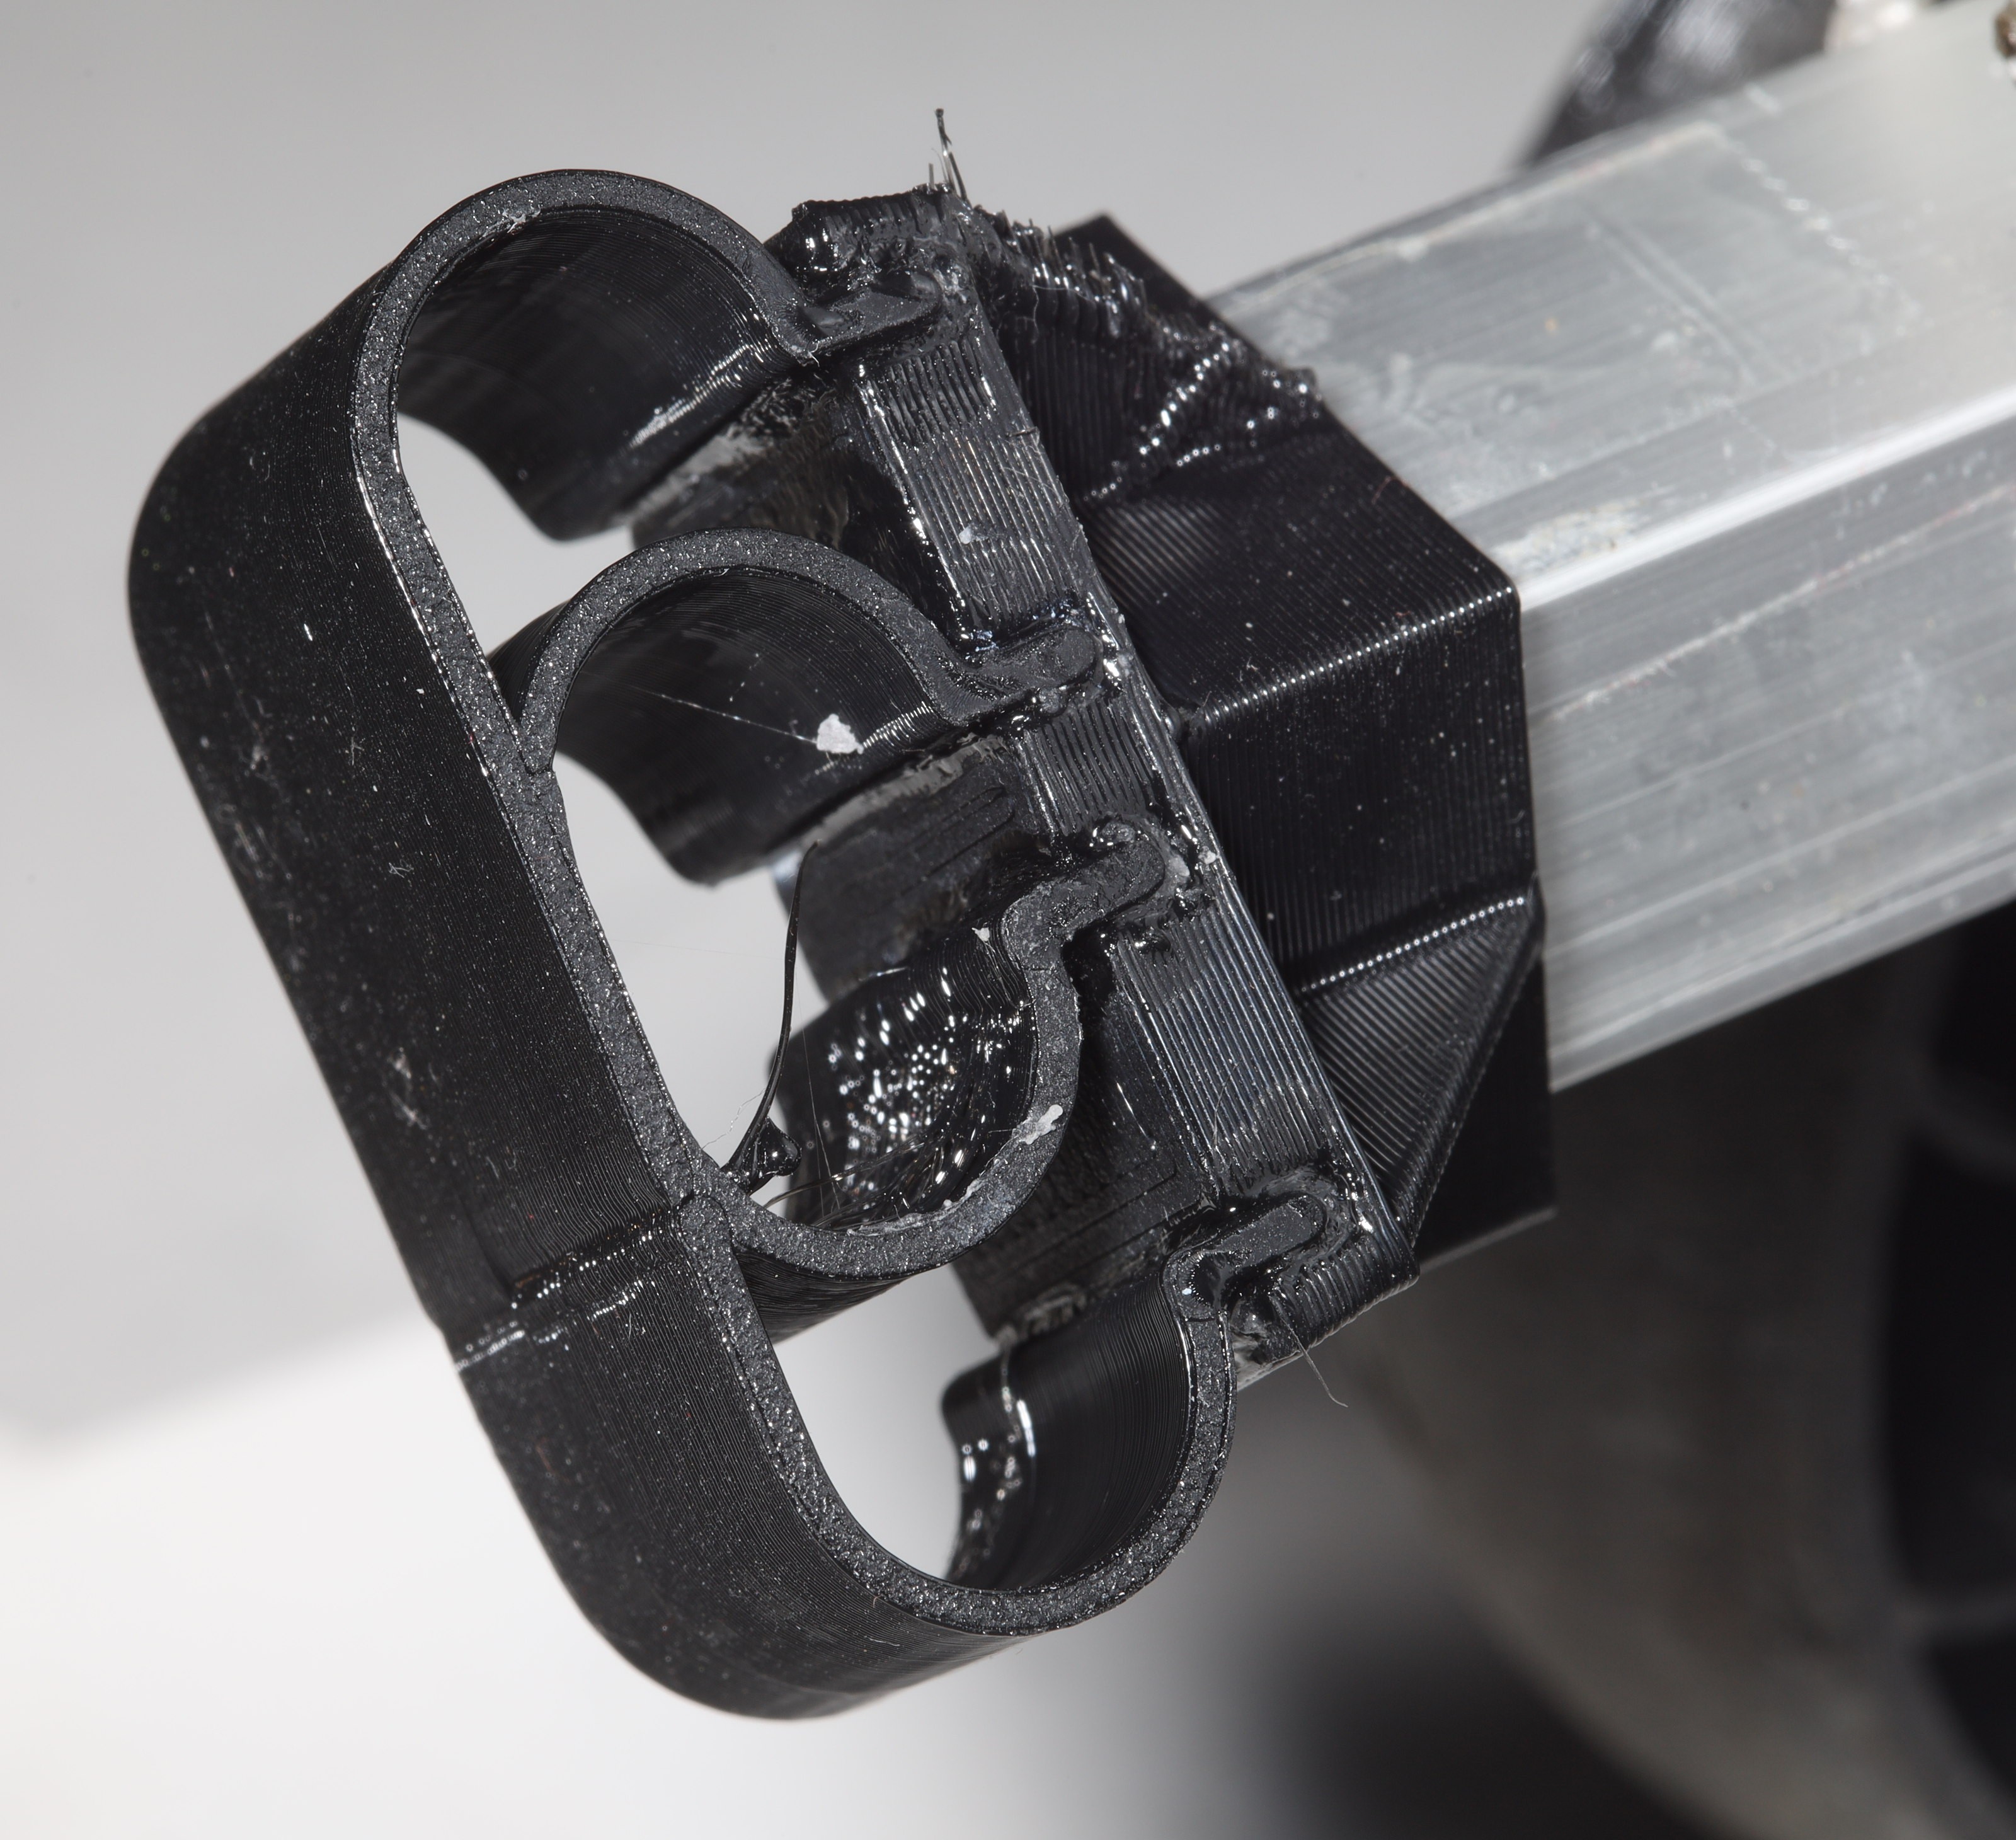
This was the 1st attempt at adhering TPU. CA with tongues & grooves was the best method, but it was never as effective on TPU as PLA.
Discussions
Become a Hackaday.io Member
Create an account to leave a comment. Already have an account? Log In.