 kristina panos
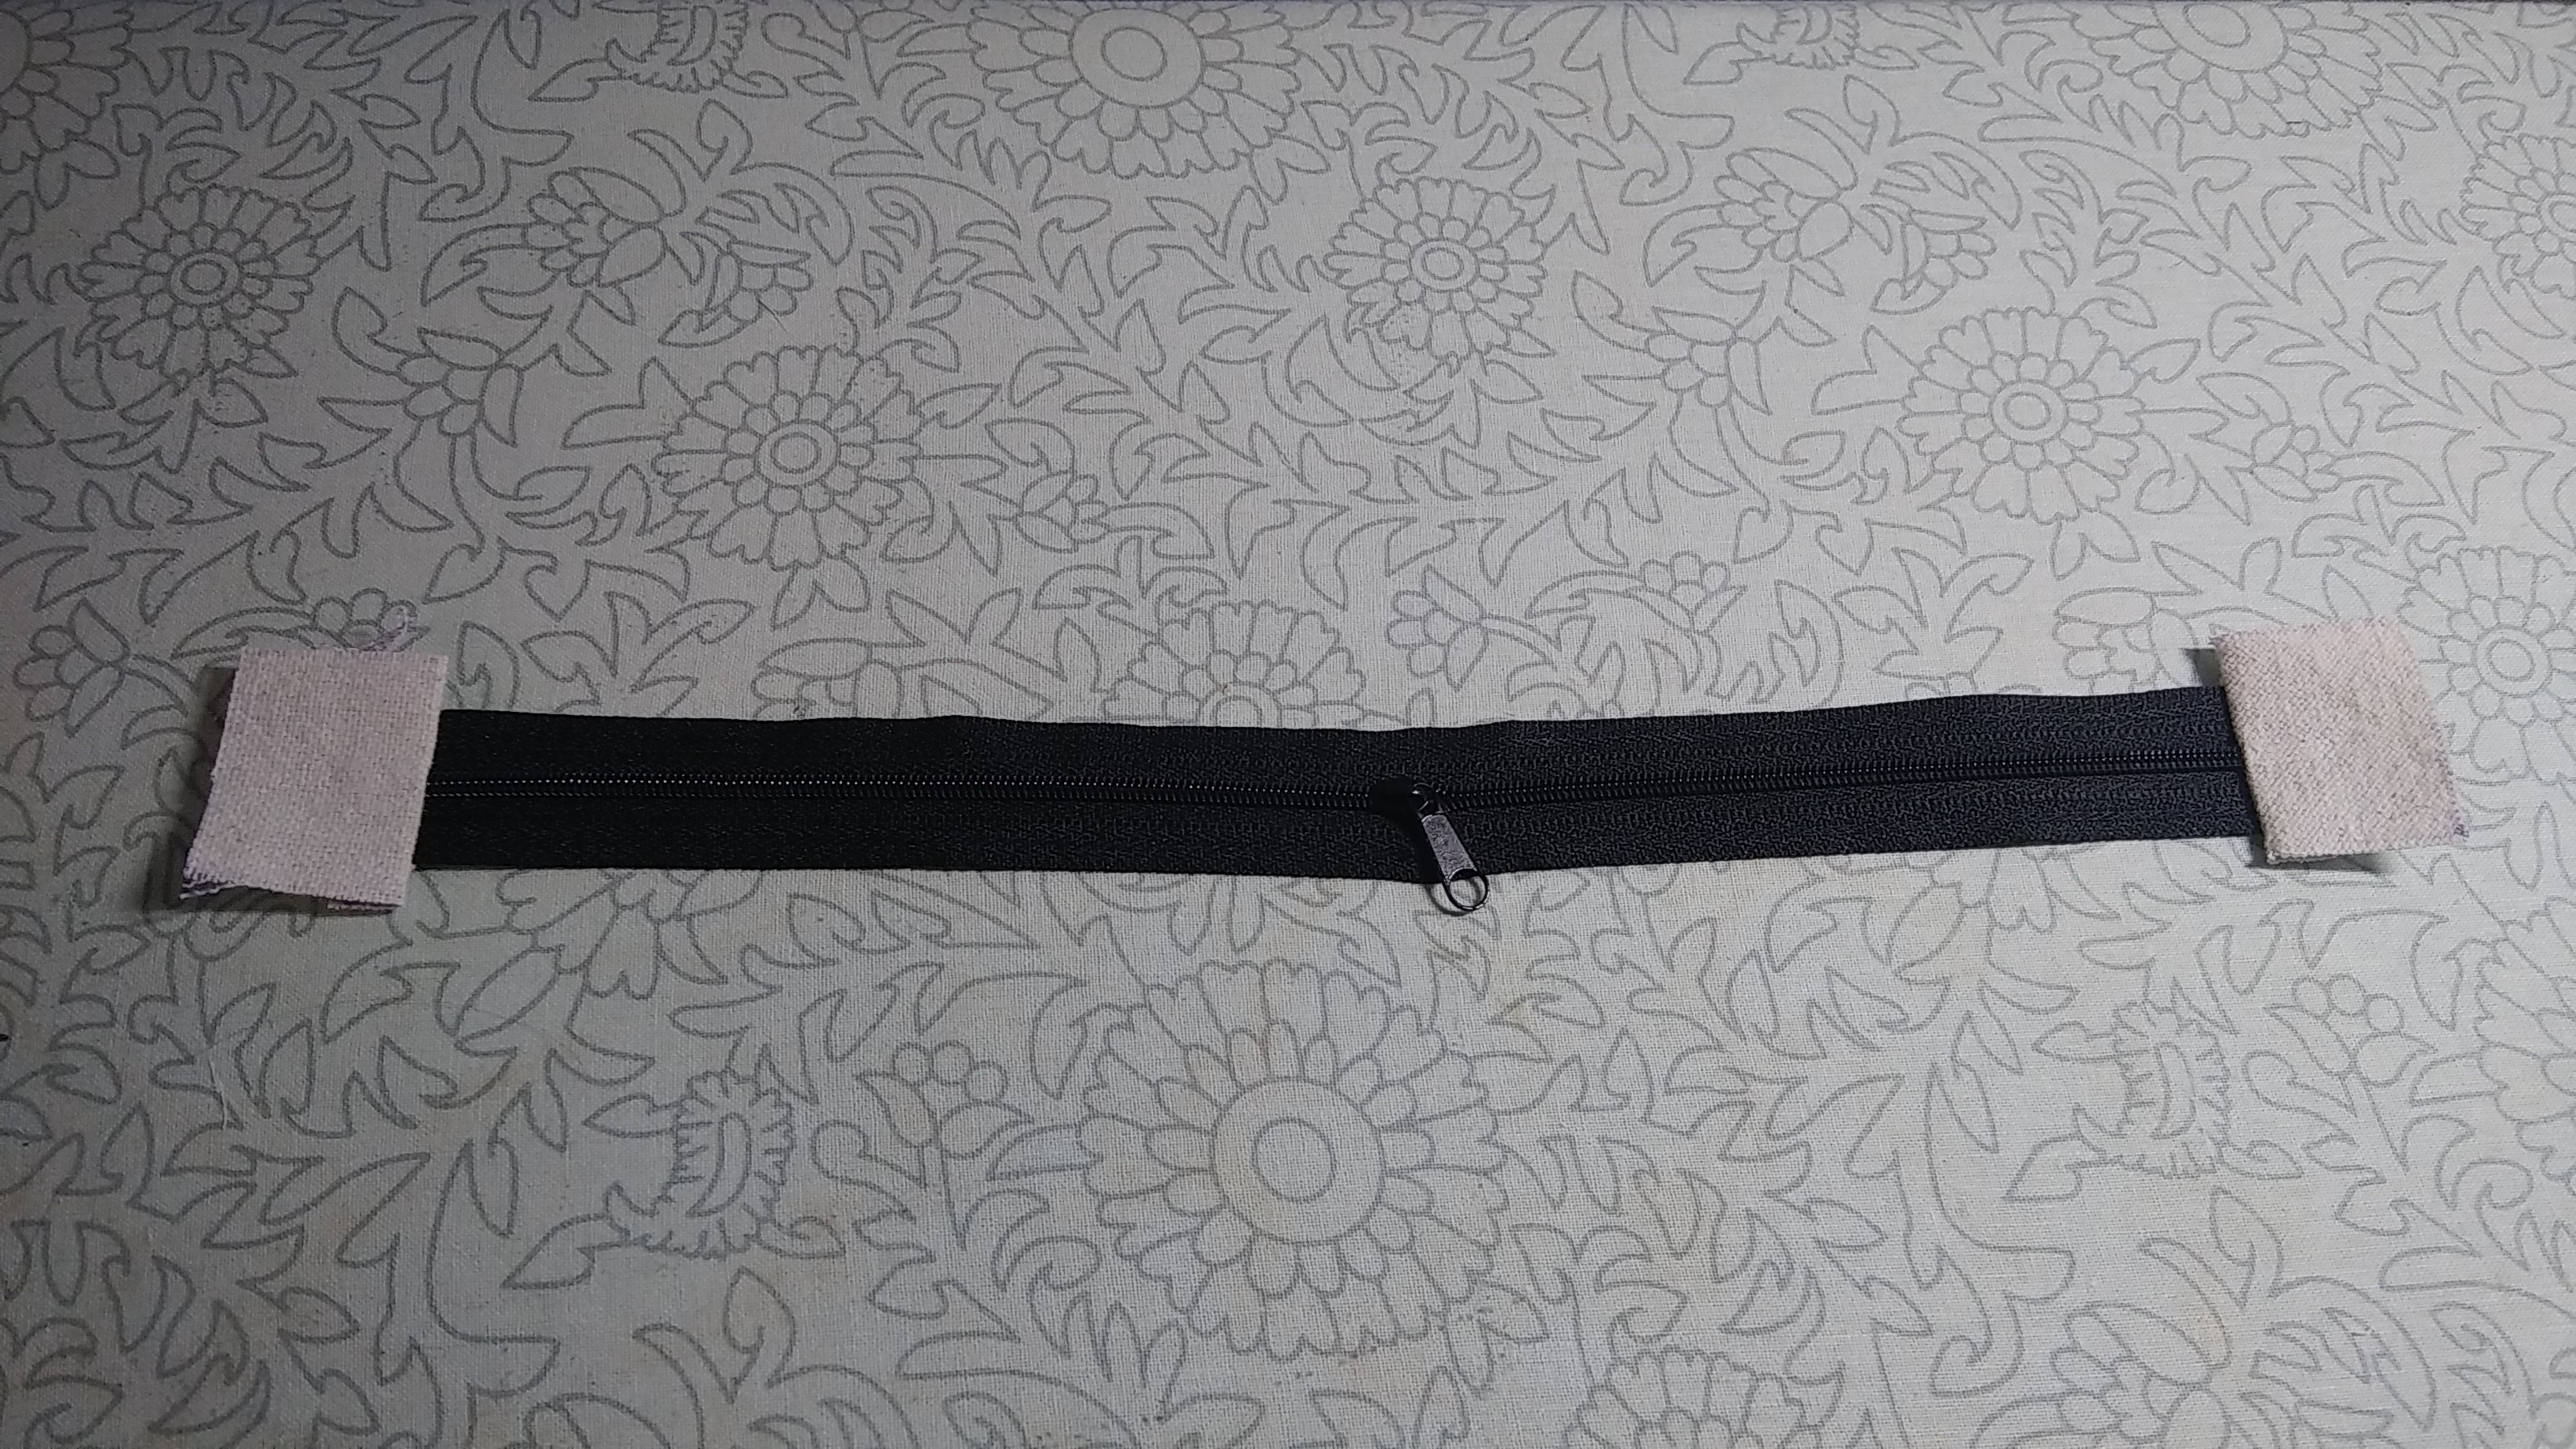
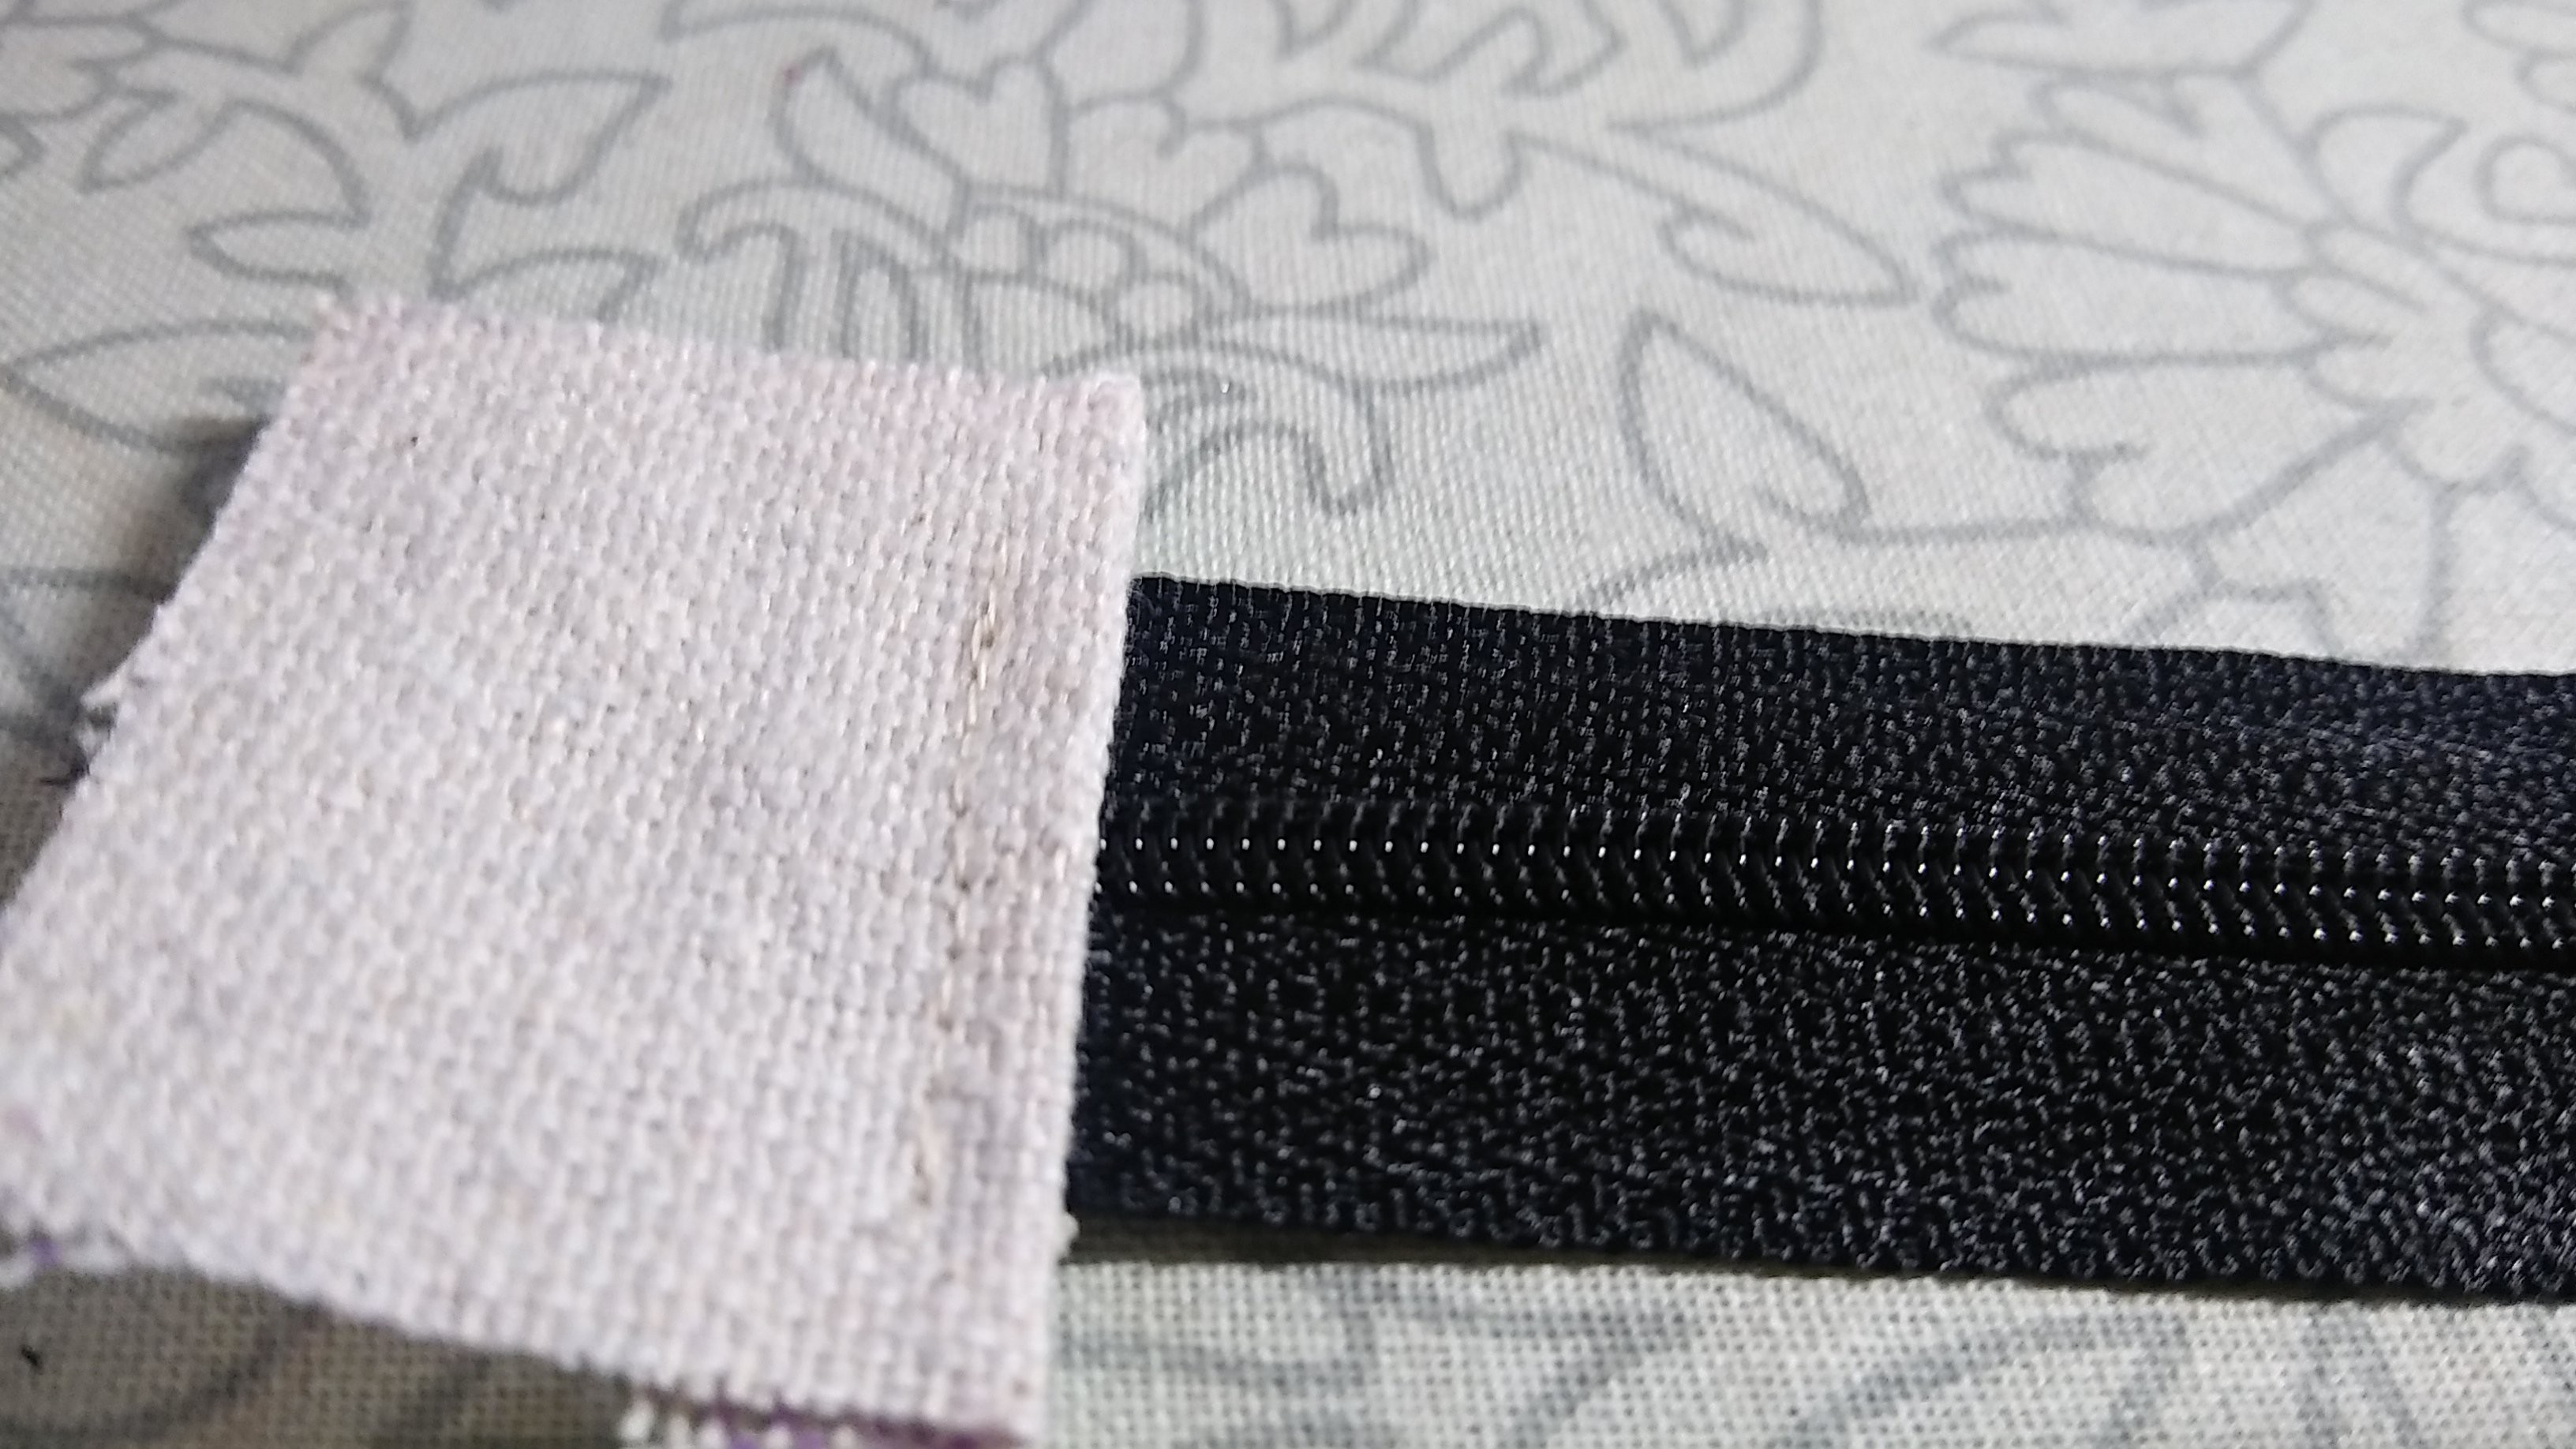
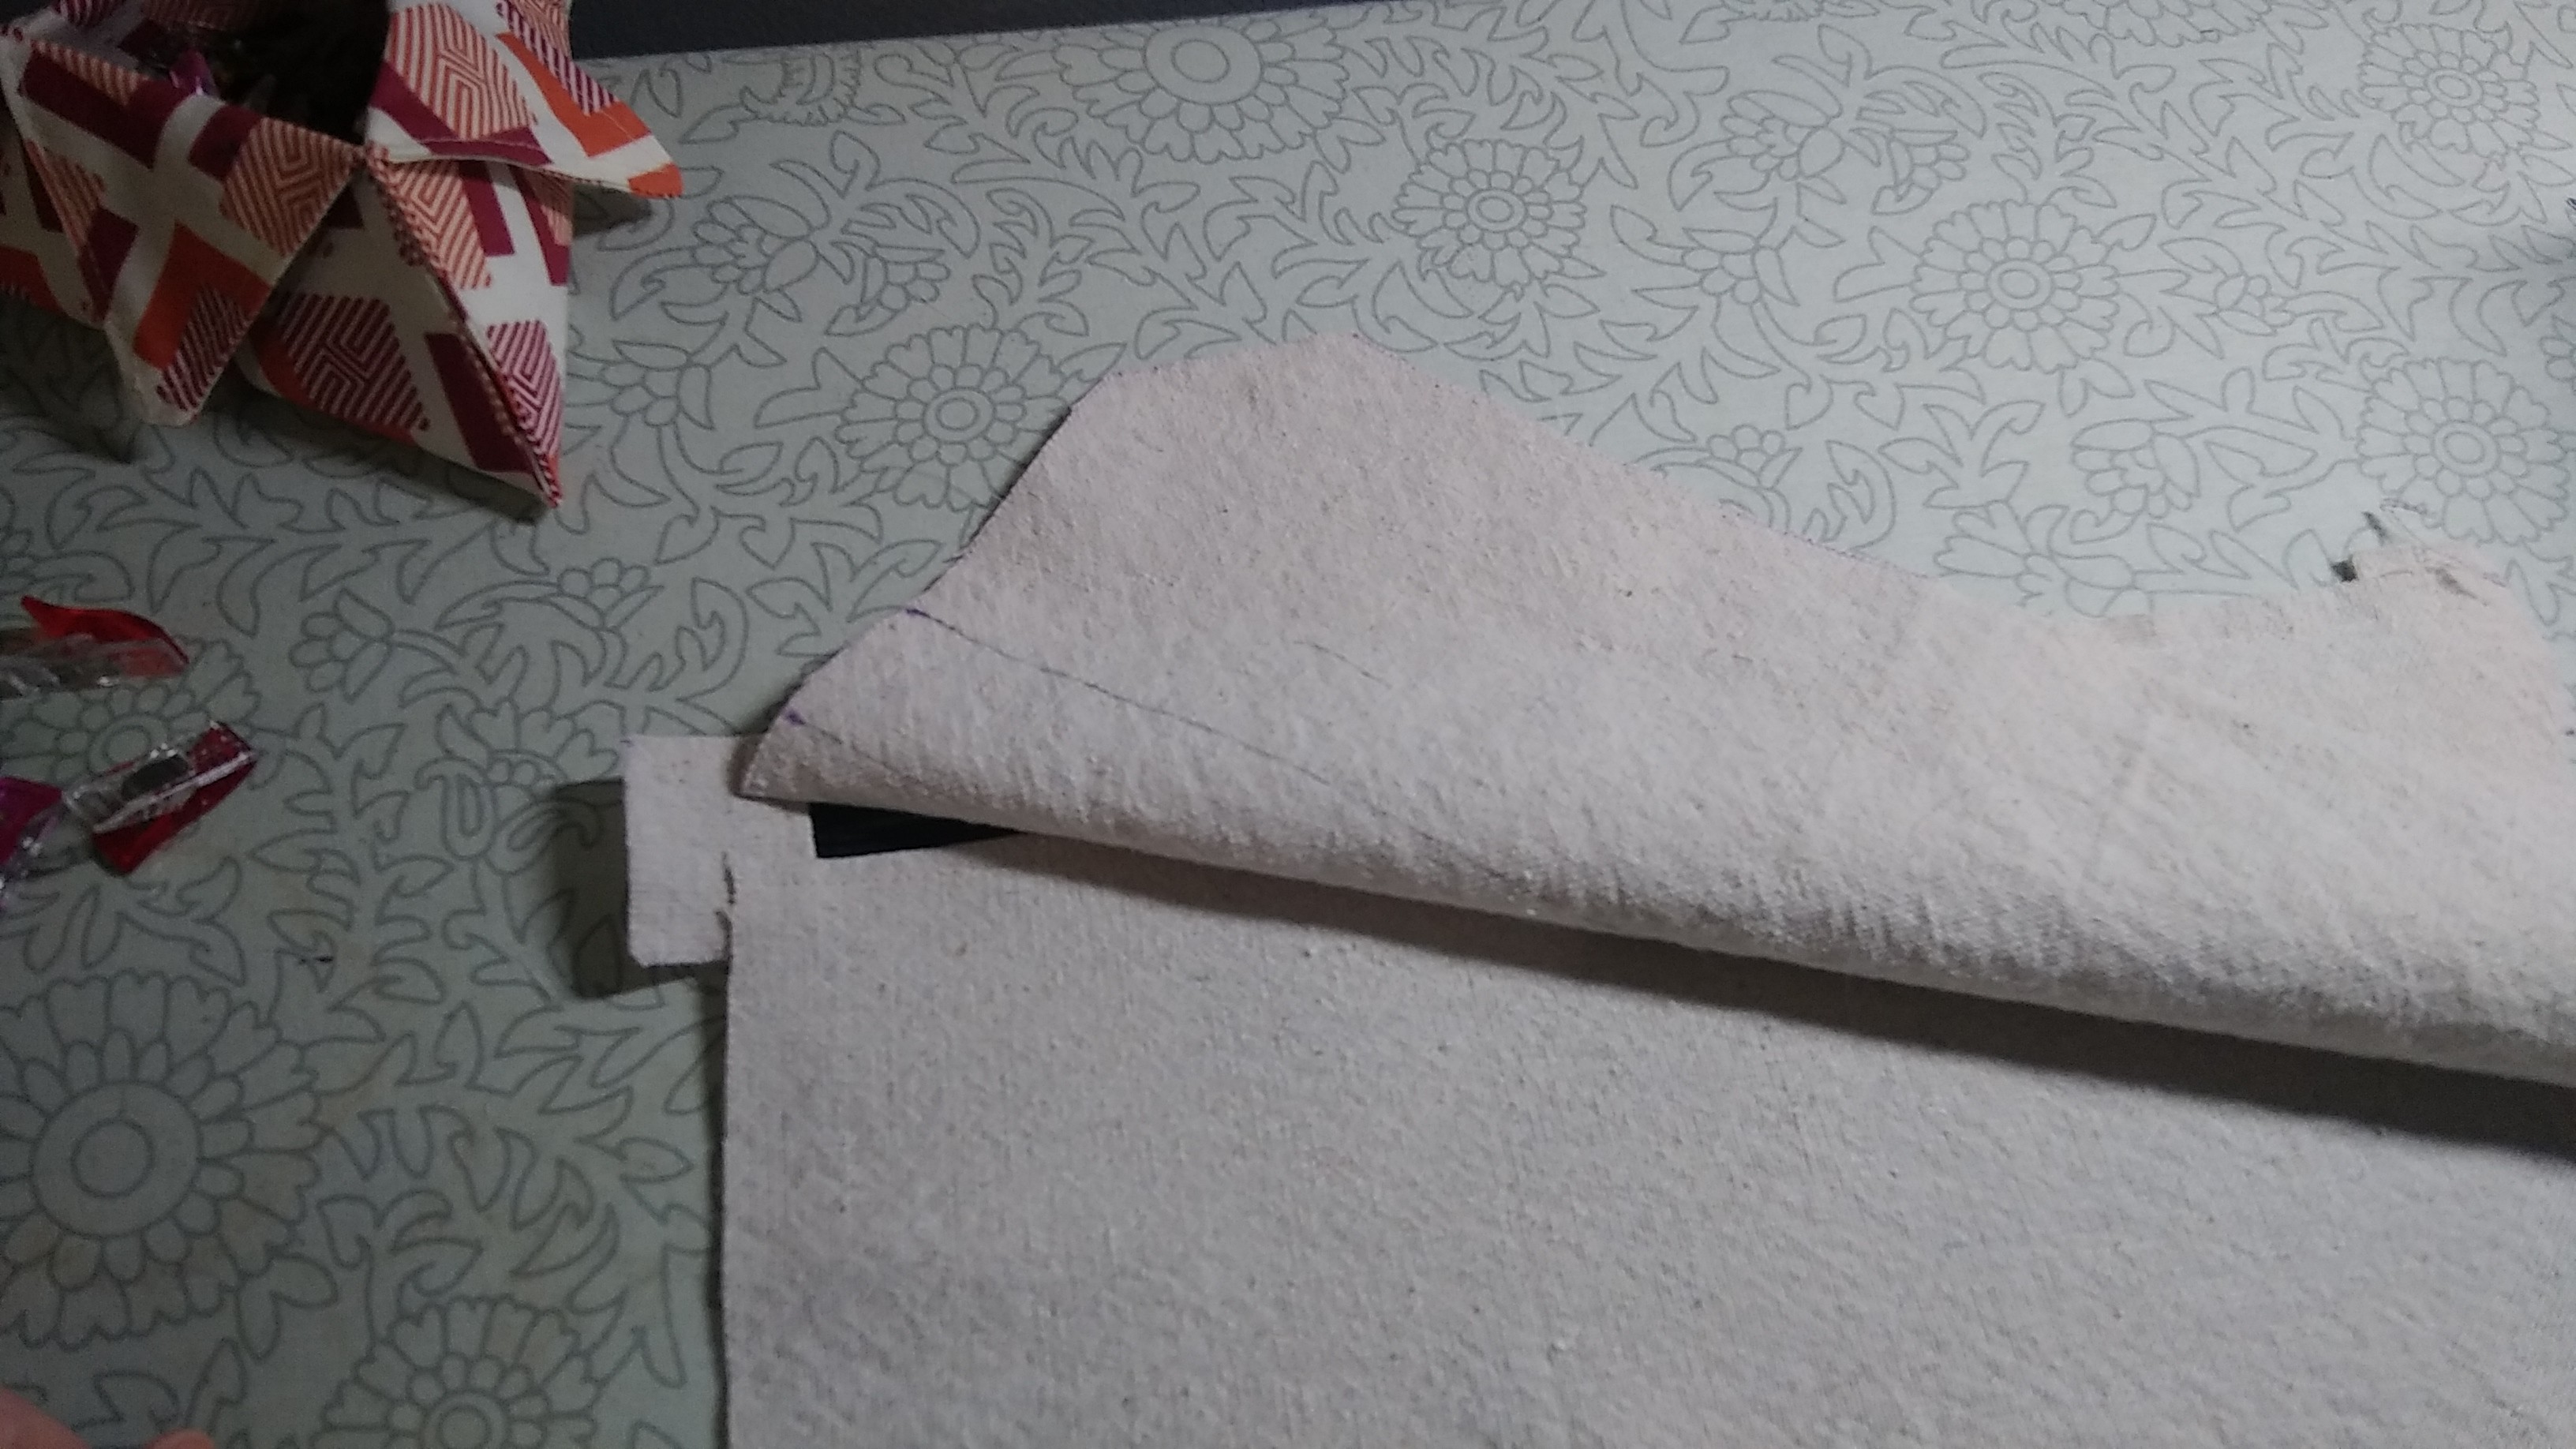
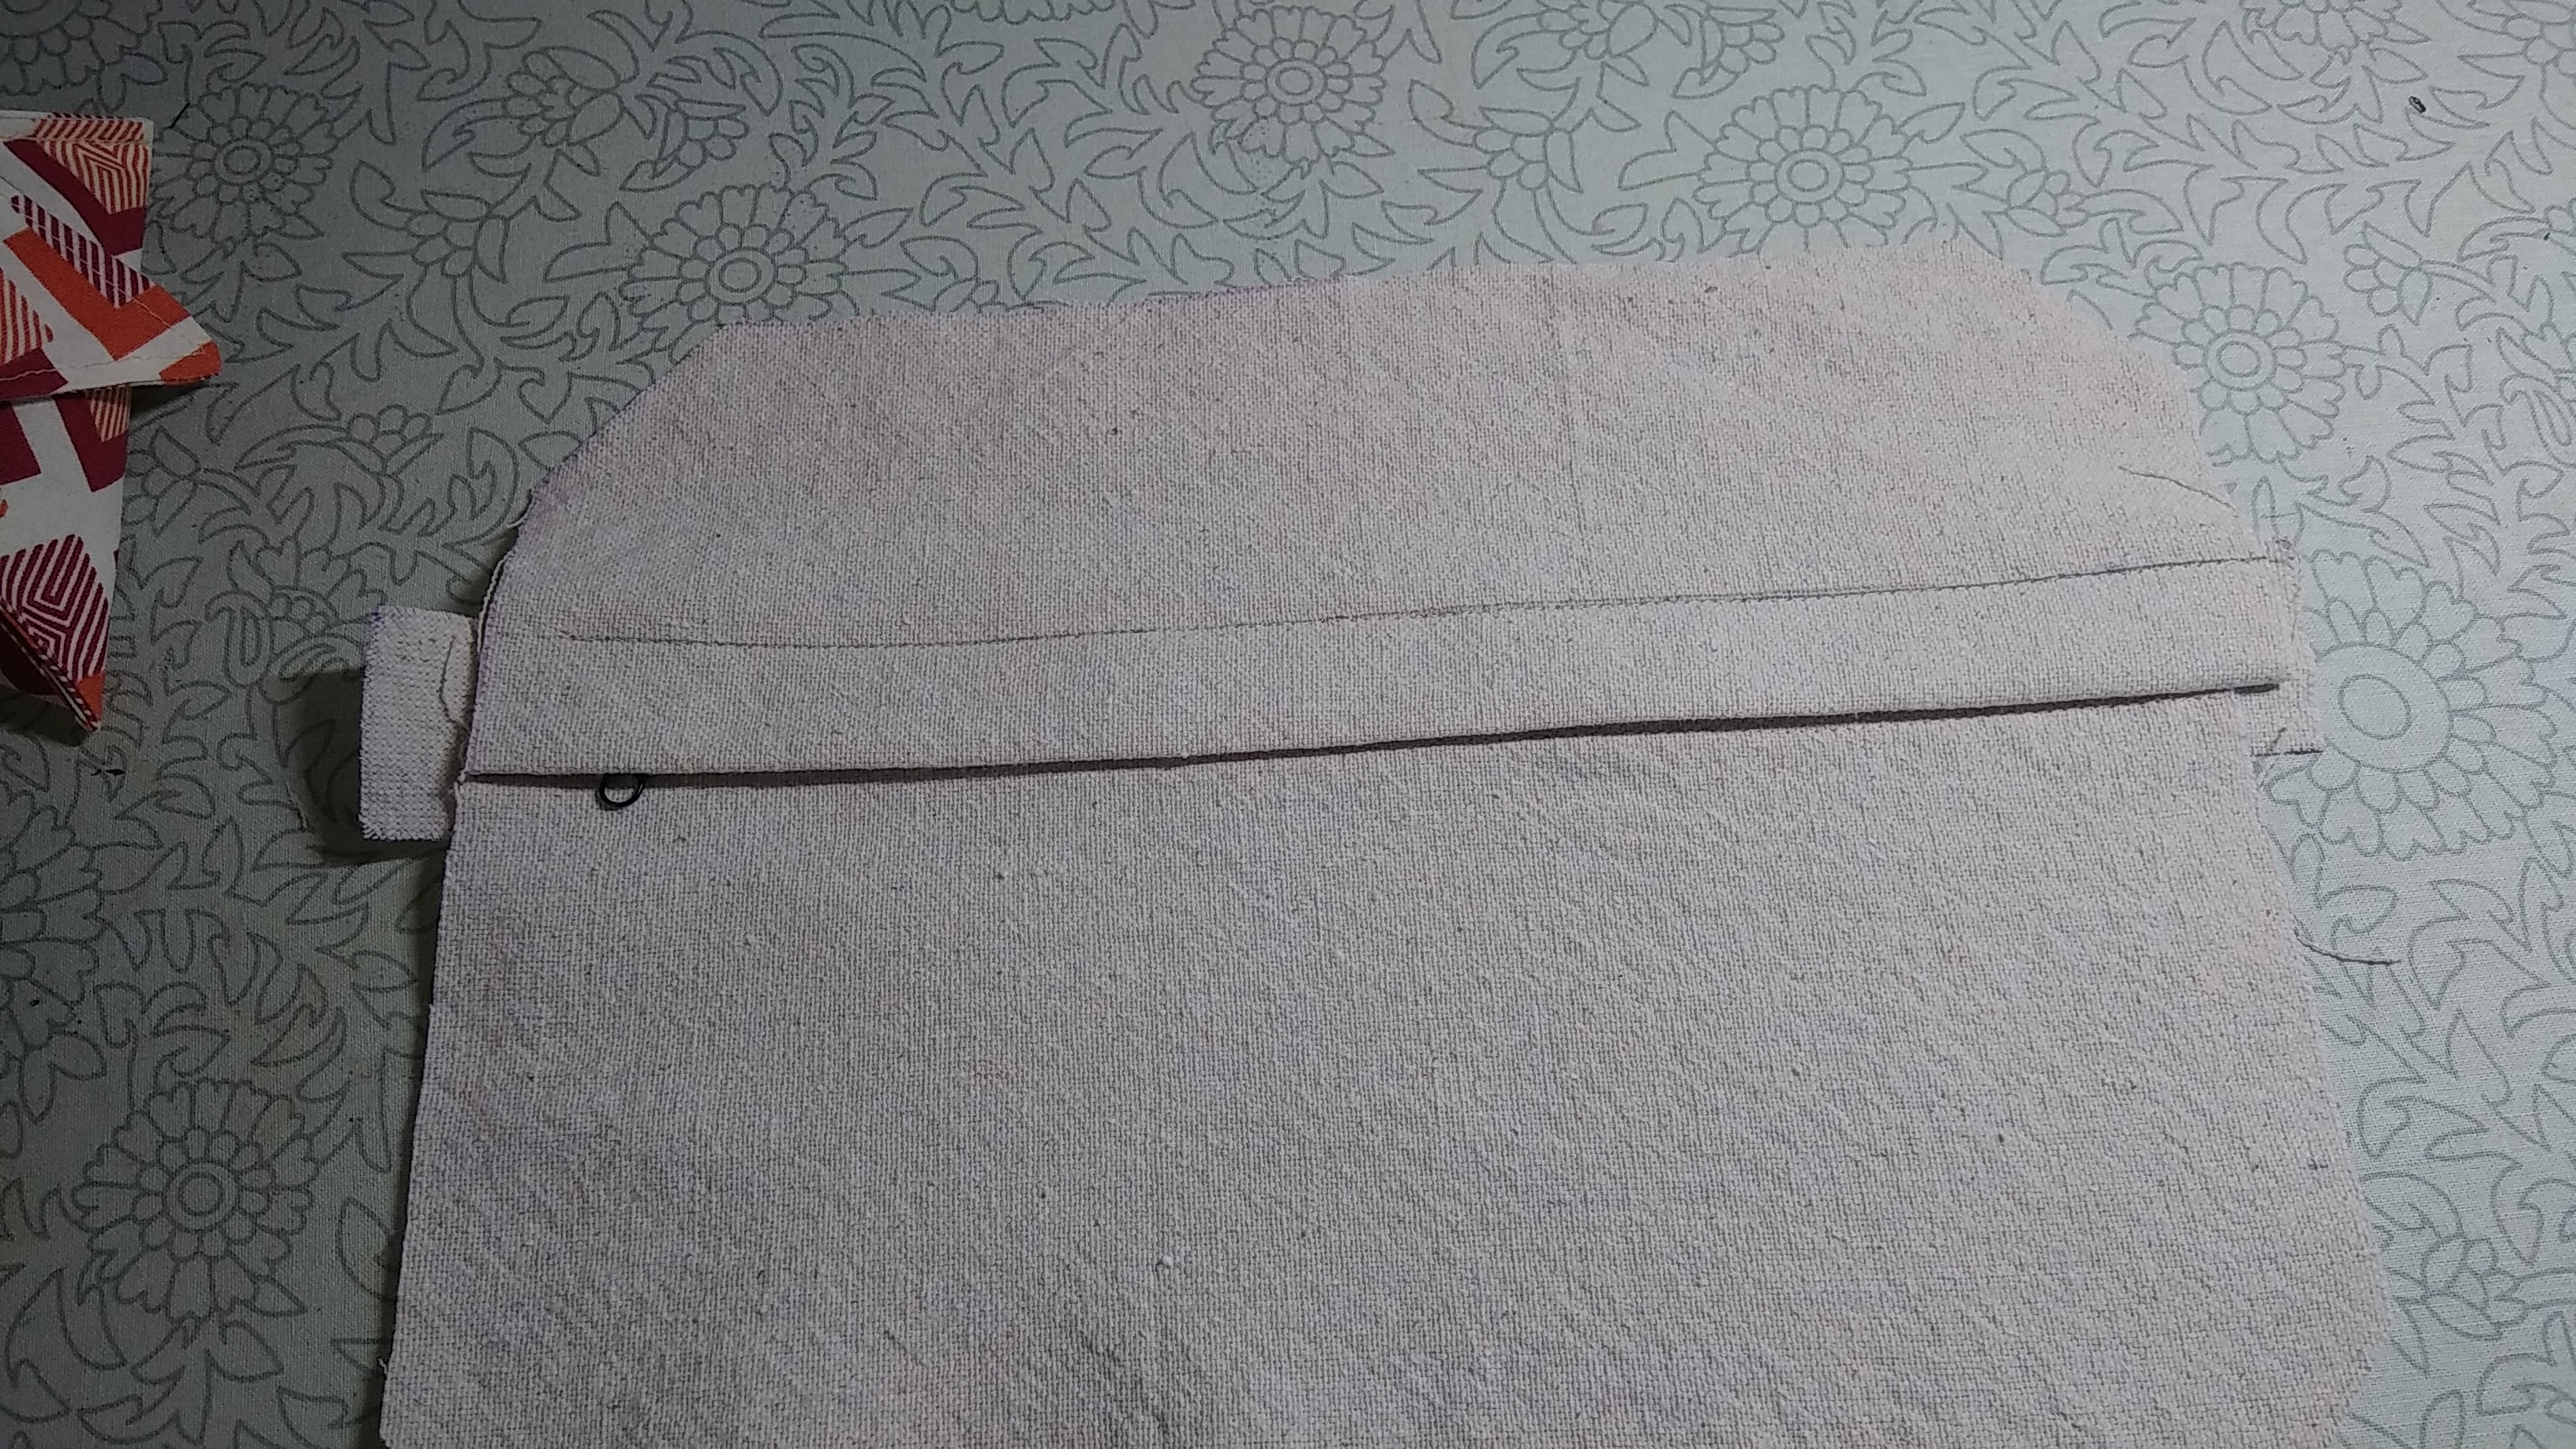
First the zipper tabs go on the ends of the zipper. They are stitched RST with the zipper, and then folded back, ironed, and topstitched.
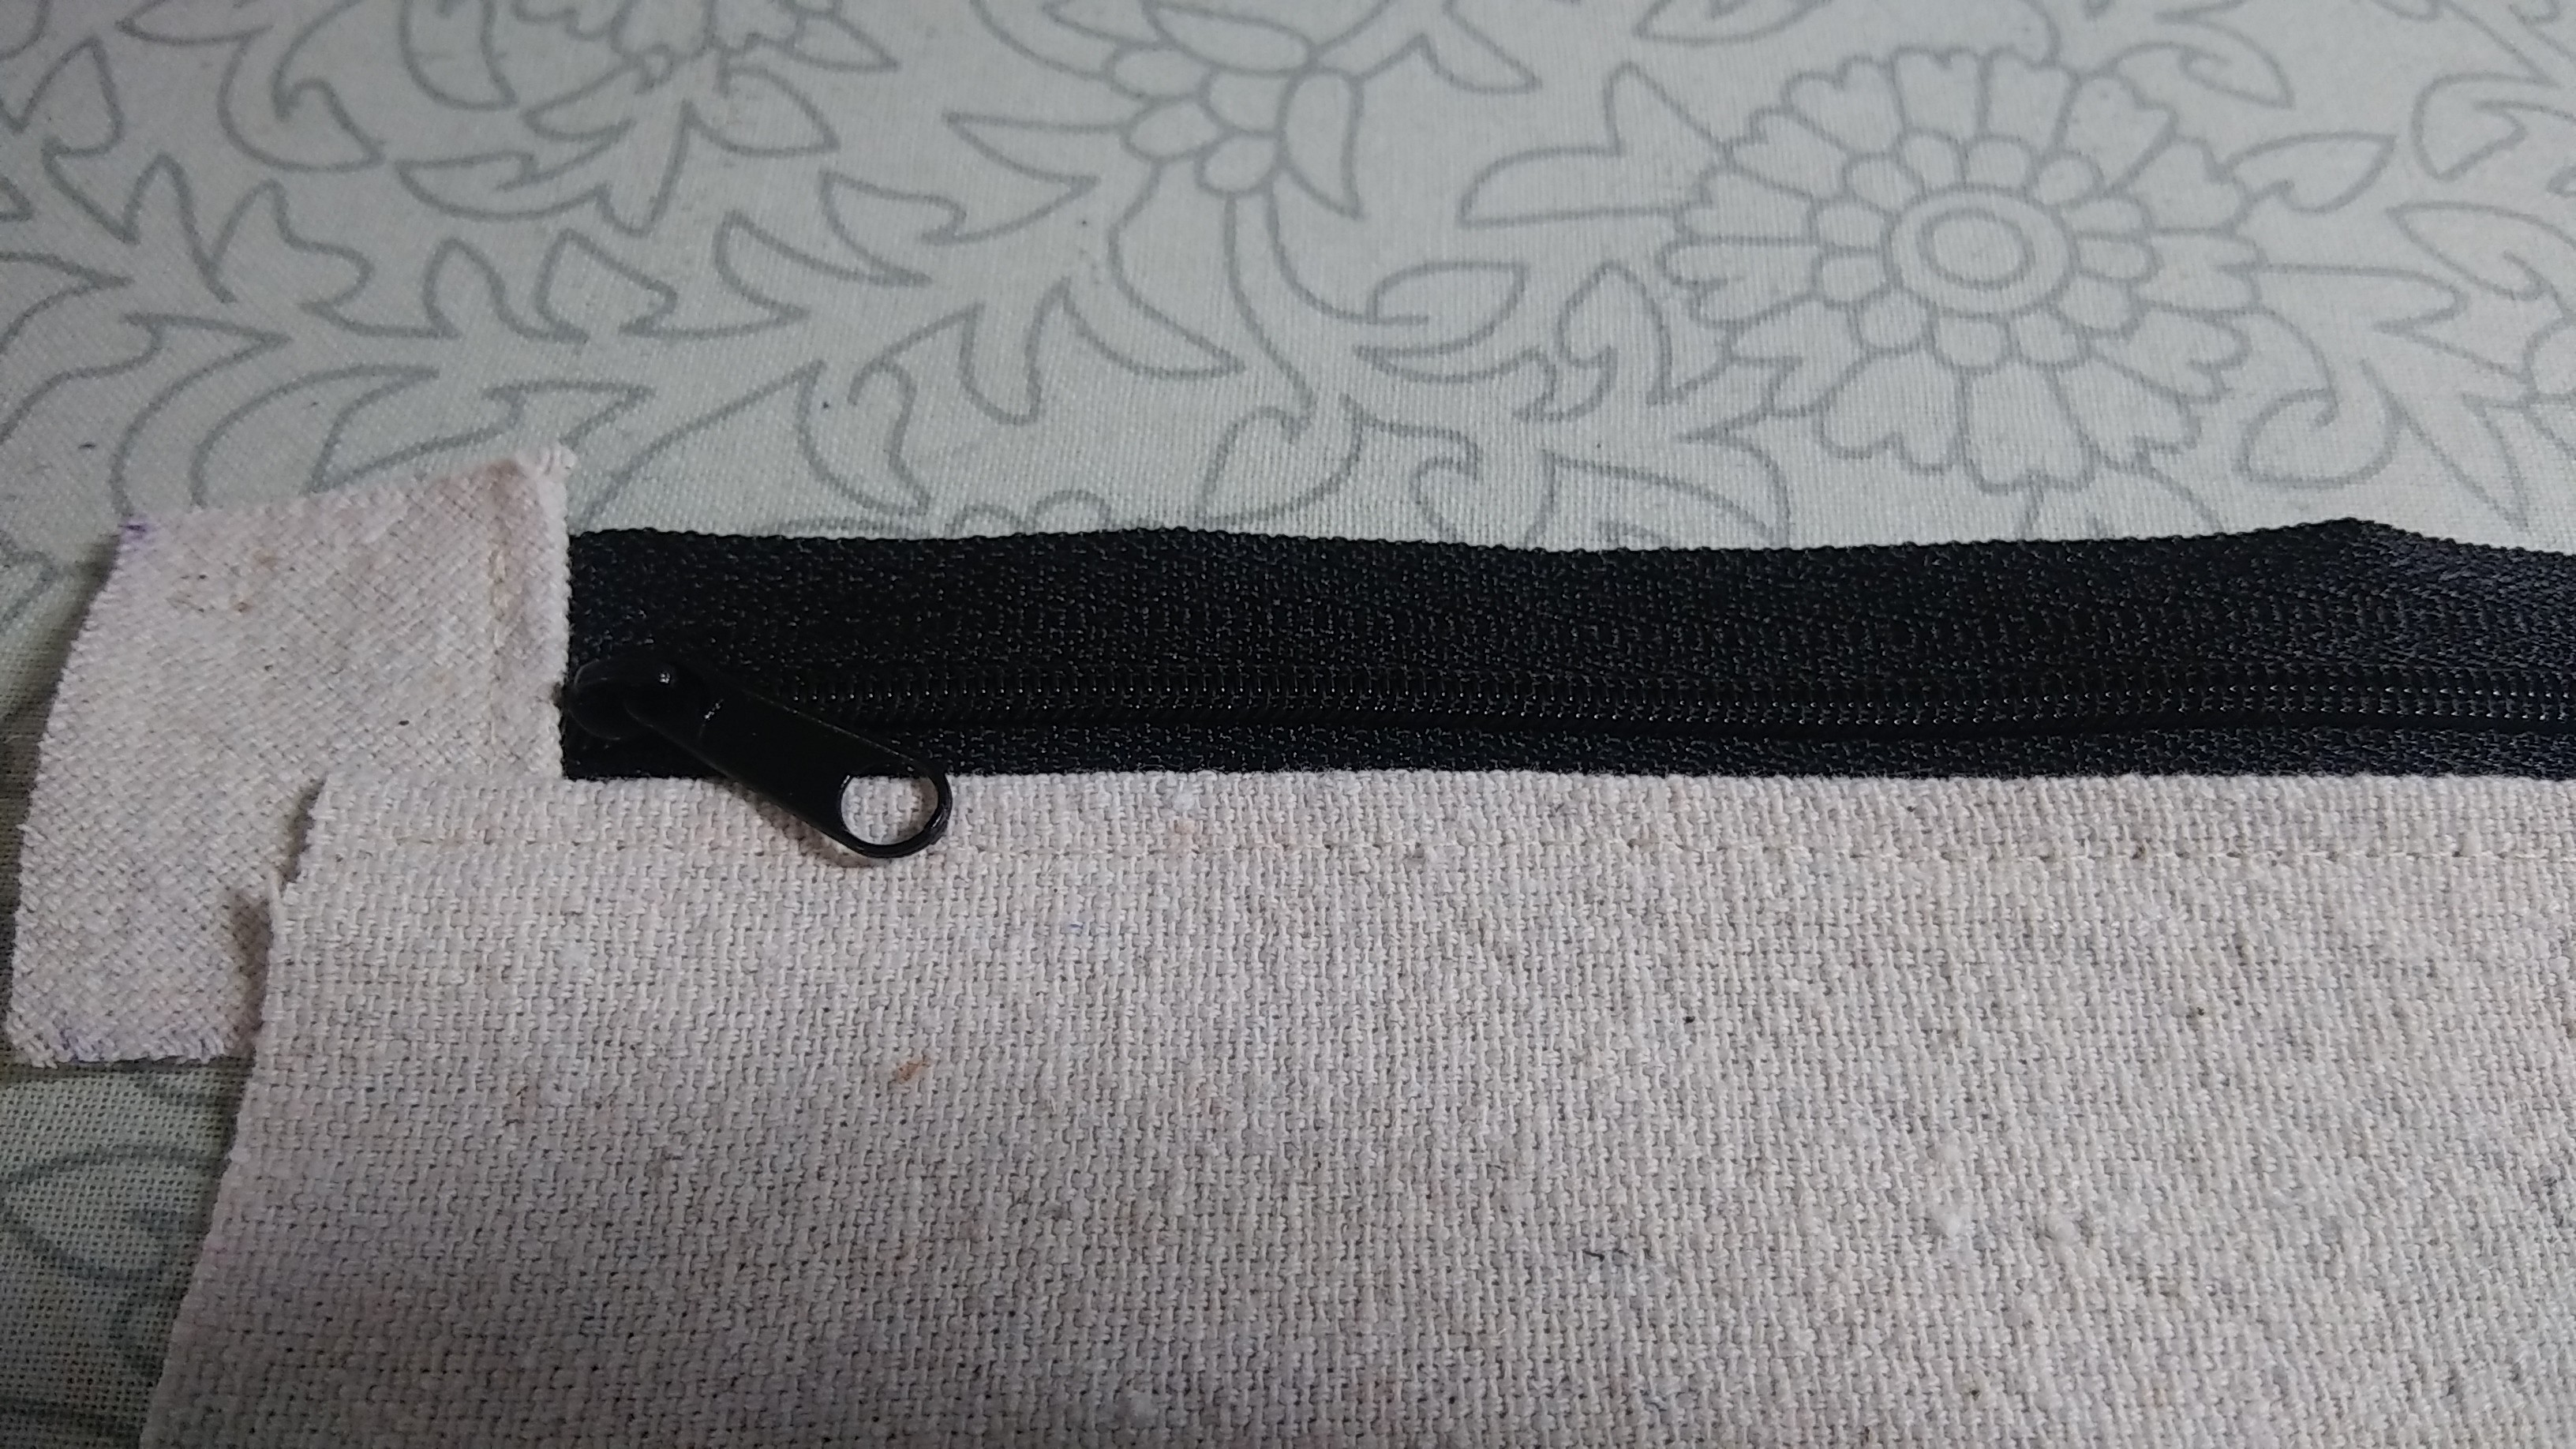
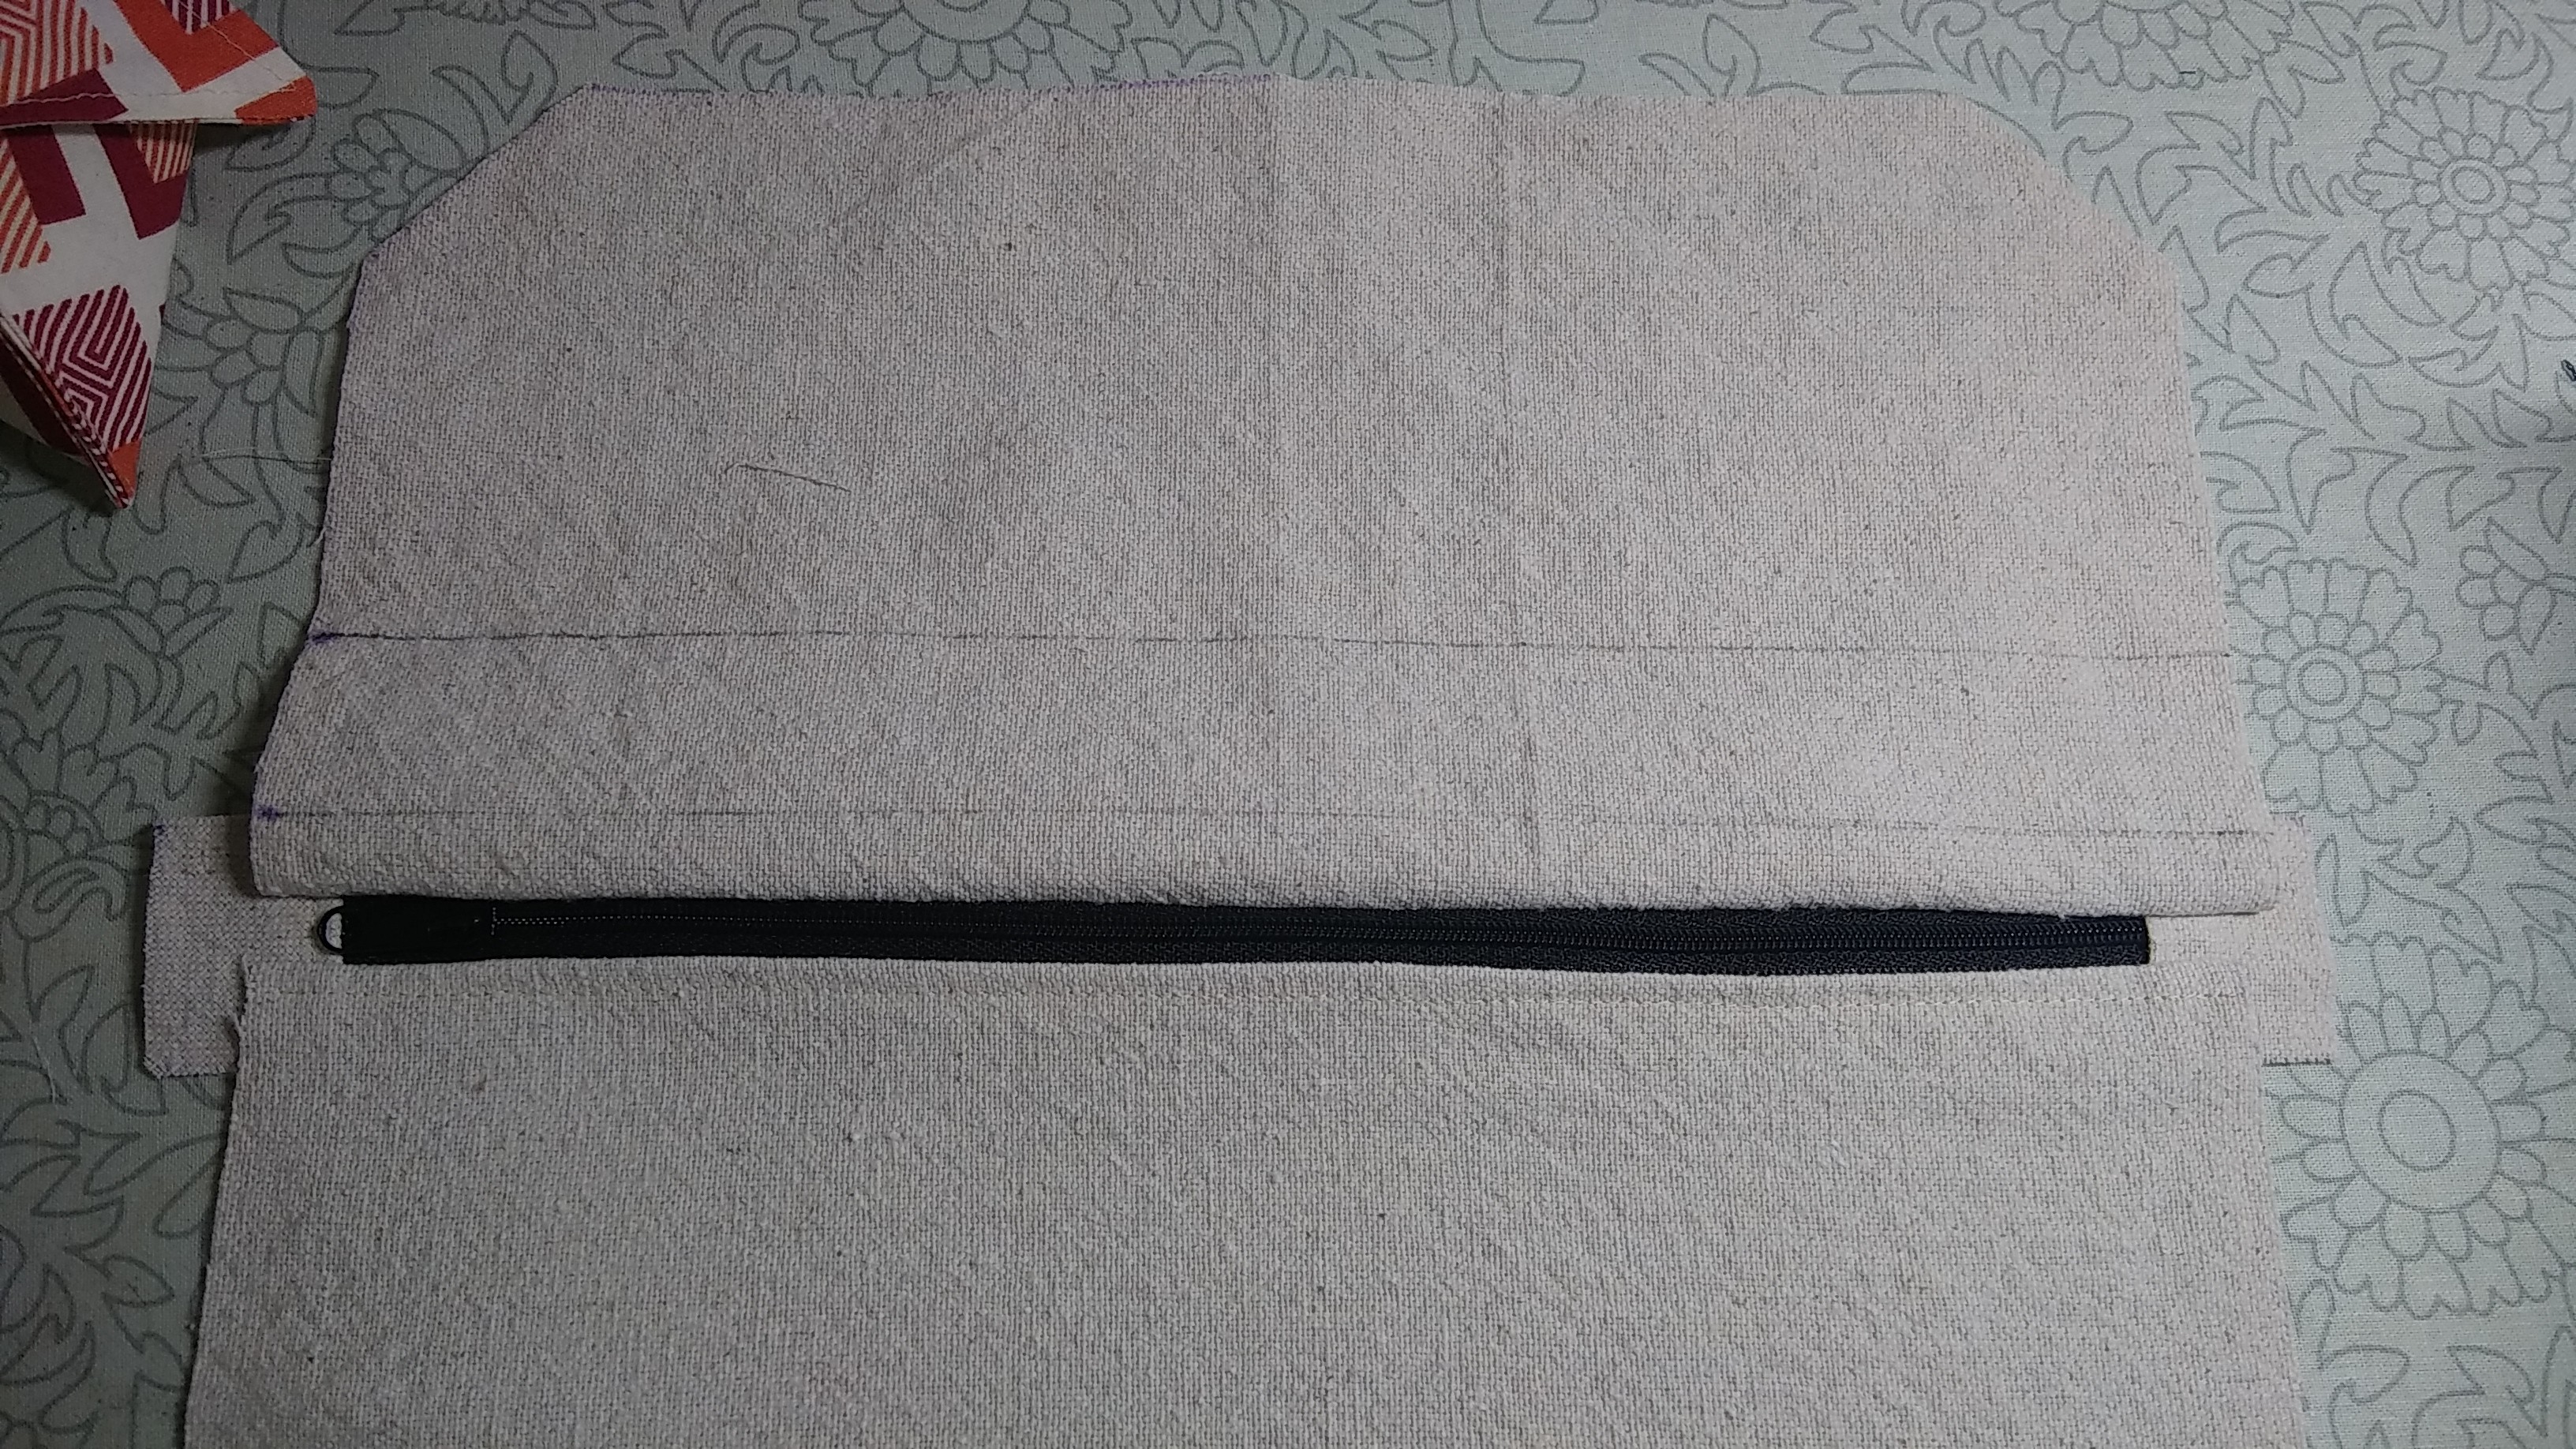
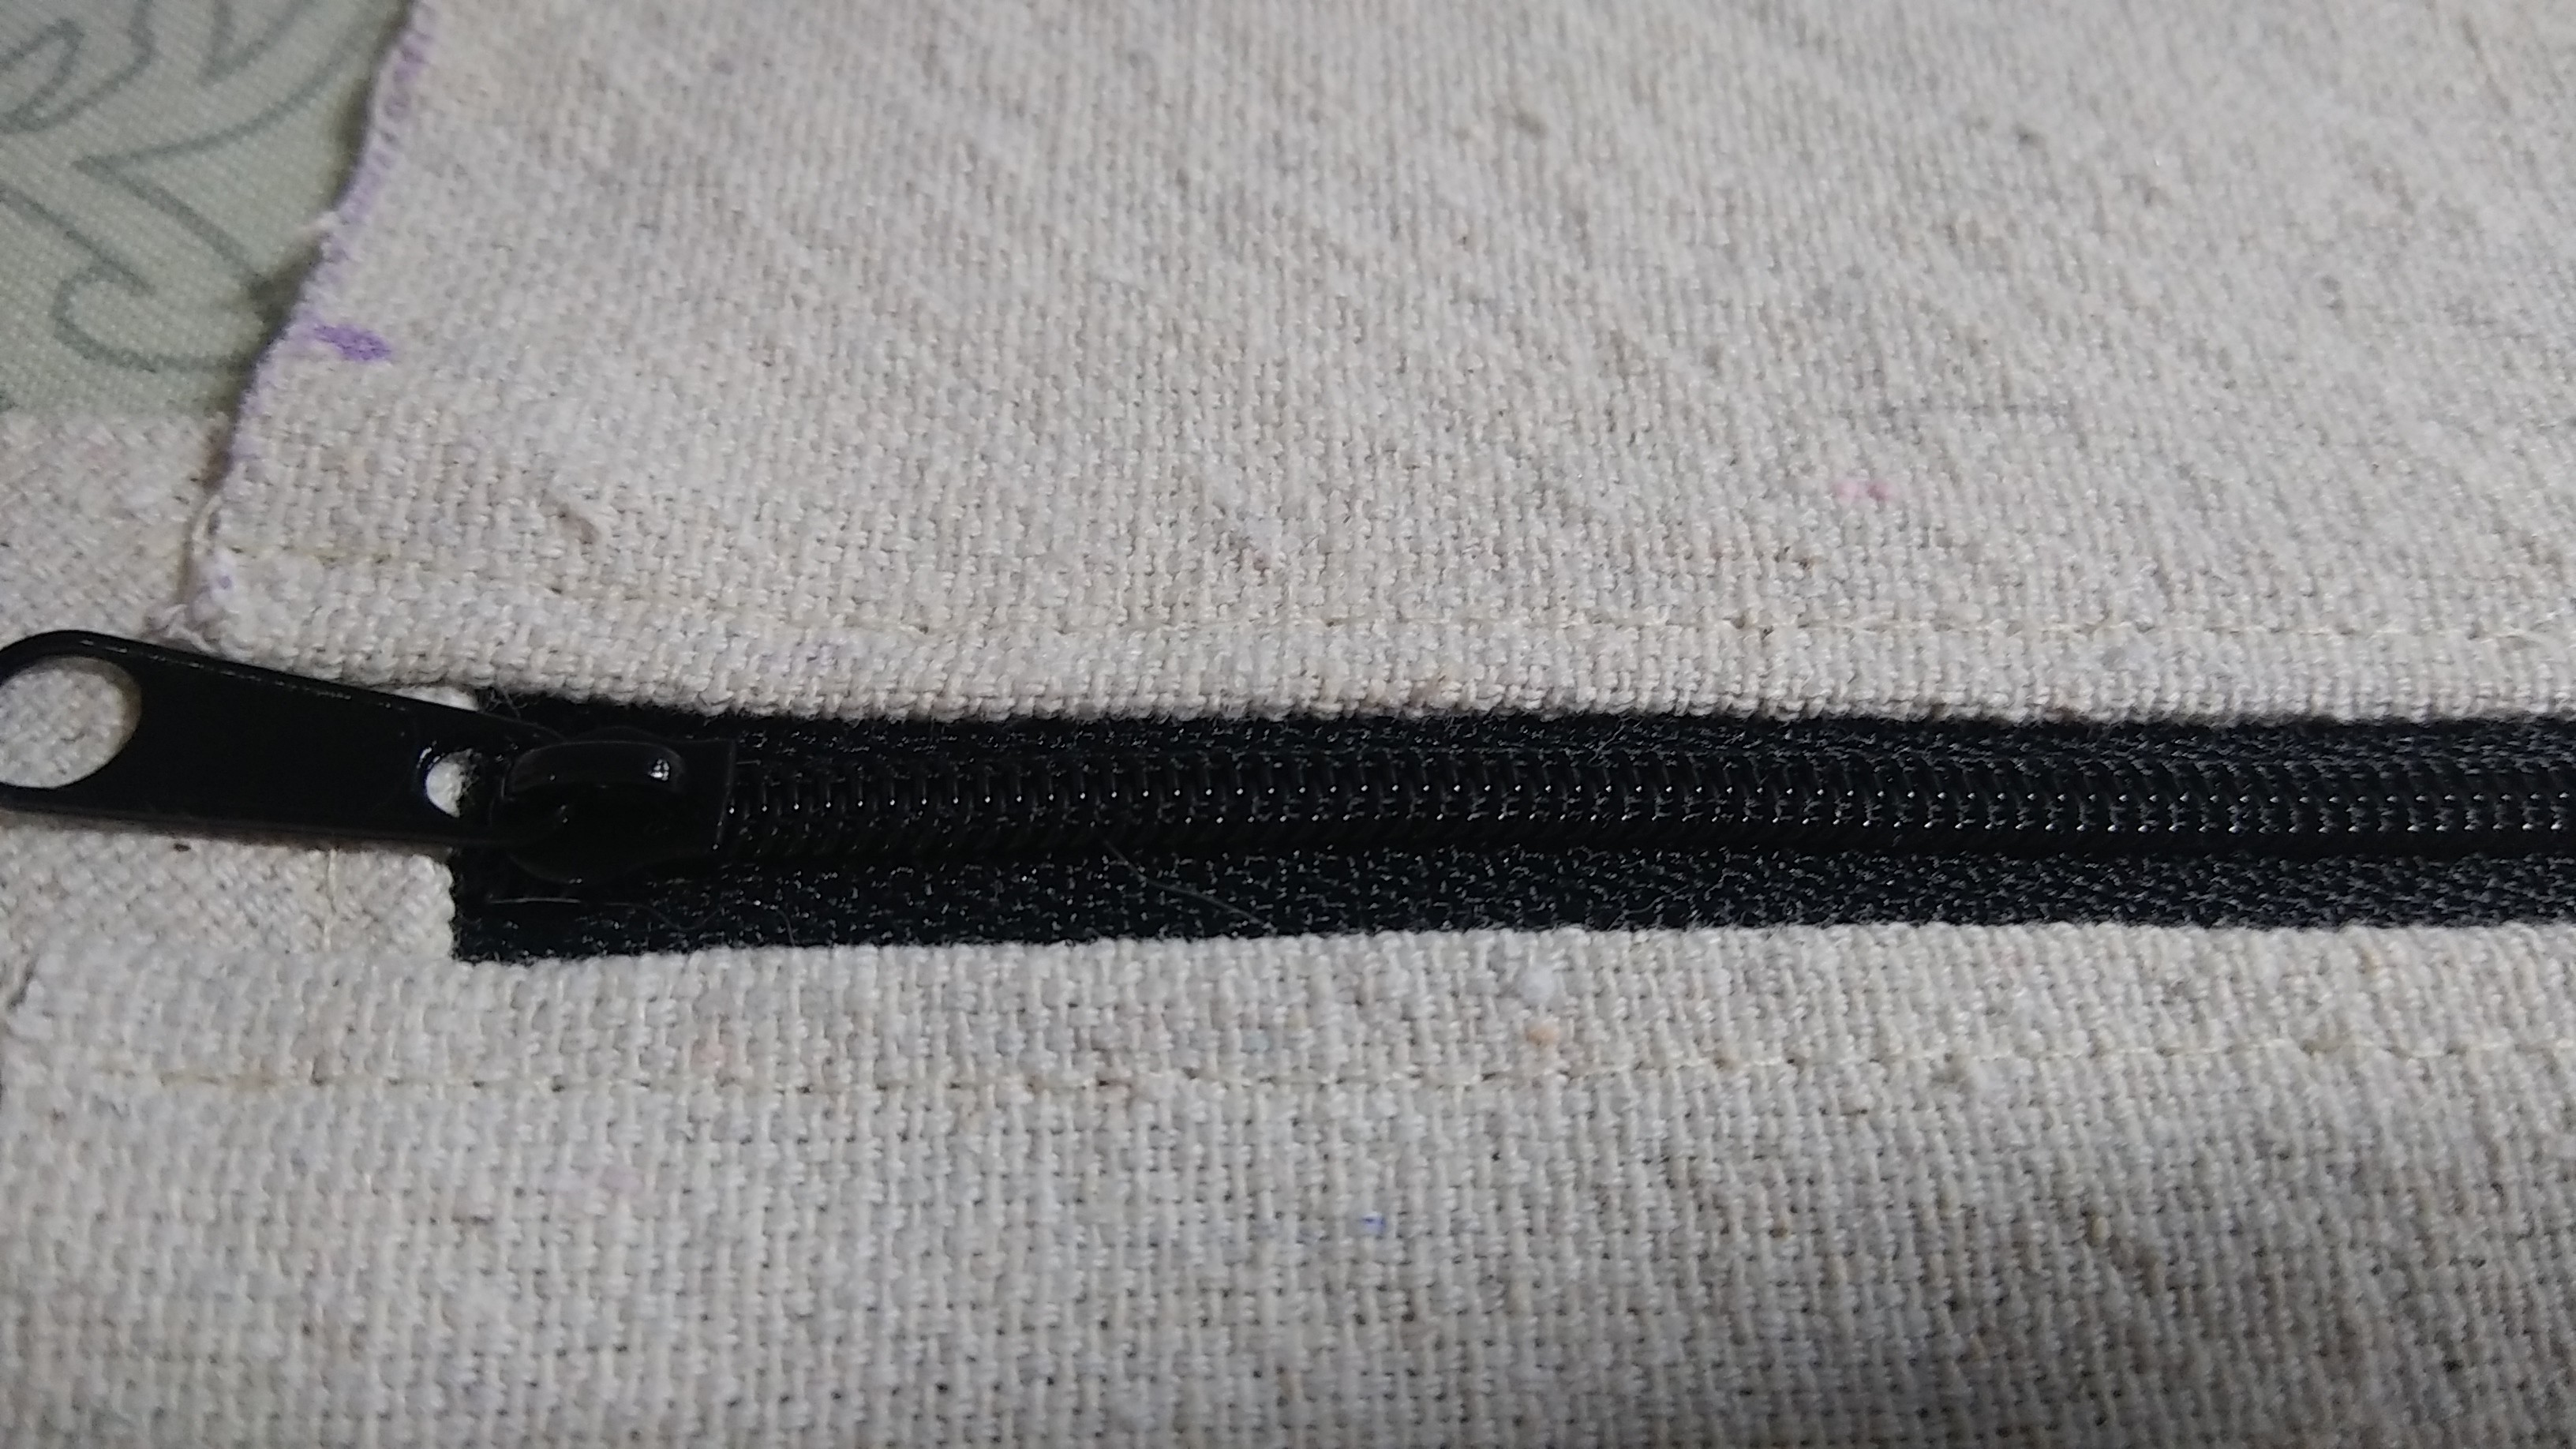
Then we sew the zipper to the bottom part of the front pouchy zippered pocket that goes on the front of the backpack.
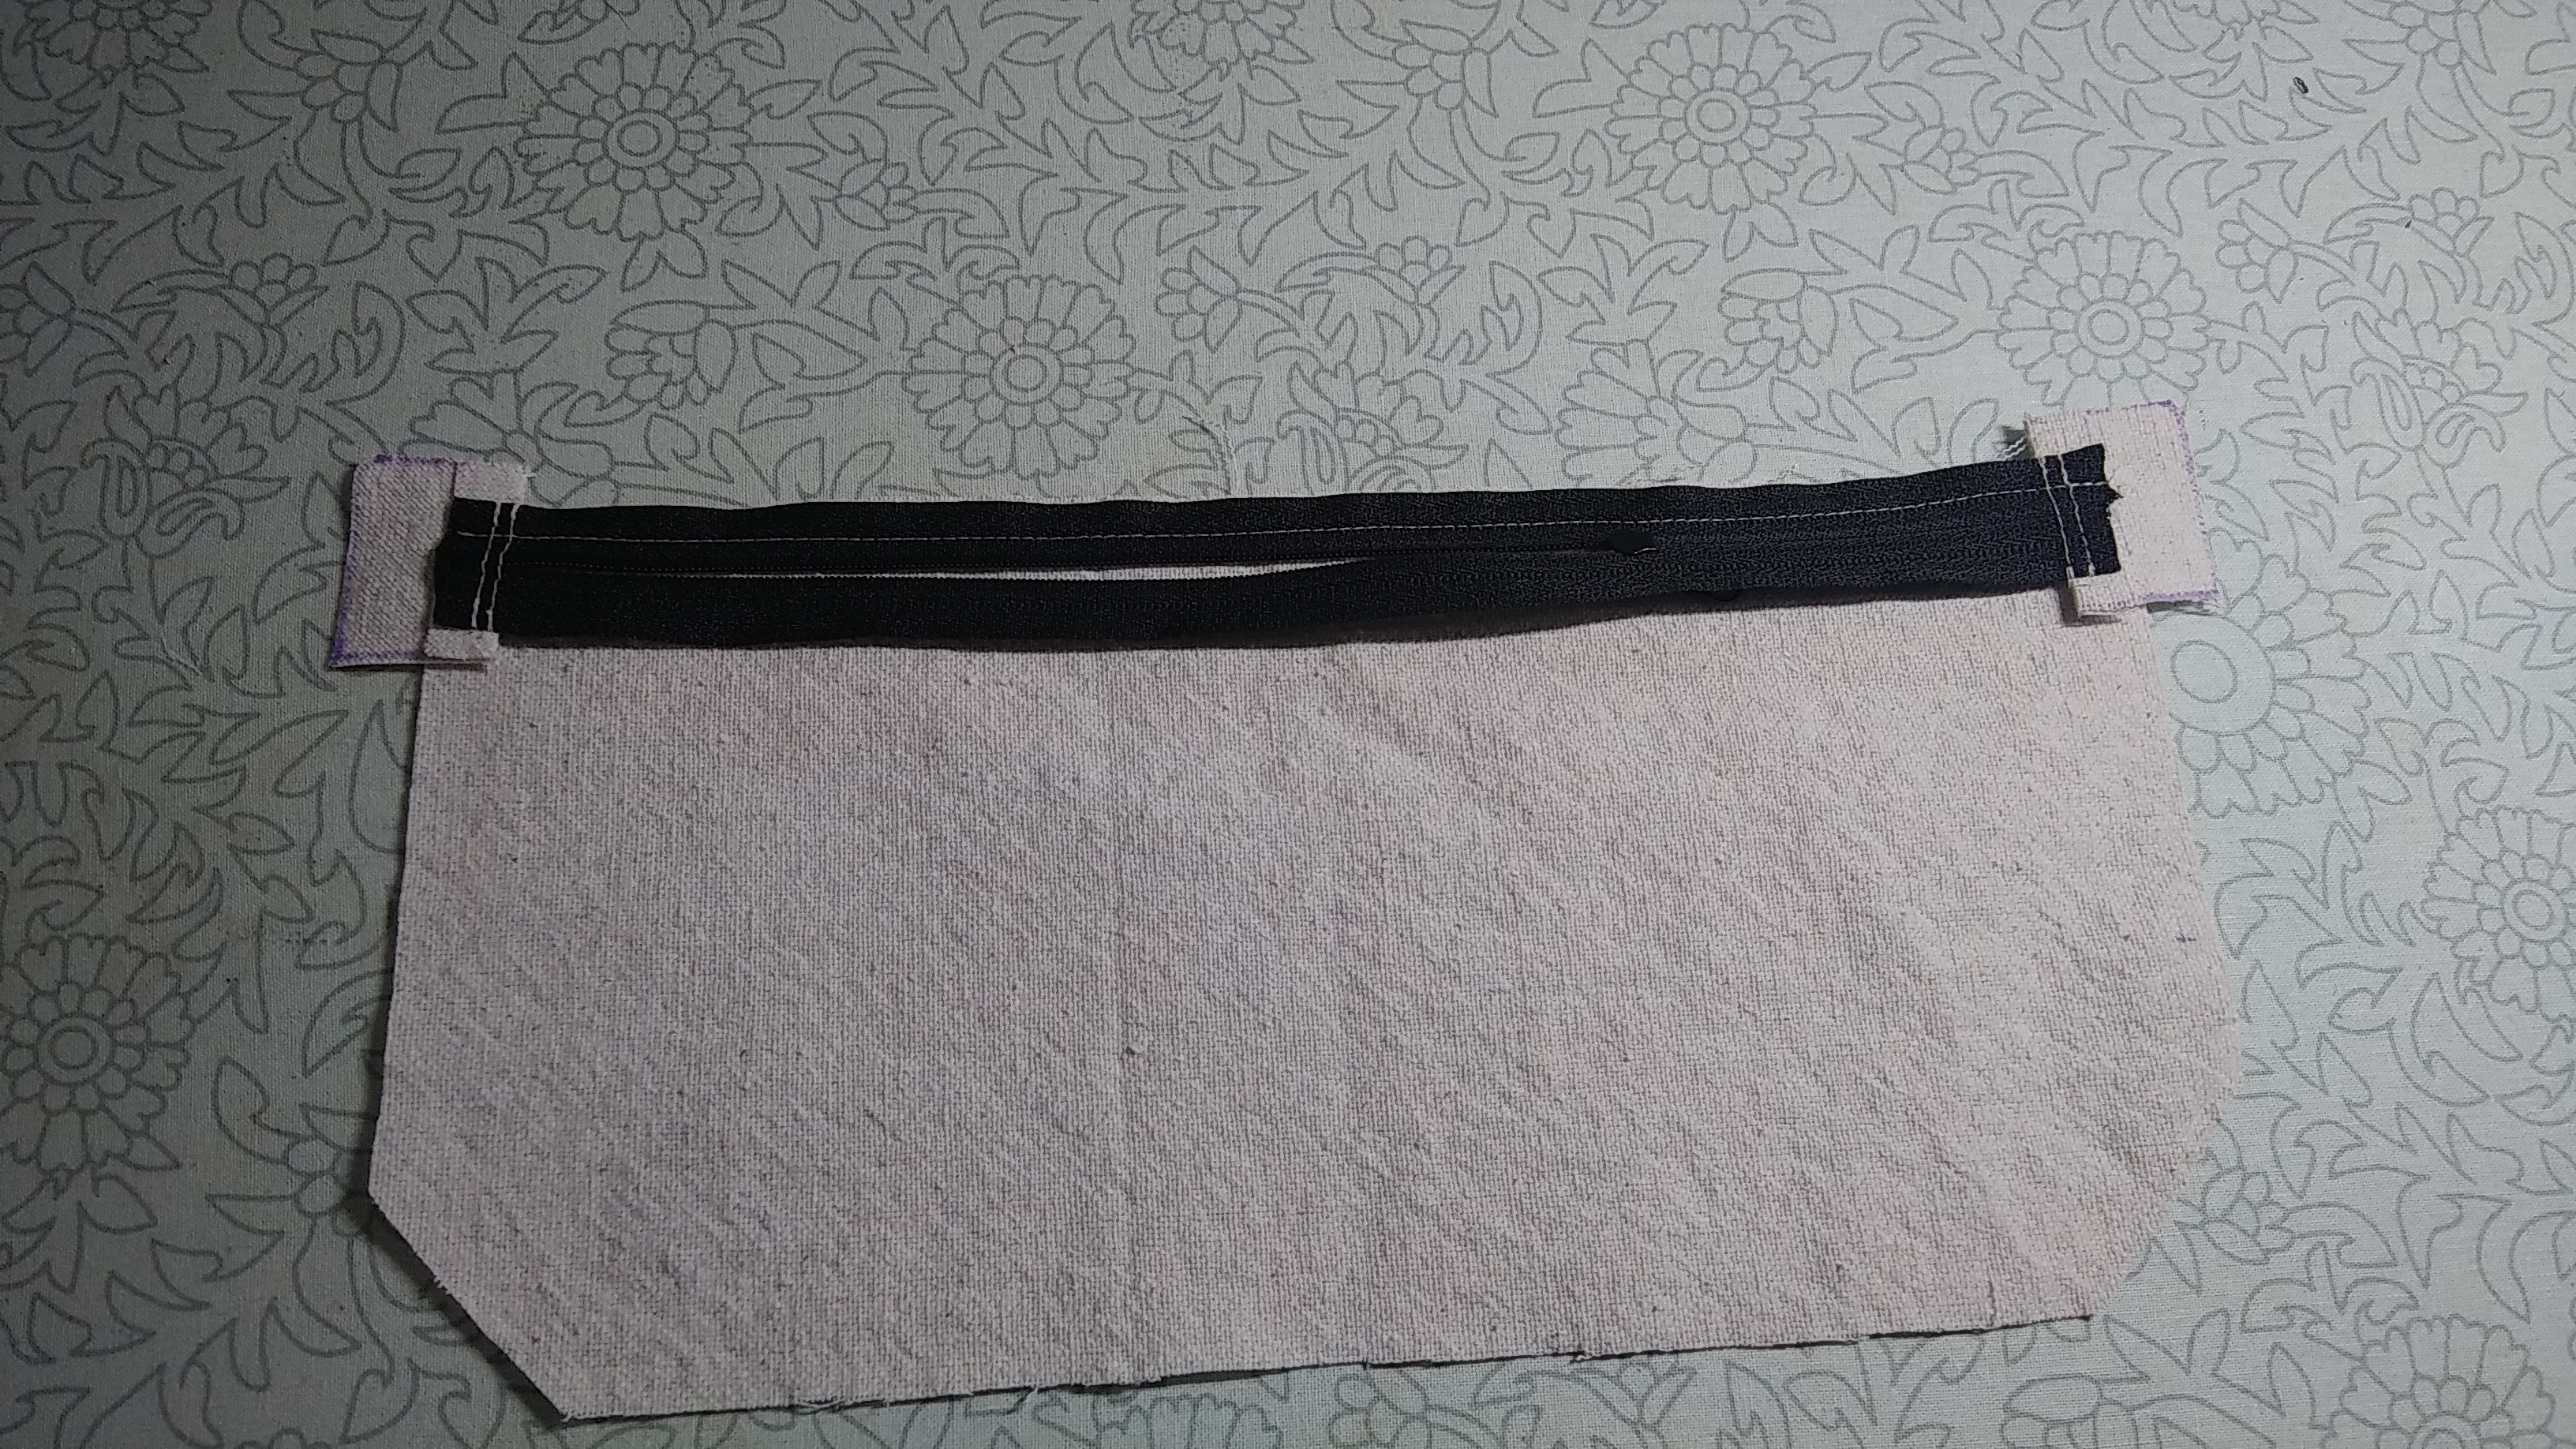
Fold it back, press, and topstitch.
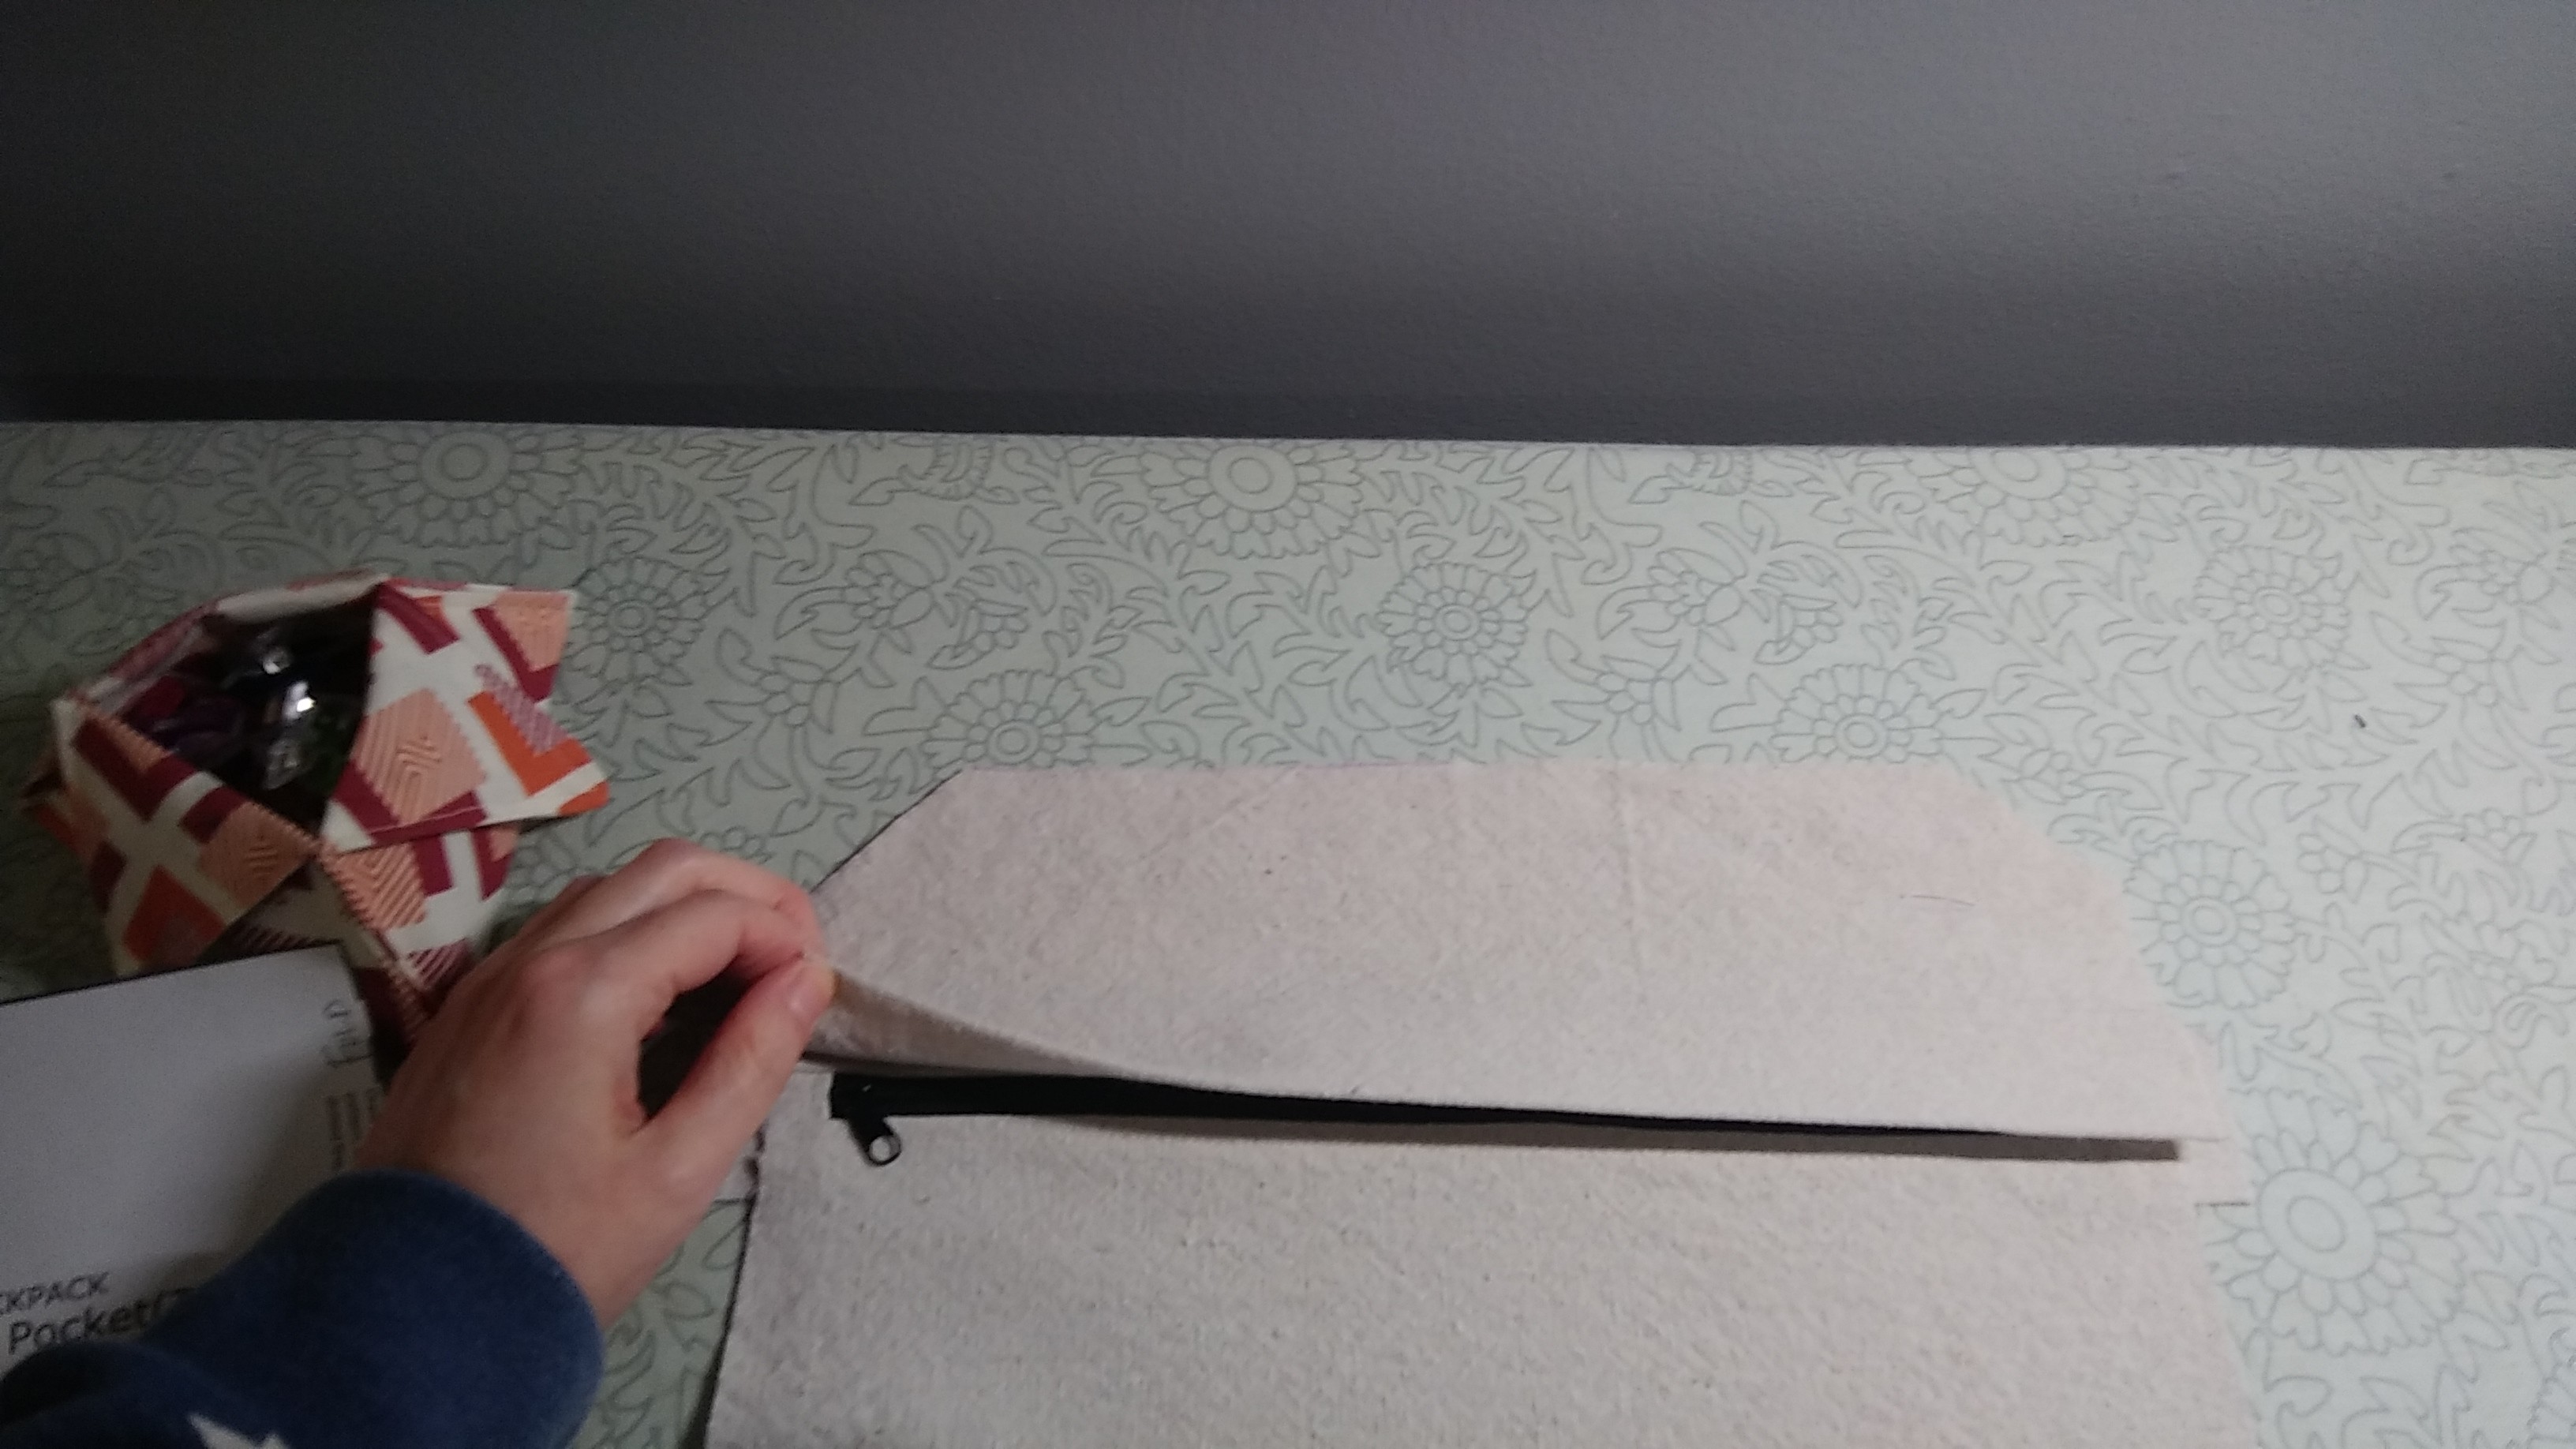
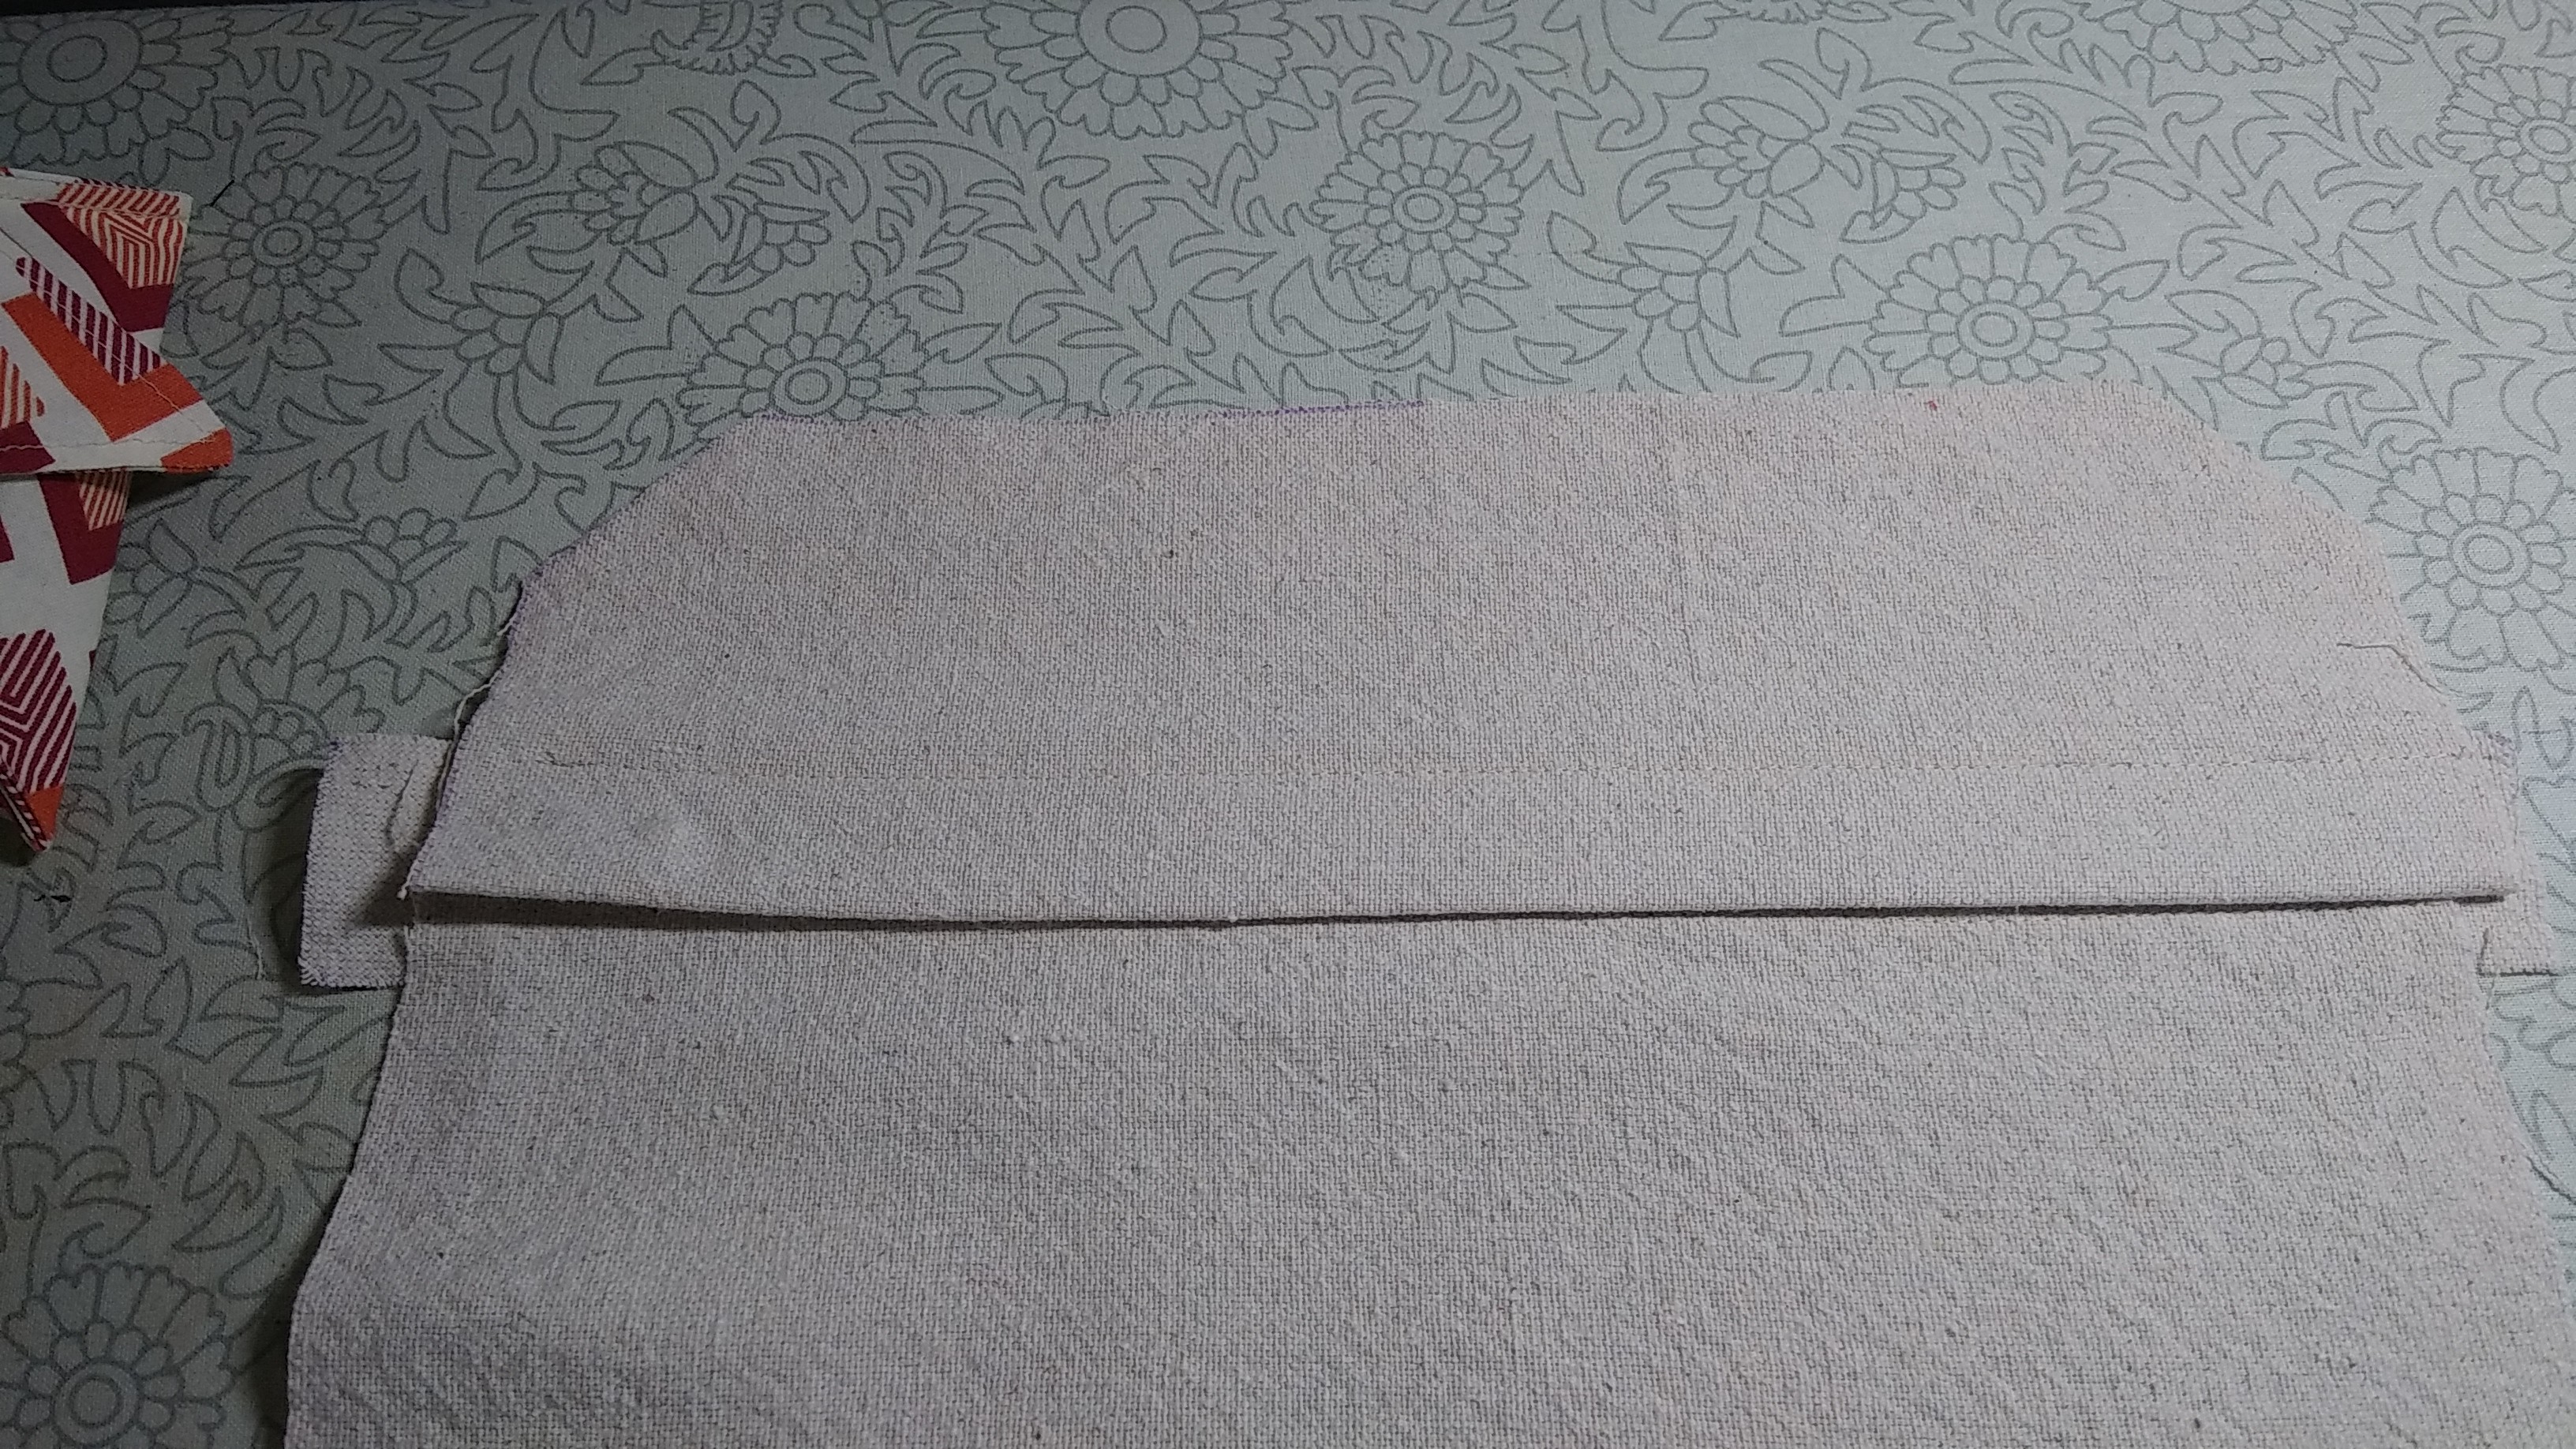
Add the top part of the pocket to the zipper in the same way. RST, then flip, press, and topstitch.
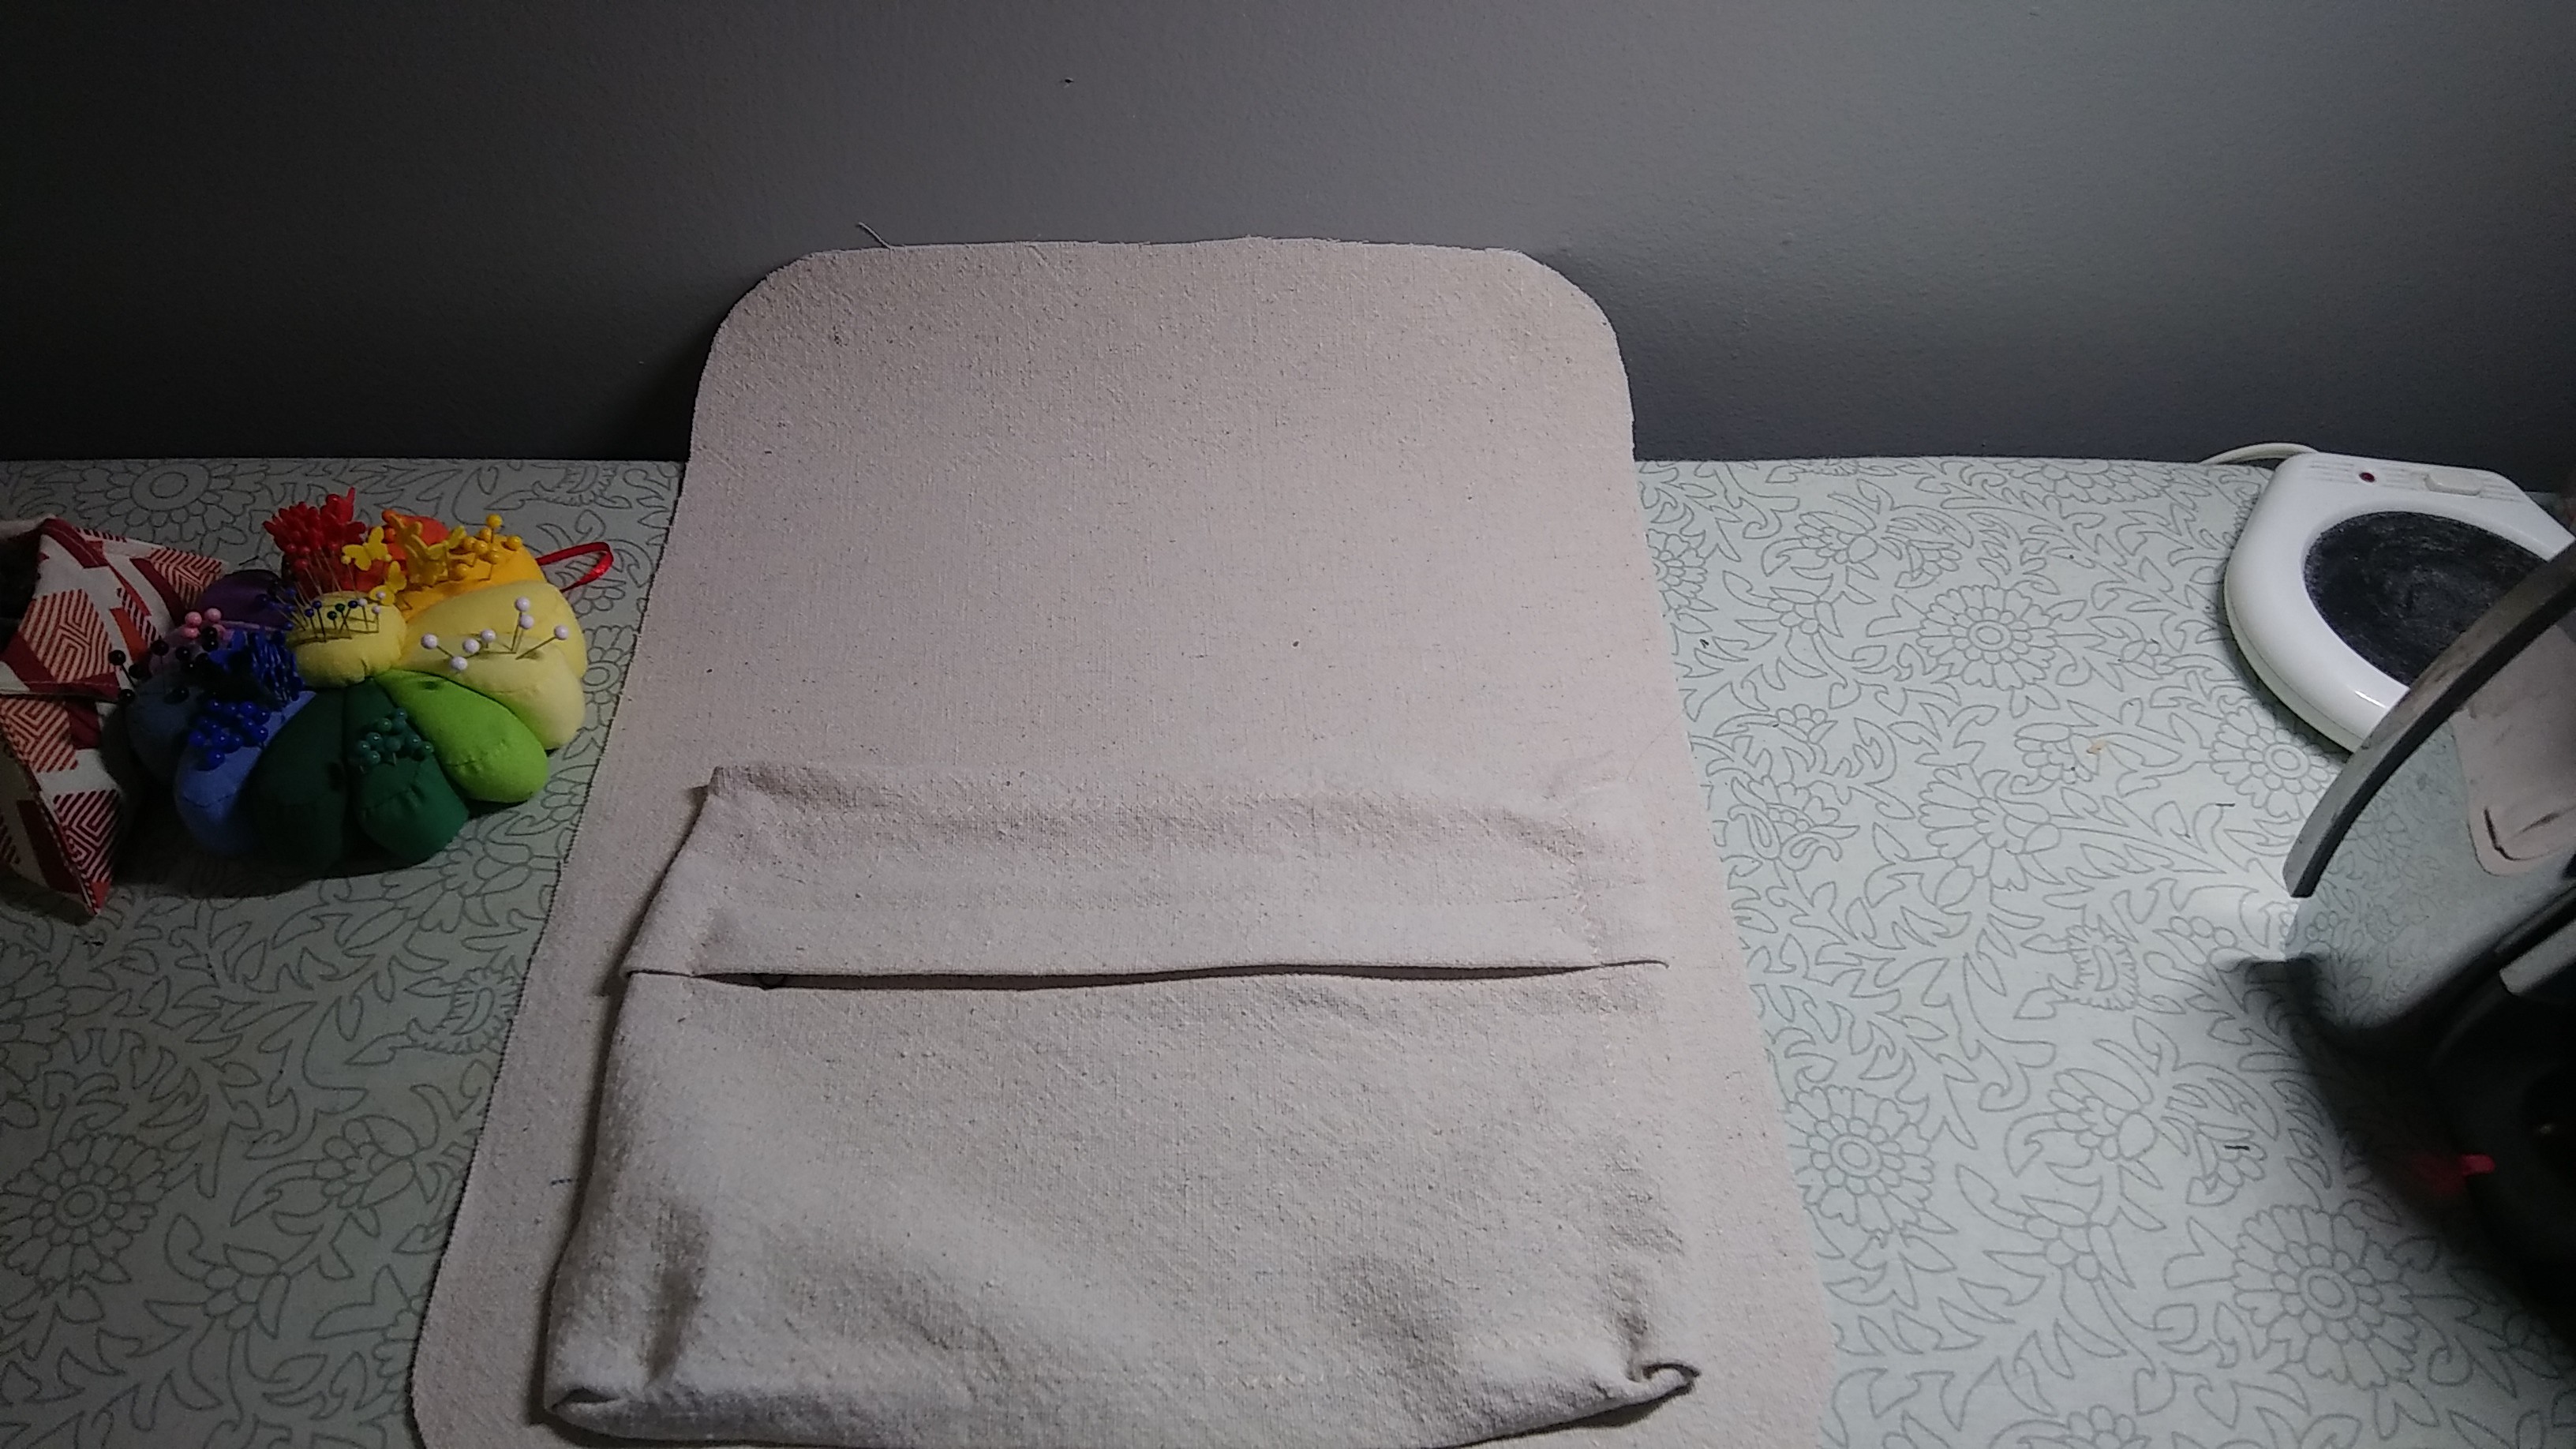
Fold down the top to make a flap that covers the zipper and topstitch it down.
I drew a stitching line with a Frixion erasable pen, then removed the mark with my steam iron.
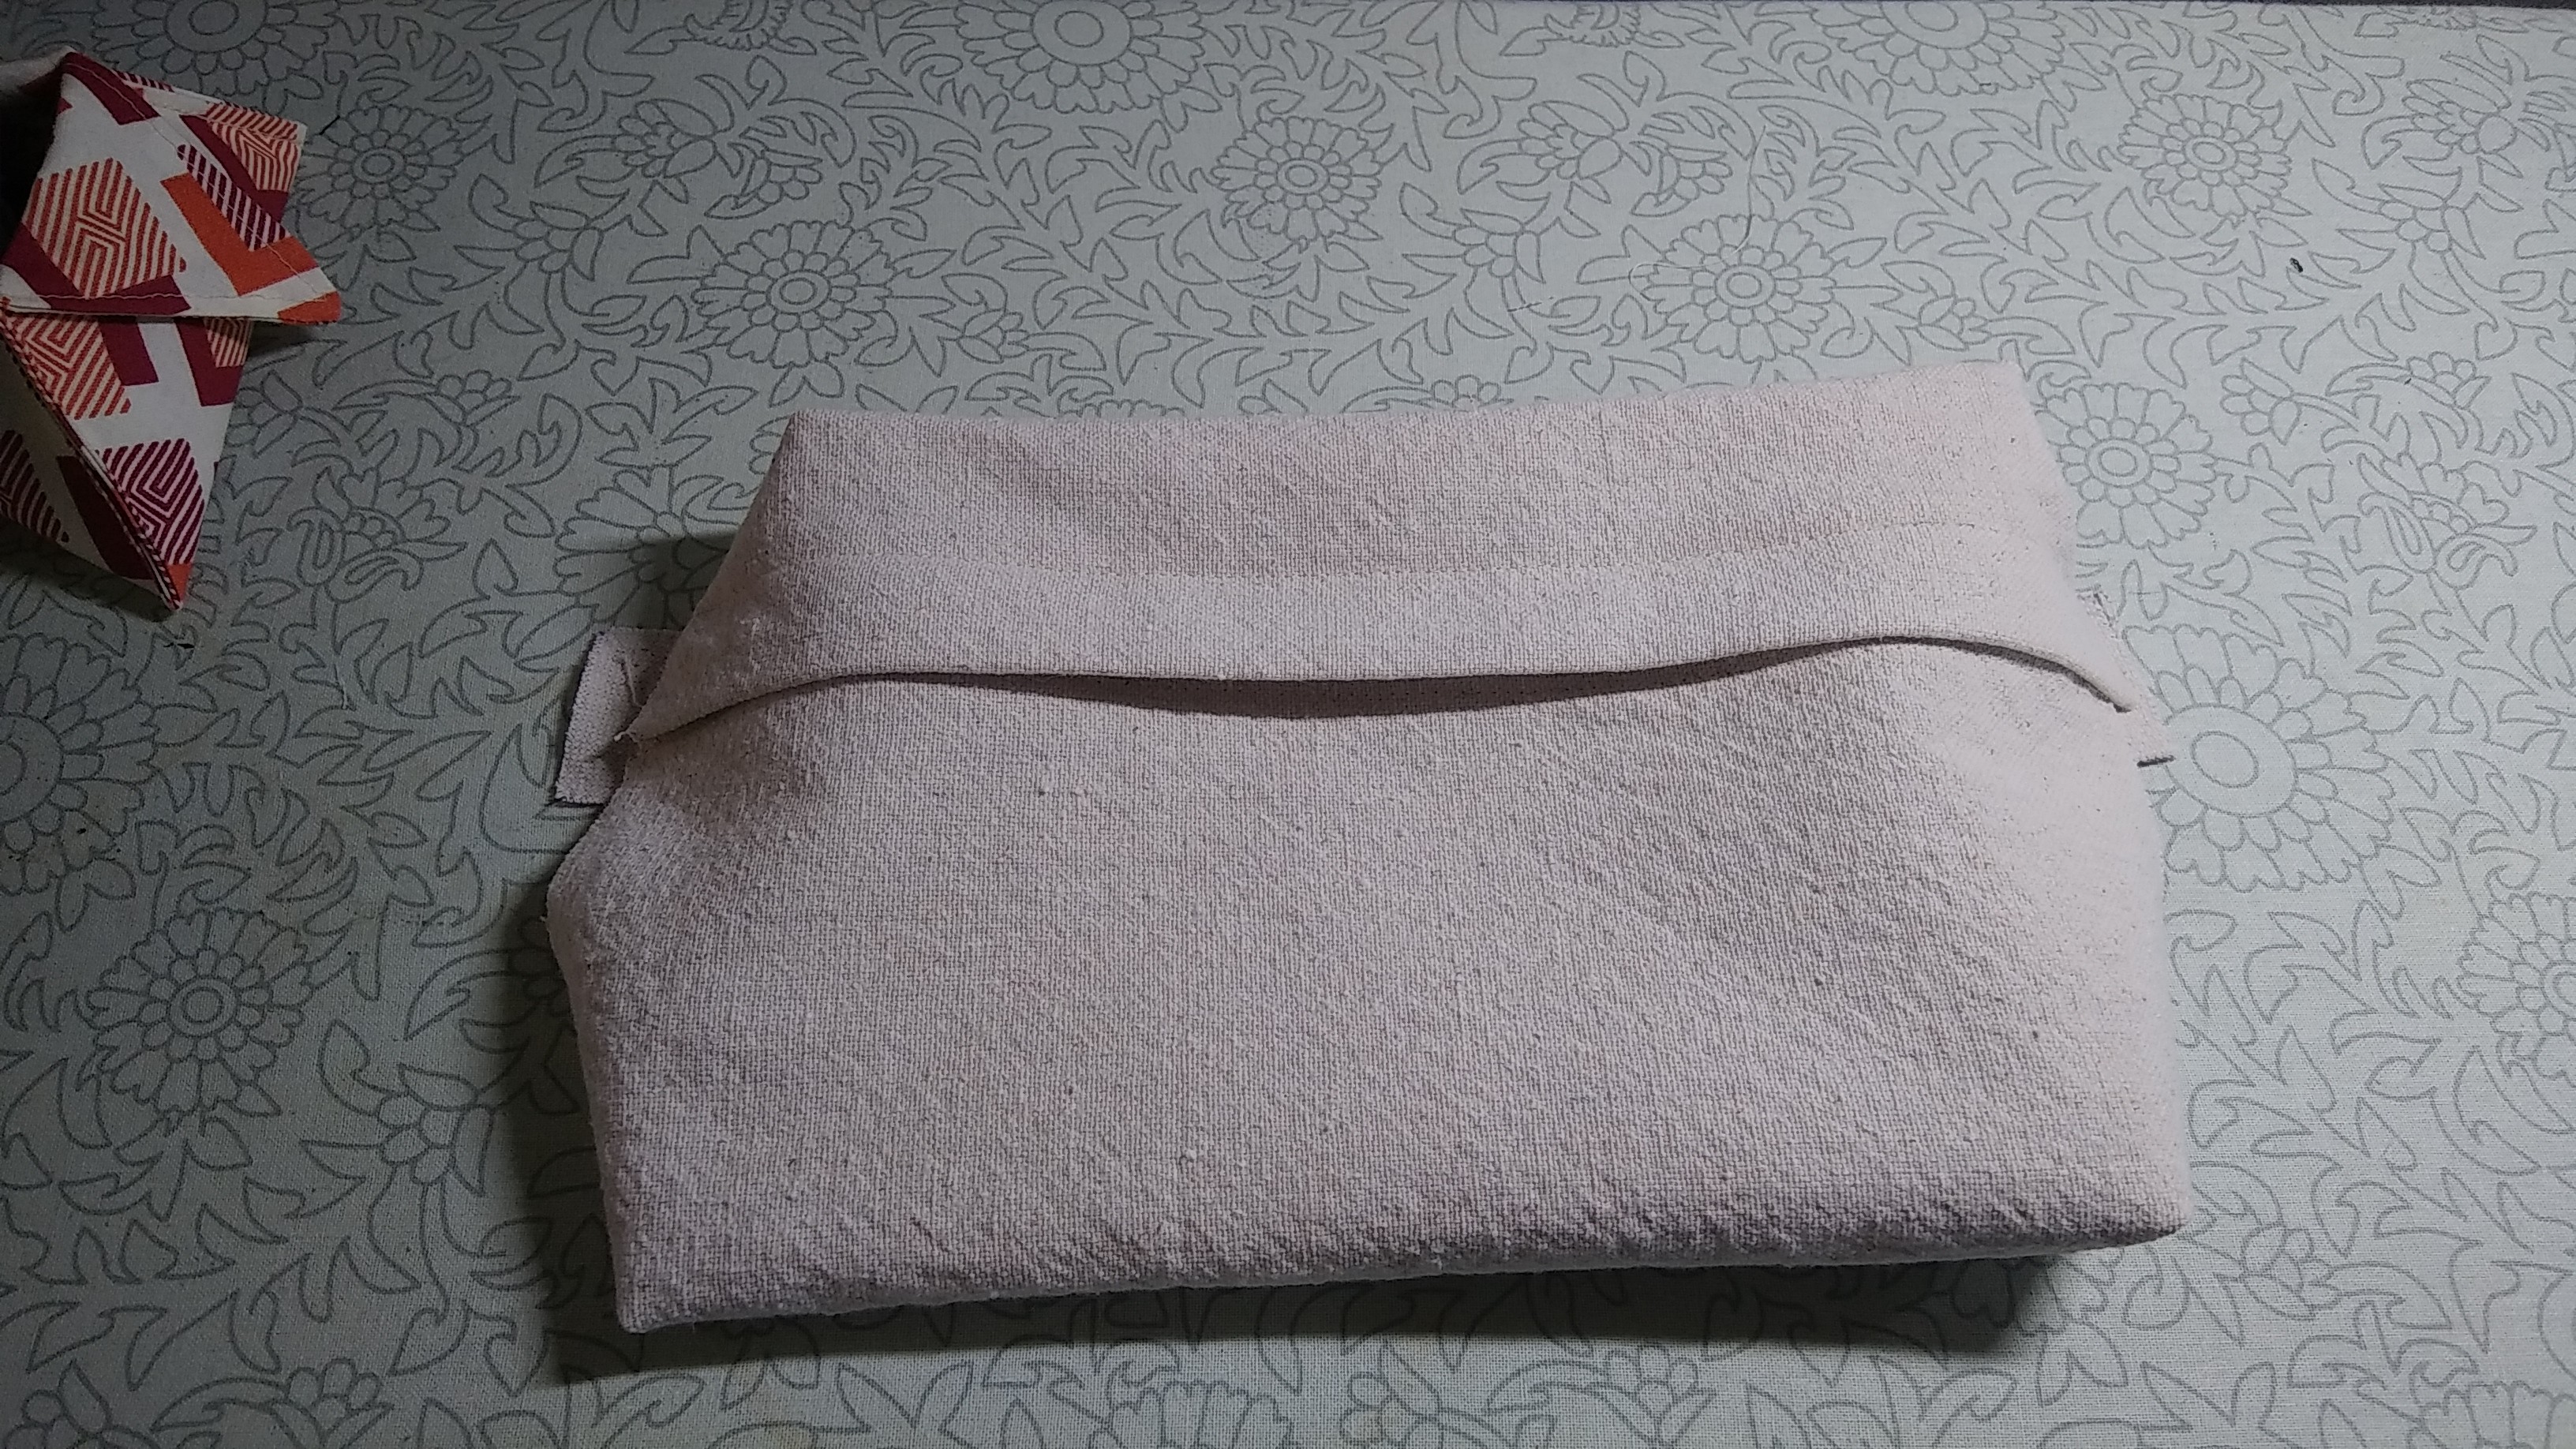
Make the pocket three-dimensional by sewing the corners into darts.
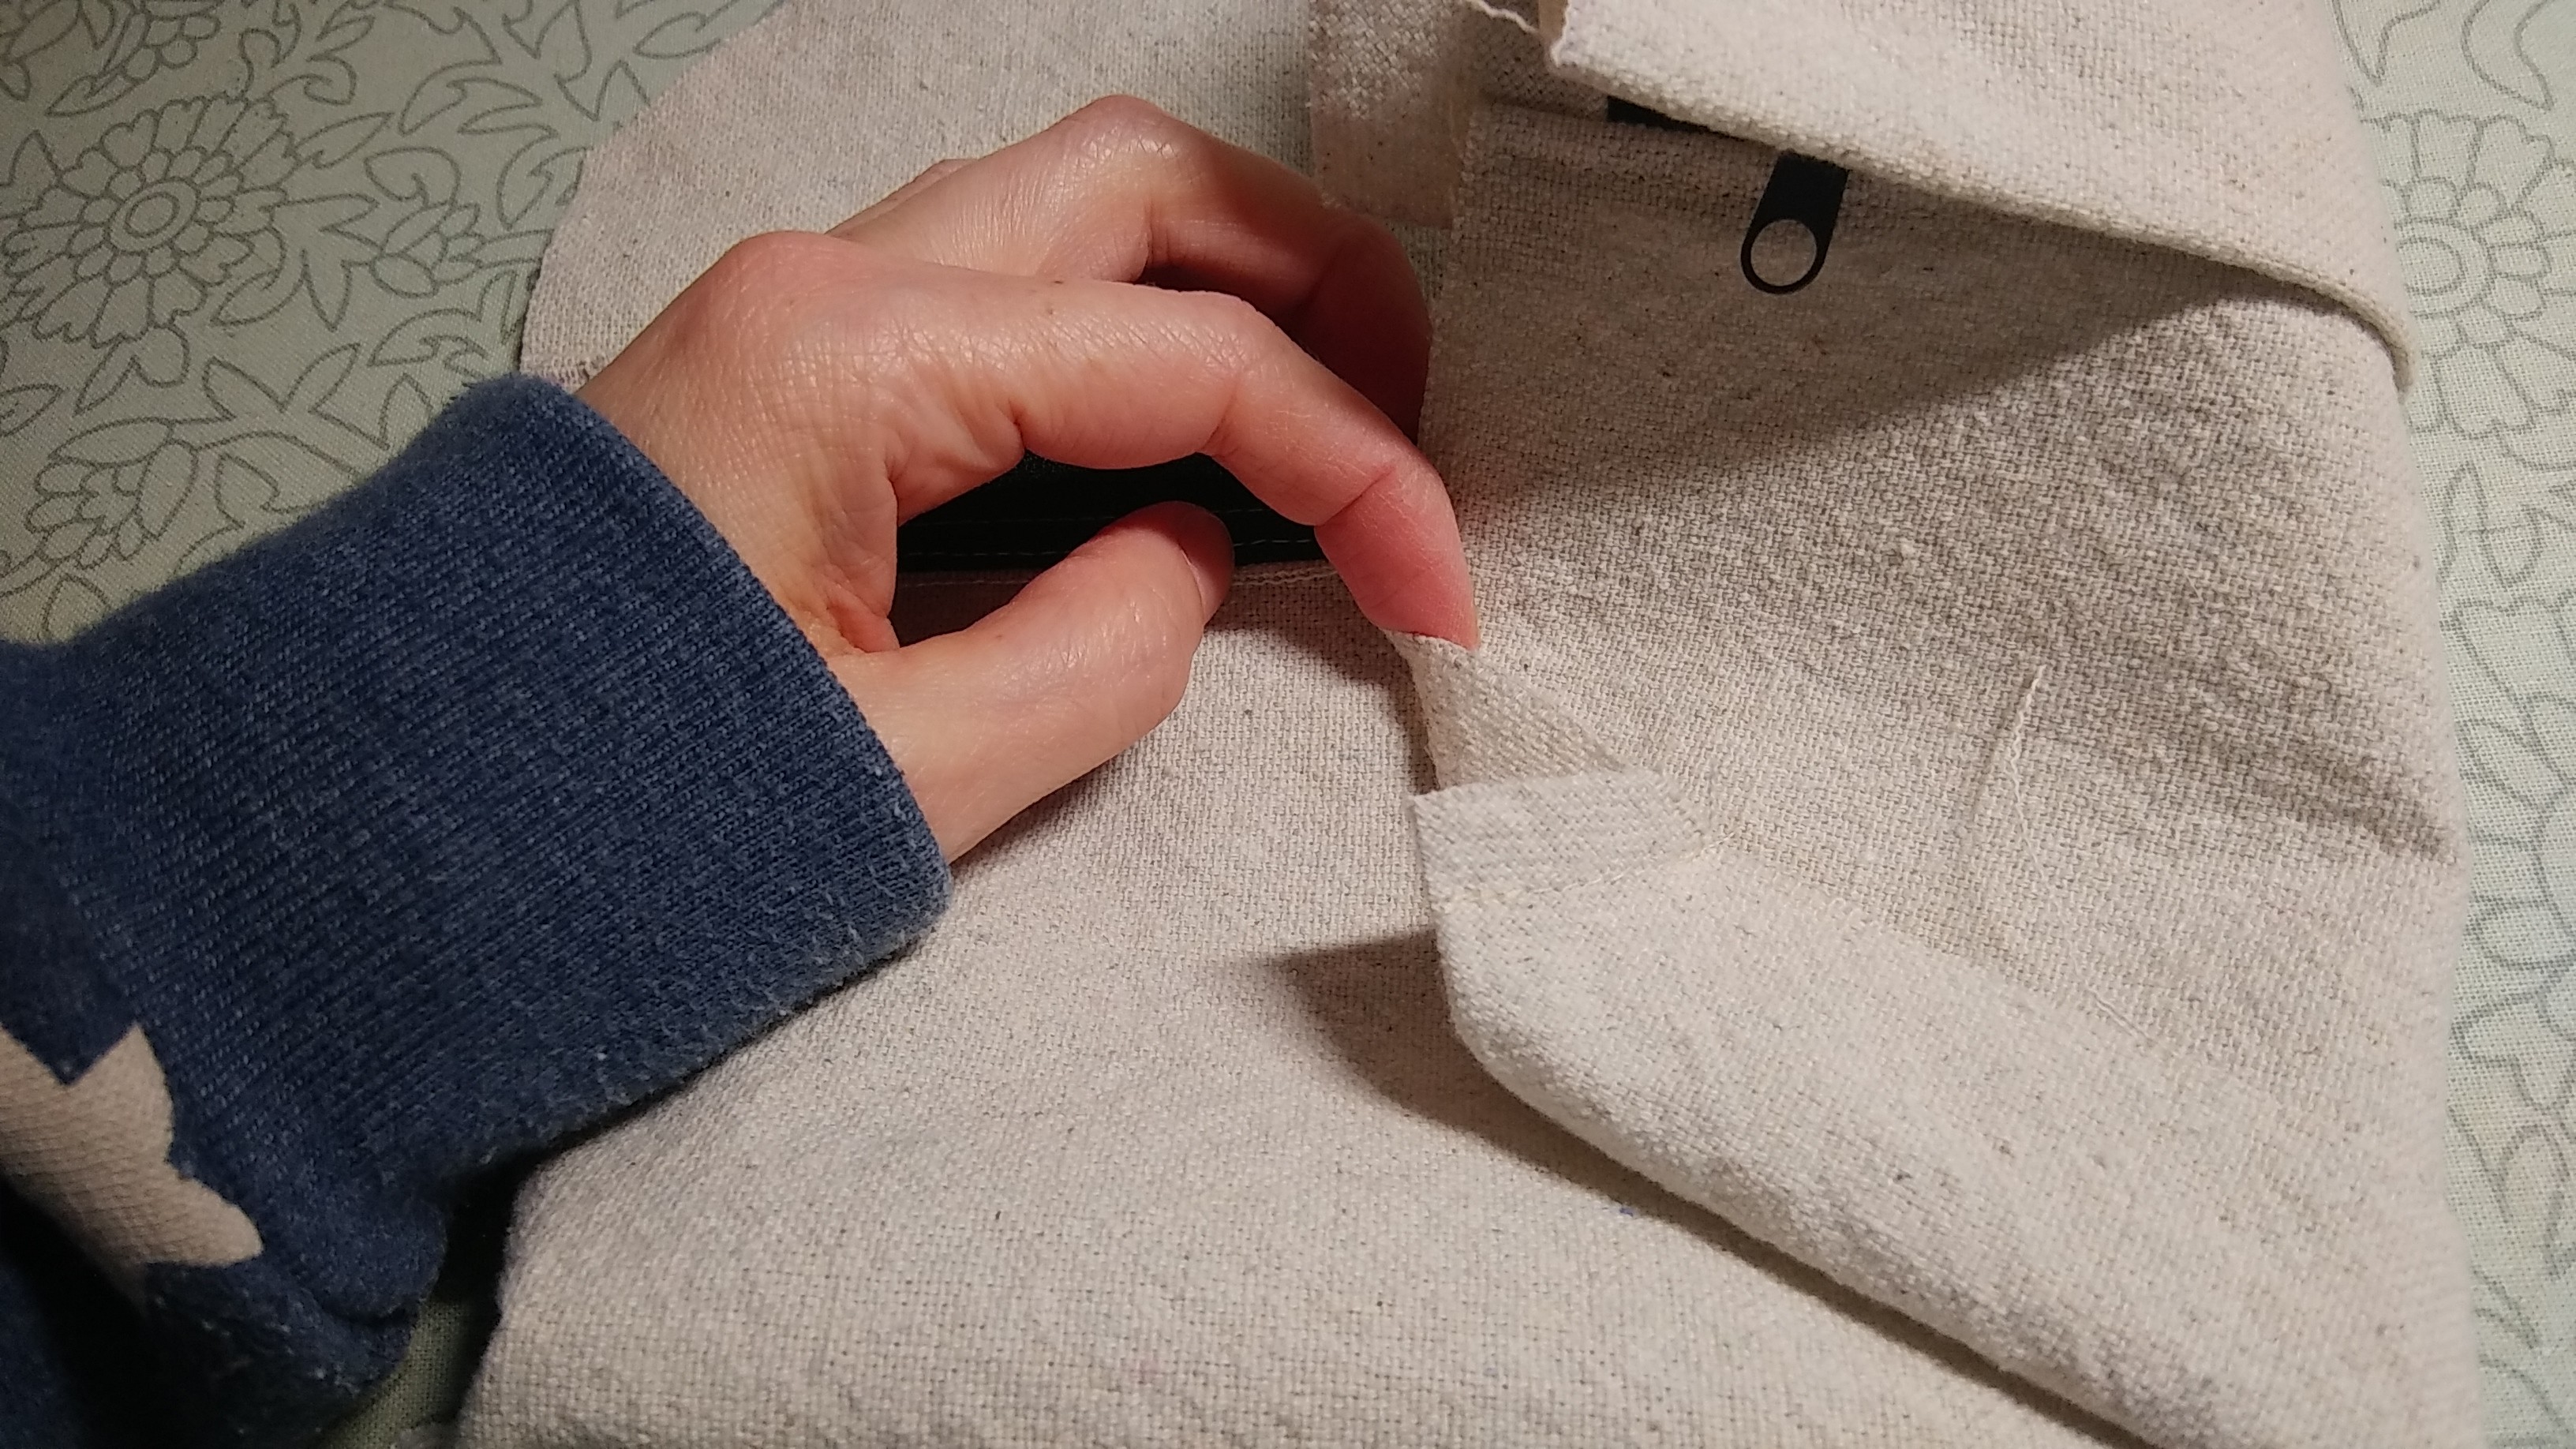
Flip it over. Press the raw edge in by 1/2" and sew with a zig-zag stitch to overlock the raw edge. I didn't take a picture of this step, sorry.
Sew the front pocket to the front of the backpack.
Stuff it with fabric scraps to check out how much it will hold.
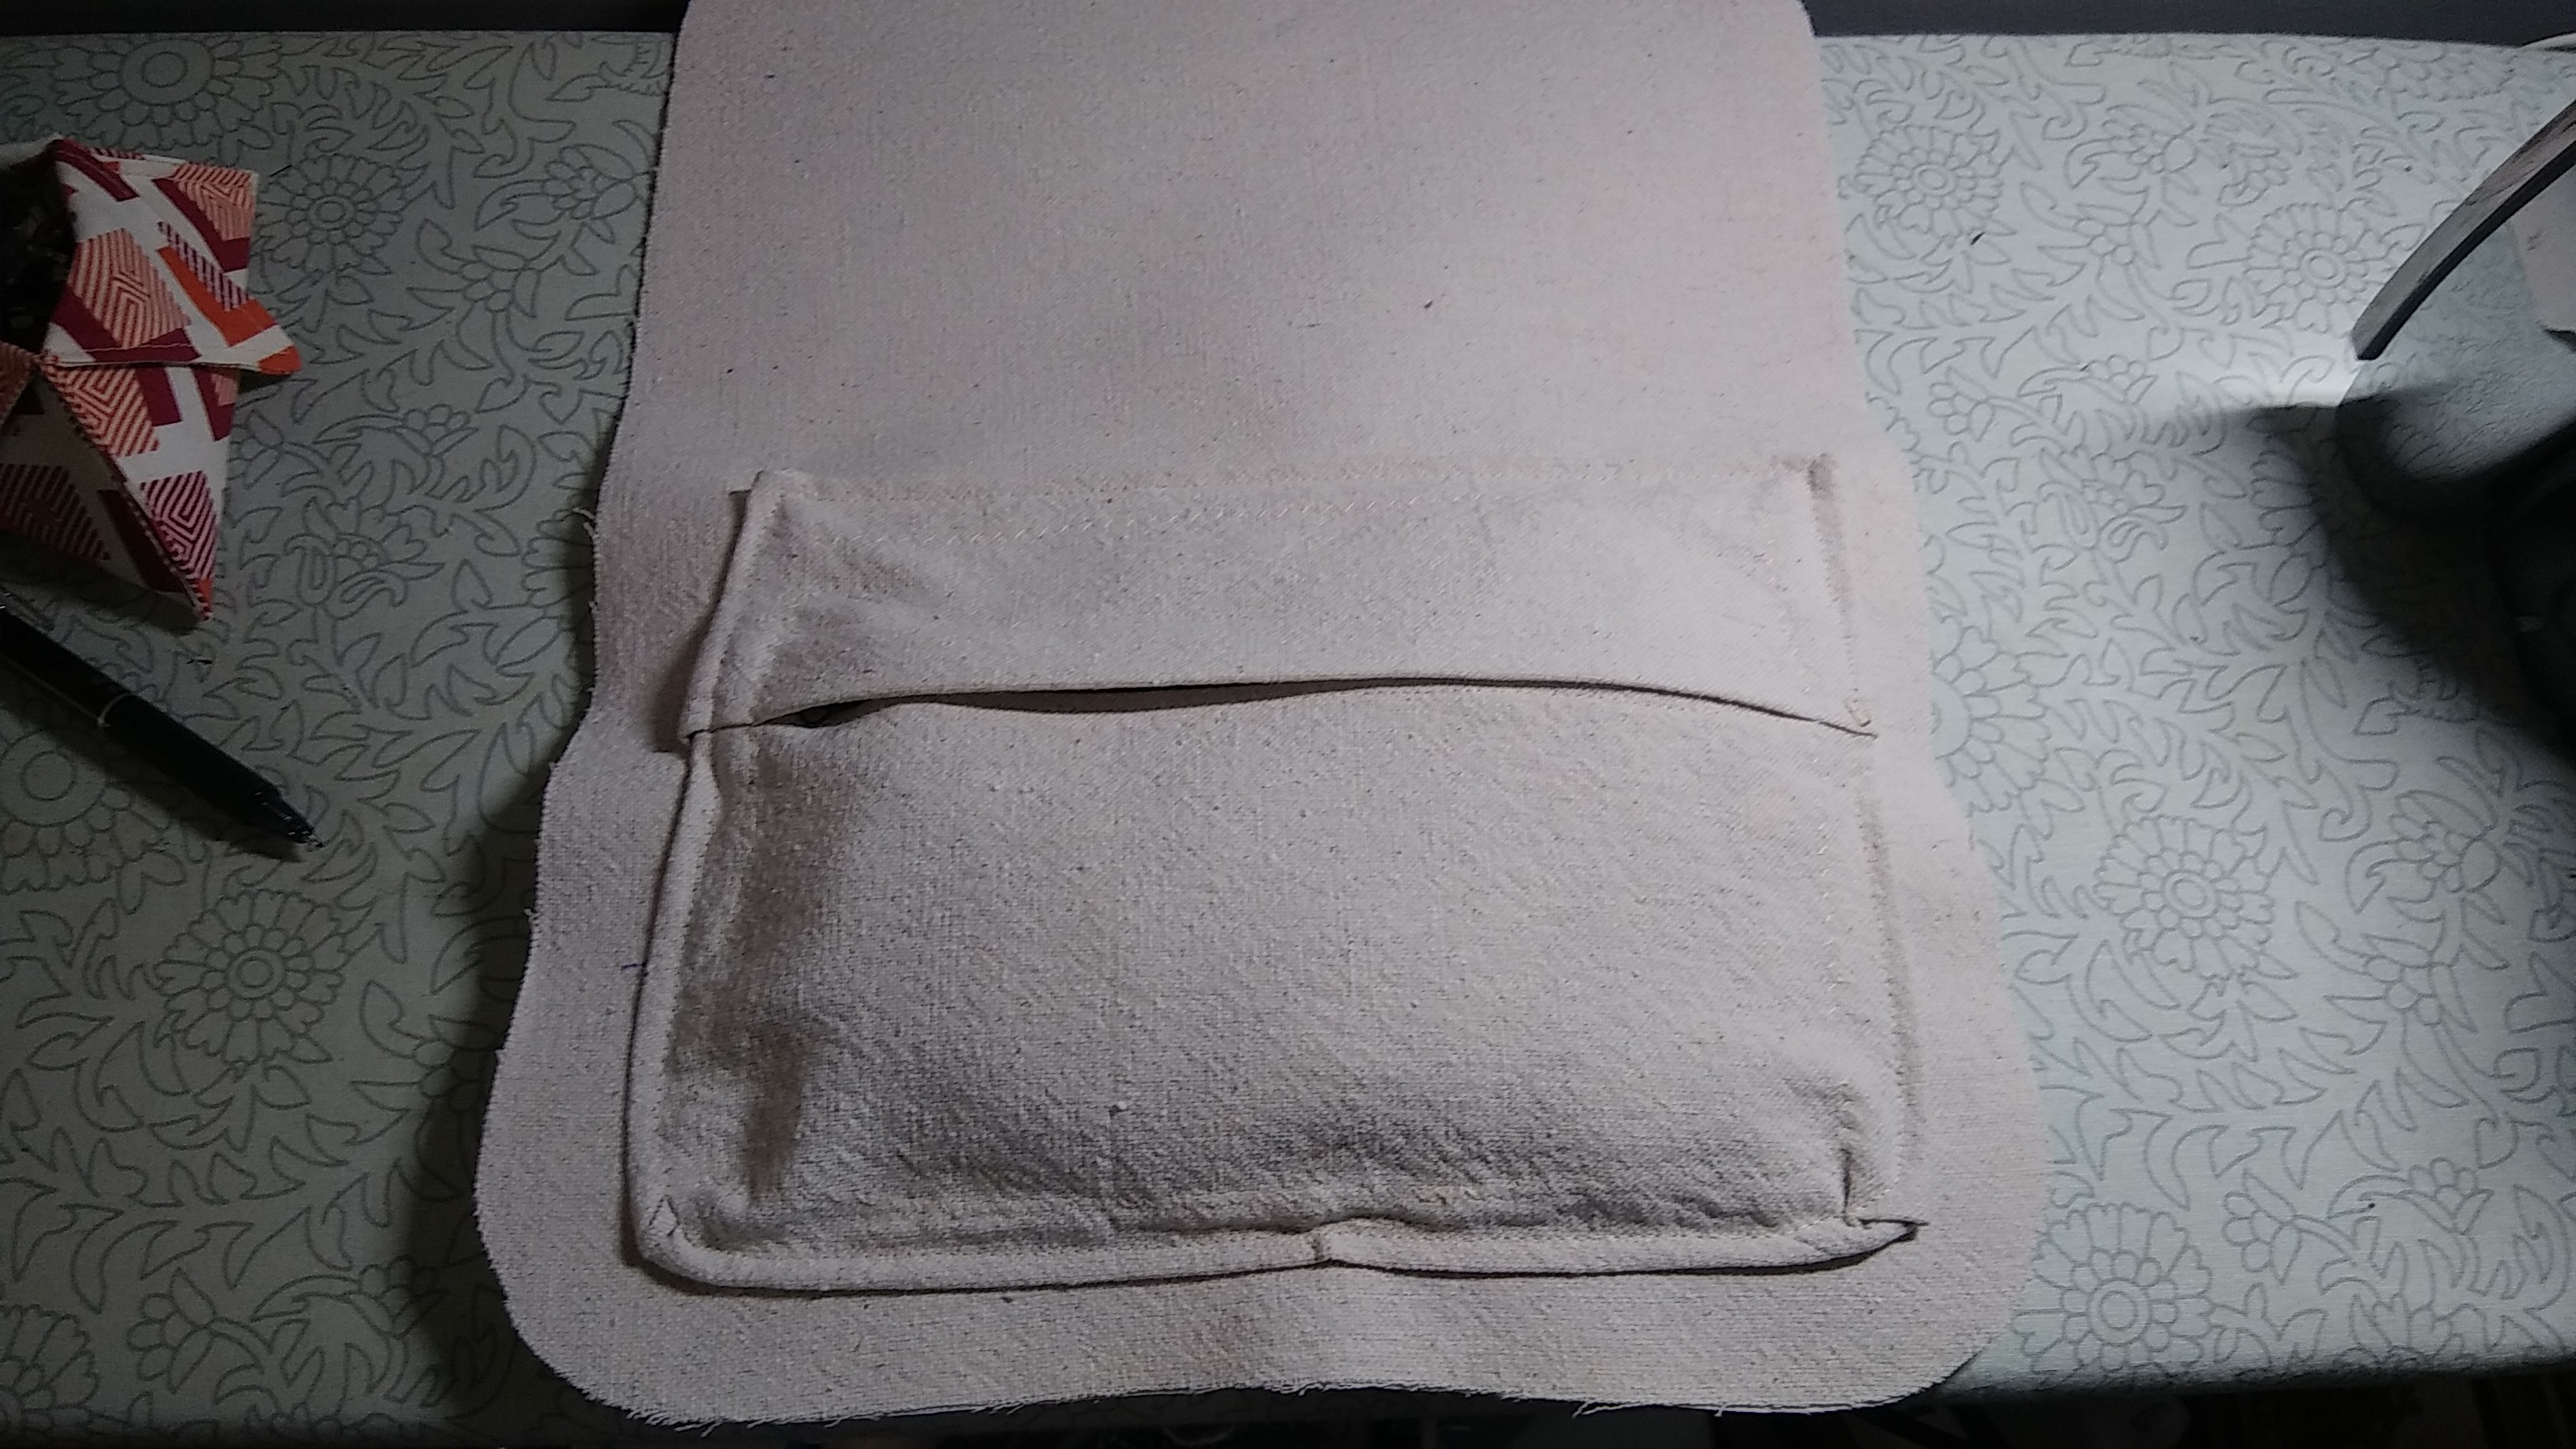
Put your notebook in there for scale (3.5" x 5.5").

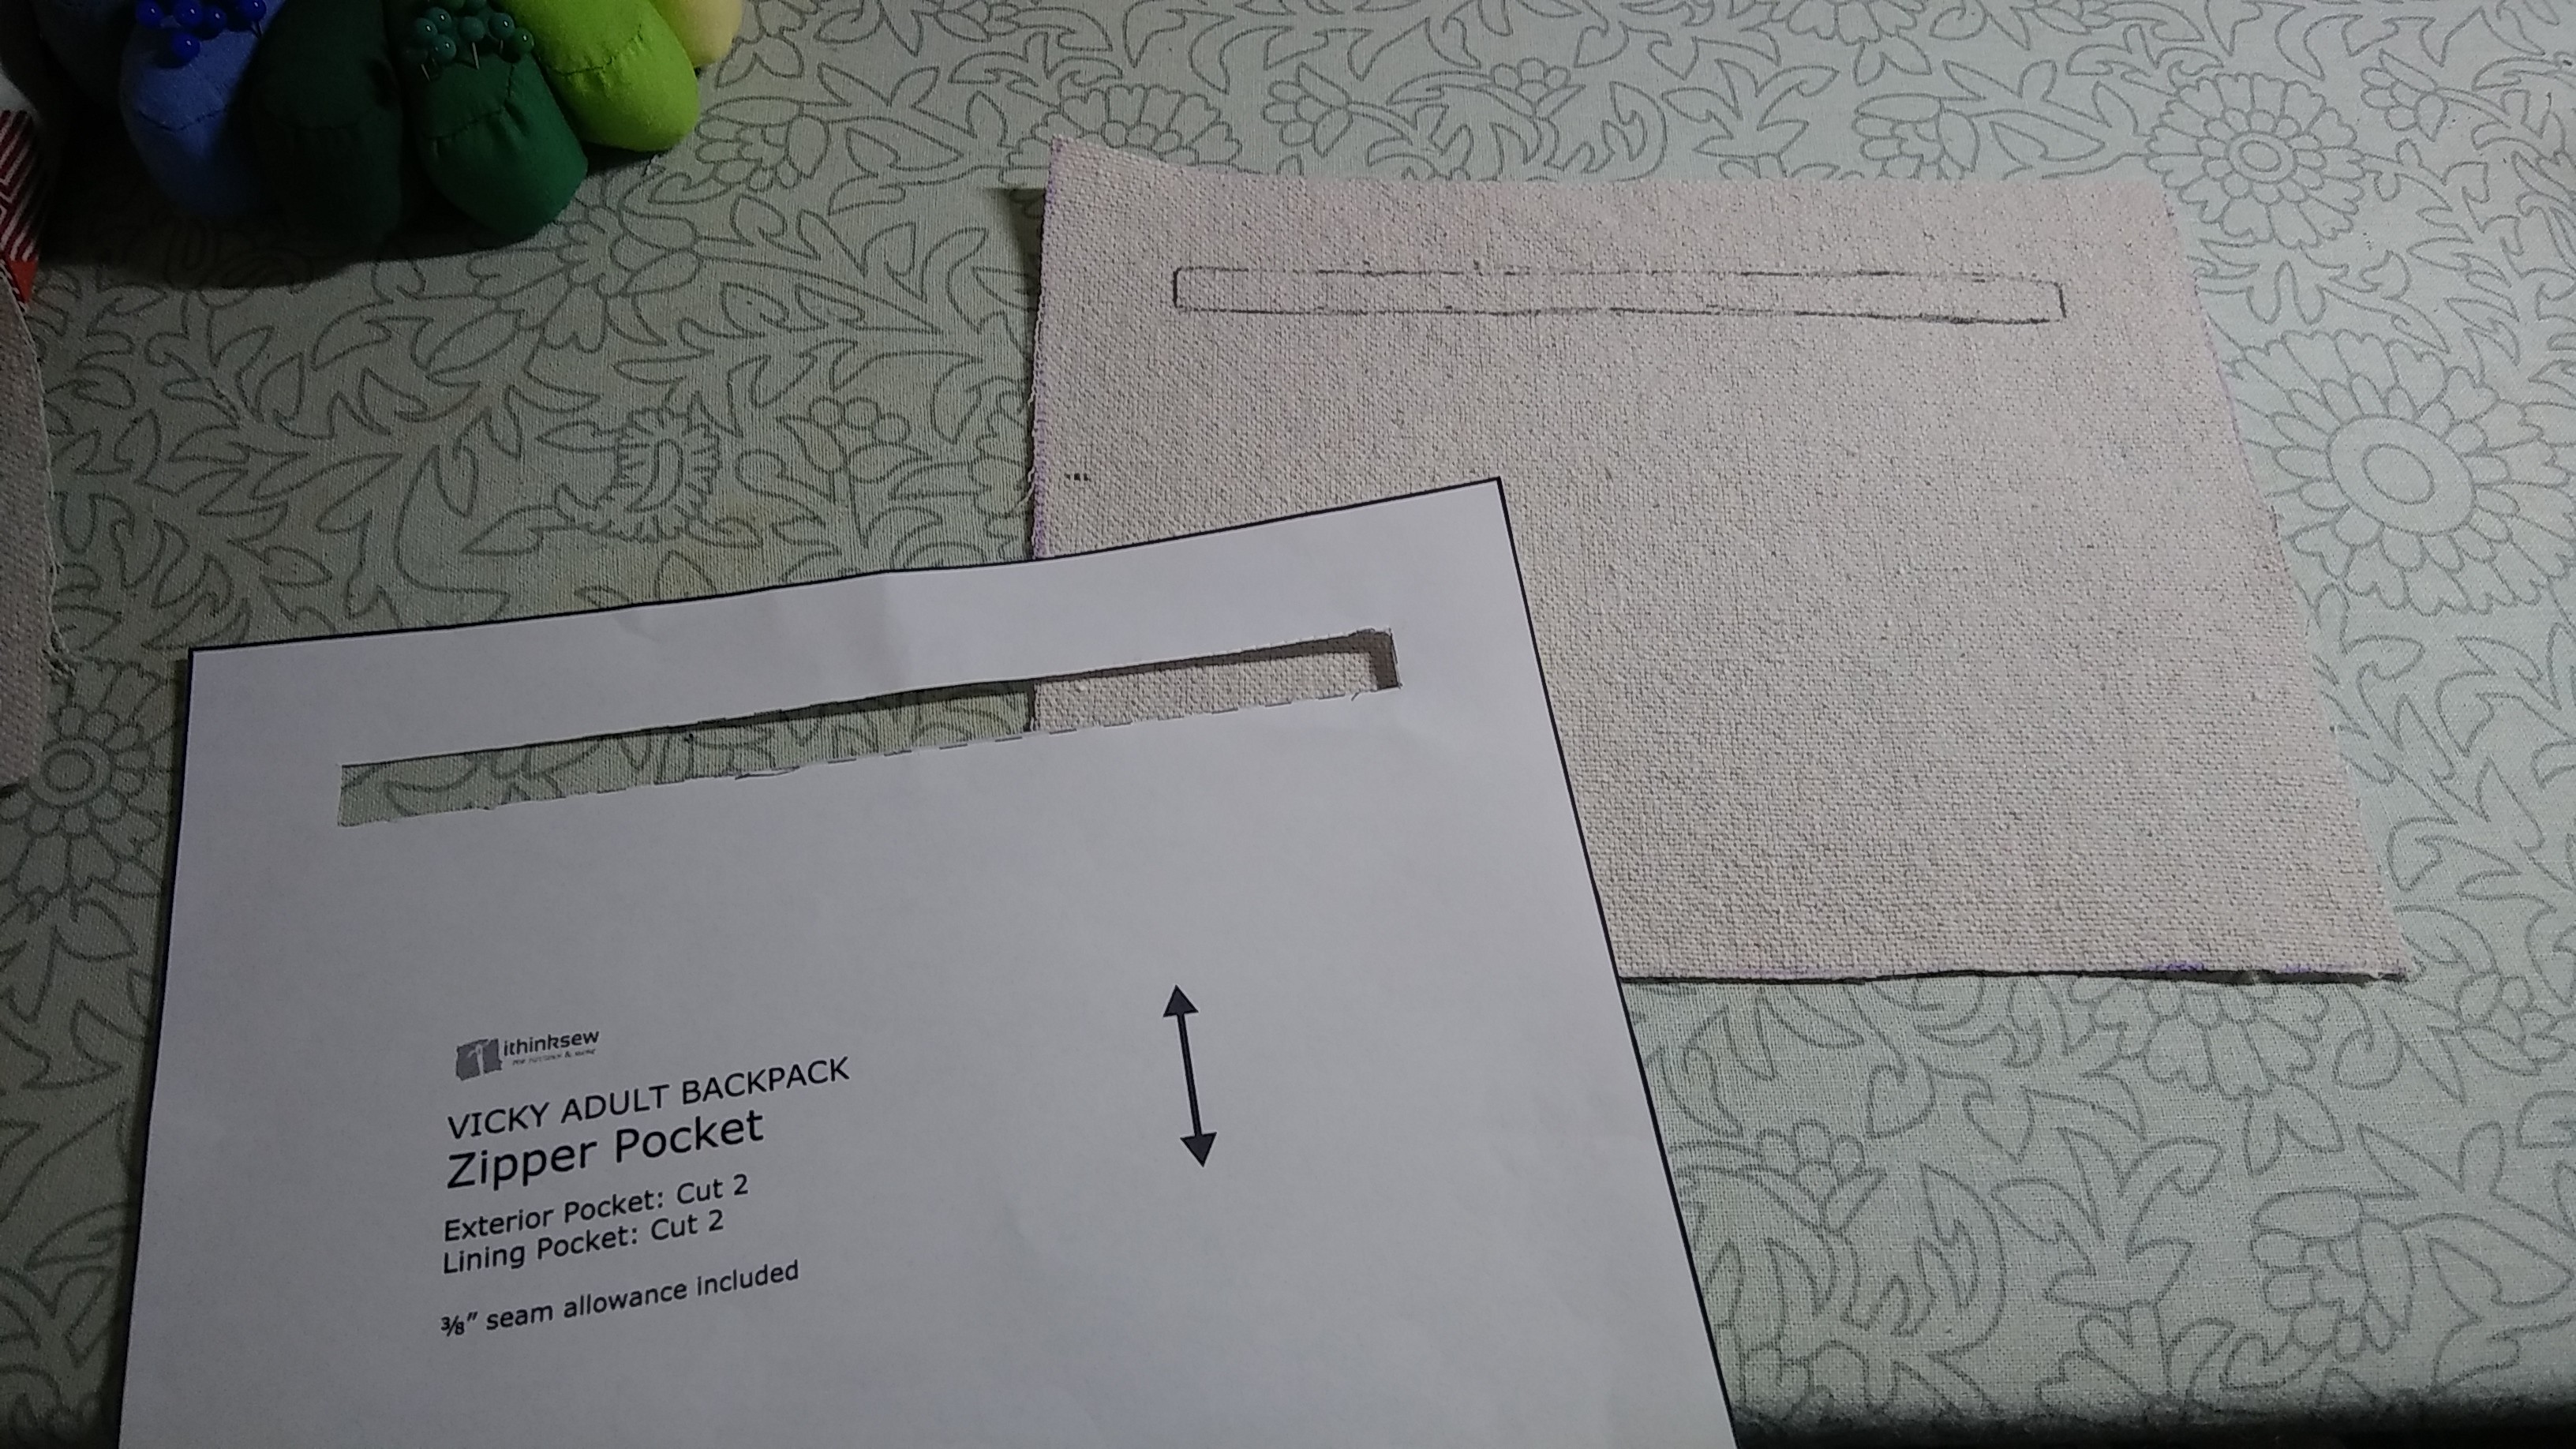
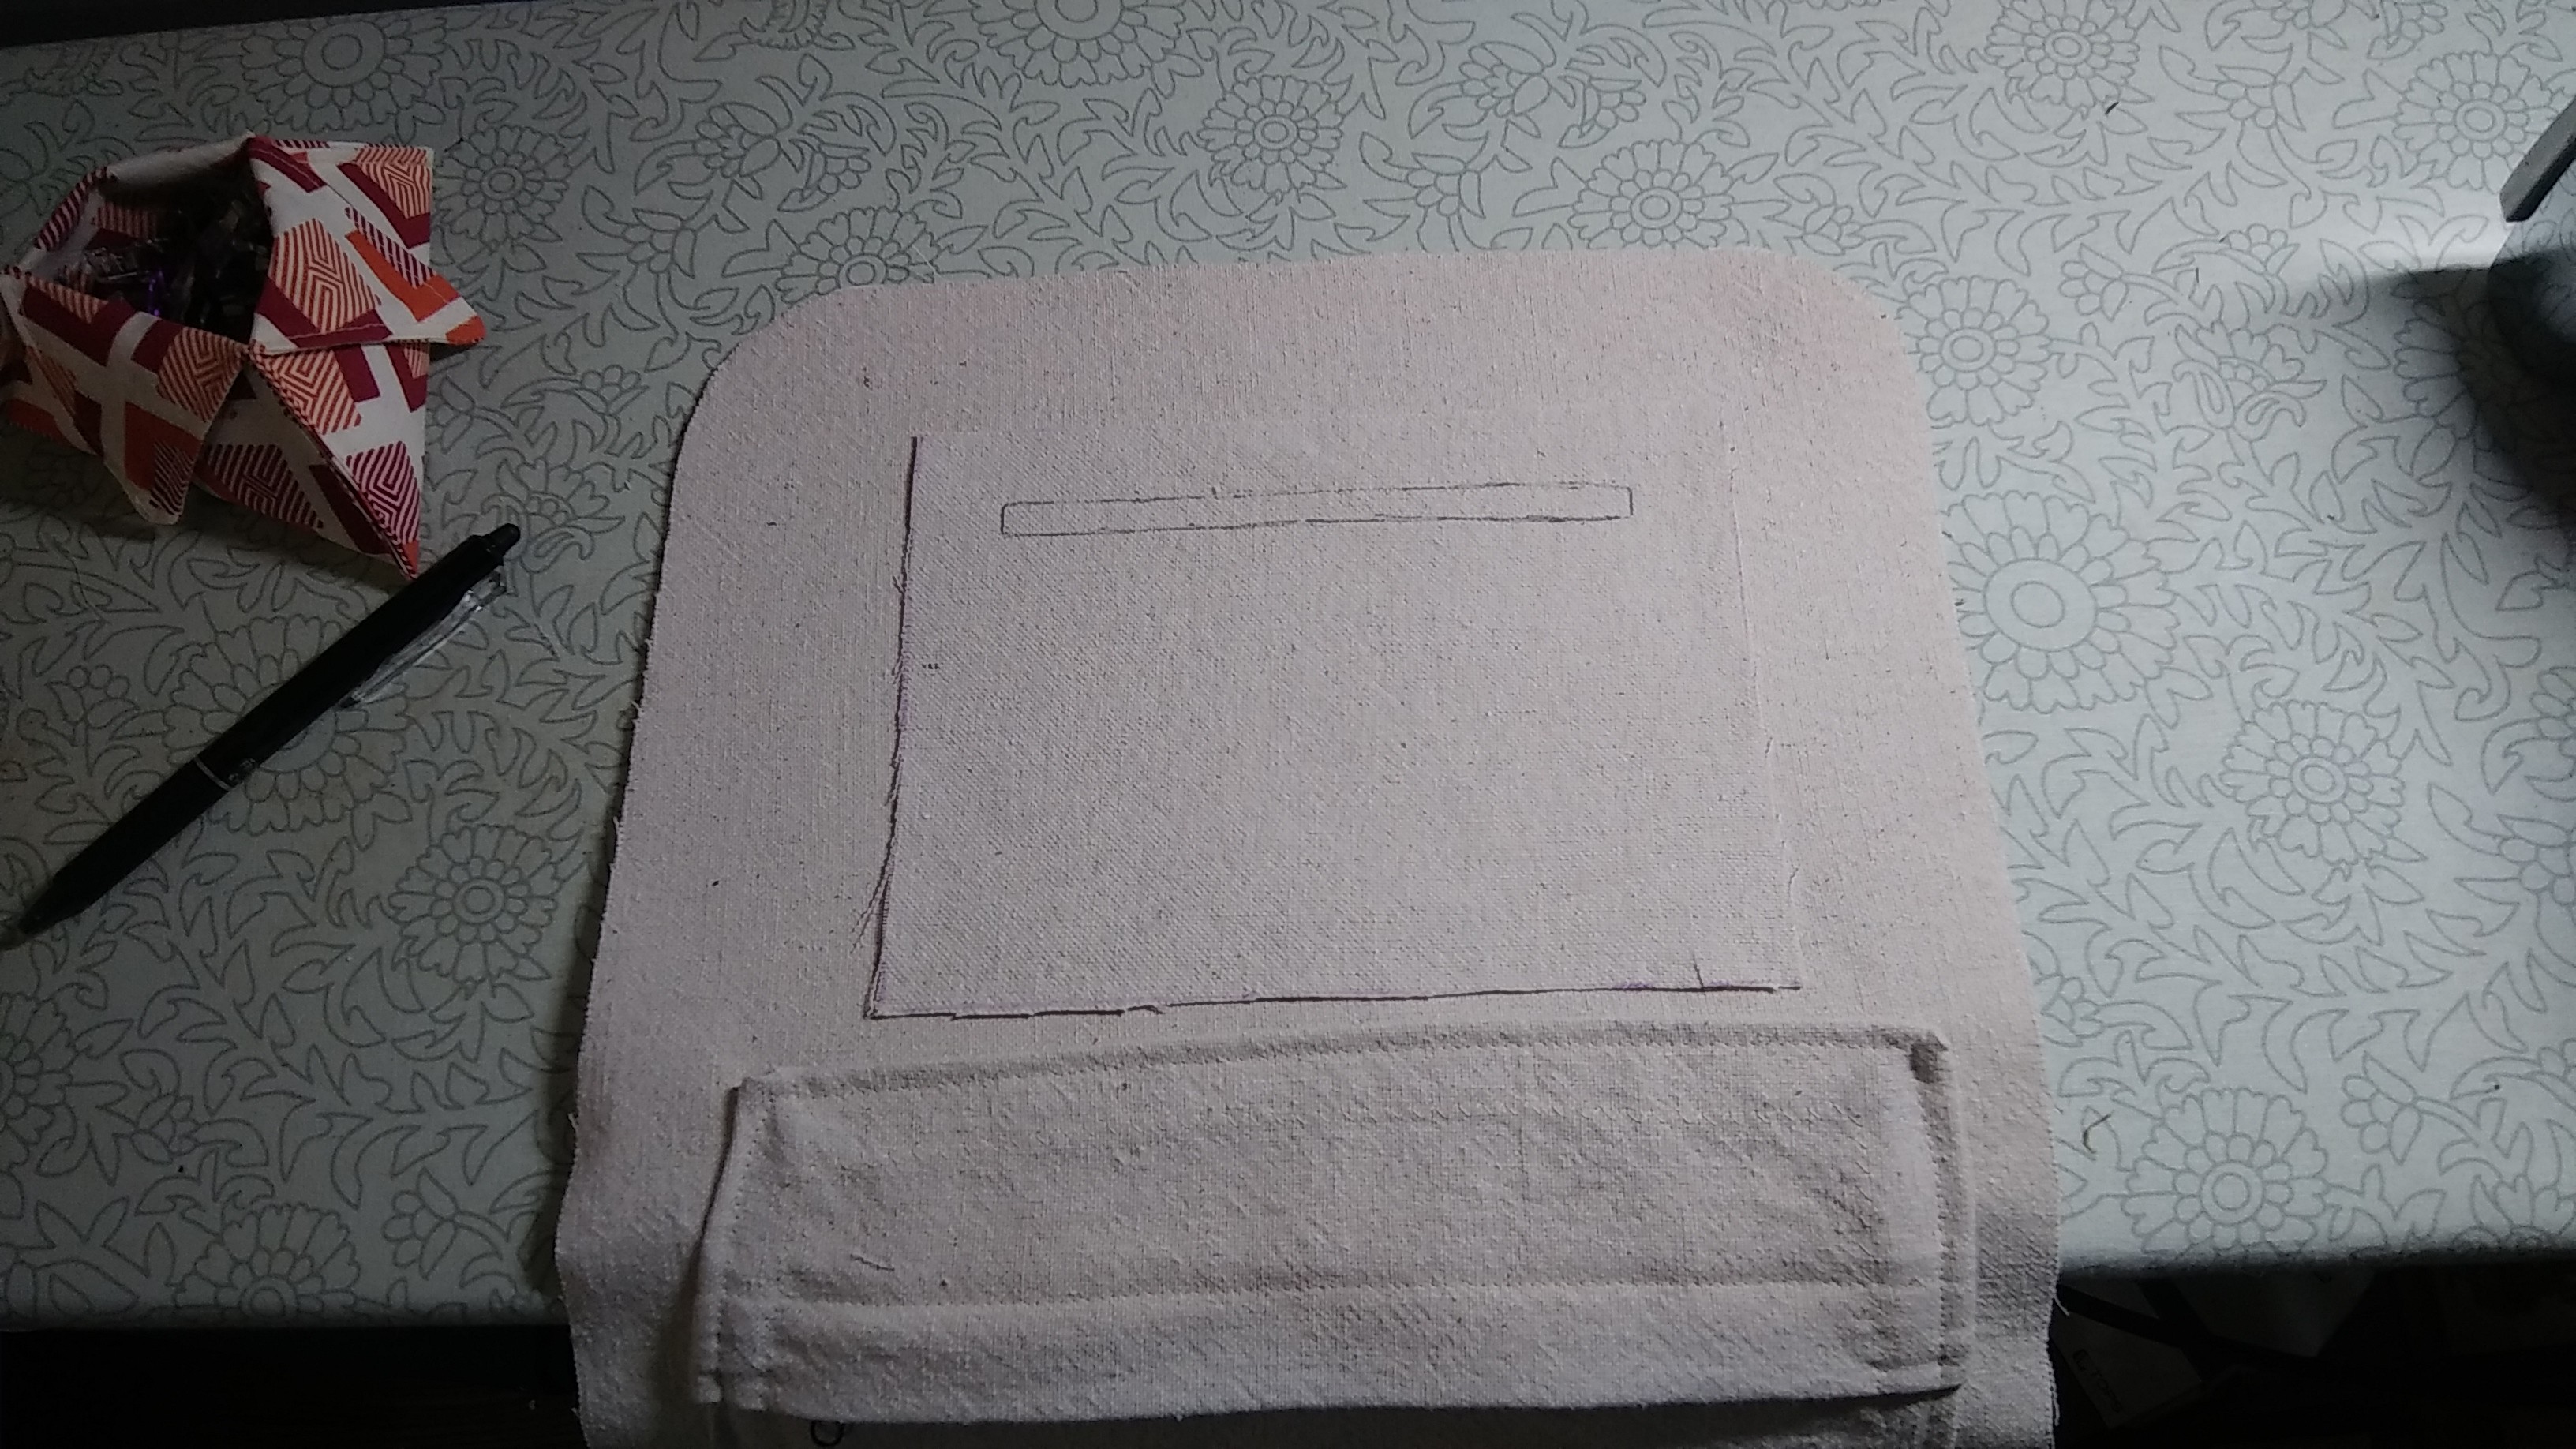
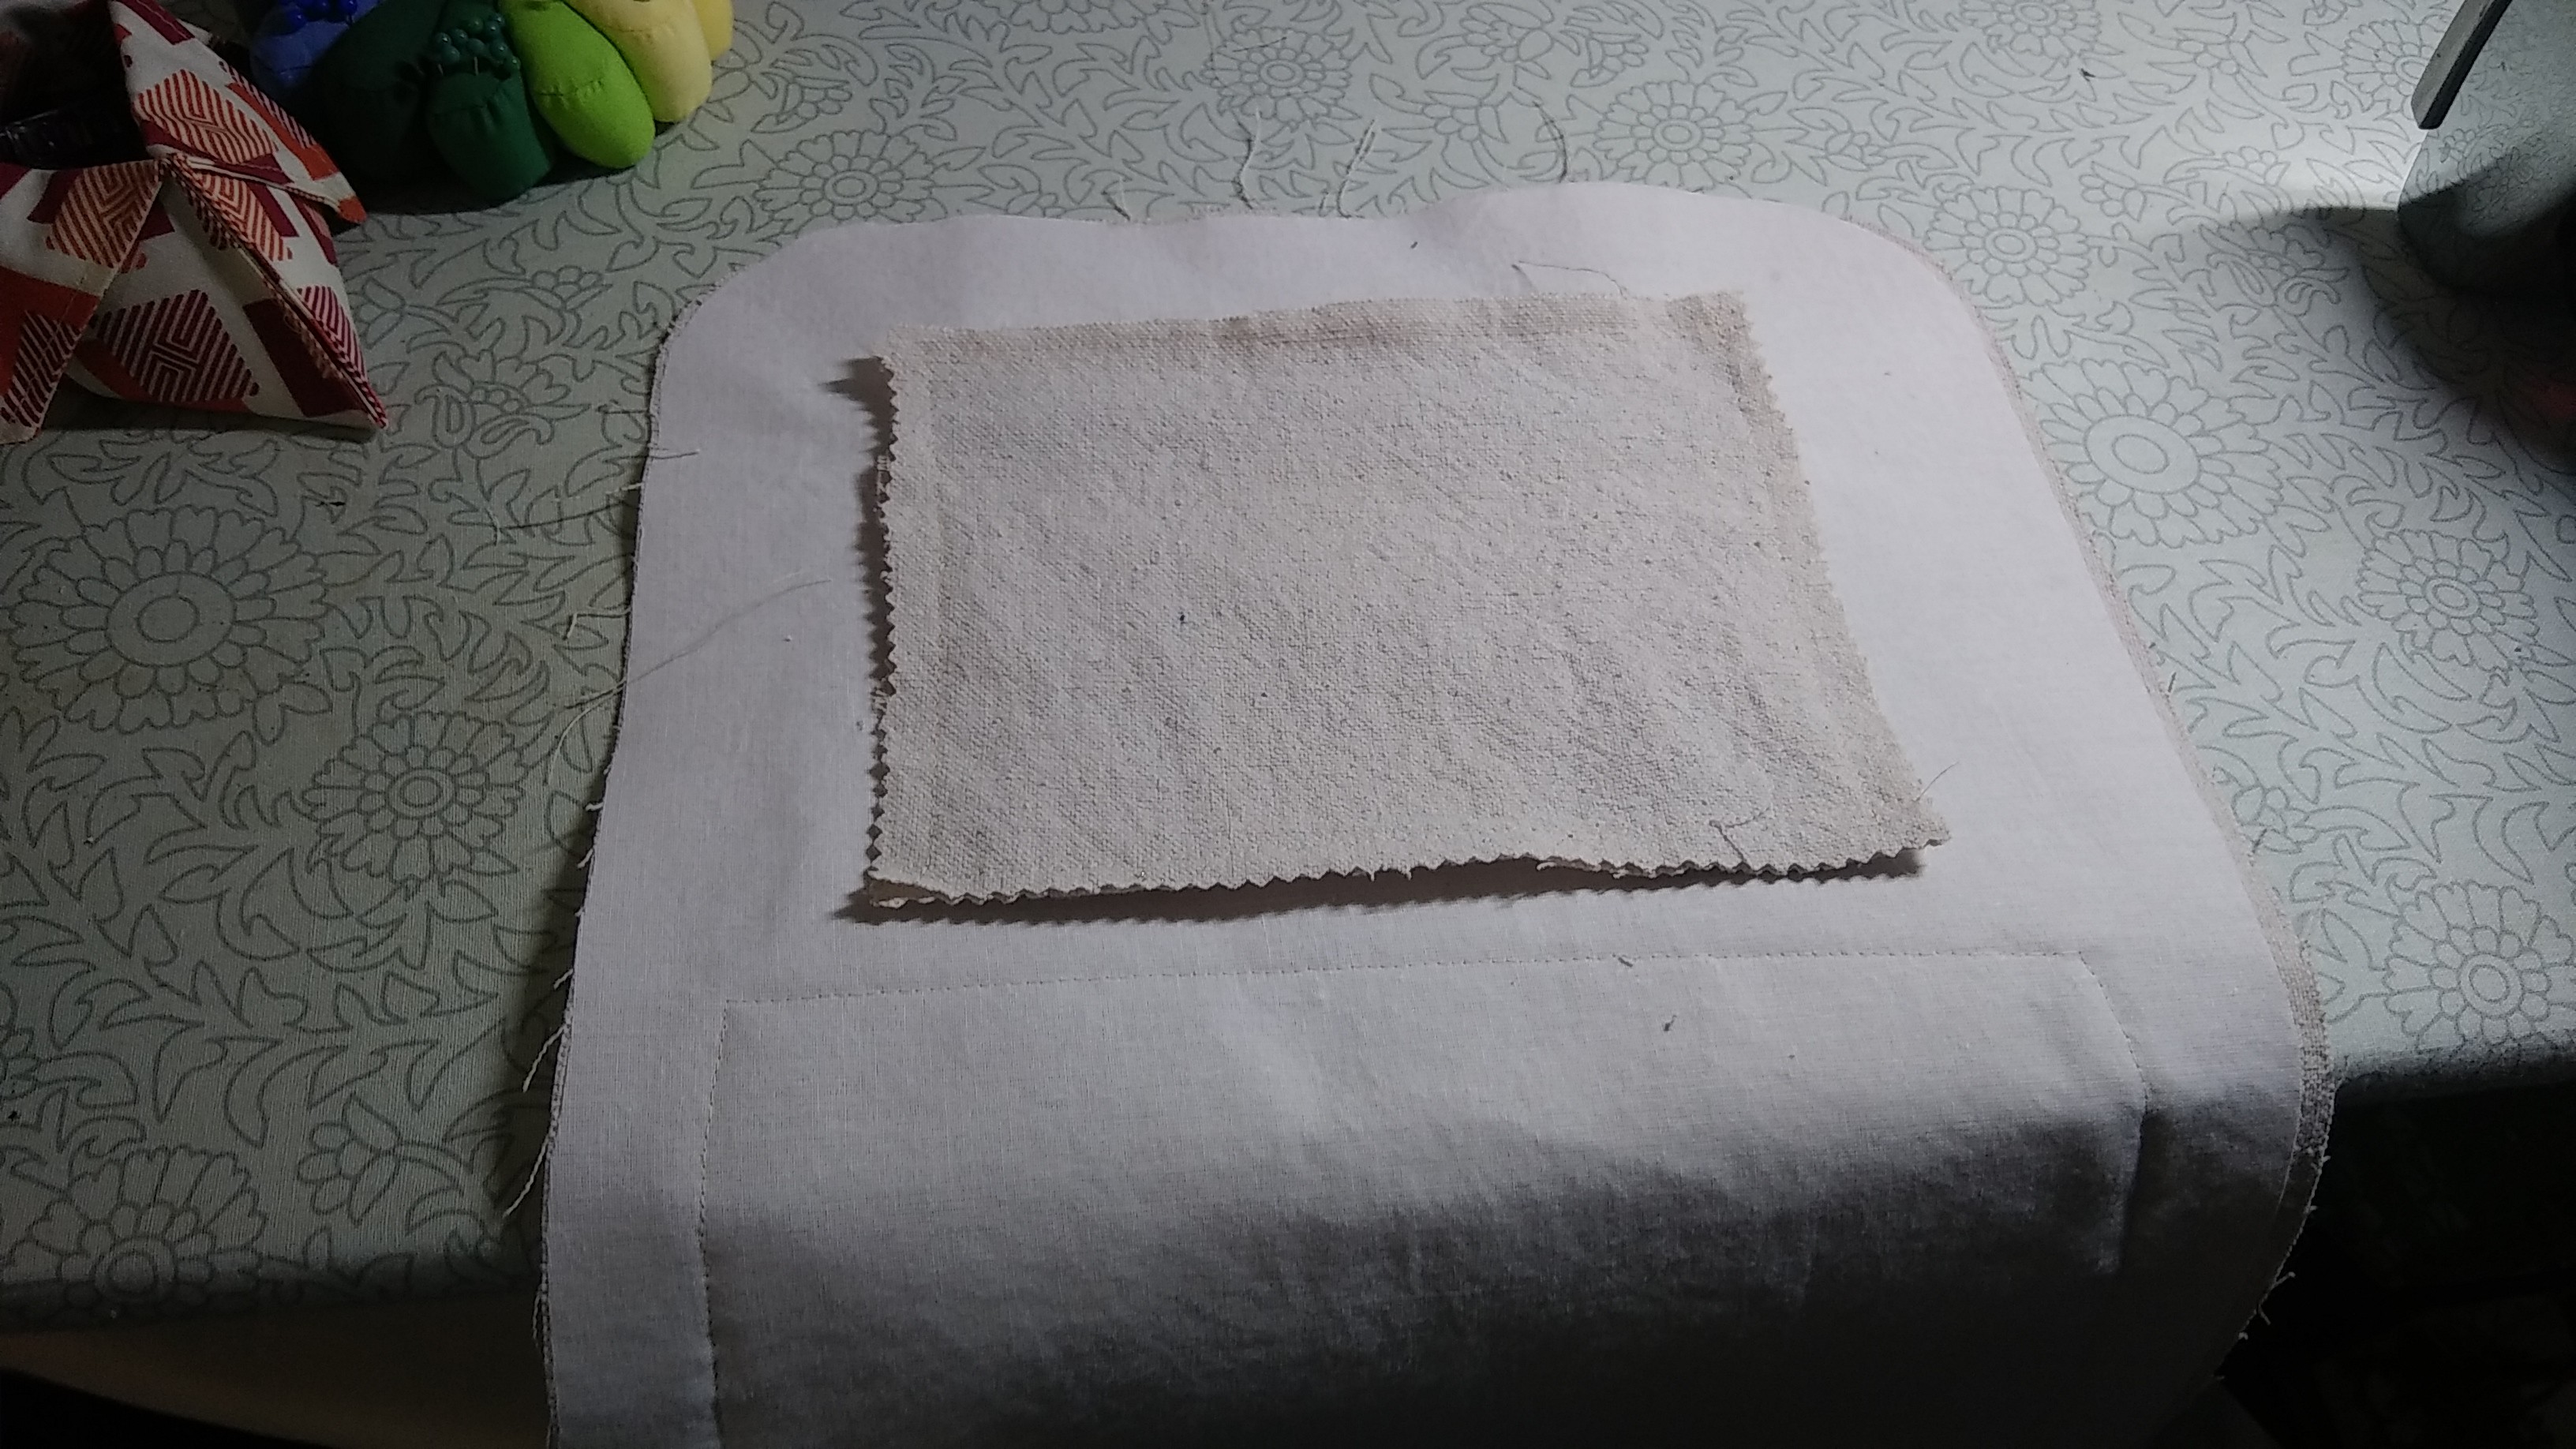
Time to make the interior zippered pocket that goes above this patch pocket. Draw the zipper box on the wrong side of one of the pocket pieces, then sew it to the front of the backpack RST along the rectangle. This part is magical, so hold on to your butts.
Cut a slit longways in the middle of the rectangle, stopping 1/8" from the short sides. Cut into the corners without clipping stitches. Yep, it's weird and scary.
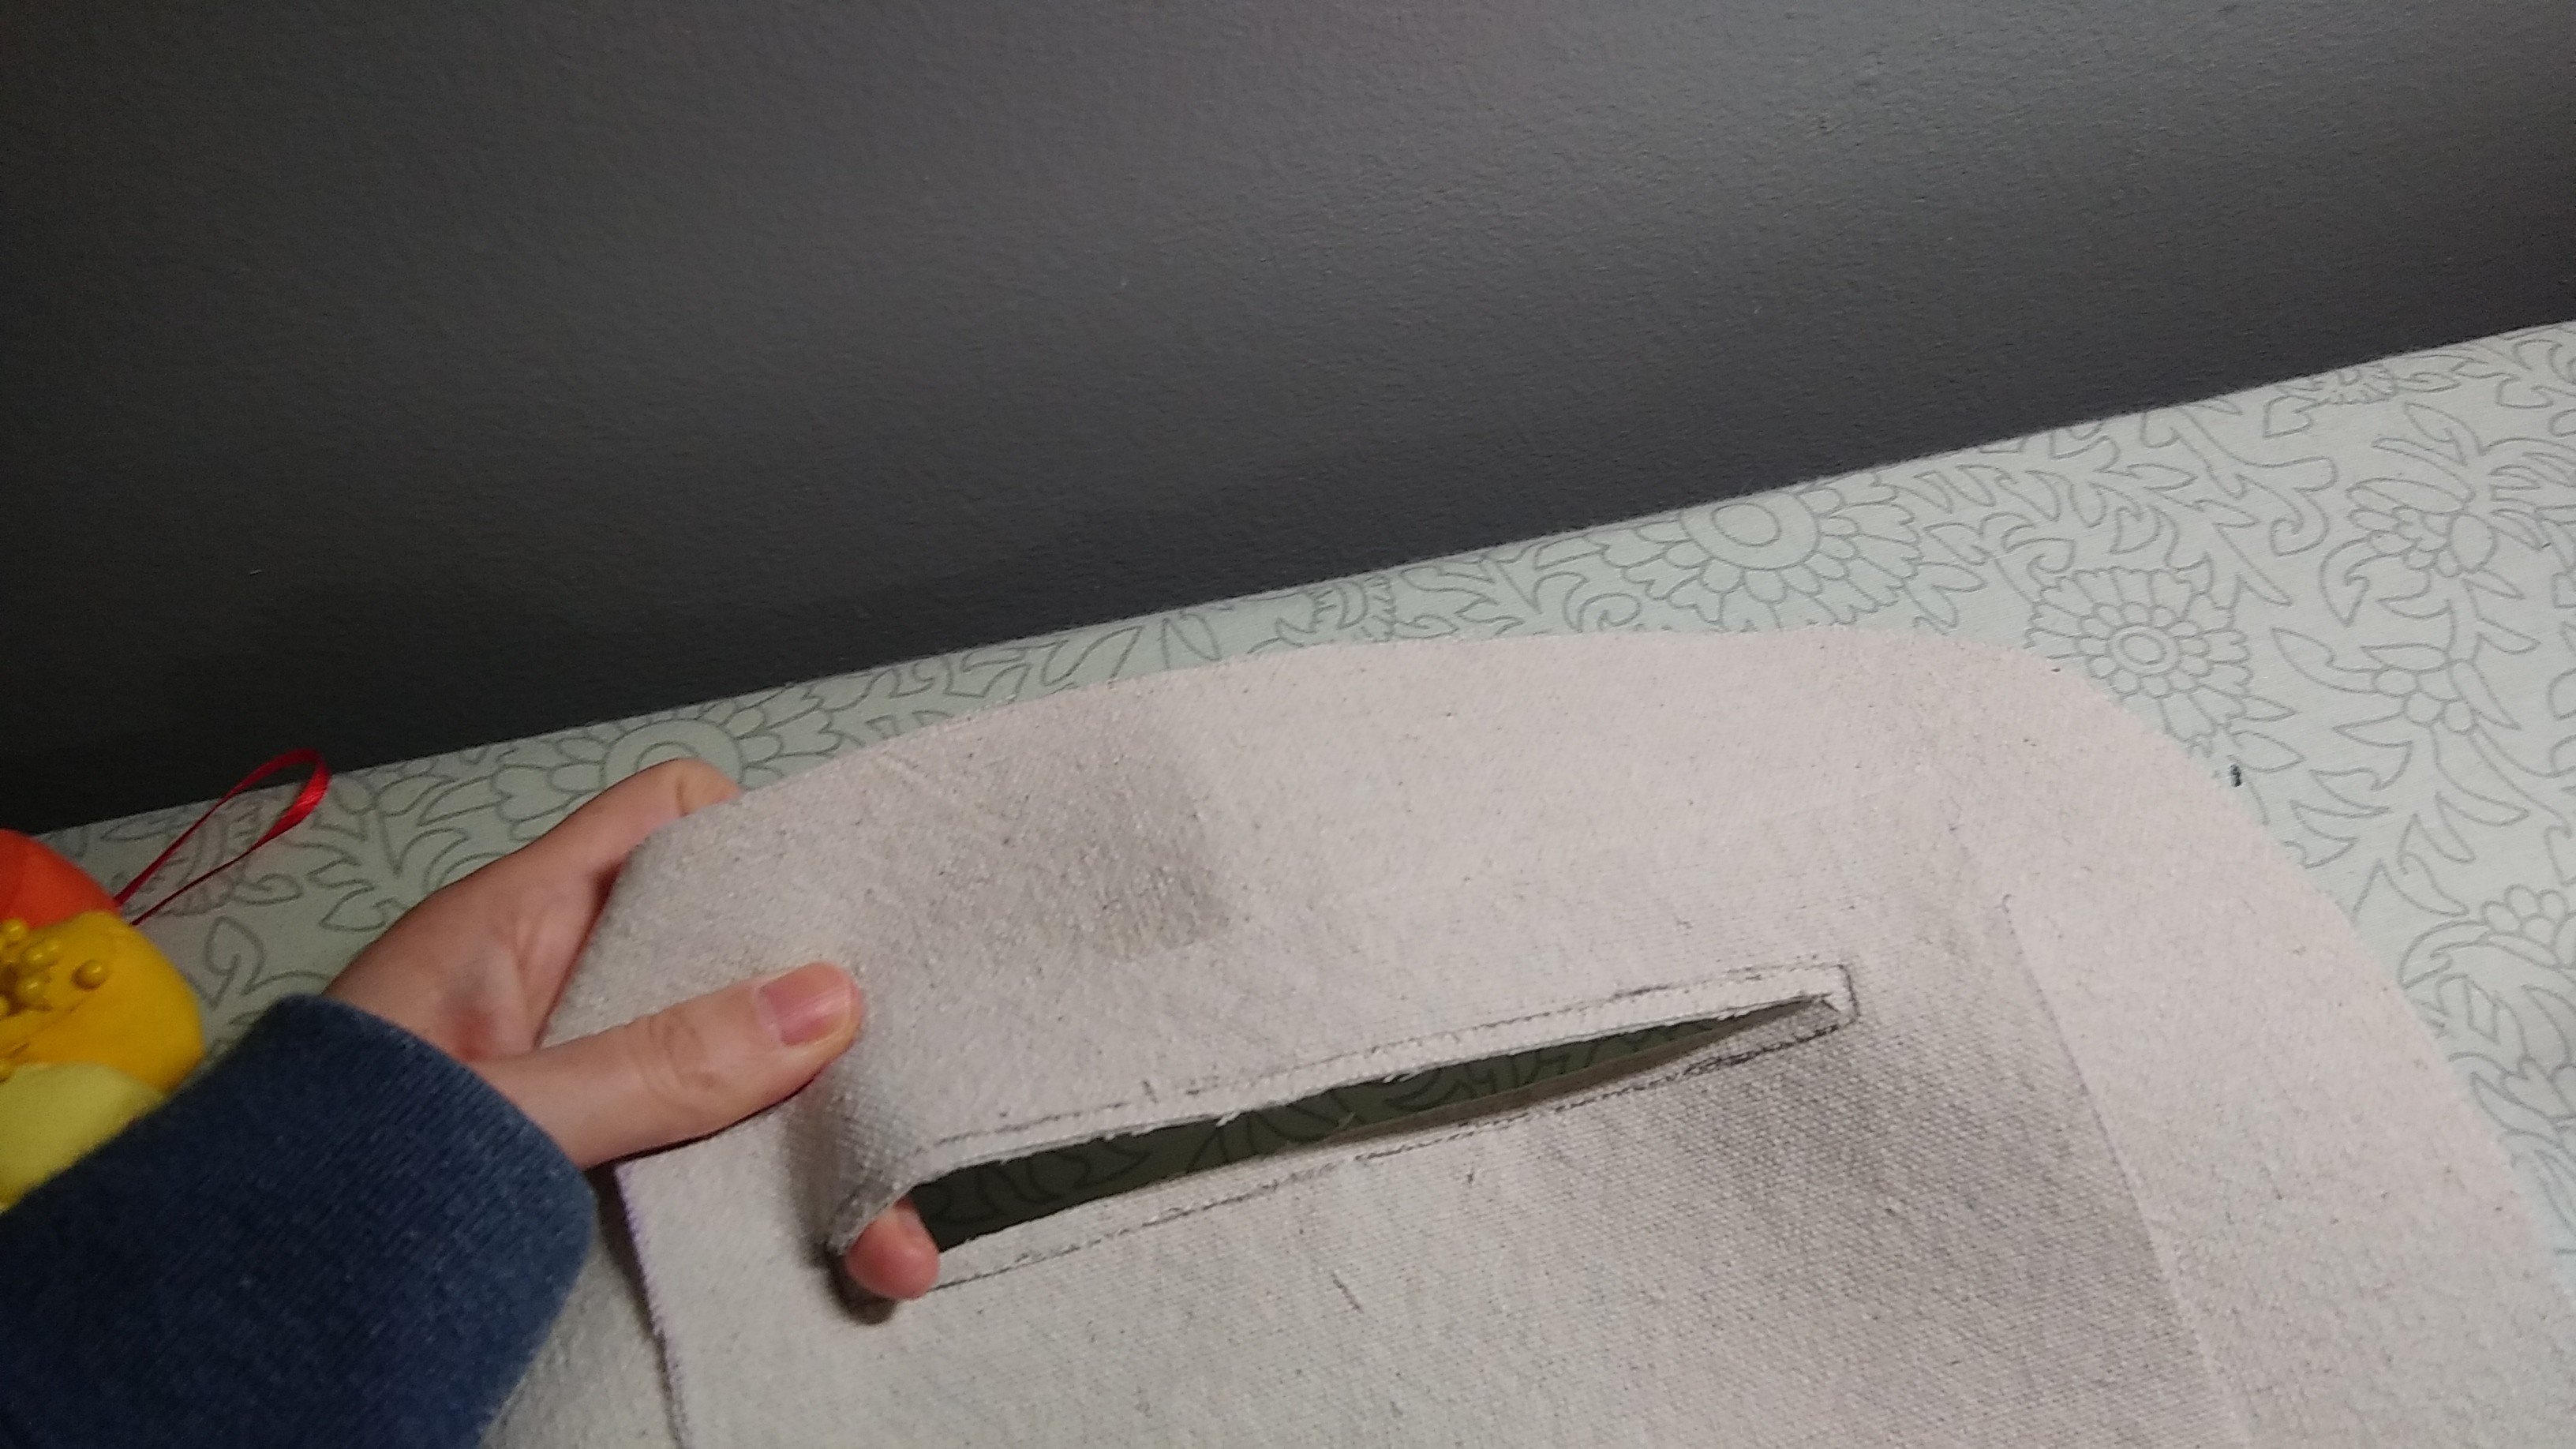
Push the fabric through the slit to the other side.

Finger press it and then steam iron it really nicely.
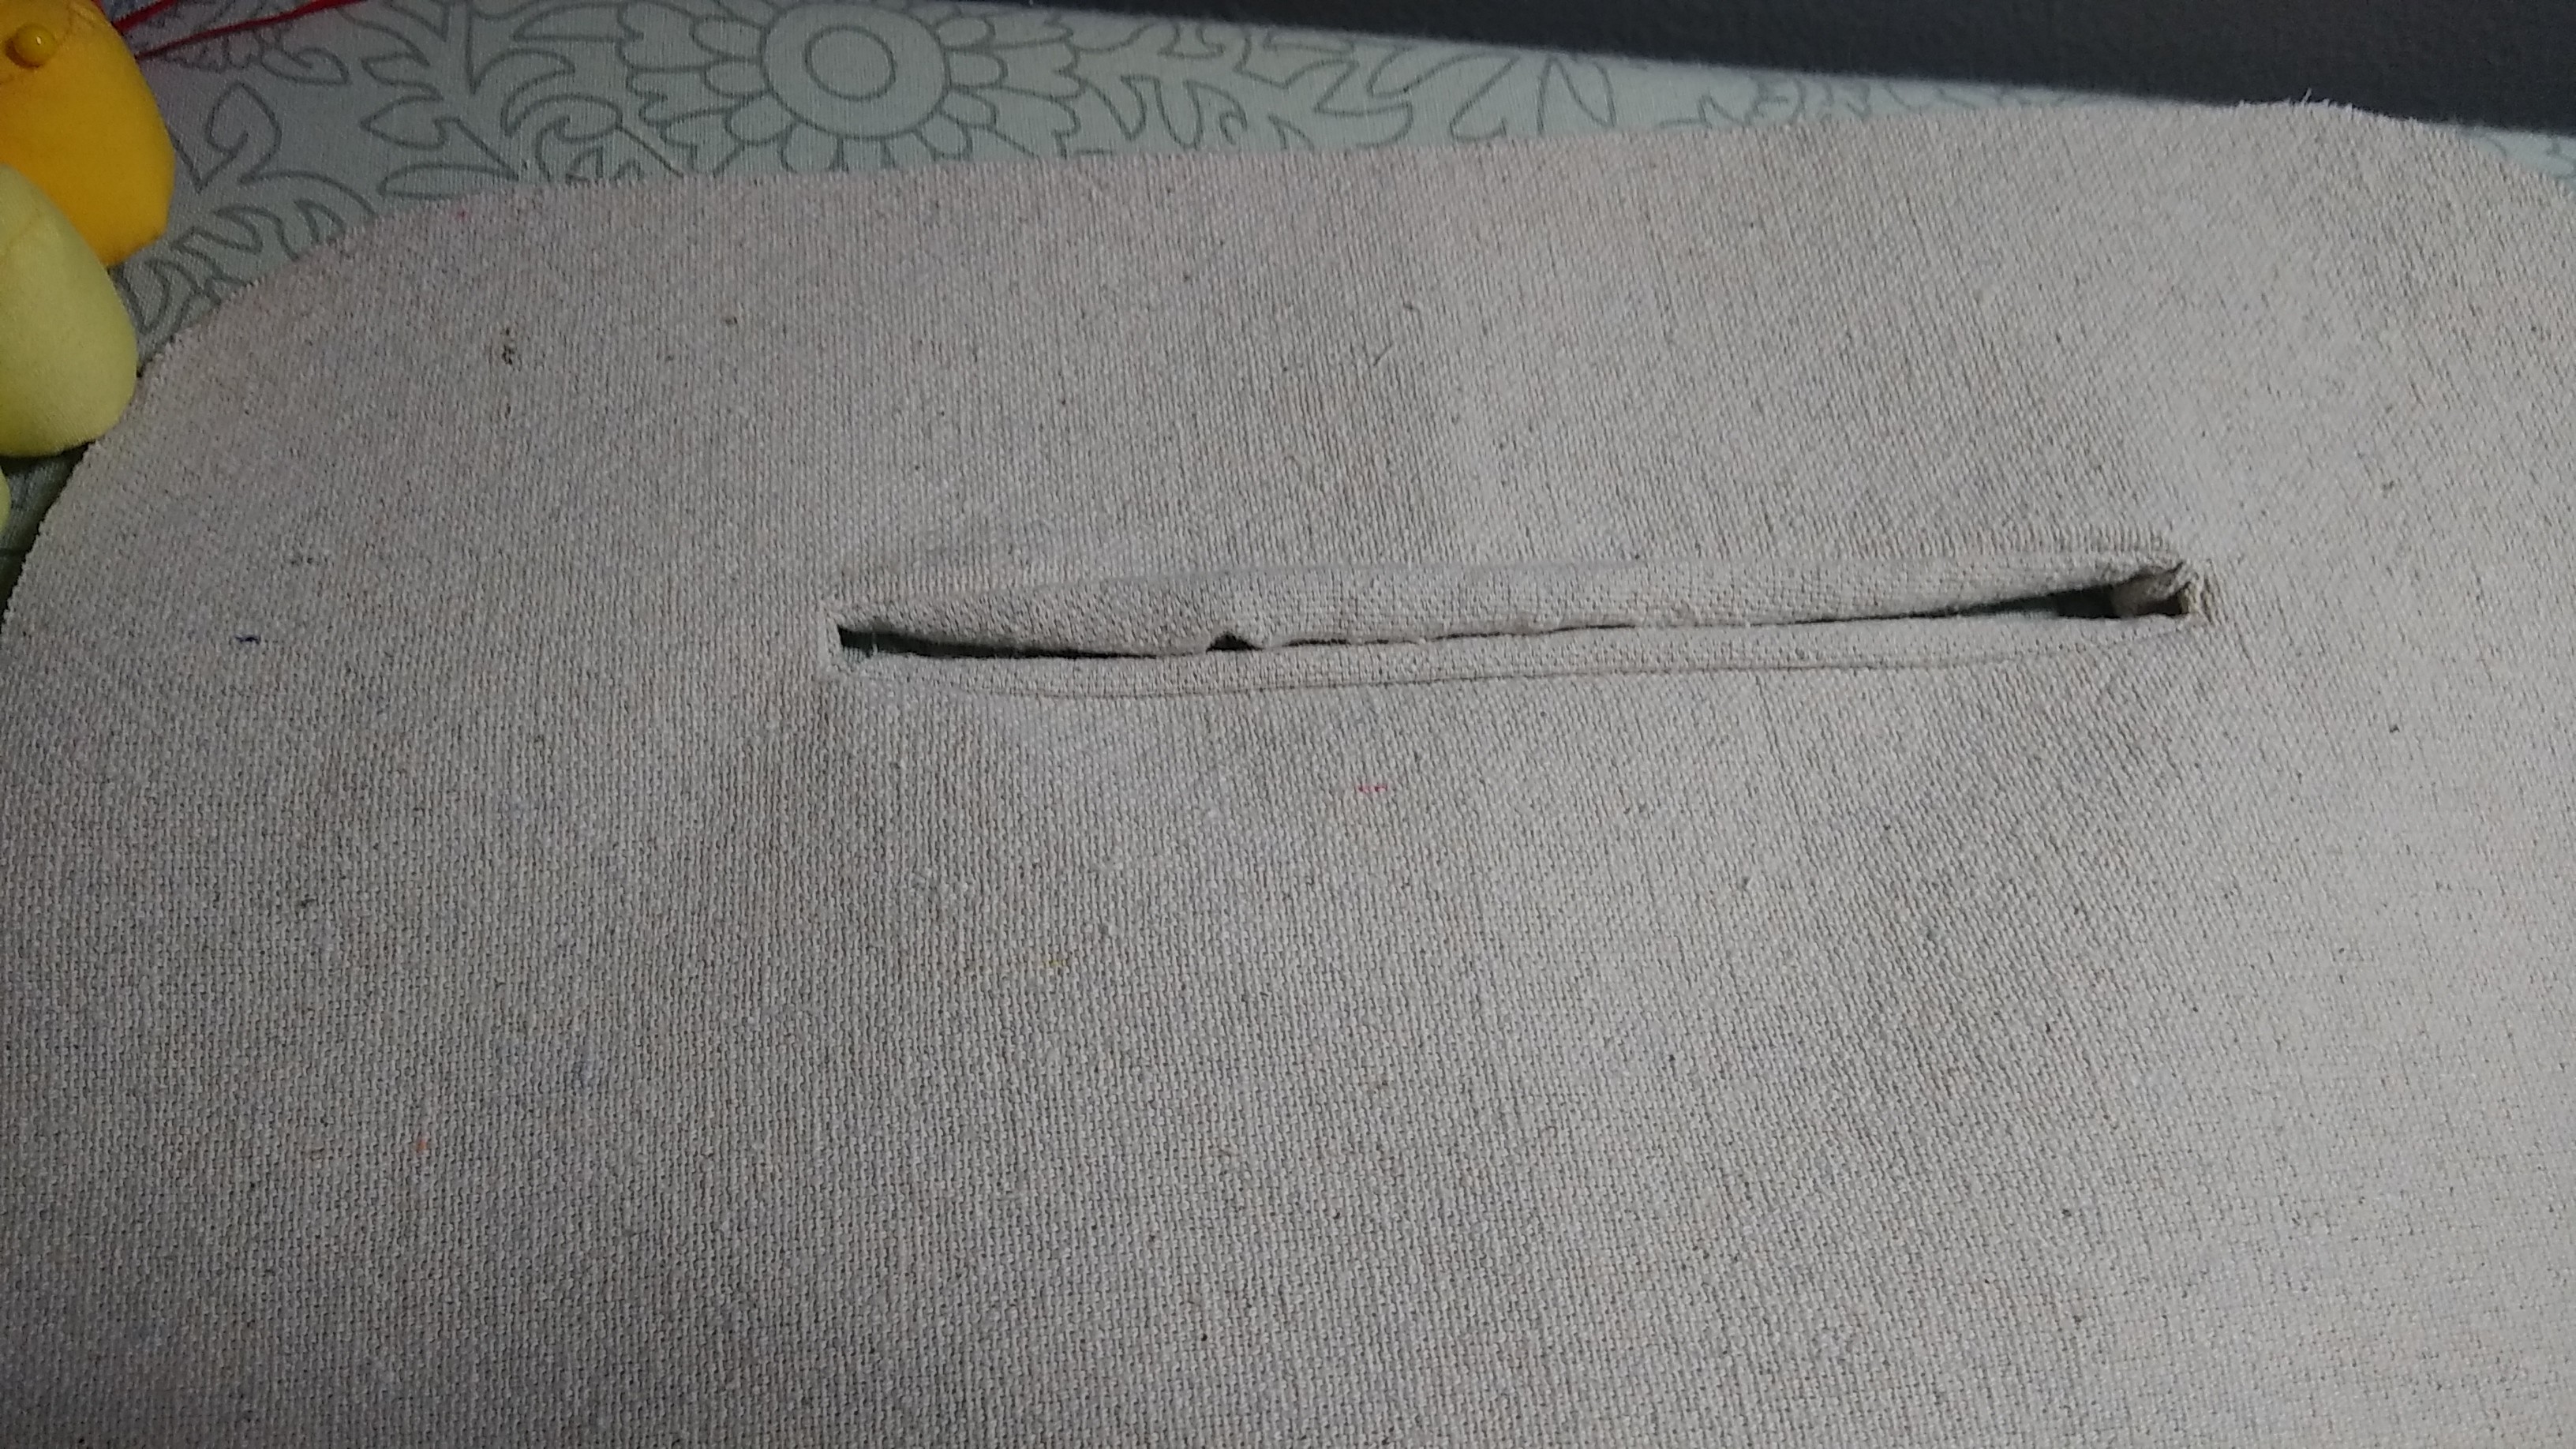

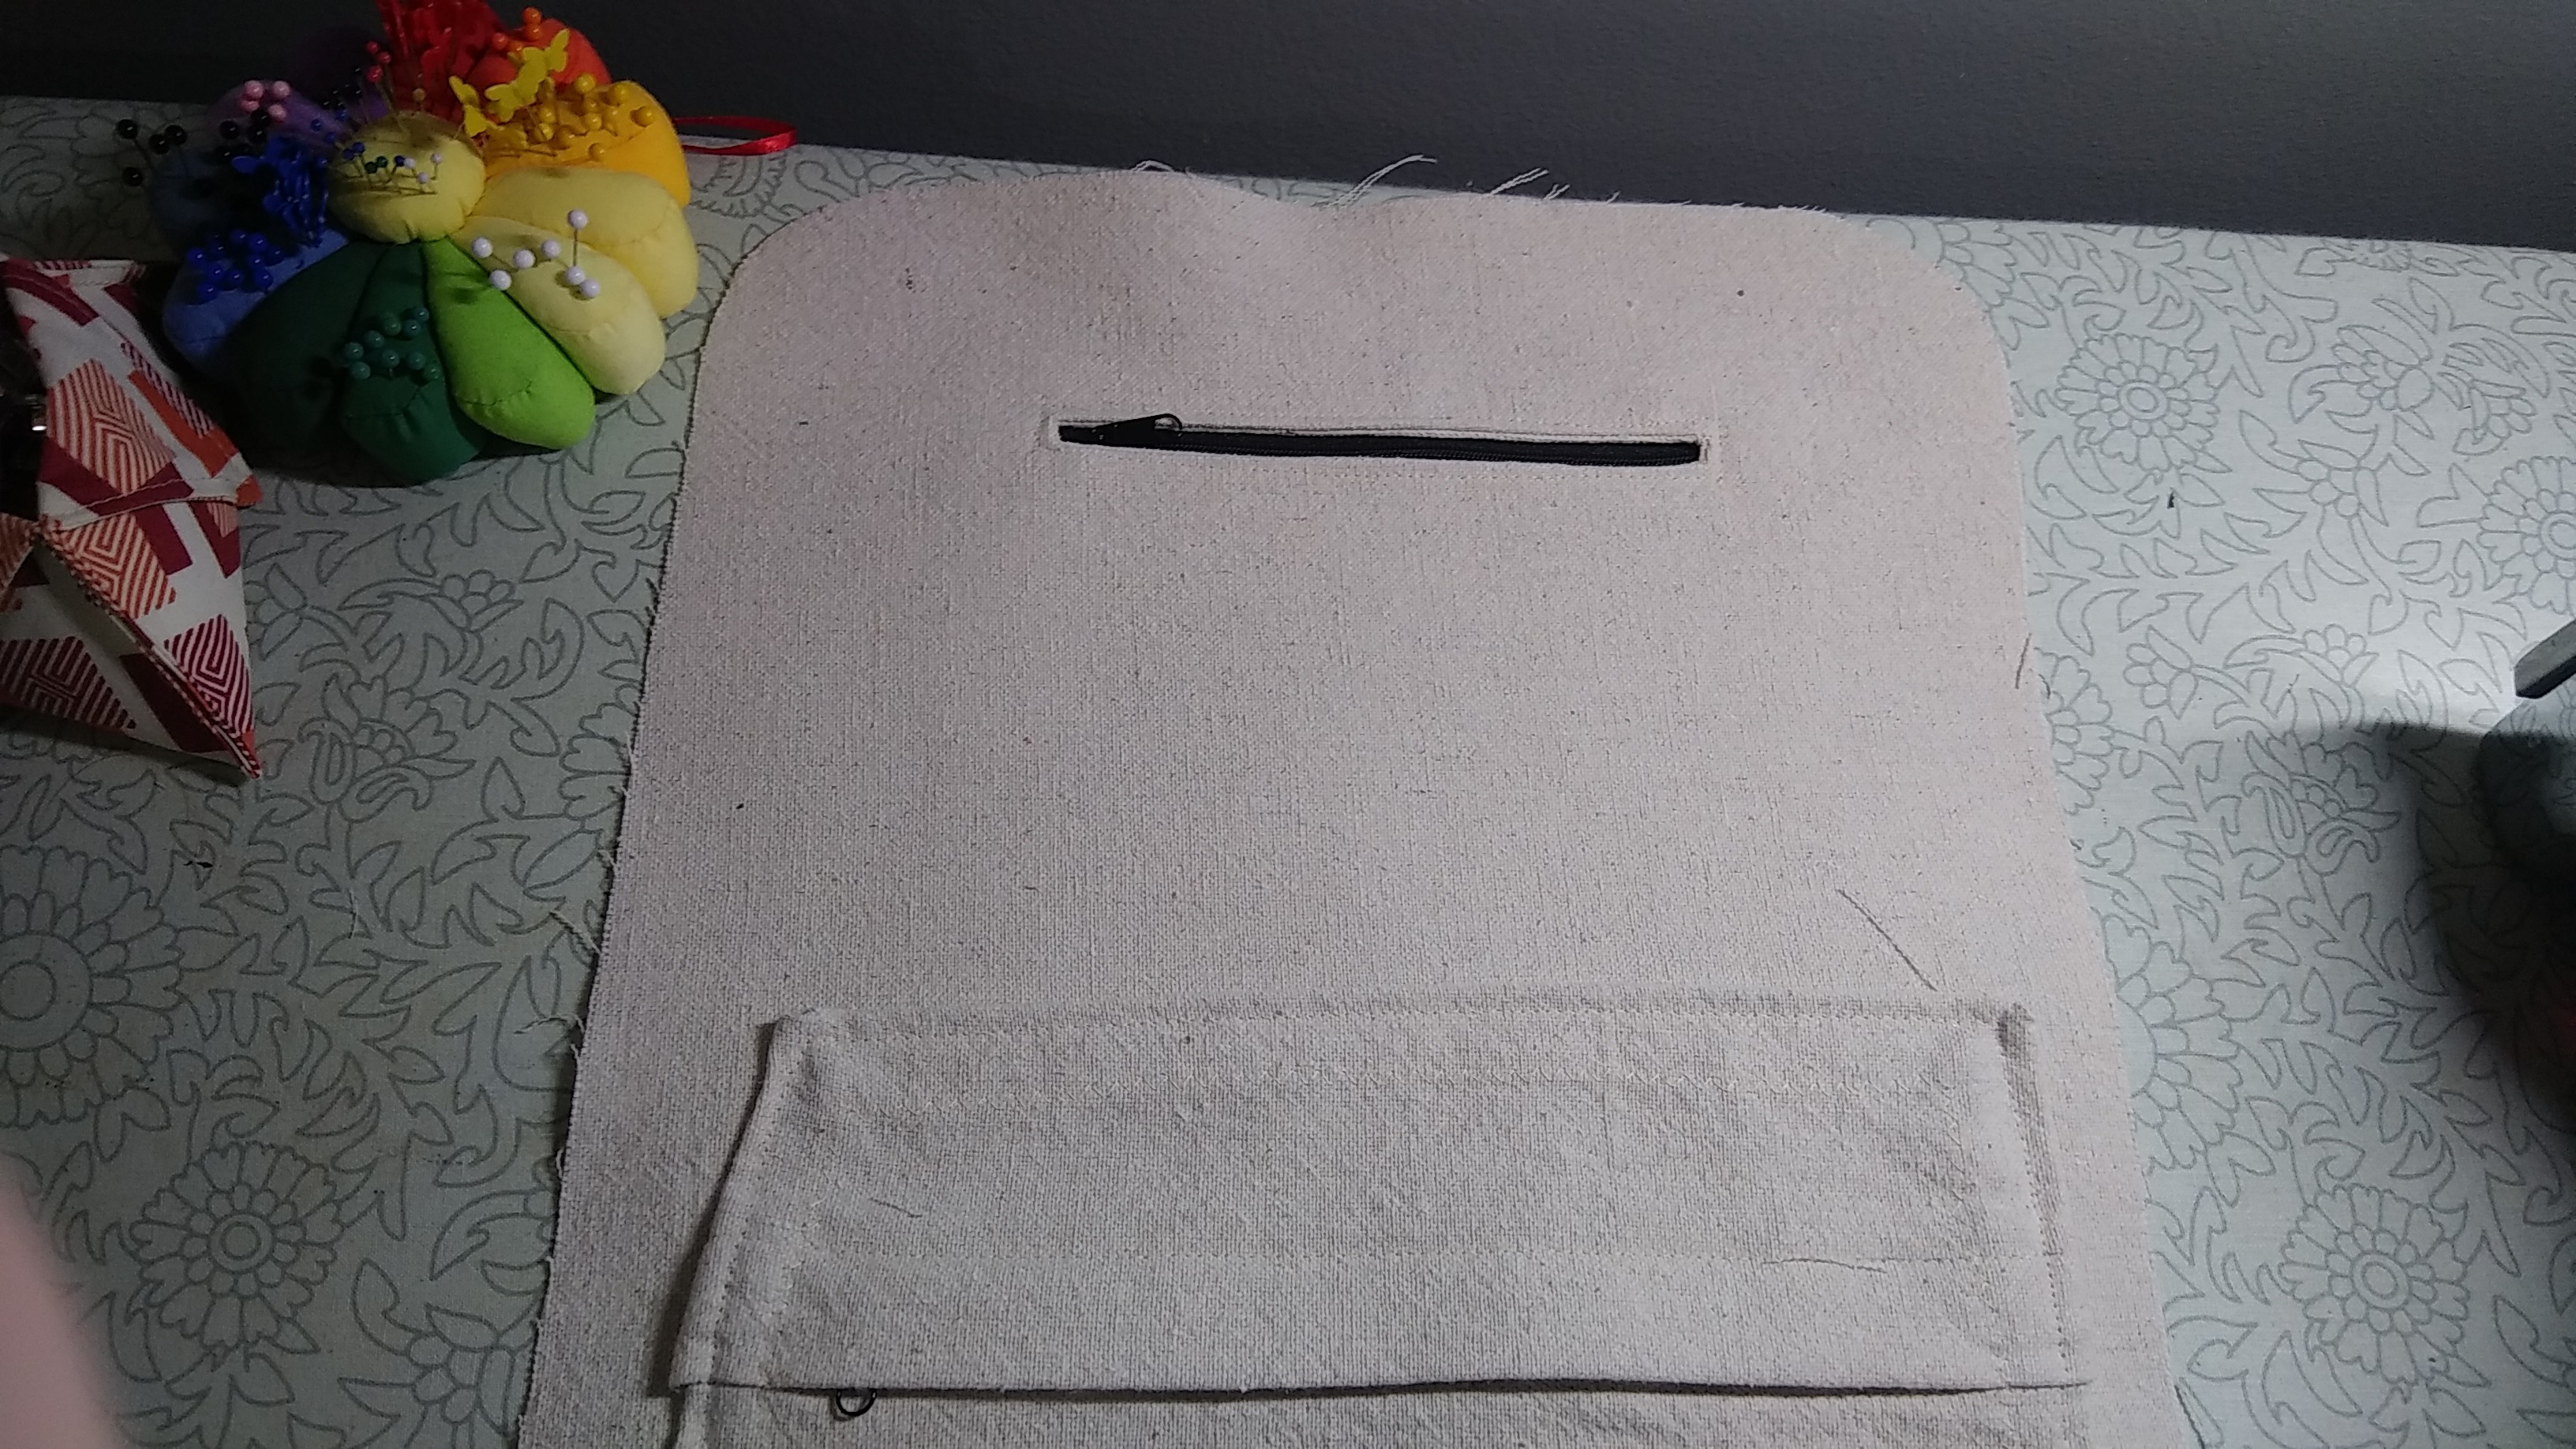
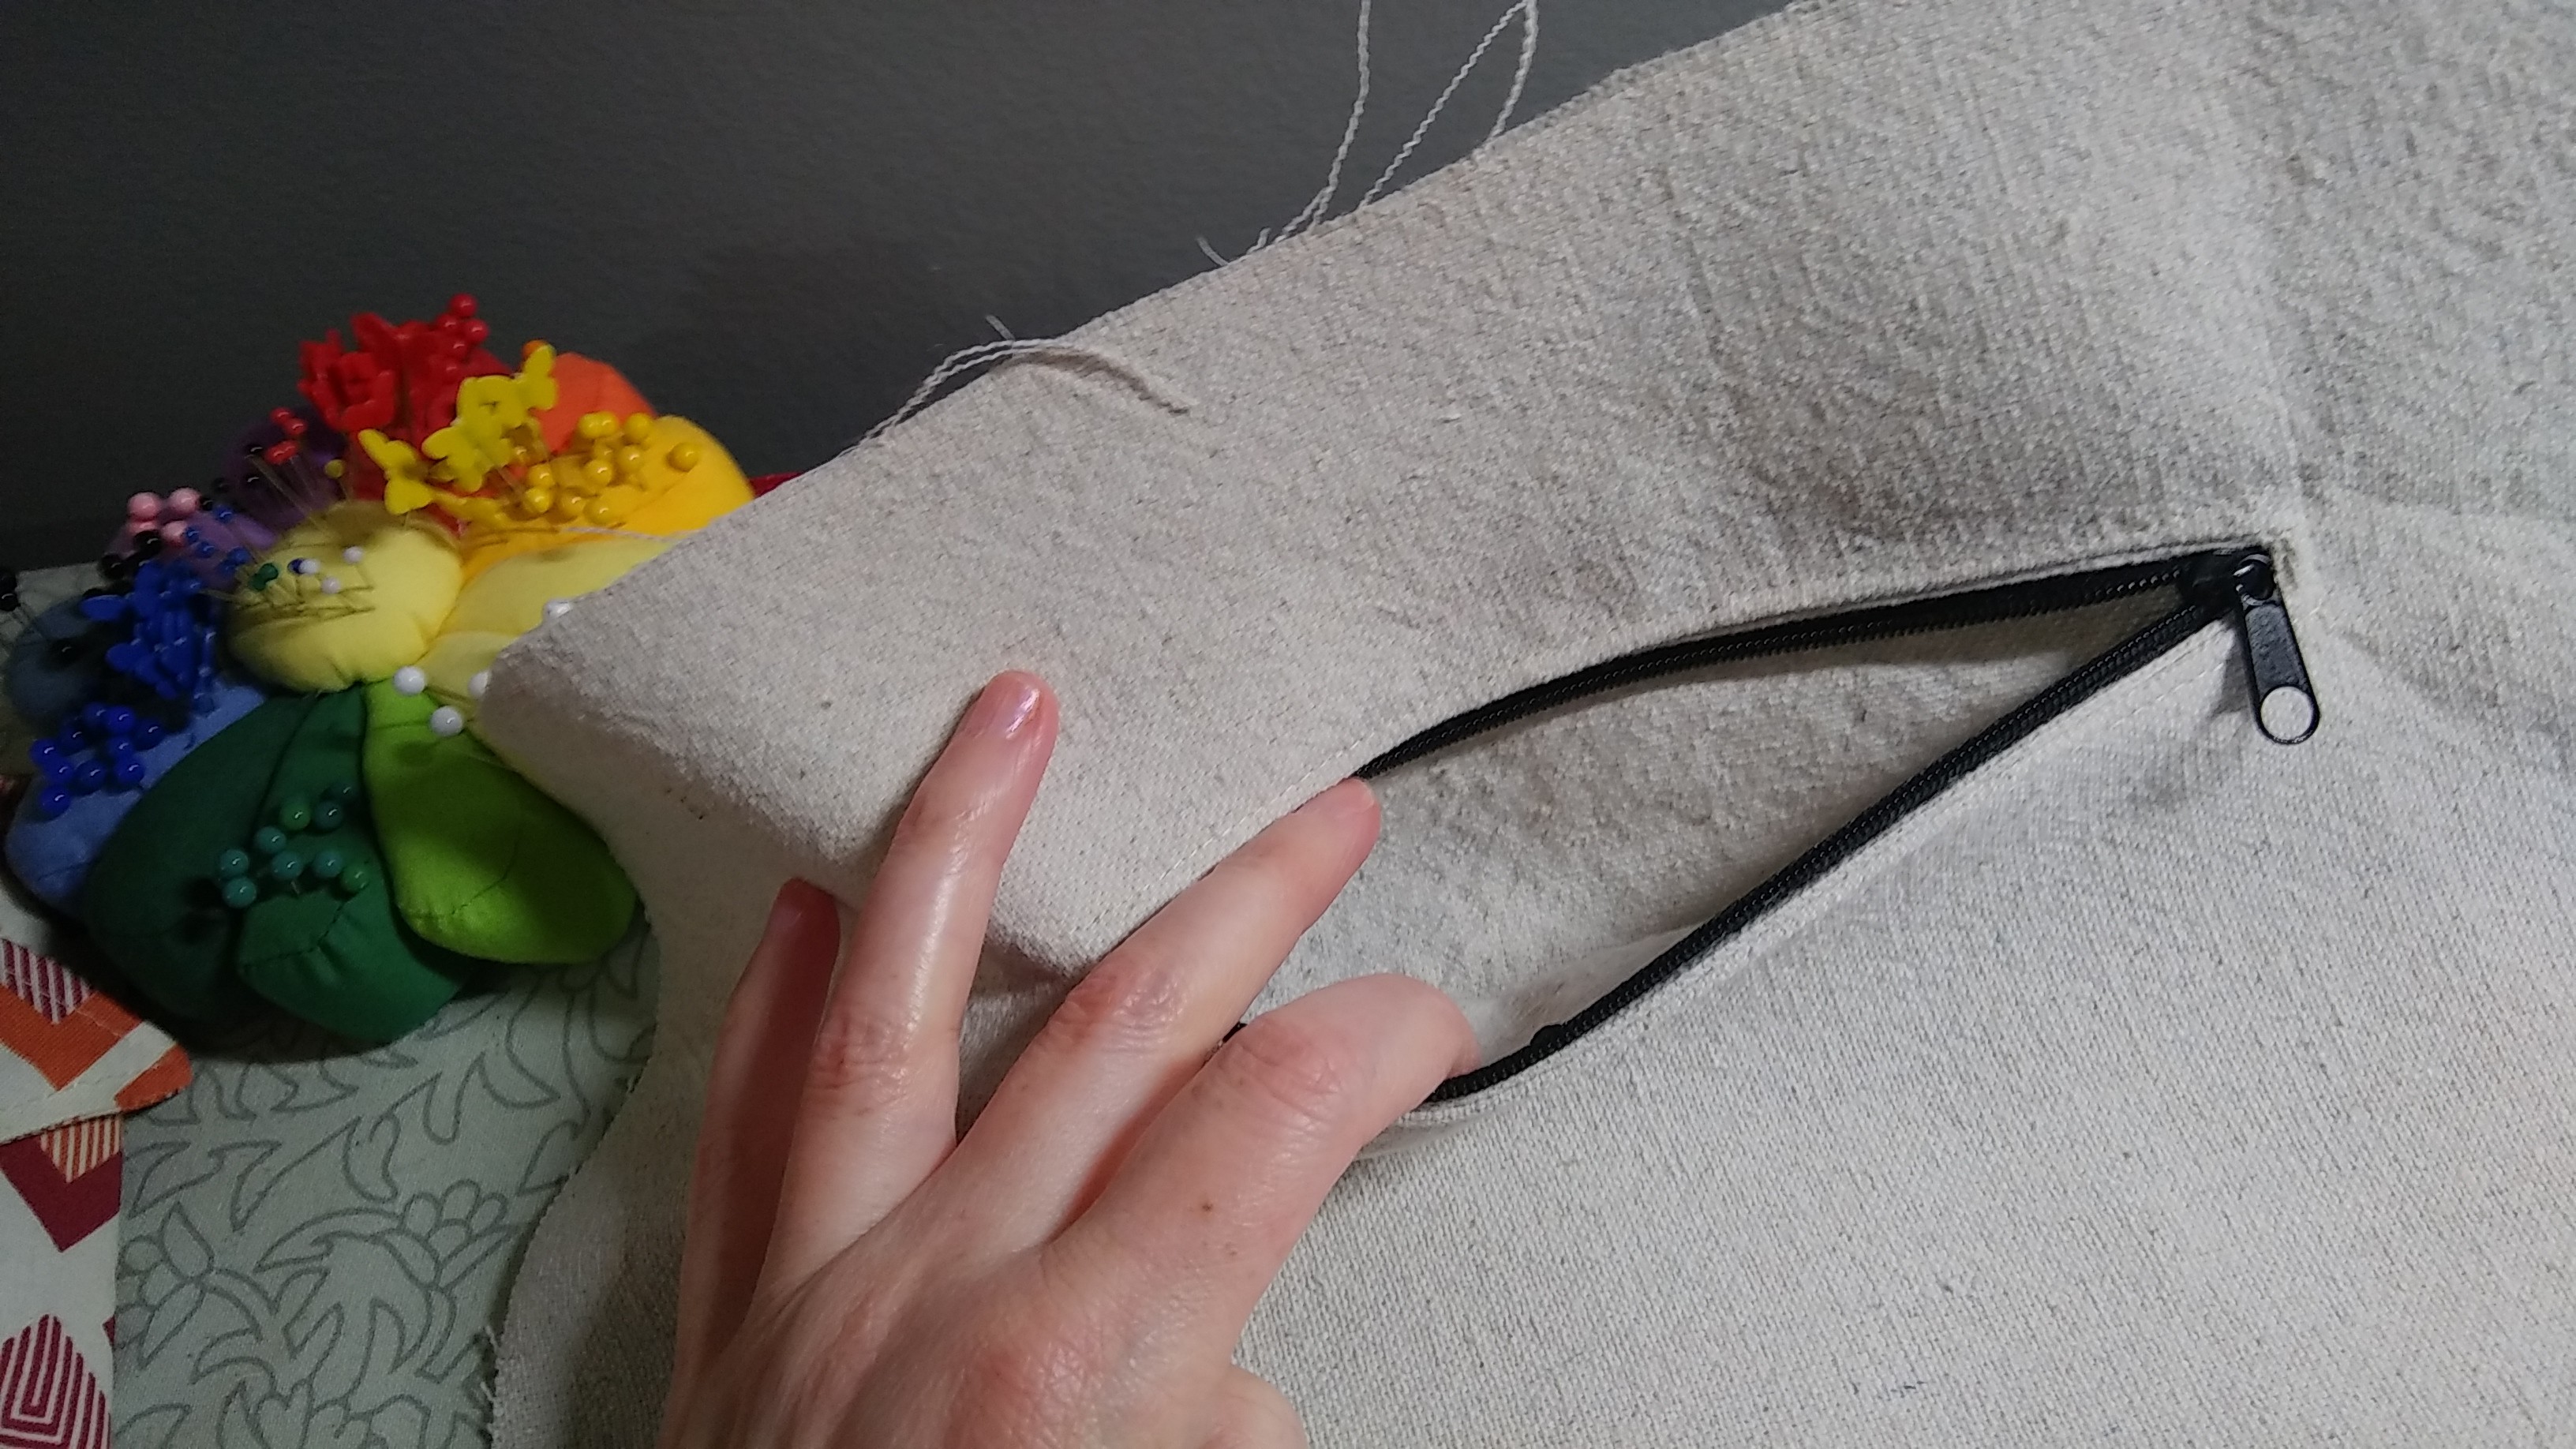
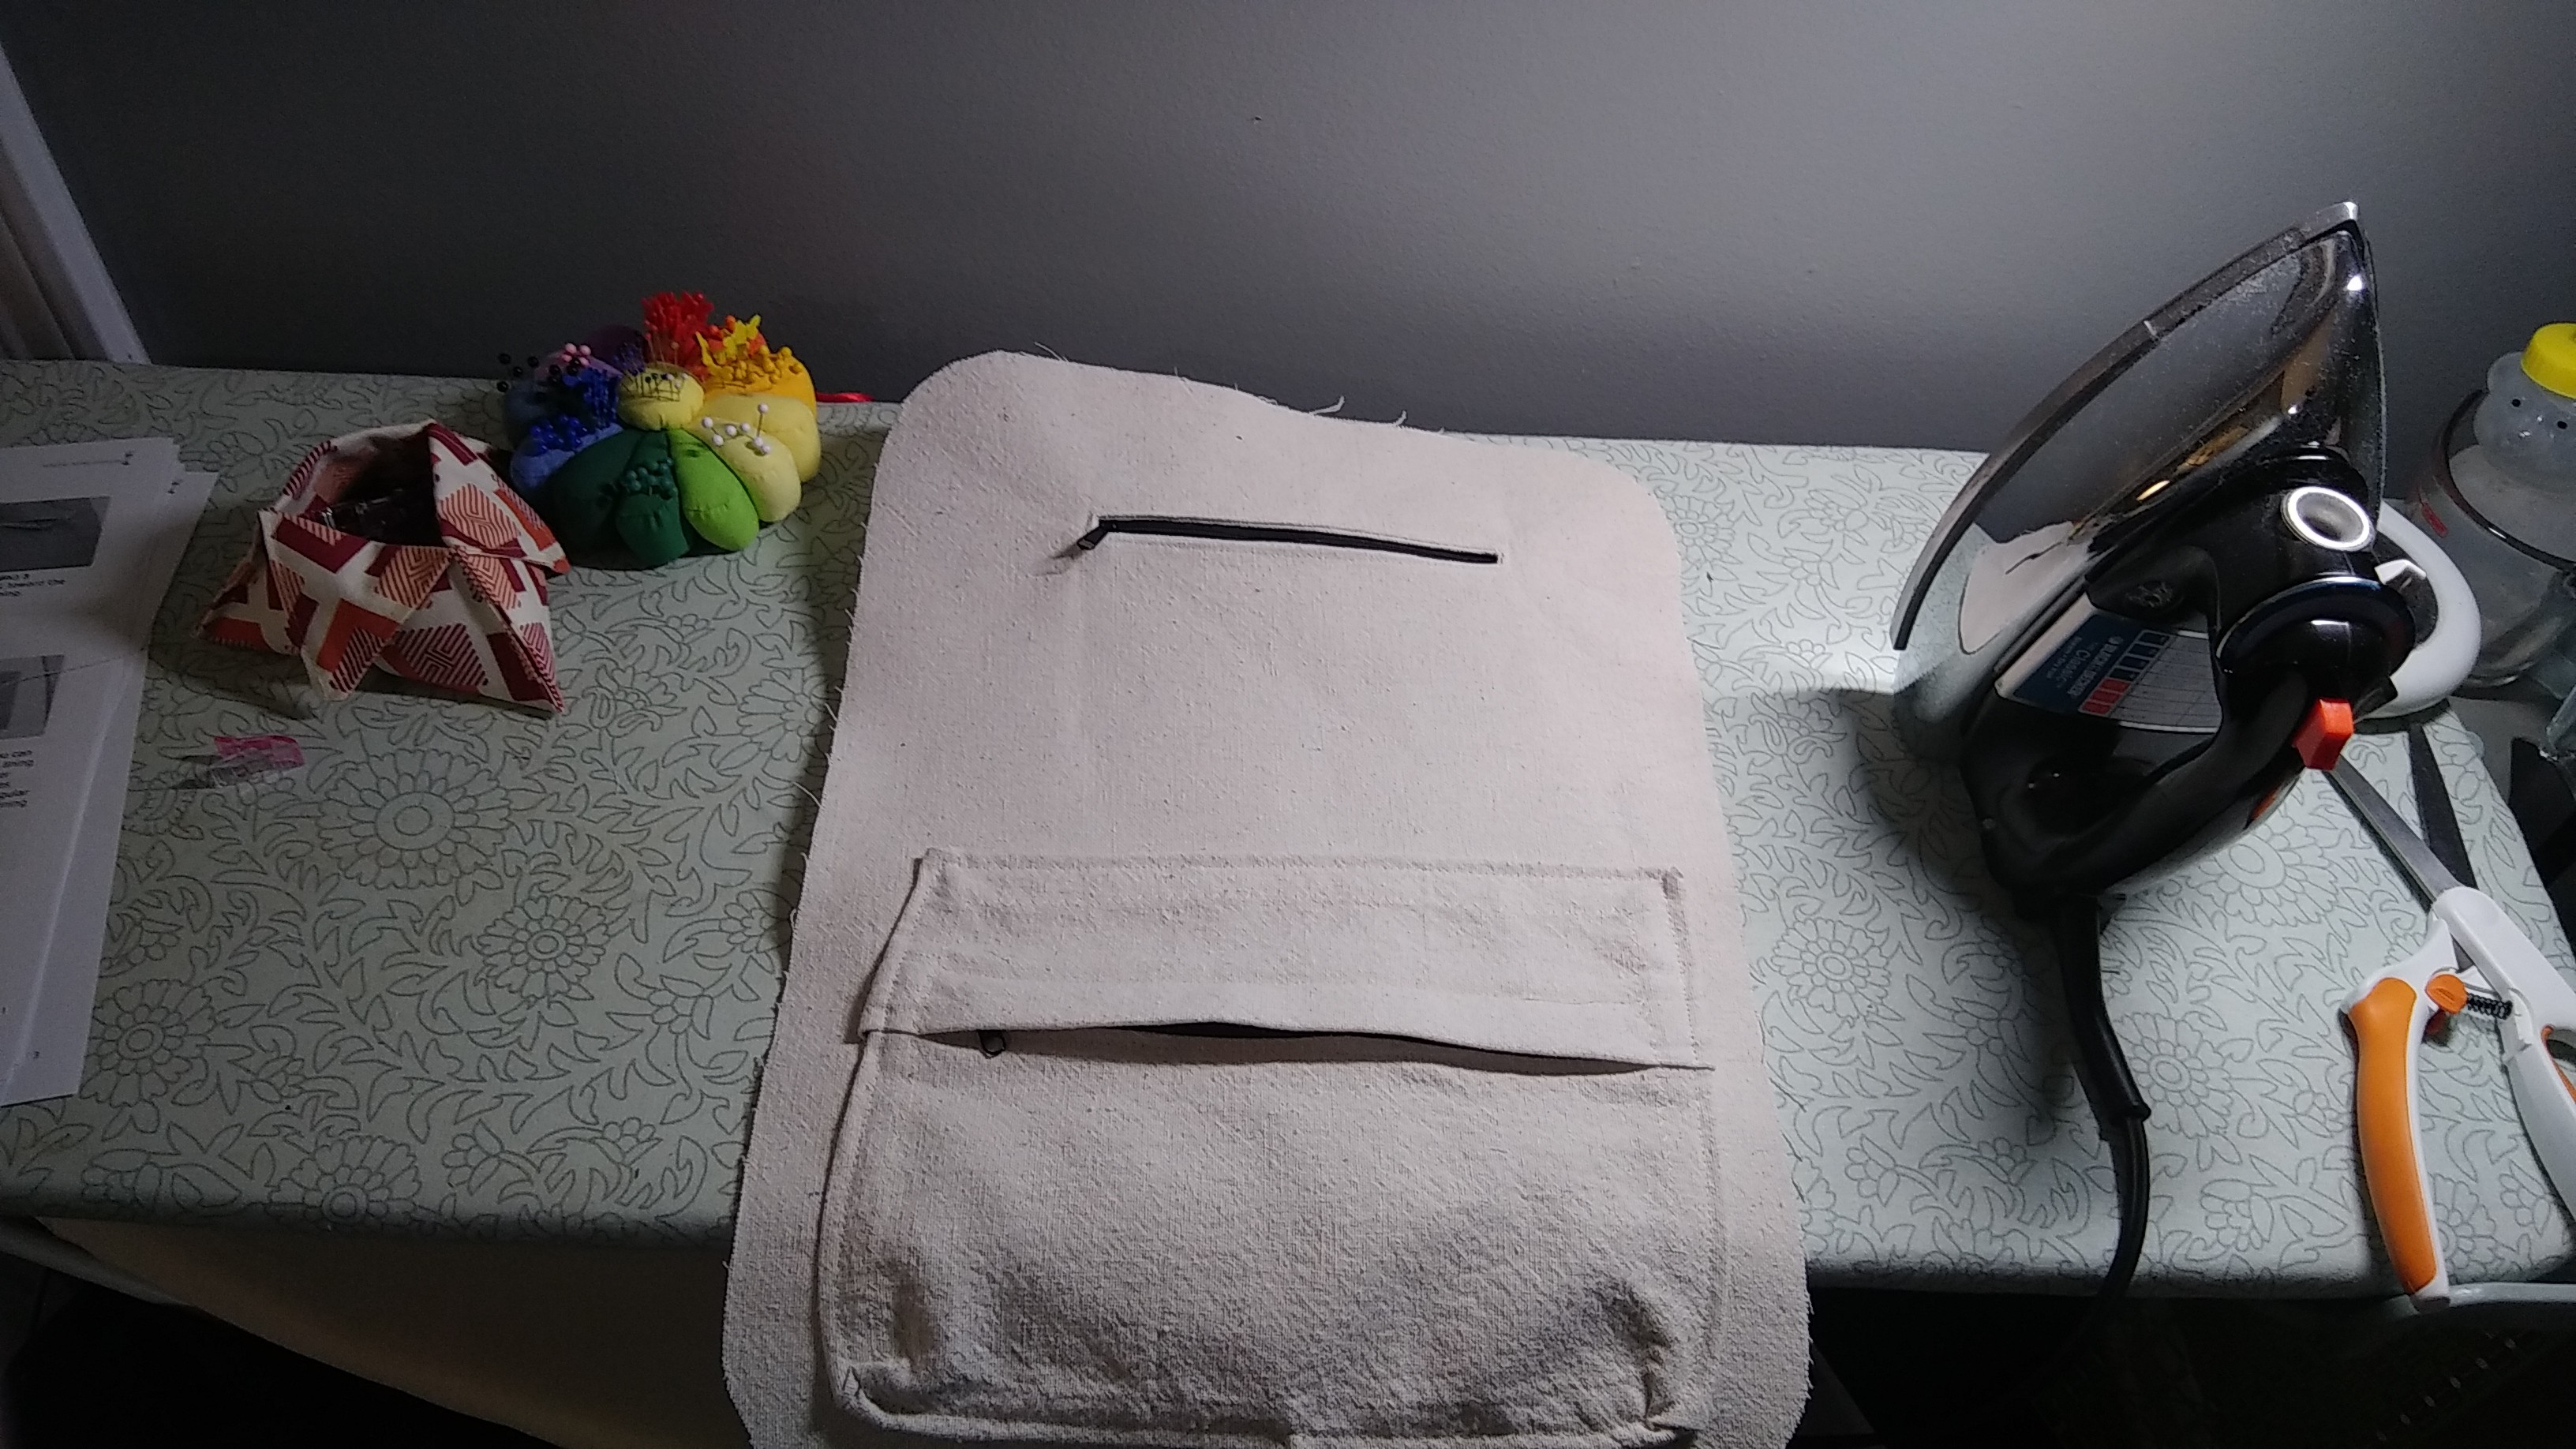
Now you have a zipper hole. Time to add the zipper. I like to glue baste this type of zipper using Fabri-Tac. Add zipper from behind and topstitch a rectangle around the zipper hole.
Flip it over. Line up the other pocket piece and sew around the edges to complete the pocket. I pinked the edges because this drop cloth is fraying like a son of a bitch.
The front is mostly done now. We will add a loop of webbing at the top later on.
Discussions
Become a Hackaday.io Member
Create an account to leave a comment. Already have an account? Log In.