 Manuel Tosone
Quick update on the test setup.
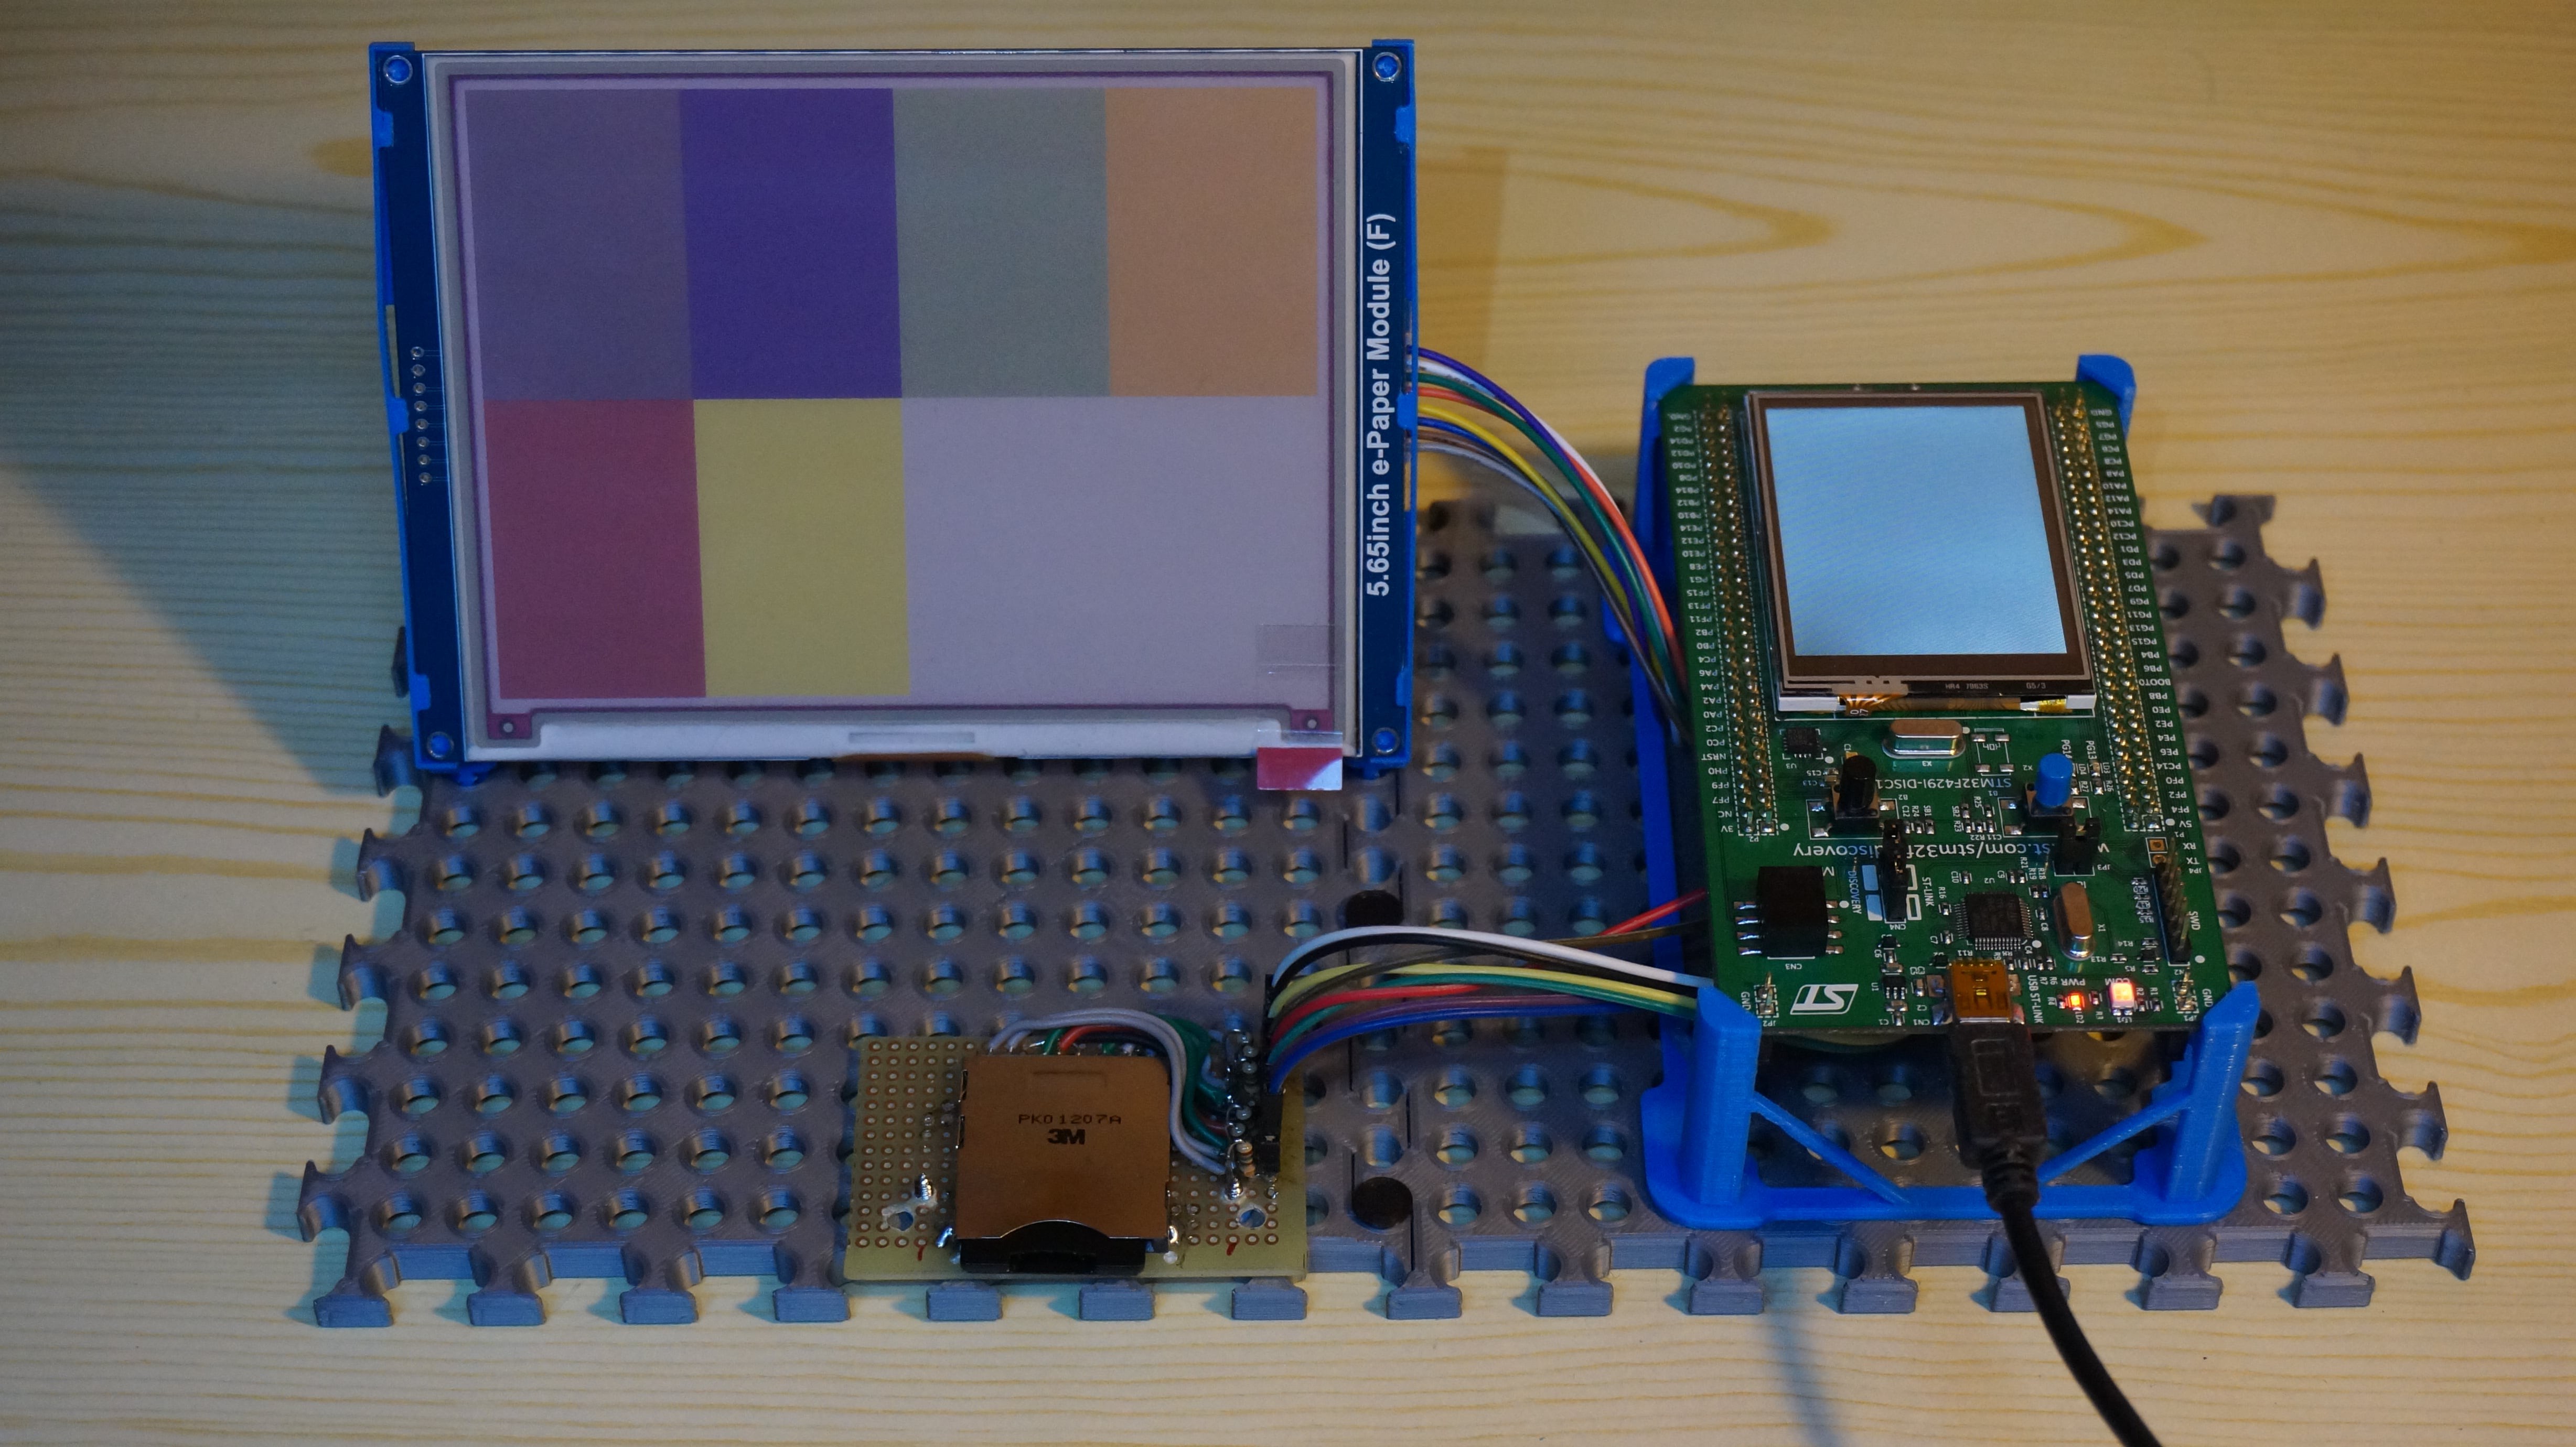
I was tired of having the display and the development board floating around on the bench, I wanted to make some kind of a test fixture. My first thought was to 3D print something to keep it all together but I didn't want to design and 3D print a frame only to be used one time. The idea I came up with is to have a perforated base on which all the components are placed. The advantages of this are quite obvious, it is possible to rapidly move components around and it can be reused for future projects.
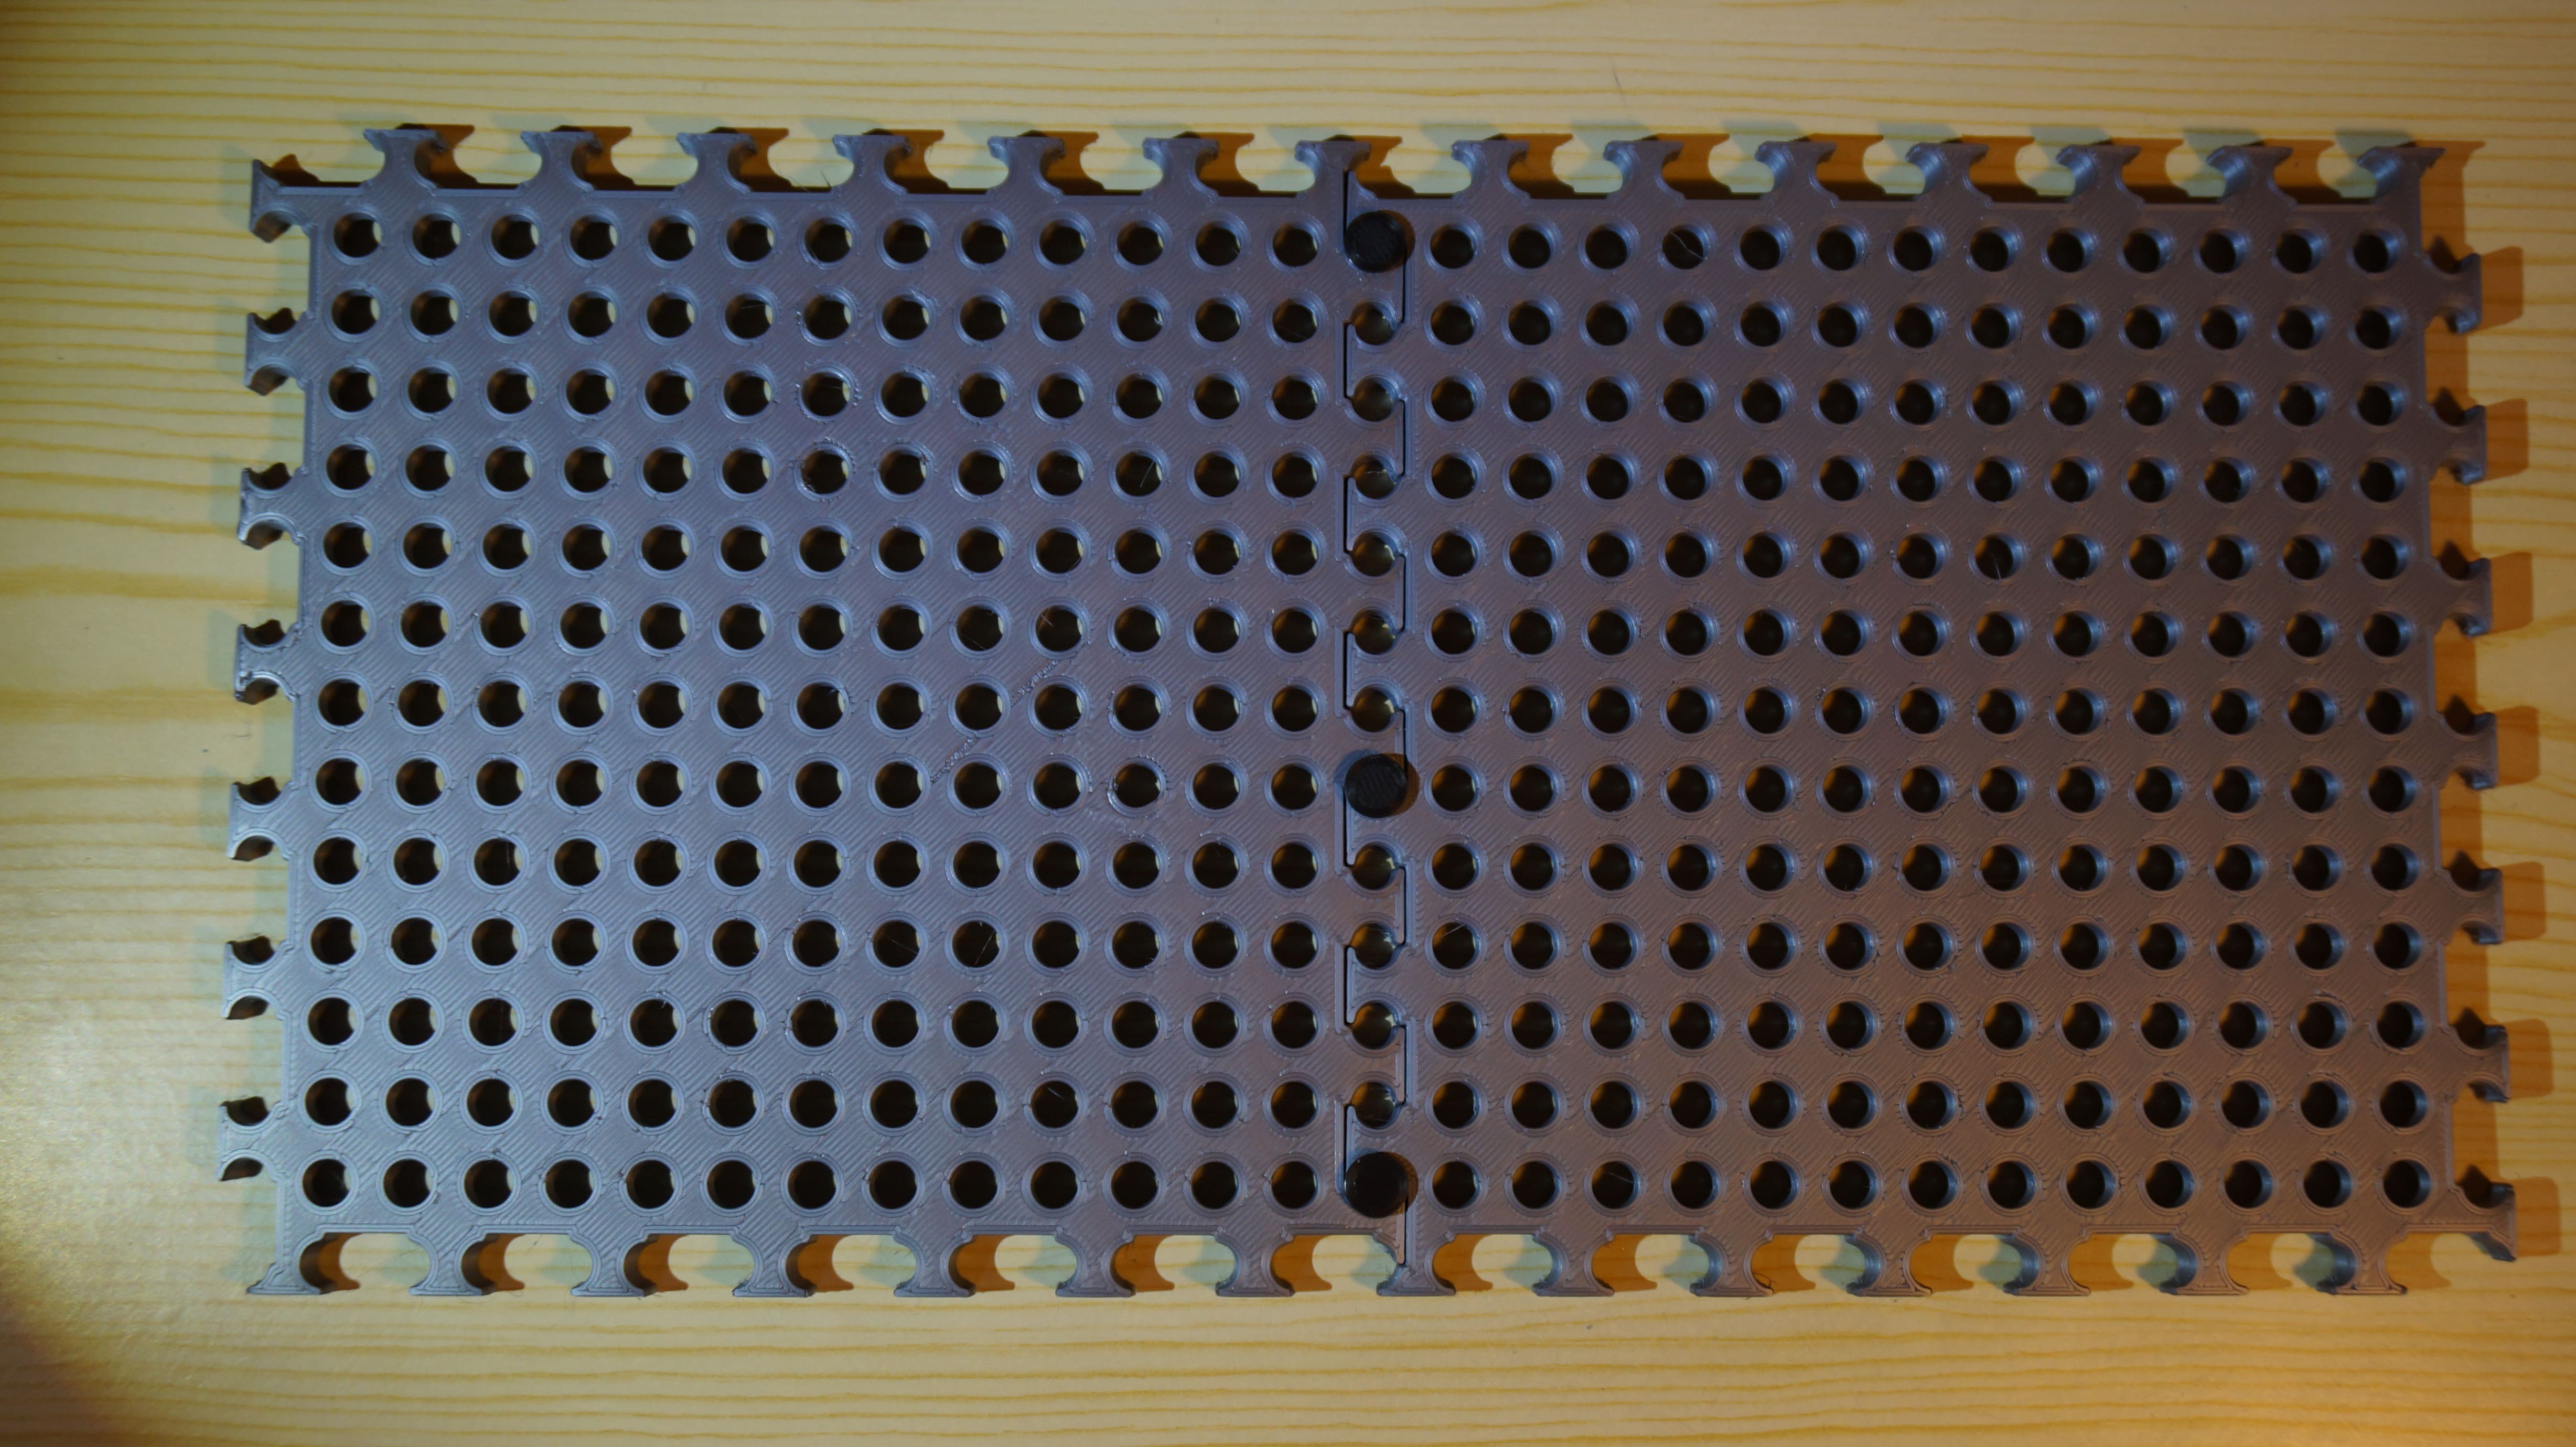
The base is made of squares that can be joined together. Each square has a 15x15 grid of 6mm holes. The spacing between holes is 10mm

The squares are joined with round pins.
The display and the discovery board are kept in place by holders with pins on the bottom.
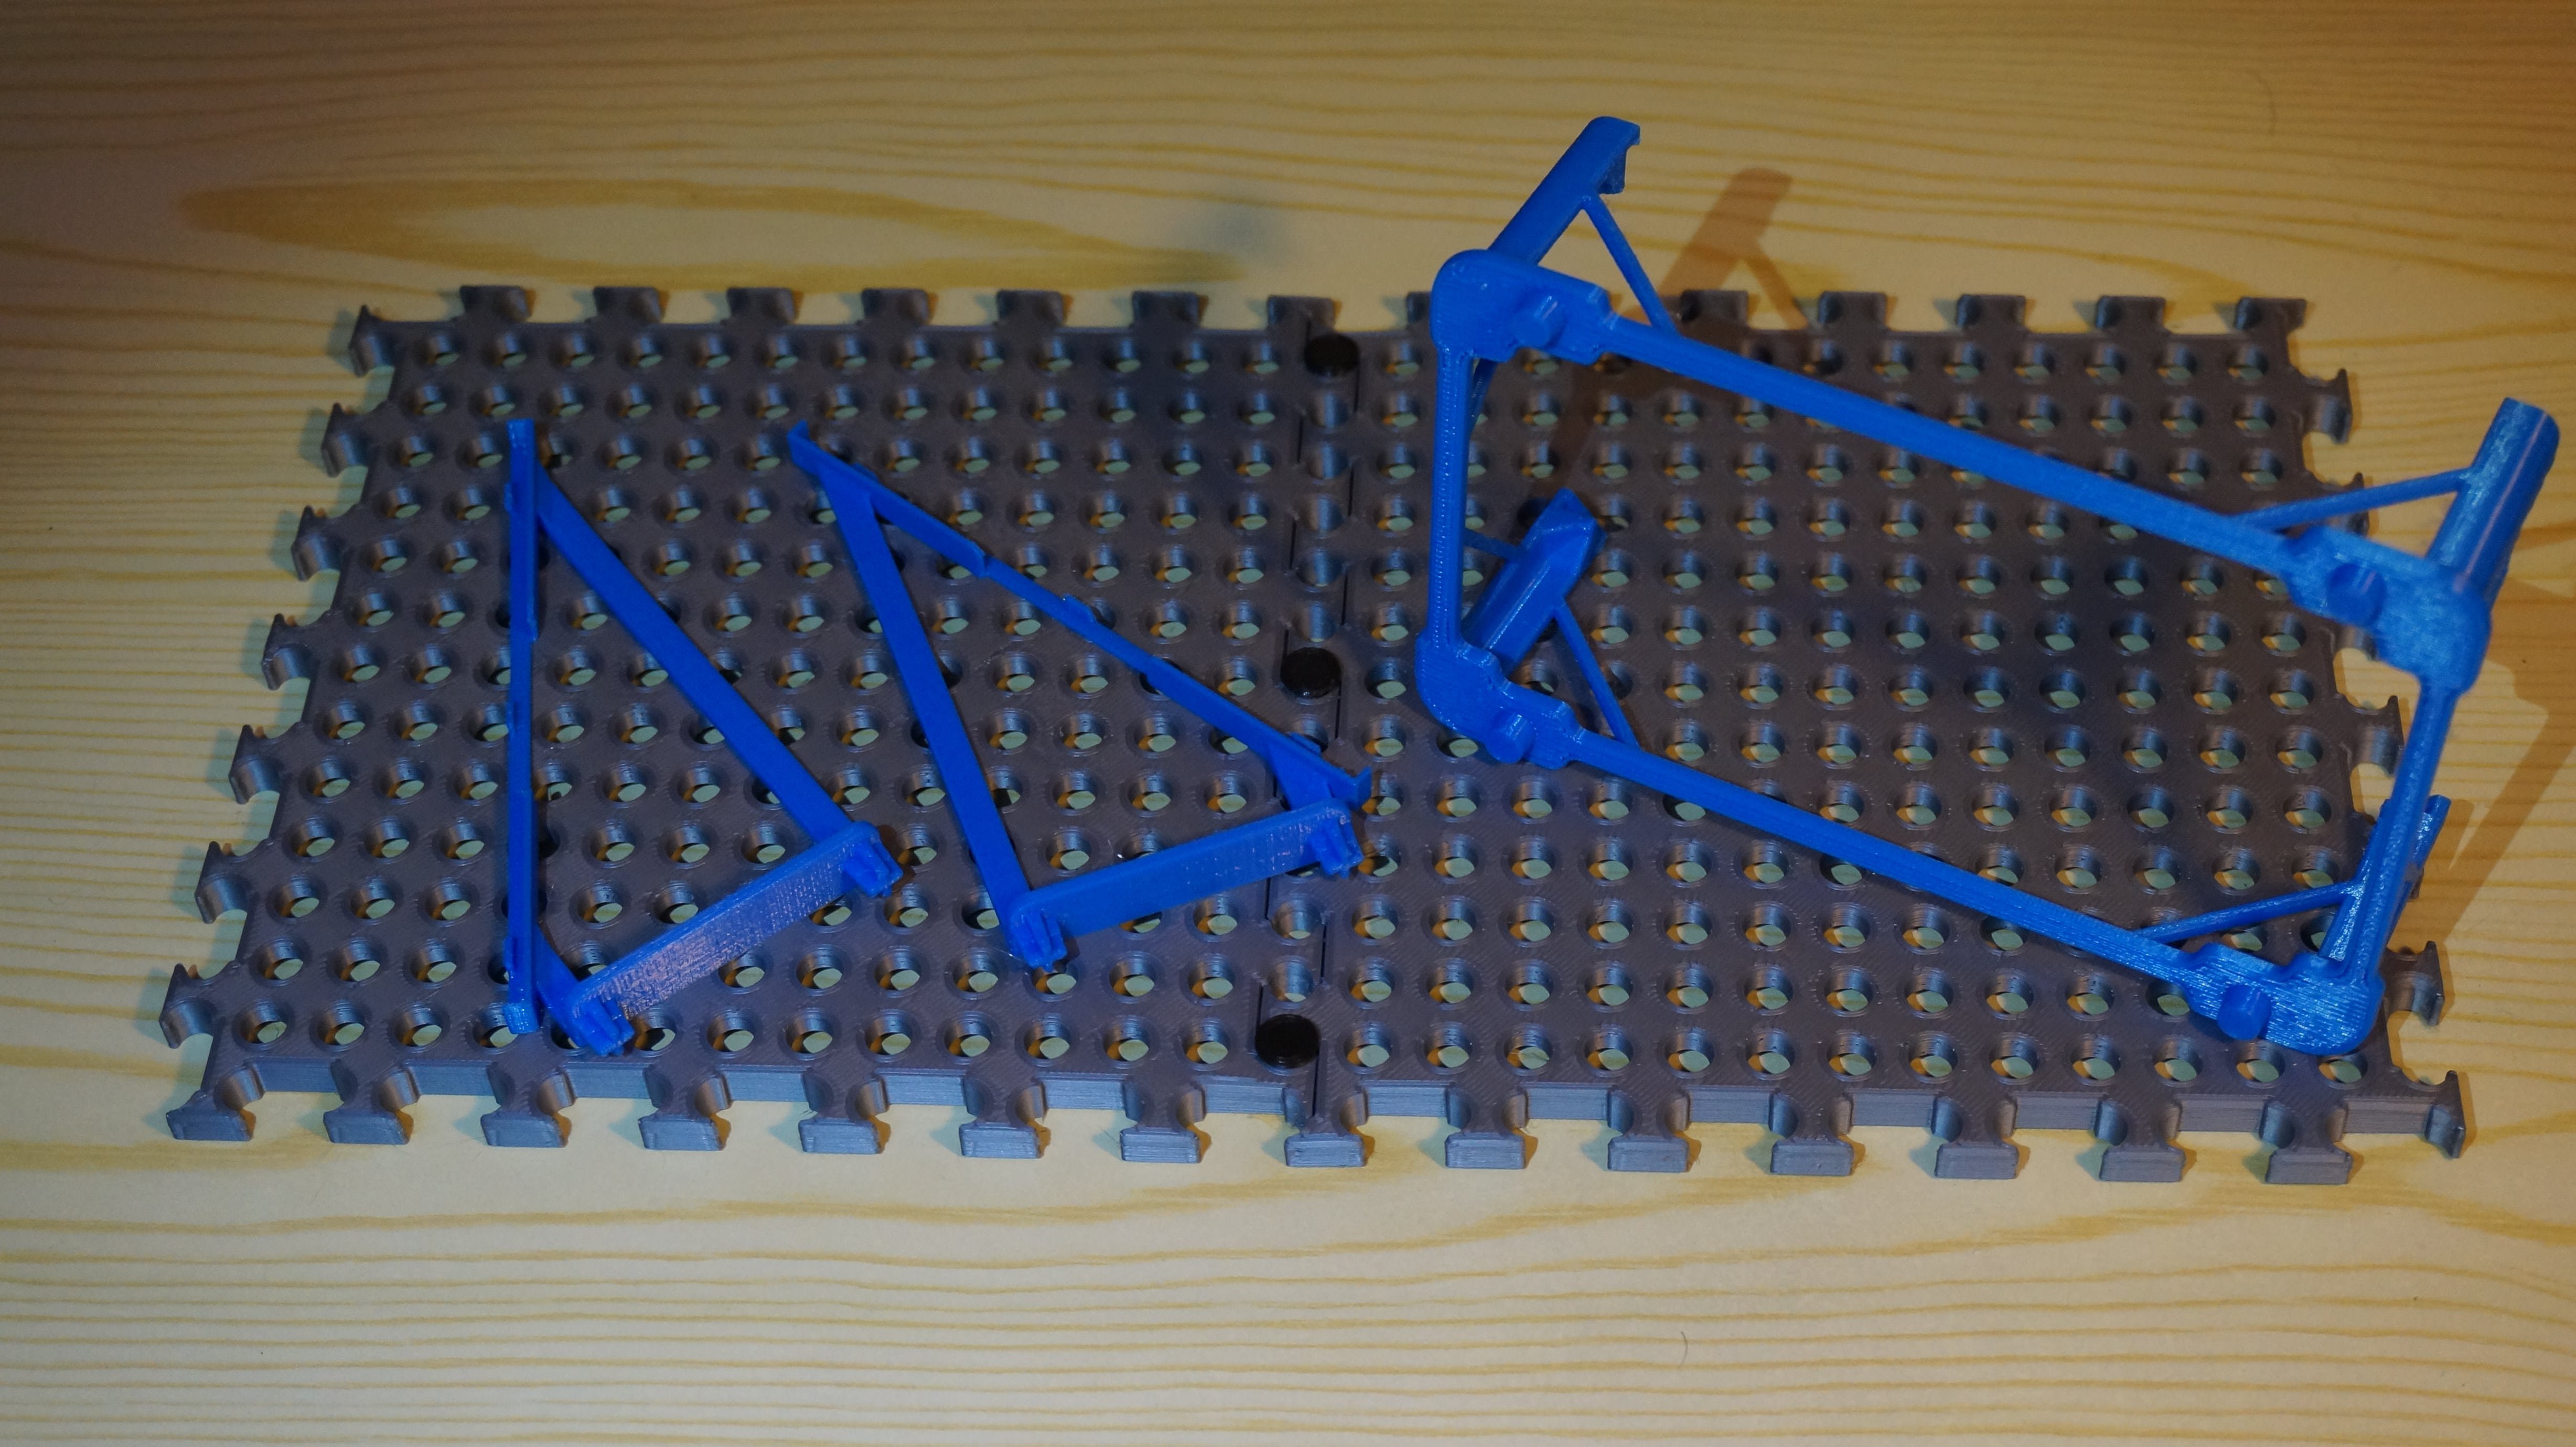
The 3D models for this test fixture are available on this site. If you like the concept, feel free to use it for your own prototypes. For now, I only printed a holder for the discovery board, in the future I'll make holders for the boards that I'm working on.
The following video shows the display mounted in the test fixture, as it goes through some test patterns.
Discussions
Become a Hackaday.io Member
Create an account to leave a comment. Already have an account? Log In.