 Alexandra Covor
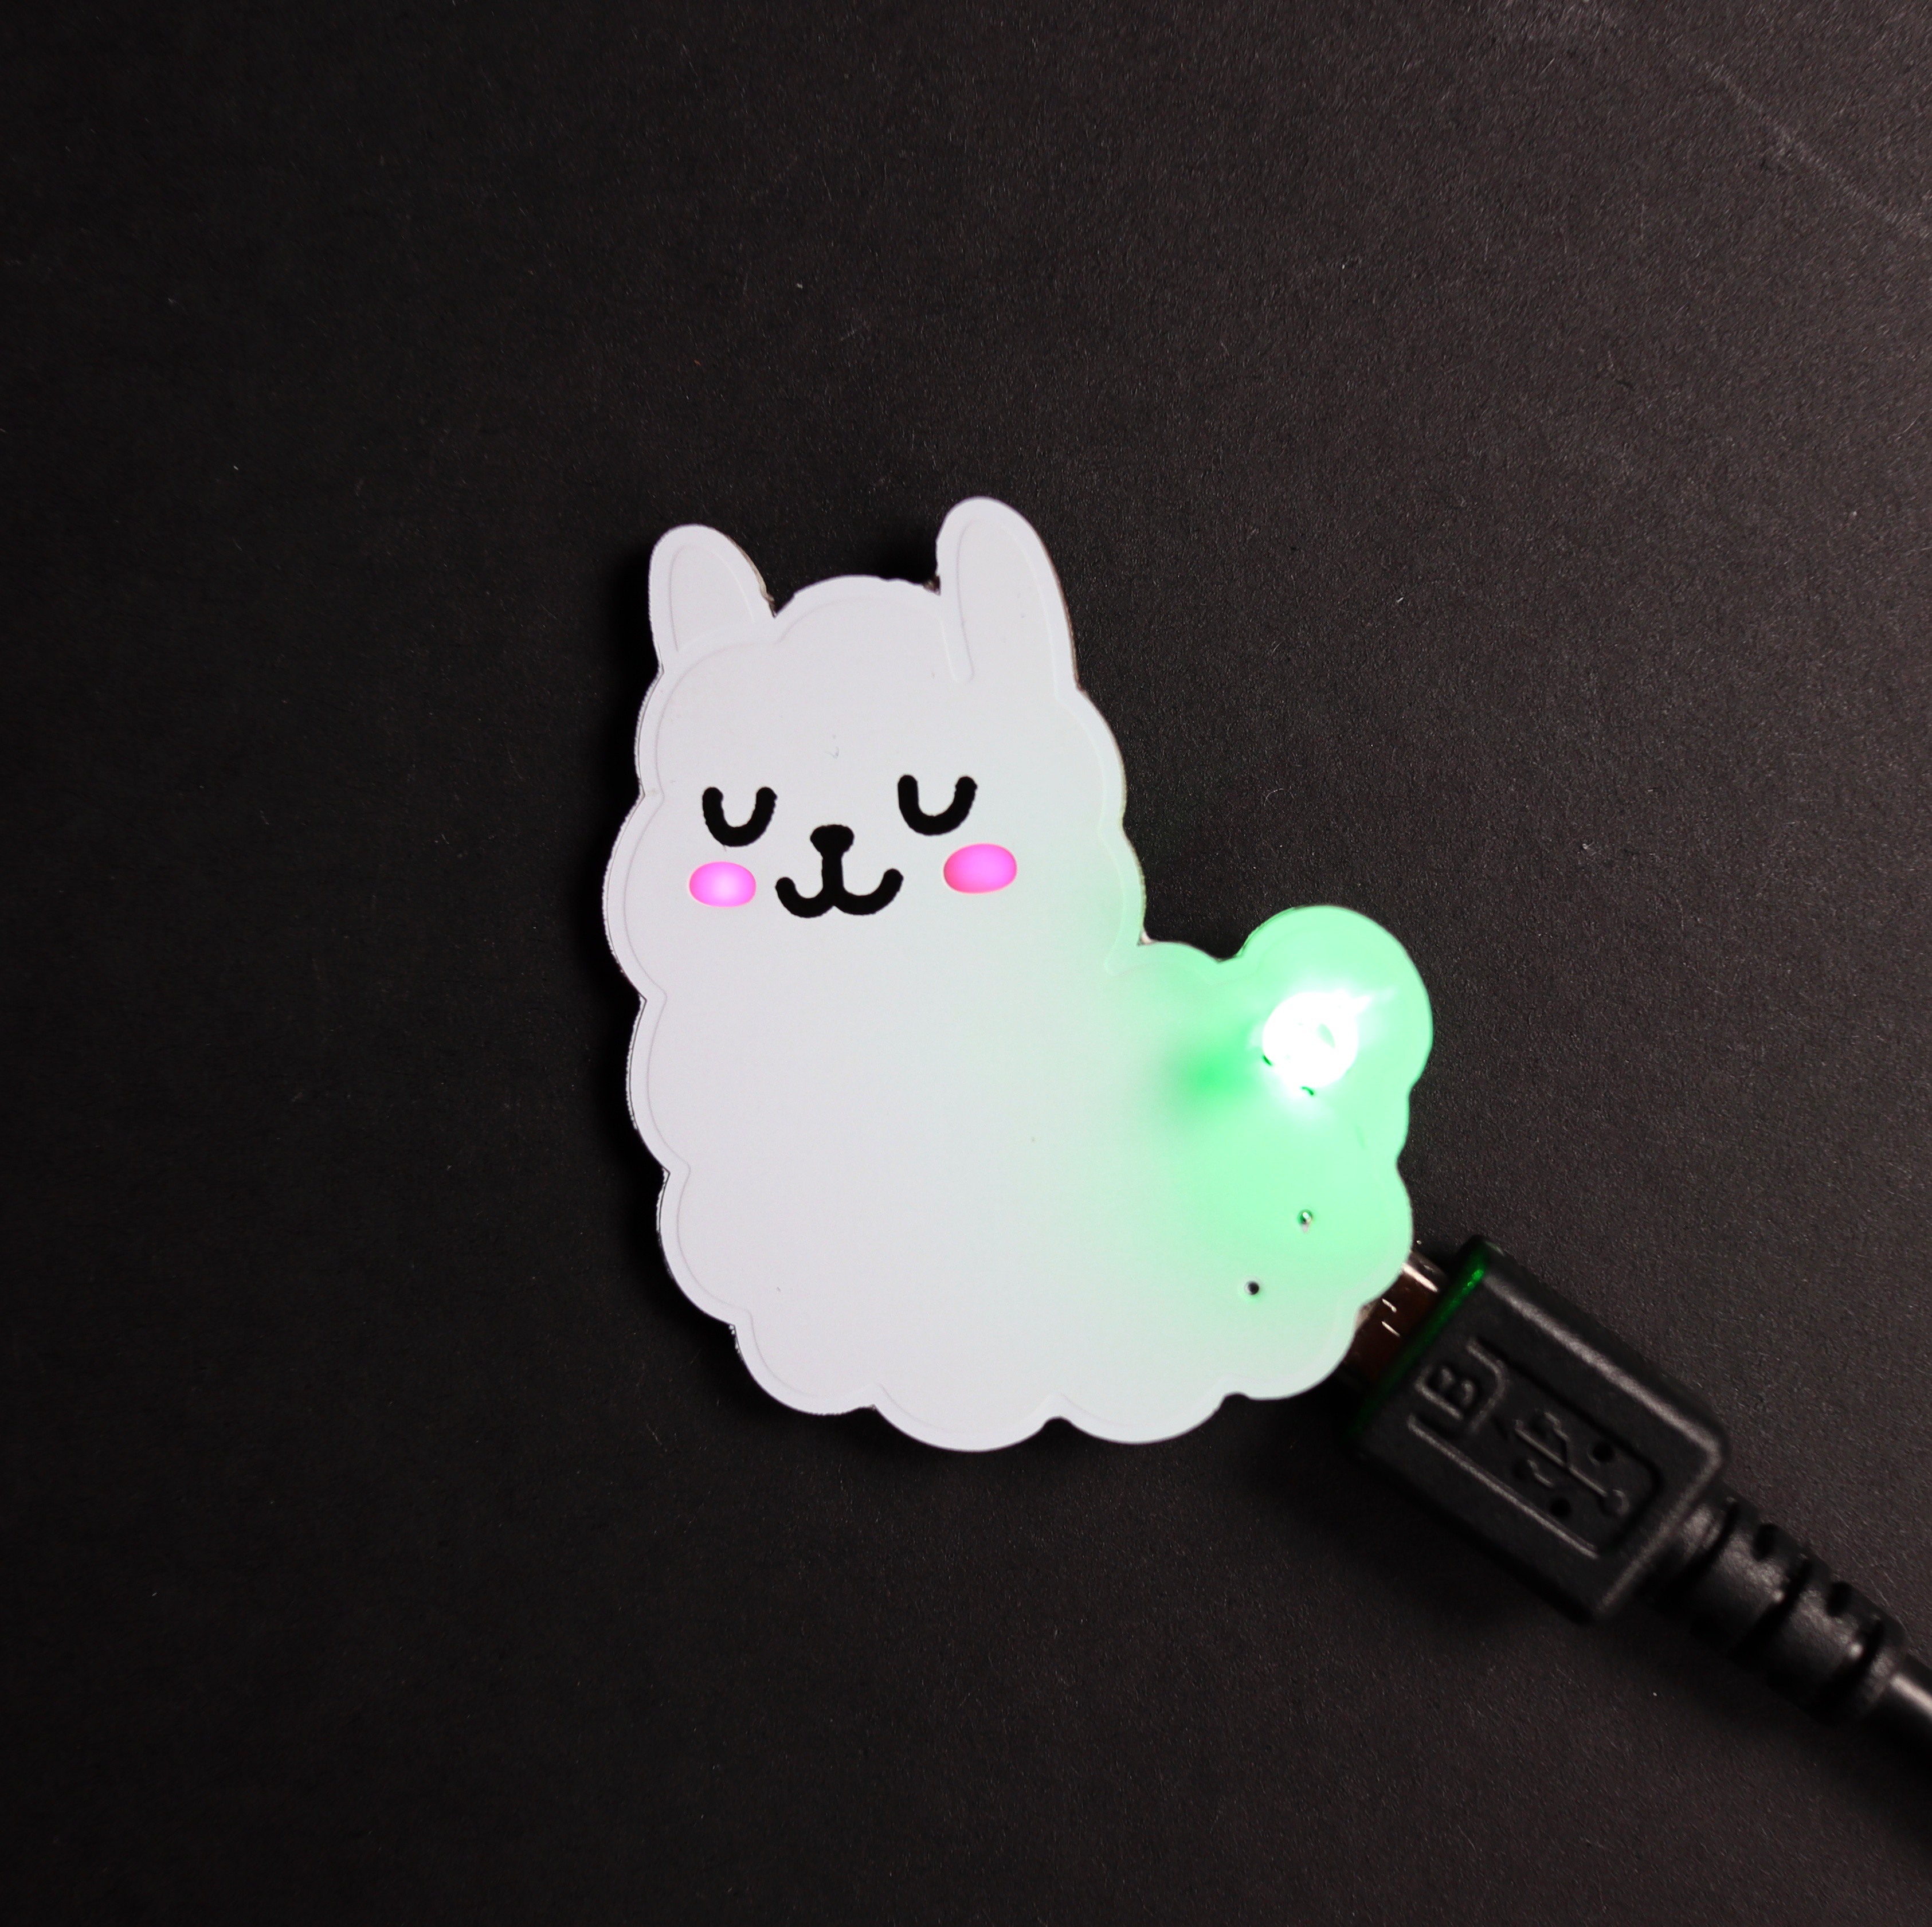
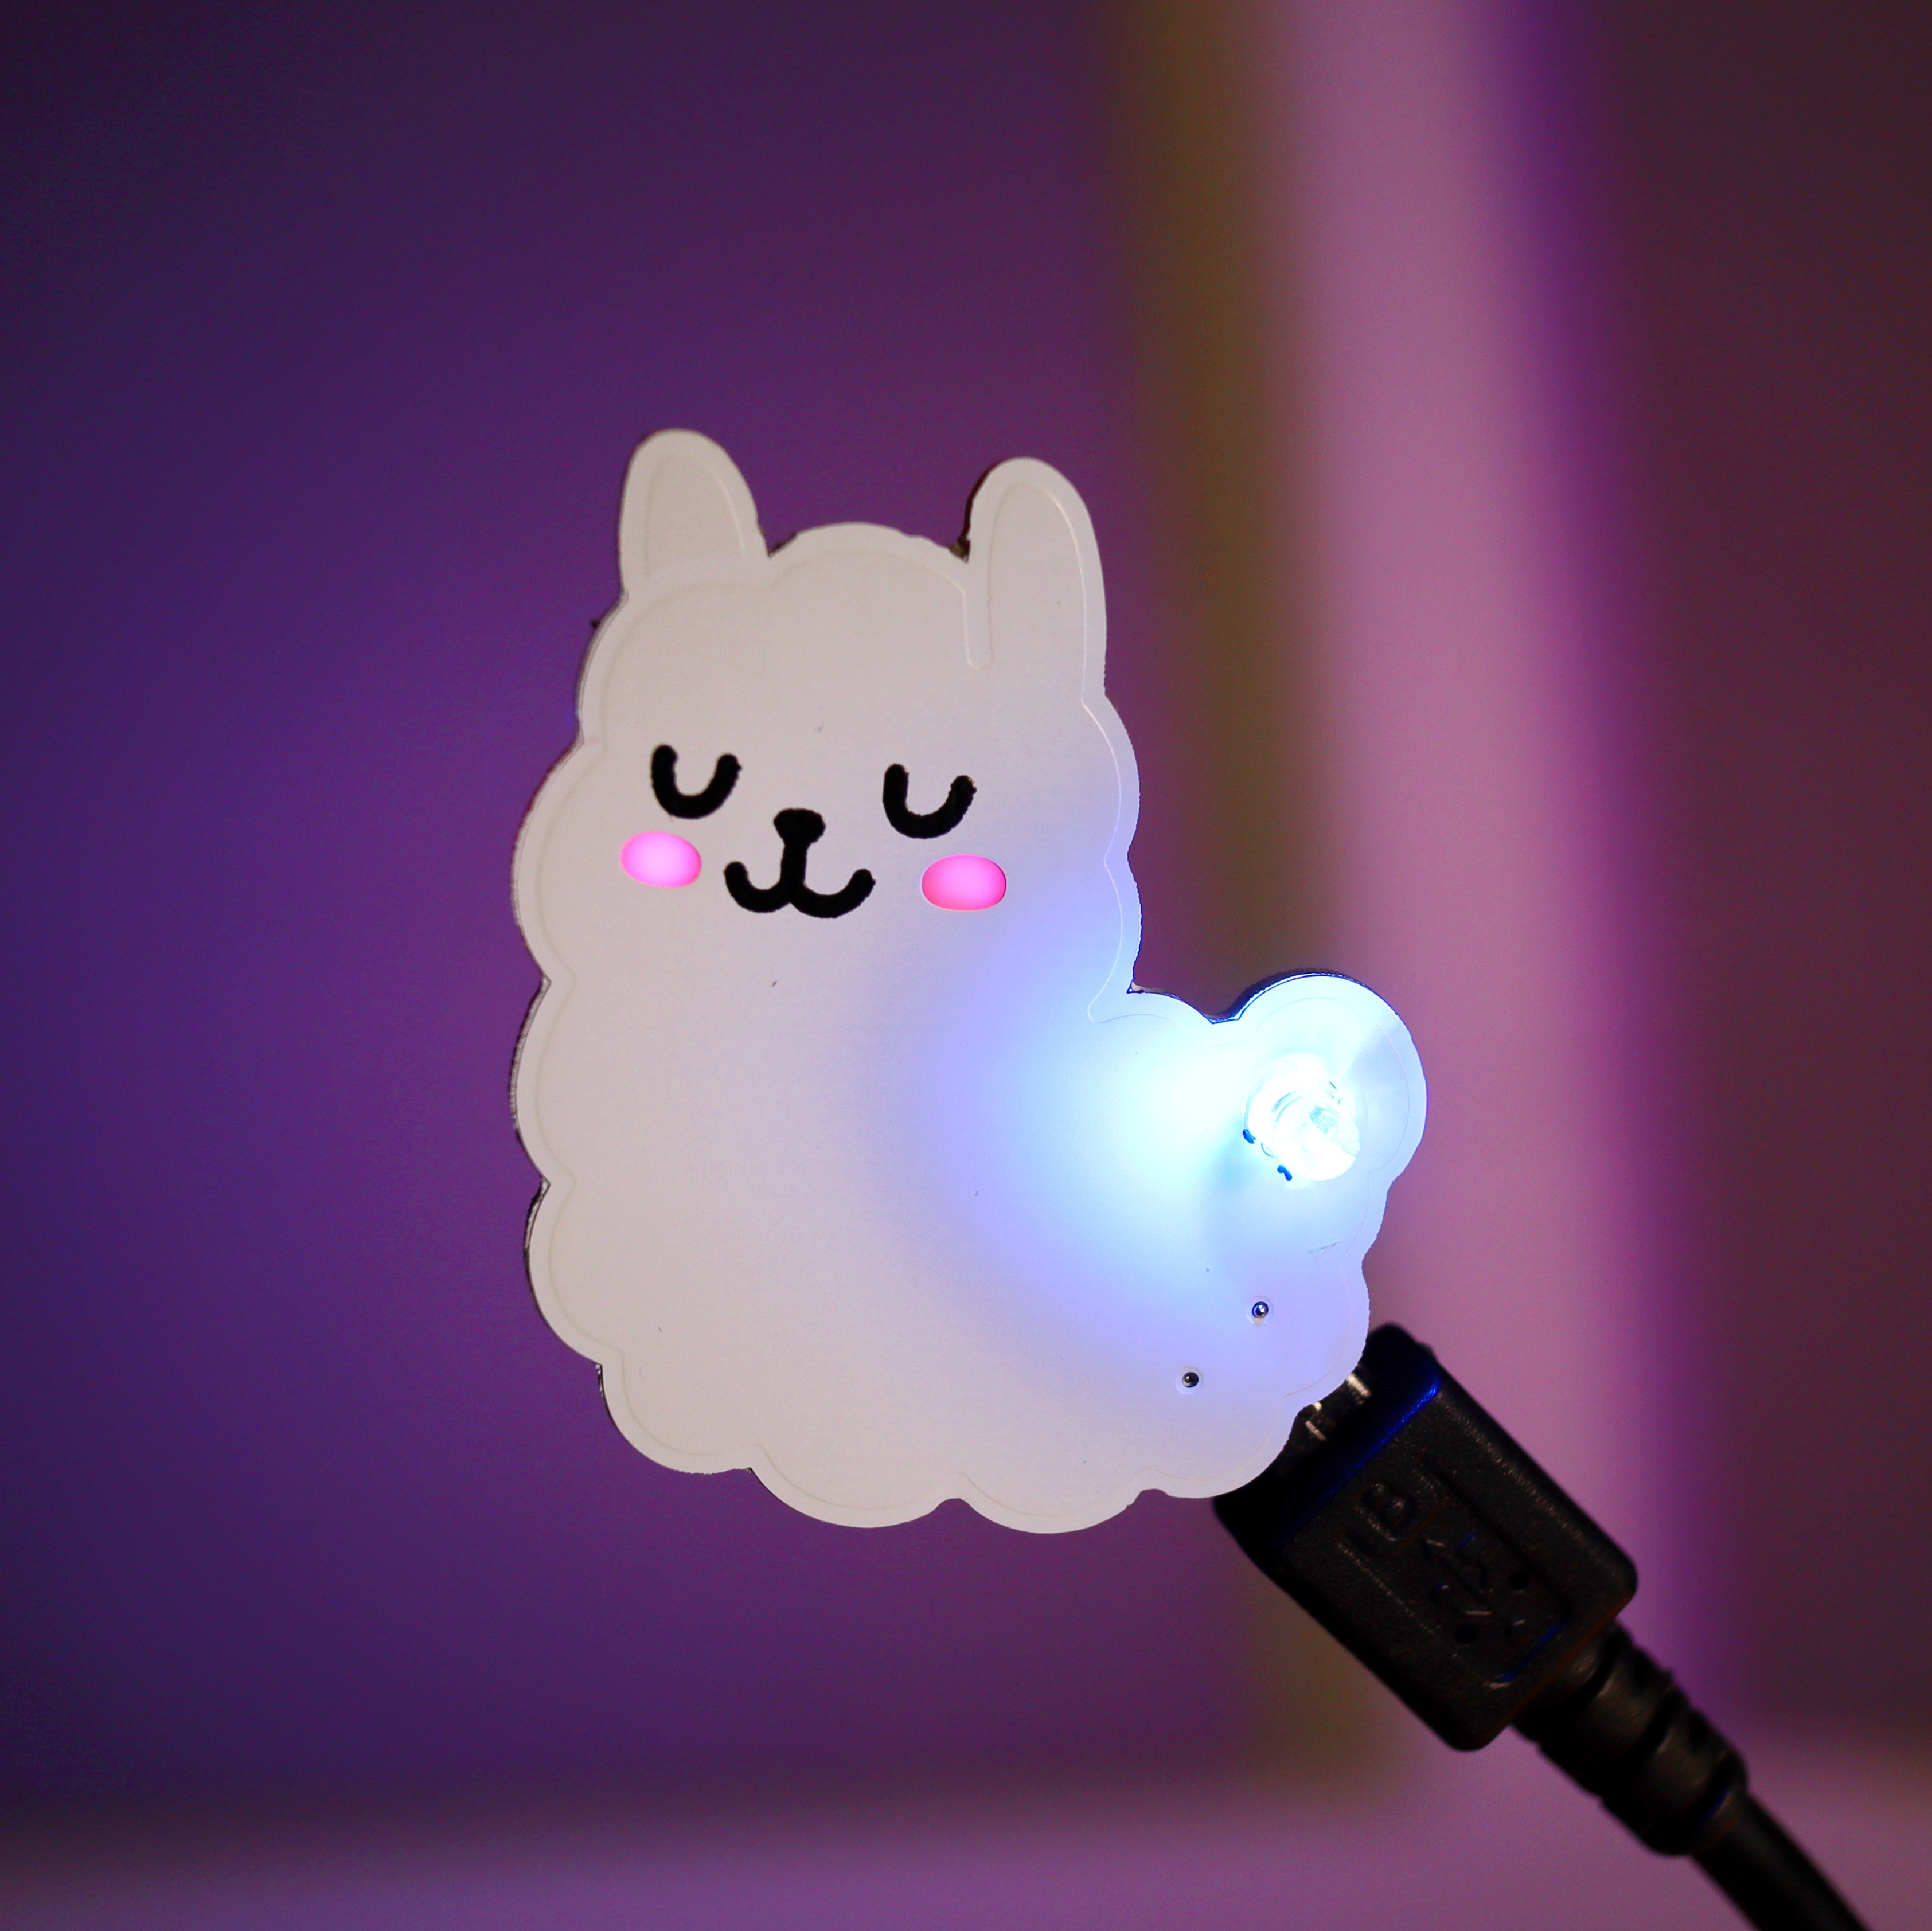
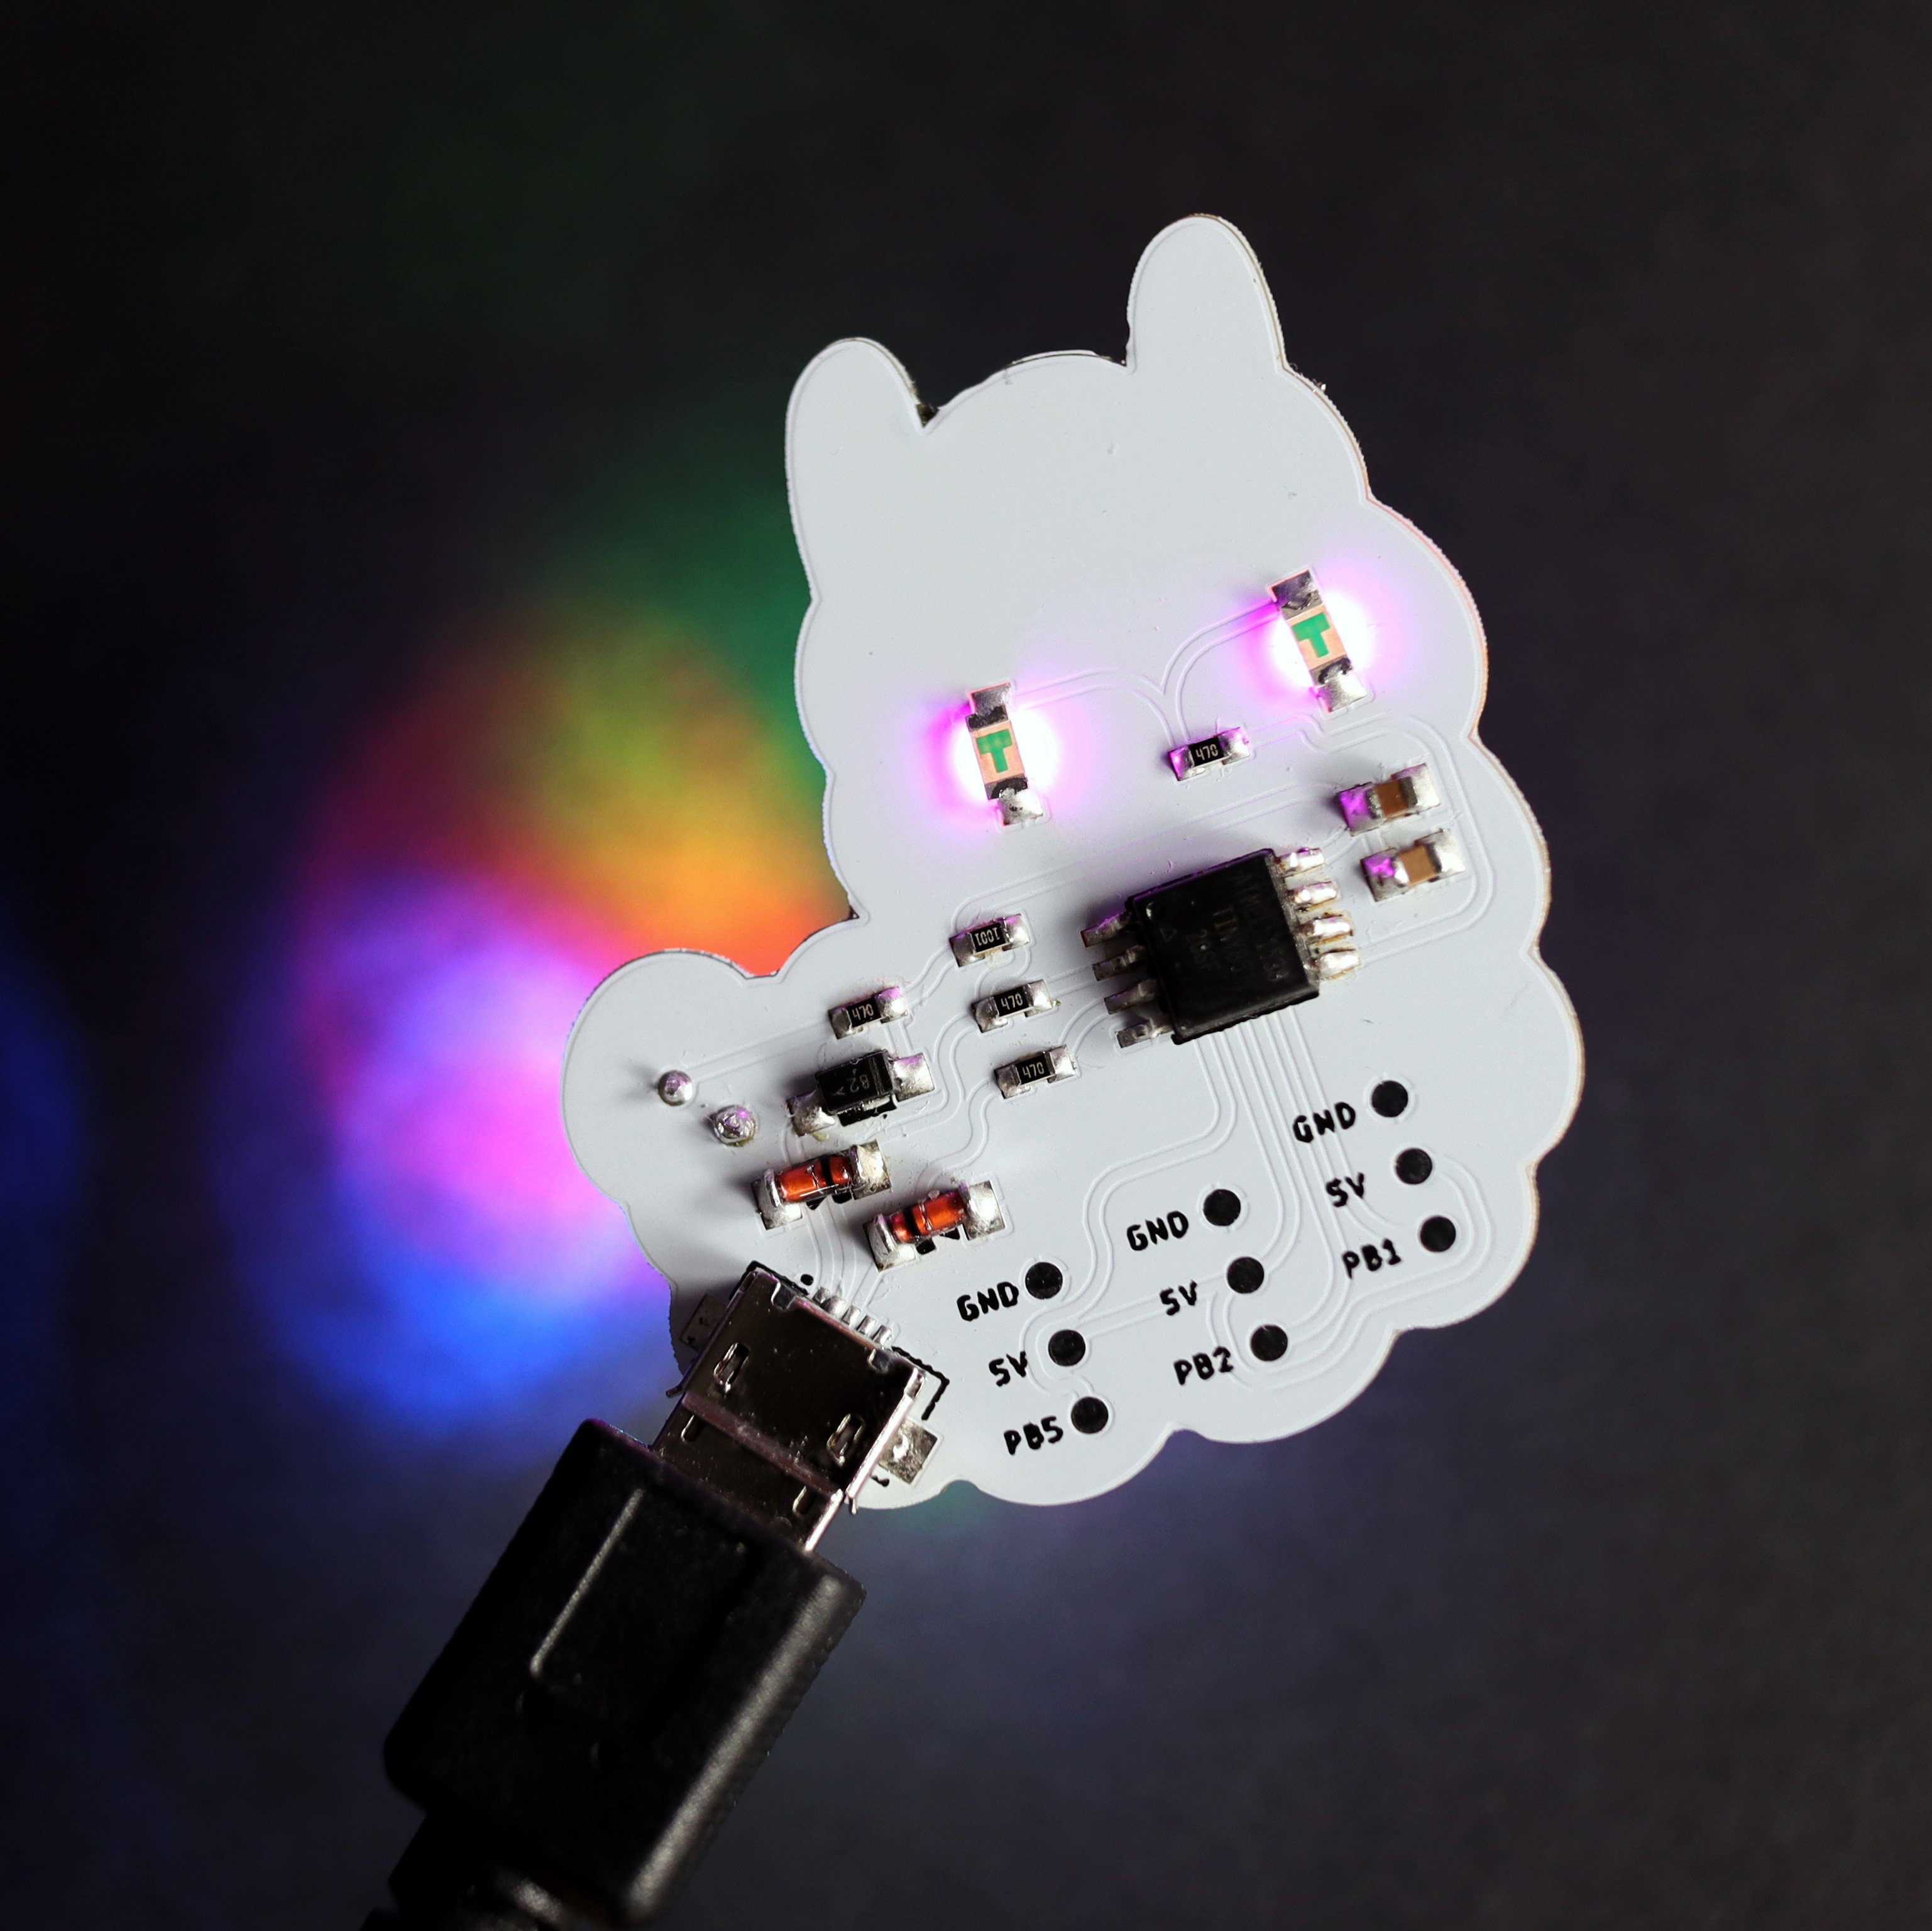
I've recently heard of the Micronucleus bootloader for the ATtiny85 and I wanted to try it out, so I designed this quick alpaca ATtiny85 dev board, which can be programmed directly through the USB, no other chip needed. Pretty cool!
This project is inspired by the following links:
- Digispark USB Development Board
- Micronucleus bootloader
- Programming ATtiny85 IC directly through USB using Digispark Bootloader
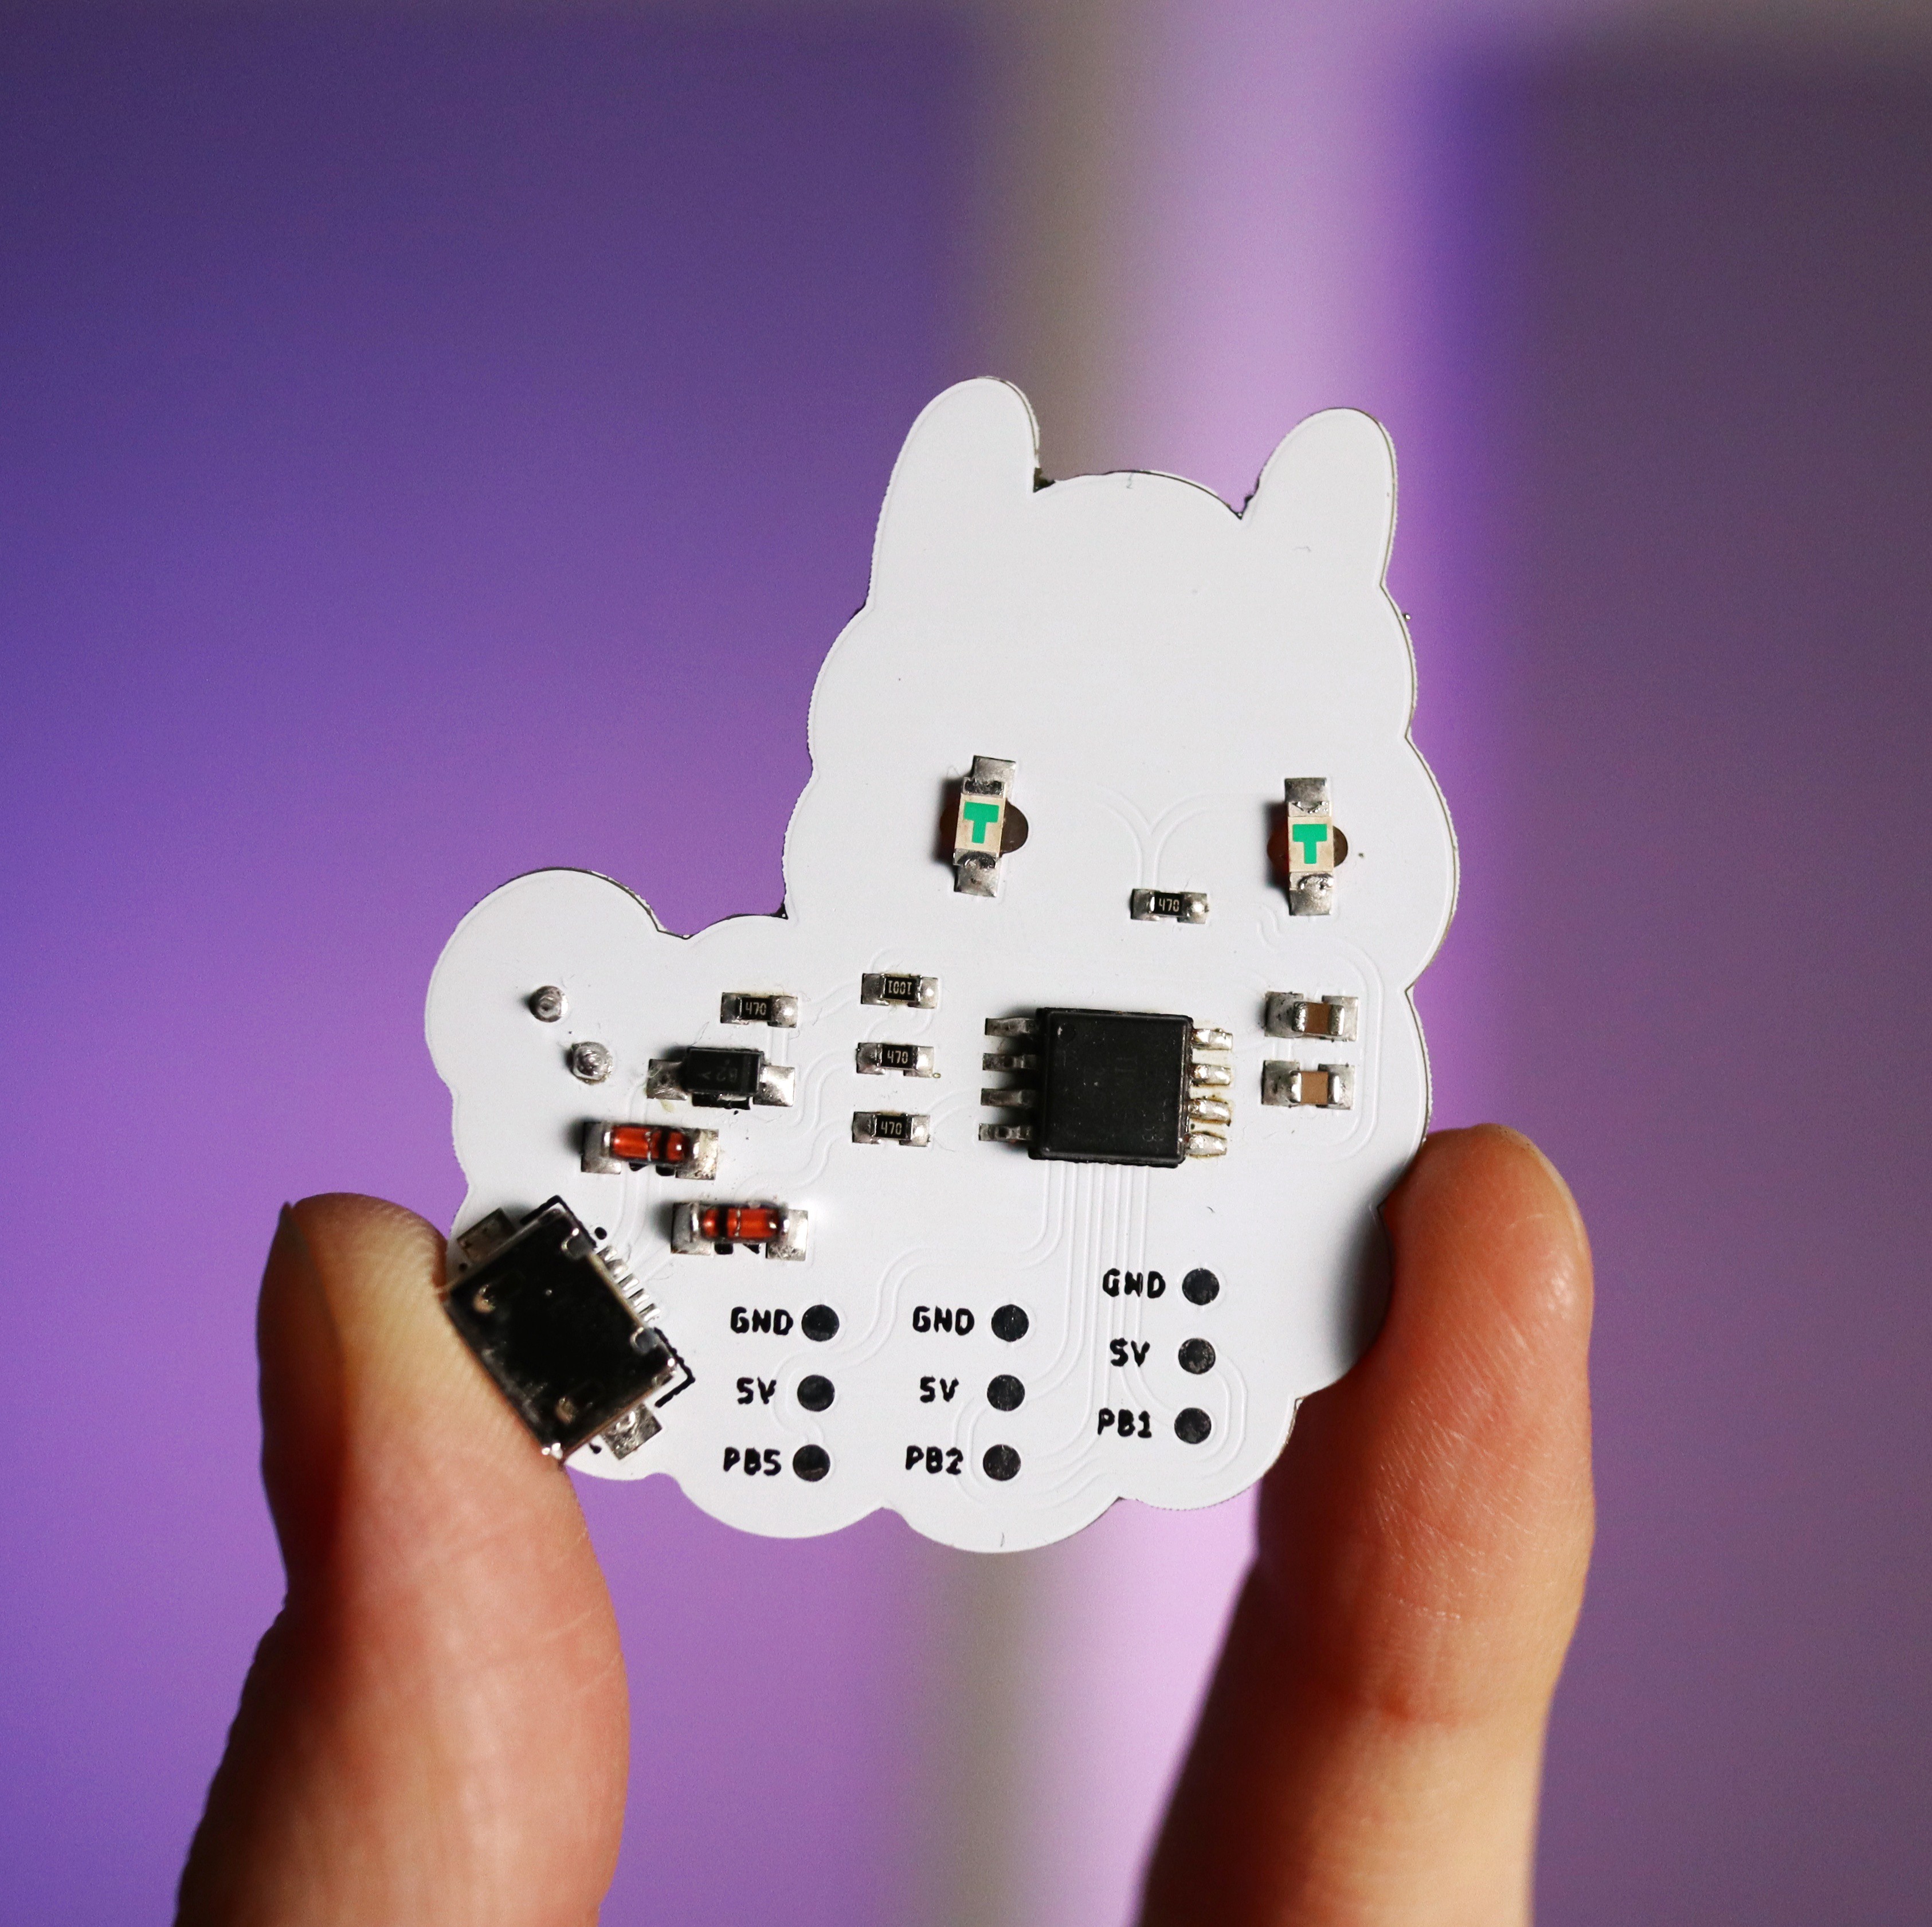
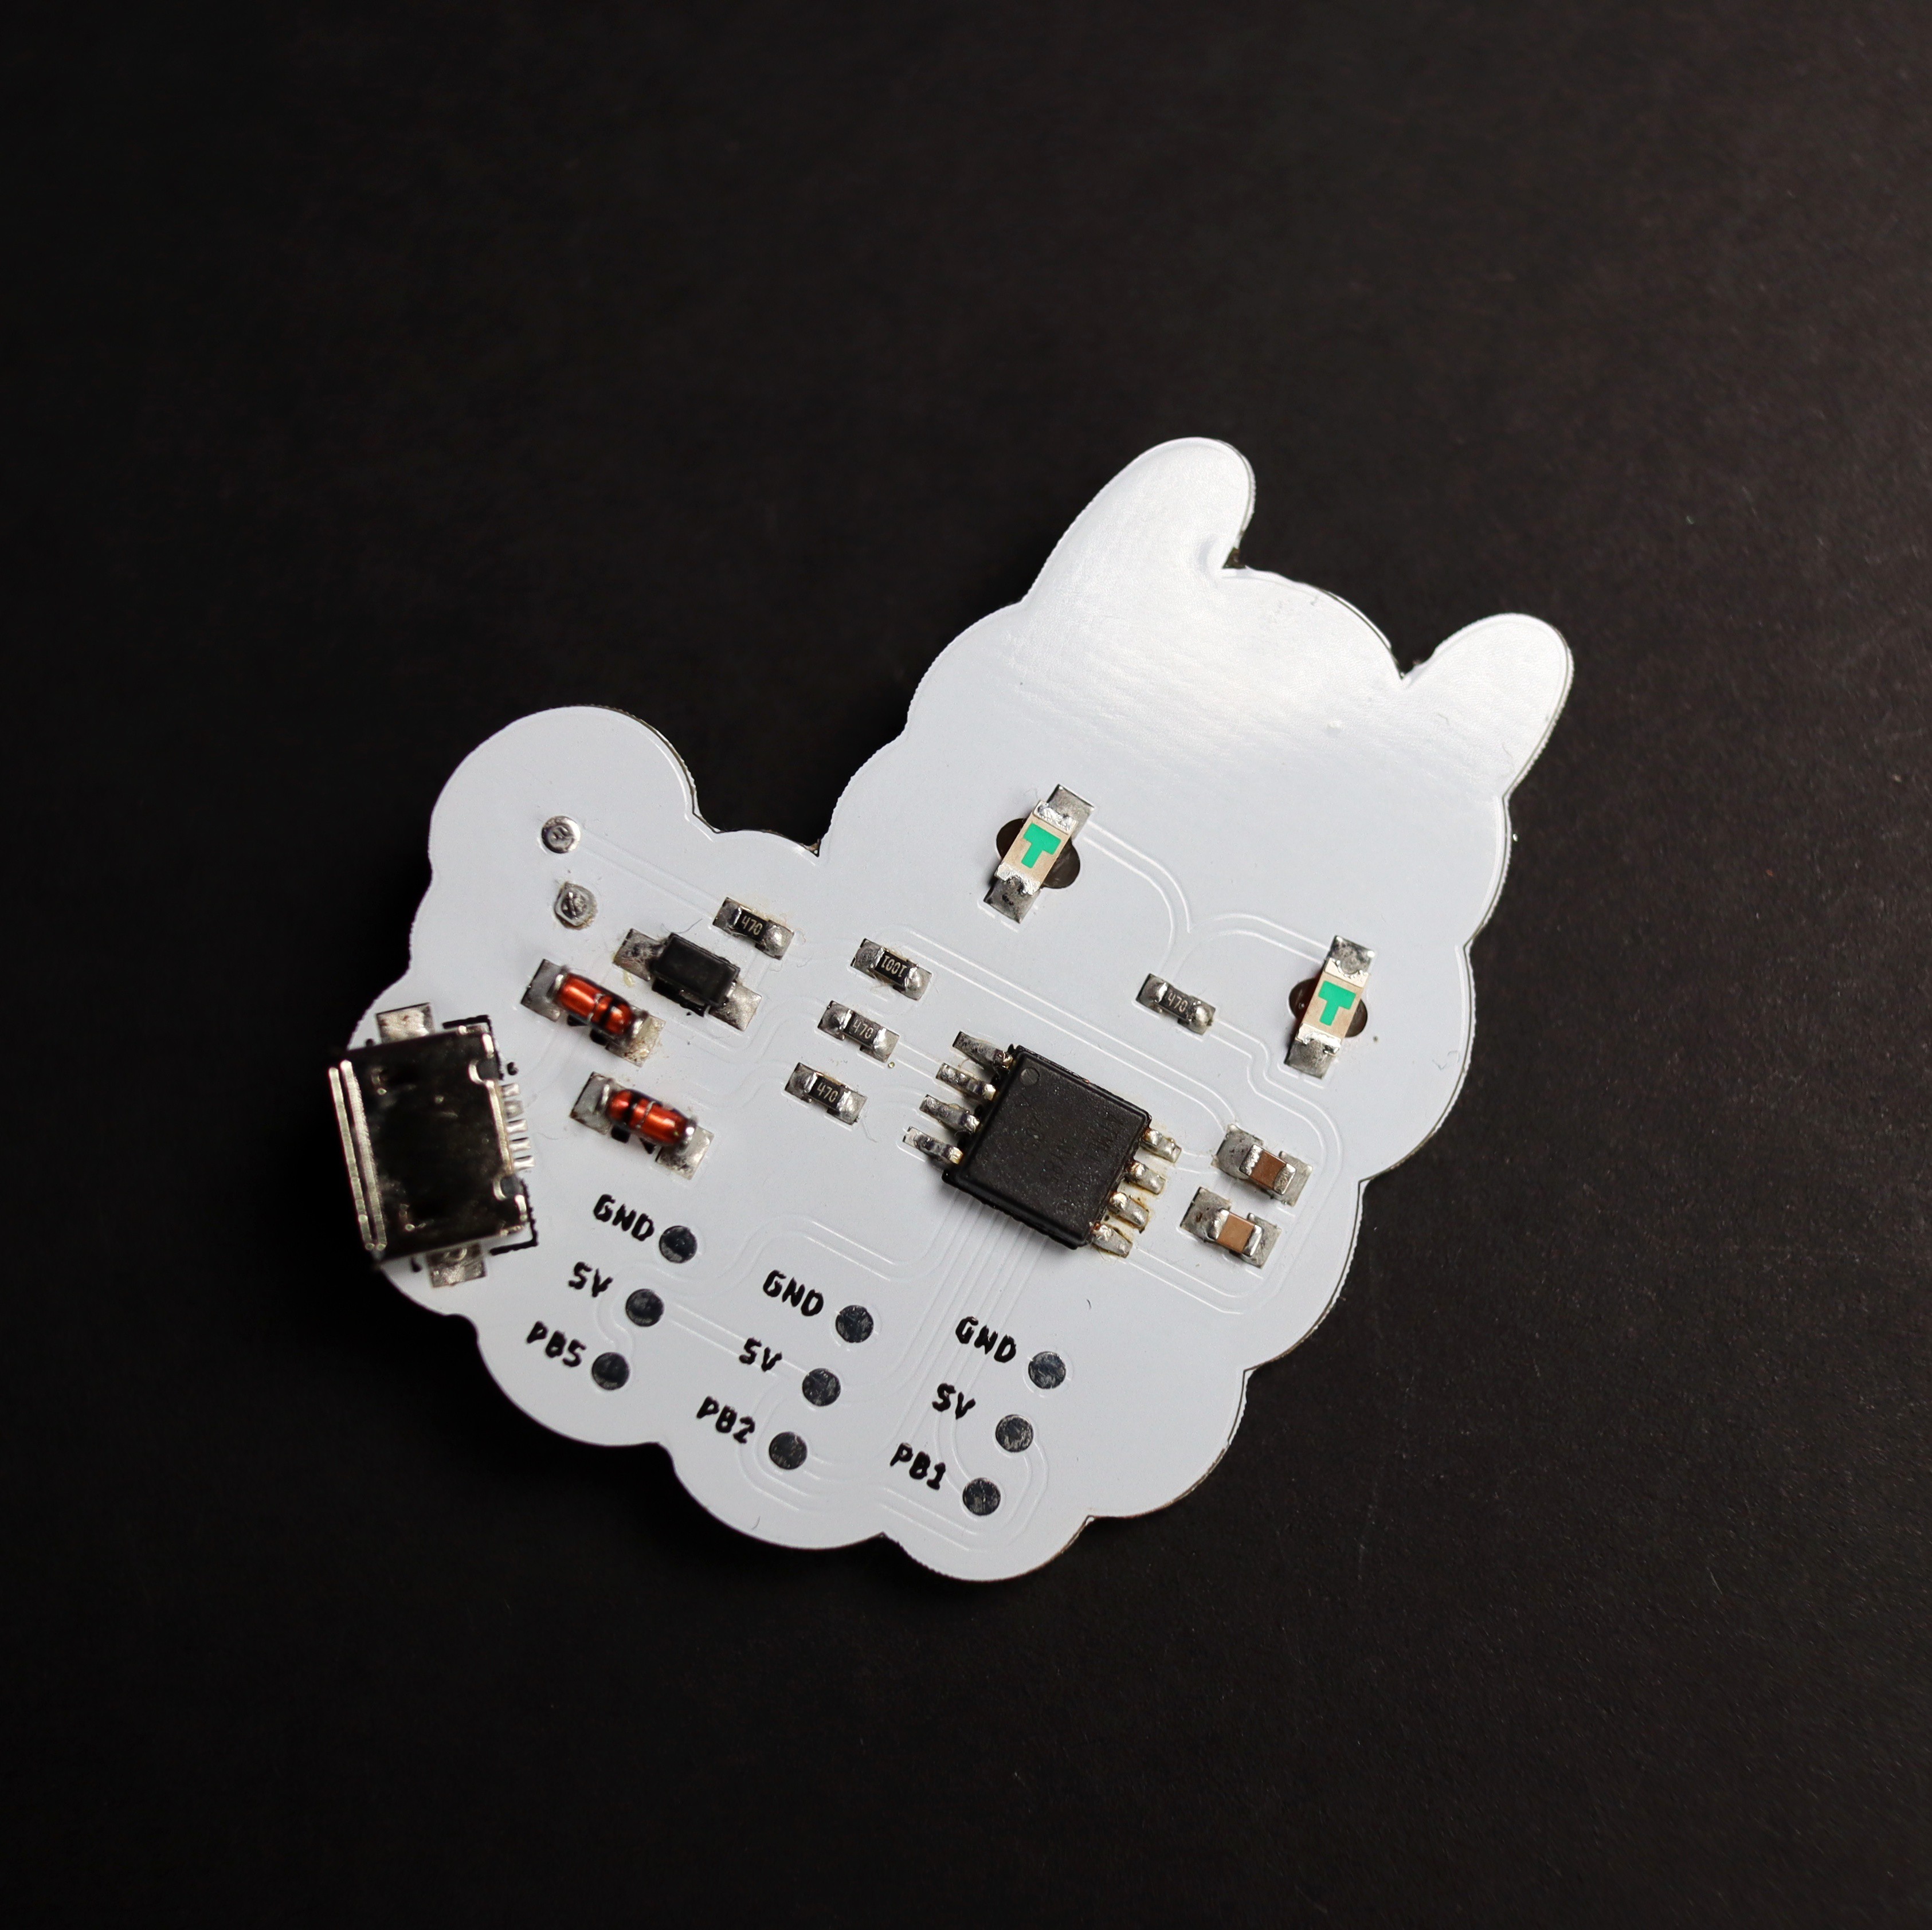
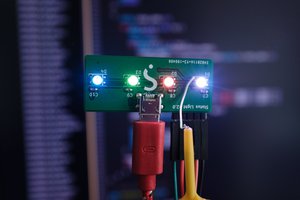
The LED on the alpaca tail is a colour changing RGB LED and for the blushing effect of the cheeks I've used regular pink LEDs which I've reverse-mounted on the back. The cheeks LEDs are connected to pin PB0 of the microcontroller, which is a PWM pin. All the other unused pins are exposed on the back.
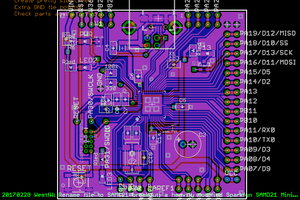
I designed the PCB in Eagle CAD using Gordon Williams' SVG to Eagle CAD converter and I ordered the PCBs from JLCPCB and assembled them myself. And here's the result:

 WestfW
 ajlitt
 Stephen Holdaway