 Ahron Wayne
First challenge: Printing with this filament. It's not the easiest to work with.

(PS: Sorry for all the black goop on the pictures. My phone camera protective glass broke off and these are a permanent feature now.)
Here's what it looks like under magnification:
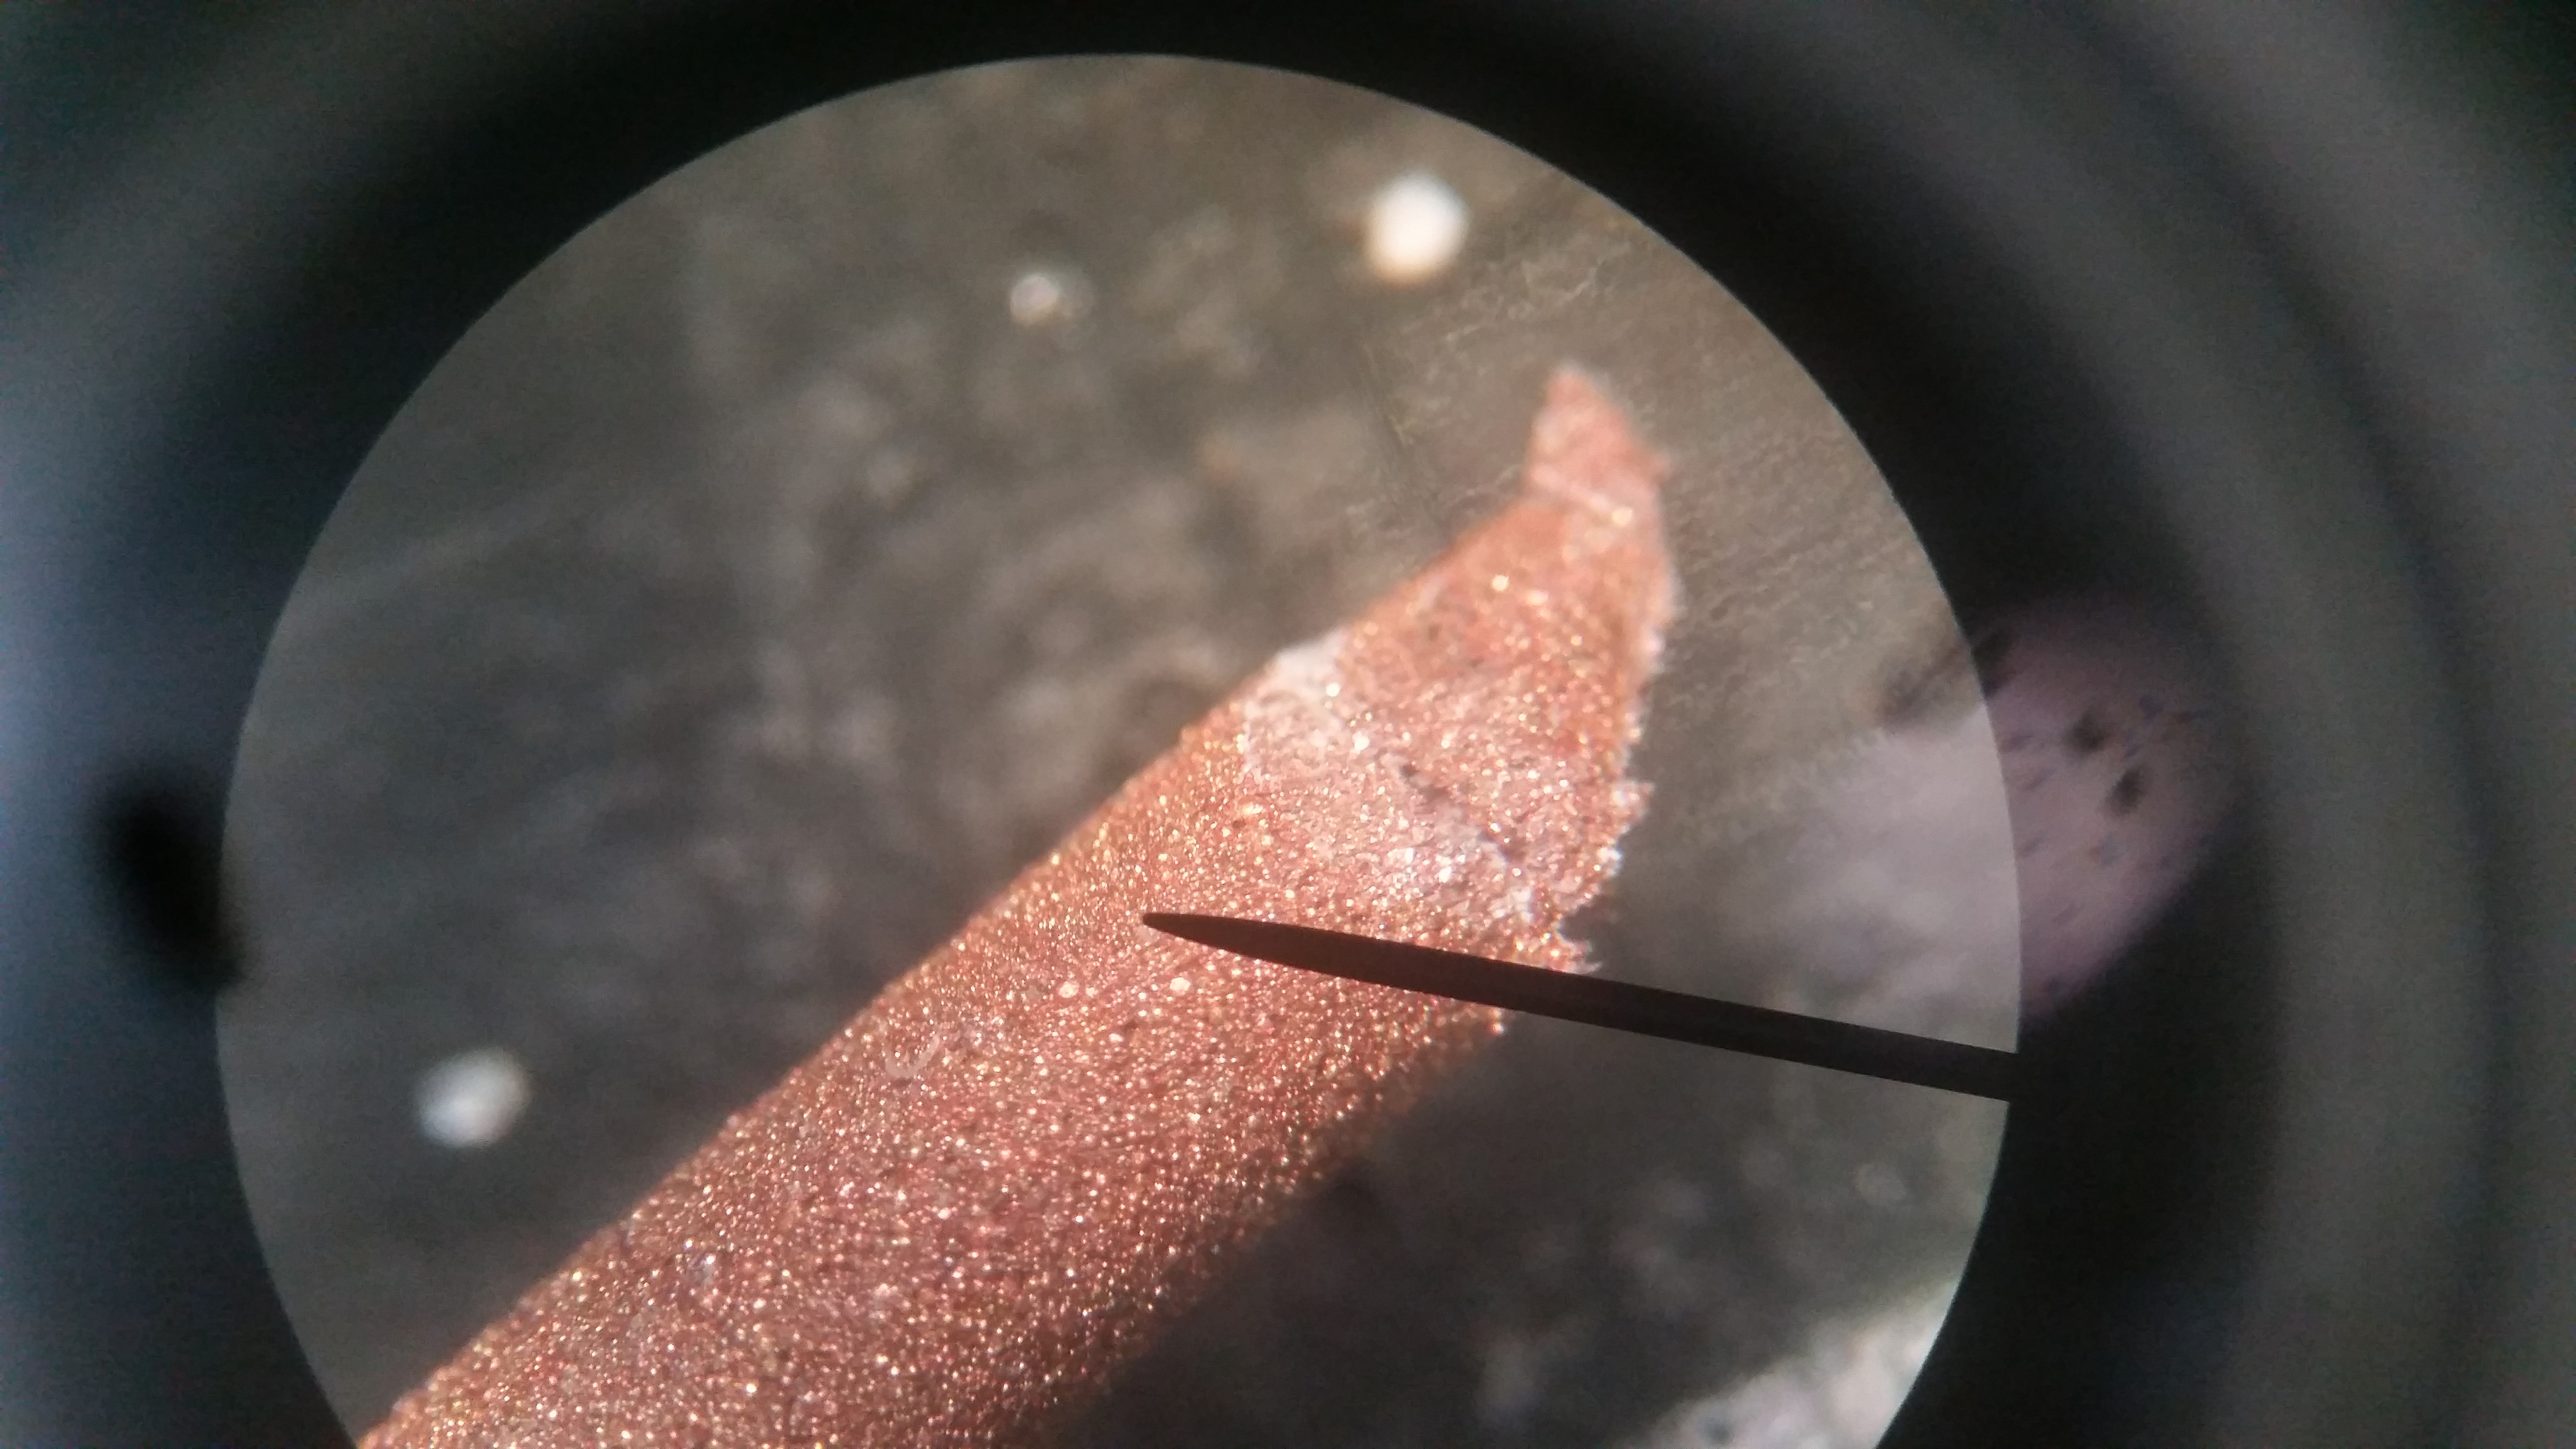
So yeah, it's basically just PLA mixed with copper particles, as far as I'm aware.
it's pretty brittle and they recommend using this thing called a "filawarmer" to soften it before it goes into the hotend. I tried it and found it to be more trouble than it was worth. My general strategy has been to just alleviate strain and loops as much as possible, and that's worked okay.
First I tried using a Lulzbot since they recommend using a 0.6 mm steel nozzle, and it has that. The 20 minute long startup sequence made it impossible to iterate, though, and so I switched to a creator pro which I haphazardly installed the steel nozzle from an all-metal hotend upgrade but without using the steel throat, on account of I didn't want to. This meant snipping the PTFE tube approximately to the right length. It also meant using a 0.4 mm nozzle --- smaller than they recommend --- but I figured that if I couldn't print at that feature size then metal printing was pointless for my purposes anyway.
Then you gotta position the filament using the OSHA recommended method of strain relief:
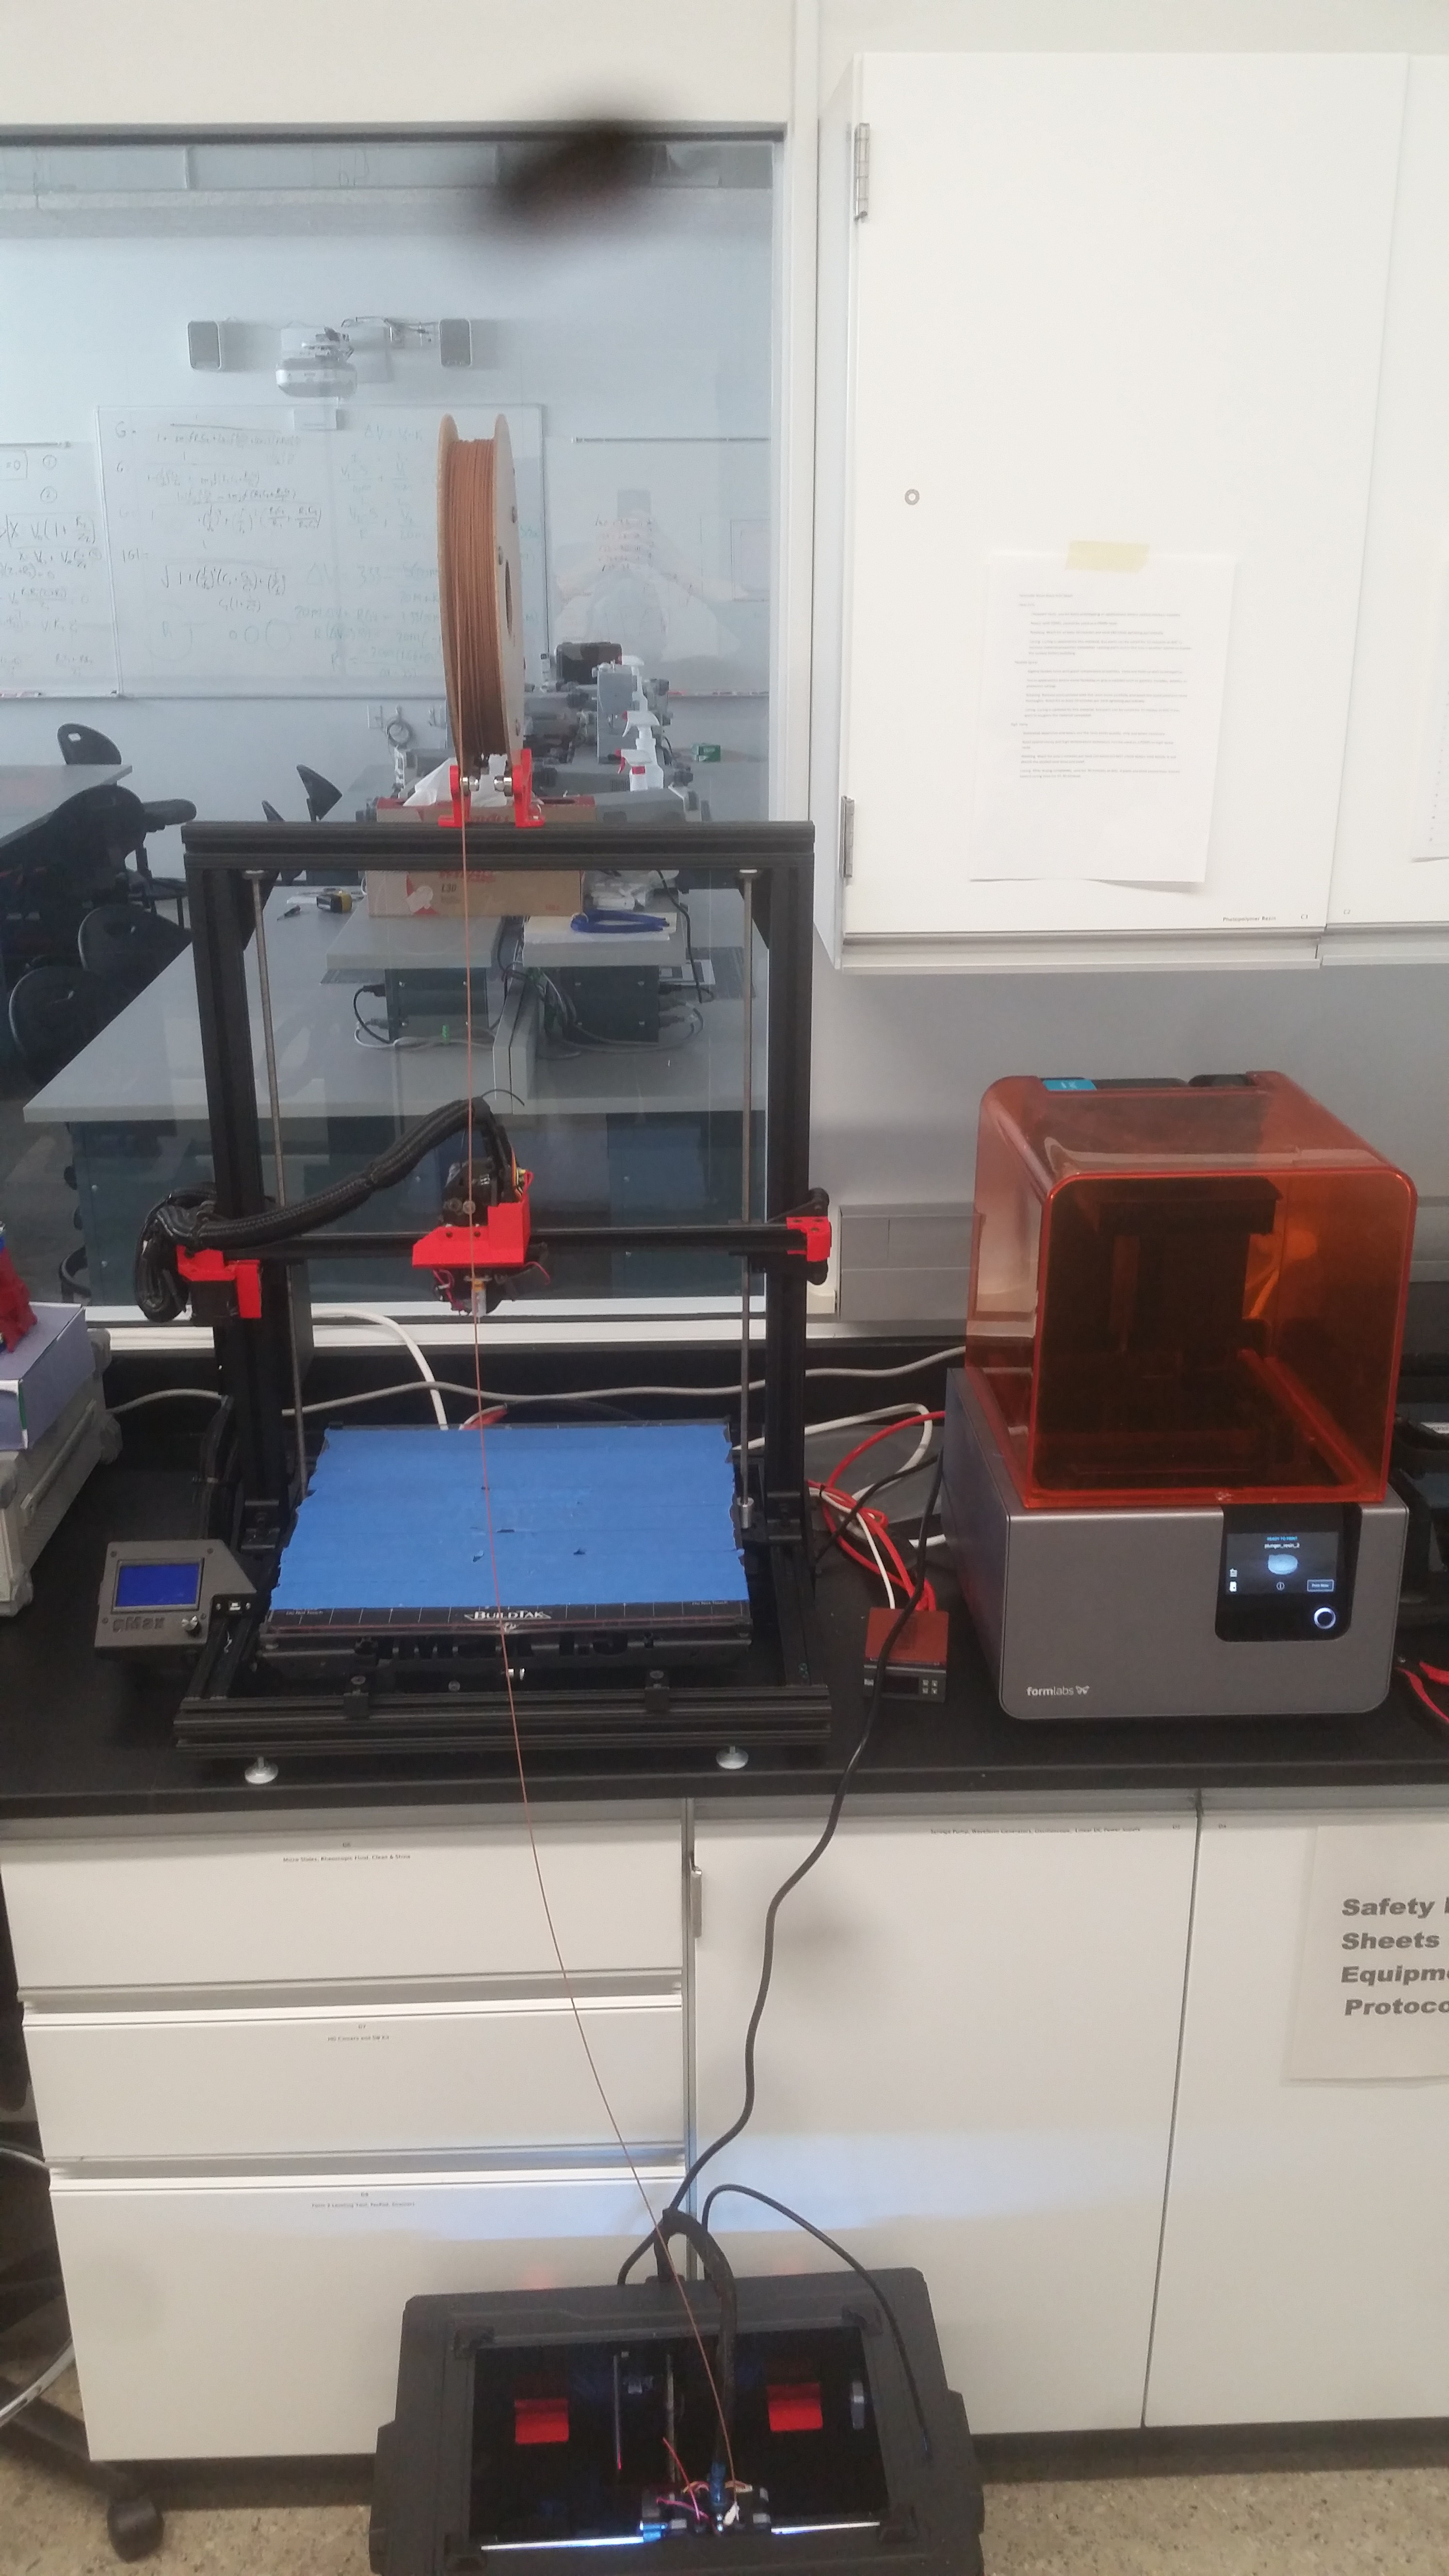
That thing is never gonna fall down!

oops.
Okay, let's try printing stuff. They recommend using standard PLA settings but no retraction and a VERY slow print speed (20 mm/s or so --- one reason is the metal has a high thermal mass, and also I'm not using fan cooling). Also, solid parts --- I'll try infill at some point, but this alone really makes you want to print small things!
I also found that getting the level right was critical. I use the extremely scientific method of placing an increasing number of sticky notes under my limit switch until it works.

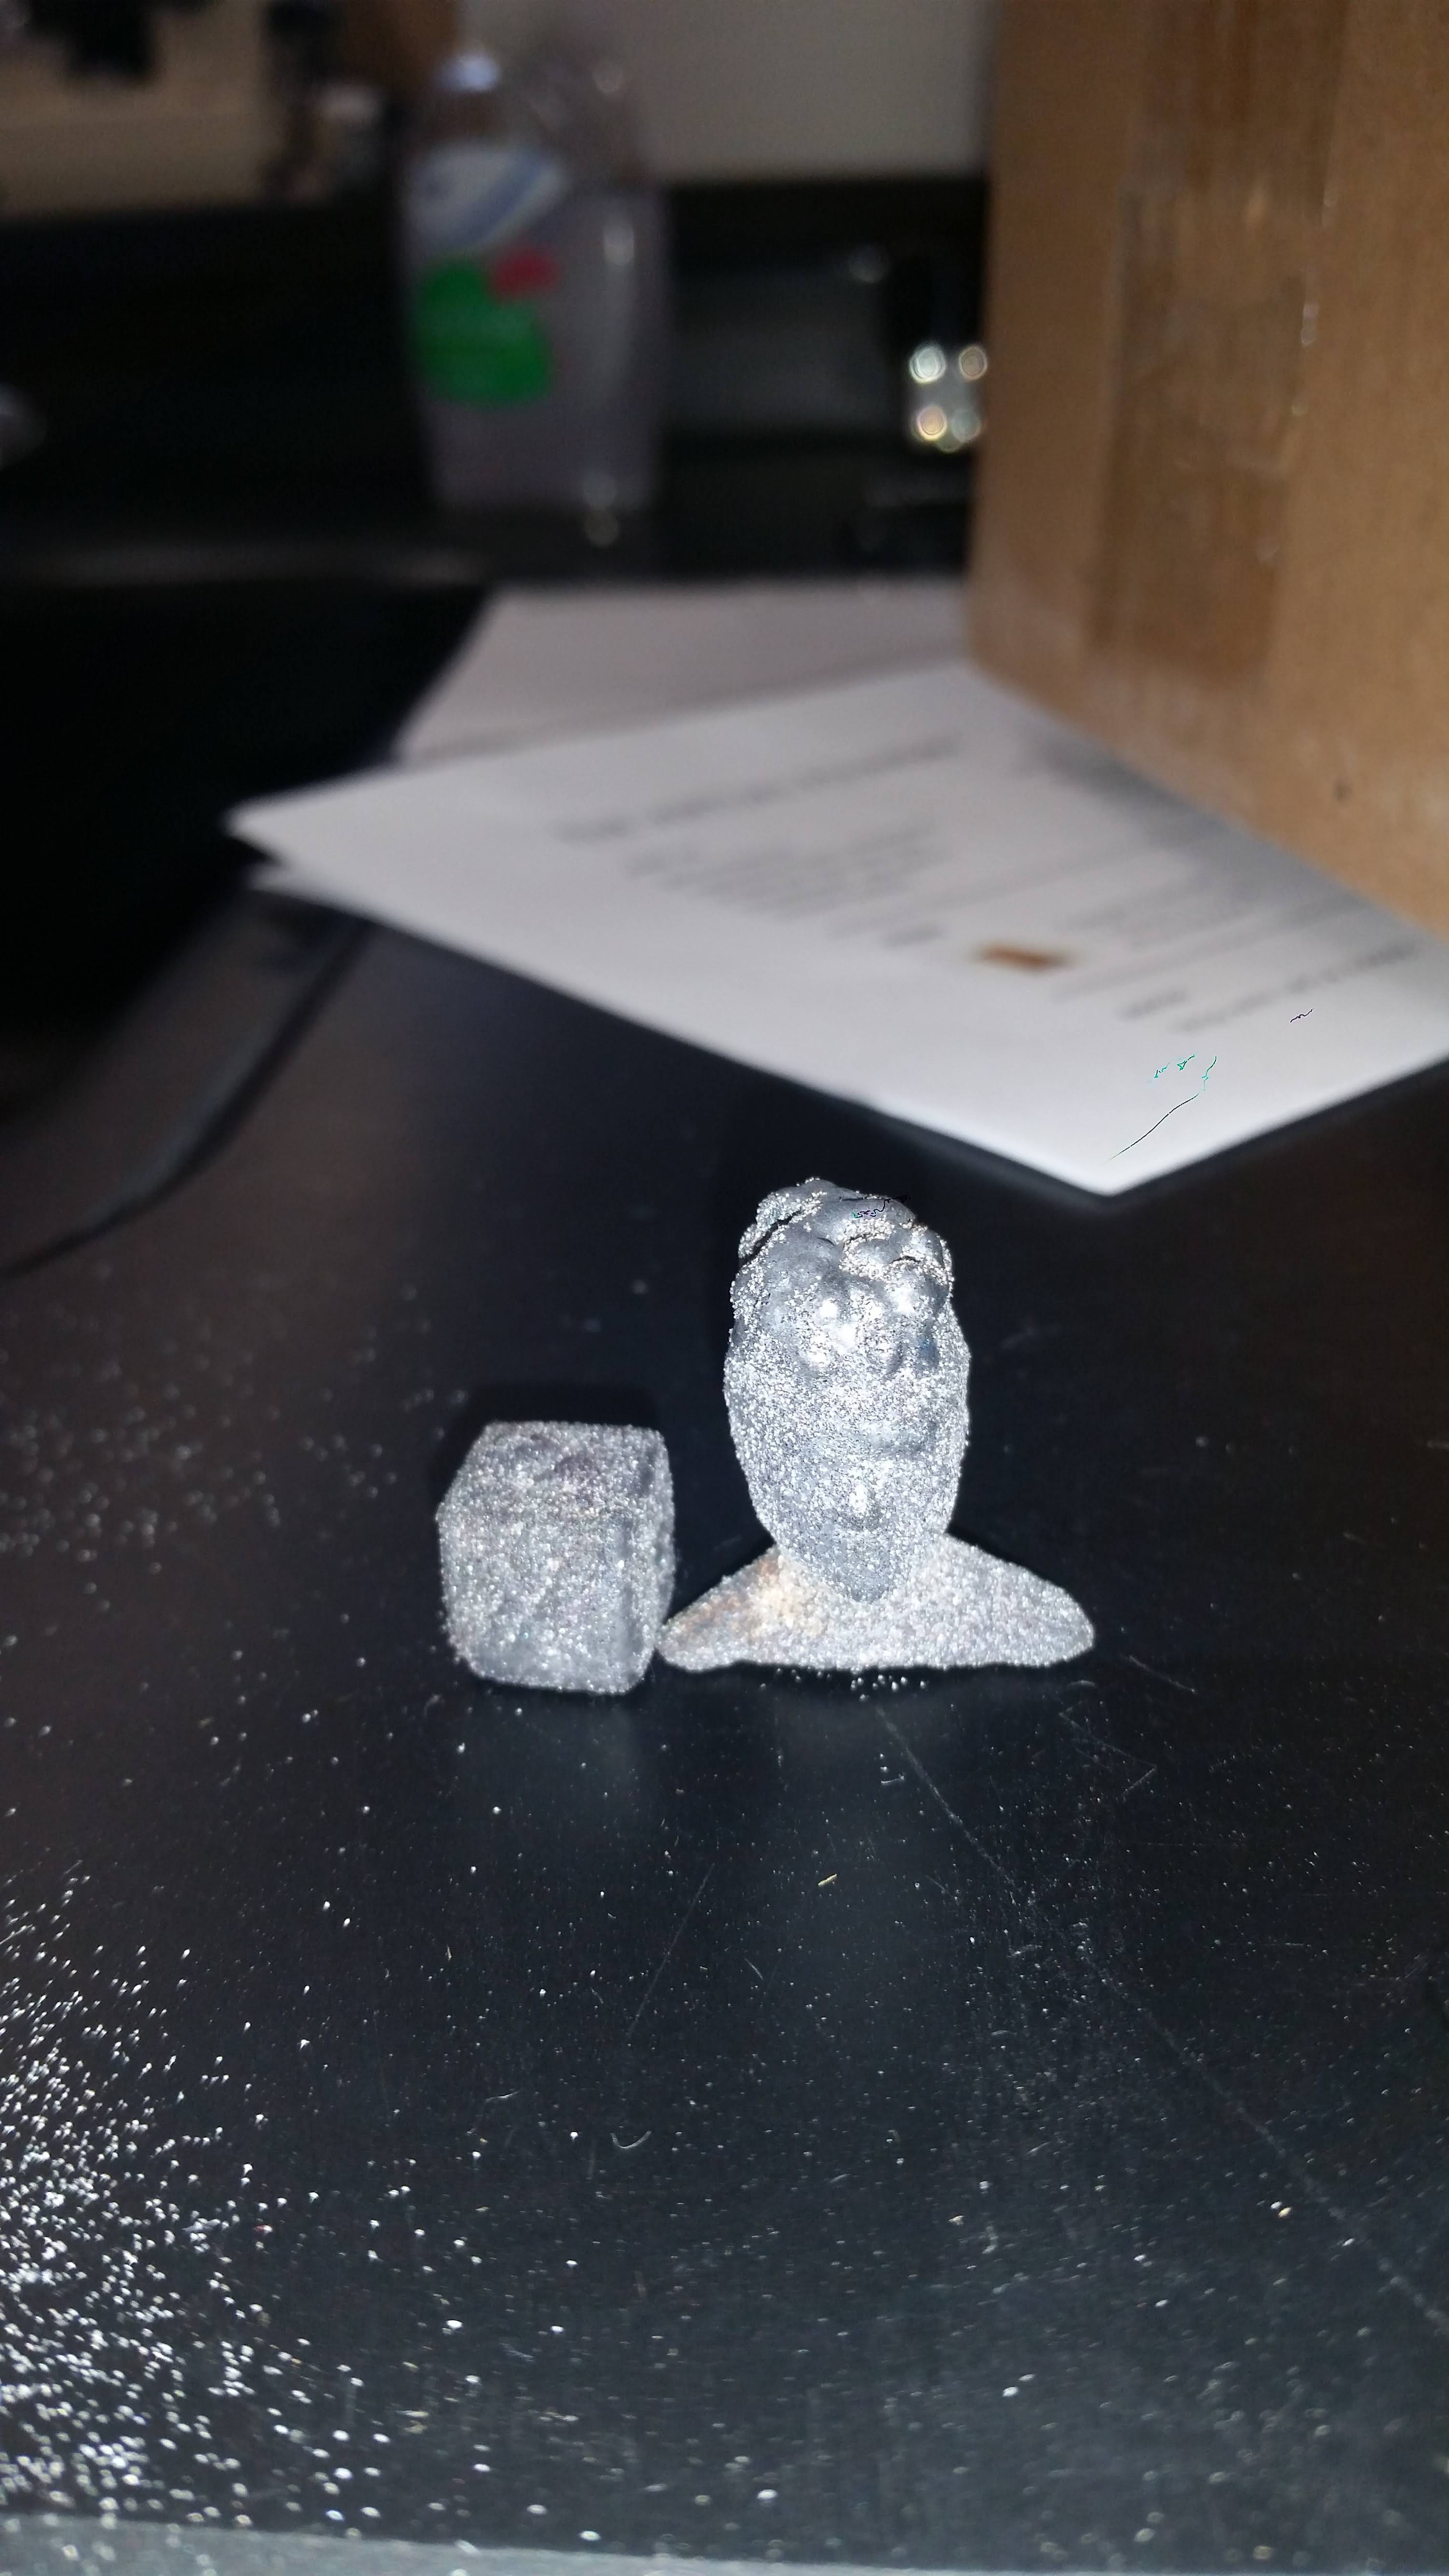
Boom! prints! it actually is not that bad for producing just the "green" parts once you get the settings figured out. And wow, do they feel heavy in your hand! Way more than you'd expect a little 1 cm cube to be. I will probably keep a couple of these around just for that shock value.
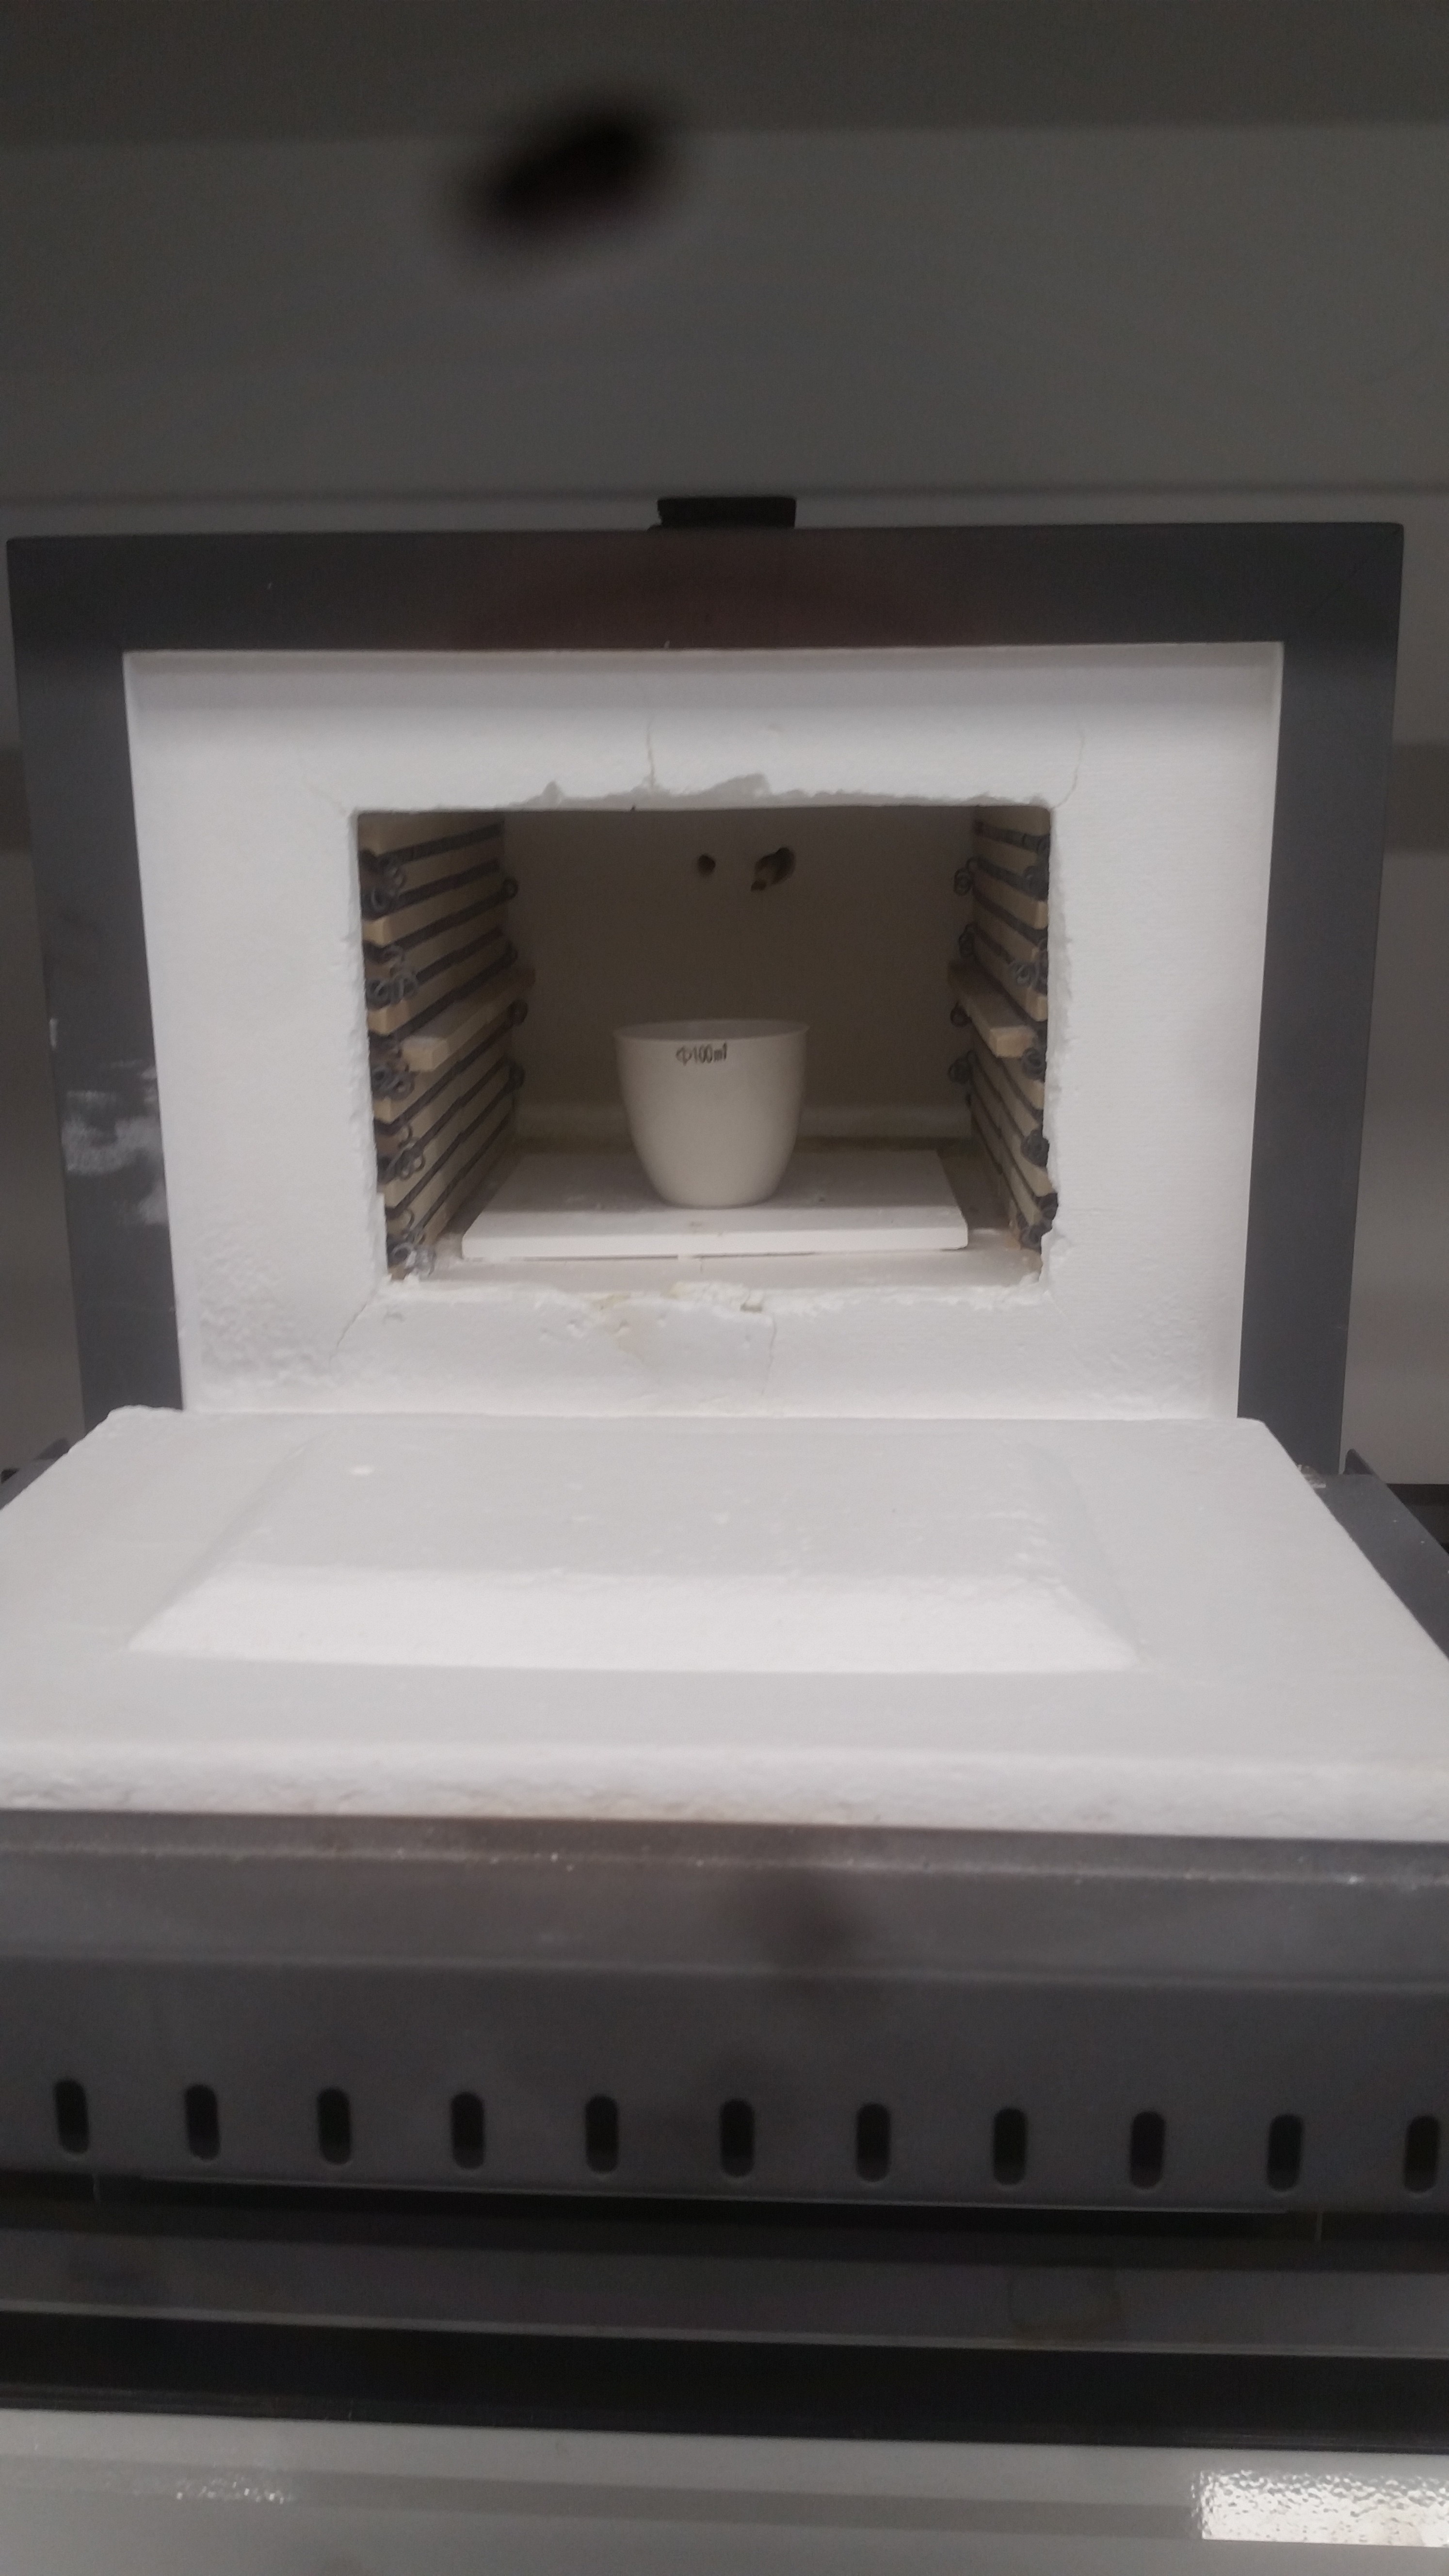
Next: the actual sintering process. The basic procedure is pretty simple:
1: Place your parts in your crucible and surround them with aluminum oxide. This acts as a support material when the binder (PLA) is removed.

Now you can do step 1: binder removal. The procedure I followed was:
Ramp to 204C over 10 minutes.
Hold at 204 for 2 hours.
Ramp to 482C over 2.5 hours.
Hold at 482 for 3 hours.
Next day I came by, pulled the crucible out, and dumped carbon on top. I then sintered with the following conditions:
Ramp to 482C over 20 minutes.
Ramp to 1018C over 5 hours.
Ramp to 1074C over 2 hours.
Hold at 1074C for 3 hours.
(Next time I am going to do both debind and sinter in one step with more carbon to save time. )
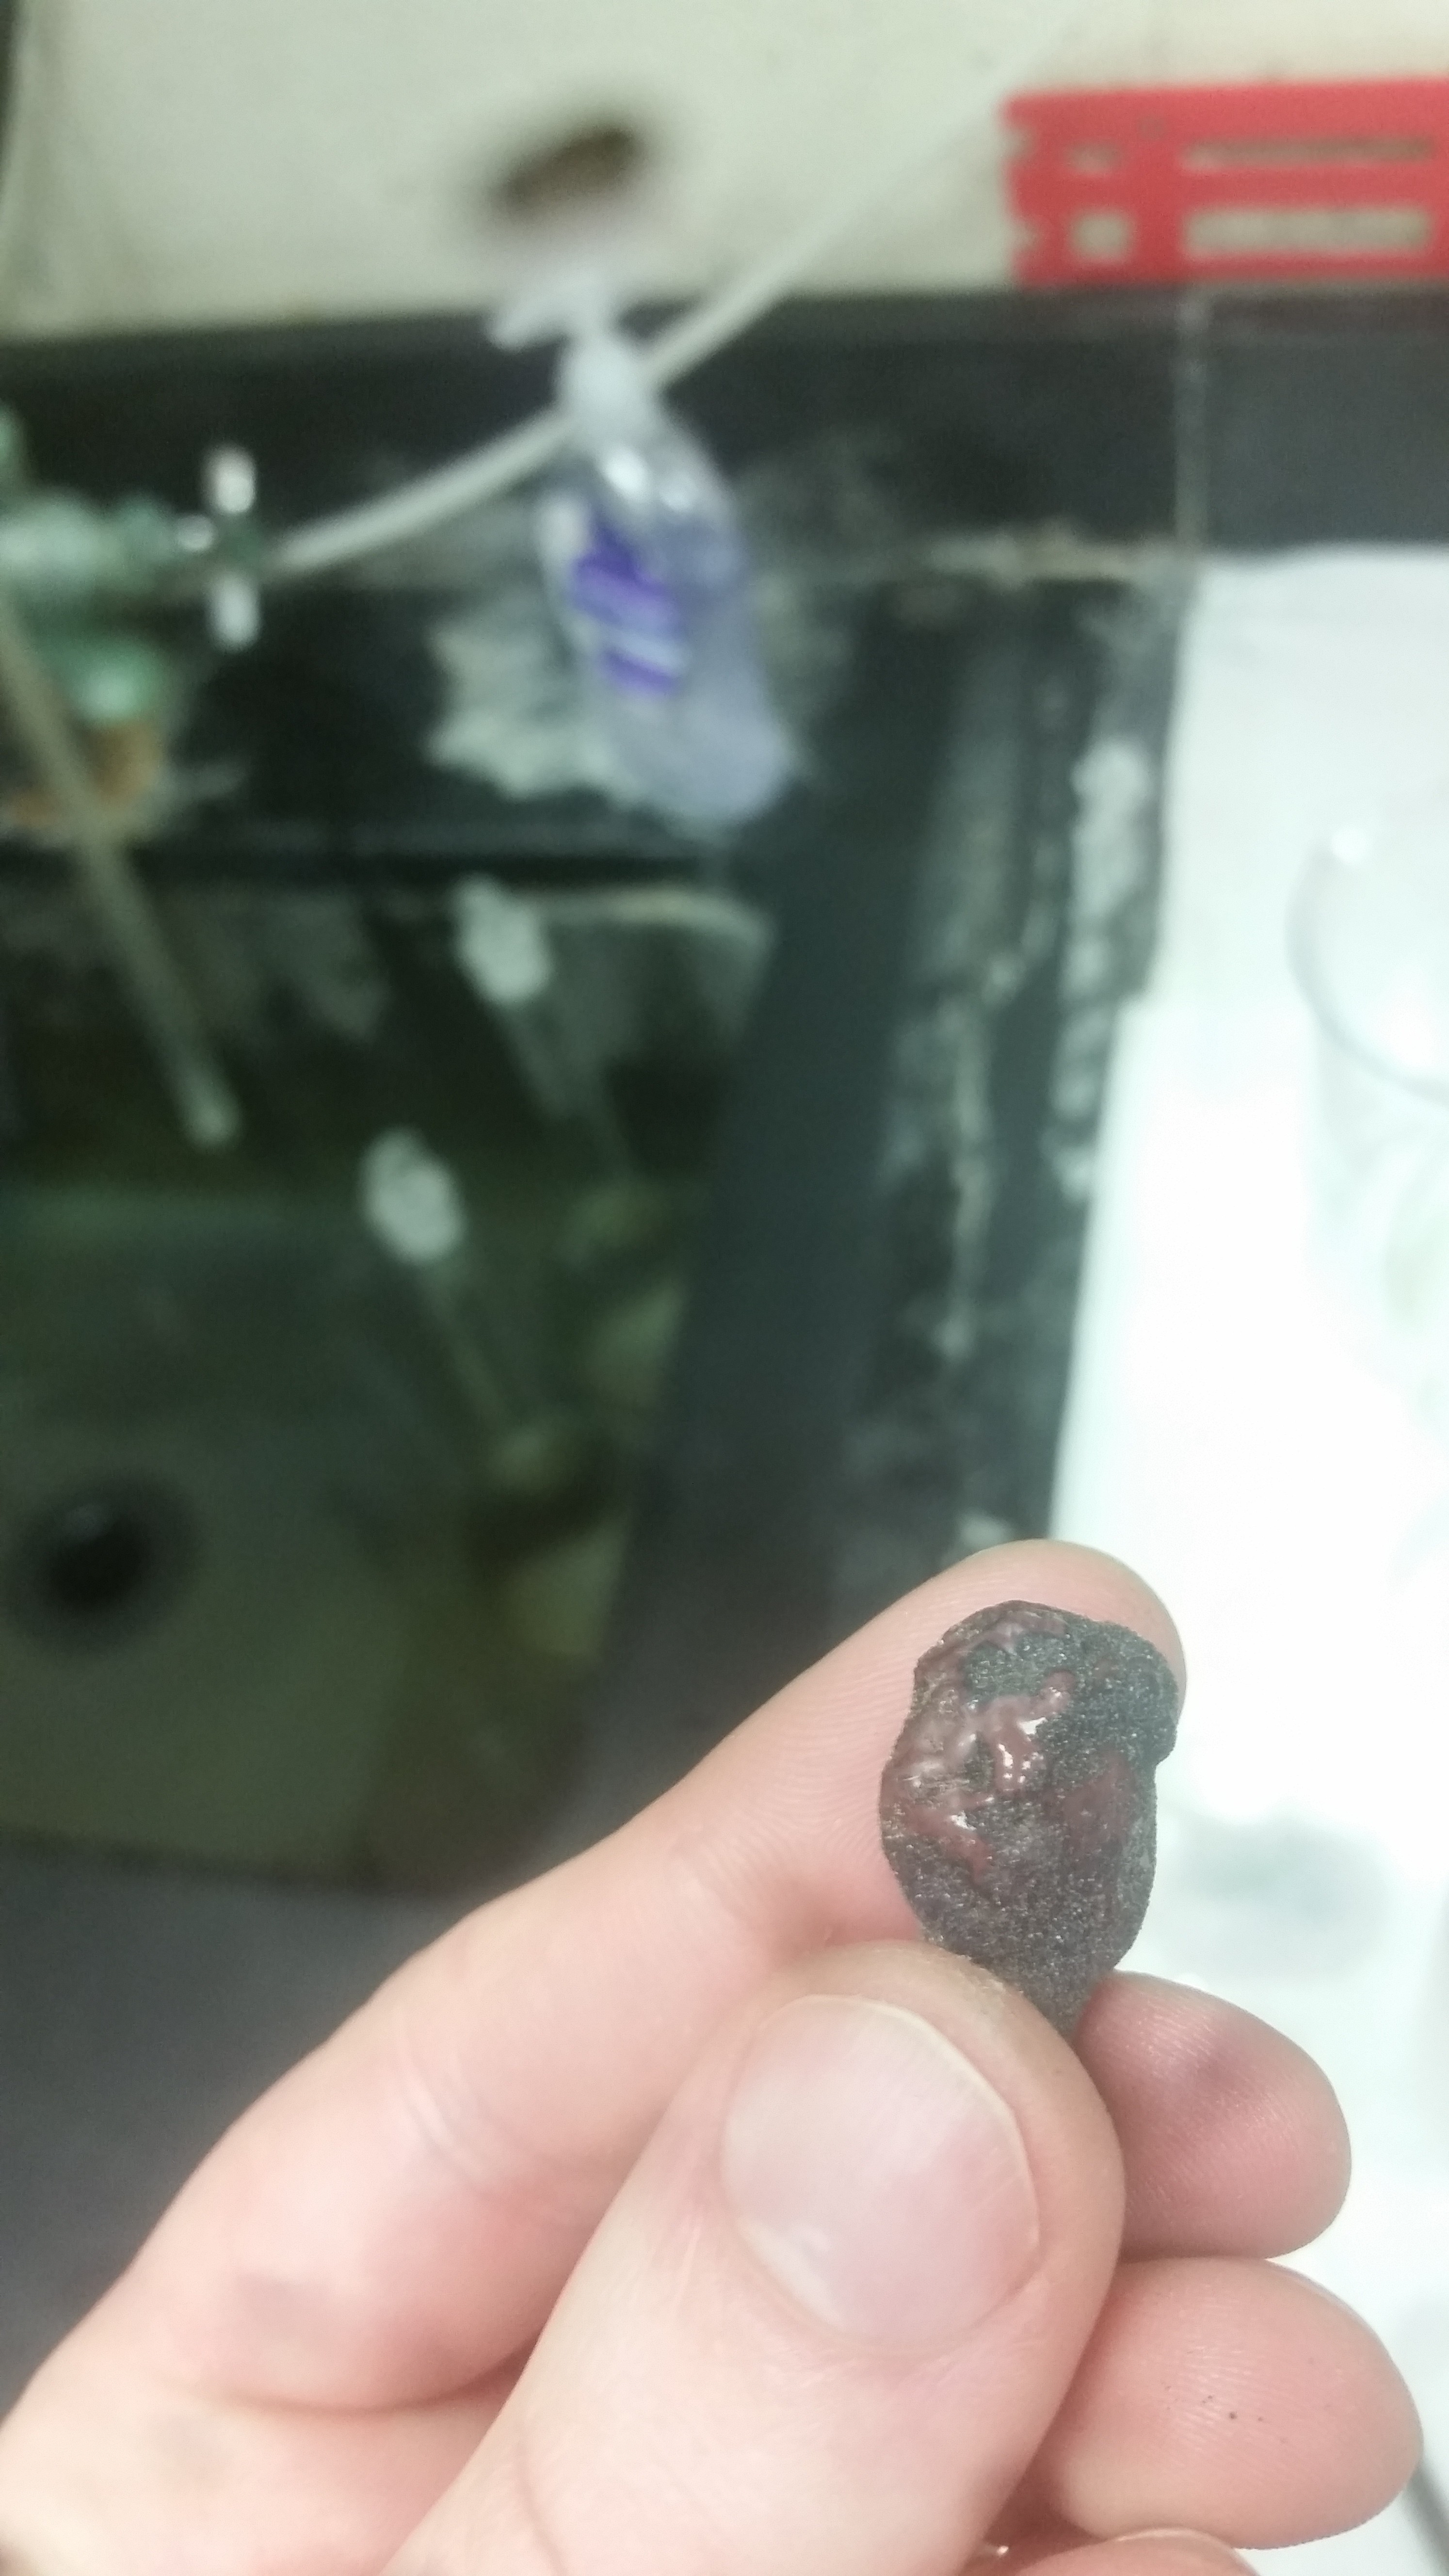
Hey, that looks pretty good! You can even still see my face! except... nothing has been shrunk. Which is weird. Some kind of crust, maybe?
Turns out it does in fact peel off in some areas:

I also tried using ultrasound to clean them with no dice.
What did work was good ol' hydrochloric acid. Dissolves copper oxide, you know?
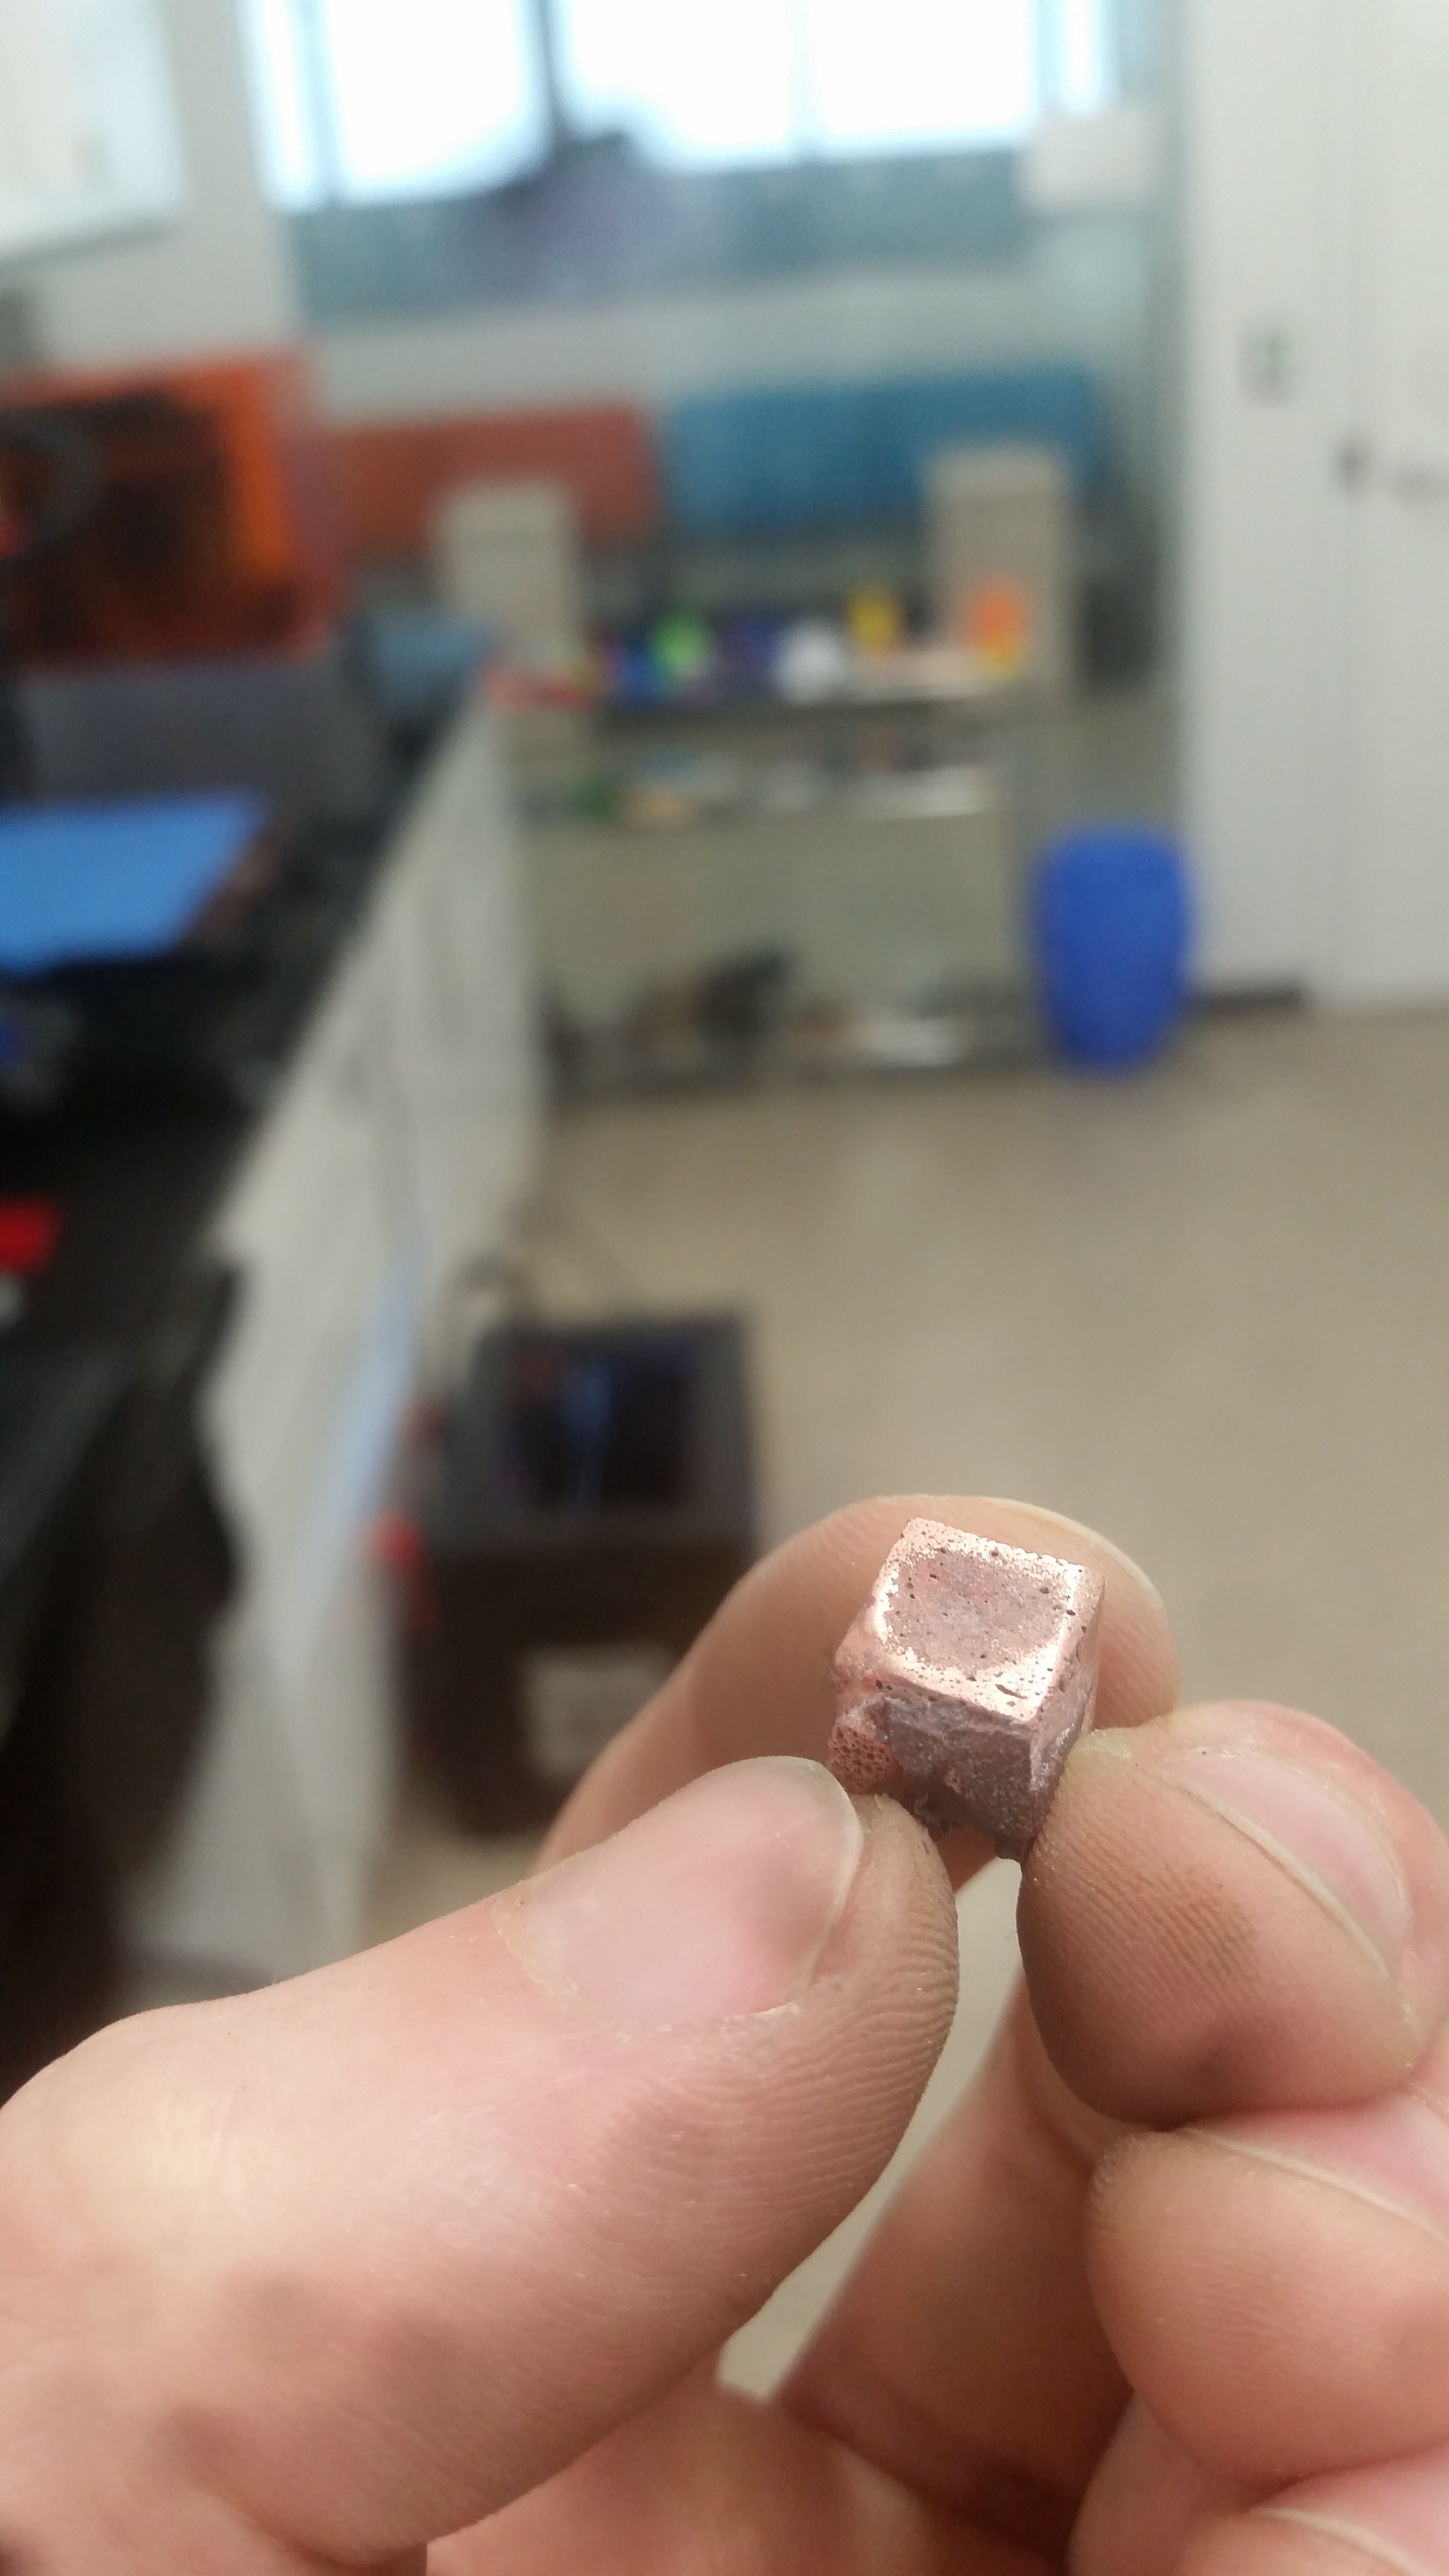
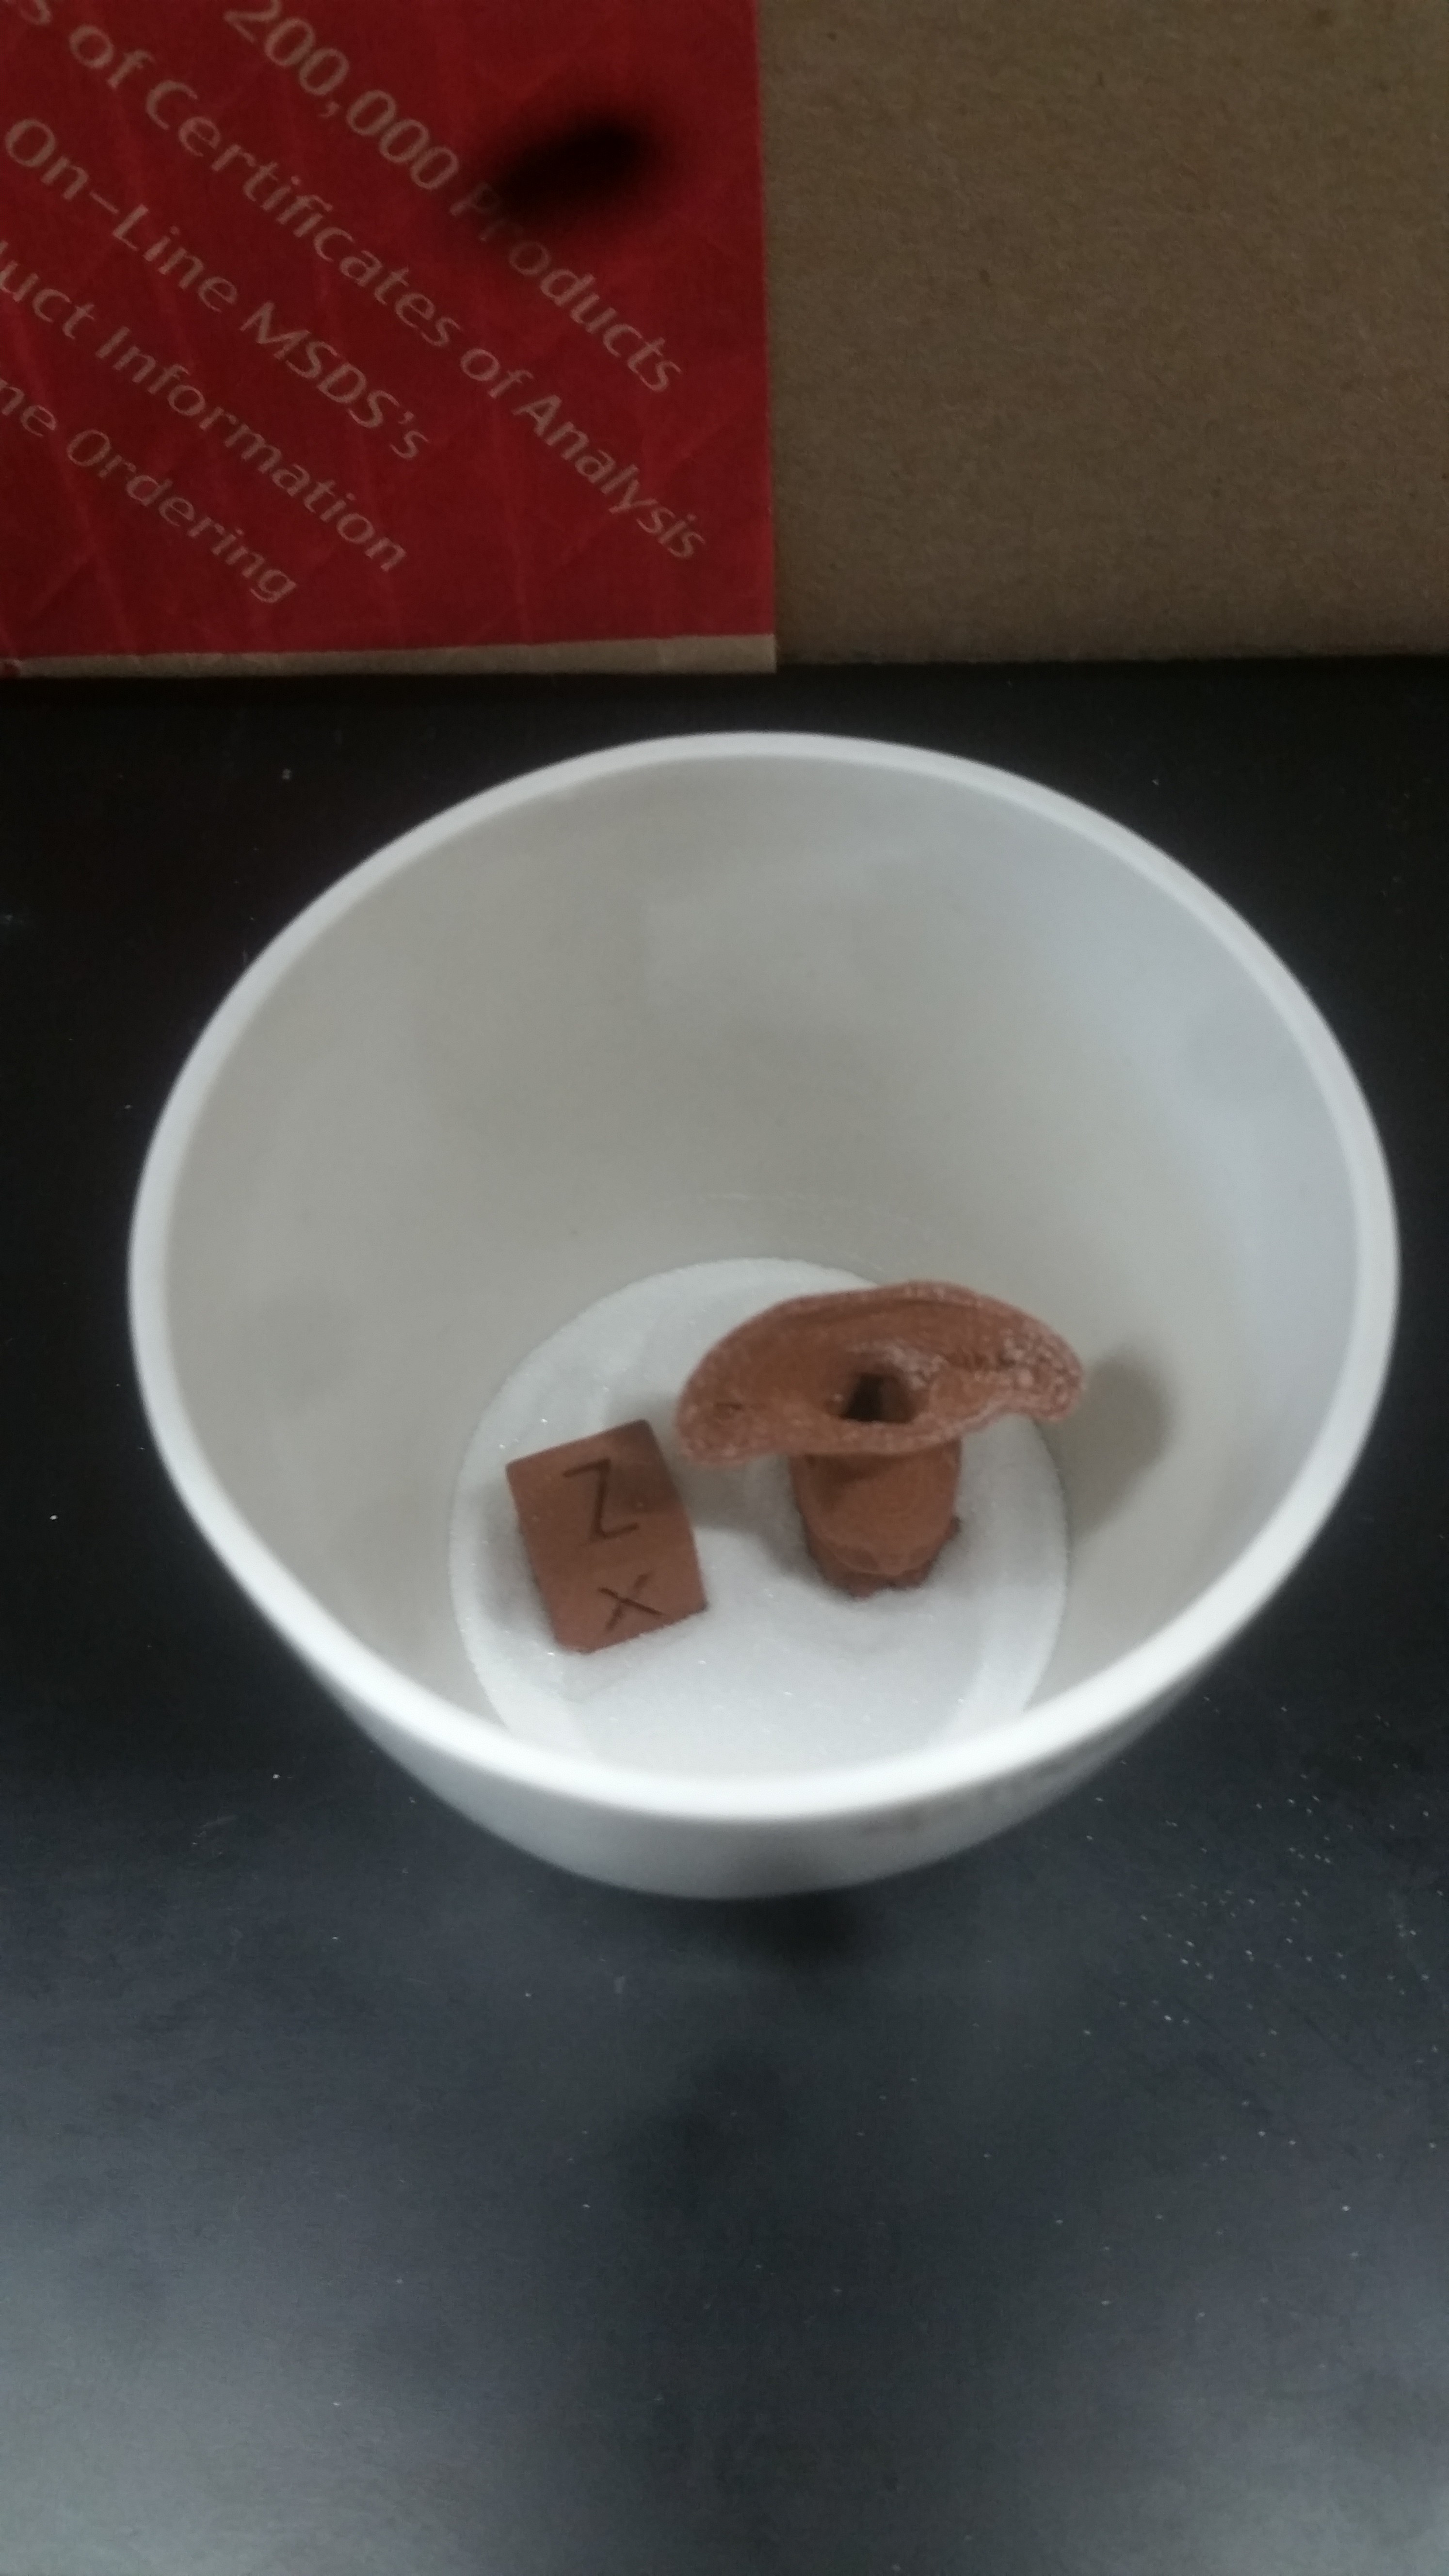
(rotated to the most flattering angle --- it's lumpy and full of holes with only a hint of the X/Y/Z markings on the original shape).
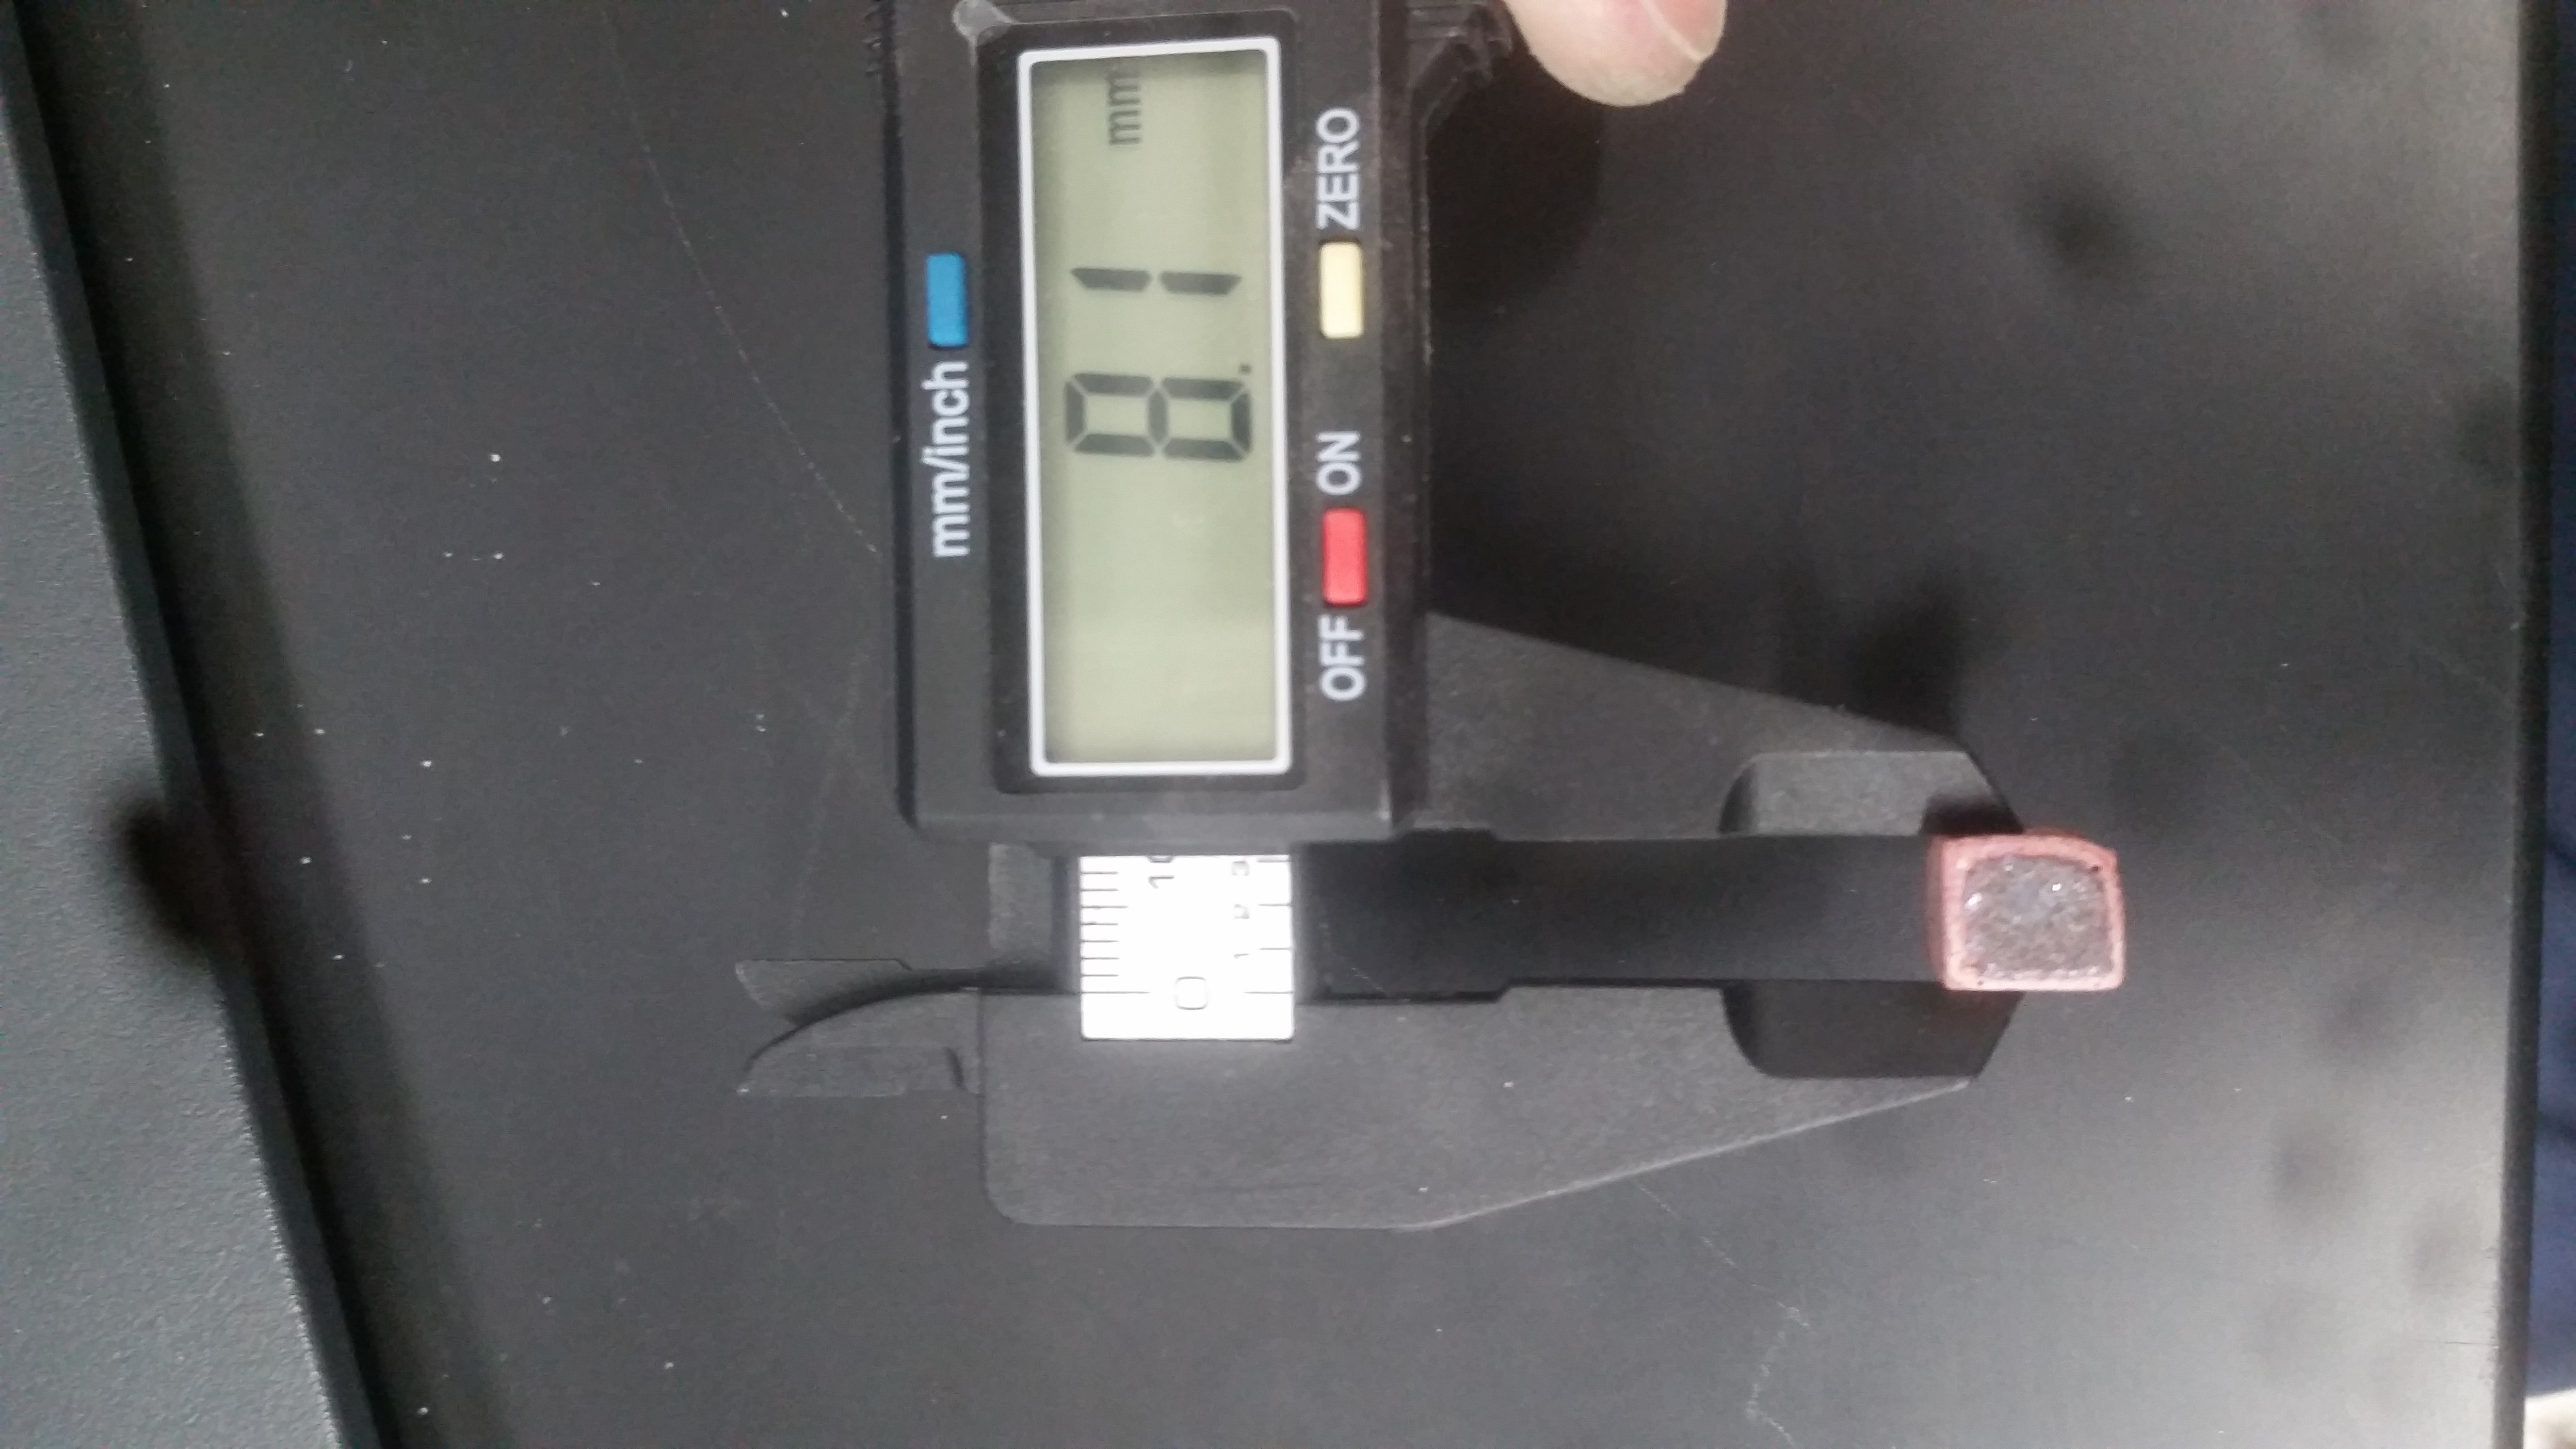
We can also see that shrinkage of about 20 percent did in fact happen. The electrical resistance of the cube has also dropped to near zero.
Discussions
Become a Hackaday.io Member
Create an account to leave a comment. Already have an account? Log In.