I have a terrible, terrible habit - and that is speeding through a project without making detailed documentation of the process. Sometimes the momentum just builds and rather than pause to snap a picture or two - and just like that, the camera is already done! I did manage to take a few in-progress photos, though:
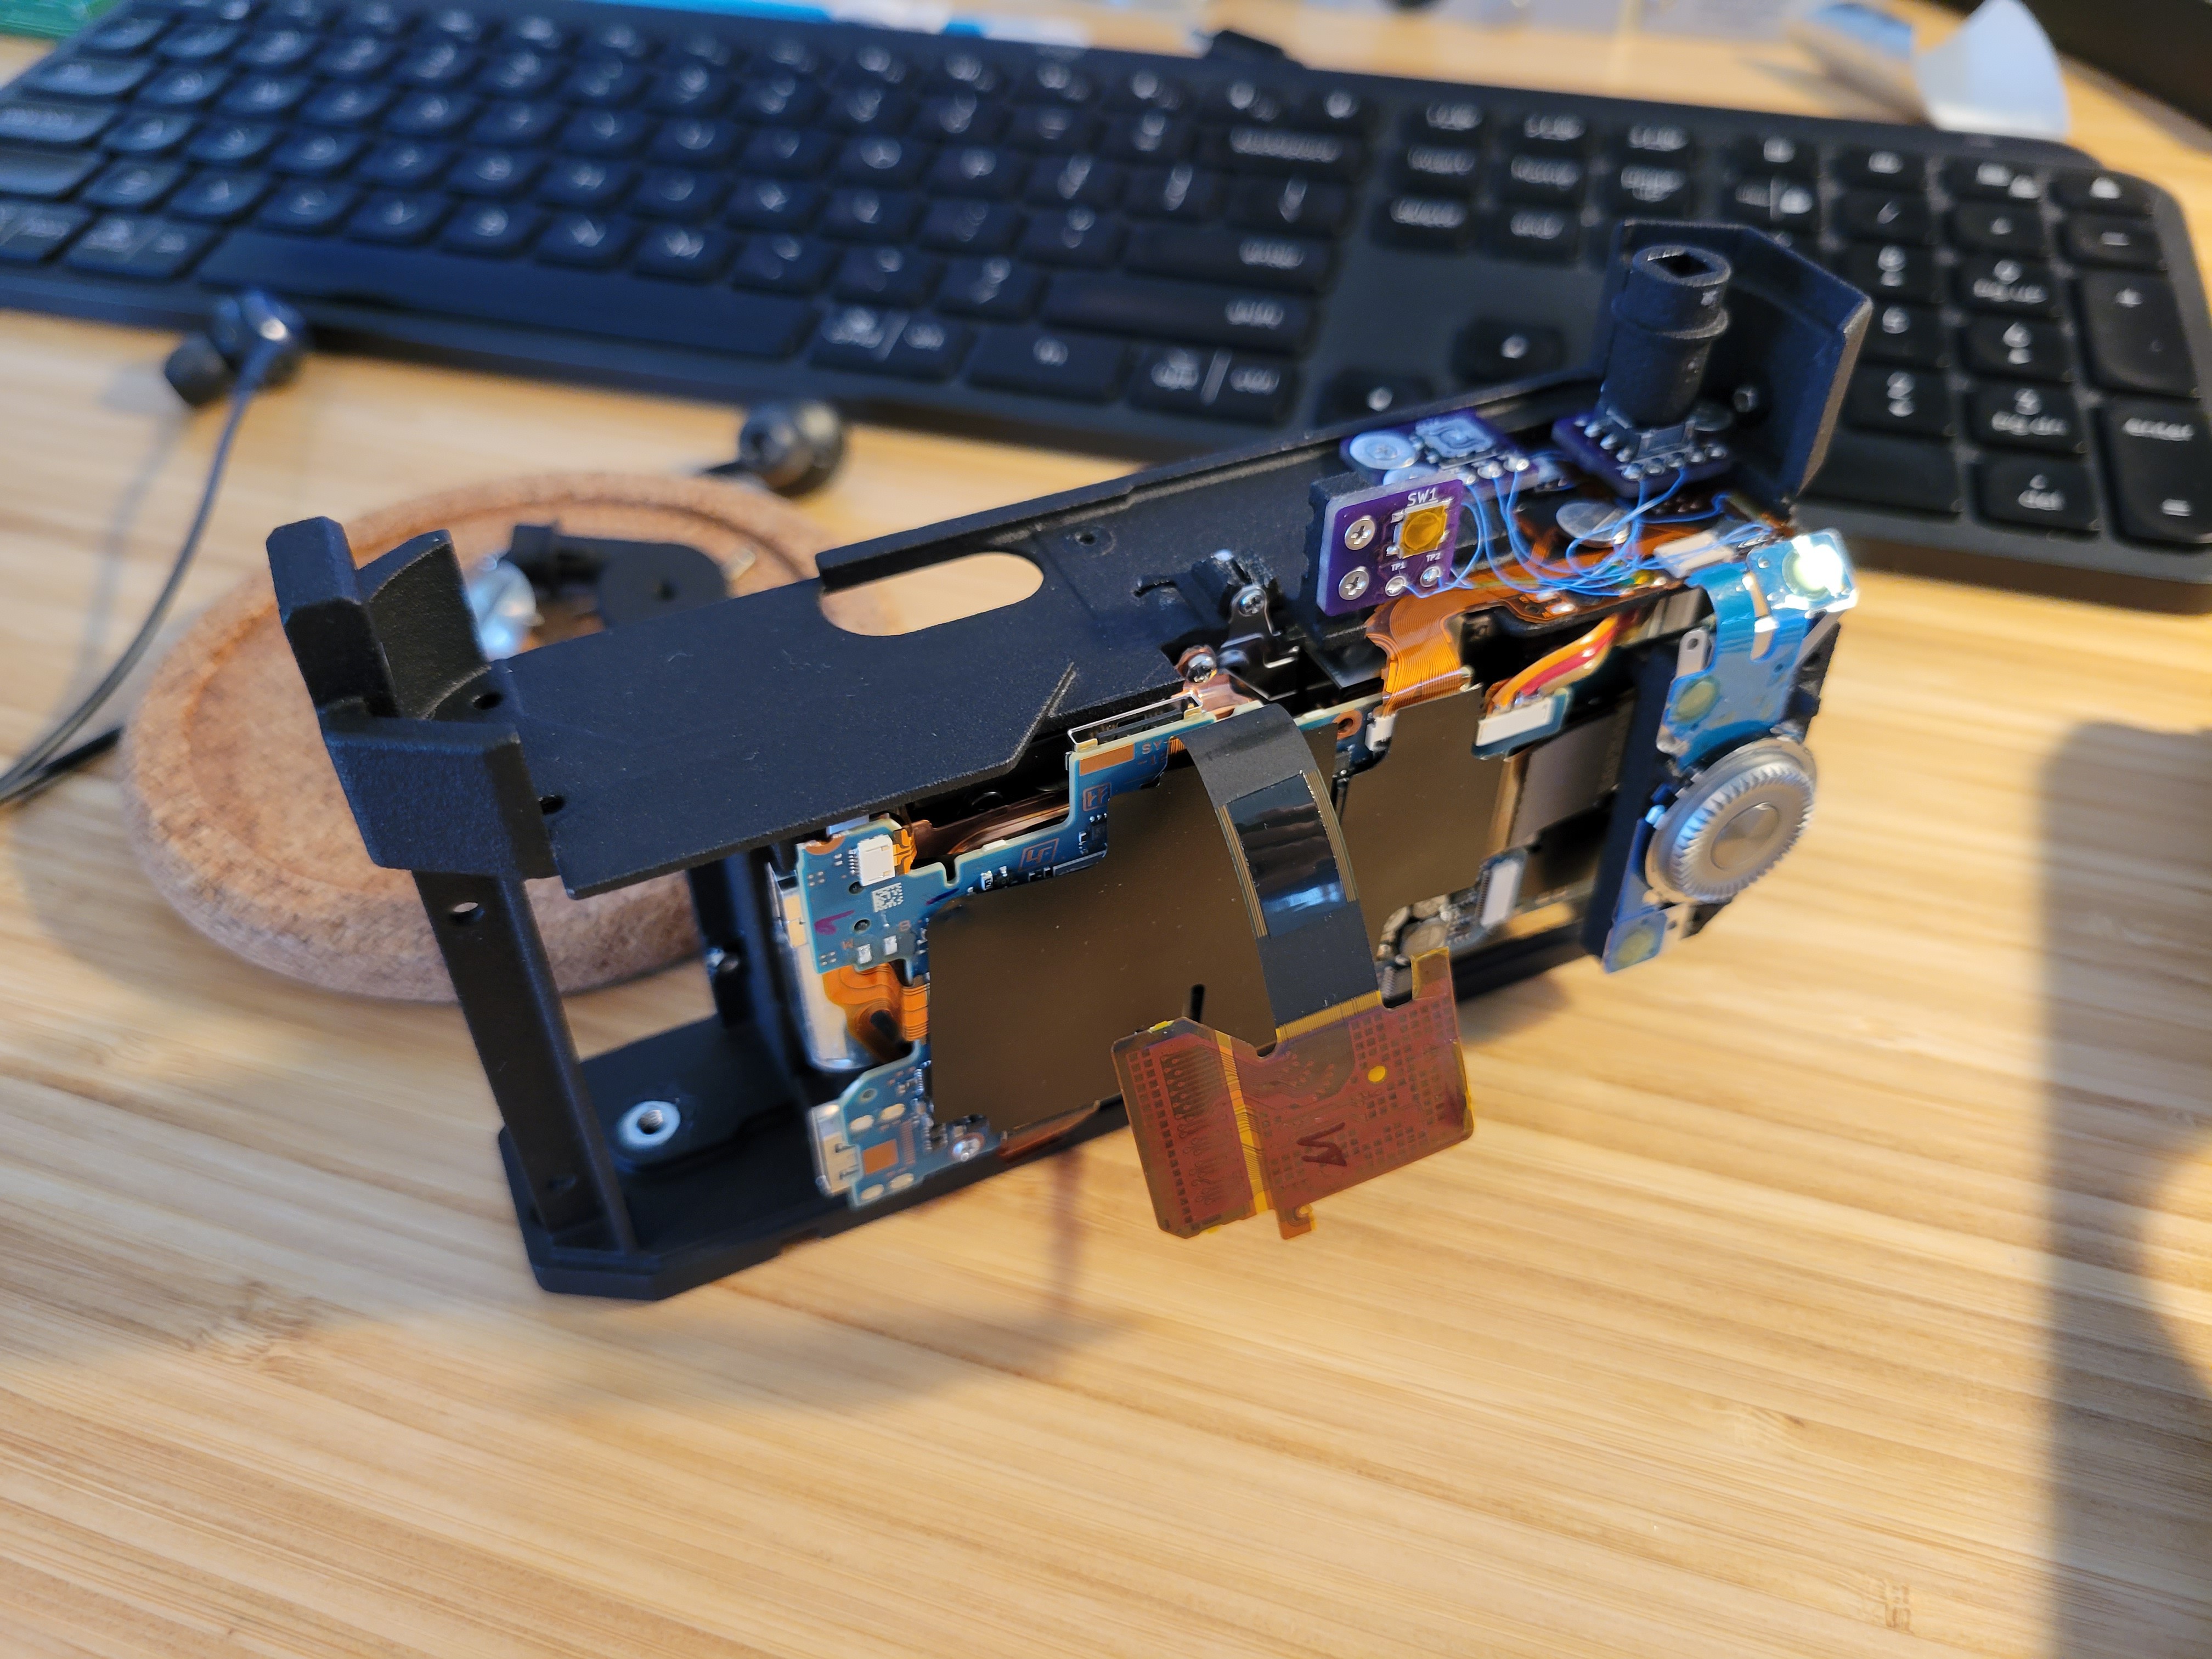
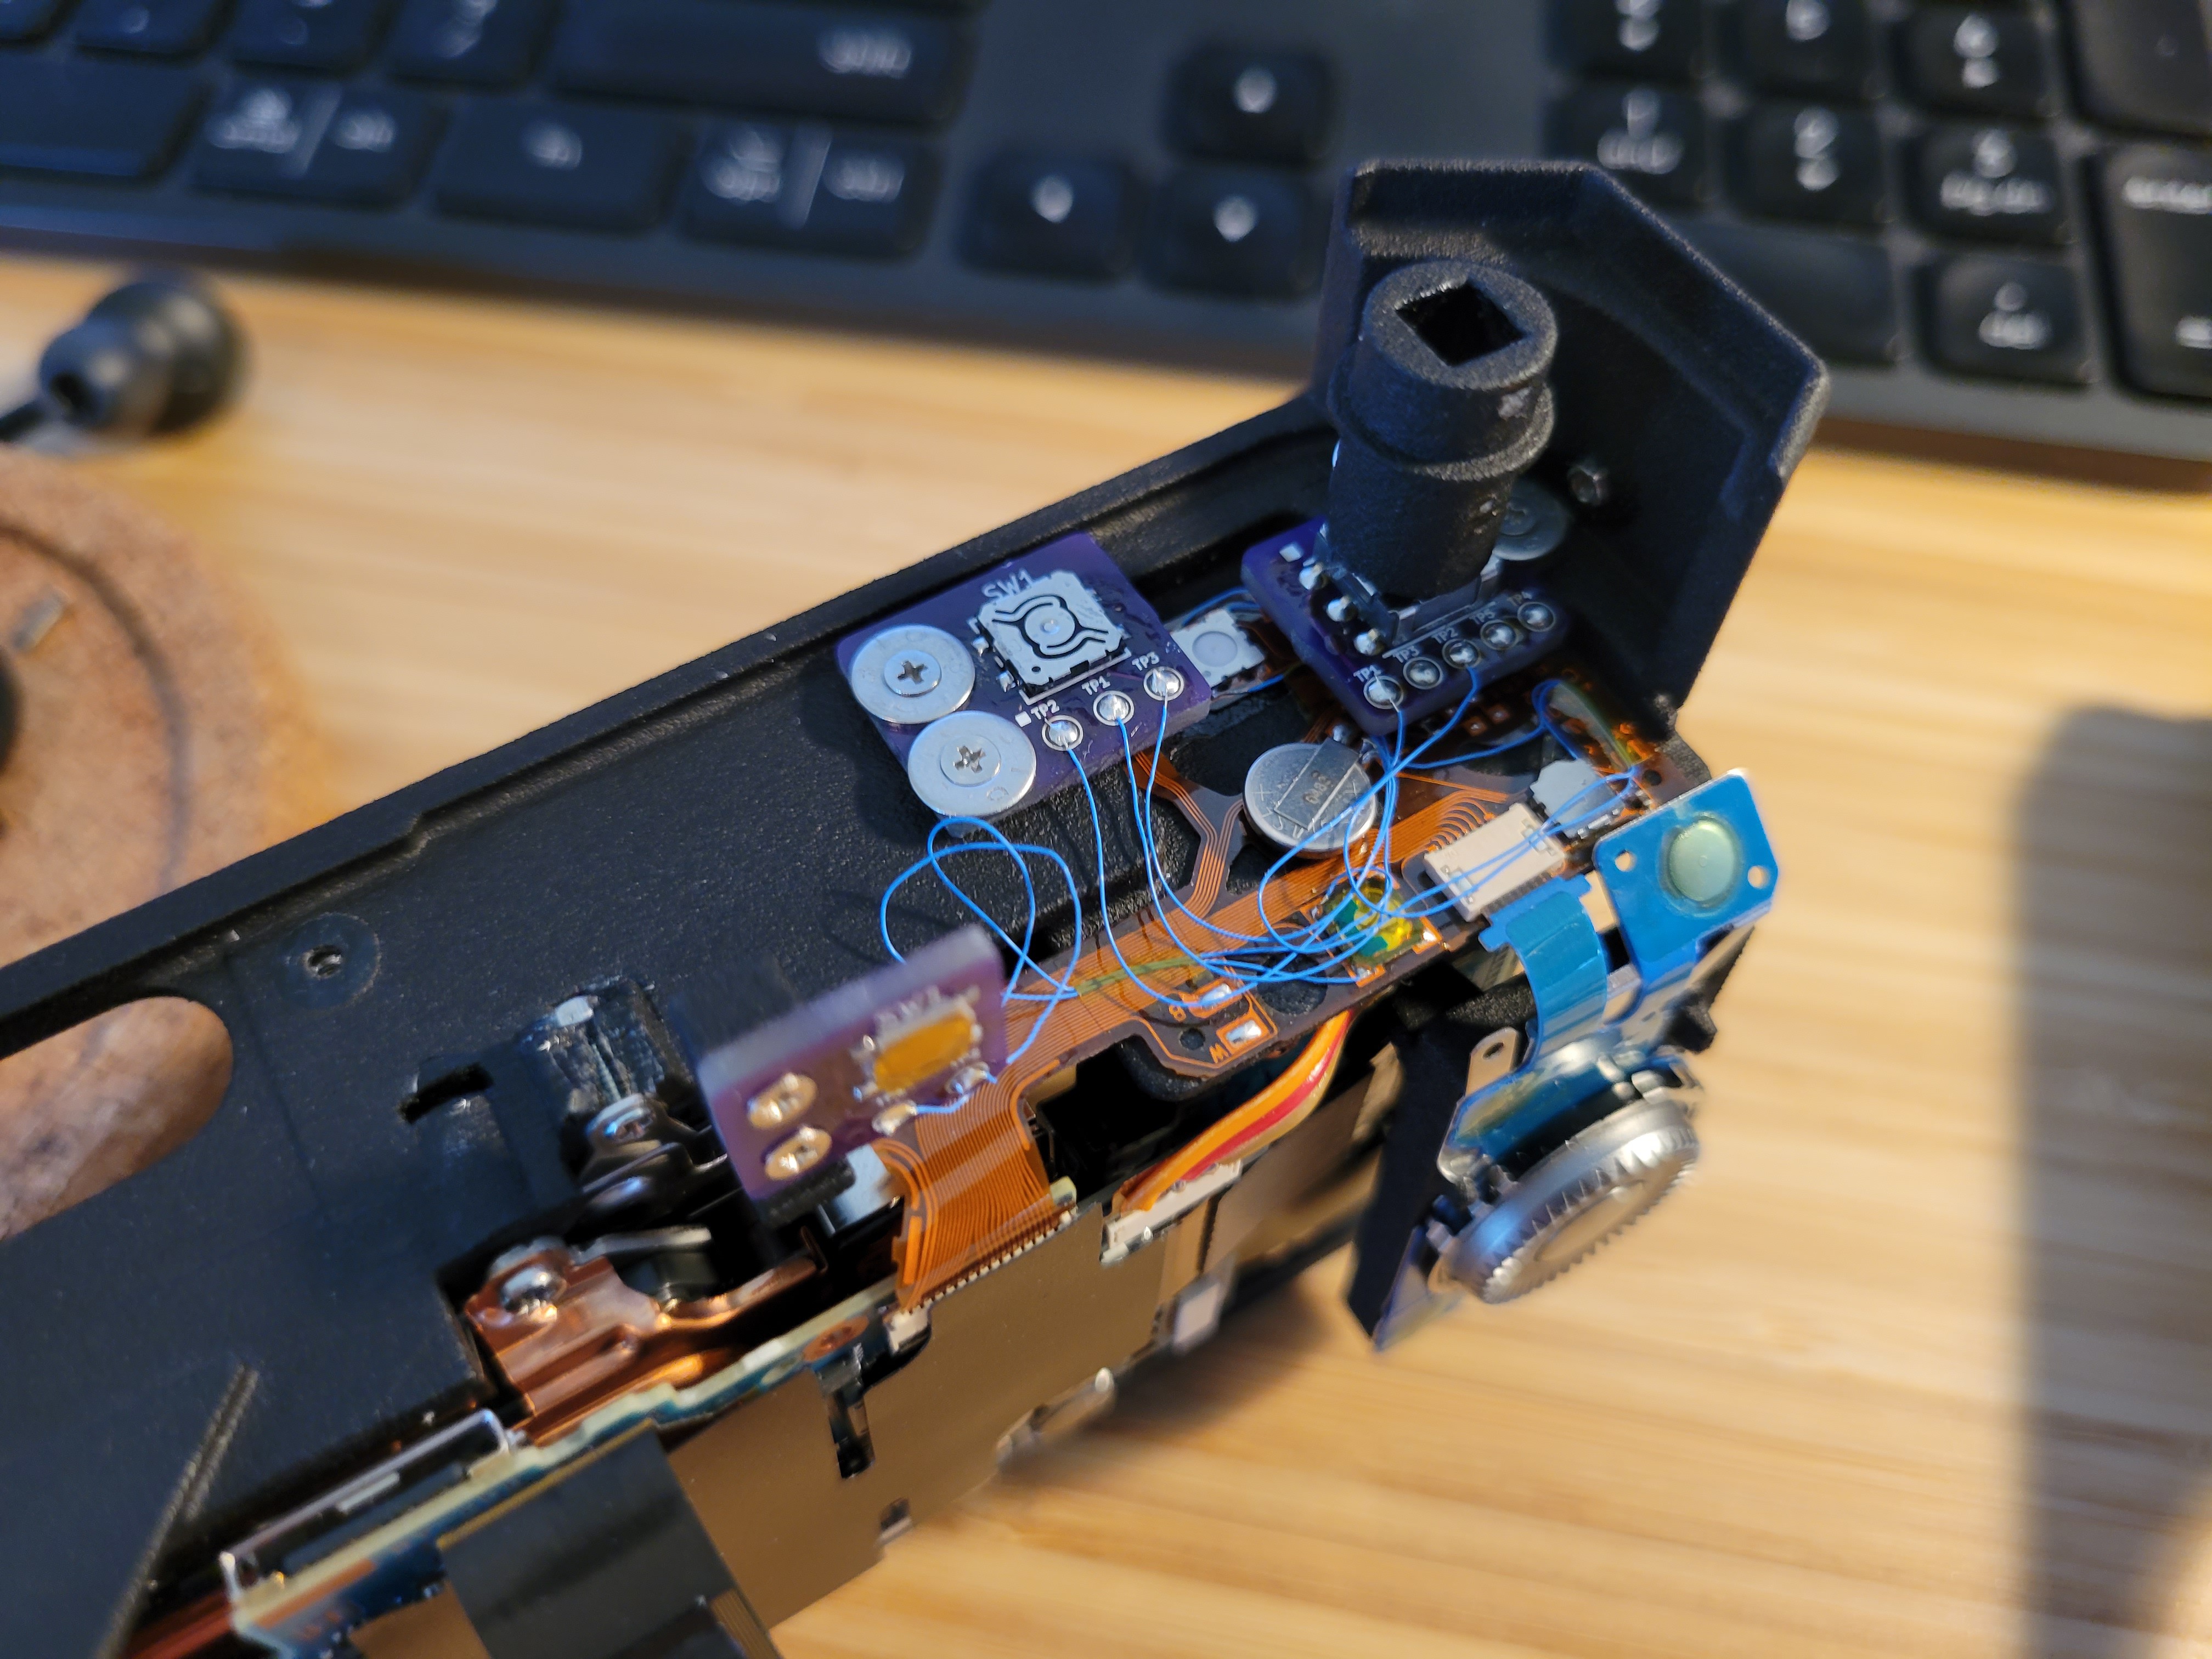
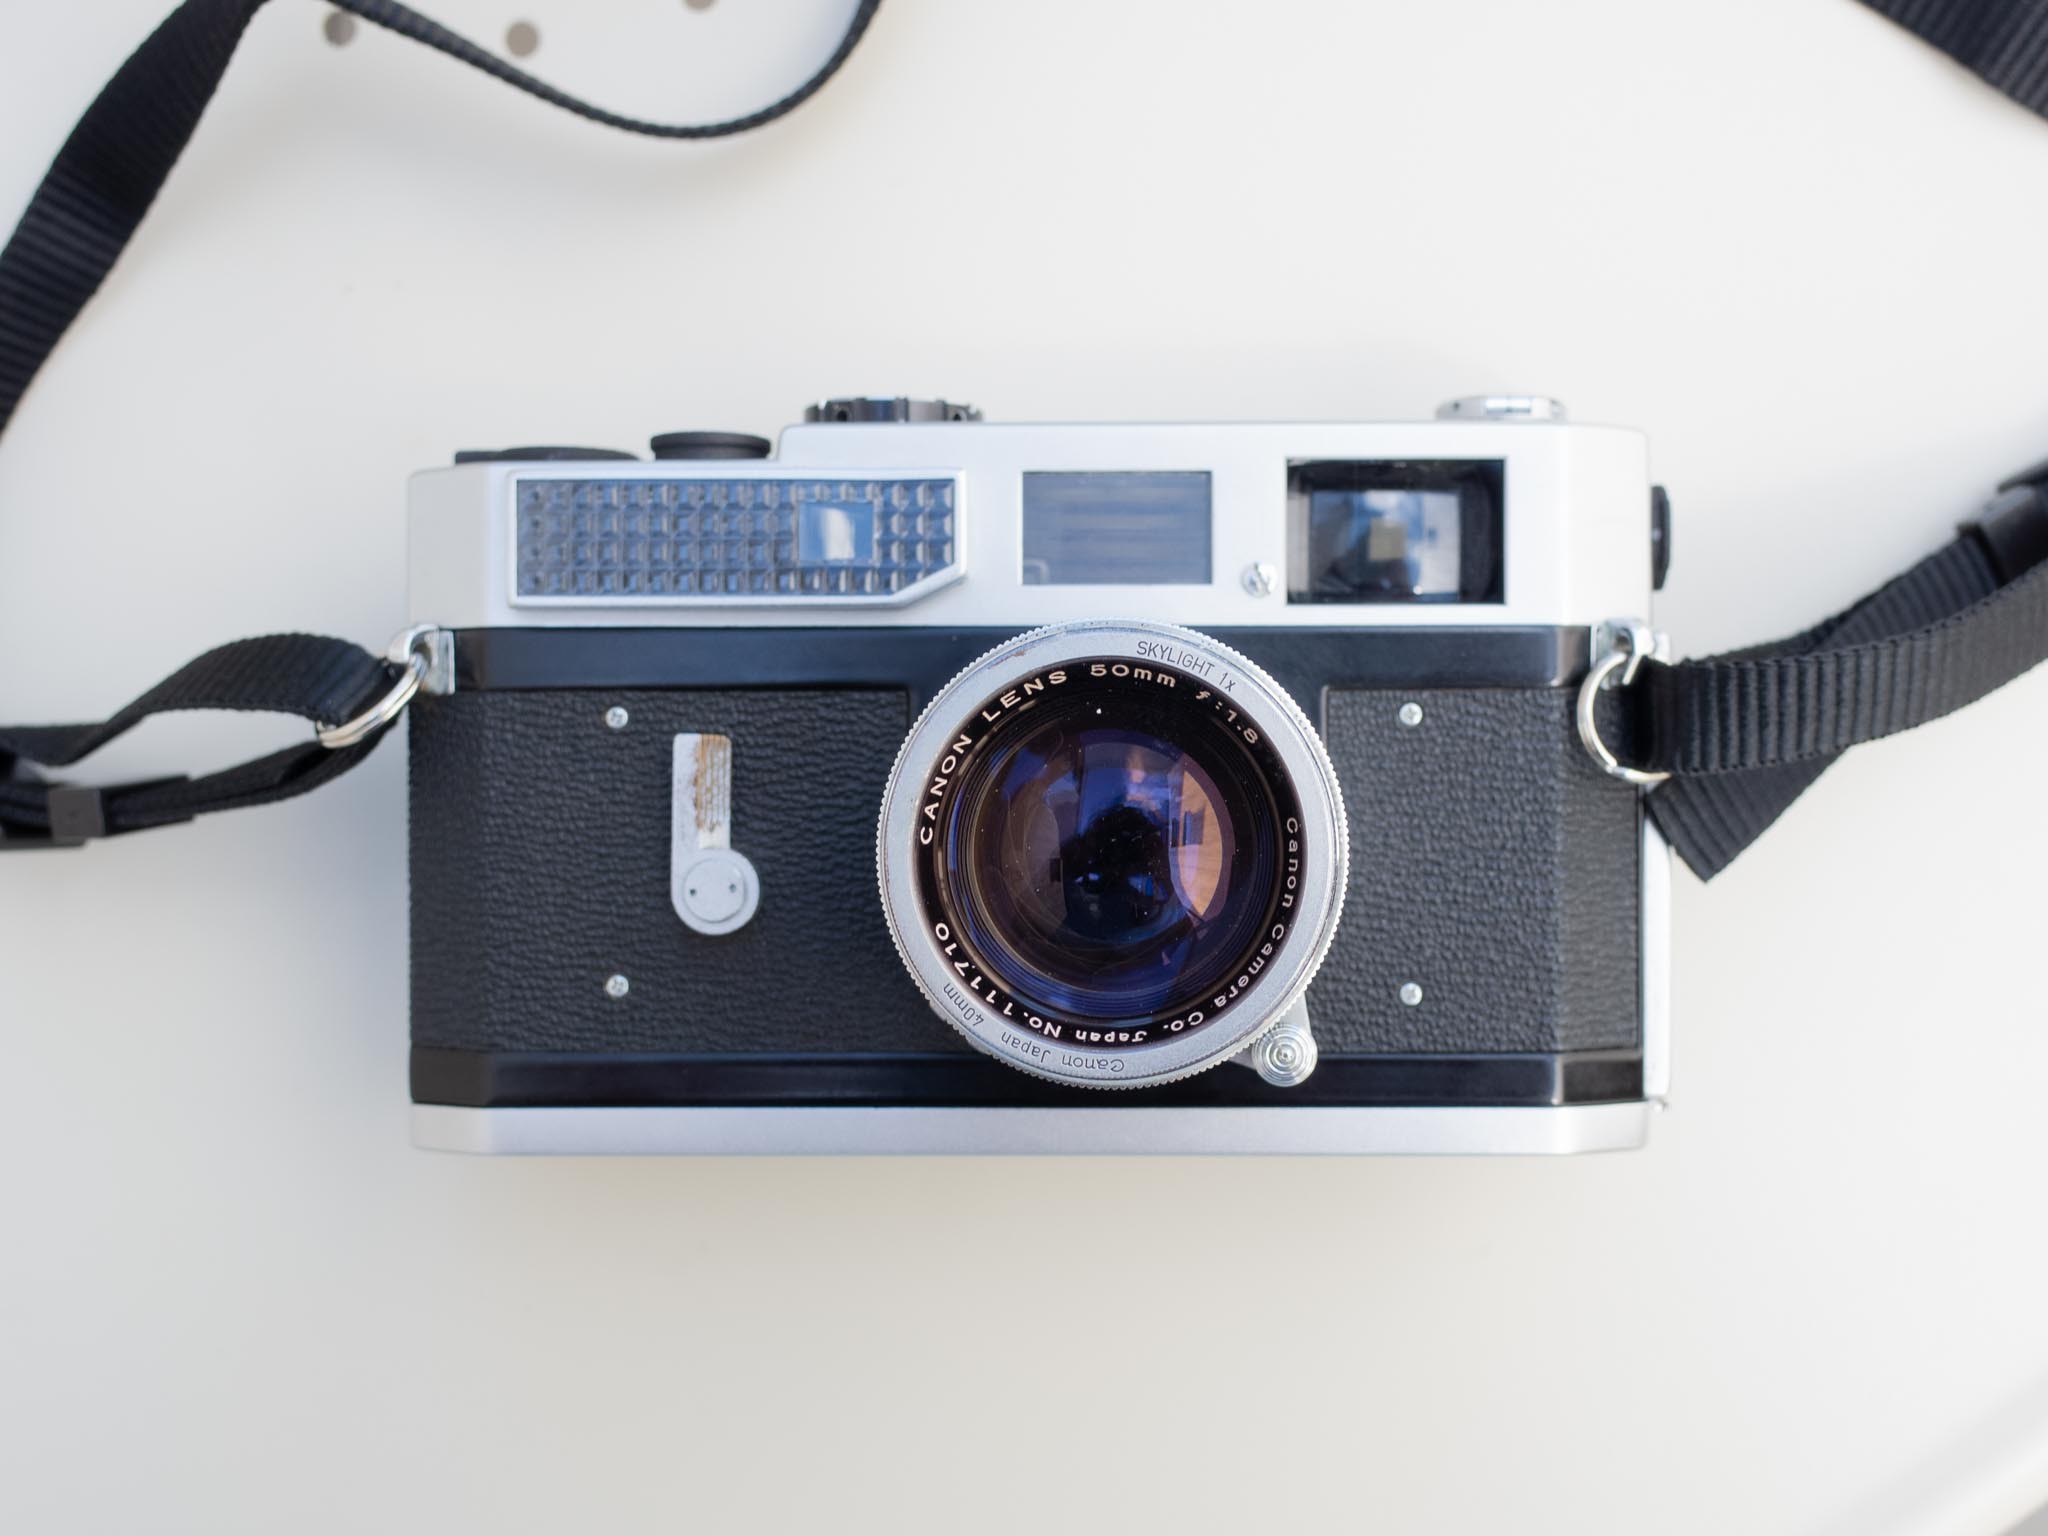
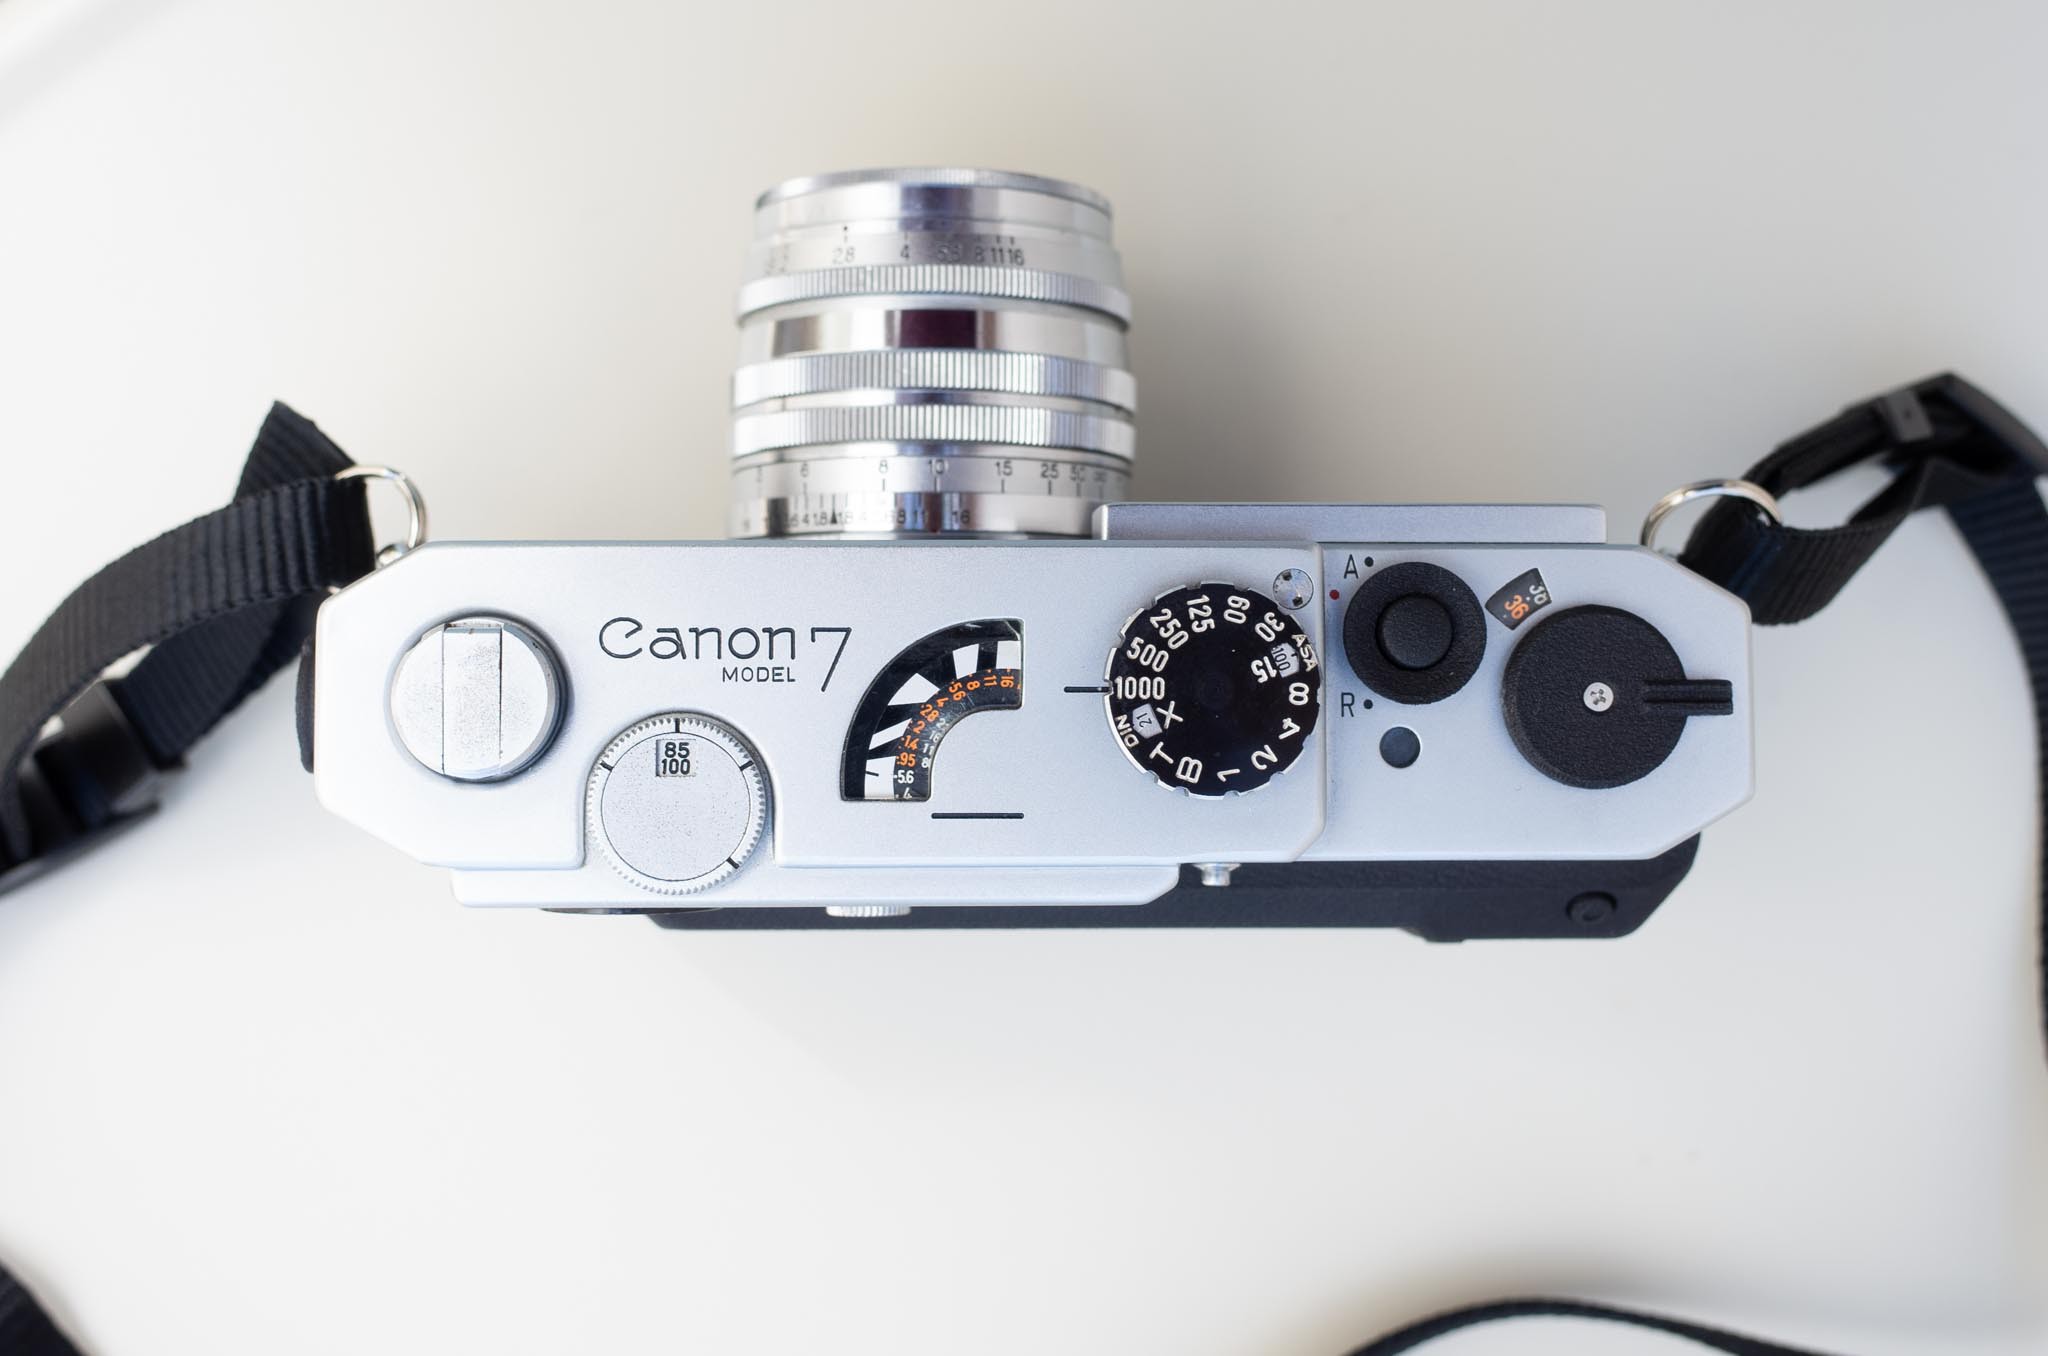
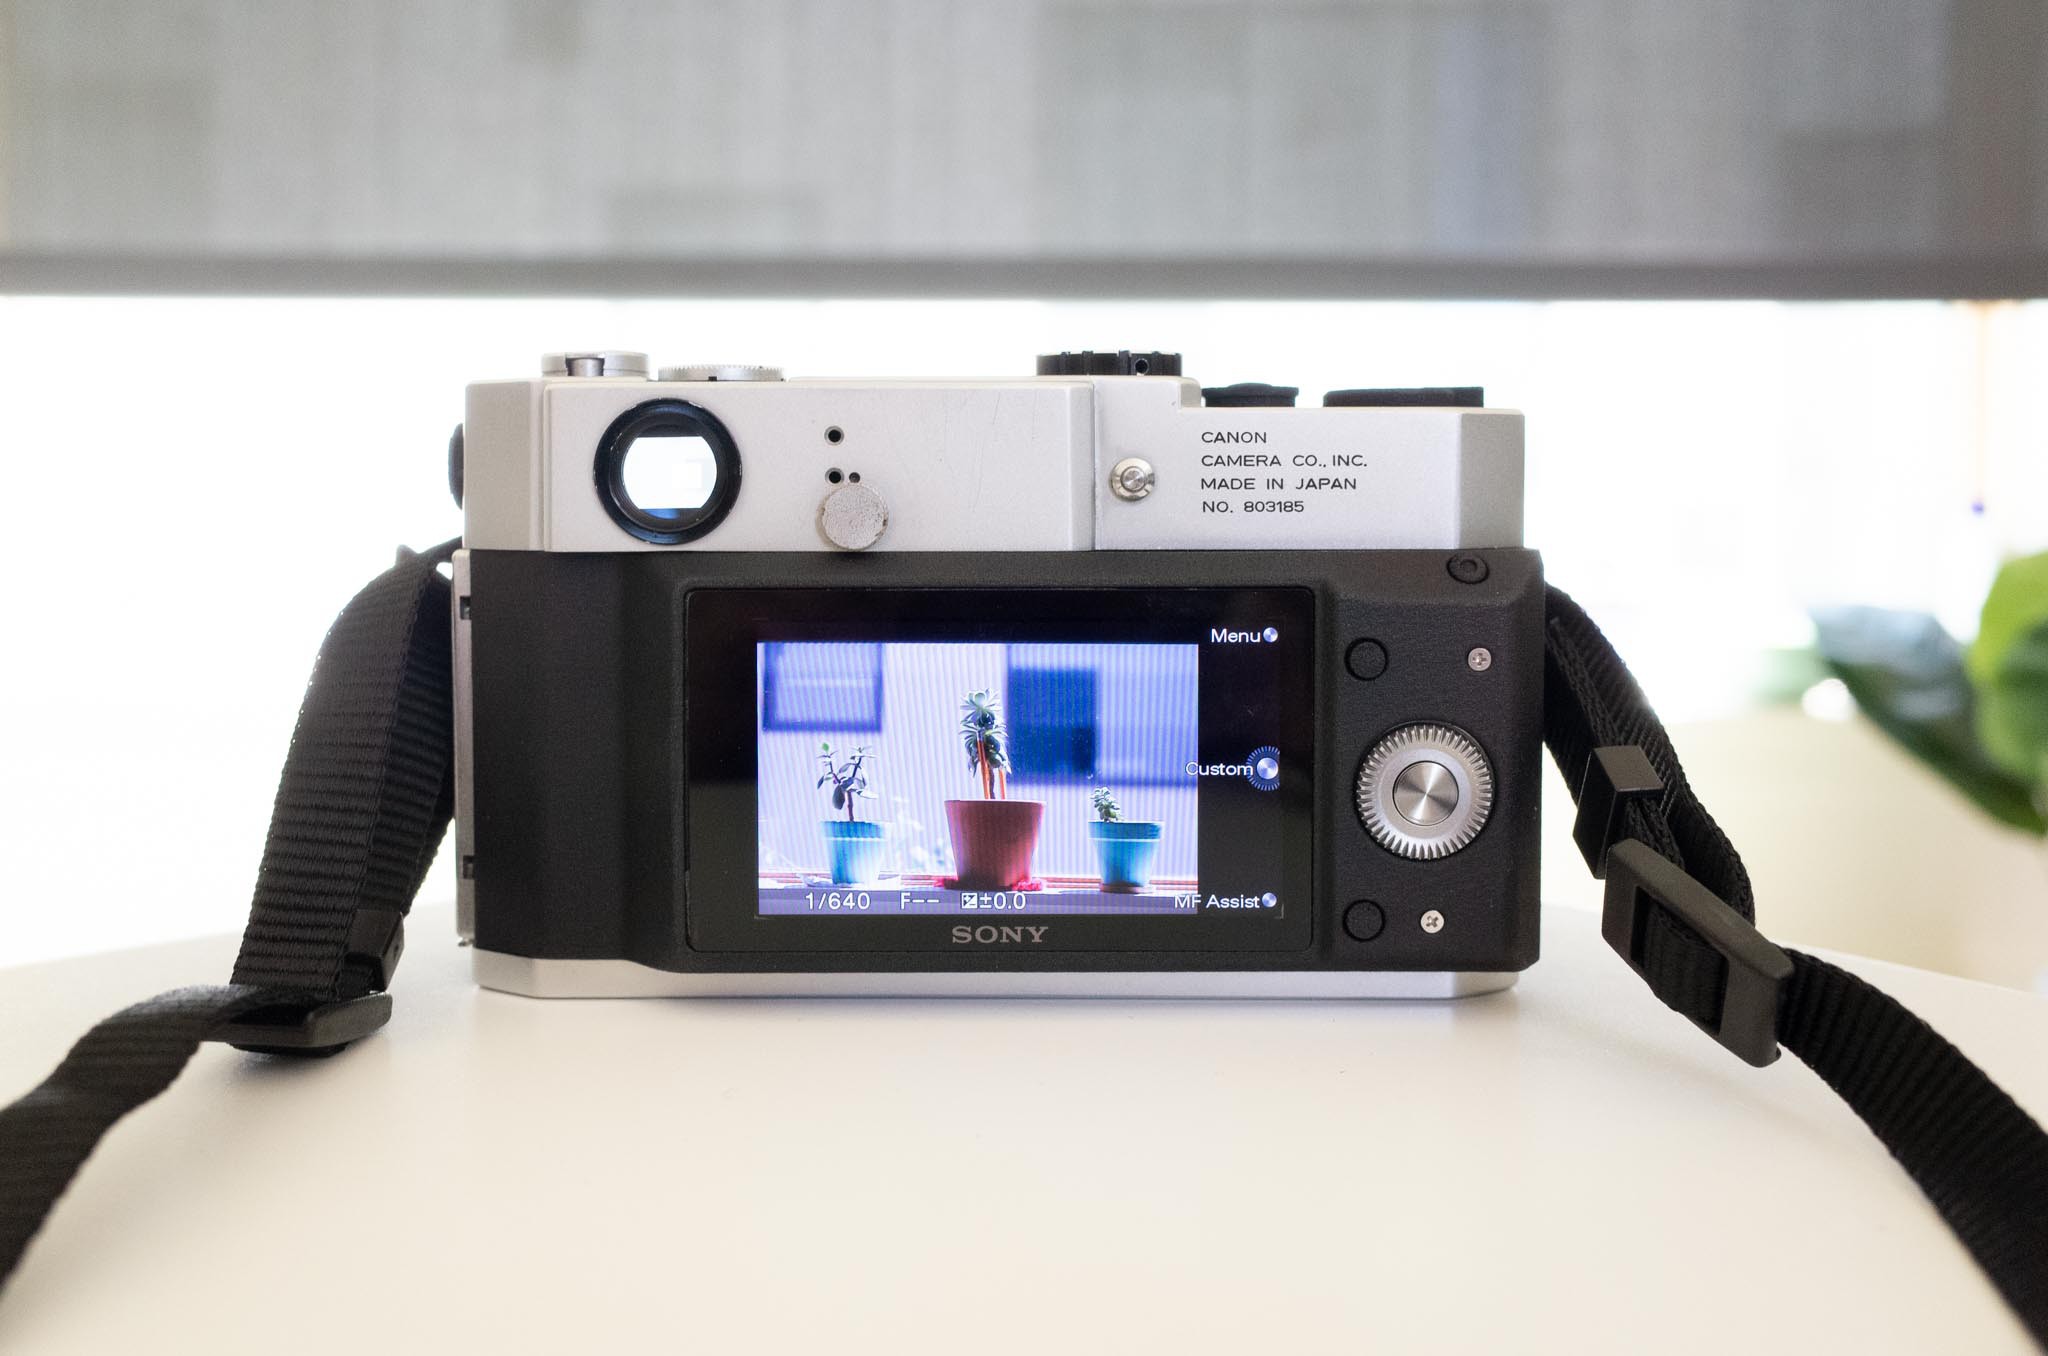
Shutter, sensor, and battery/SD assembly in place. The relocated playback button is also visible here, it's the purple OSHPark PCB in about the center of the frame. The motherboard is in place, with most of the ribbon connectors hooked up. The one dangling off the motherboard connects to the LCD display, after the rear shell is mounted. The rear control panel has also been connected.More detail of the broken out switchgear. The playback button (left) is actuated by the backlight compensation button on the Canon 7's top shell, the shutter button (center) aligns with the opening for the same, and the power switch (right) is a rotary DIP switch that lines up with the opening for the film advance lever.All buttoned up, and there are scarcely any hints that this is a digital camera. Viewing from above, it becomes a little more obvious. You can see the modified shutter button and a power switch in place of the film advance lever. The sensor, motherboard, and screen cause the back of the camera to extend a little beyond the original envelope.And from the back... Yup, that's a digital camera, all right.
Some sample photos from the camera, using the Canon 50mm f/1.8 (the only LTM lens I own):
I'm not entirely sure if it's the nature of the lens, but it certainly is not very sharp! It improves a little bit when stopped down, but off-center softness is very evident when focusing on distant subjects. I suspect that the sensor is skewed a bit and doesn't align perfectly with the image plane. The sensor is held in place rather lackadaisically without any real measures to ensure alignment other than relying on the dimensional accuracy of the 3D print. One of these days I'll need to place a depth gauge between the sensor and the lens flange, and try to get it dialed in. But for now, I'm just glad that it works!
 Kevin Kadooka
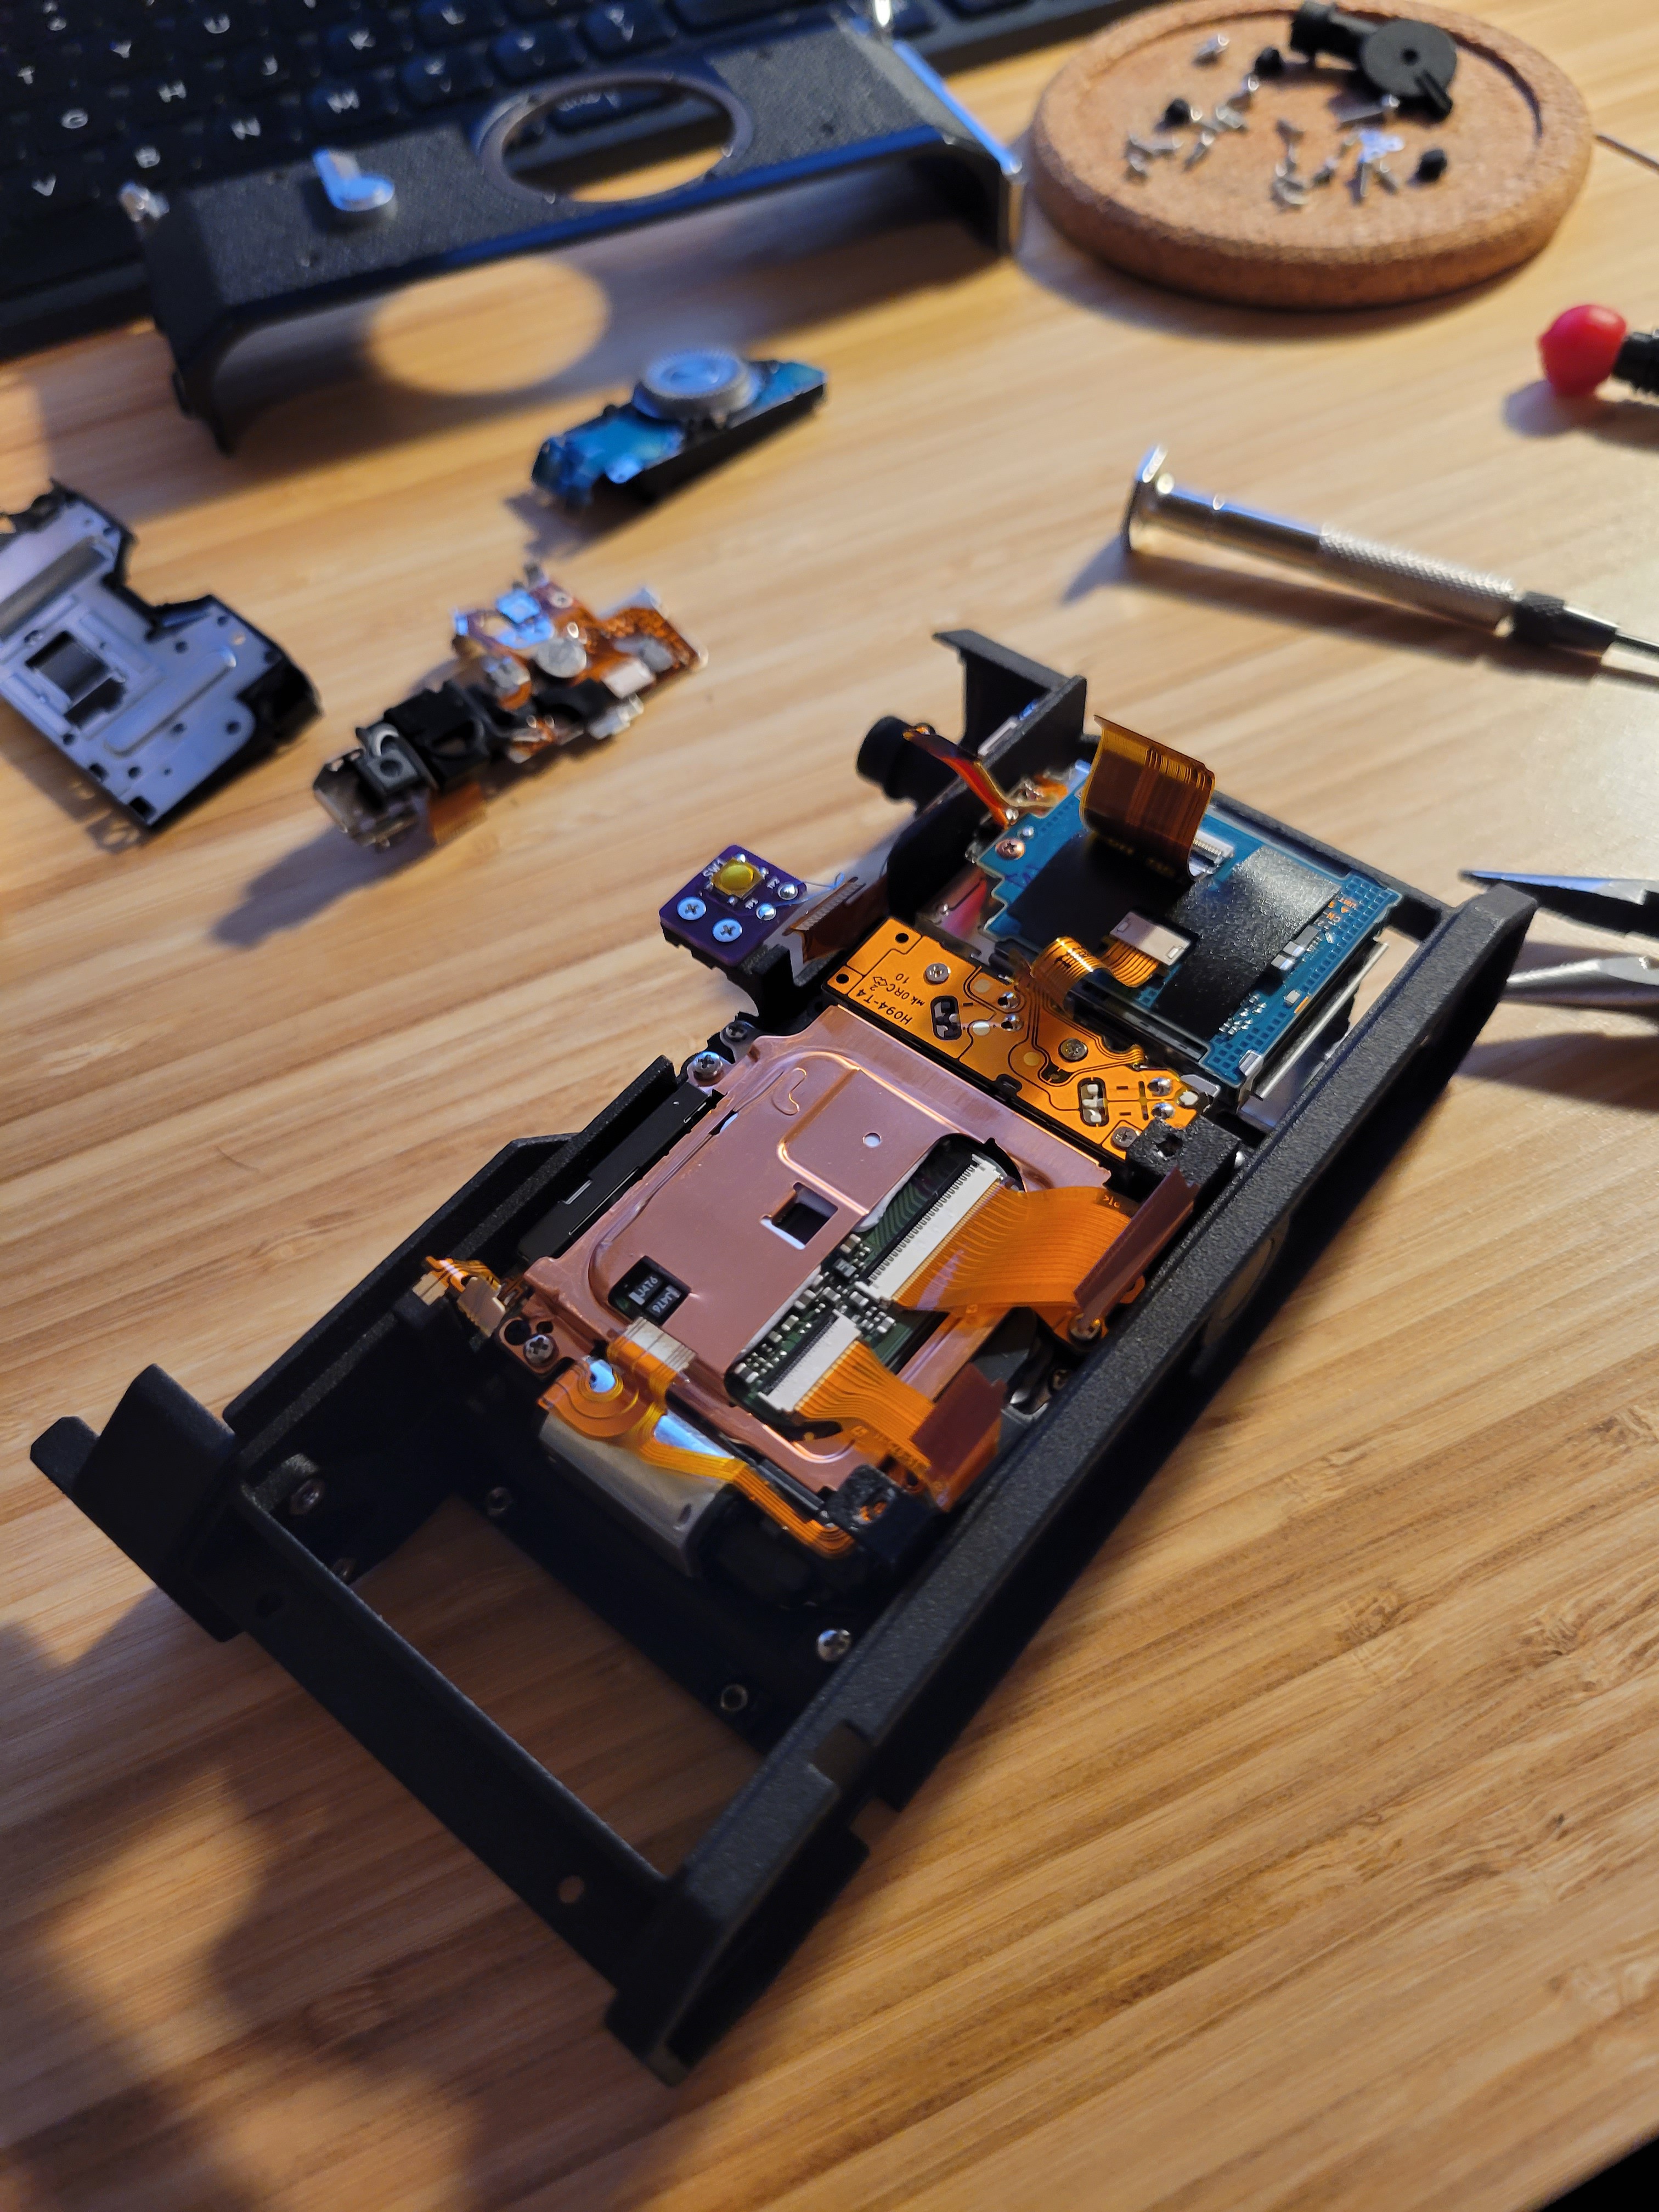


Discussions
Become a Hackaday.io Member
Create an account to leave a comment. Already have an account? Log In.