 Michael Perrone
I tried hard oxide coating the aluminum: unlike normal anodization, this process requires high voltage and active chilling, as well as a ramp-up in voltage that is gradual so that the surface isn't porous. Also, it evidently requires a fresh surface to start with:
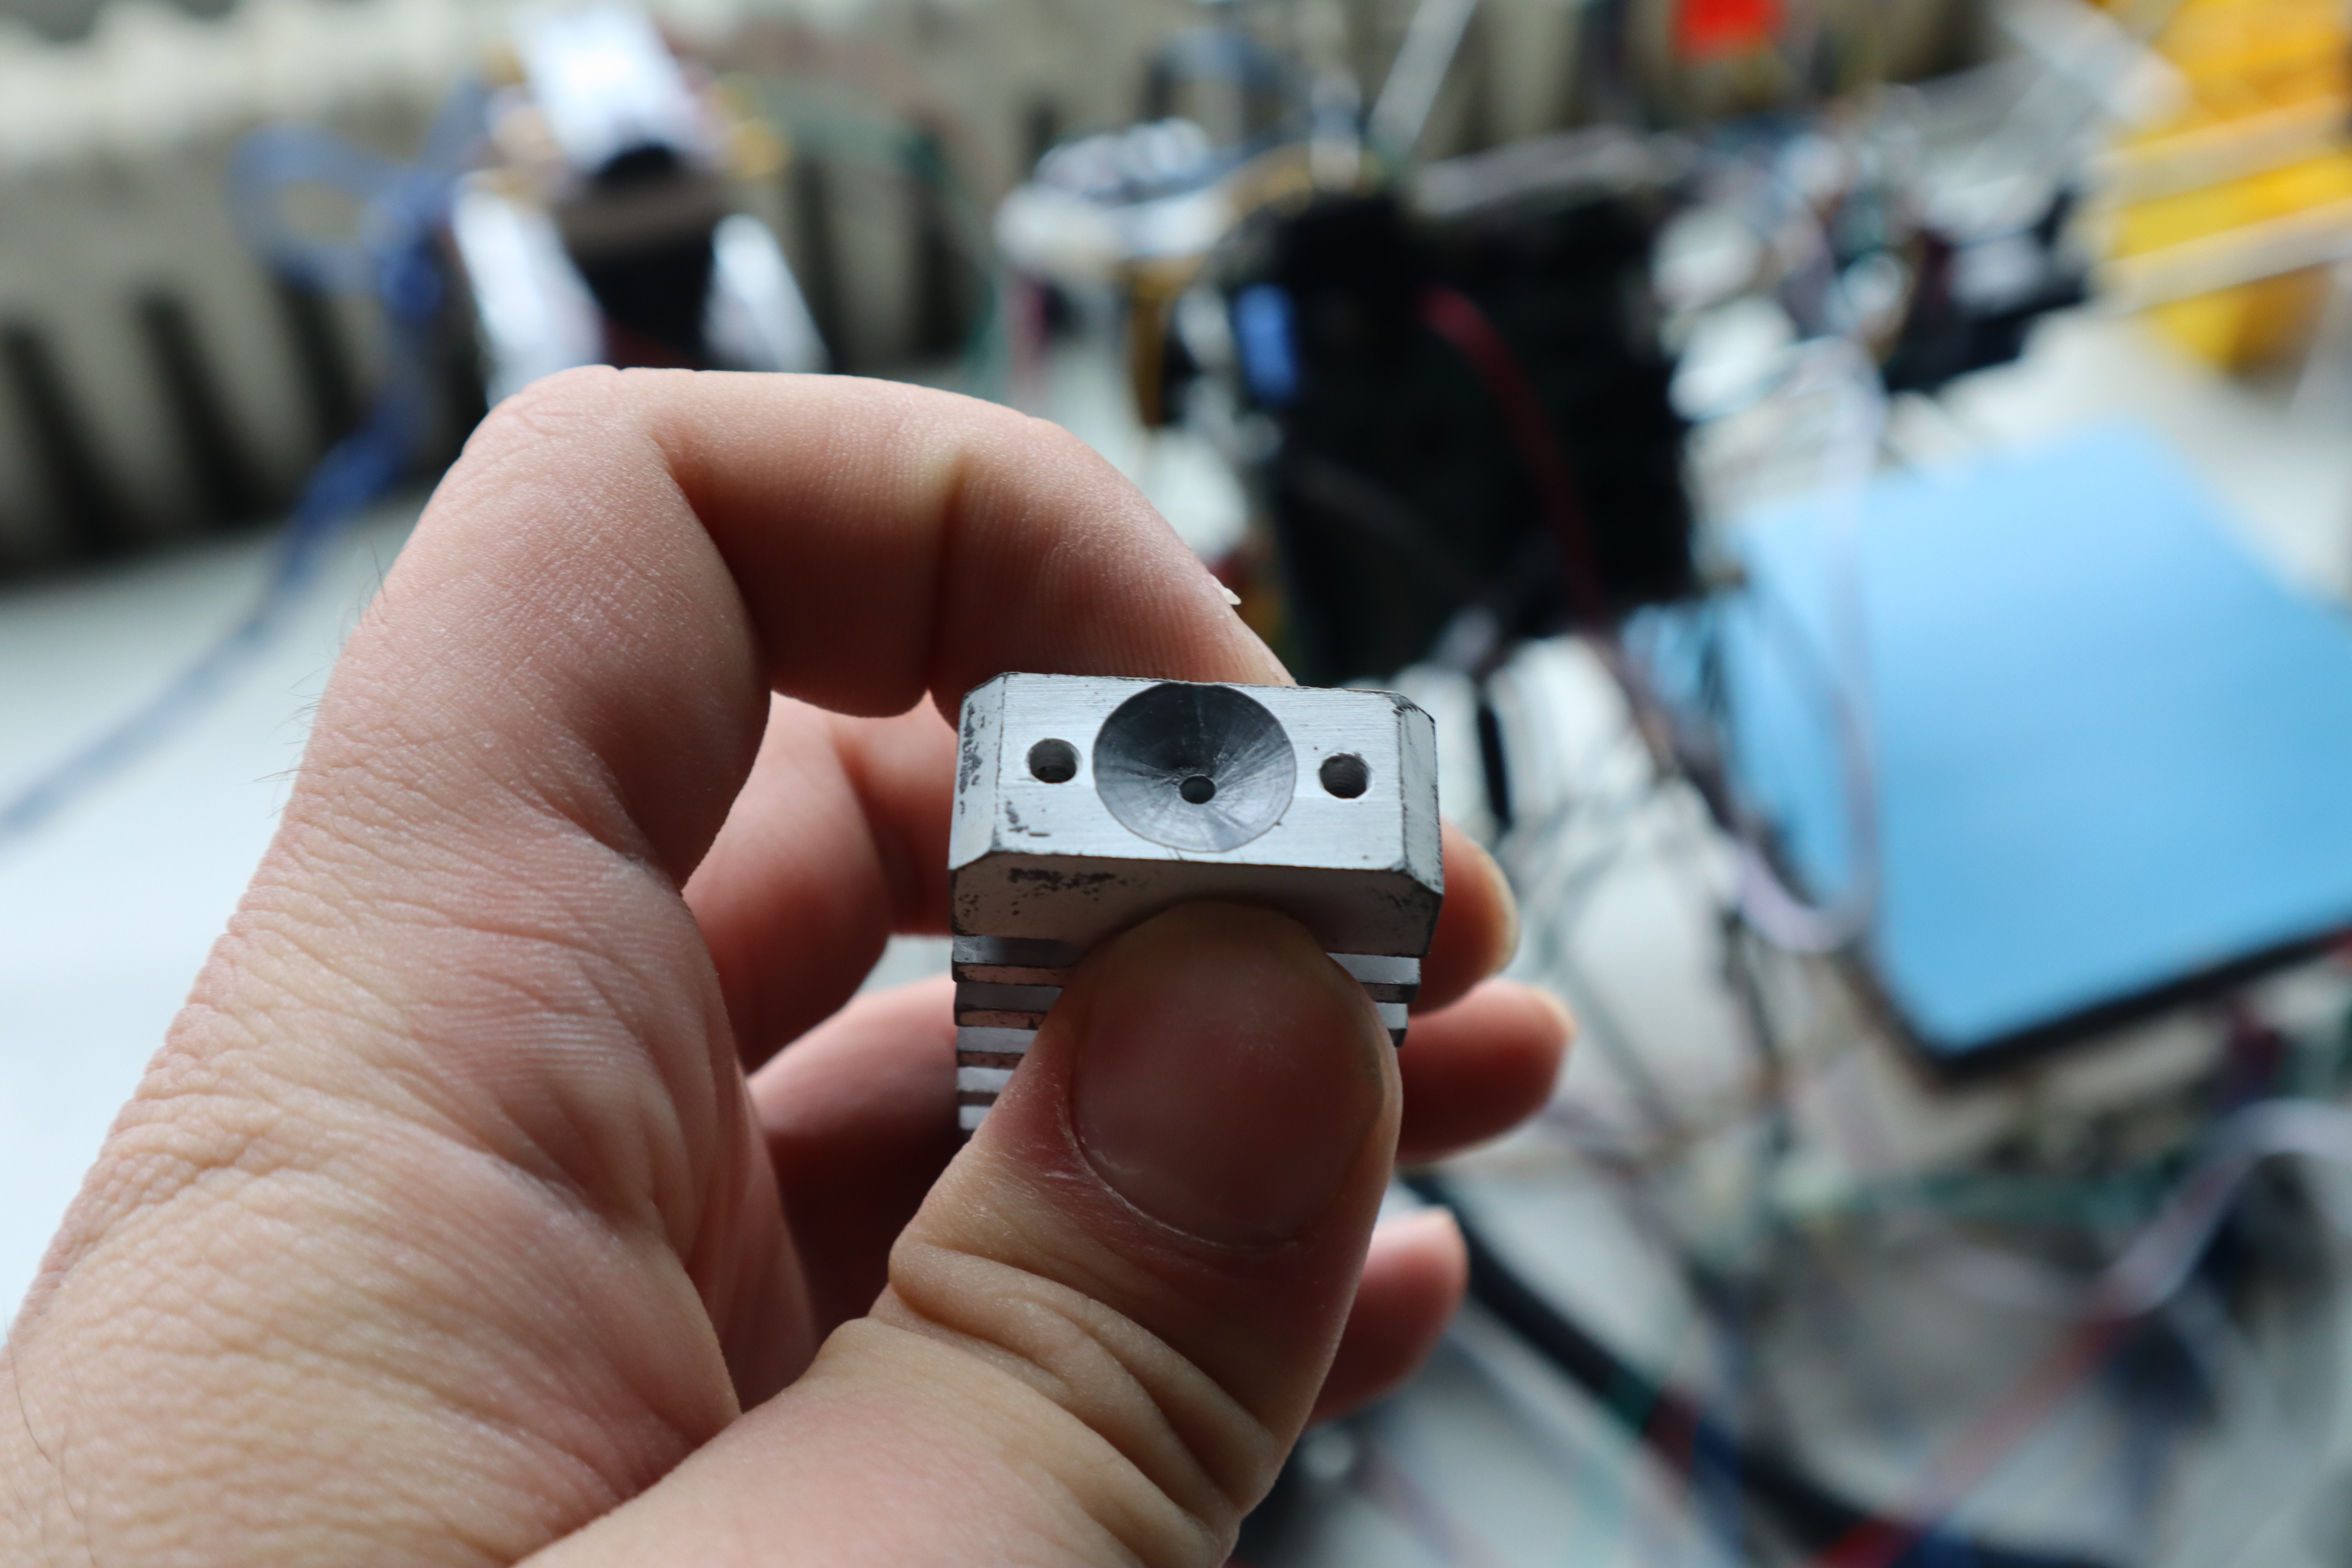
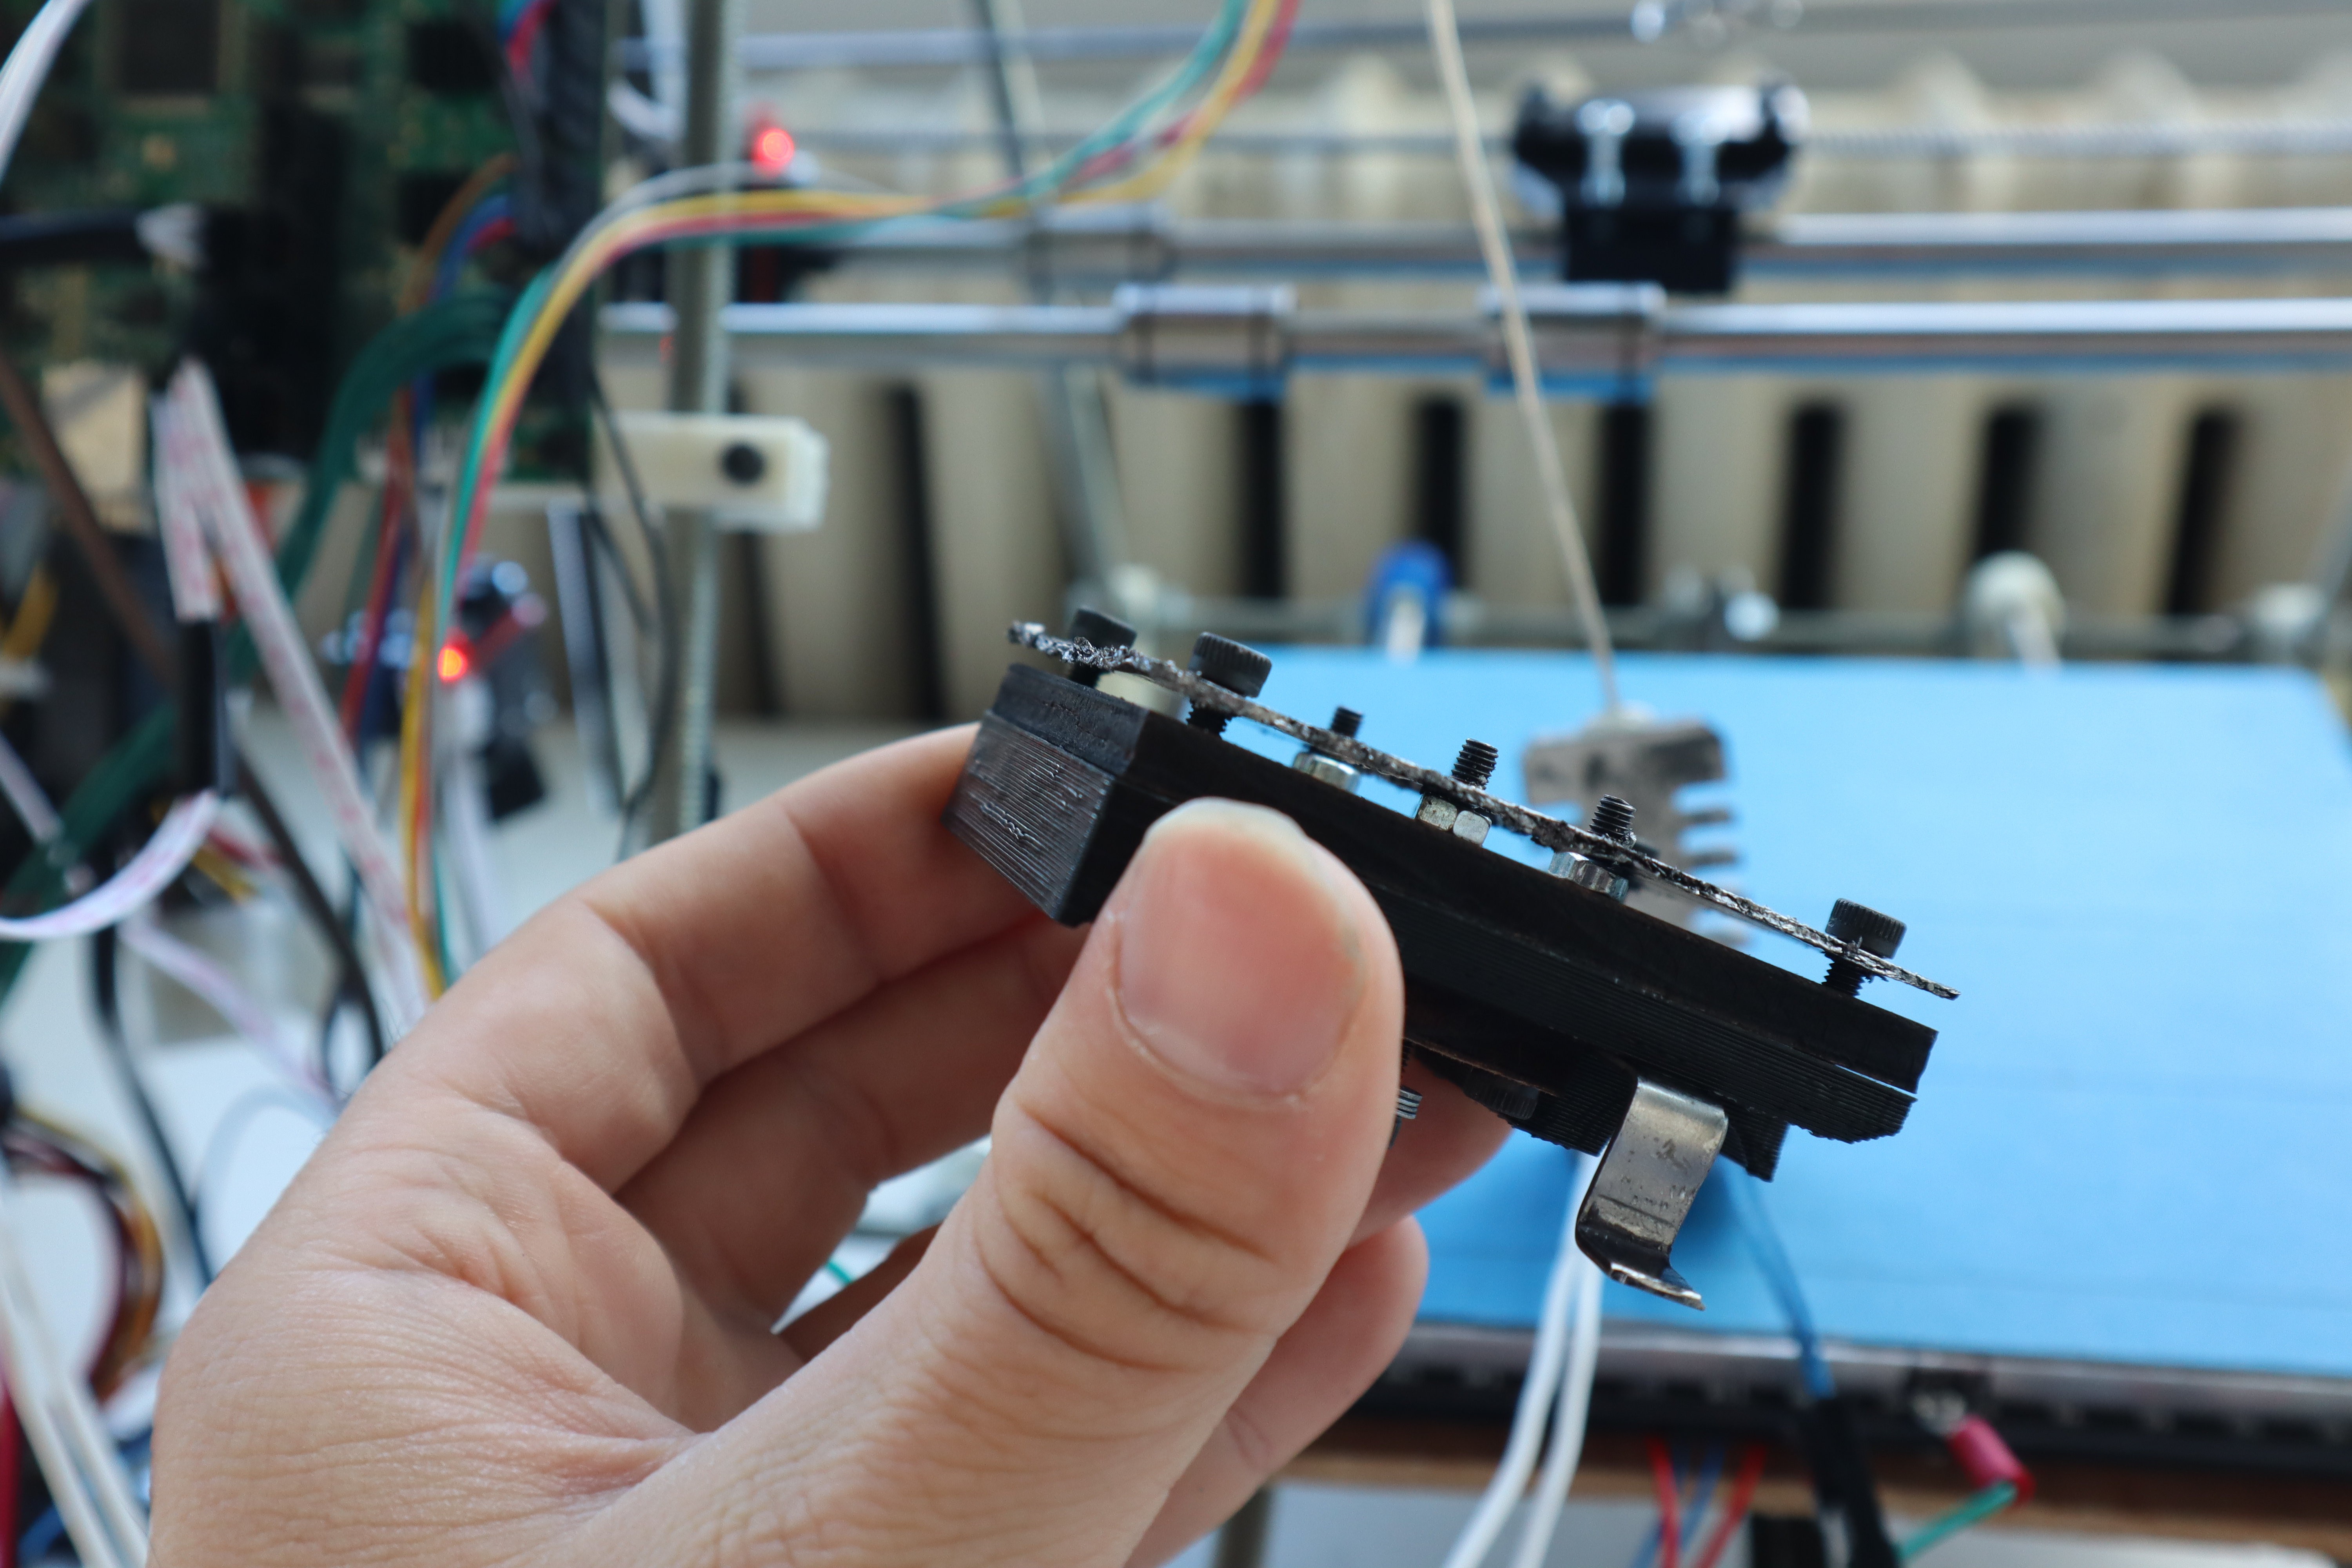
I machined this feature on the top to retain the liquid glass gasket material and prevent it from getting stuck in the threaded holes. The hard oxide coating was somewhat microporous because I ramped up the current too fast, but on this freshly cut surface it was stable.
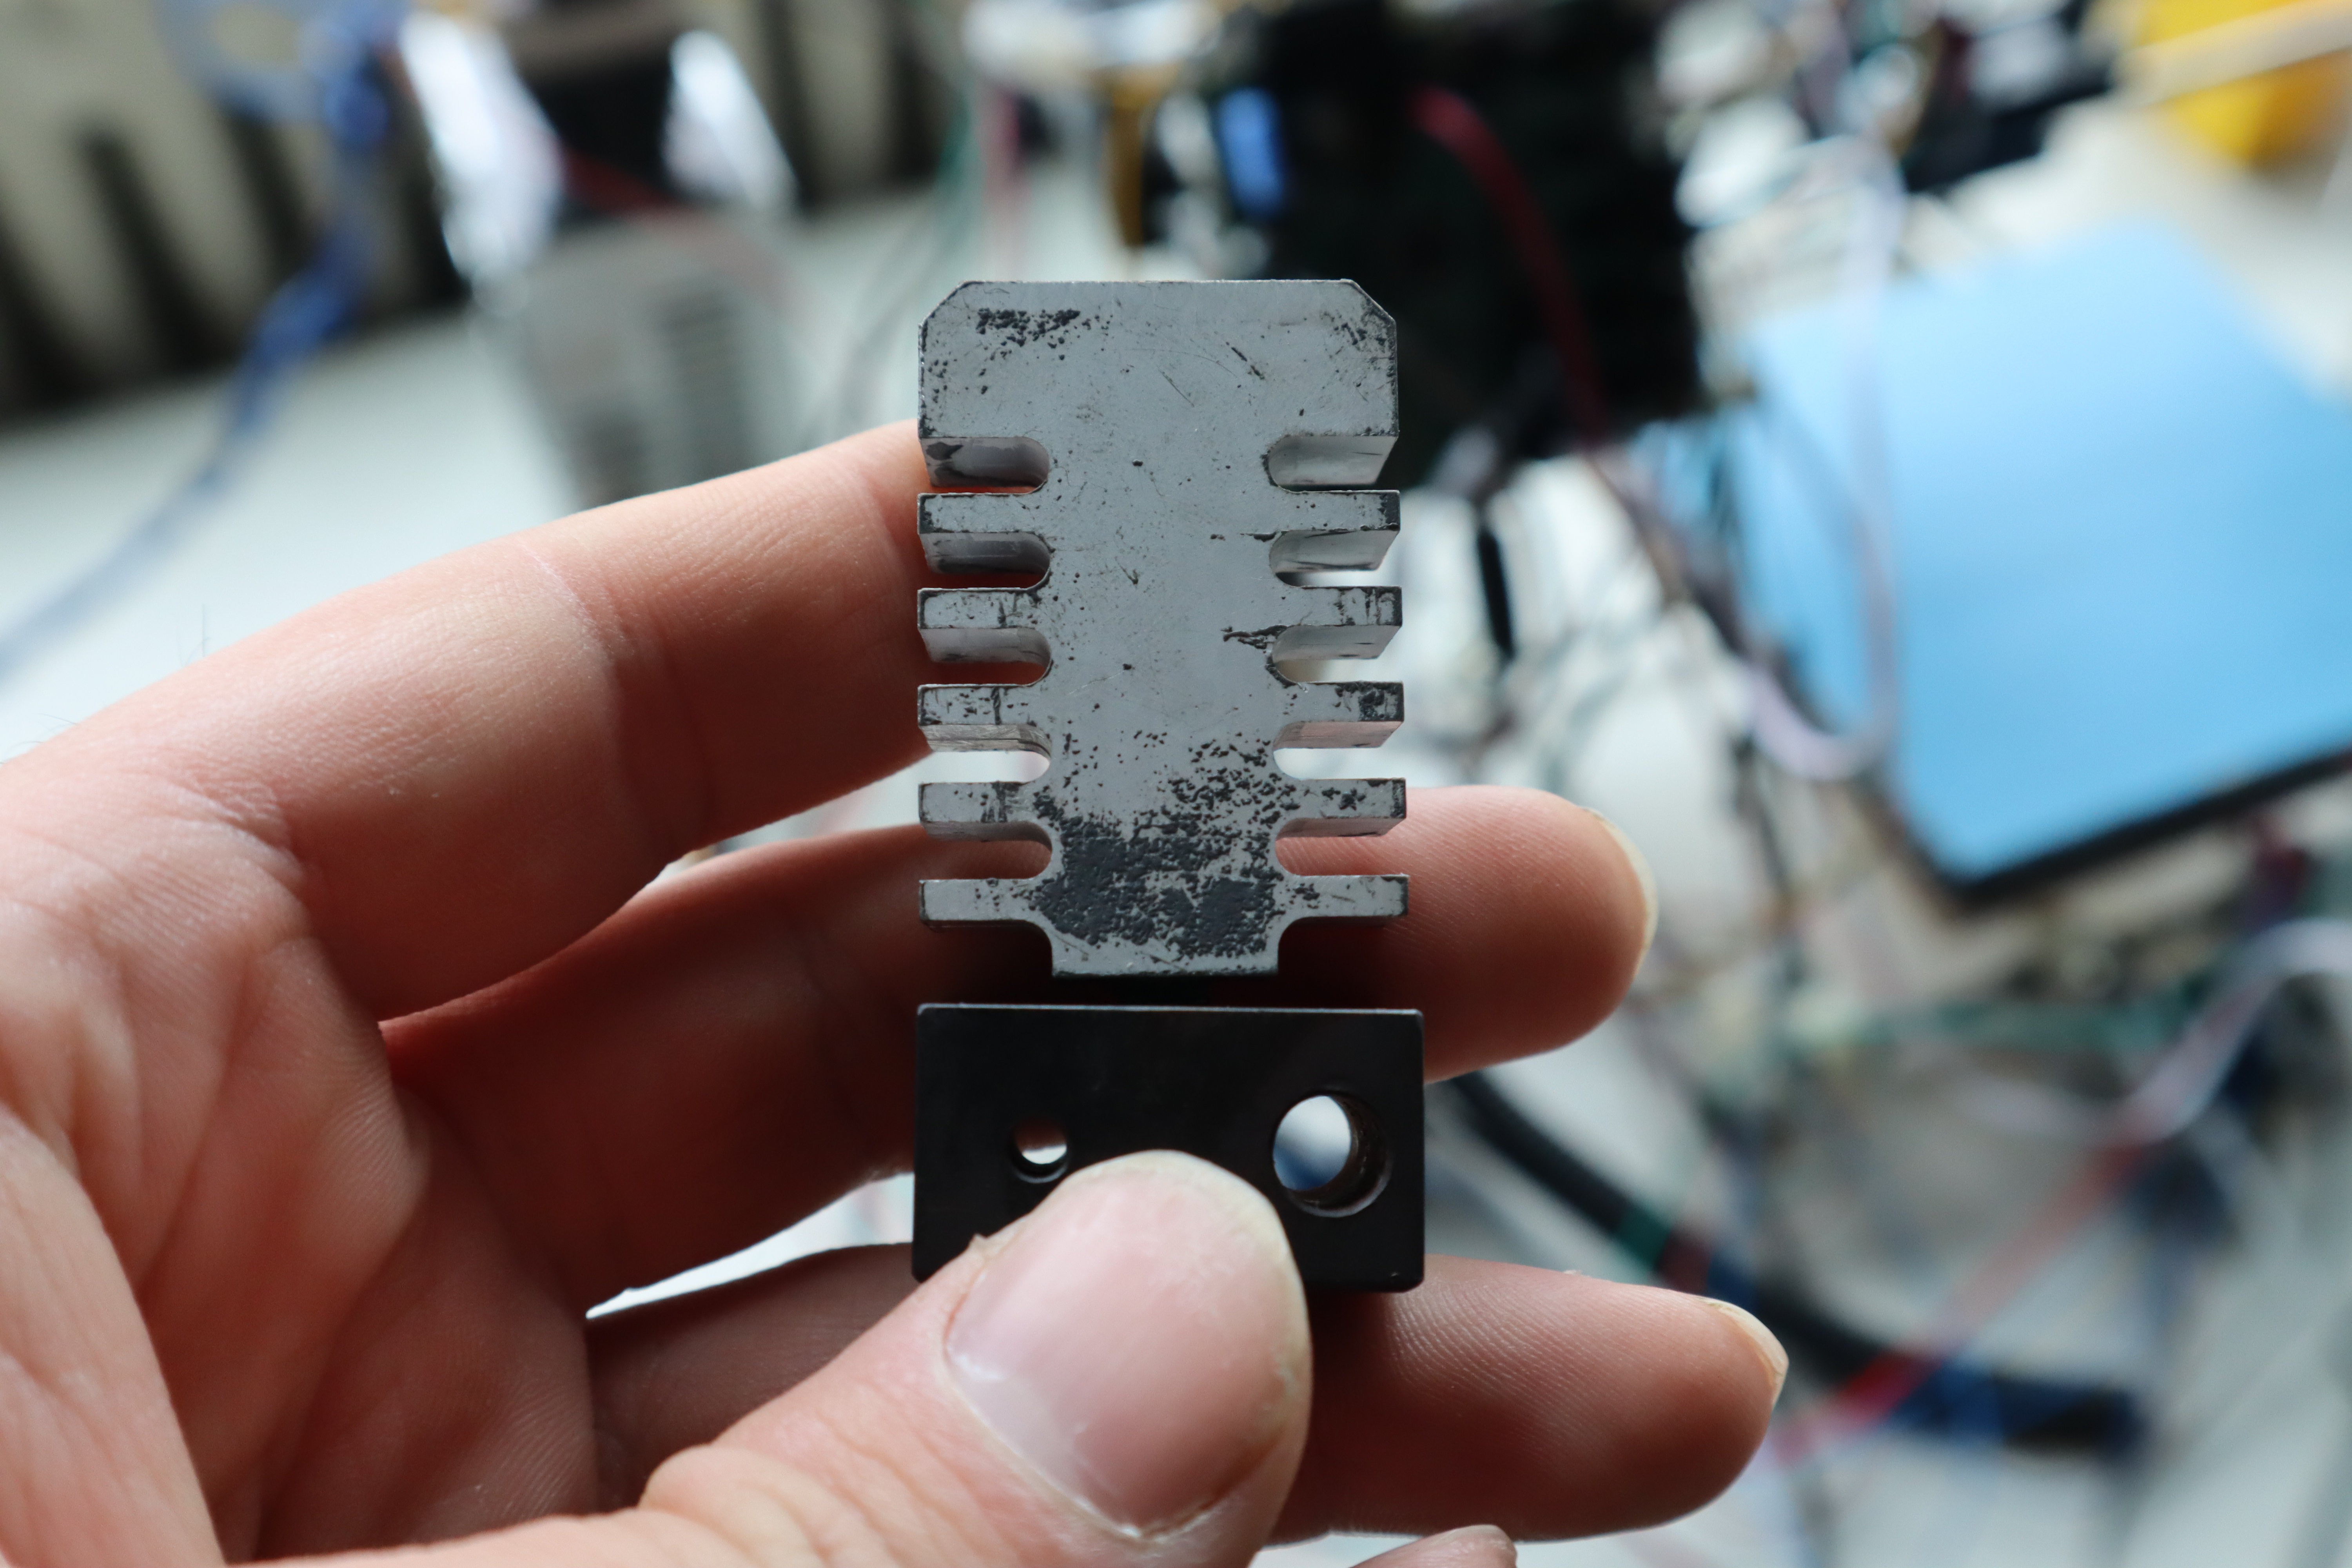
The rest of the surface was already anodized, so I assumed nothing would happen there. I guess it got scraped over time from handling. It also seems like fingerprints somehow destabilized the alumina coating under additional anodizing. Doesn't look pretty; oh well. The thick oxide coating was still very protective and abrasion resistant. The dark areas are hard oxide coated, and rose off the surface kind of like braille: the oxide coating got surprisingly thick!.
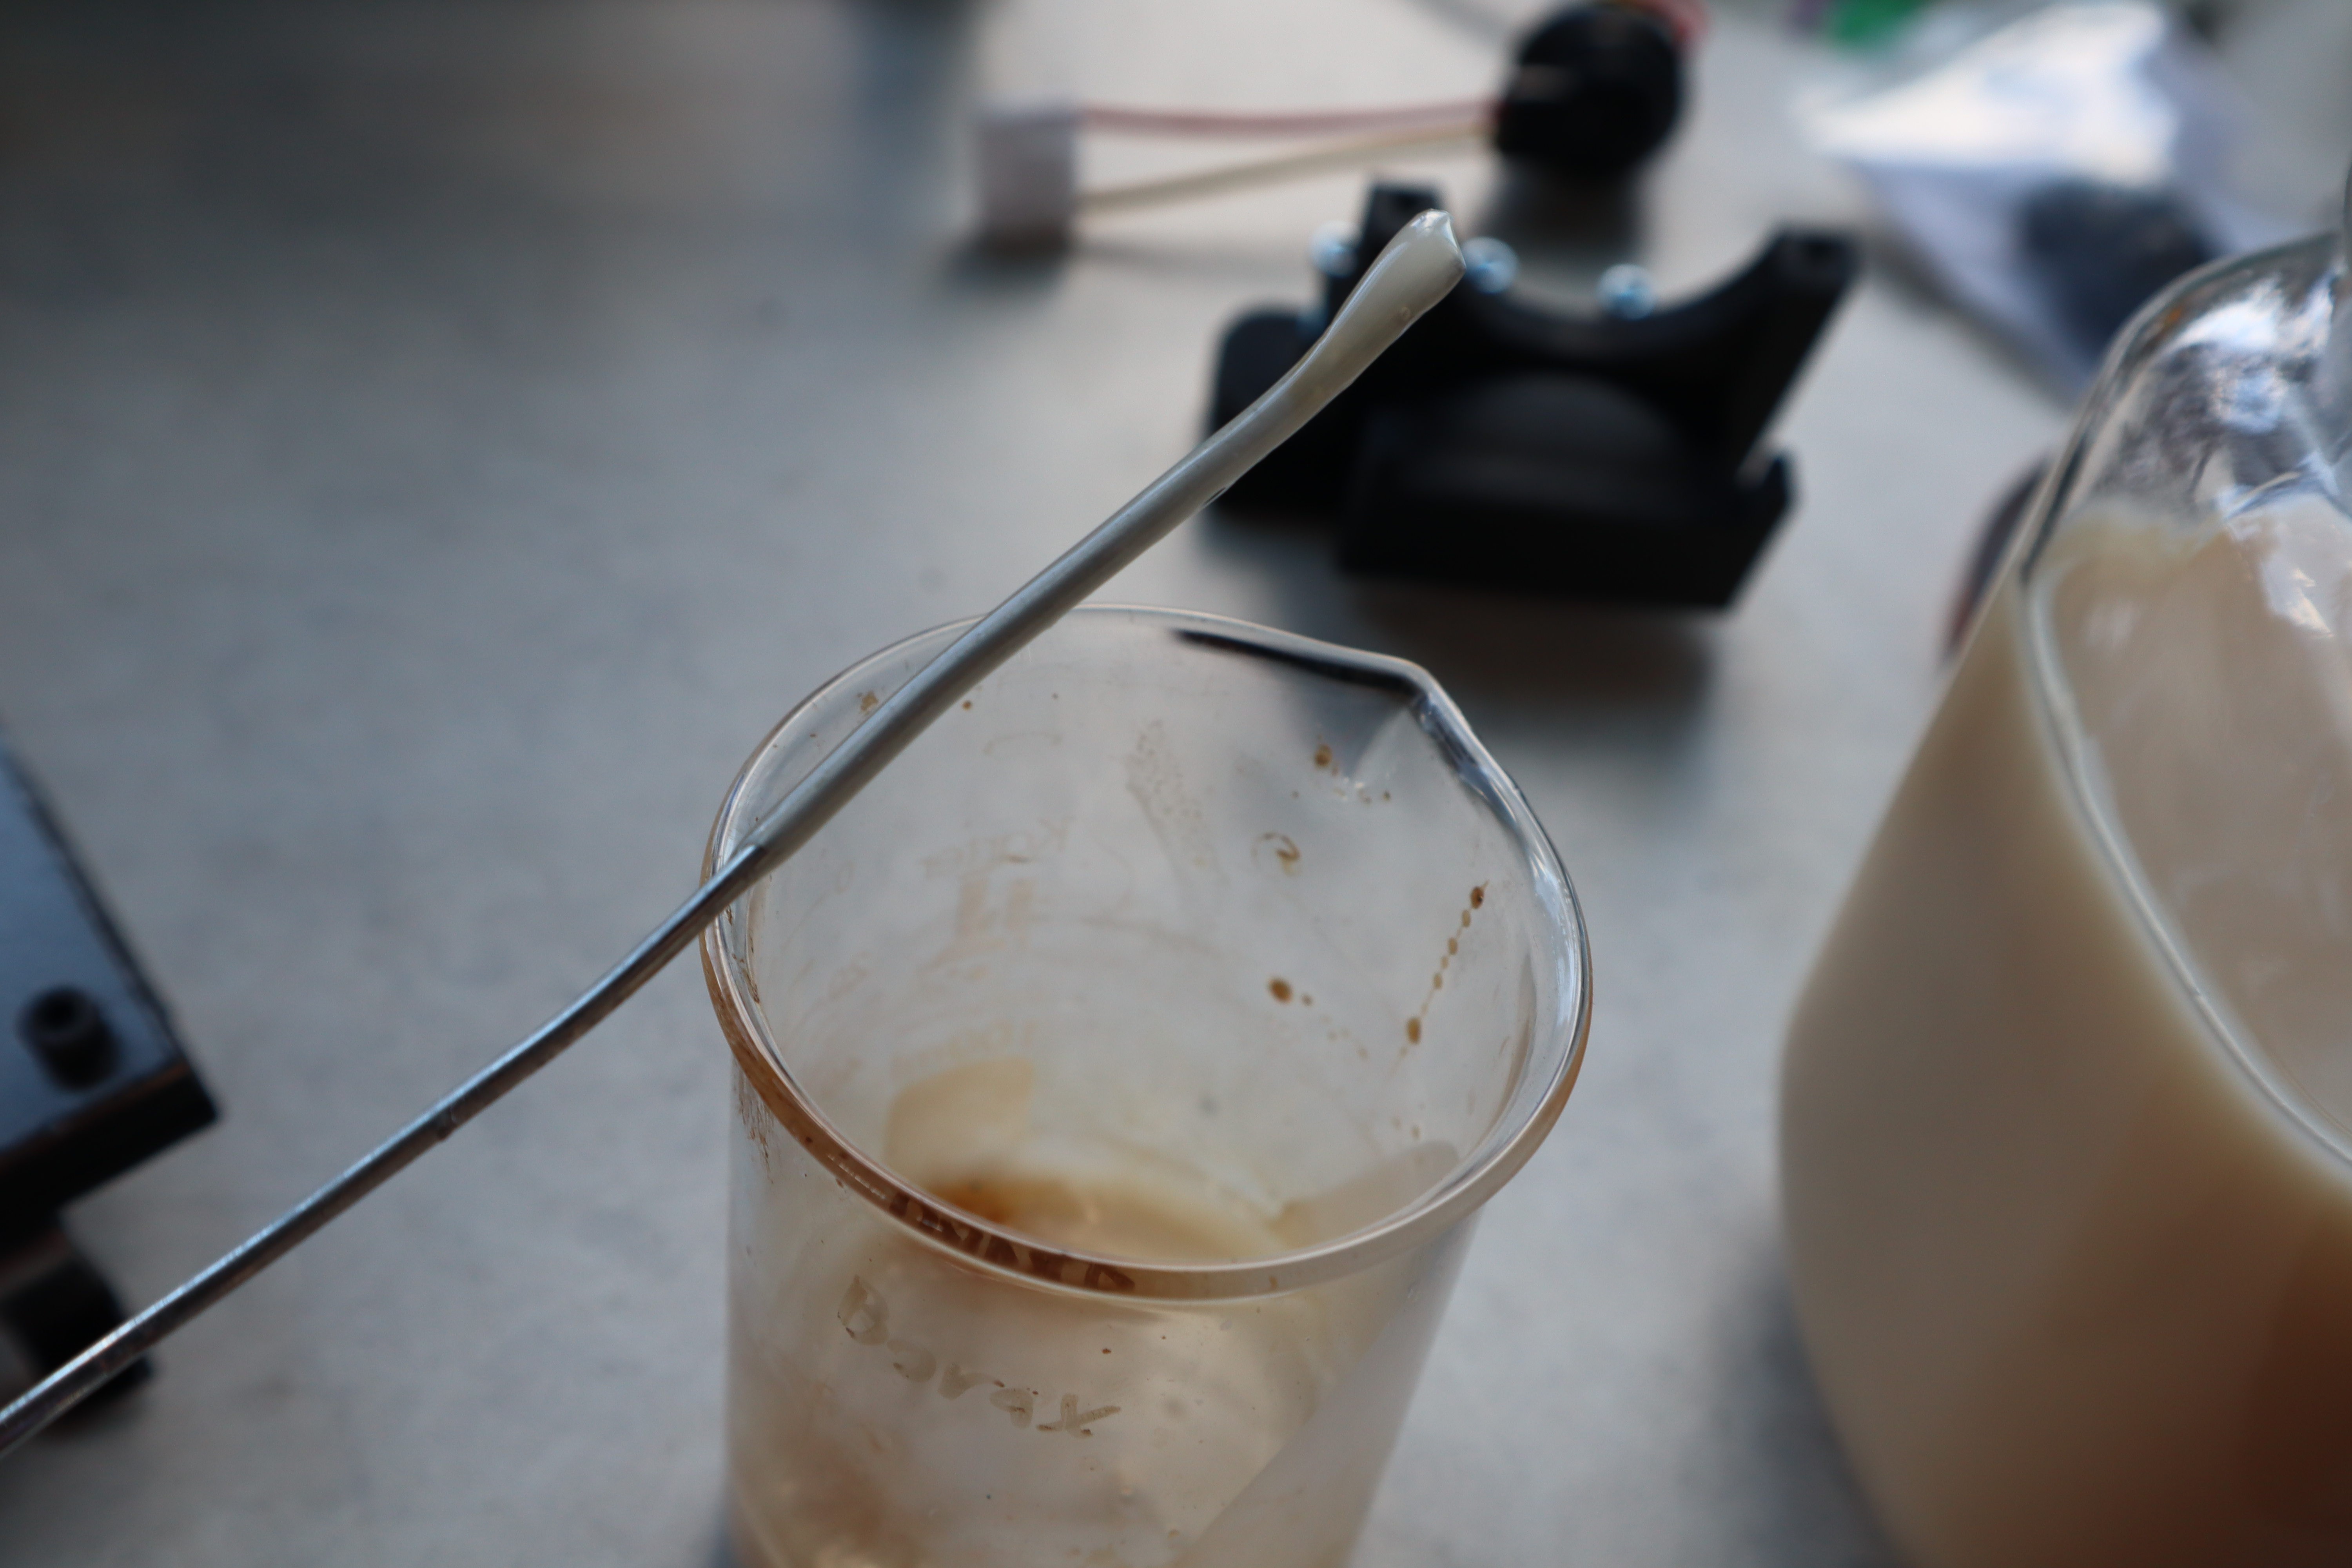
Setting up the liquid glass gasket was a little finicky with this design. I'll have to figure out something better in future iterations. First we prime the metal wire with some melted borax/glycerol (50/50 wt %) that has been cooked at 220C for 1 hour to fully diffuse the components into each other. This solidifies on the wire in a film as it cools, almost like molten sugar.
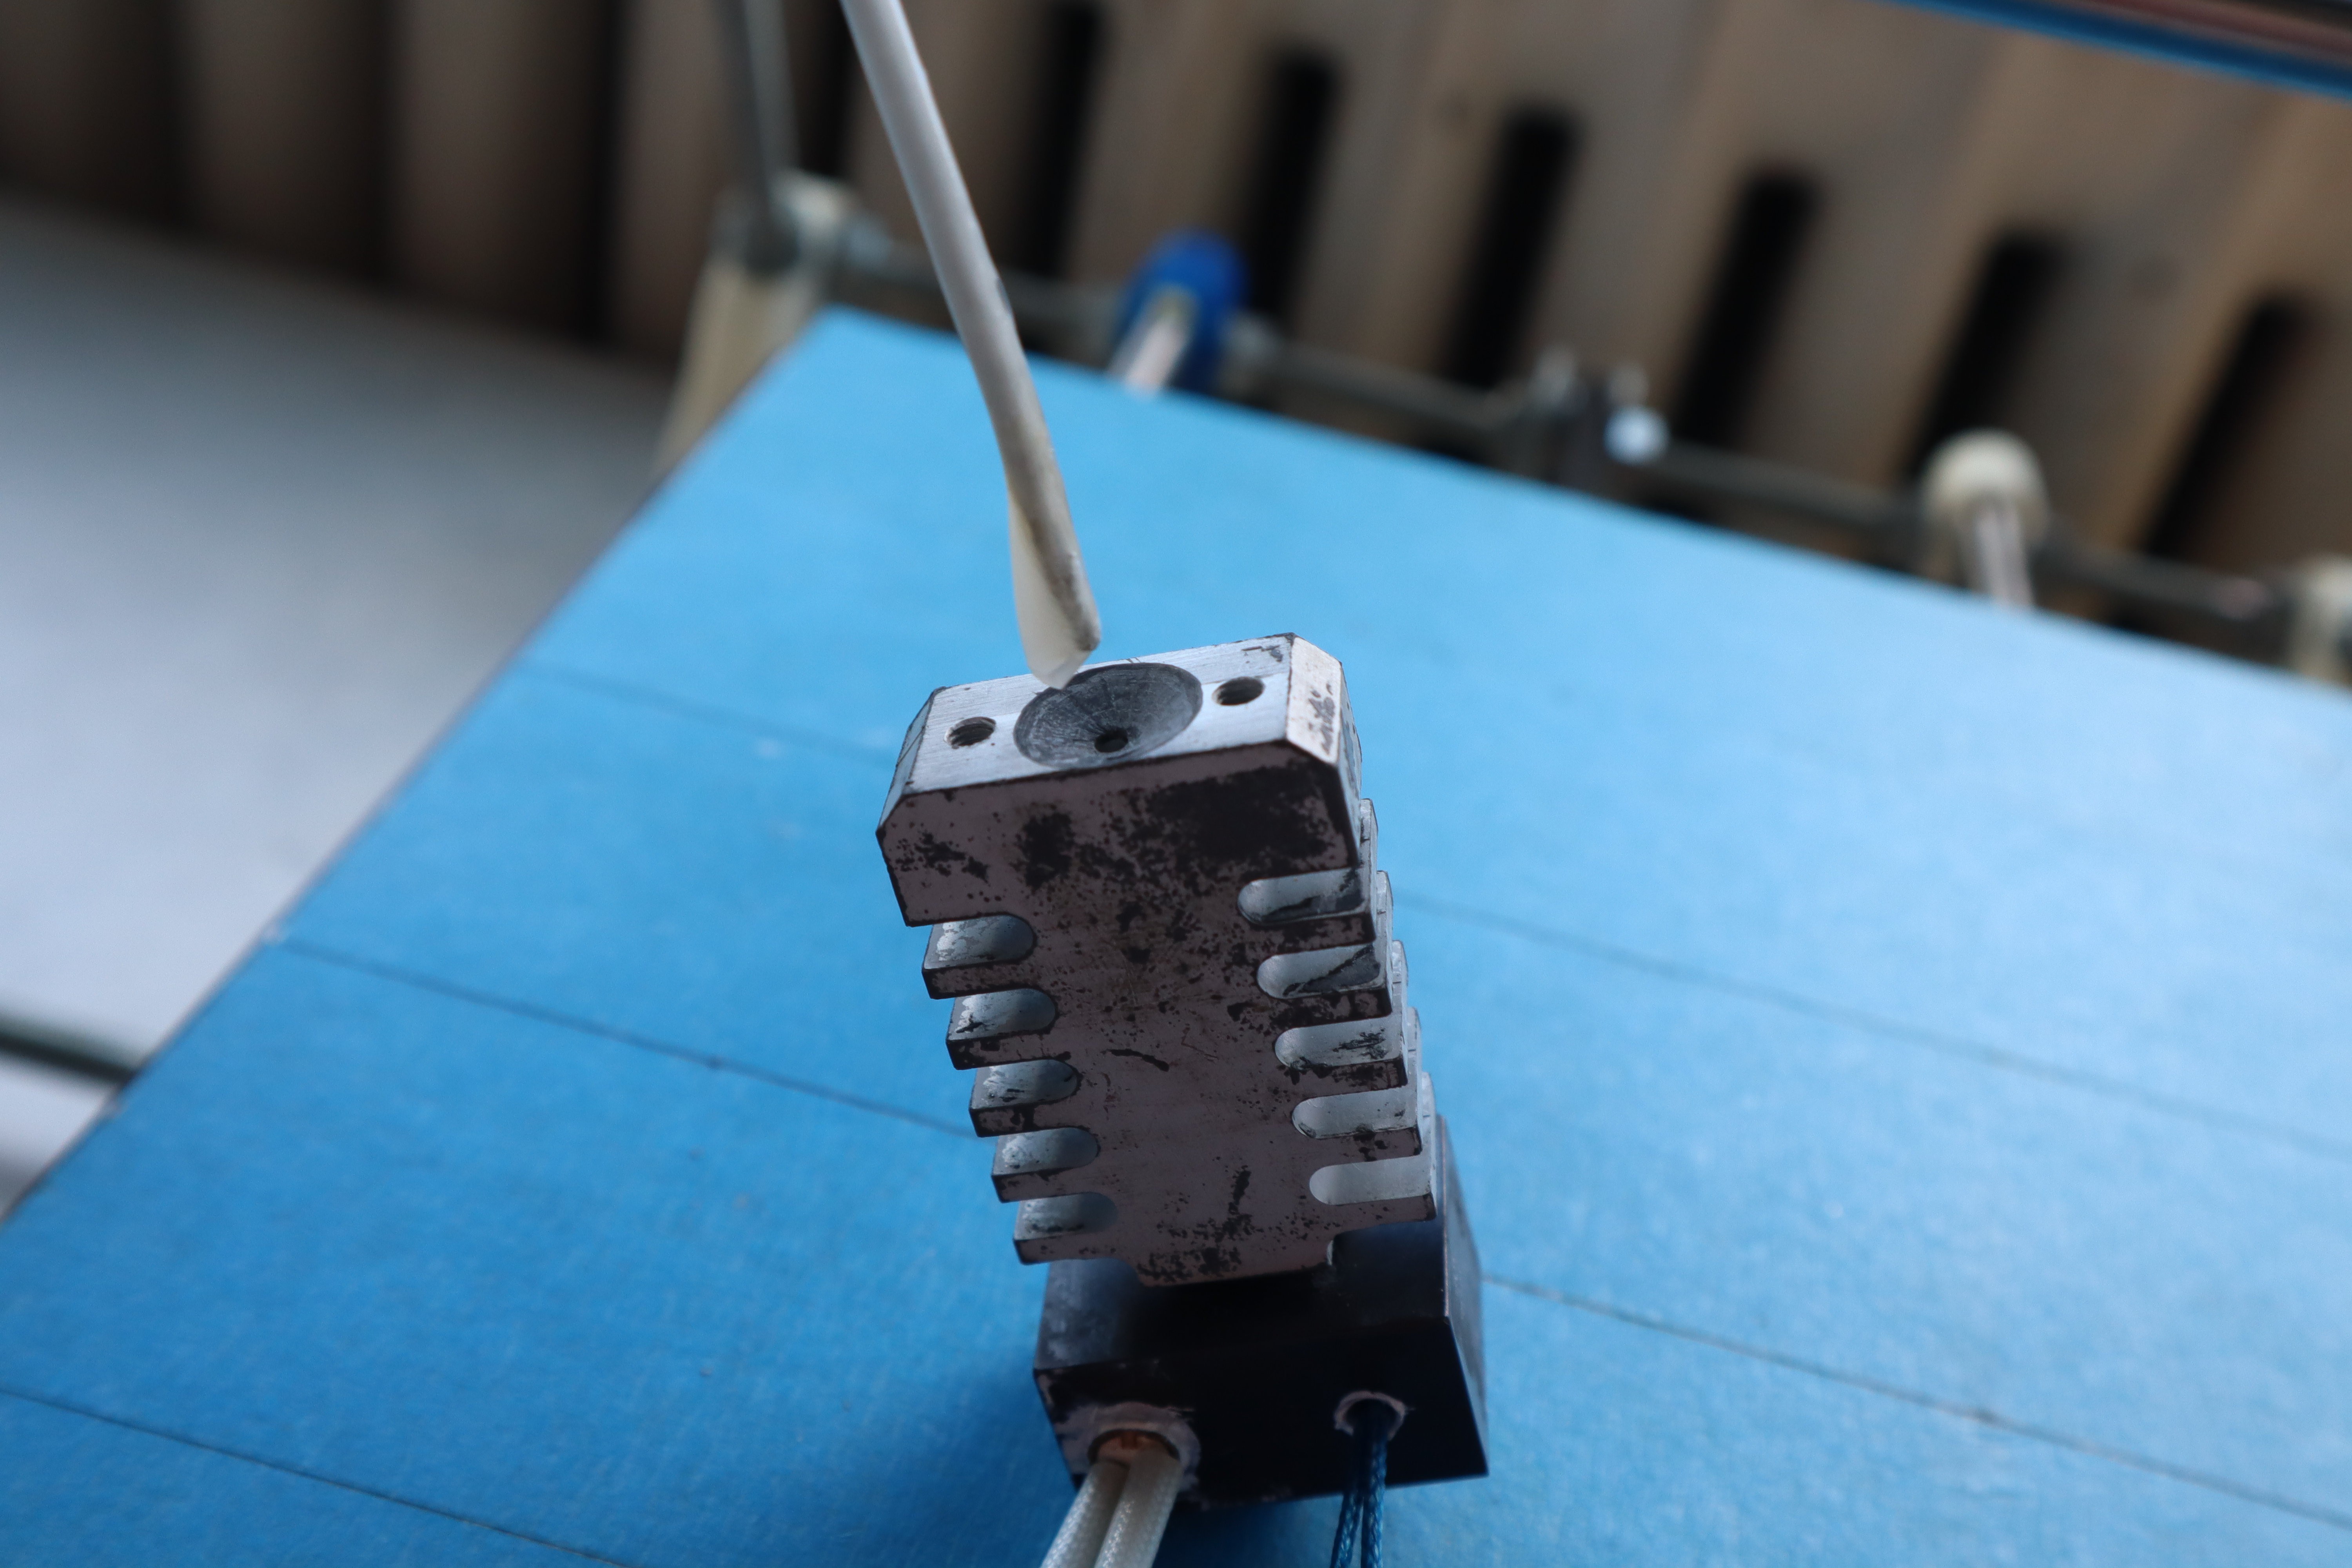
I then heat up the hot end and squish it in through the top.

I may have added a bit too much borax/glycerol mix.
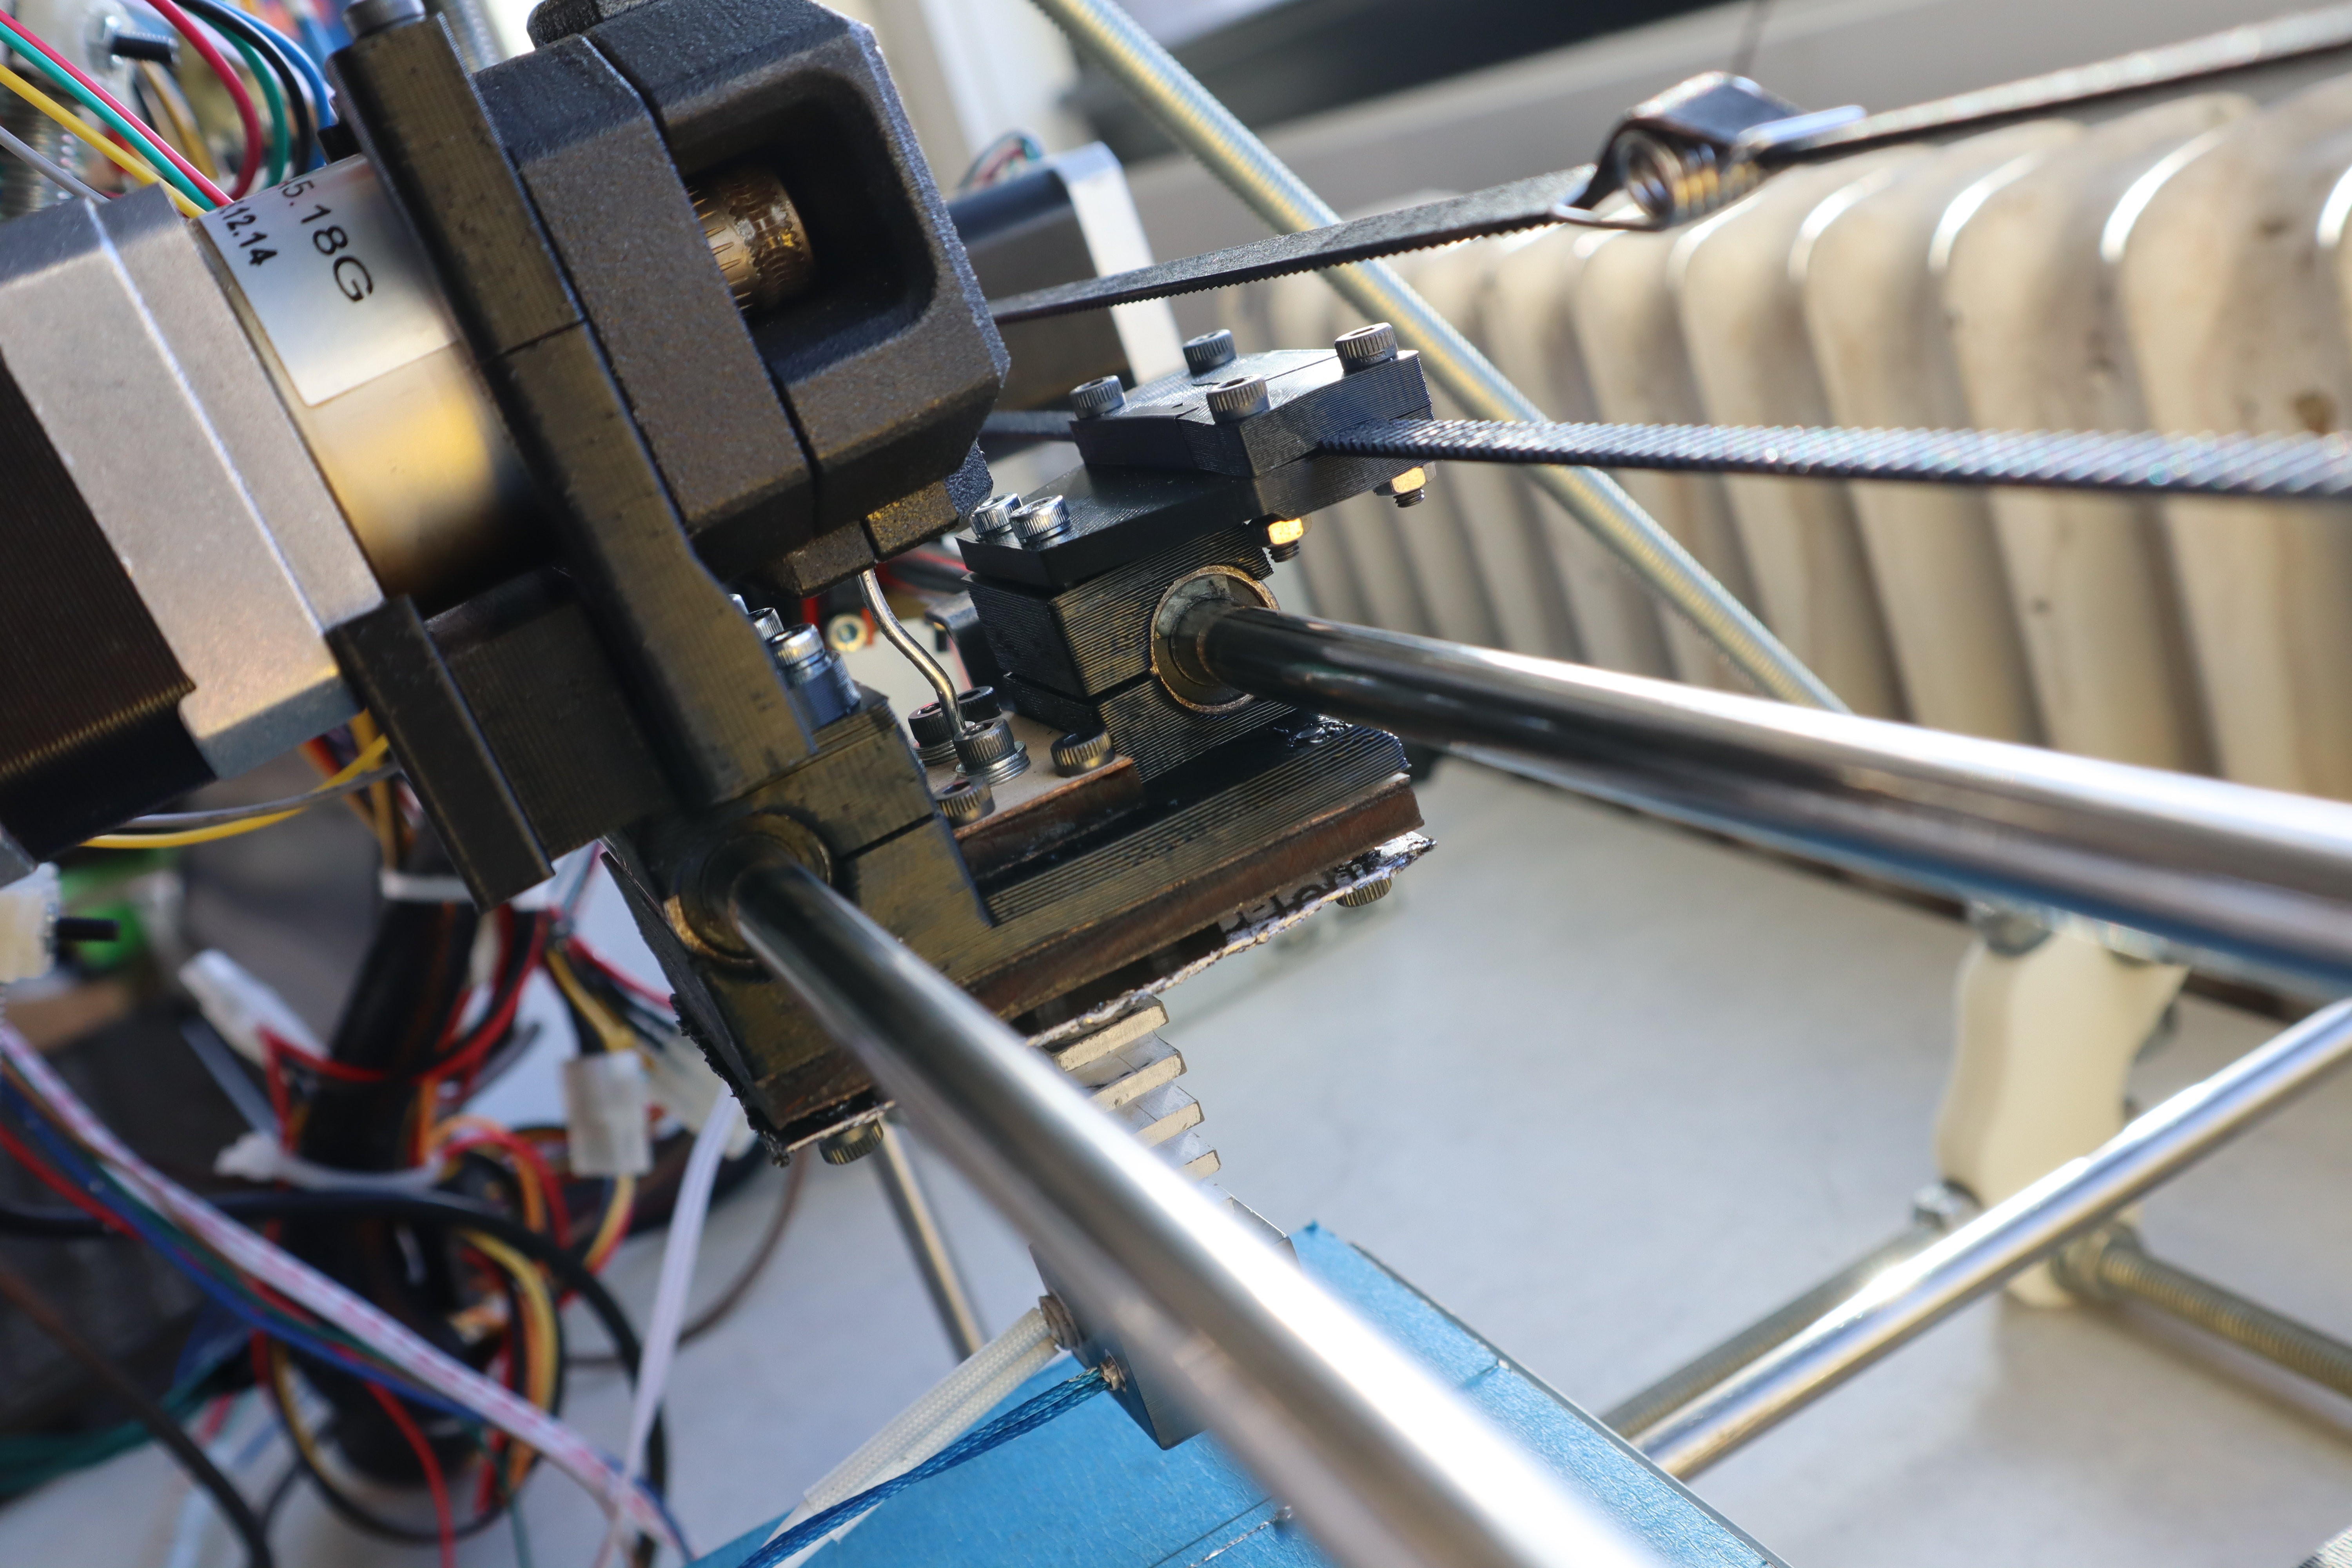
To correct somewhat for the overheating in my previous test, I added wooden belt clamps and tacked on an infrared reflector on the bottom of my extruder cold end to help keep it cooler. It was just some extra graphite gasket I had lying around. It wasn't perfect, but it worked well enough for now, because I was finally ready for my first true test print. After a false start with some bad slicer settings, here's the result of my first attempt:
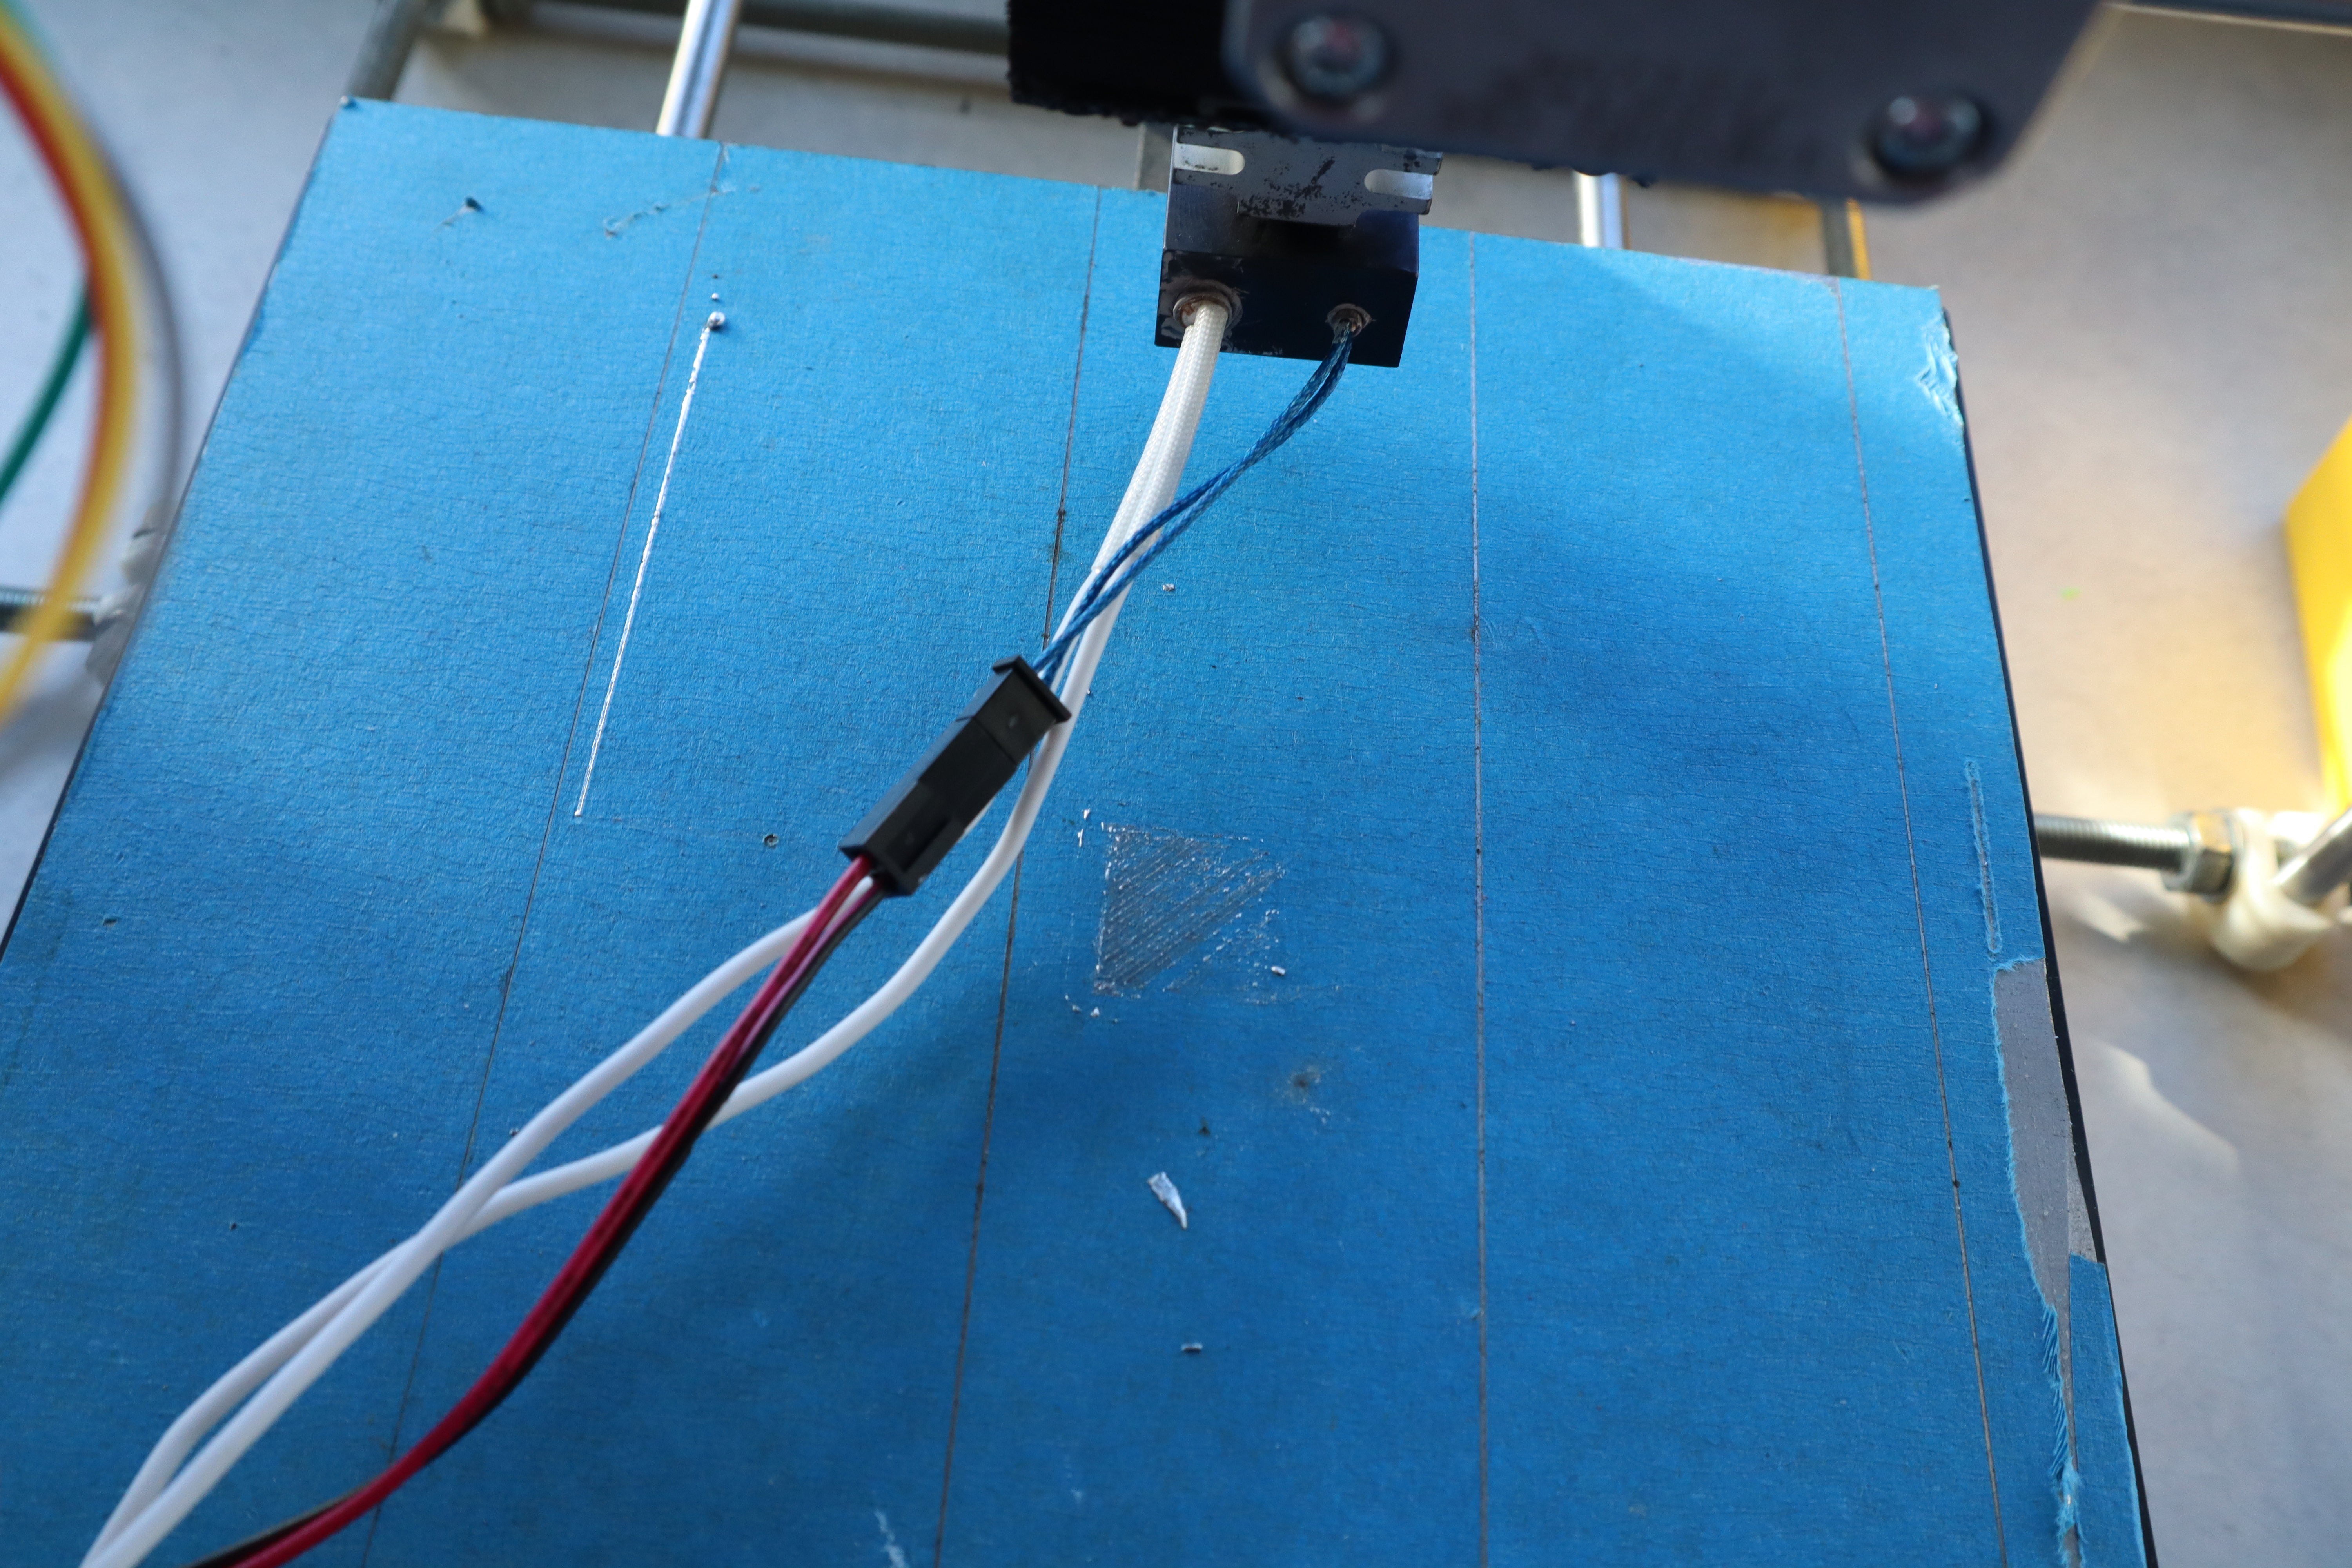
The high temperature heat bed worked perfectly: it kept the metal molten long enough to wet to the print bed (Print beds at the normal temperature of around 60C are nowhere near hot enough in my experience). But then almost immediately, the extruder jammed! It's always something, isn't it? The issue was easy enough to diagnose:
The wire had buckled in my crappy prototype extruder because it wasn't constrained properly. And moreover, when I opened up the nozzle, the molten metal had forced its way up into a cavity in the cold end and solidified, locking the filament in place. It will spin around because the cavity is circularly symmetric, but it won't push in or pull out. This means I need a steeper temperature gradient and more careful control of the internal geometry of the extruder. Luckily, I have an extra E3D nozzle I can cannibalize to test that out. More info will be available as soon as that's done.
Also something important to note: If you look at the Prusa Slicer config, you will notice that the print temperature is set to 300C instead of 240: this is because of the thermal gradient from the nozzle to the print bed: while printing, we want the very tip of the nozzle to be at about 240C, so to achieve that in practice, we need to increase our print bed temperature substantially, and need to do the same with the hotend. For the extruder geometry I chose, a midpoint rule can conveniently be used to roughly estimate the extruder and bed temperatures required: the extruder set point is 60 degrees above 240, and the bed temperature is 70 degrees below that temperature. A bed temperature of 180 degrees would work just as well. for an even split. All that temperature gradient falls across just the small nozzle, so it's feasible to control the temperature gradient precisely with a large heat source and sink: the heater block and the print bed. In that sense, the thermal boundary conditions are controlled.
Discussions
Become a Hackaday.io Member
Create an account to leave a comment. Already have an account? Log In.