 Michael Perrone
Careful application of the X-Pando to the male threads, and replacement of the glycerol-borax flux with glycerol-zinc chloride flux removed the clogging issue at the nozzle, but now it appears that there is a new issue:
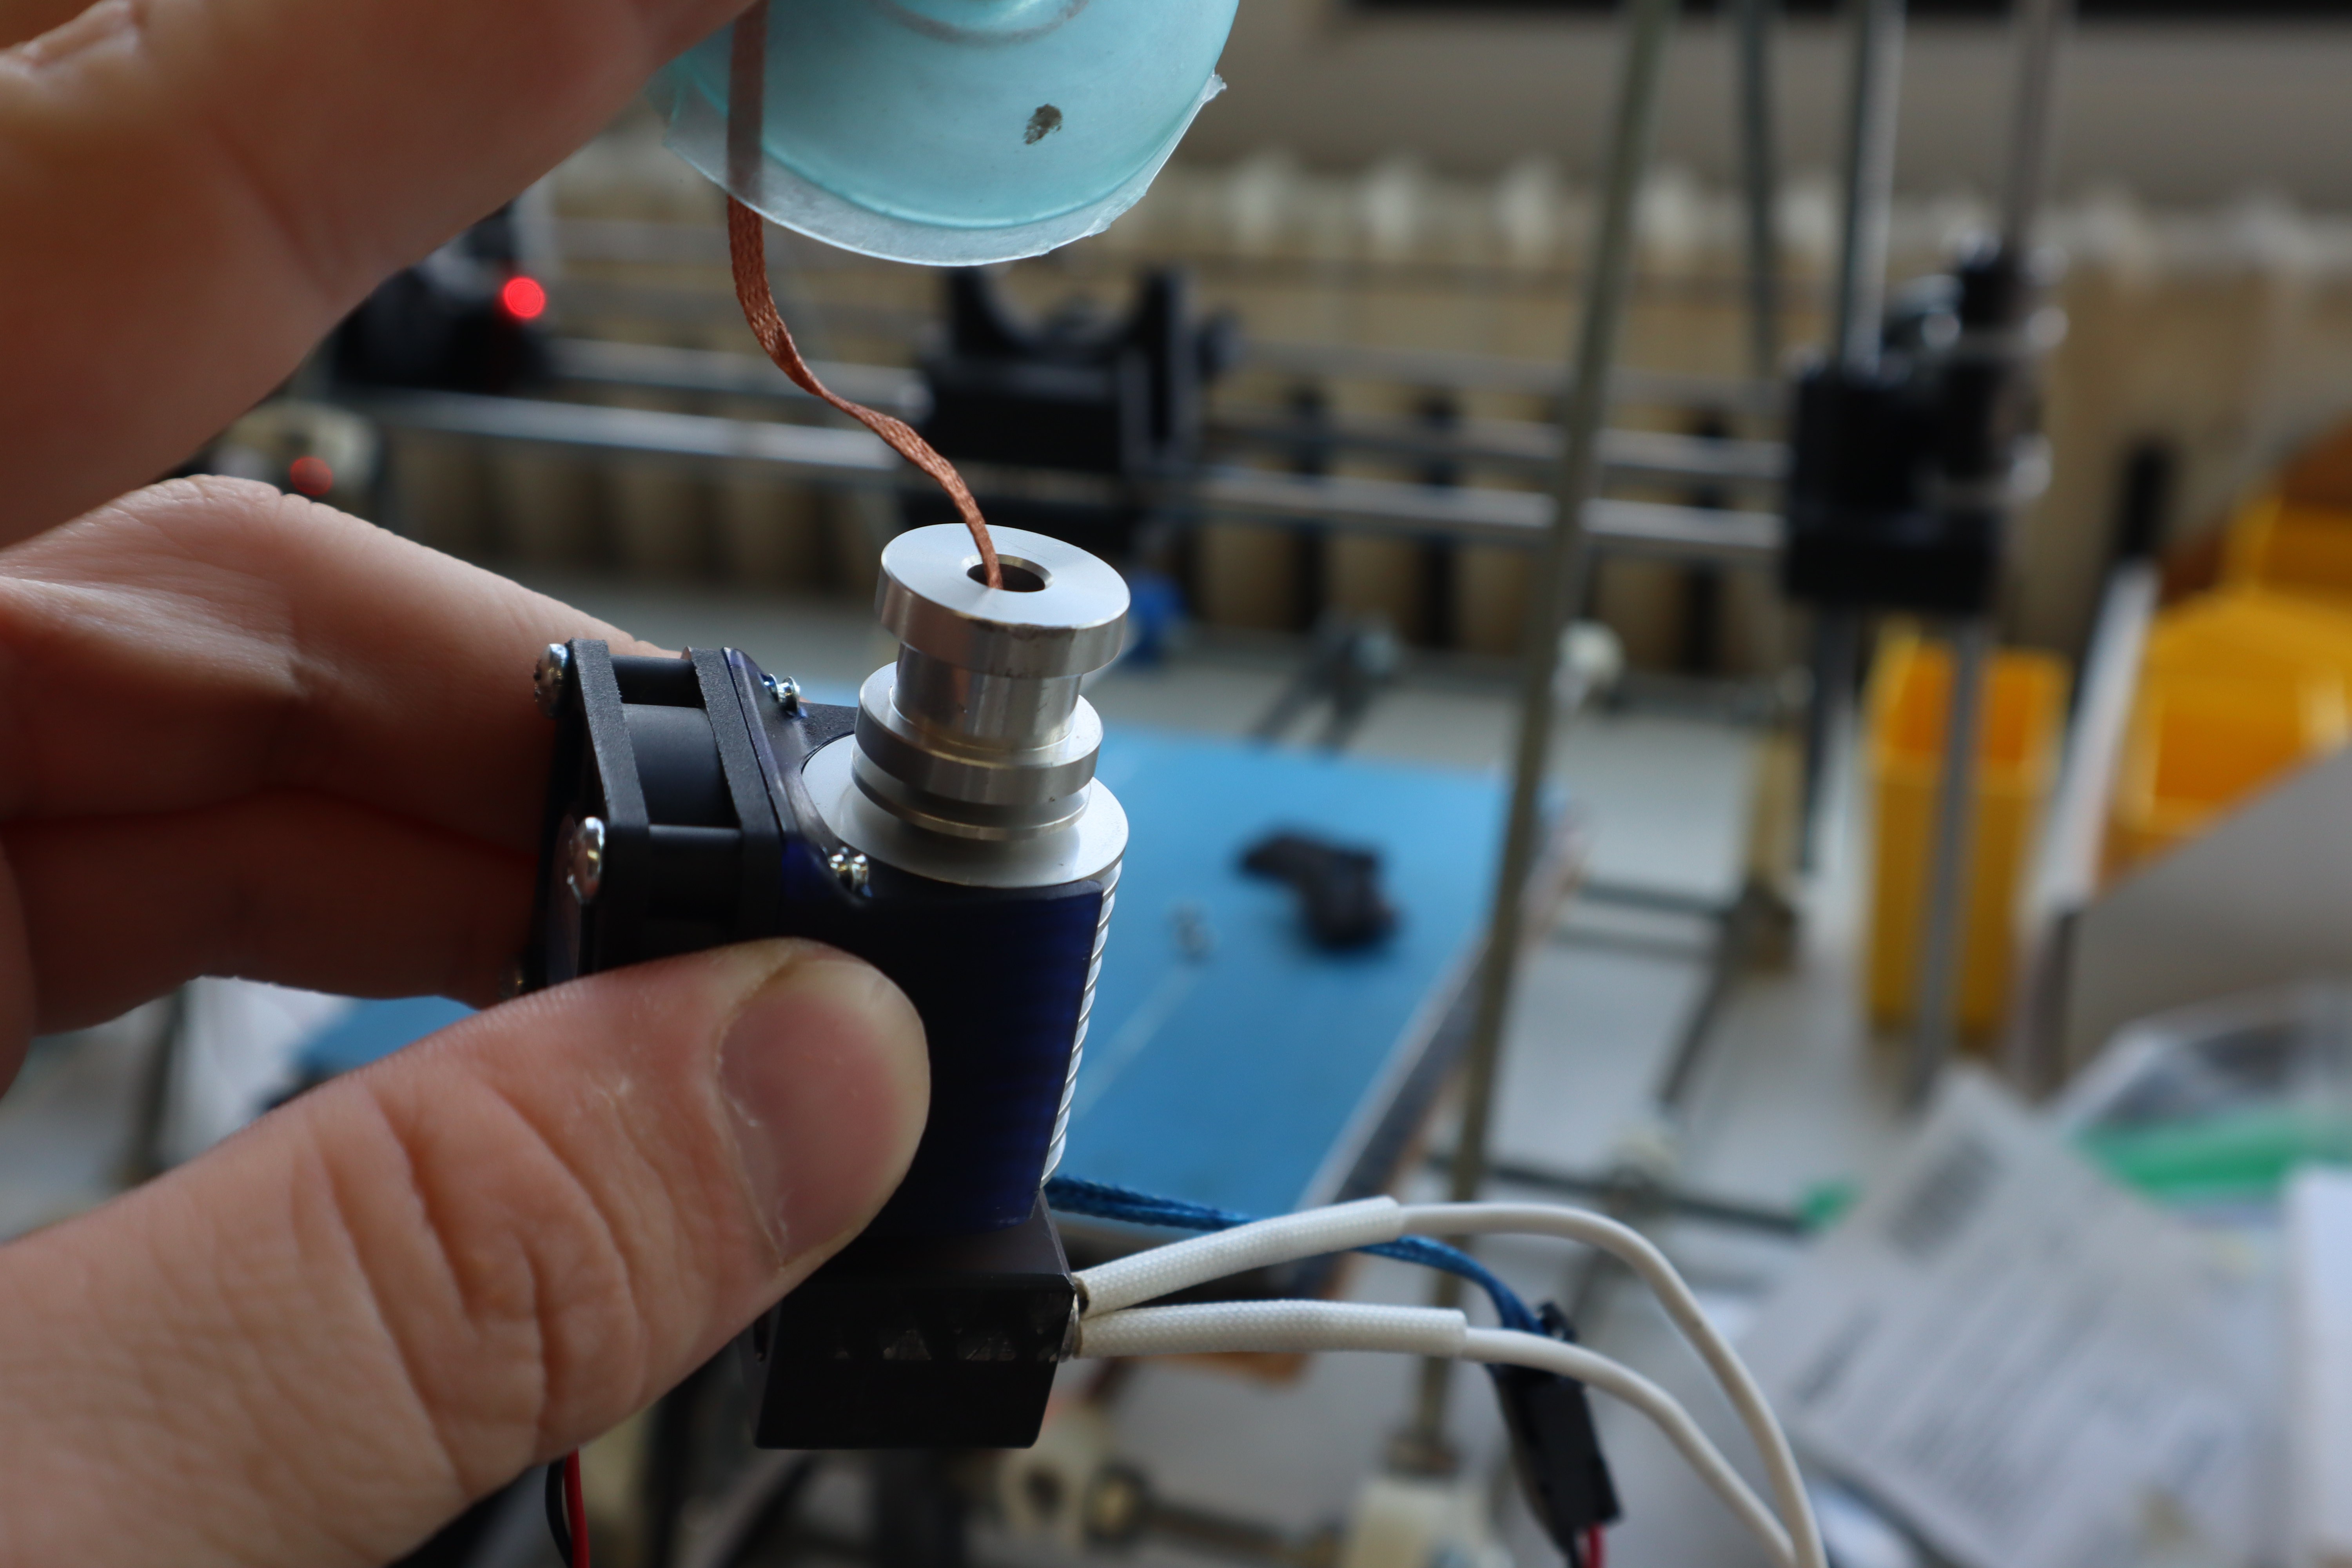
As the wire approaches the heatbreak it softens and widens , apparently becoming semisolid. It then apparently mechanically sticks to the wall of the heatbreak. The length of material that does this seems a bit longer than the heatbreak itself, suggesting that most of the heat is being conducted along the metal wire. This means that the thermal gradient will be less steep than we would expect from thermoplastic printing, which means E3D's design would ultimately need to be re-optimized for metal printing; something I had hoped to avoid. I increased the clamping force to try and avoid stripping, but it still got stuck this way. Perhaps I should also reduce maximum acceleration of the extruder, to help prevent stripping, but the better thing would be to figure out the cause of the jamming

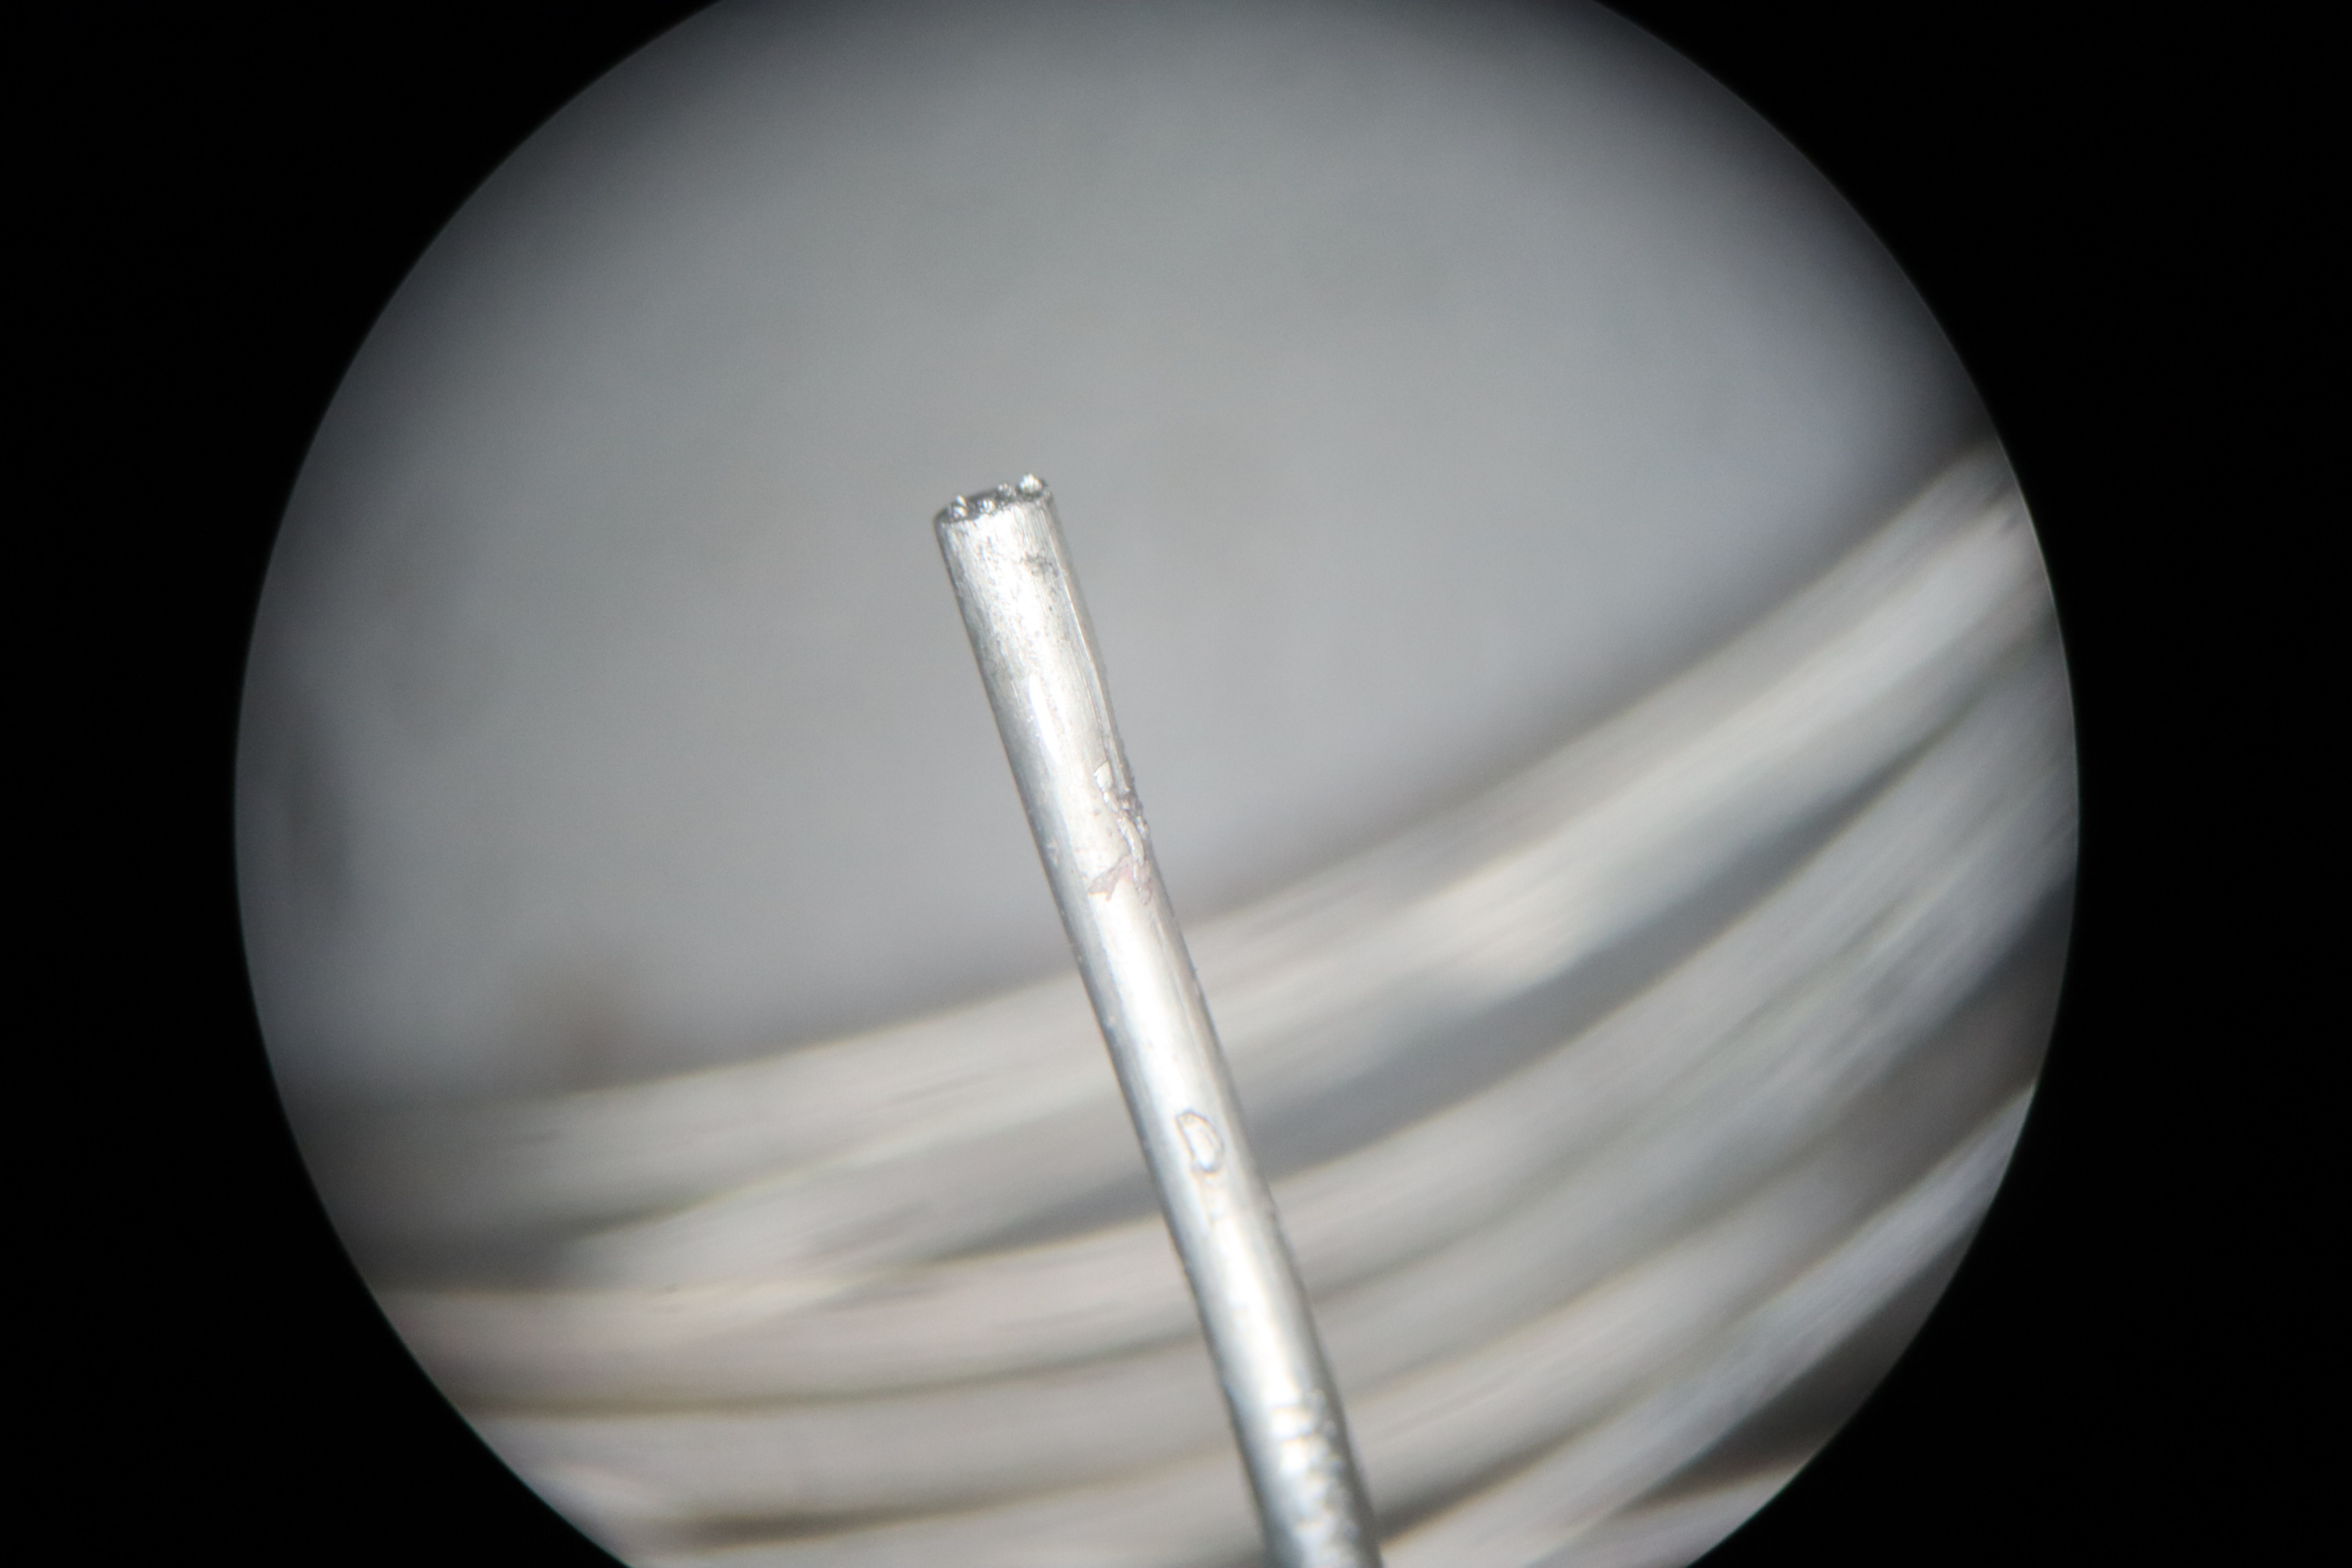
I poked around in the nozzle with my 100 micron tipped engraving bits but found only metal this time: no nonmetallic blockages this time. If the temperature gradient at the nozzle tip is too steep, then perhaps granular jamming is occuring at the tip, but the melting point of this alloy is at least 20 degrees below the steady state extruder temperature when not in contact with a surface. When subsequently lifting off the surface, the blockage should re-dissolve readily in the alloy, allowing for extrusion again, but that's not what I observed: once it's clogged, if you cancel the print and move the extruder up in the Z axis, it remains clogged. There is a chance I am wrong about the temperature at the nozzle tip, so I will investigate this further
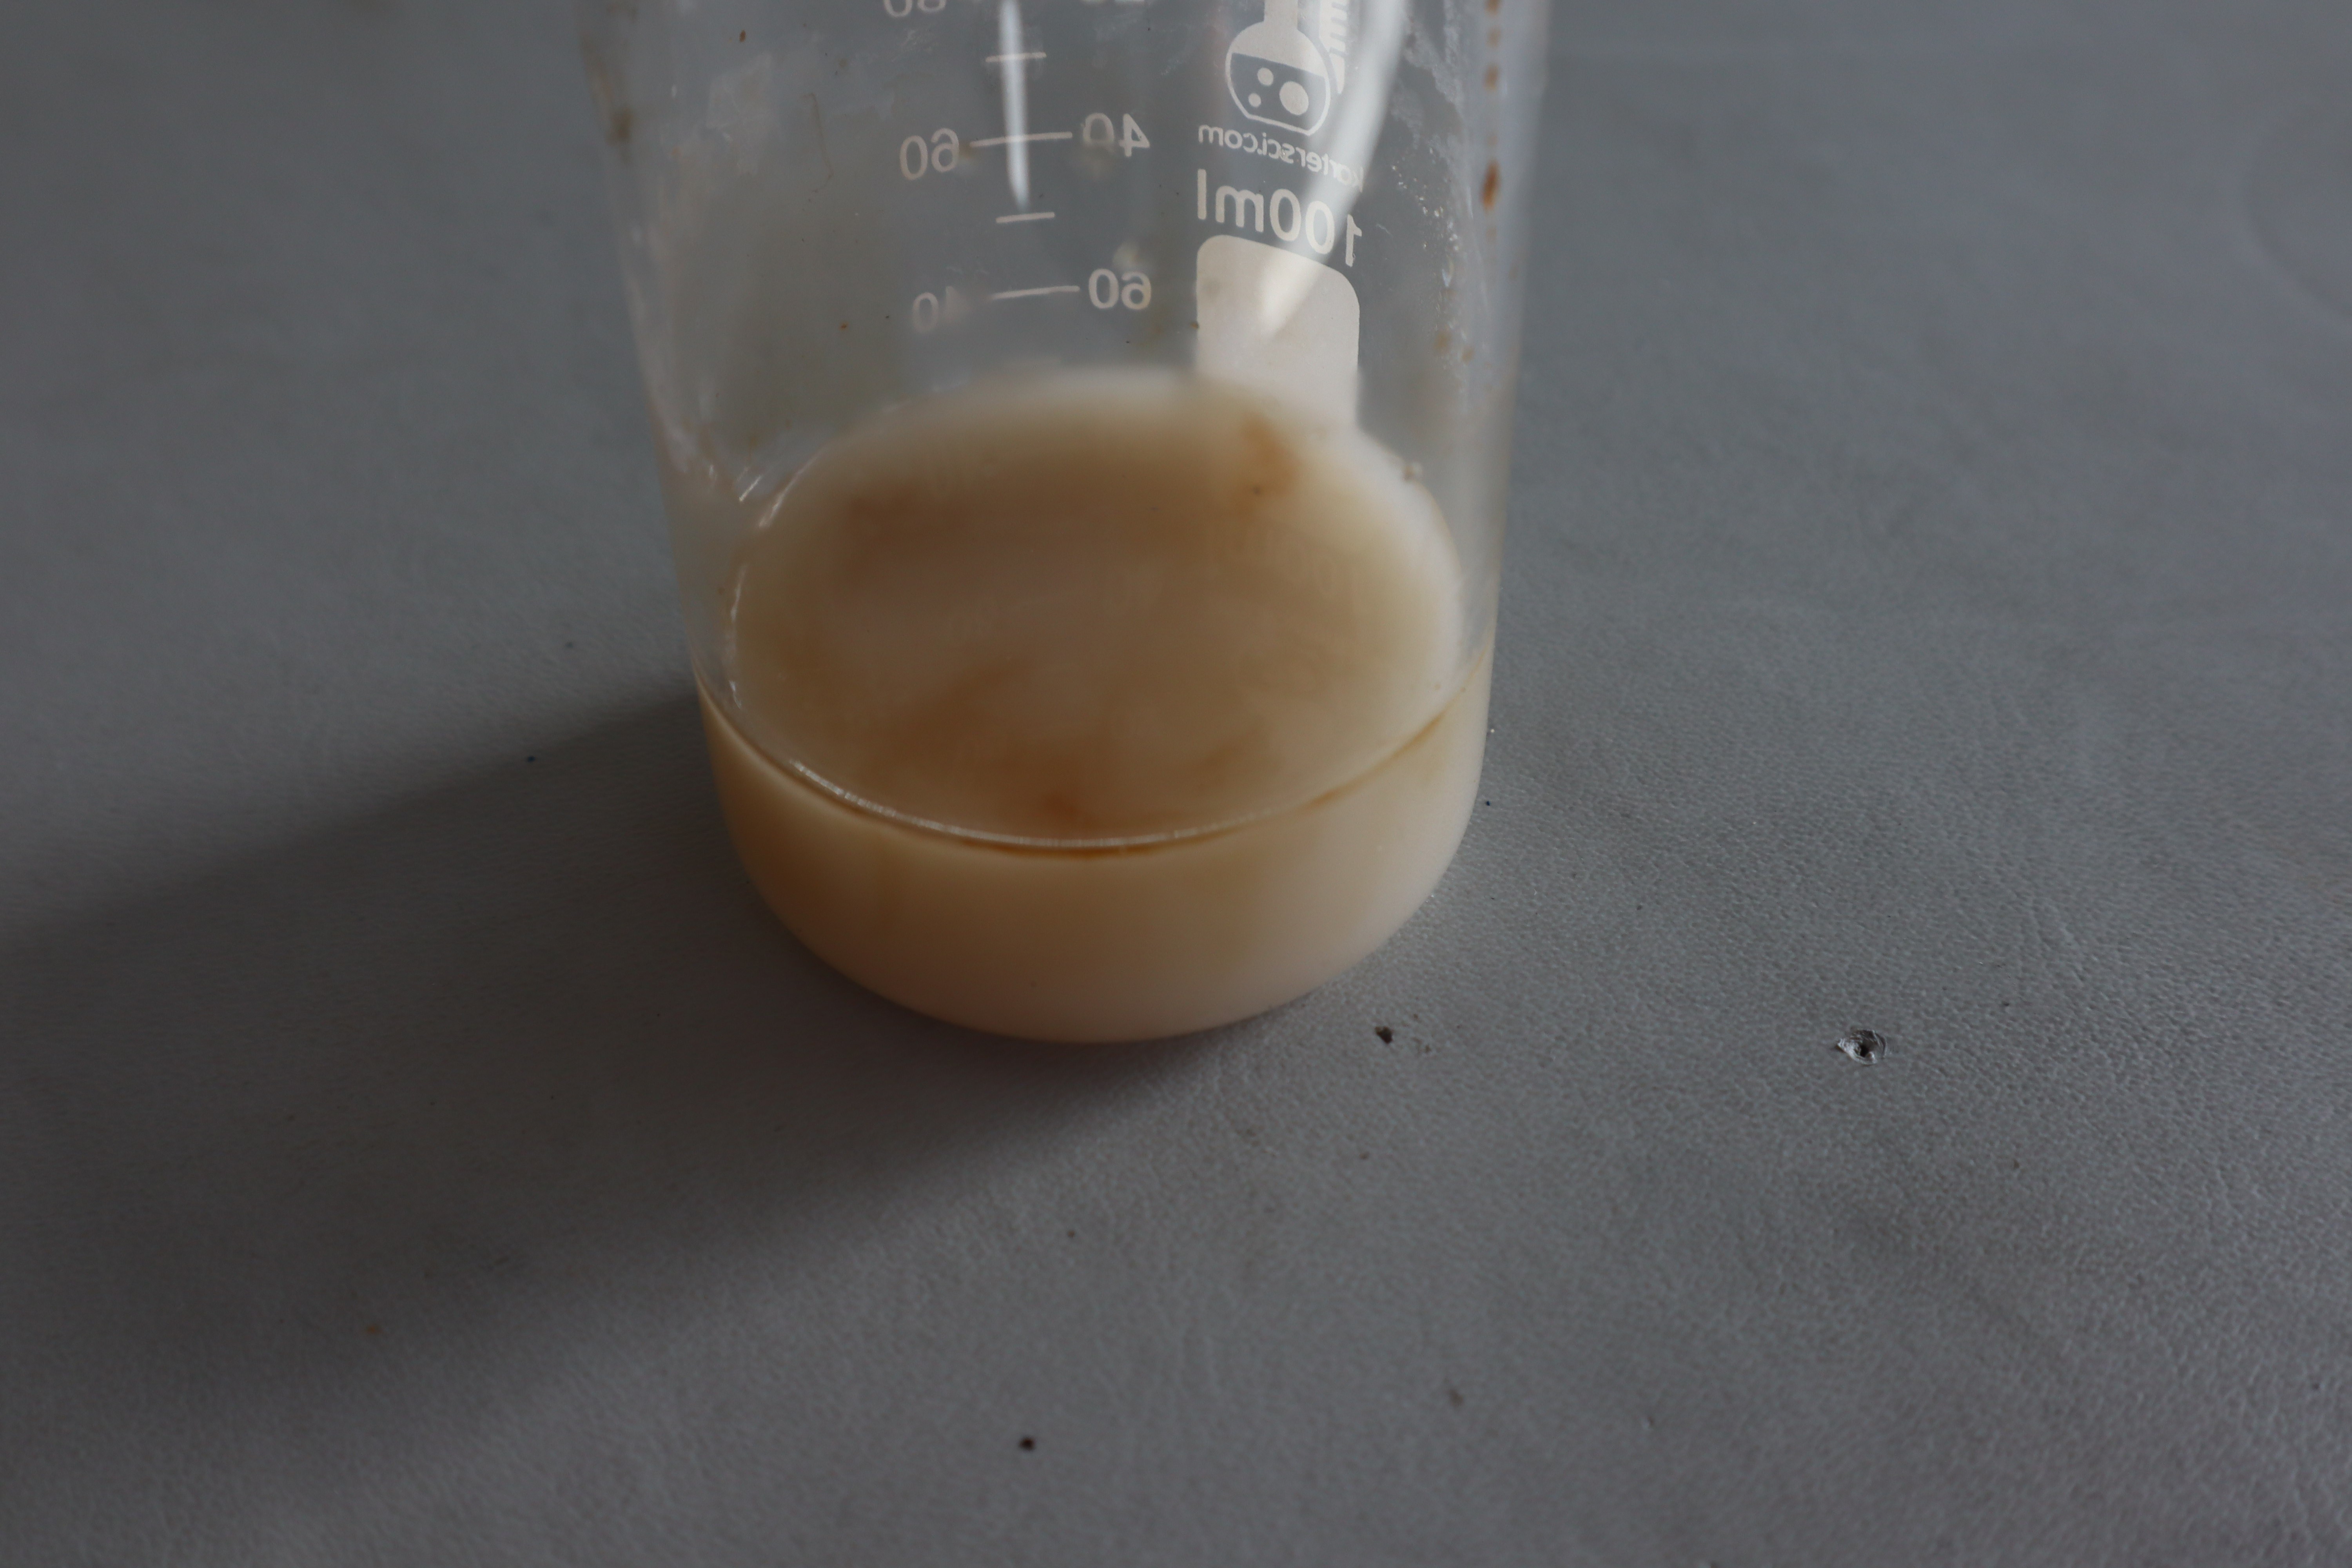
I also noticed something else: the glycerol-borax solution I've been using had some aluminum hydroxide powder I mixed in then forgot about for a while. If it were a glassy material we would expect it to be clear
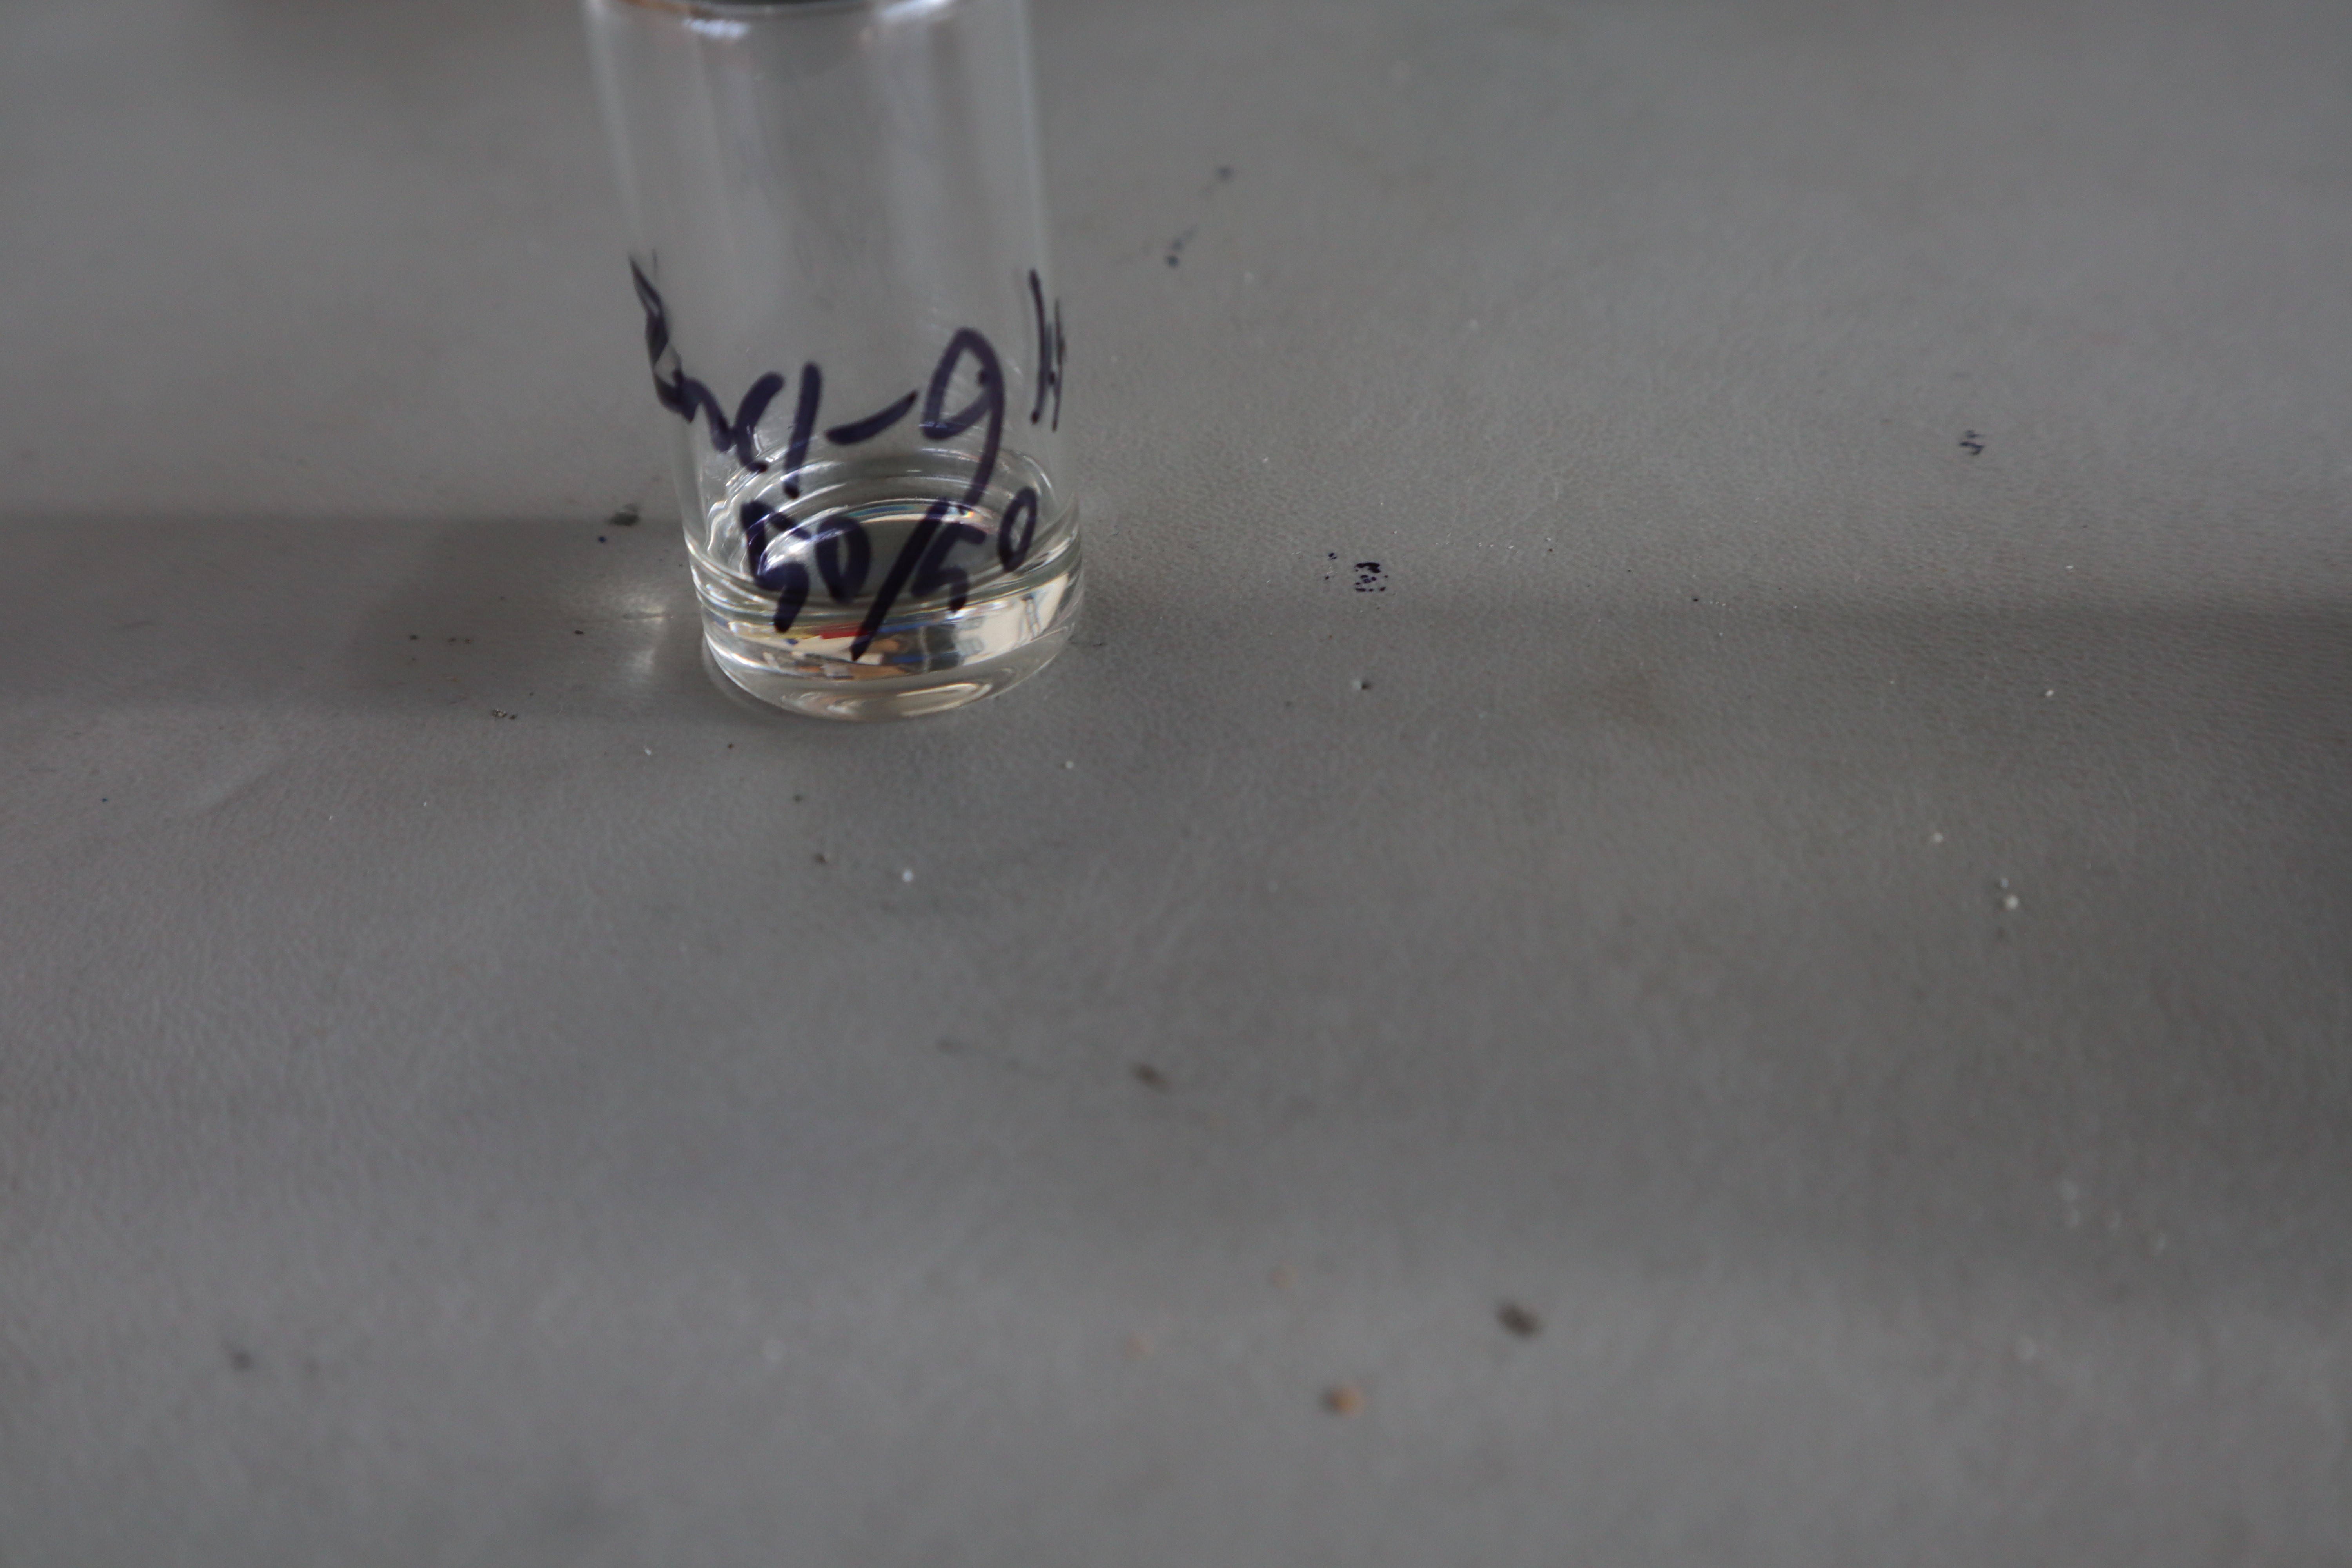
The zinc chloride/glycerol deep eutectic solvent was clear for example, though highly viscous with the 50/50 wt% combination I used. I bet this deep eutectic would be excellent for rechargeable zinc batteries: that viscosity would really help reduce dendrite formation.
But back to the jamming issue, I realized that the zinc chloride could have caused the tin-zinc to solder to the stainless steel, so I tested it:
And indeed, the glycerol-zinc chloride acted as a flux which made the stainless steel solderable by 80/20 wt% tin-zinc. I'm sure this is useful for a number of projects here on Hackaday. It seems to allow soldering to freshly abraded surfaces better than surfaces that have had time to develop a stable oxide layer.
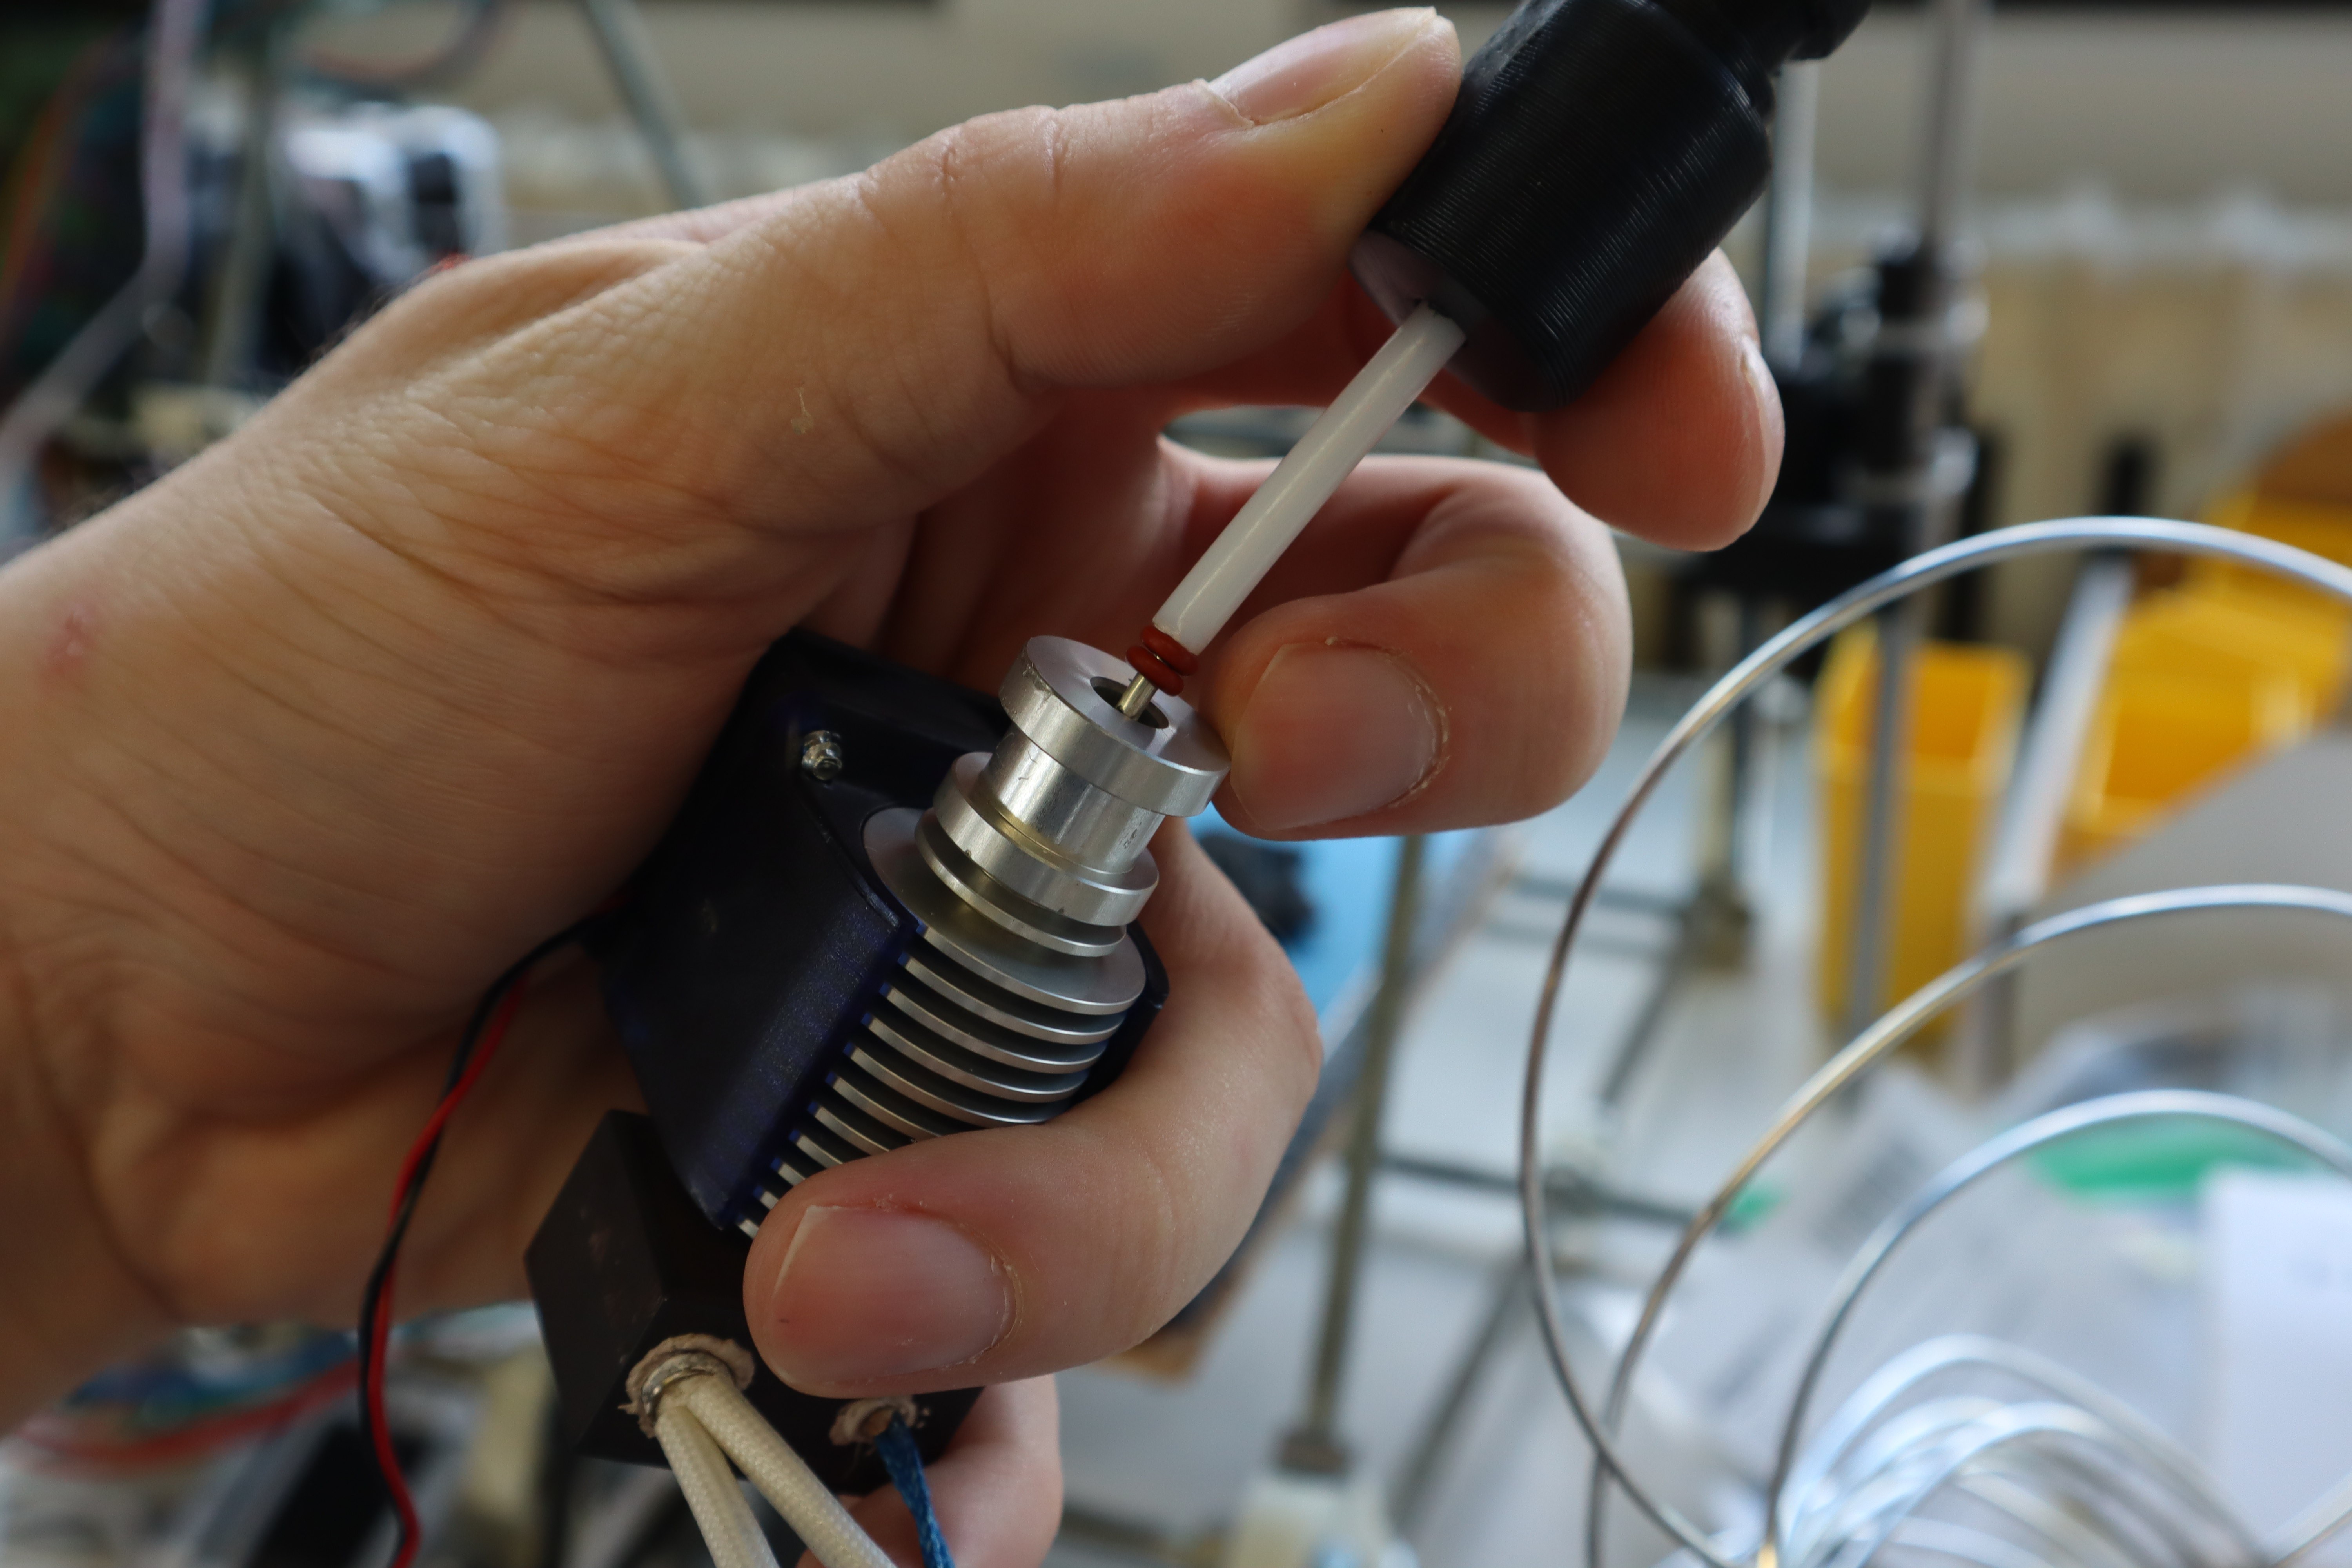
With the knowledge that metallurgical bonding might be happening instead of just mechanical bonding, I realized that the molten metal was probably slowly creeping up the heat break and solidifying. Moreover, in thermoplastic printing it is standard to decrease the print temperature after printing the first layer: this could also cause jamming by allowing some of the print material to solidify higher up in the heatbreak as the temperature decreases. In all subsequent tests, I increased the printing temperature instead of decreasing it, but the jamming still occured. It's possible that long retracts could also pull liquid metal further up the heat break and allow it to solidify. In any case, zinc chloride is definitely a bad choice for this design, so I replaced it with just glycerol, which is still viscous enough to seal the surface when in the cold end.
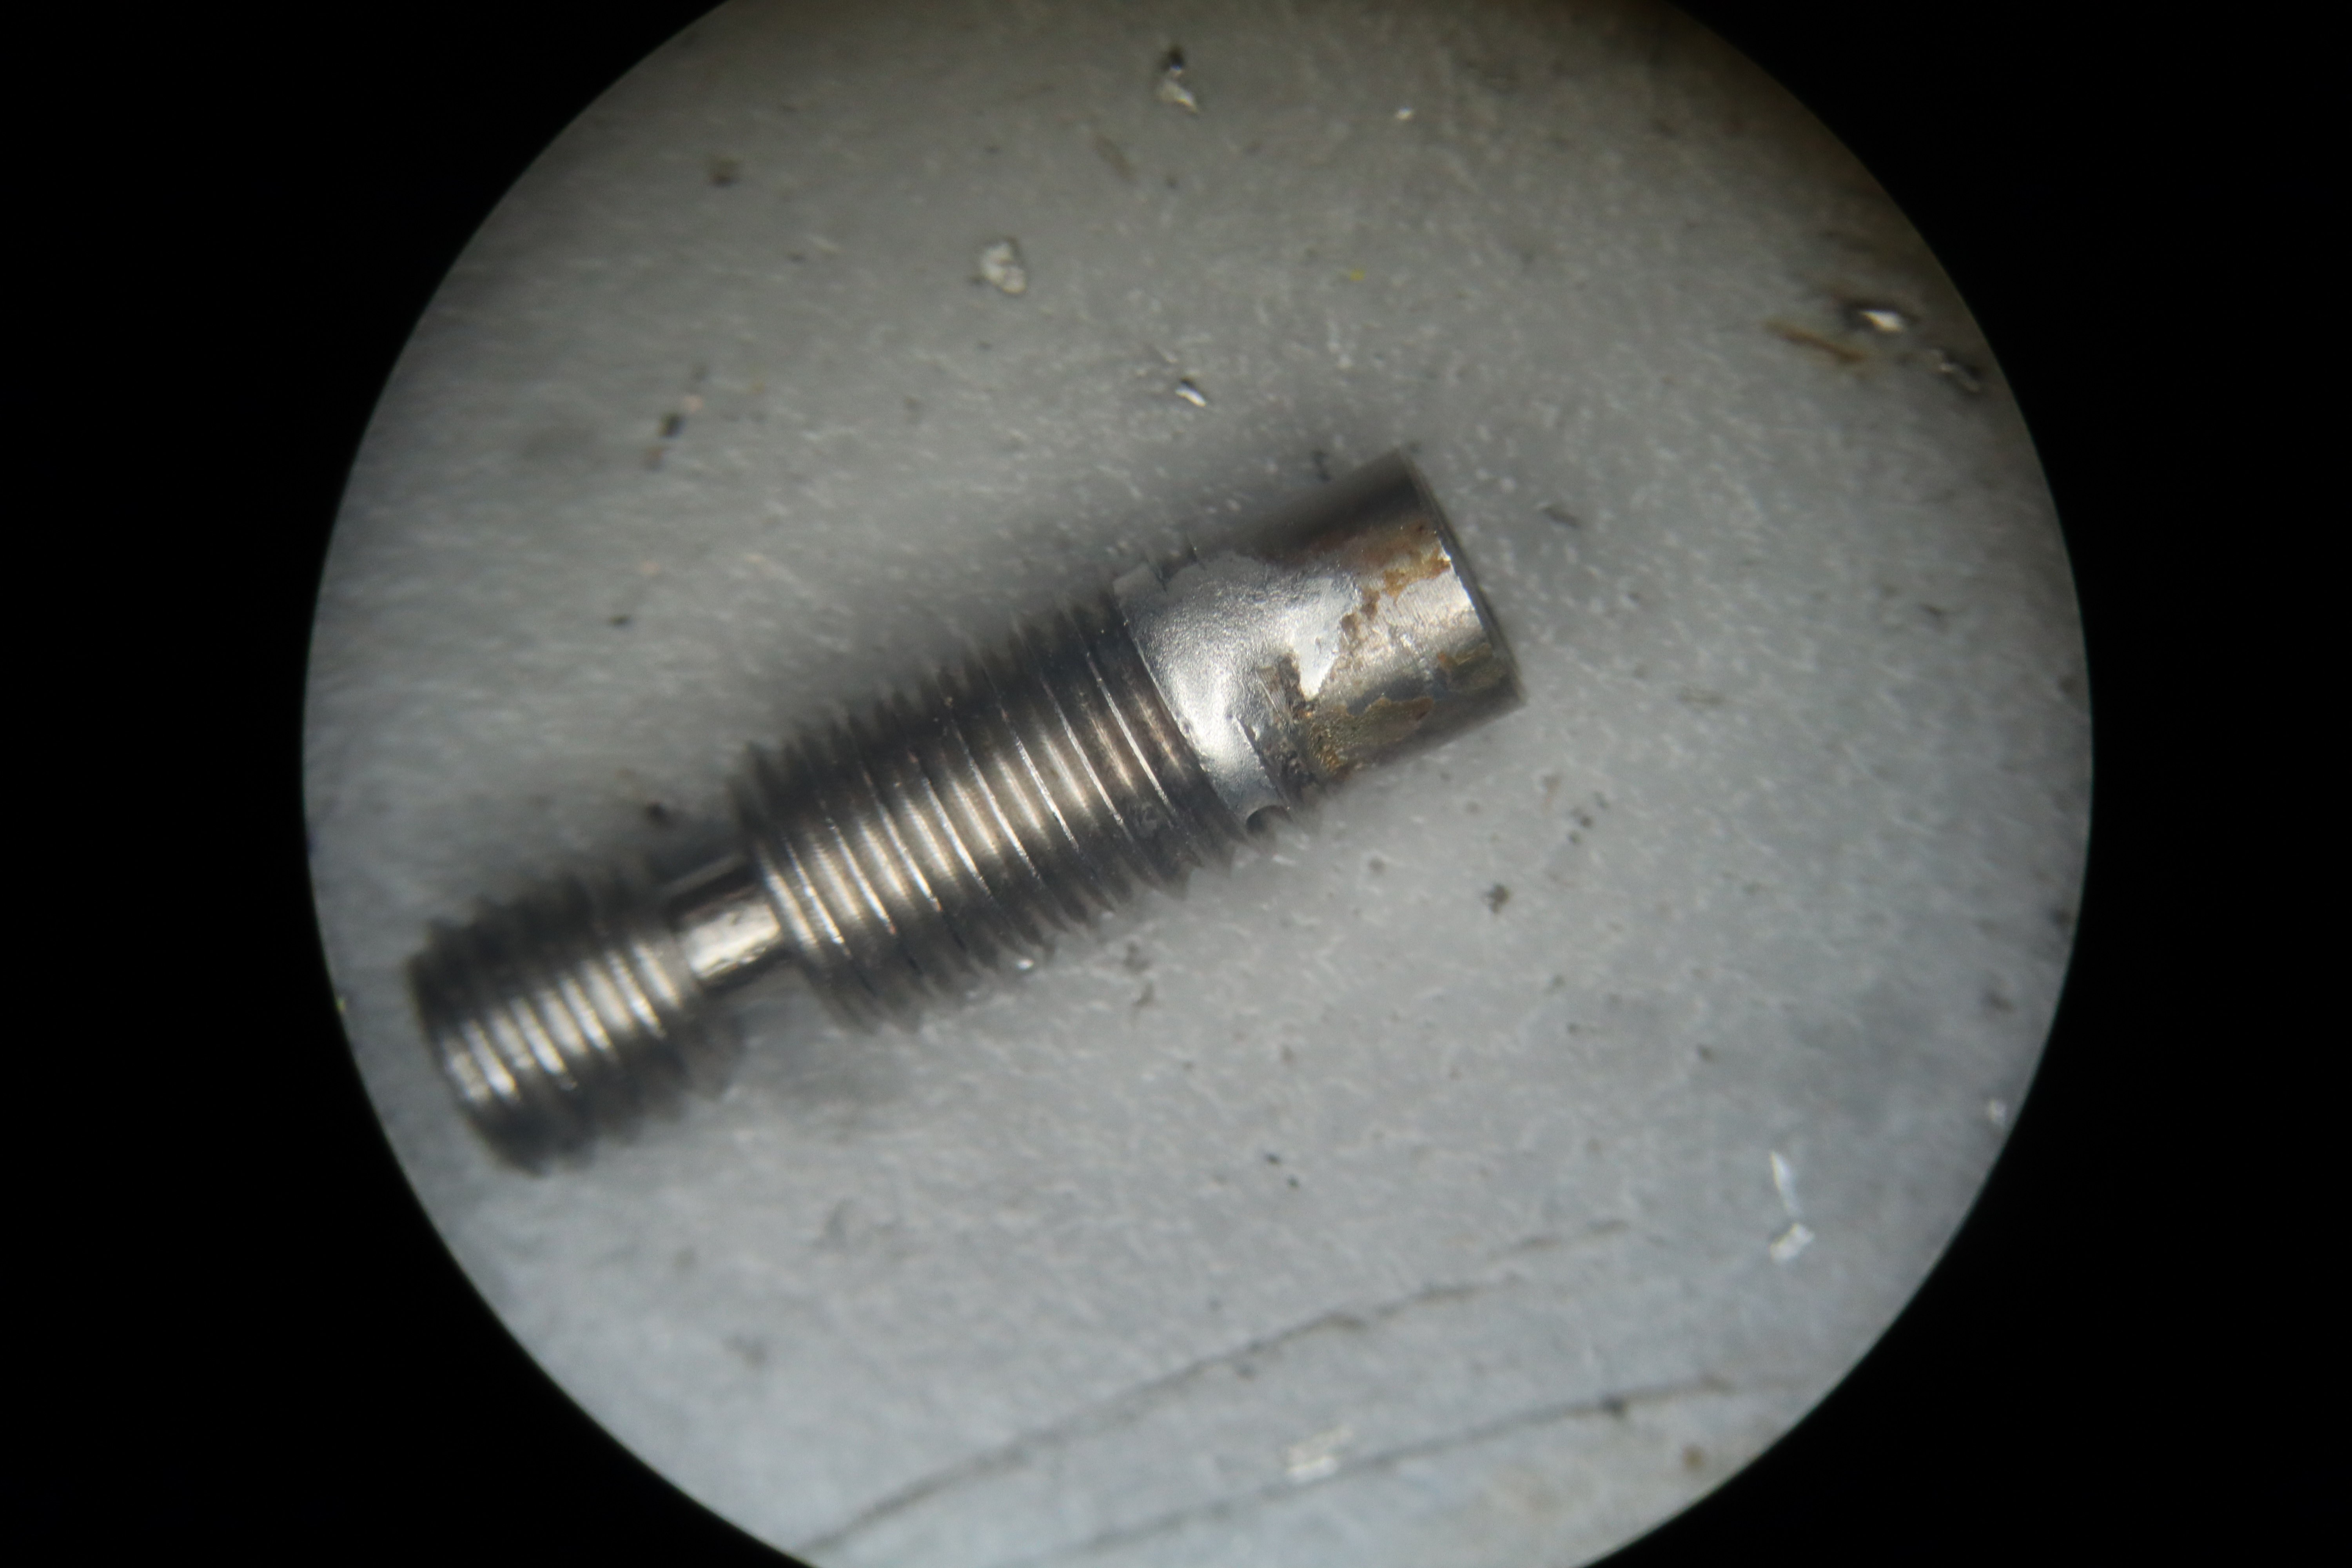
Unfortunately the X-Pando bonds too well between the heatsink and the heat break to be able to take them apart without damage, so I tried heating up the nozzle and wicking up the tin-zinc, but it was apparently fully solid in the heat break while at 300C. I drilled out the old one and tried to use it again with glycerol and an increased printing temperature after the first layer instead of a decrease, but it just jammed again, probably due to the wetted section of the heatbreak. If I could take these apart I could remove the wetted surfaces of the heat break with a hot tank bluing session. Ultimately I had to use a new heatsink and heatbreak.
I got some silicone O-rings that function up to 300C from McMaster: I'll give these a try as a sealing surface and try this without a liquid sealant, then just glycerol again with a fresh heatbreak.
I've also got a titanium heatbreak on the way, as well as a bi-metal heatbreak from a titan aero and a bigger fan to upgrade the cooling on the heatsink. I know for sure that tin-zinc won't stick well to anodized titanium, reducing the friction at the heatbreak. And the other components will help make the temperature gradient across the heatbreak steeper, to compensate for the higher heat conduction through the metal filament. Hopefully that will be enough. I have a few other ideas for sealing to try: a sprung sealing ring like in a gasoline motor piston, a wire drawing die profile which seals to the solid wire and widens again as the wire softens into its semisolid range, teflon inserts to prevent sticking, oils with corrosion inhibitors so that they better separate the heatbreak from the alloy wire. I may also experiment with altering the gear teeth on the bondtec extruder so that it grips better without stripping the wire, but hopefully that will not become necessary. There are probably a number of software settings I can play around with in Marlin and Prusa Slic3r. In case the nozzle is actually clogging via standard metallic granular jamming, I should also try heating the bed to the highest possible printing temperature
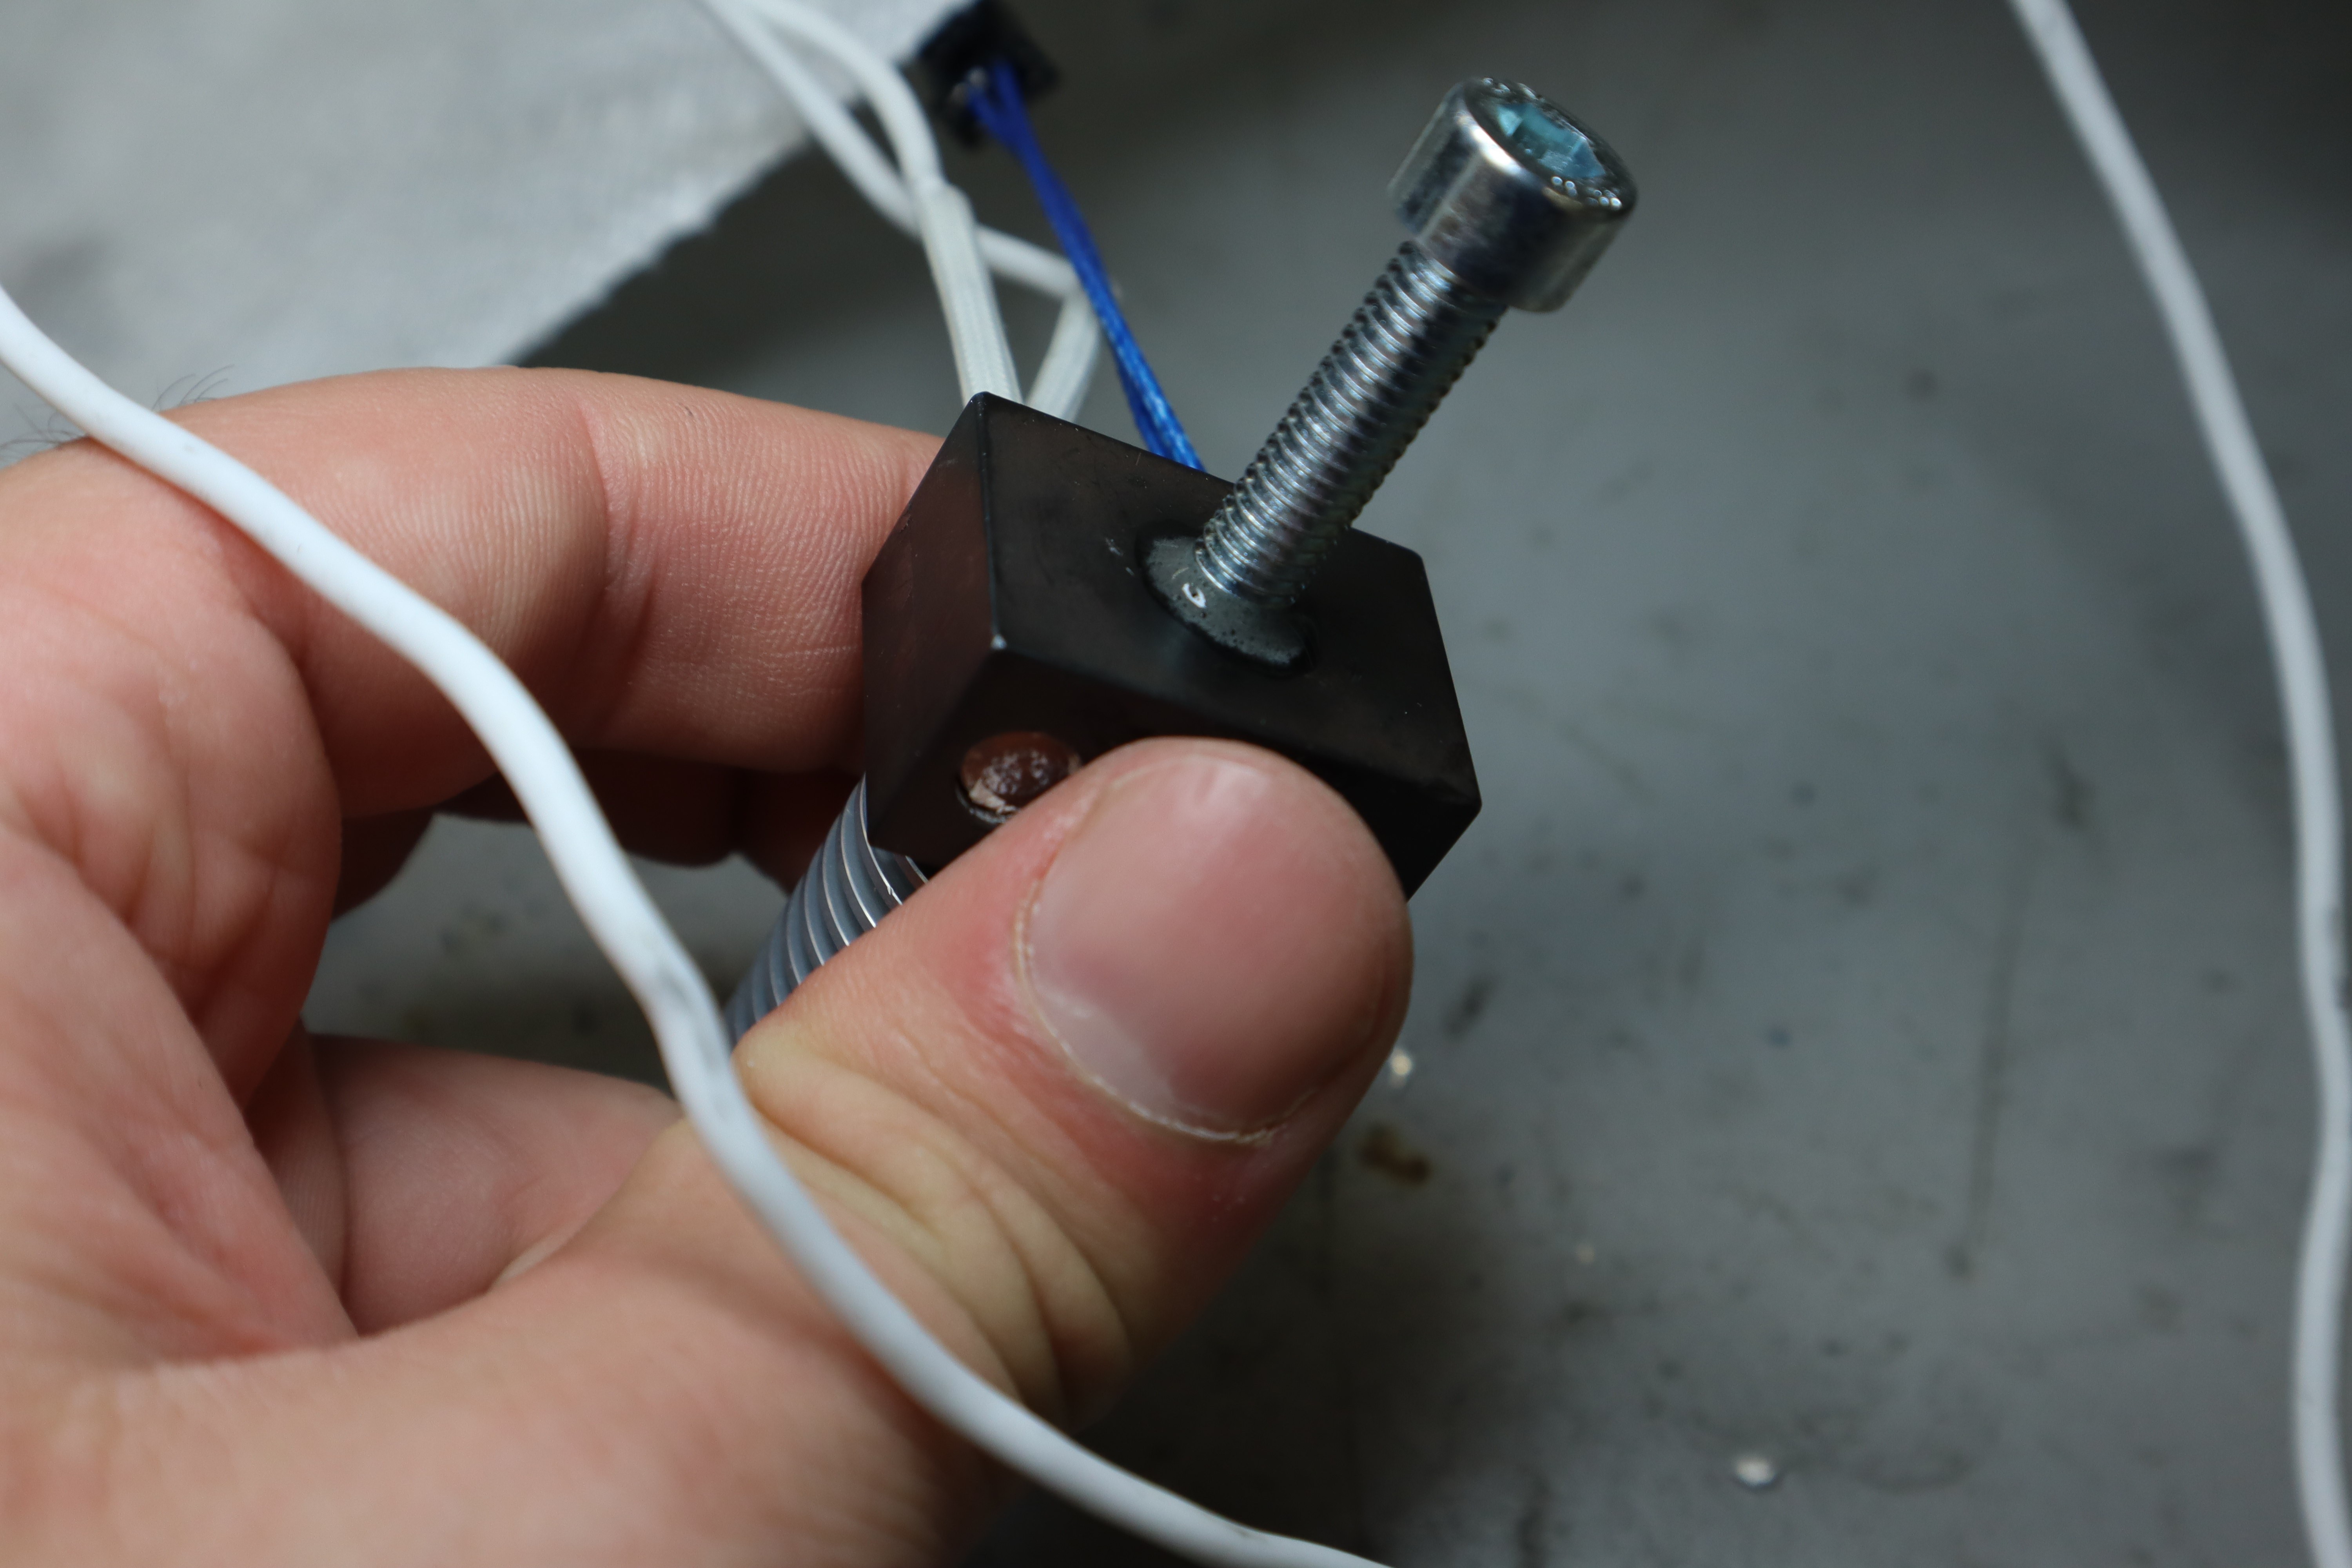
By the way, I've got a handle on cleaning the threads: an important step when re-applying X-Pando. Just add a bit of soapy water and thread a screw through the surface and lever it around to scrape the threads. I also went over the threads afterwards to pull out any tin-zinc that managed to get through. I have found that when re-applying the X-Pando, you want it to be a more paste-like consistency, not thin and runny. Otherwise the tin-zinc leaks through the threads more easily.

There we go: all clean, more or less. I also drilled down into the nozzle again to make sure it wasn't clogged by any remaining X-Pando debris, and I found nothing this time: it was all metal.
Discussions
Become a Hackaday.io Member
Create an account to leave a comment. Already have an account? Log In.