 Jon
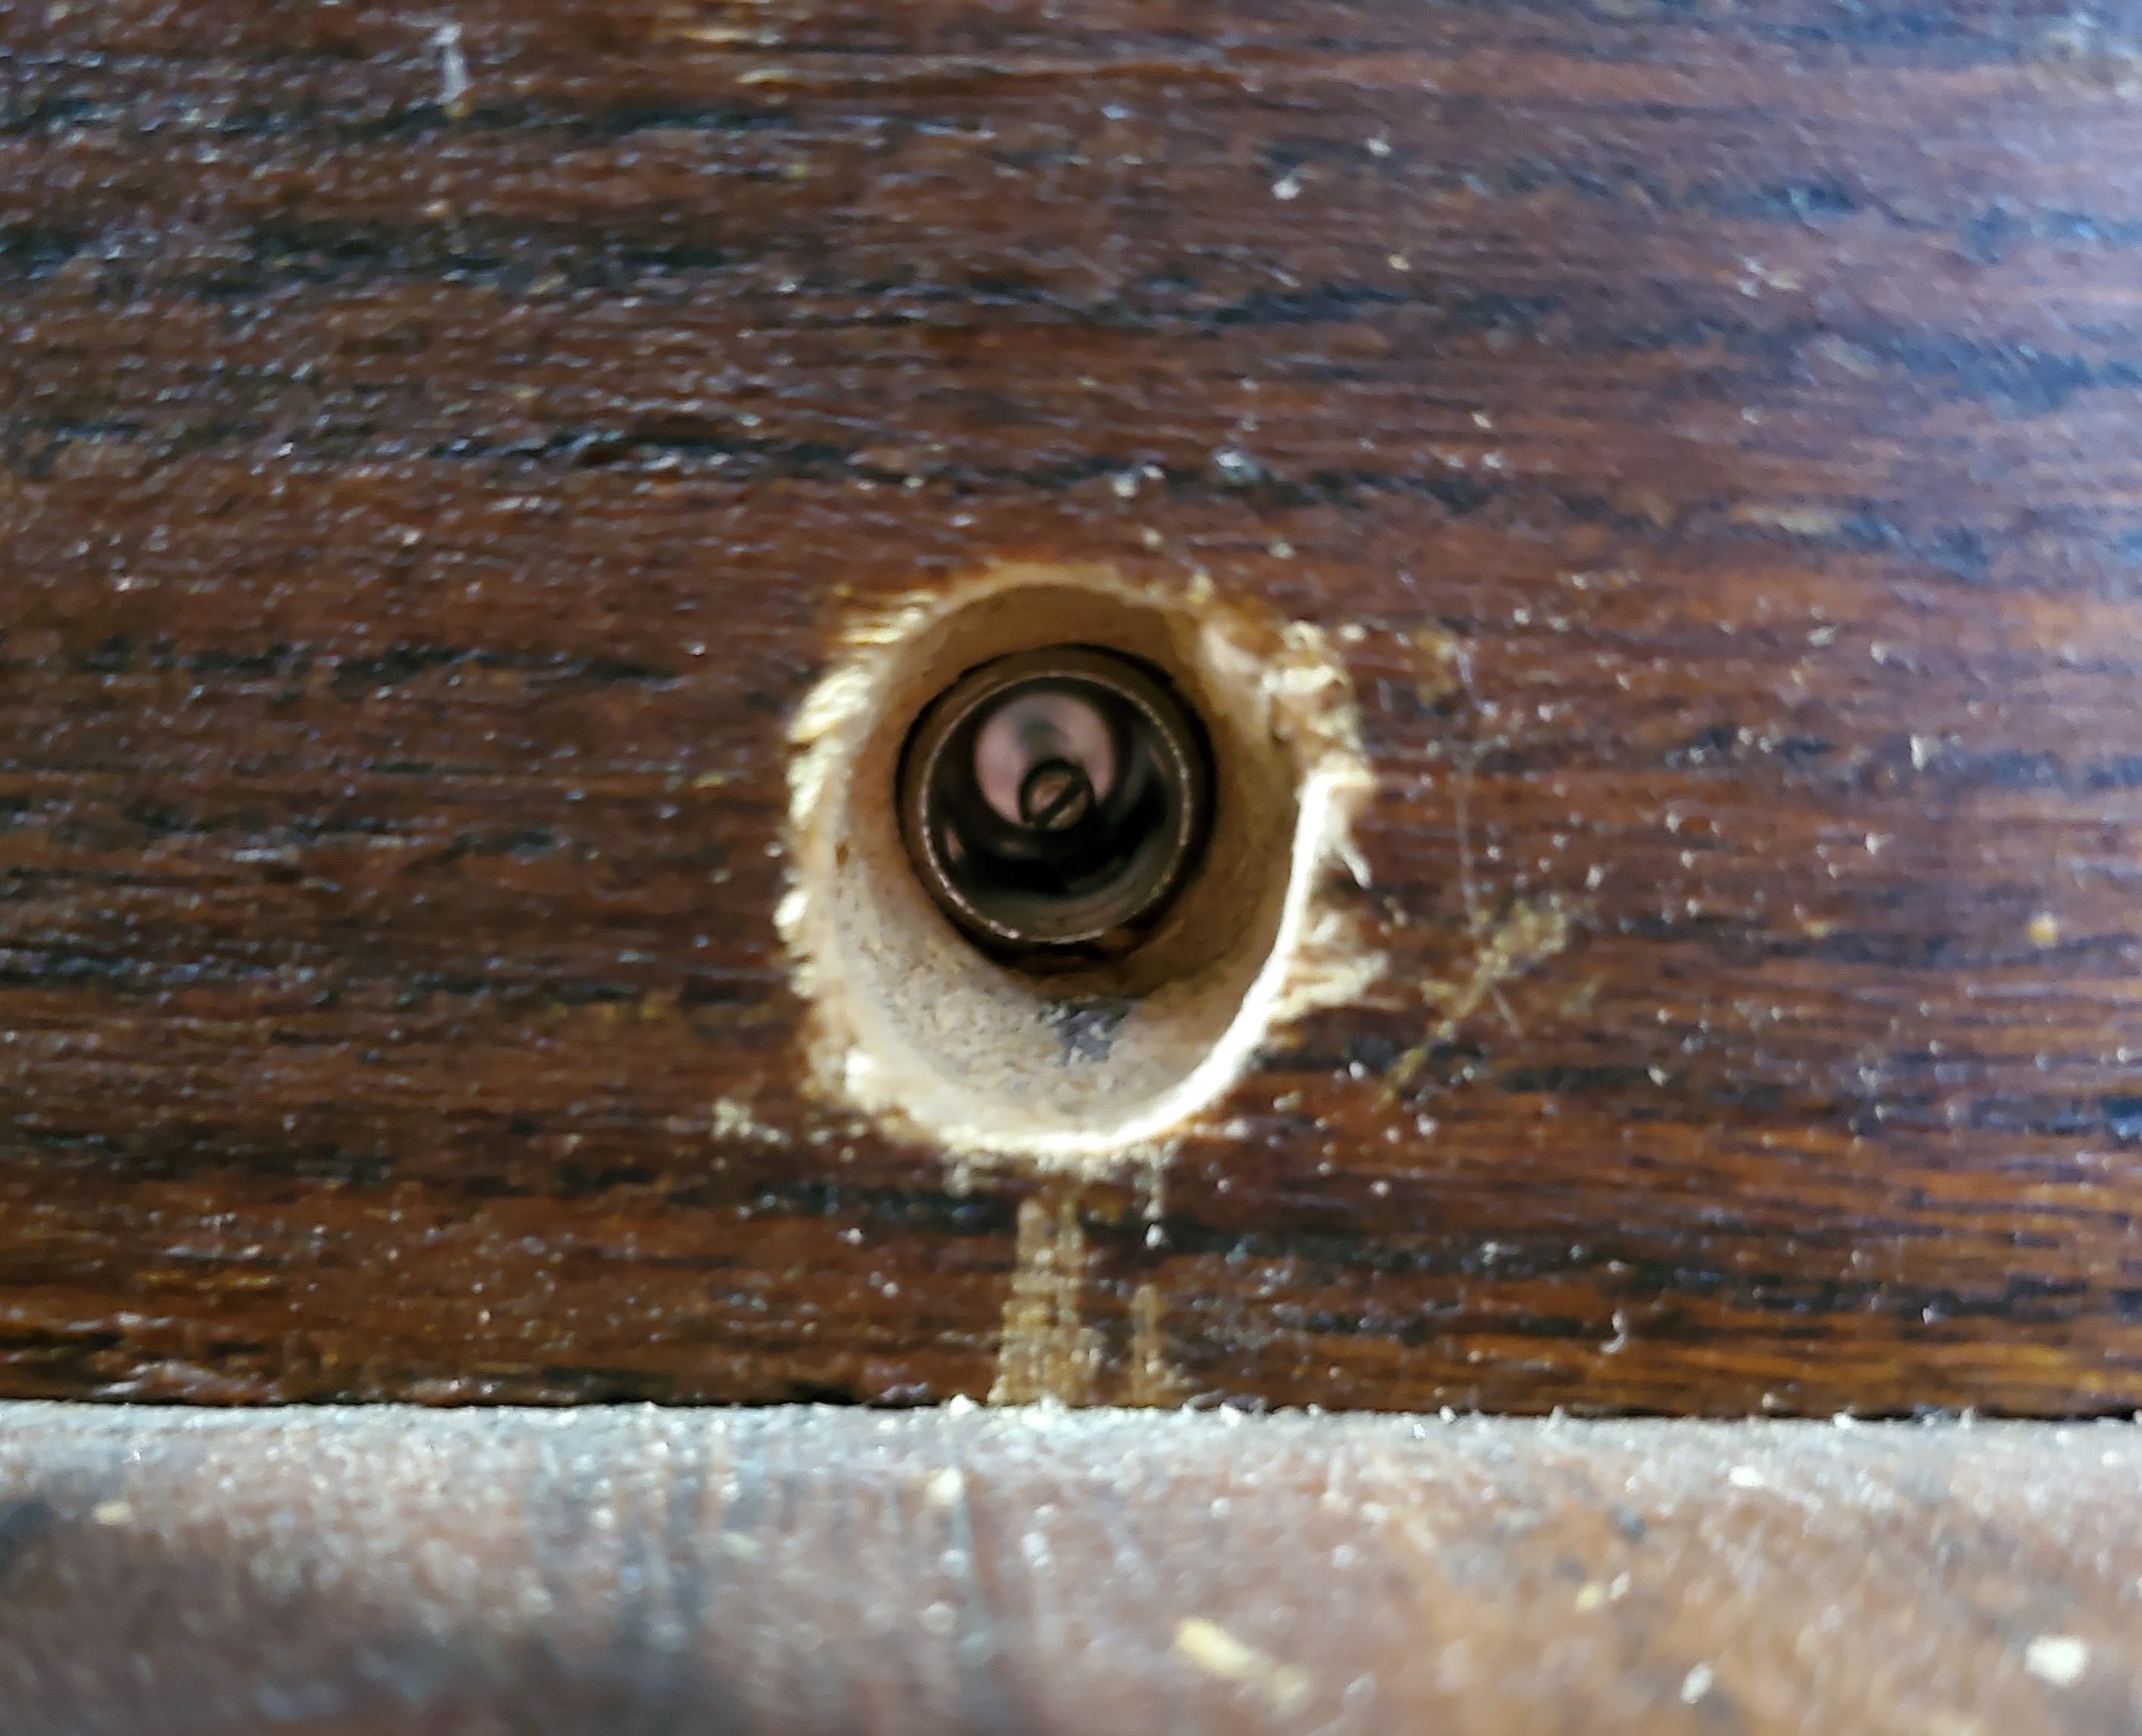
JonThe only major (and irreversible) modification I had to make to the body of the phone was drilling a hole for the power adapter to plug in to. Unfortunately I hit one of the screws that was used to hold the frame of the phone onto the back, but it still worked out and the power adapter fits fine. The two other holes I believe were used to hold the touch tone phone that was installed at one point; I can't think of a reason they would have been used for the original batteries.
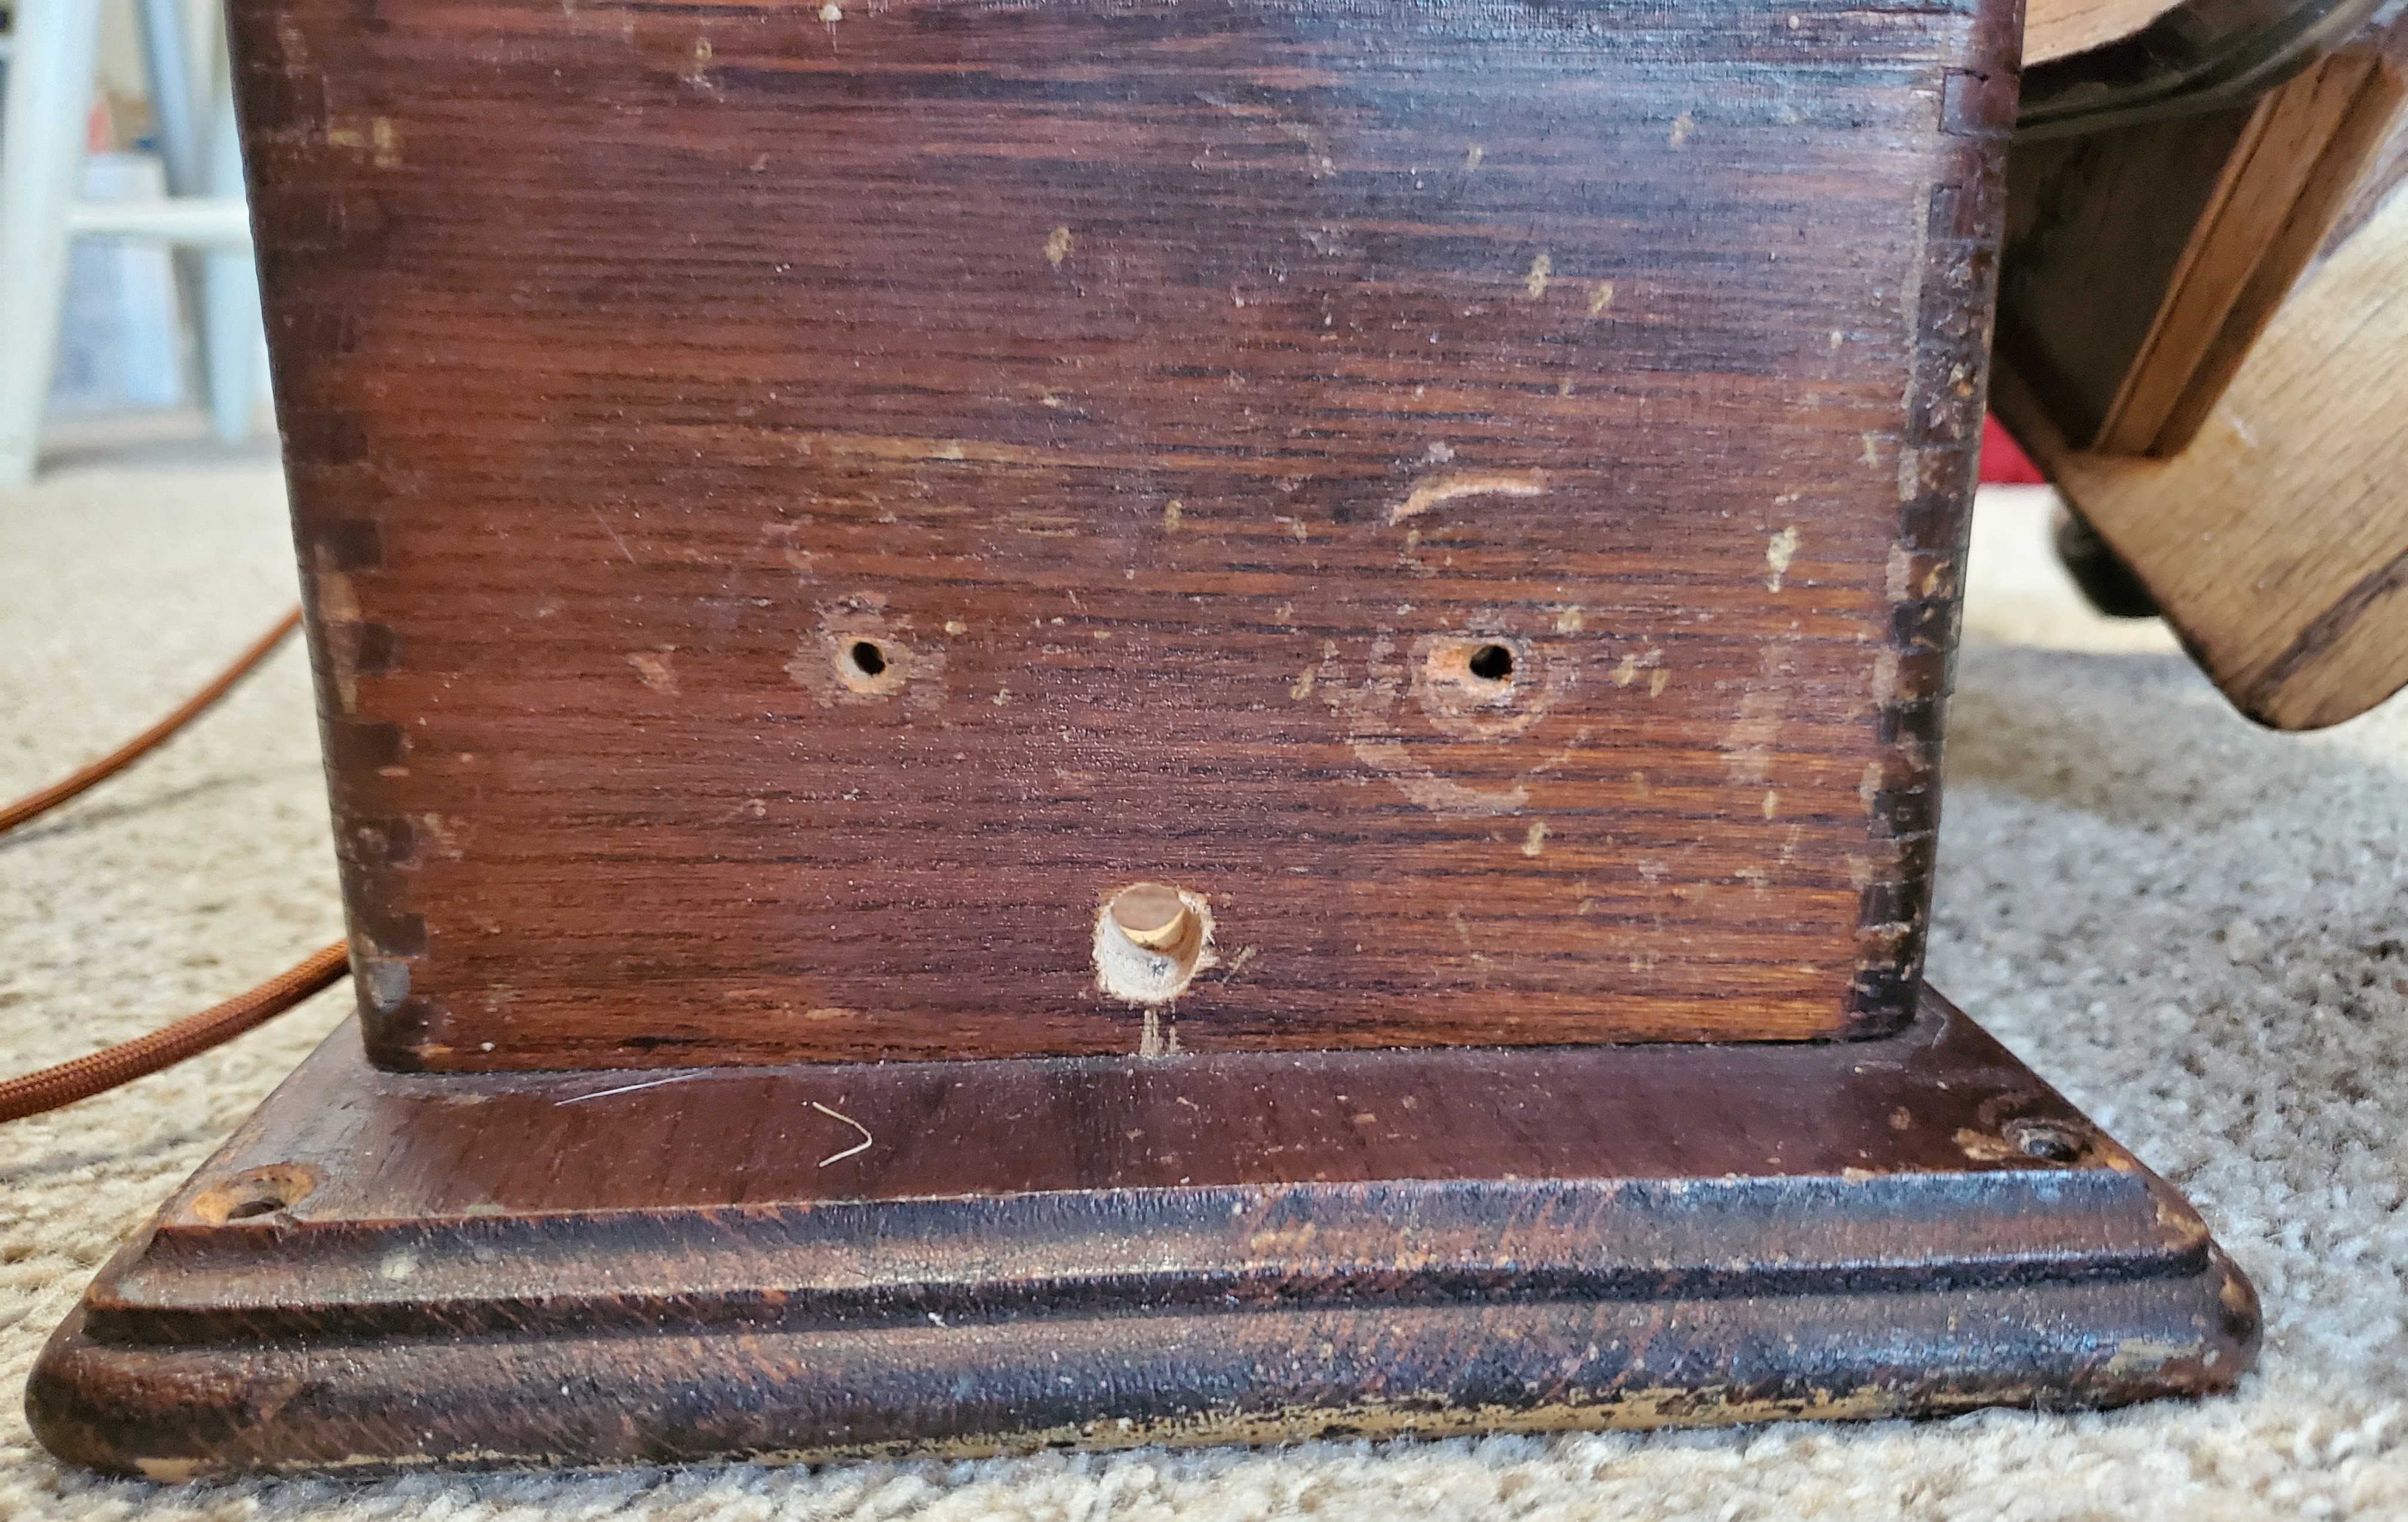
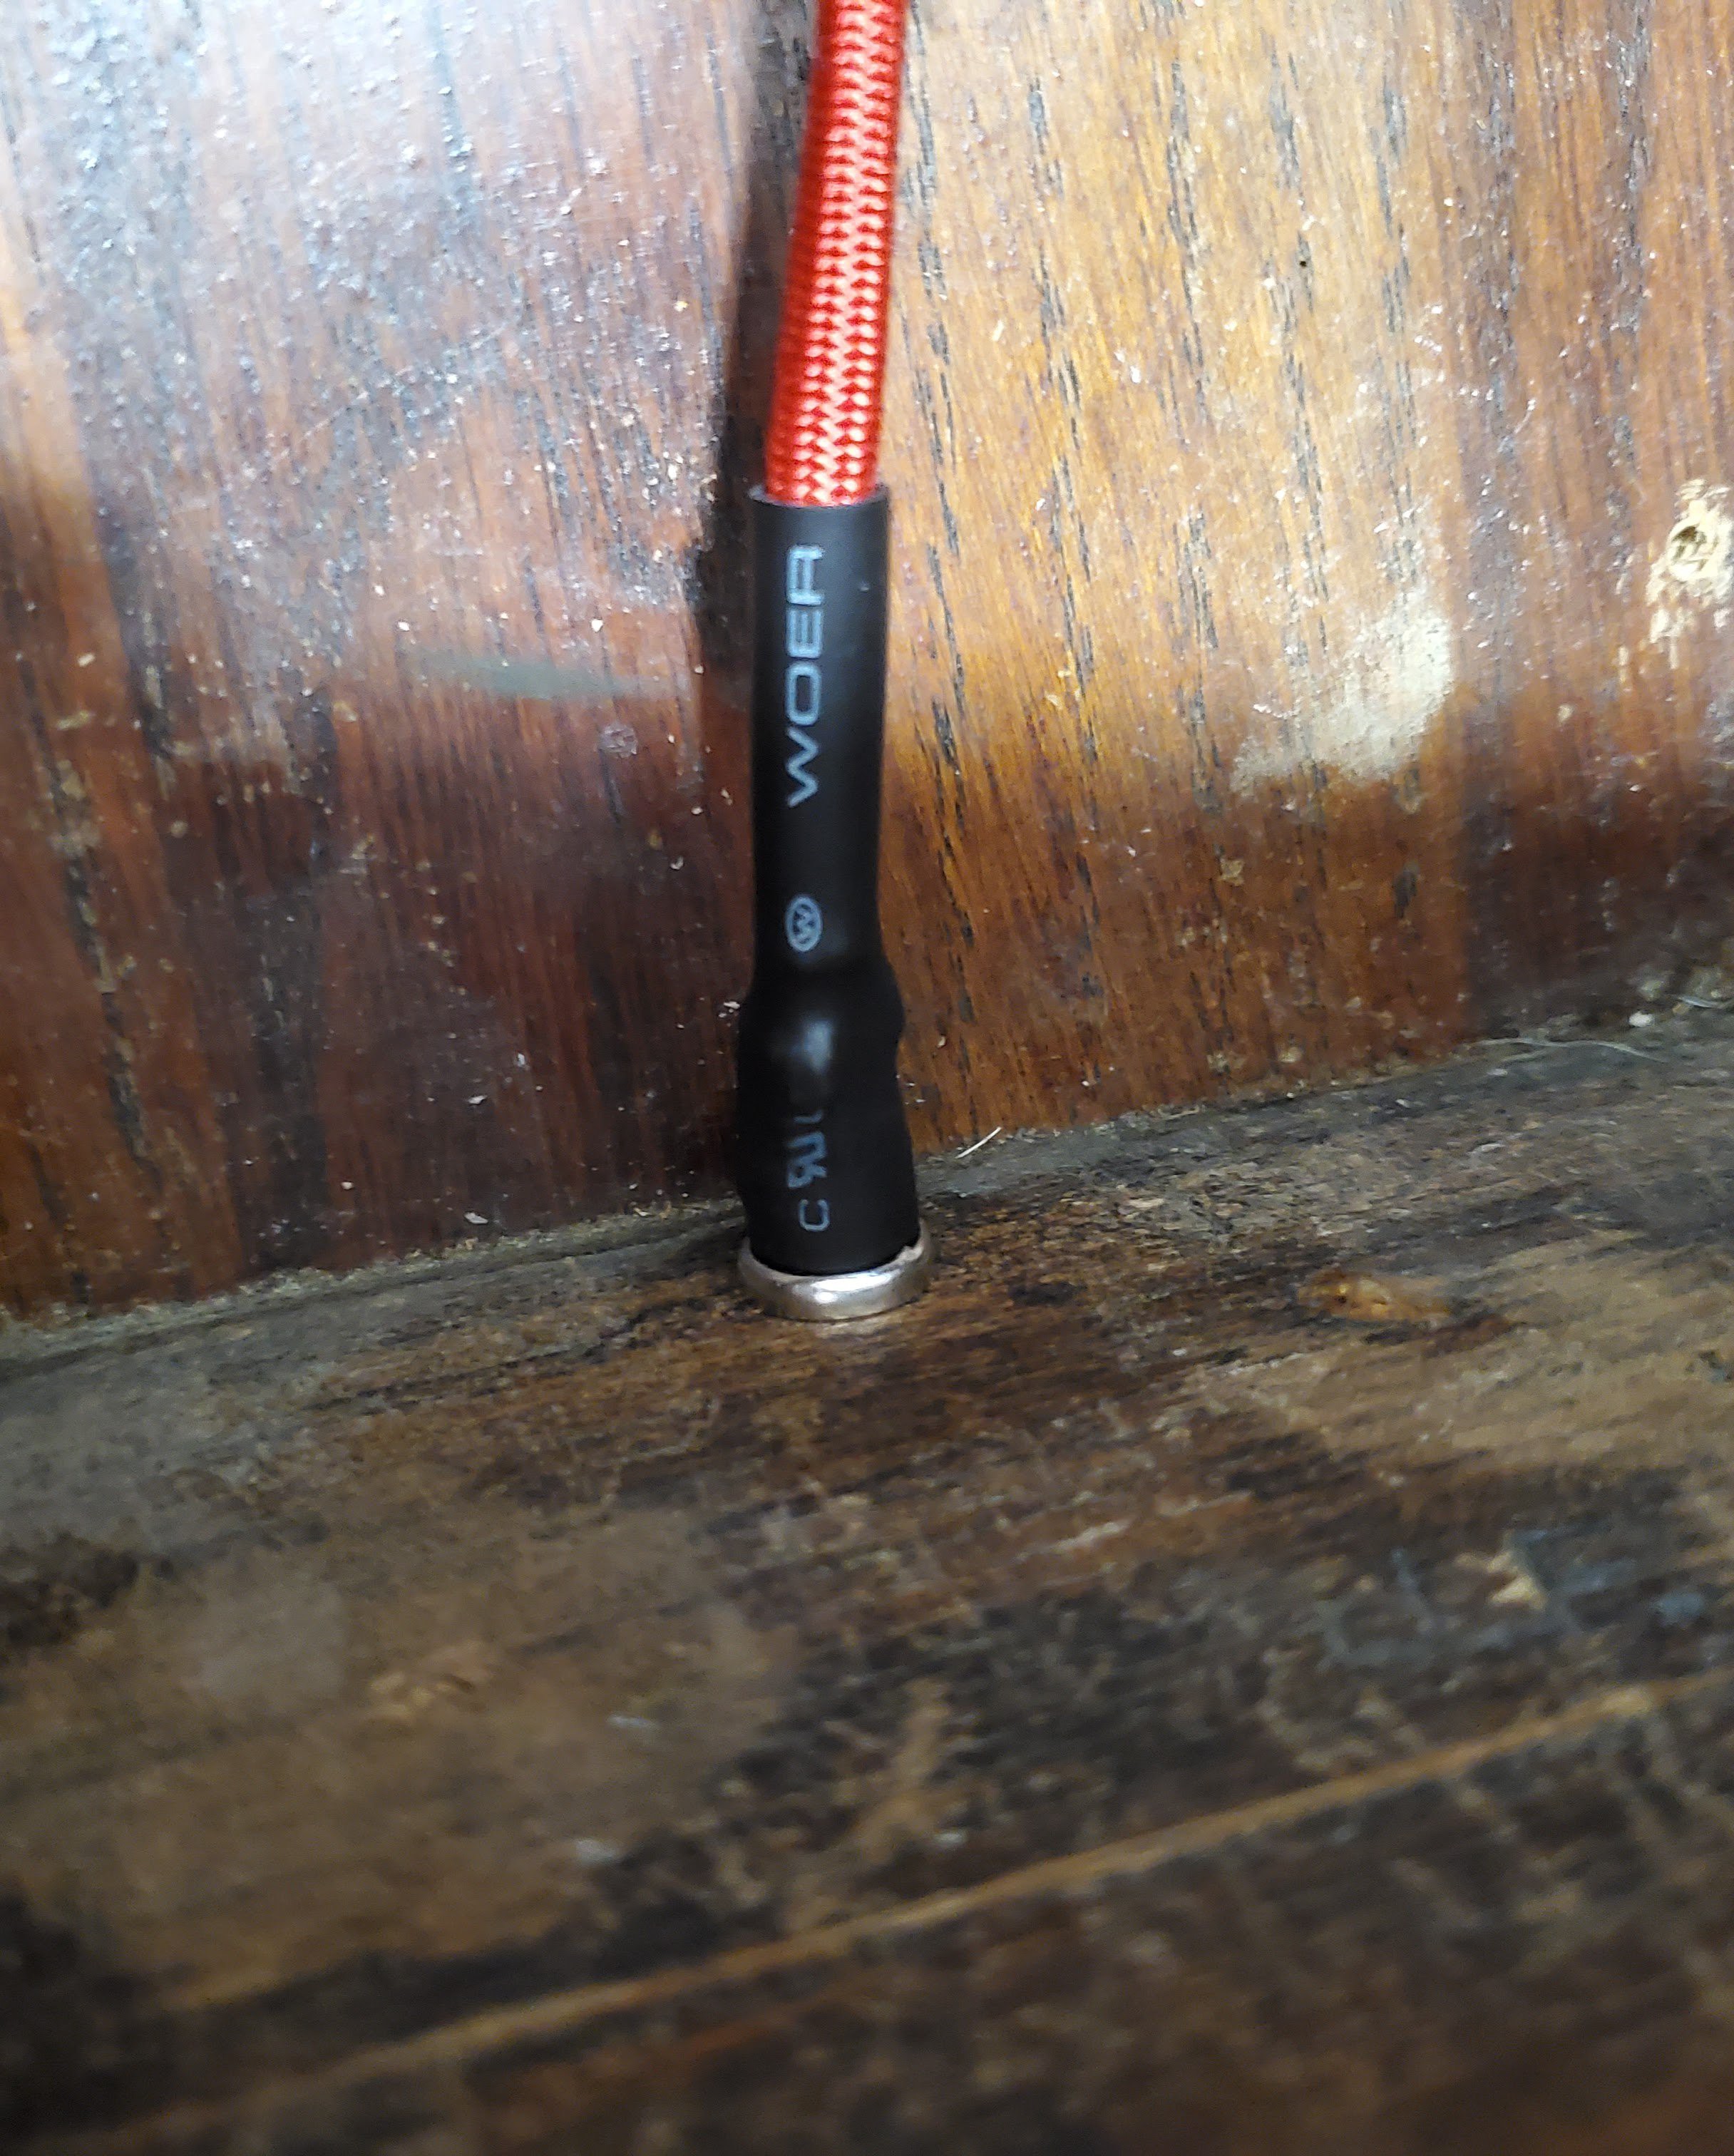
I undersized the hole by a fraction and put the smallest dab of Gorilla Glue onto the powerjack threads before screwing it into the hole because I couldn't fit the nut.
The power cable comes out of the base of the phone at the back and will be hidden by the fake batteries.
I installed the door open/close sensor switch in the bottom right of the phone body, this ensures it stays pressed even if the door opens a few MM as it tends to want to do.
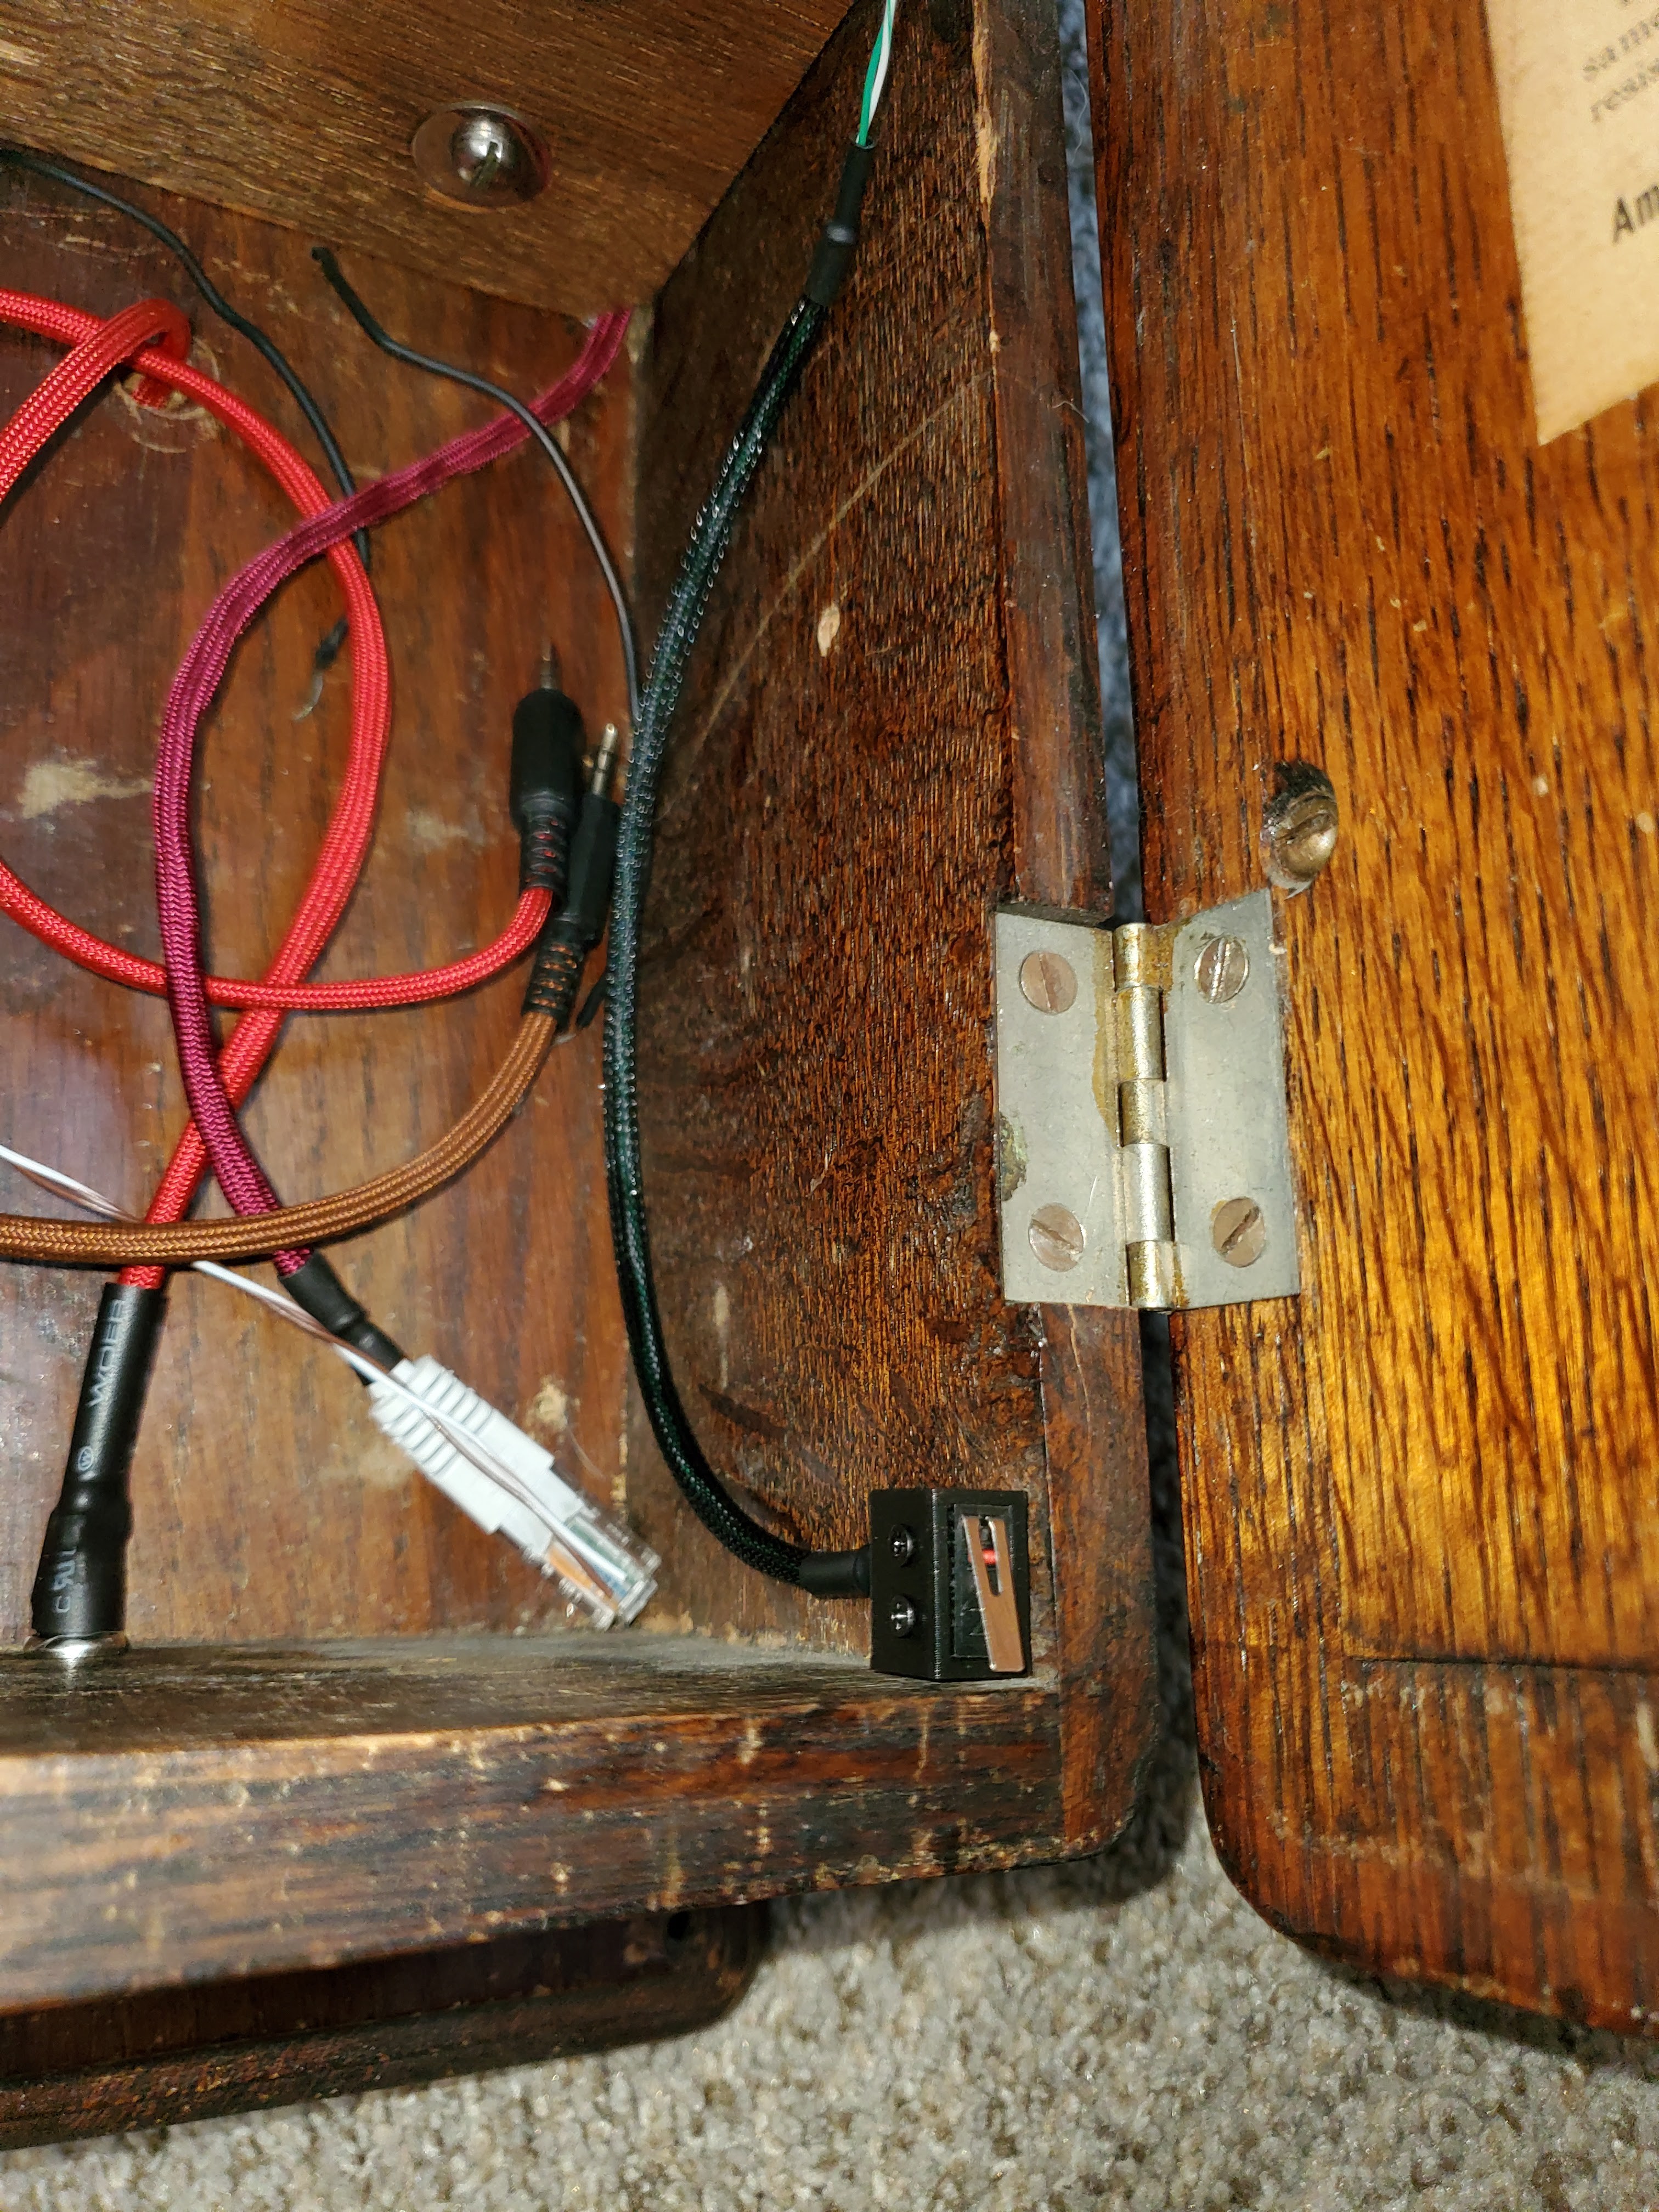
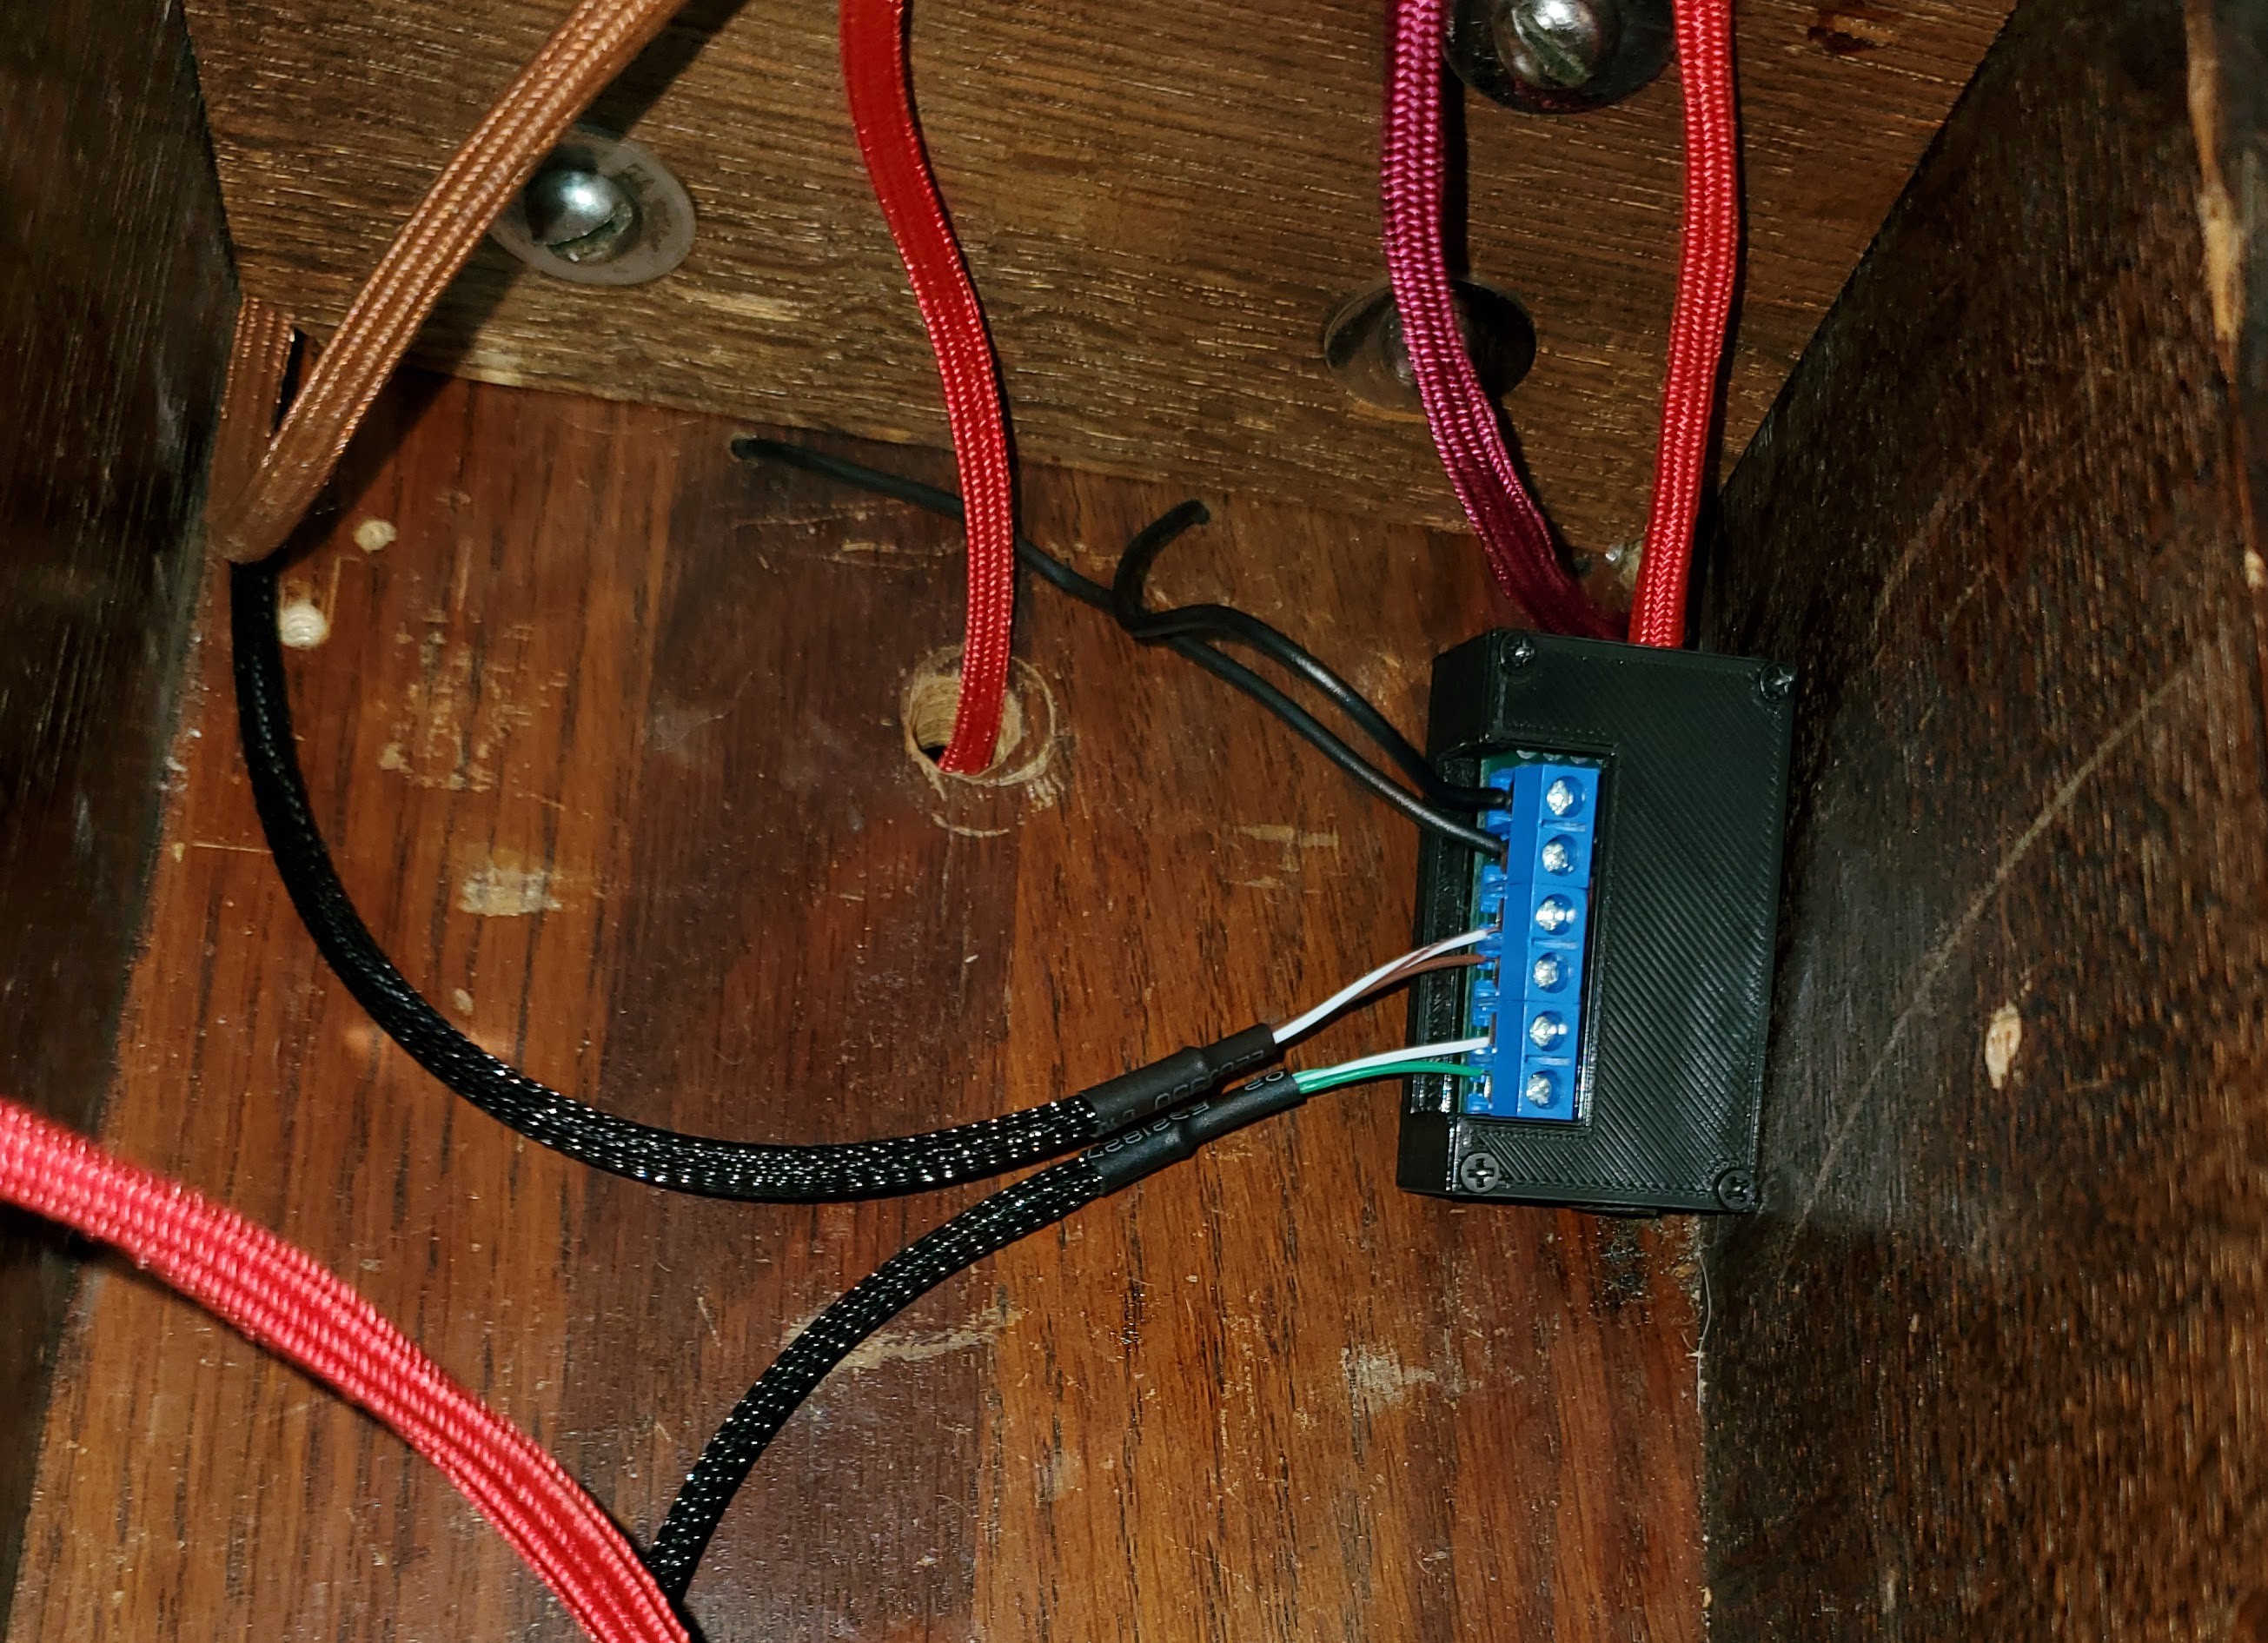
The door switch, crank switch, and earpiece switch were all connected to the breakout board which I ended up sticking to the back of the phone body to keep it from rattling around.
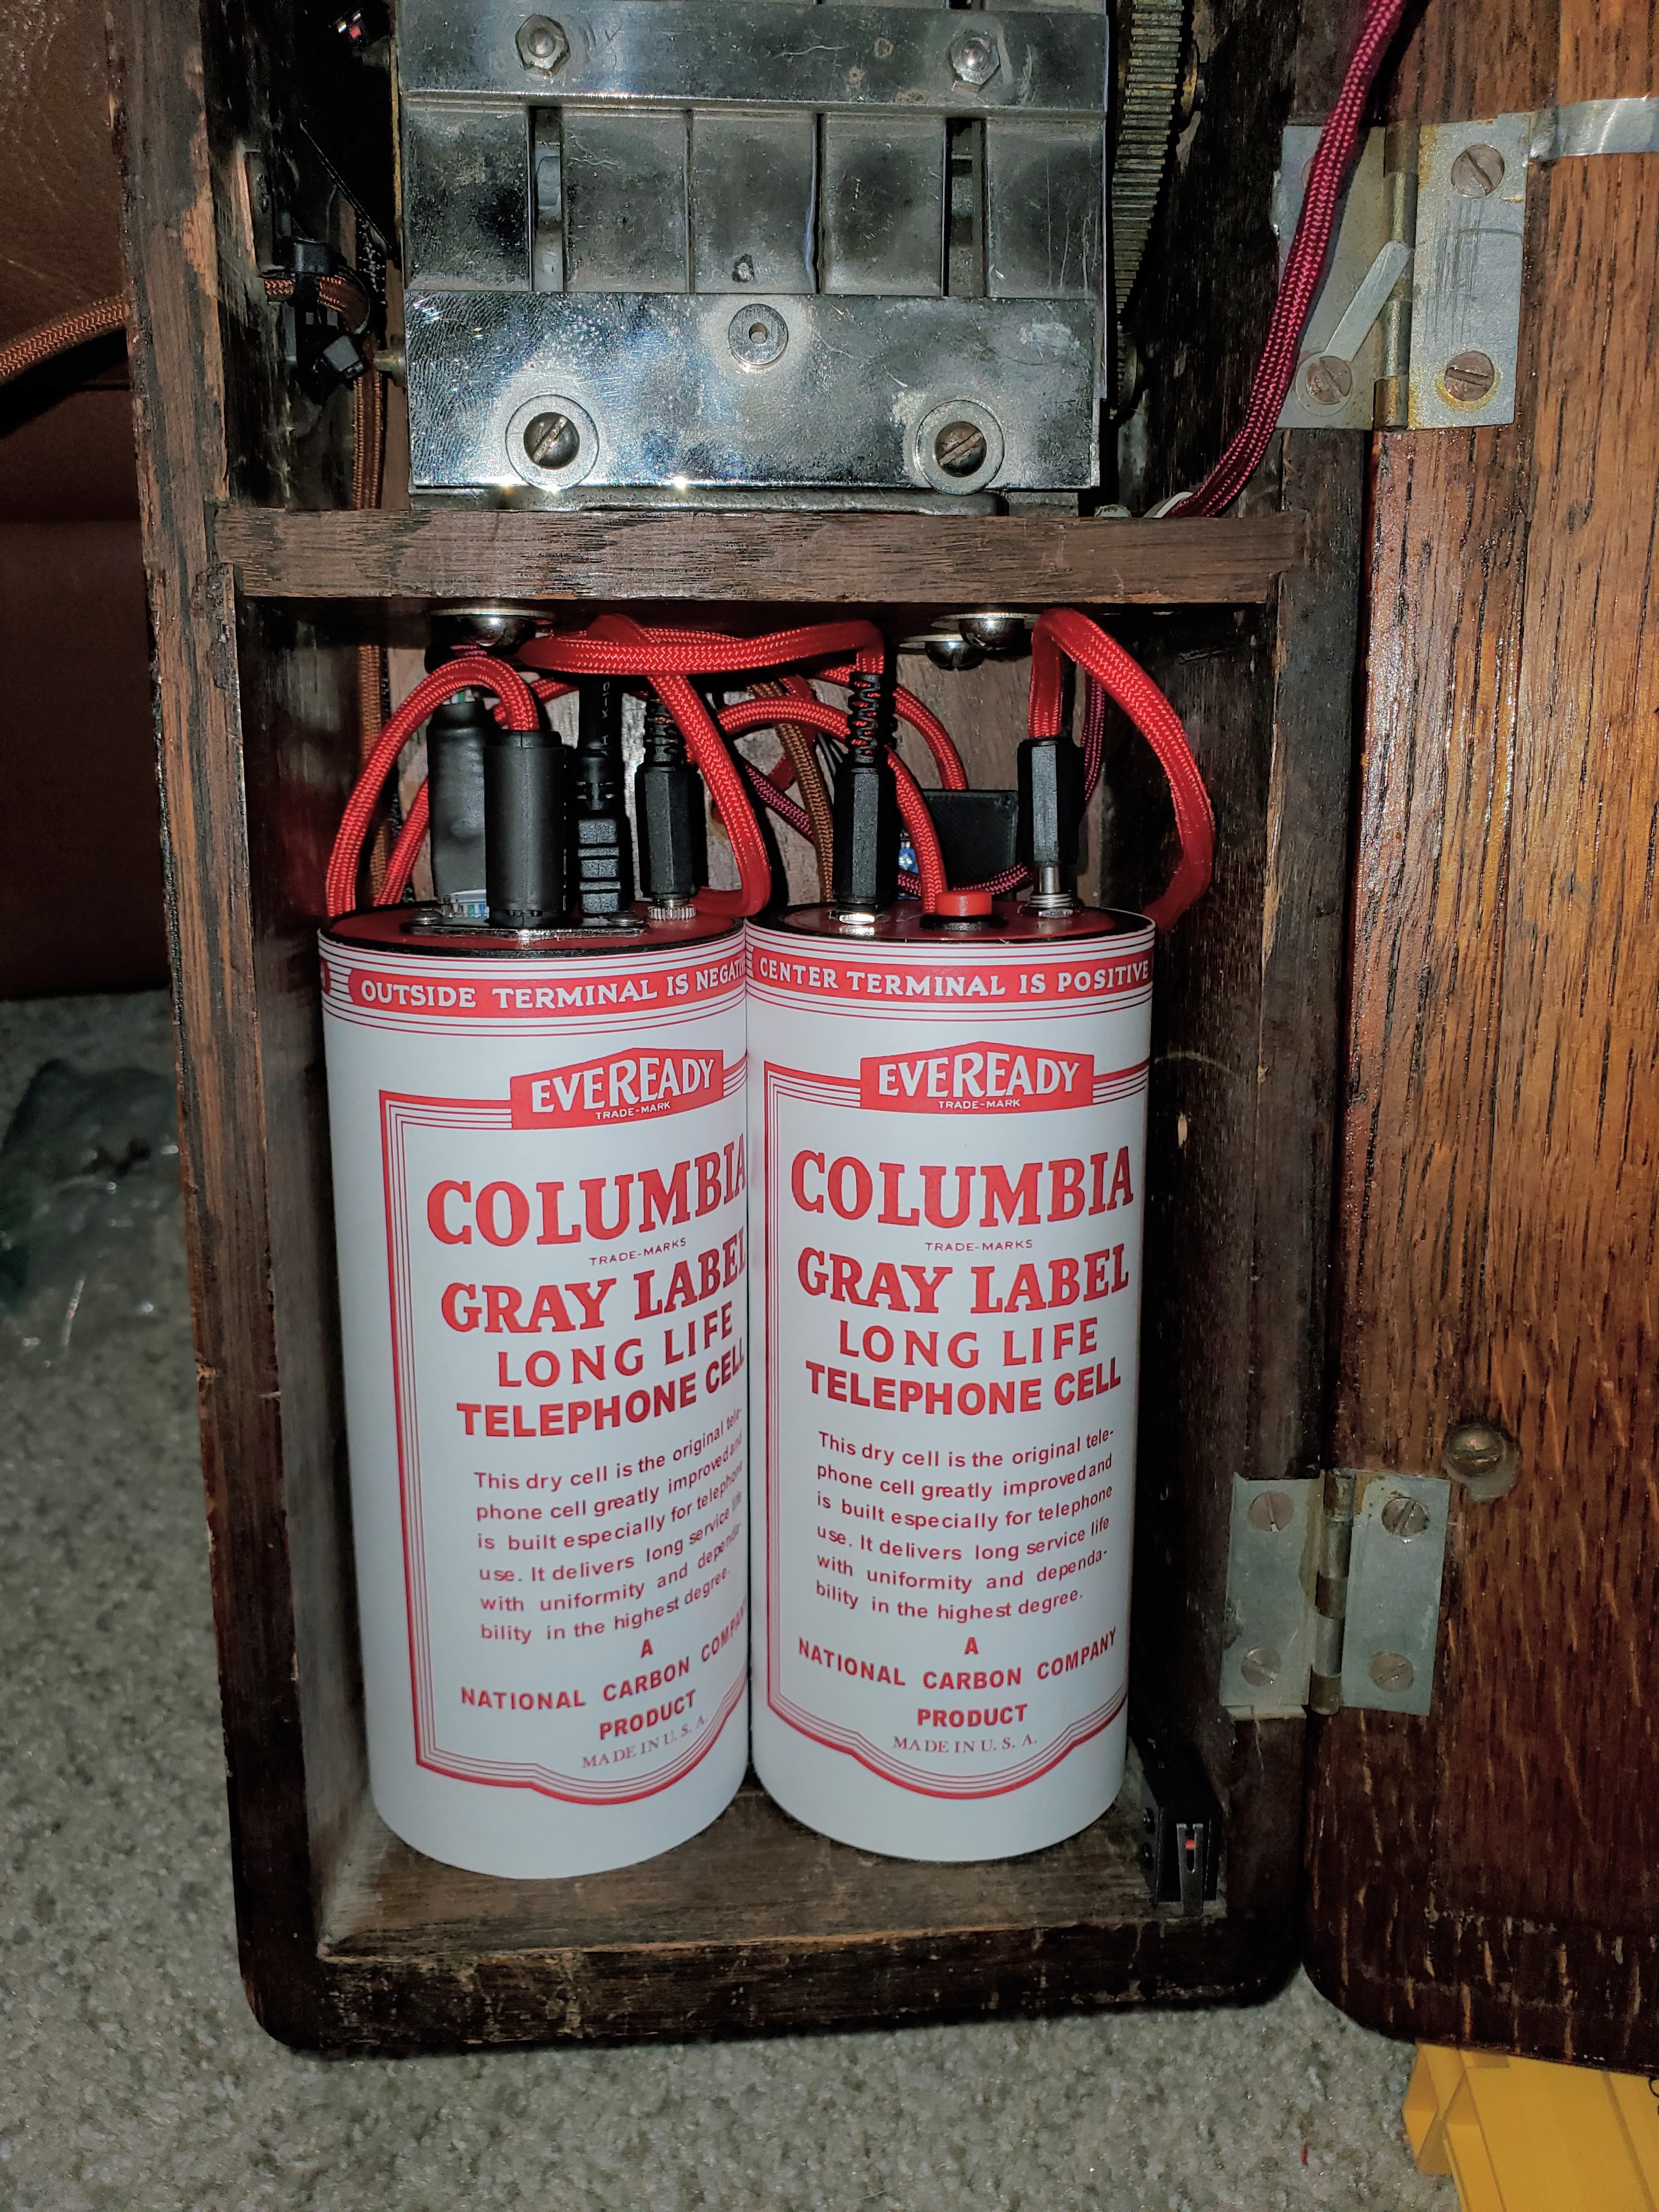
I connected everything to the batteries and finagled them into the cavity. I had to disconnect and reconnect a few cables to move them in front of/behind each other to get everything to fit nicely.
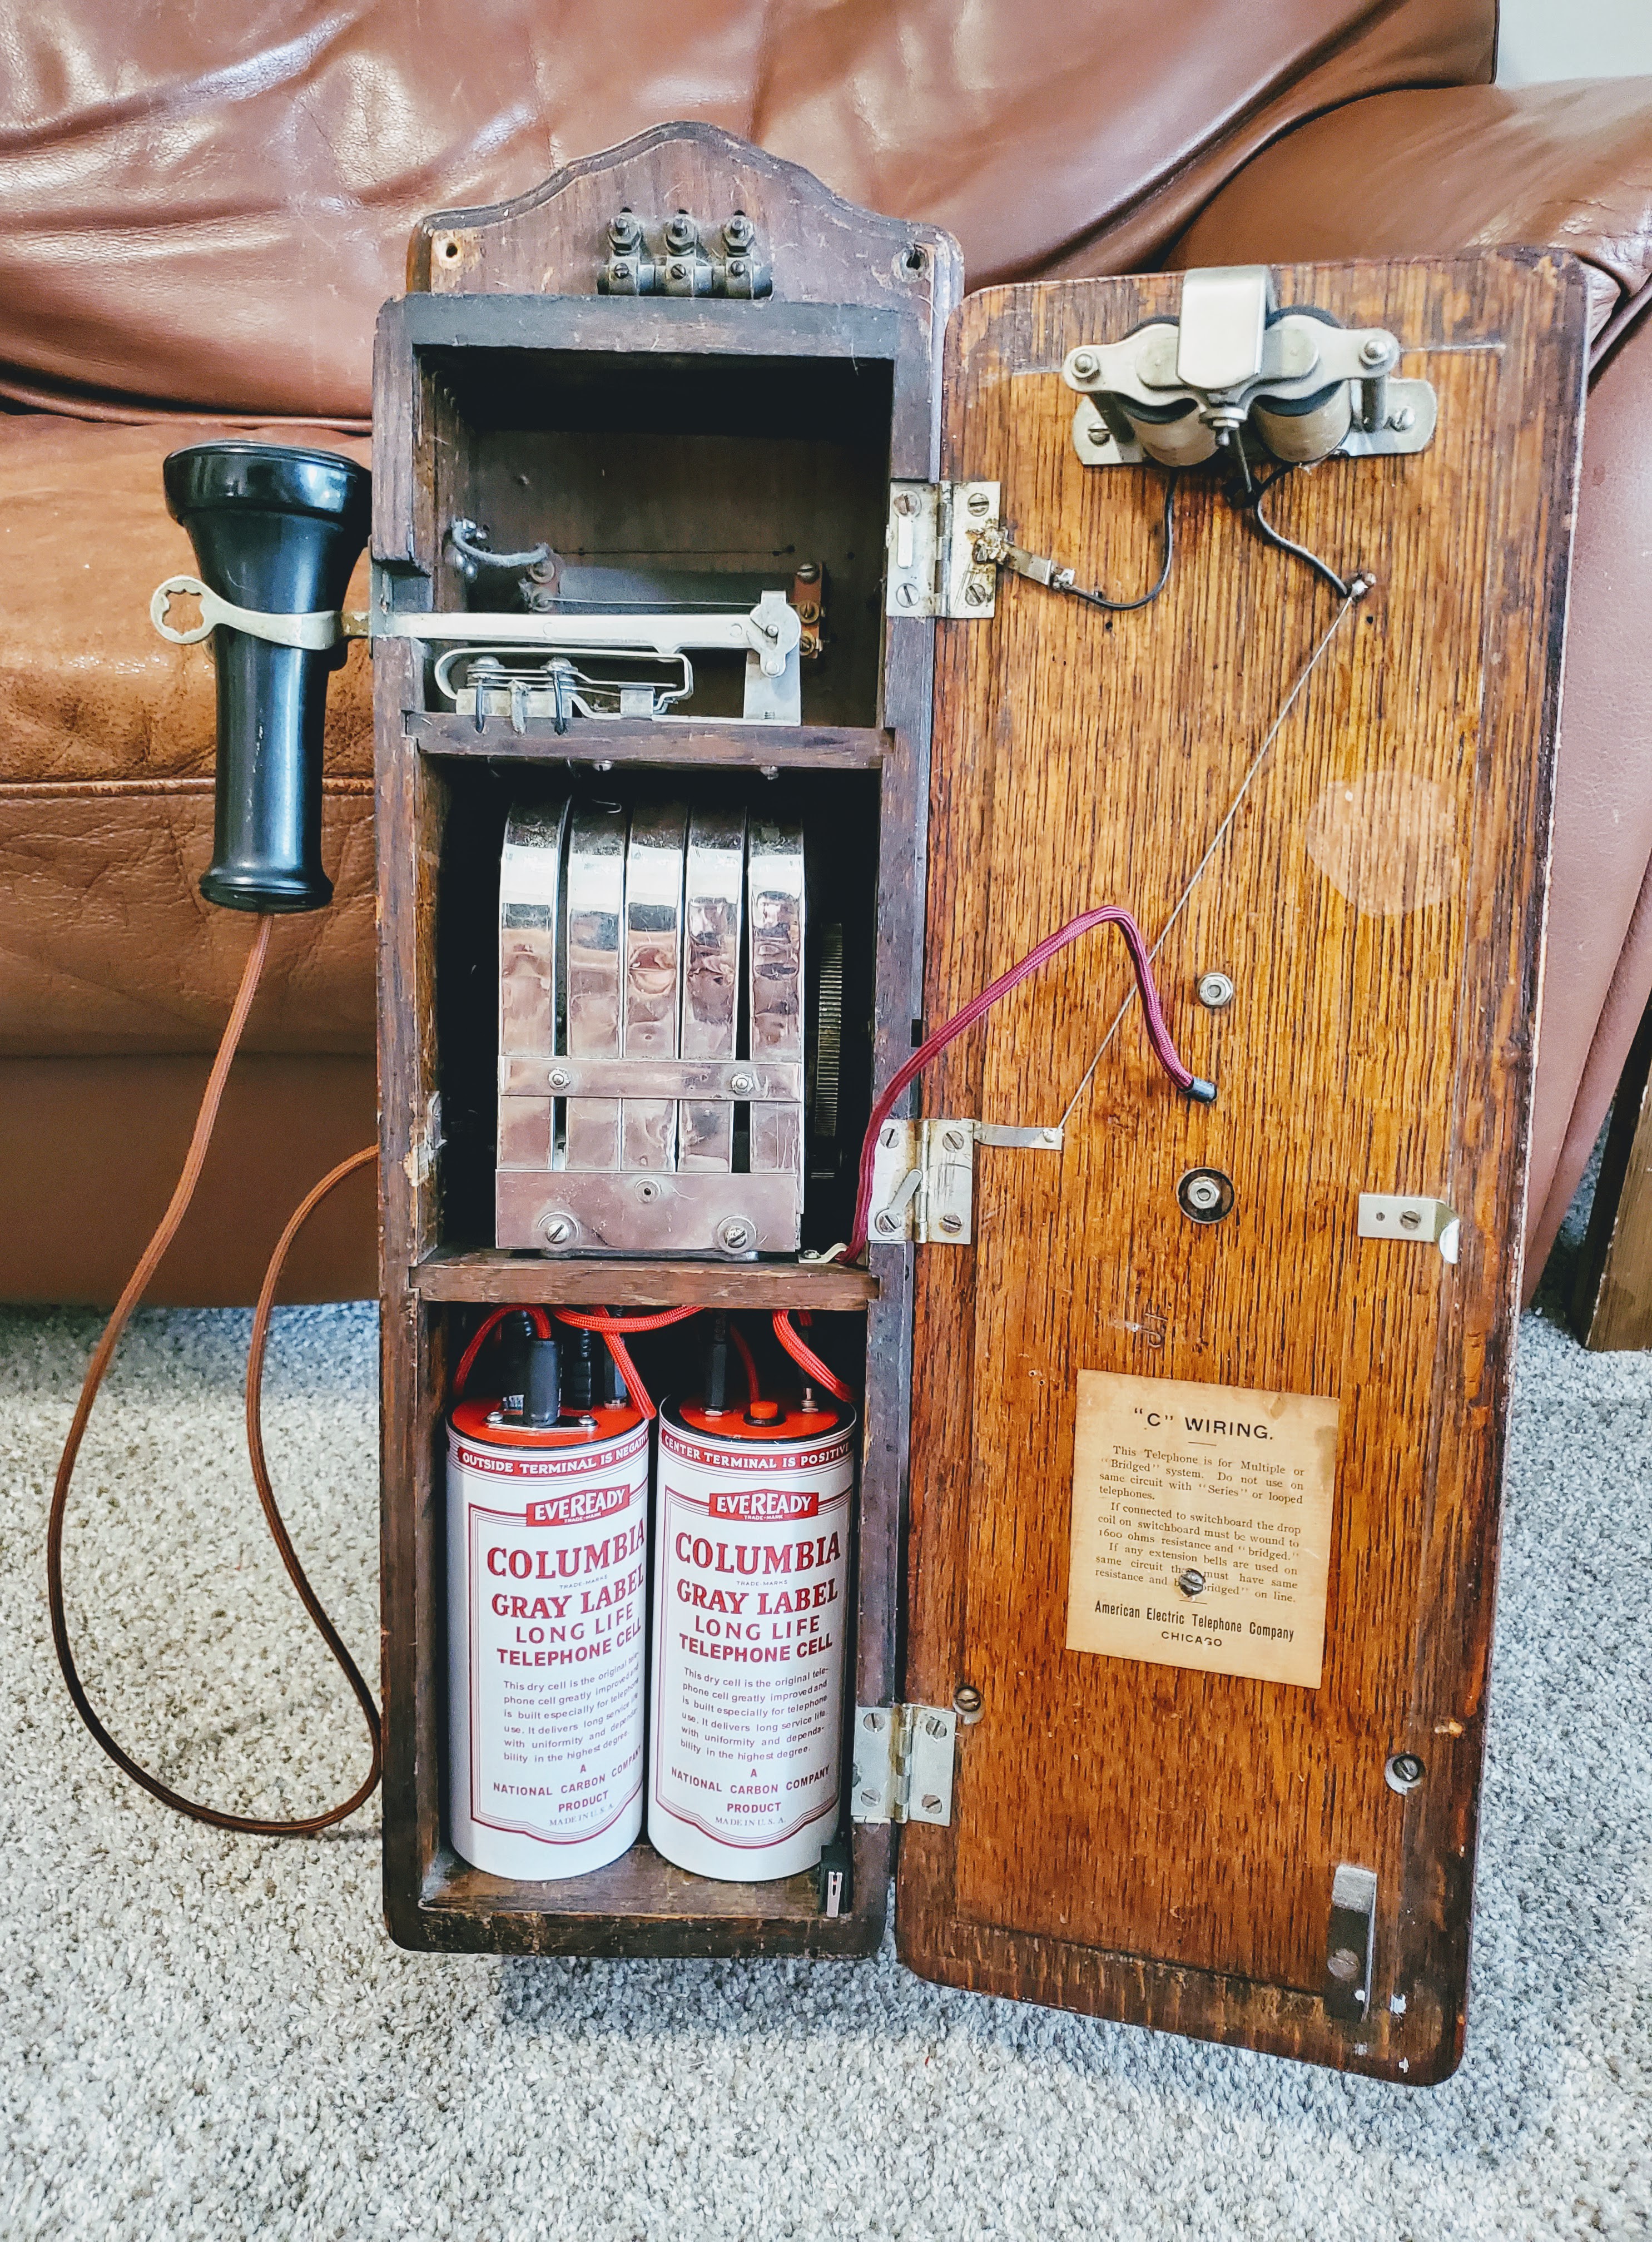
I made sure everything fit, and closed the door! The hardware was complete and ready for testing.
The final schematic of everything in the phone.
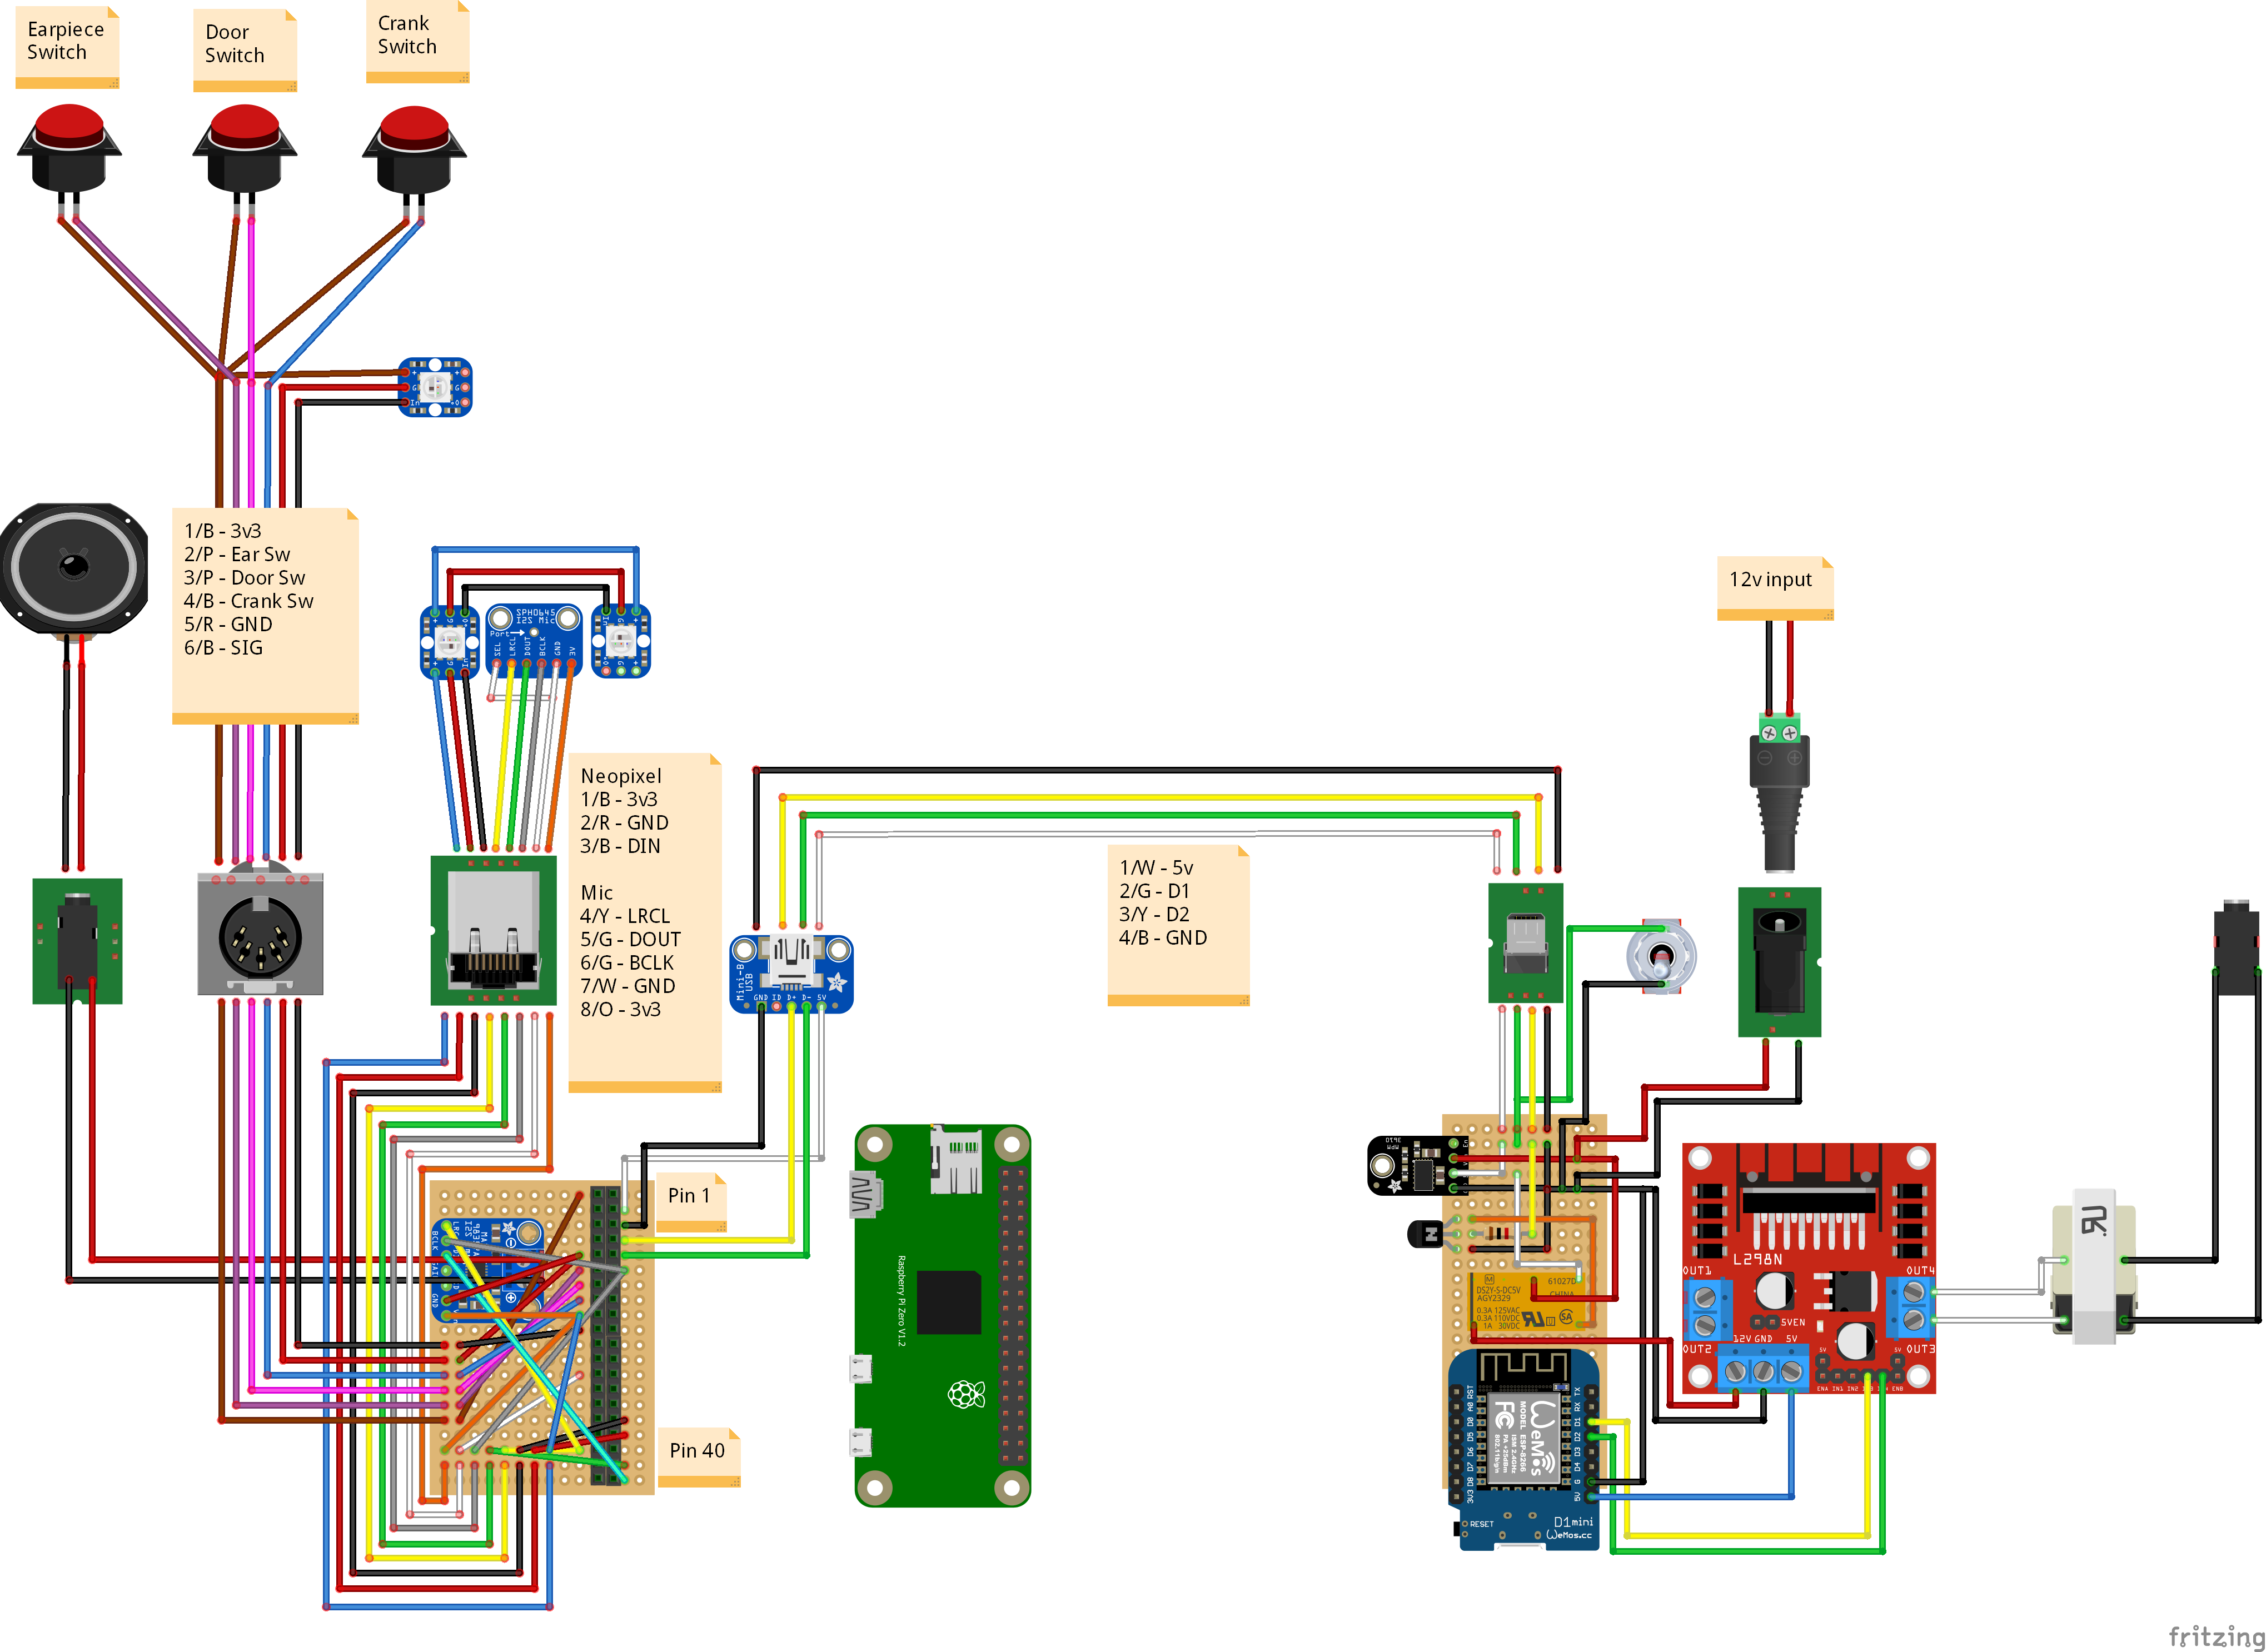
The schematic does show a neopixel on the switch connector; I originally intended to install neopixels in each of the 3 sections of the phone so I could do some cool color effects. In the end I couldn't find a clean way to install them without them being too obvious so I didn't end up using them. The wires for them are connected to a TRS jack in the switch breakout as a sort of 'expansion' port - it has 3v3, GND, and a GPIO connection so if I think of anything to add in the future it can just be plugged in there.
Discussions
Become a Hackaday.io Member
Create an account to leave a comment. Already have an account? Log In.