 Jonathan
The Purpose of the MycoBox
MycoBox is intended to be a software controlled chamber for taking the guesswork and manual maintenance out of growing mycelium and mushrooms. Growing mushrooms is a surprisingly common hobby around the world, partly because it can be done with very low-tech techniques and the results are often worth the effort. However, most people who have tried also know that it can be an extremely error prone and frustrating endeavor.
There are many factors to cultivating mushrooms, and “of the many factors...for producing successful crops, the misapplication of only one can result in poor fruiting or absolute failure” (Stamets 391 - 392). Furthermore, each stage of mushroom growth requires its own unique ideal environment; spawn running, primordia formation, and fruiting. As a cultivator goes through the process they must be adept at recognizing when and how to modify the environment for the continued healthy growth of their crop. This is a delicate game of balance, “as each factor is changed, secondary effects are seen. The skill of a mushroom cultivator is measured by the ability to compensate for fluctuations in this complex mosaic of variables” (Stamets 392).
This is where the MycoBox steps in, it is equipped with sensors and programmatic logic to handle this mosaic of variables, enabling it to become the skilled cultivator on behalf of the user. This opens the door for more people to become effective citizen mycologists, which I think is pretty important.
The Software:
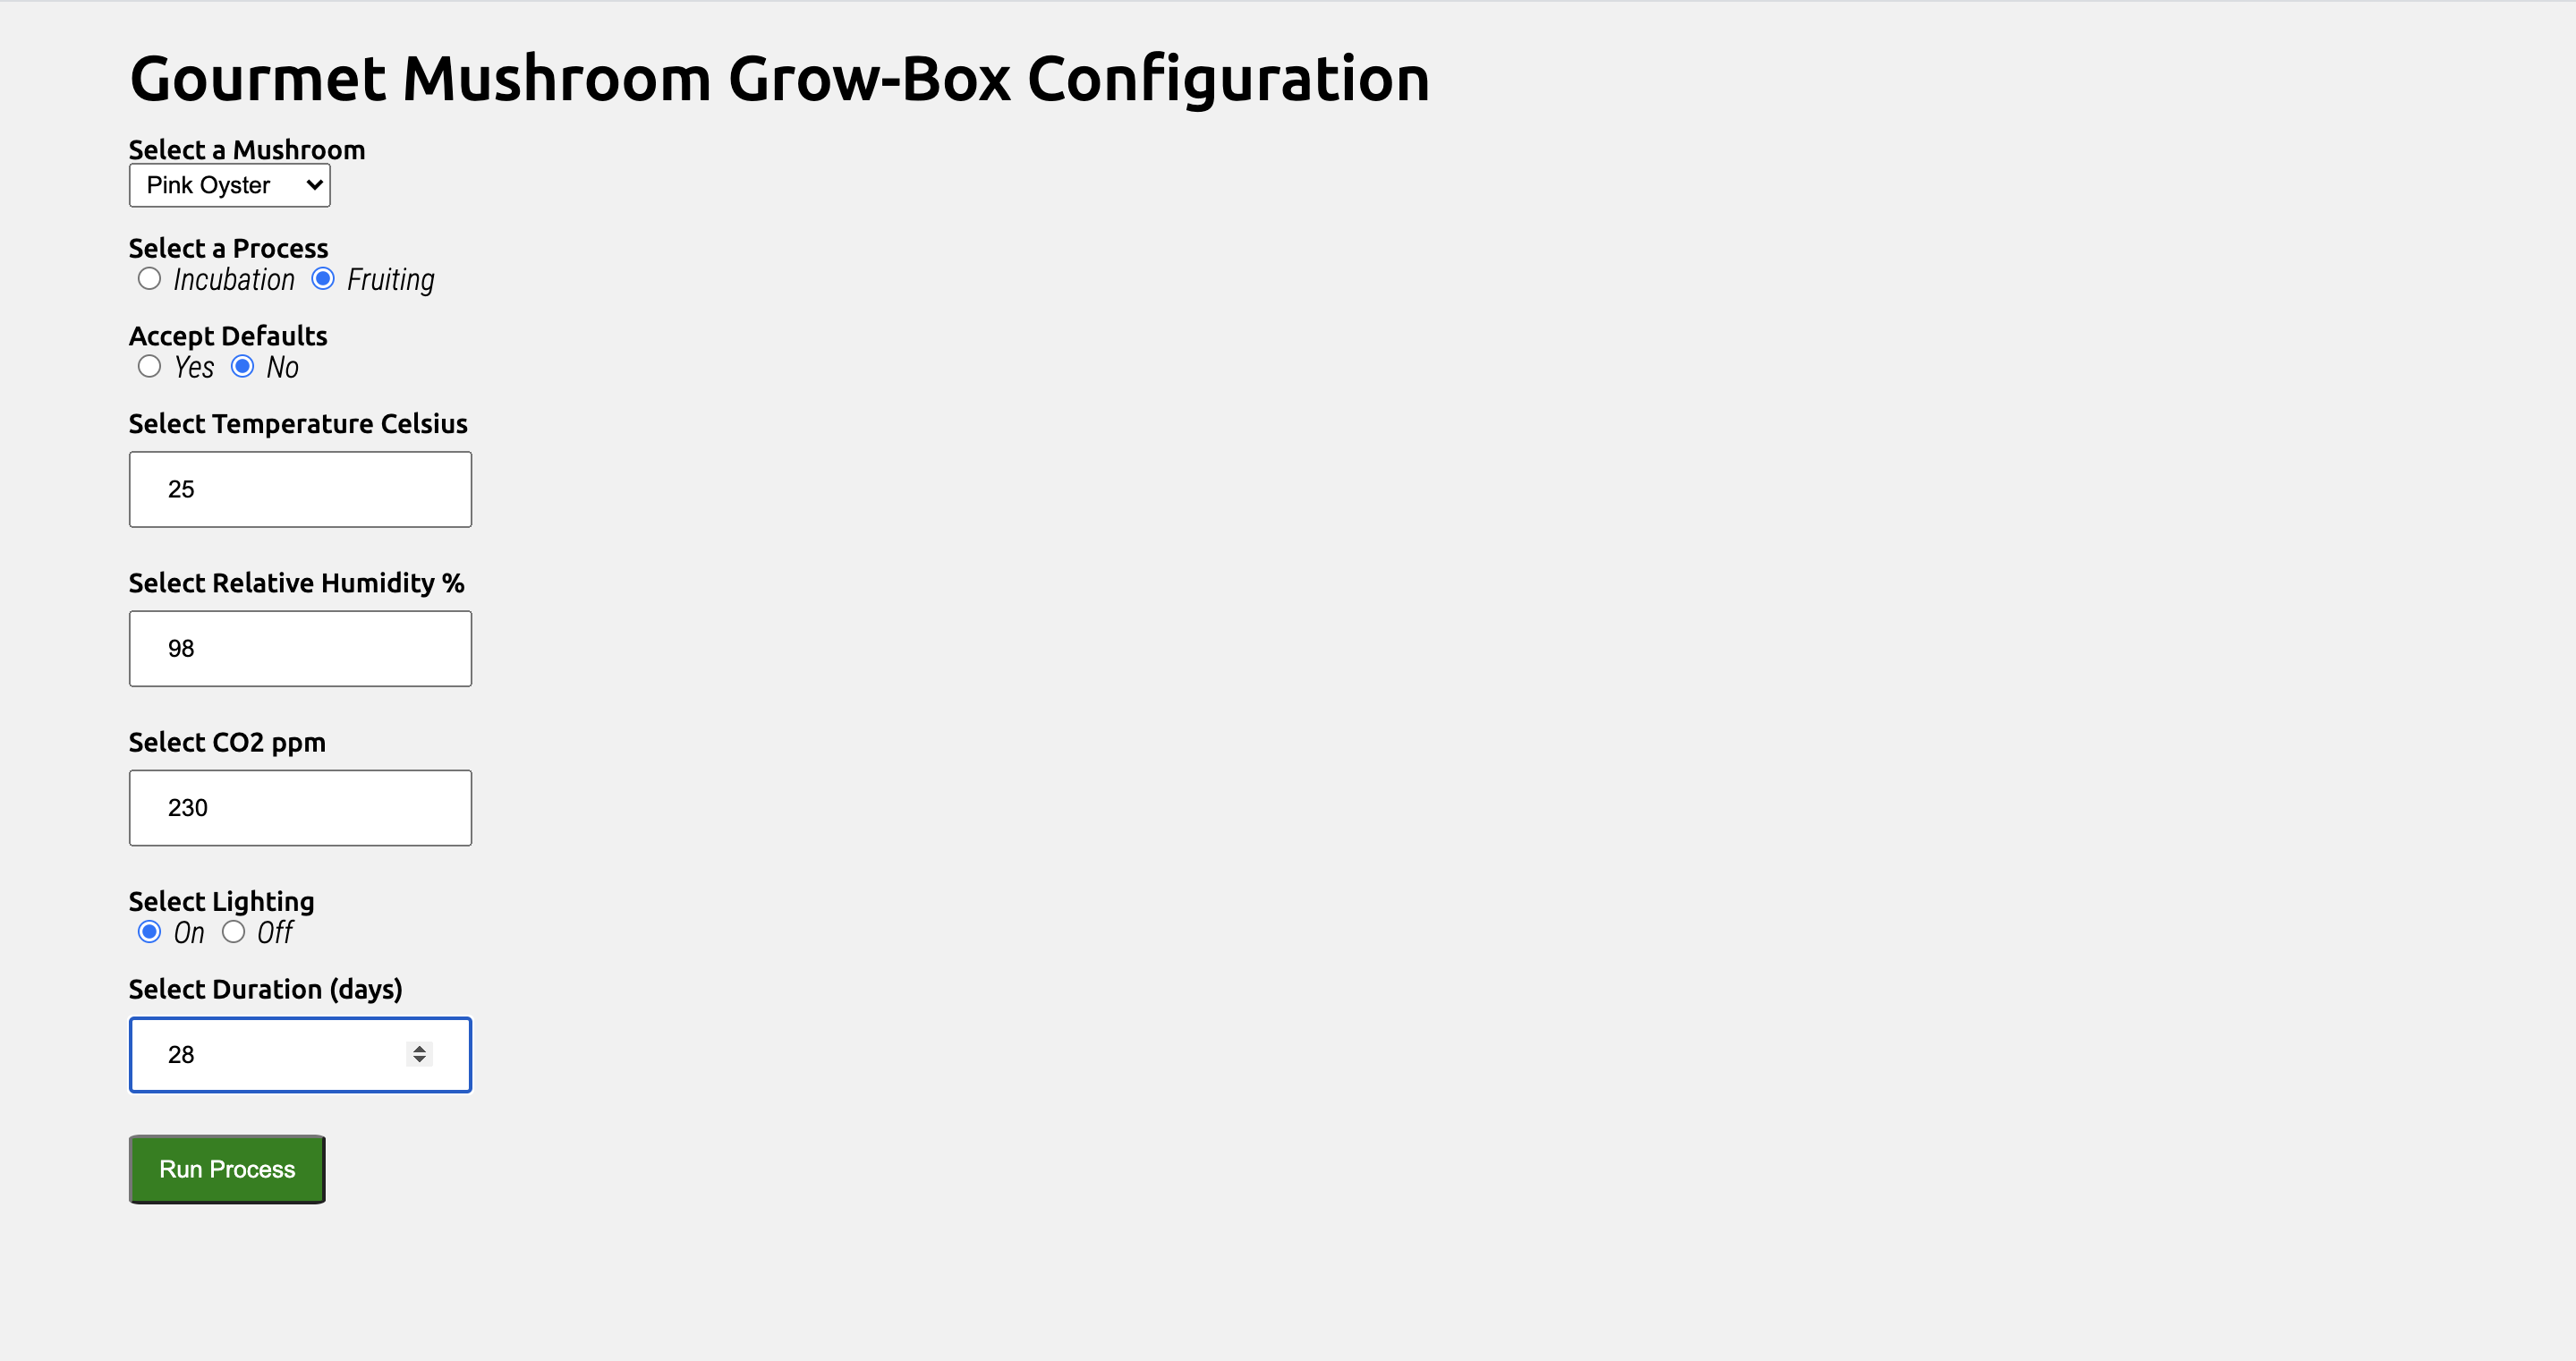
The above is an image of an early concept of the configuration page for starting a MycoBox session. The first field is a drop-down menu for selecting which mushroom will be grown during the session, and the second is an option to accept or reject the default configuration for the selected mushroom. This way, instead of manually deciding the environment configuration a beginner can select a default to get started. However, a more advanced user has the option to opt-out of the default configuration and define the variables for the environment that they would like to be maintained throughout the session.
This early concept is too limited in detail and doesn’t enable the level of control that I intend for the final version. First of all, this configuration confines a session to only incubation or fruiting, instead of allowing a user to define how the environment will progress with the mycelium through all three stages of growth; spawn running (incubation), primordia formation, and fruiting. The configuration is like the road map, or flight plan for the mycelium, and it is carried out by the environment manager (EM); which is the core program that physically reads and sets the environment via the sensors and actuators in the MycoBox. The environment manager is what makes the MycoBox a skilled cultivator, it automatically compensates for fluctuations in the variables defined by the configuration as it moves through the critical shift points of the three stages of growth. To illustrate what the configuration and environment manager must account for, I will walk through how the environmental variables must shift for each stage of growth.
Spawn Running
Spawn running is the period in which the vegetative mycelium hyphae branch out and grow throughout the substrate to form a very dense network that eventually engulfs all of the available resources.
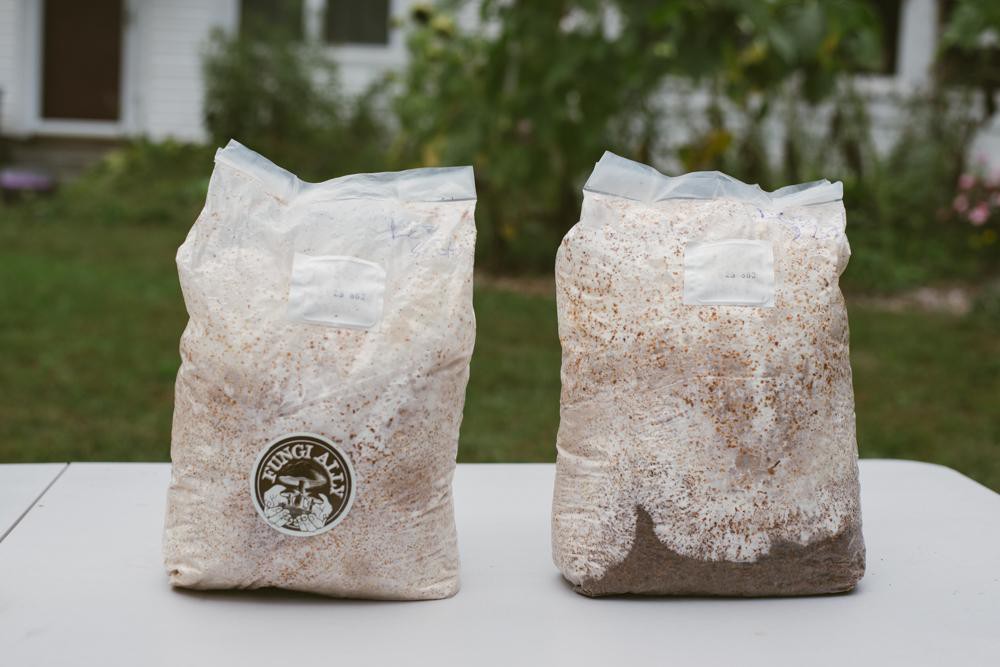
^ this is just an illustrative photo I found on the internet
This is the vegetative period of growth in which the hyphae release exoenzymes to digest and then ingest the available nutrients from the substrate. Moisture, carbon dioxide, and temperature are the most important variables for this period of growth. According to Paul Stamets’ book, Growing Gourmet and Medicinal Mushrooms, the moisture of the substrate at this stage should be between 60 to 75% for “strong and quick spawn running of mycelium” (Stamets 392); this can be maintained by setting the relative humidity of the chamber to about 100%. Mushrooms are composed of approximately 90% water, and if the mycelium is unable to get a sufficient amount during the vegetative spawn running period it may simply fail to ever produce mushrooms! When growing with spawn bags moisture retention is relatively easy, however I may need to add several simple soil moisture sensors to the MycoBox so the EM can be aware of the approximate volumetric water content of the substrate when growing with trays and open containers.

Fortunately I already have these sensors and several more stashed in my closet. Carbon Dioxide is another critical variable for mycelium in this stage and it often needs to be at relatively high levels, sometimes as high as 20% (200,000 ppm). Unfortunately I’ve noticed that the CO2 meter that I happened to already have only measures up to 2,000 ppm, and I will need to replace it with an appropriate meter, such as the ExplorIR-W meter offered by co2meter.com.

Since mycelium exhales CO2, similar to humans, simply sealing the ports of the chamber is enough to gradually build up the CO2 levels to the ideal amount. However, when it’s time to reduce or limit the CO2 levels fresh air from outside must be introduced, which inevitably increases evaporation, drops humidity, and changes the current temperature. To maintain the environment configuration the EM will make intelligent decisions in real time via readings from the sensors, such as deciding to exhaust the CO2 from the exhaust fan instead of bringing in more air from the intake fan if the external air temperature is determined to be too high. Of course it will also switch on or increase the humidifier fan to retain the configured humidity, or perhaps switch on the air conditioner or heater as necessary to retain the configured temperature while balancing the CO2 level. The EM is able to do this by continuously checking that the observed environment matches the given configuration, and utilizing proportional-integral-derivative (PID) controlled actuators to physically adjust the environment variables as necessary. The duration of spawn running depends on the species of mushroom being grown as well as the volume of substrate that is being colonized. Visually you can tell the process is completed or nearing completion when all of the substrate is a milky white and totally consumed by the mycelium, as seen in the image earlier in this post. However, this is not the most reliable way of knowing that the process has actually ended, it’s much more accurate to measure the surface temperature of the substrate with an infrared heat sensor.
“As the substrate is being colonized with mycelium, heat is released as a by-product. After colonization is complete, heat generation abates, and internal temperatures naturally decline to nearly equal with air temperature” (Stamets 395). The ideal time to switch from spawn running and to initiate primordia formation is when the observed surface temperature of the substrate matches, or nearly matches, the observed air temperature of the chamber; for this reason the duration can but should not be determined by the configuration. Another possible way of confirming that the spawn running process is completed is when the total weight is no longer continuing to rise, indicating that new vegetative hyphae is no longer forming.

this is a photo of the scale that rests under the grow rack for the duration of a session.
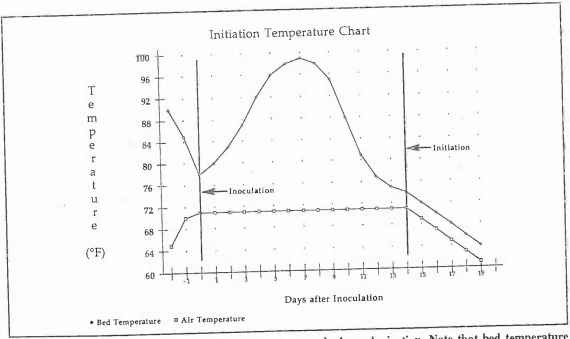
This chart is a bell curve of the substrate (bed) temperature over the air temperature. You can see the air temperature is dropped intentionally once the bed temperature is nearly at equilibrium with it, to initiate primordia formation. It’s a rule of thumb that air temperature should be higher during spawn running than during primordia formation.
Primordia Formation
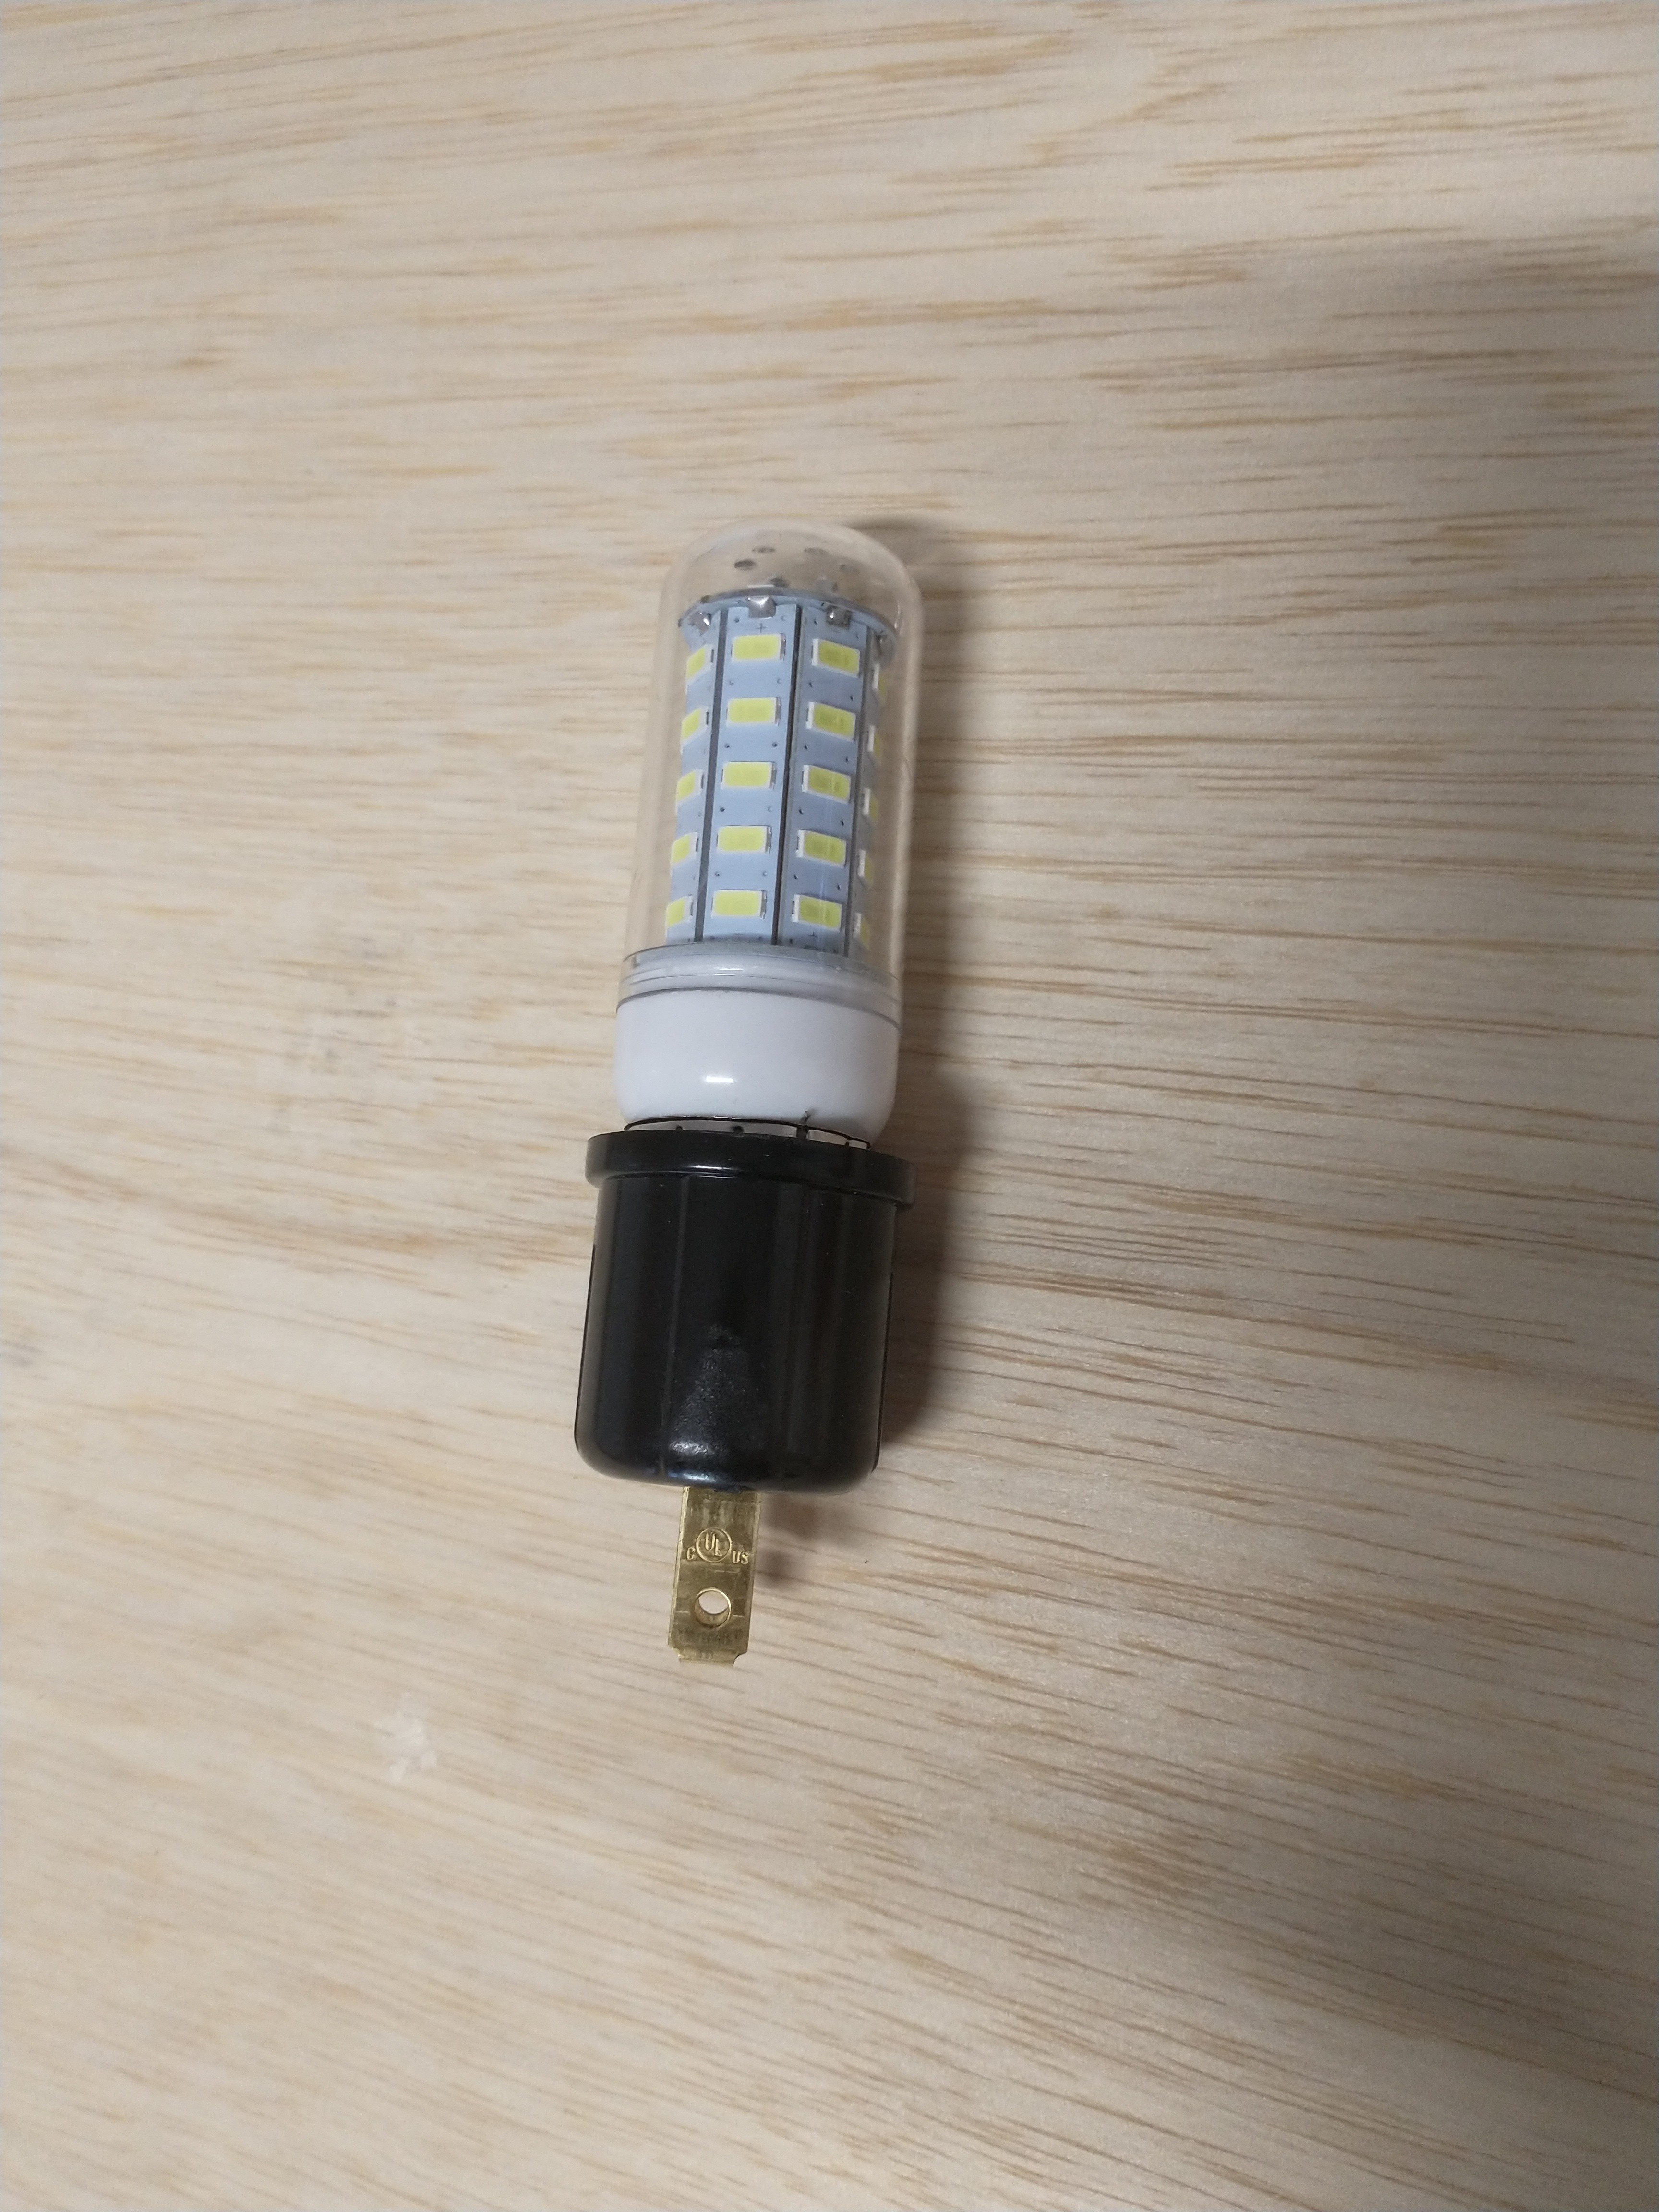
Once it’s clear that the mycelium has fully grown throughout the substrate and has finished cooling, MycoBox will shift the environment to trigger primordia formation. Light signals to the mycelium that it is above ground and it’s now time to form mushrooms and release spores into the open air. Different species from varying regions prefer different levels of light intensity and wavelength, but “for most species, light levels between 50 and 1,000 lux” with “wavelengths of 380 and 480 nanometers seem most stimulatory to primordia formation” (Stamets 396). The internal chamber is fitted with a 900 lumens 6350K LED, which will be positioned near the front pole from the ceiling
This should result in just under 900 lux of light hitting most of the mycelium, which should be ideal for stimulating primordia formation and sustaining fruiting for most gourmet and medicinal species. The interior walls of the chamber are covered with reflective foil which will distribute the lightwaves throughout the chamber more evenly. I plan to install a few other LEDs of different lumens and wavelengths so that the MycoBox will be able to grow a broader range of species and strains.
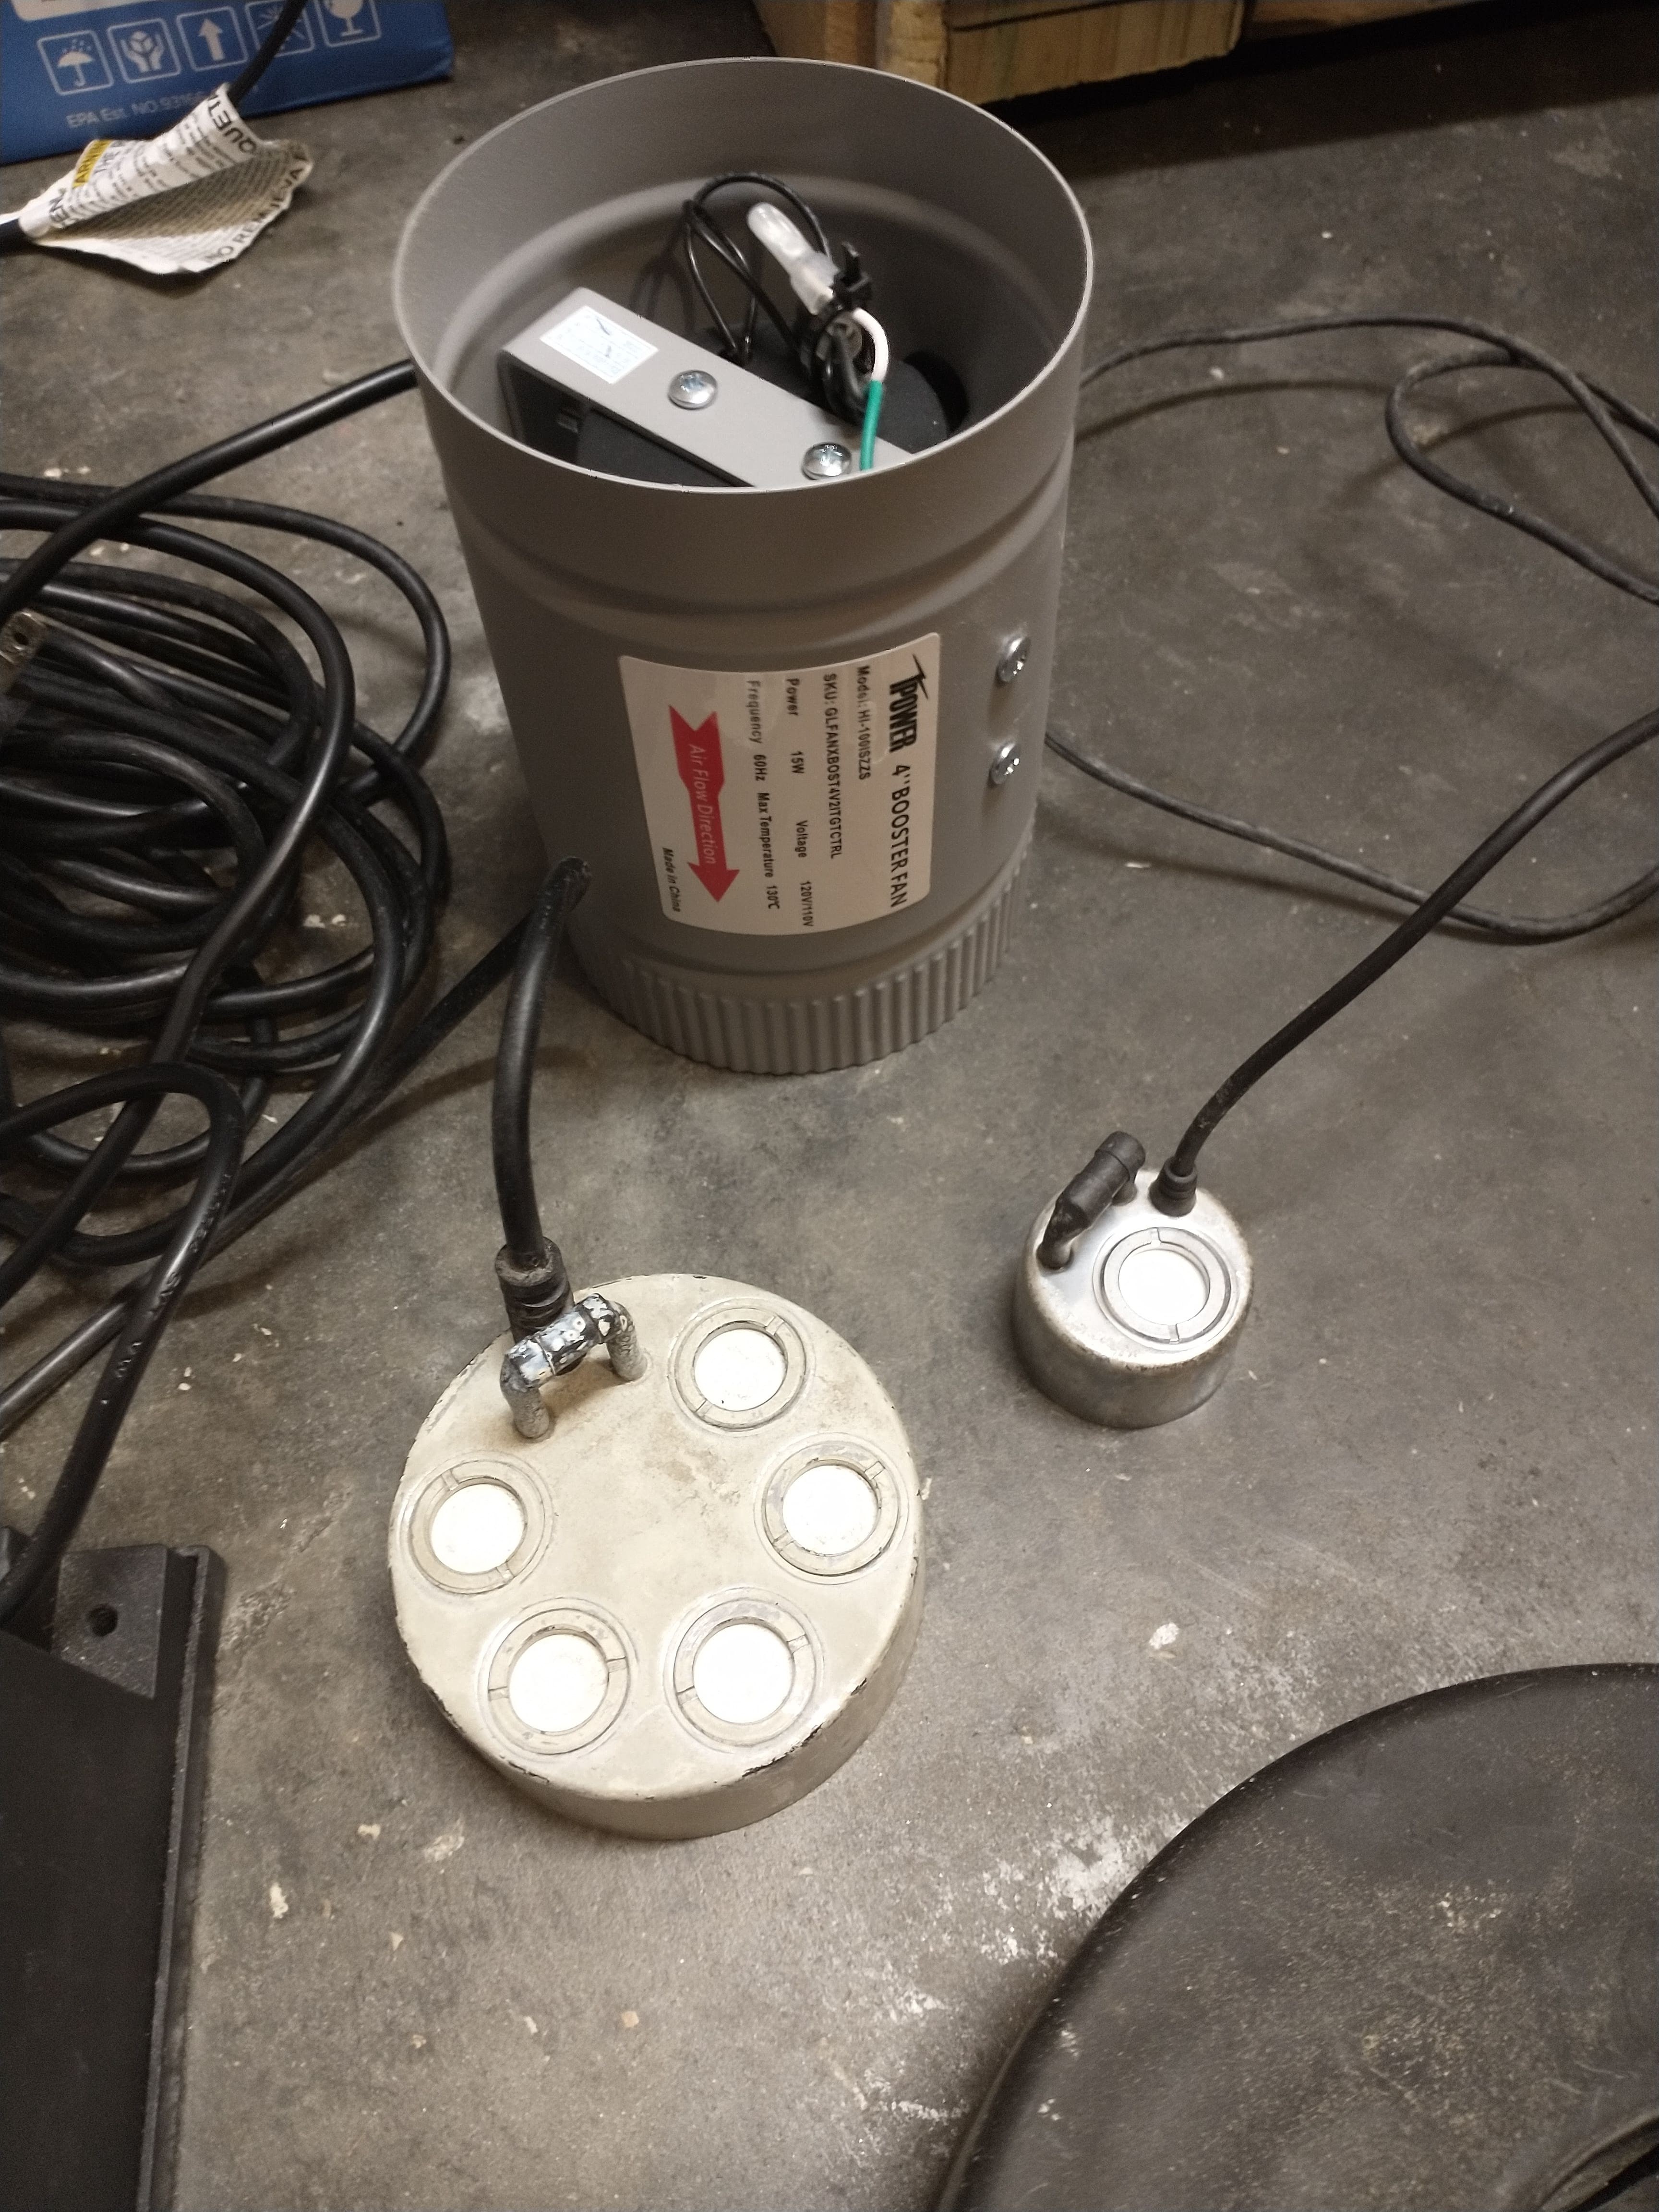
Another key variable for initiating primordia formation is dumping out the CO2 as quickly as possible while inversely concentrating the oxygen levels. There should be a rapid gas exchange because the chamber is supposed to now simulate that the mycelium has breached the surface of the soil and is exposed to fresh open air levels of CO2; which is ideally below 500ppm. The configuration should allow a user to select between predetermined rates of gas exchanges; the rates are based on the cubic feet per minute of air that is displaced. The intake and exhaust fan, as well as the circulation and humidifier fans, will be attached to triac drivers that allow the amount of AC current reaching them to be adjusted by a controller.
It’s a technique similar to pulse width modulation that lets fan speed be adjusted up or down. I will set something like three to five selectable fan speeds, allowing varying rates of gas exchange and turbulence in the chamber, as well as throttling the humidifier fan when necessary. The user can select the gas exchange rate in the configuration and MycoBox will always make the most logical decision to keep the environment as close to the selected configuration as possible.
Though gas exchange is increasing the humidifier has to keep up and hold the chamber as close to 100% relative humidity as possible. I have a 5 head atomizer which should be able to generate enough fog to keep up with the max rate of gas exchange; the humidifier provides more fog by adjusting the booster fan speed that pushes the fog into the chamber.
Temperature is either increased or decreased at this stage depending on the species of mushroom being grown, however it’s most commonly dropped. “Many strains will not form mushrooms unless temperature is dropped to a critical plateau” (Stamets 394).
Fruiting
The primordia initiation stage is over once the mycelium has stopped producing any more primordia and they are all beginning to mature. At this point relative humidity should be reduced to about 90 or 95%, which will occur as the gas exchange rate is held steady and humidifier rate is throttled down. This will develop a constant rate of watering and evaporation instead of a dense fog, which is ideal for maturing mushrooms. The transition from primordia formation to fruiting is less dramatic, and temperature mostly remains the same as well; however, “warmer temperatures result in faster growth while colder temperatures slow development”, and produces “firmer-fleshed higher-quality mushrooms” (Stamets 399). Light continues to play a very important role in the fruiting stage as well, adequate light levels are important for preventing stem elongation and malformed caps.
One difficult aspect of fruiting to configure is periods of dormancy between flushes. I believe the user will have to indicate to MycoBox during the session when a flush has completed as well as if they would like to generate another flush after a period of dormancy; such as 2 to 3 weeks.
The book cited in this post is Growing Gourmet and Medicinal Mushrooms, by Paul Stamets.
Hardware Design Details
Sensors:
MycoBox is an embedded system equipped with the necessary sensors for monitoring air temperature, surface temperature (of substrate), relative humidity, carbon dioxide, volumetric water content, and weight; it will also be equipped with video streaming cameras for visual monitoring and recording of the process.
To capture as accurate a reading as possible, three DHT22 air temperature and relative humidity sensors are located at the bottom, mid section, and top of the internal chamber on the front pole. There is also a very accurate thermocouple located on the mid section of the internal back wall of the chamber. Together these 4 temperature readings are averaged, with a bit more weight given to the more accurate thermocouple, to produce a temperature reading of the chamber. A fourth DHT22 is located outside of the box near the air intake fan, this sensor is to inform the MycoBox of the relative humidity and temperature of the external air that it may be intending to bring into the environment. While writing this, it has occurred to me I may actually place a fifth DHT22 sensor next to the thermocouple to give a more balanced relative humidity reading of the entire box, since all three internal humidity readings are currently only on the front pole. Low cost capacitive soil moisture sensors will also be available inside the chamber for carefully monitoring the volumetric water content of substrate in trays and open containers.
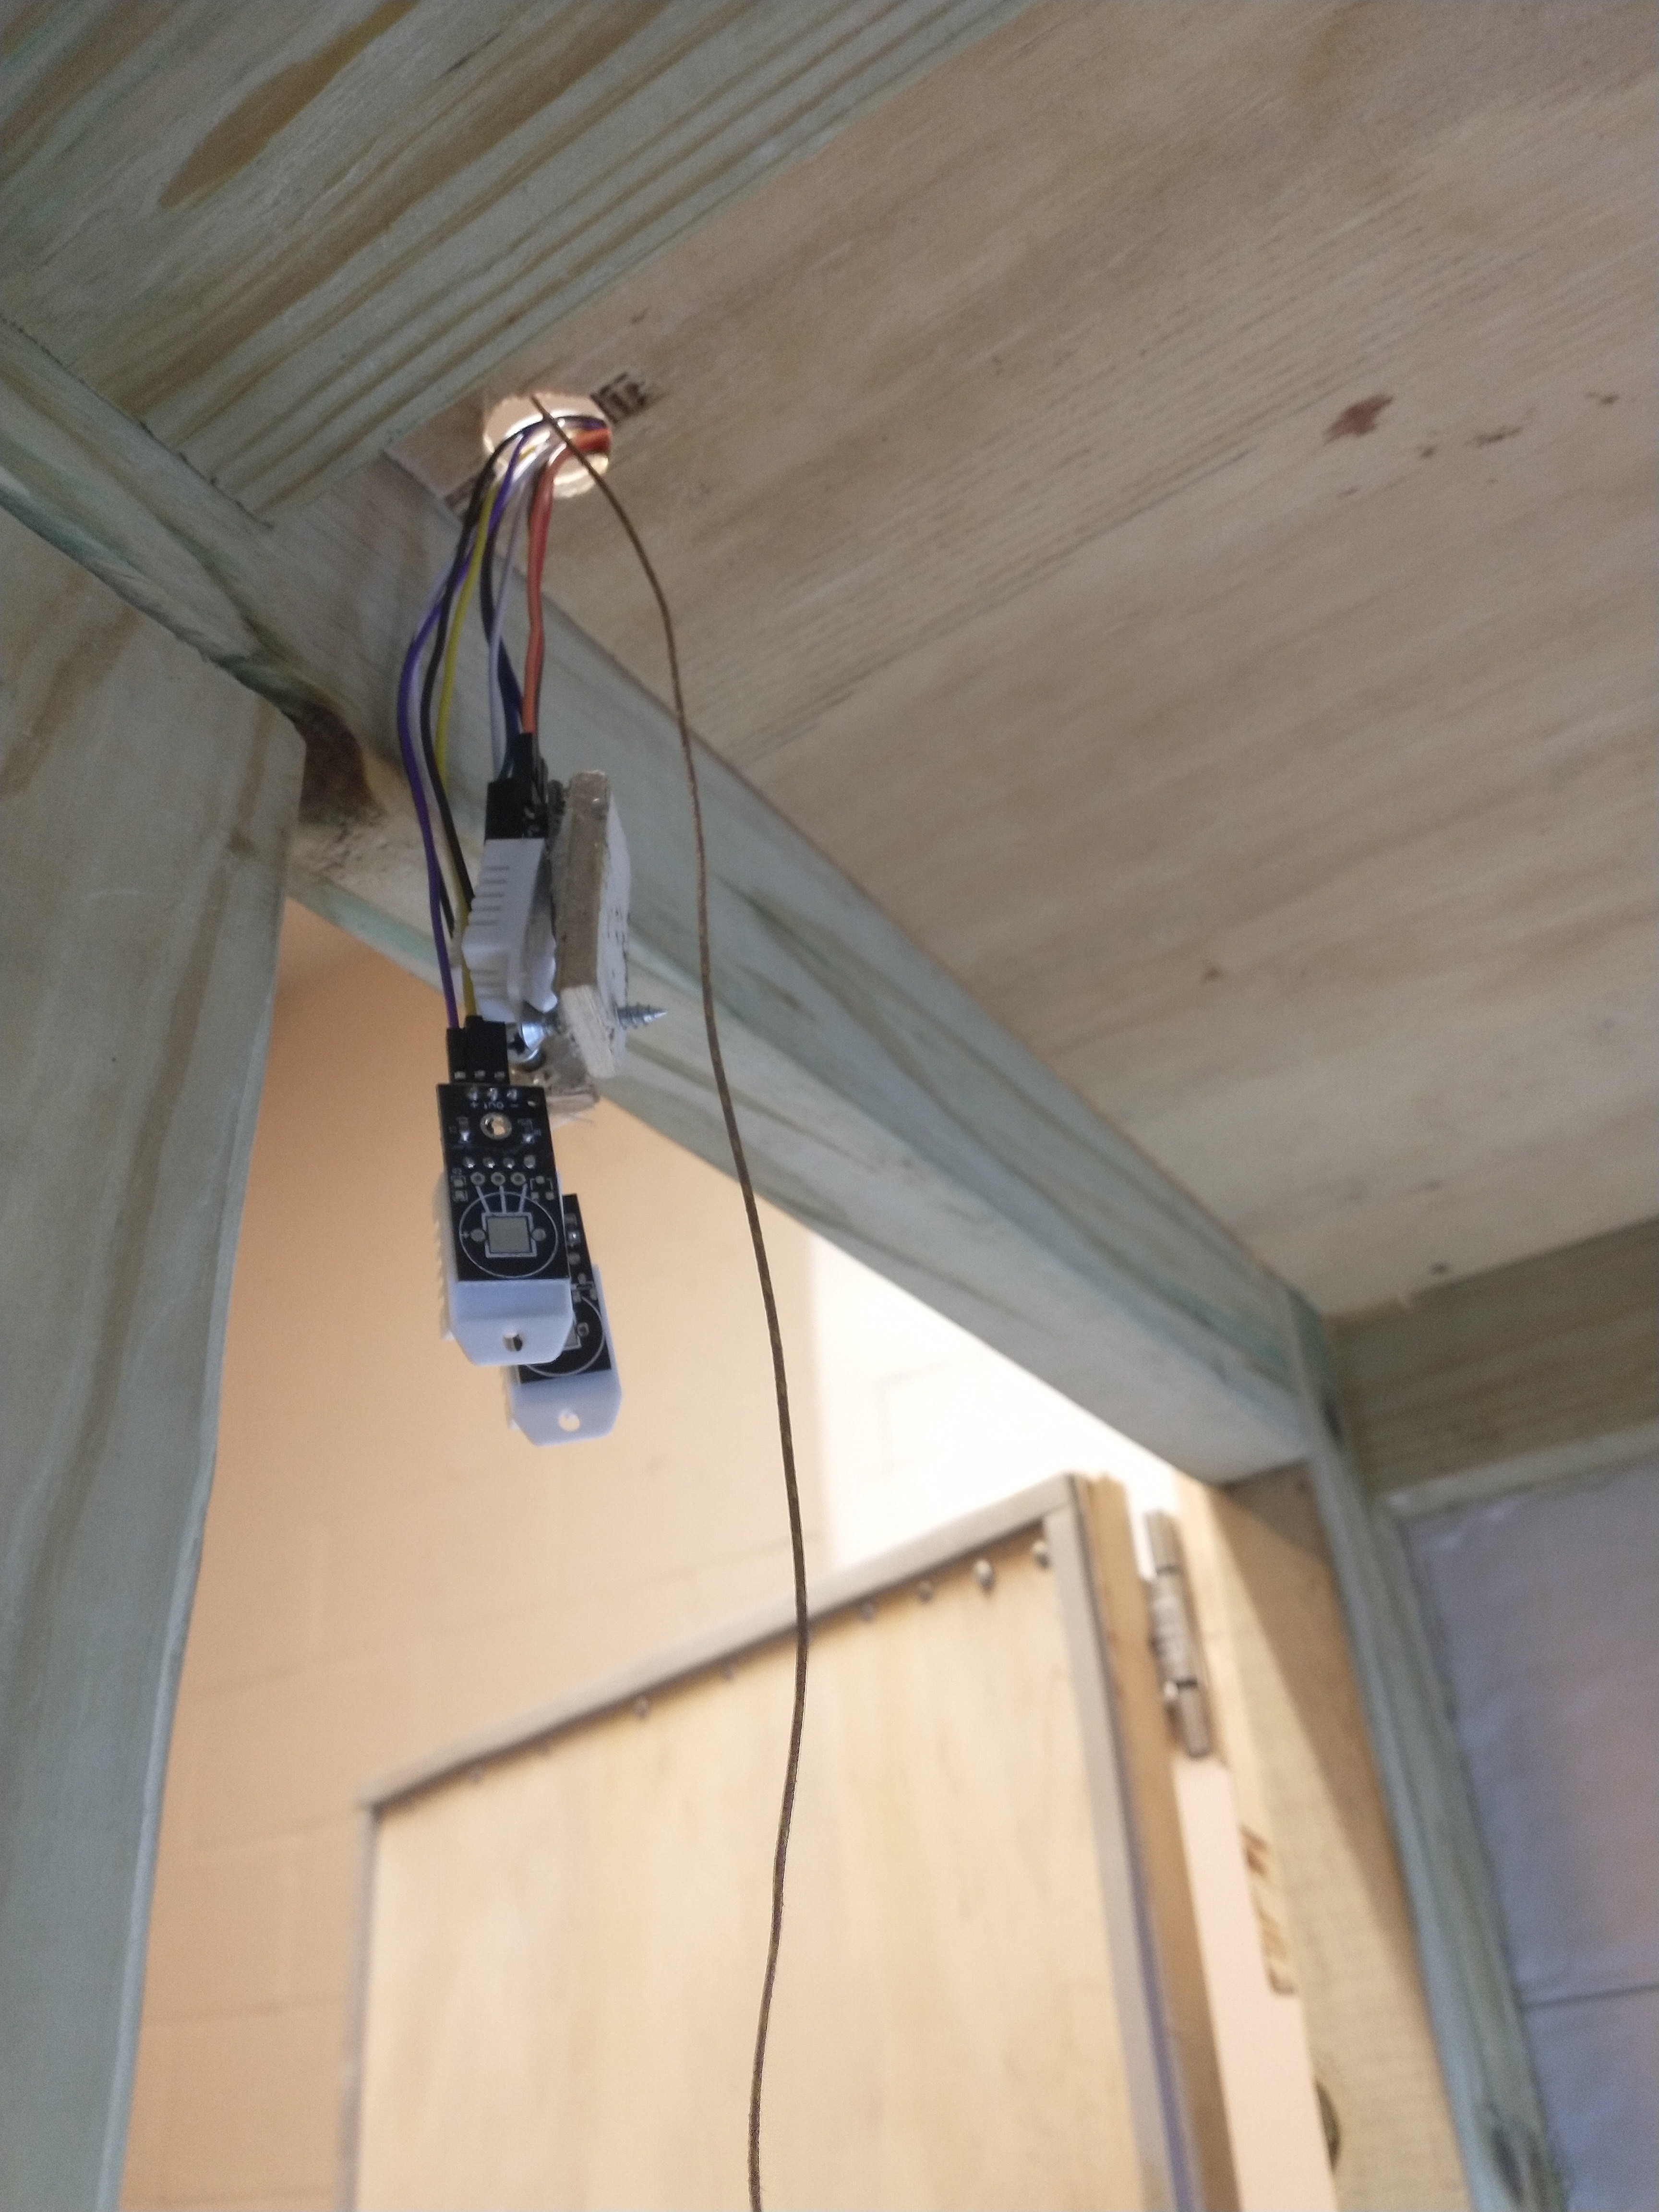
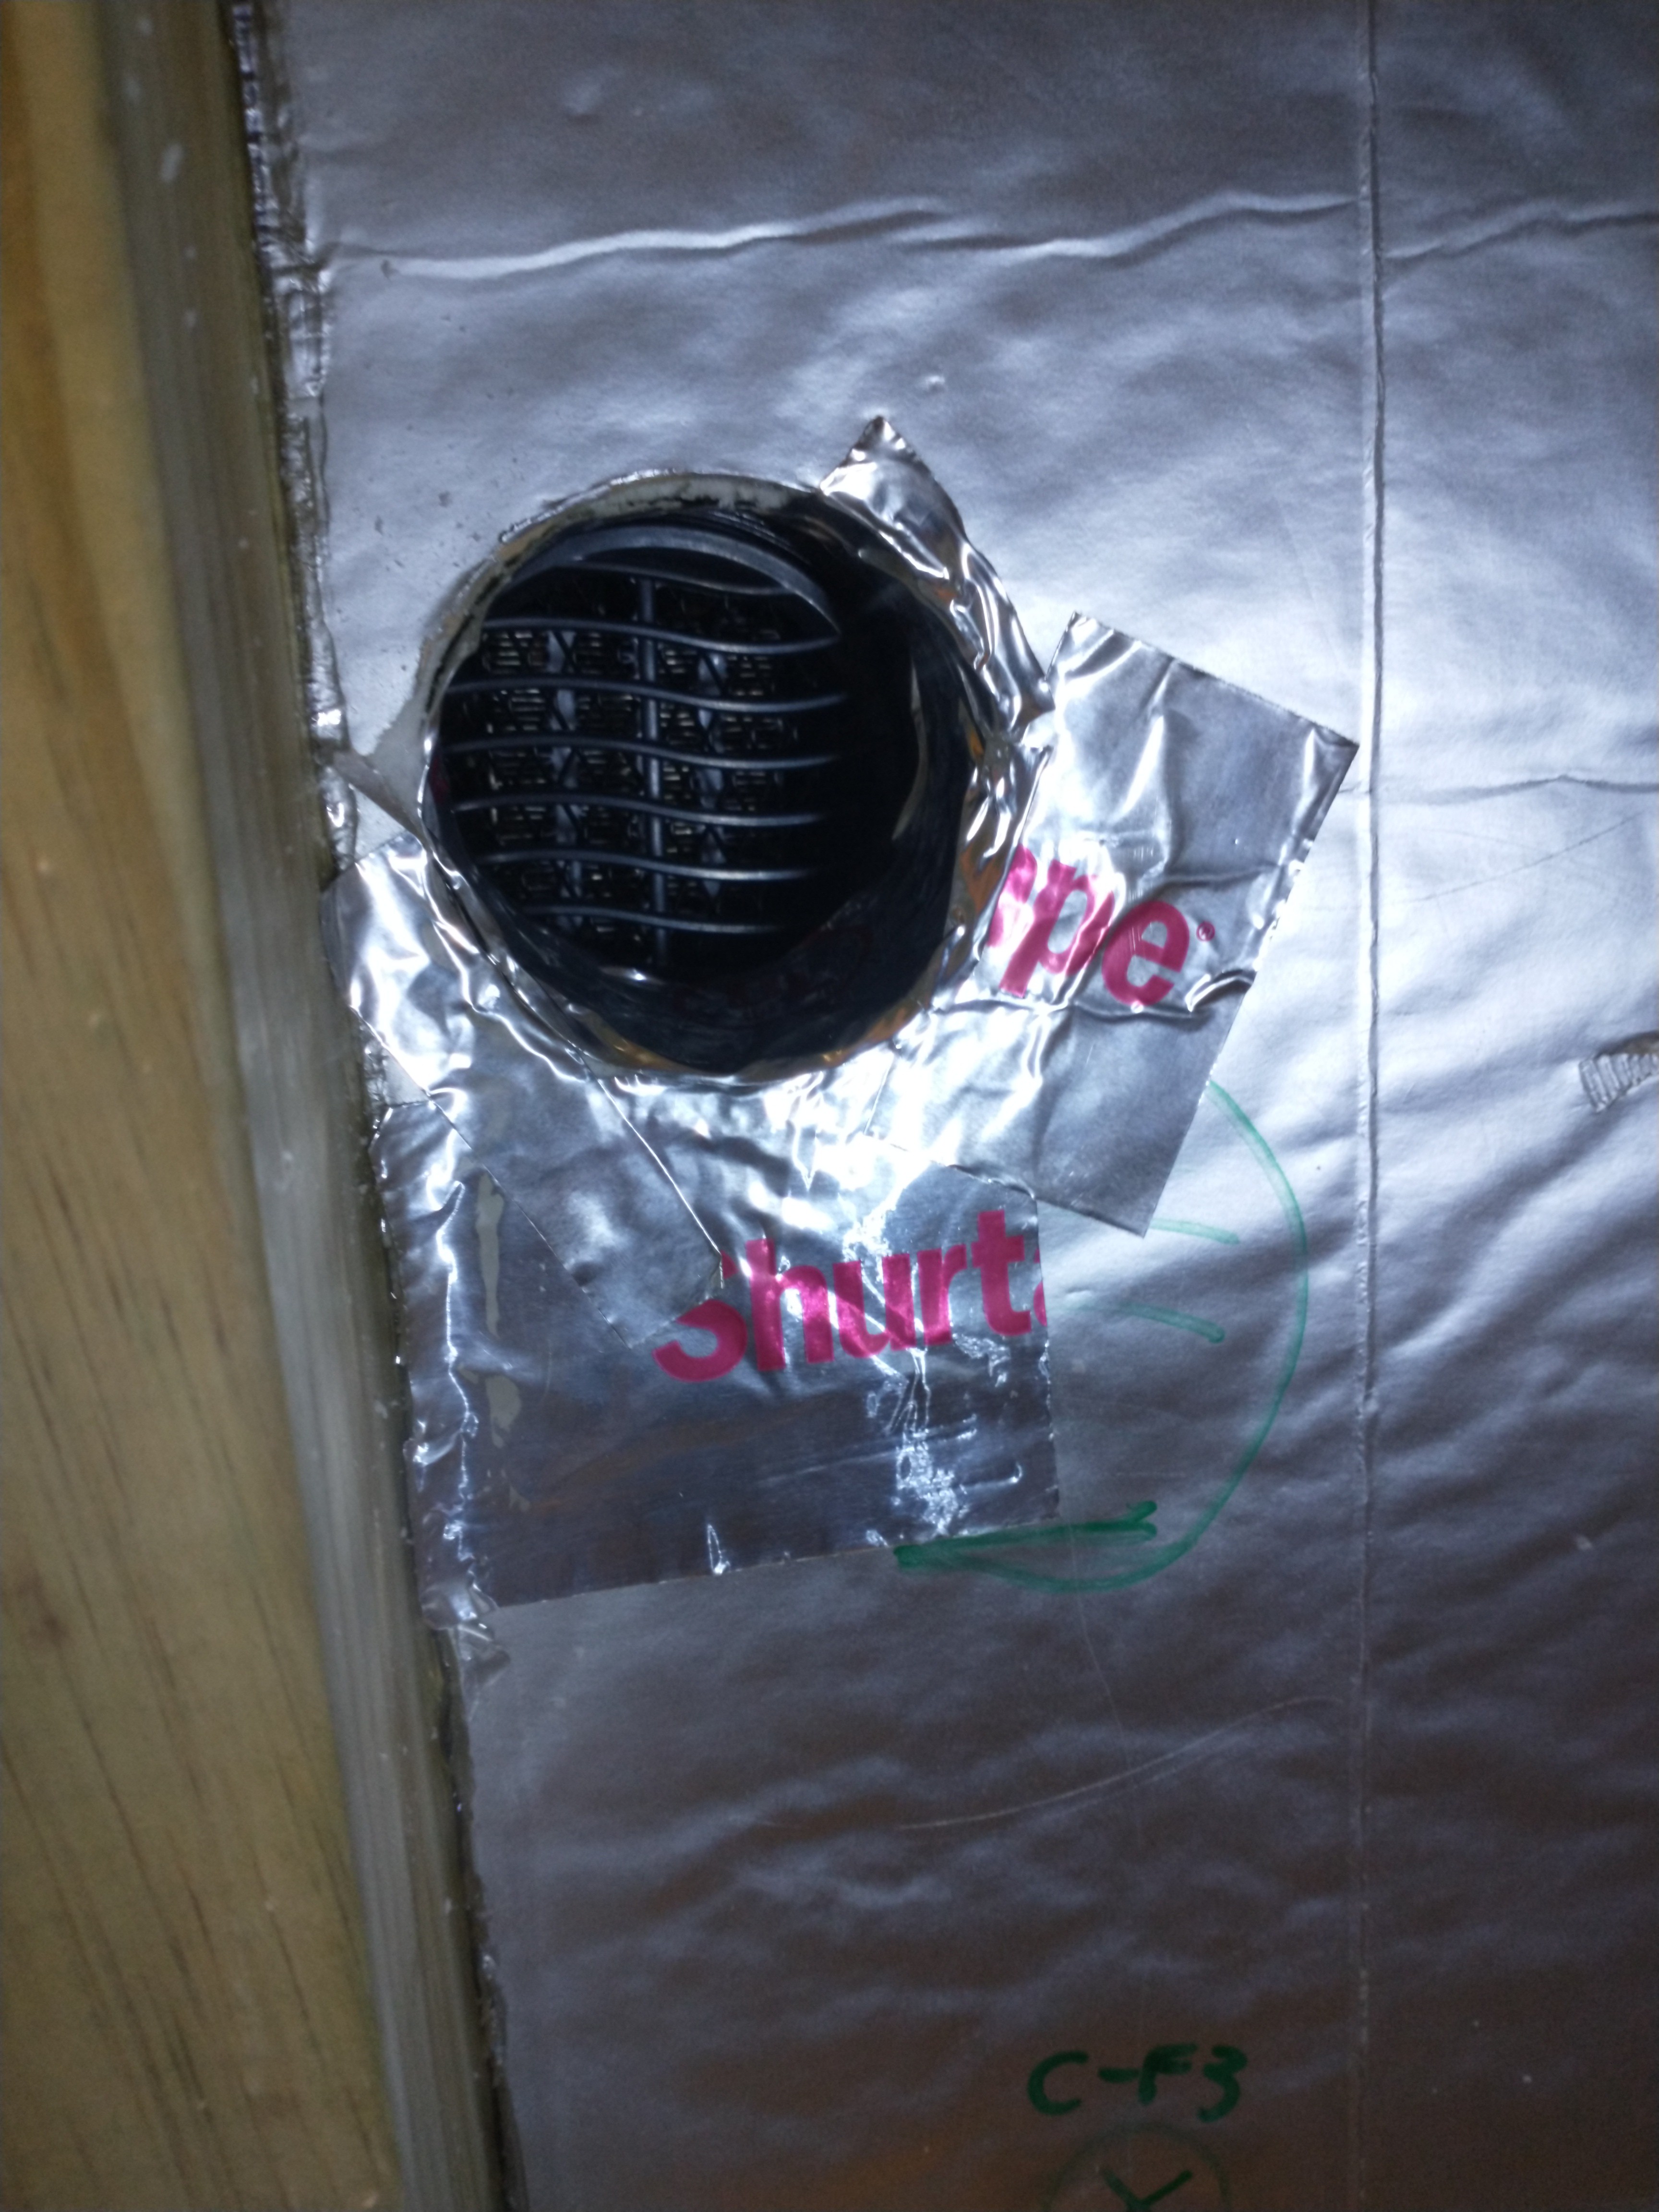
For monitoring the surface temperature of substrate, whether in a pan or bag, two infrared sensors are hanging from the ceiling of the box and may be clipped onto the top and lower rack for monitoring surface temperatures throughout the growth session. Also positioned on the front pole of the box, slightly below the middle, is a CO2 meter for monitoring carbon dioxide build up in the internal chamber. Because CO2 is heavier than air it will literally fill the box from the ground up. I placed the meter slightly below the middle of the box but will adjust it later to be as close to the grow zone as possible.
There is a digital scale on the floor of the chamber for monitoring the weight of the substrate throughout the session, so the exact amount of mycelium and mushrooms produced, in pounds or grams, will be recorded.
below are some photos of the sensors being used; the old design and the currently in process rewiring of them.
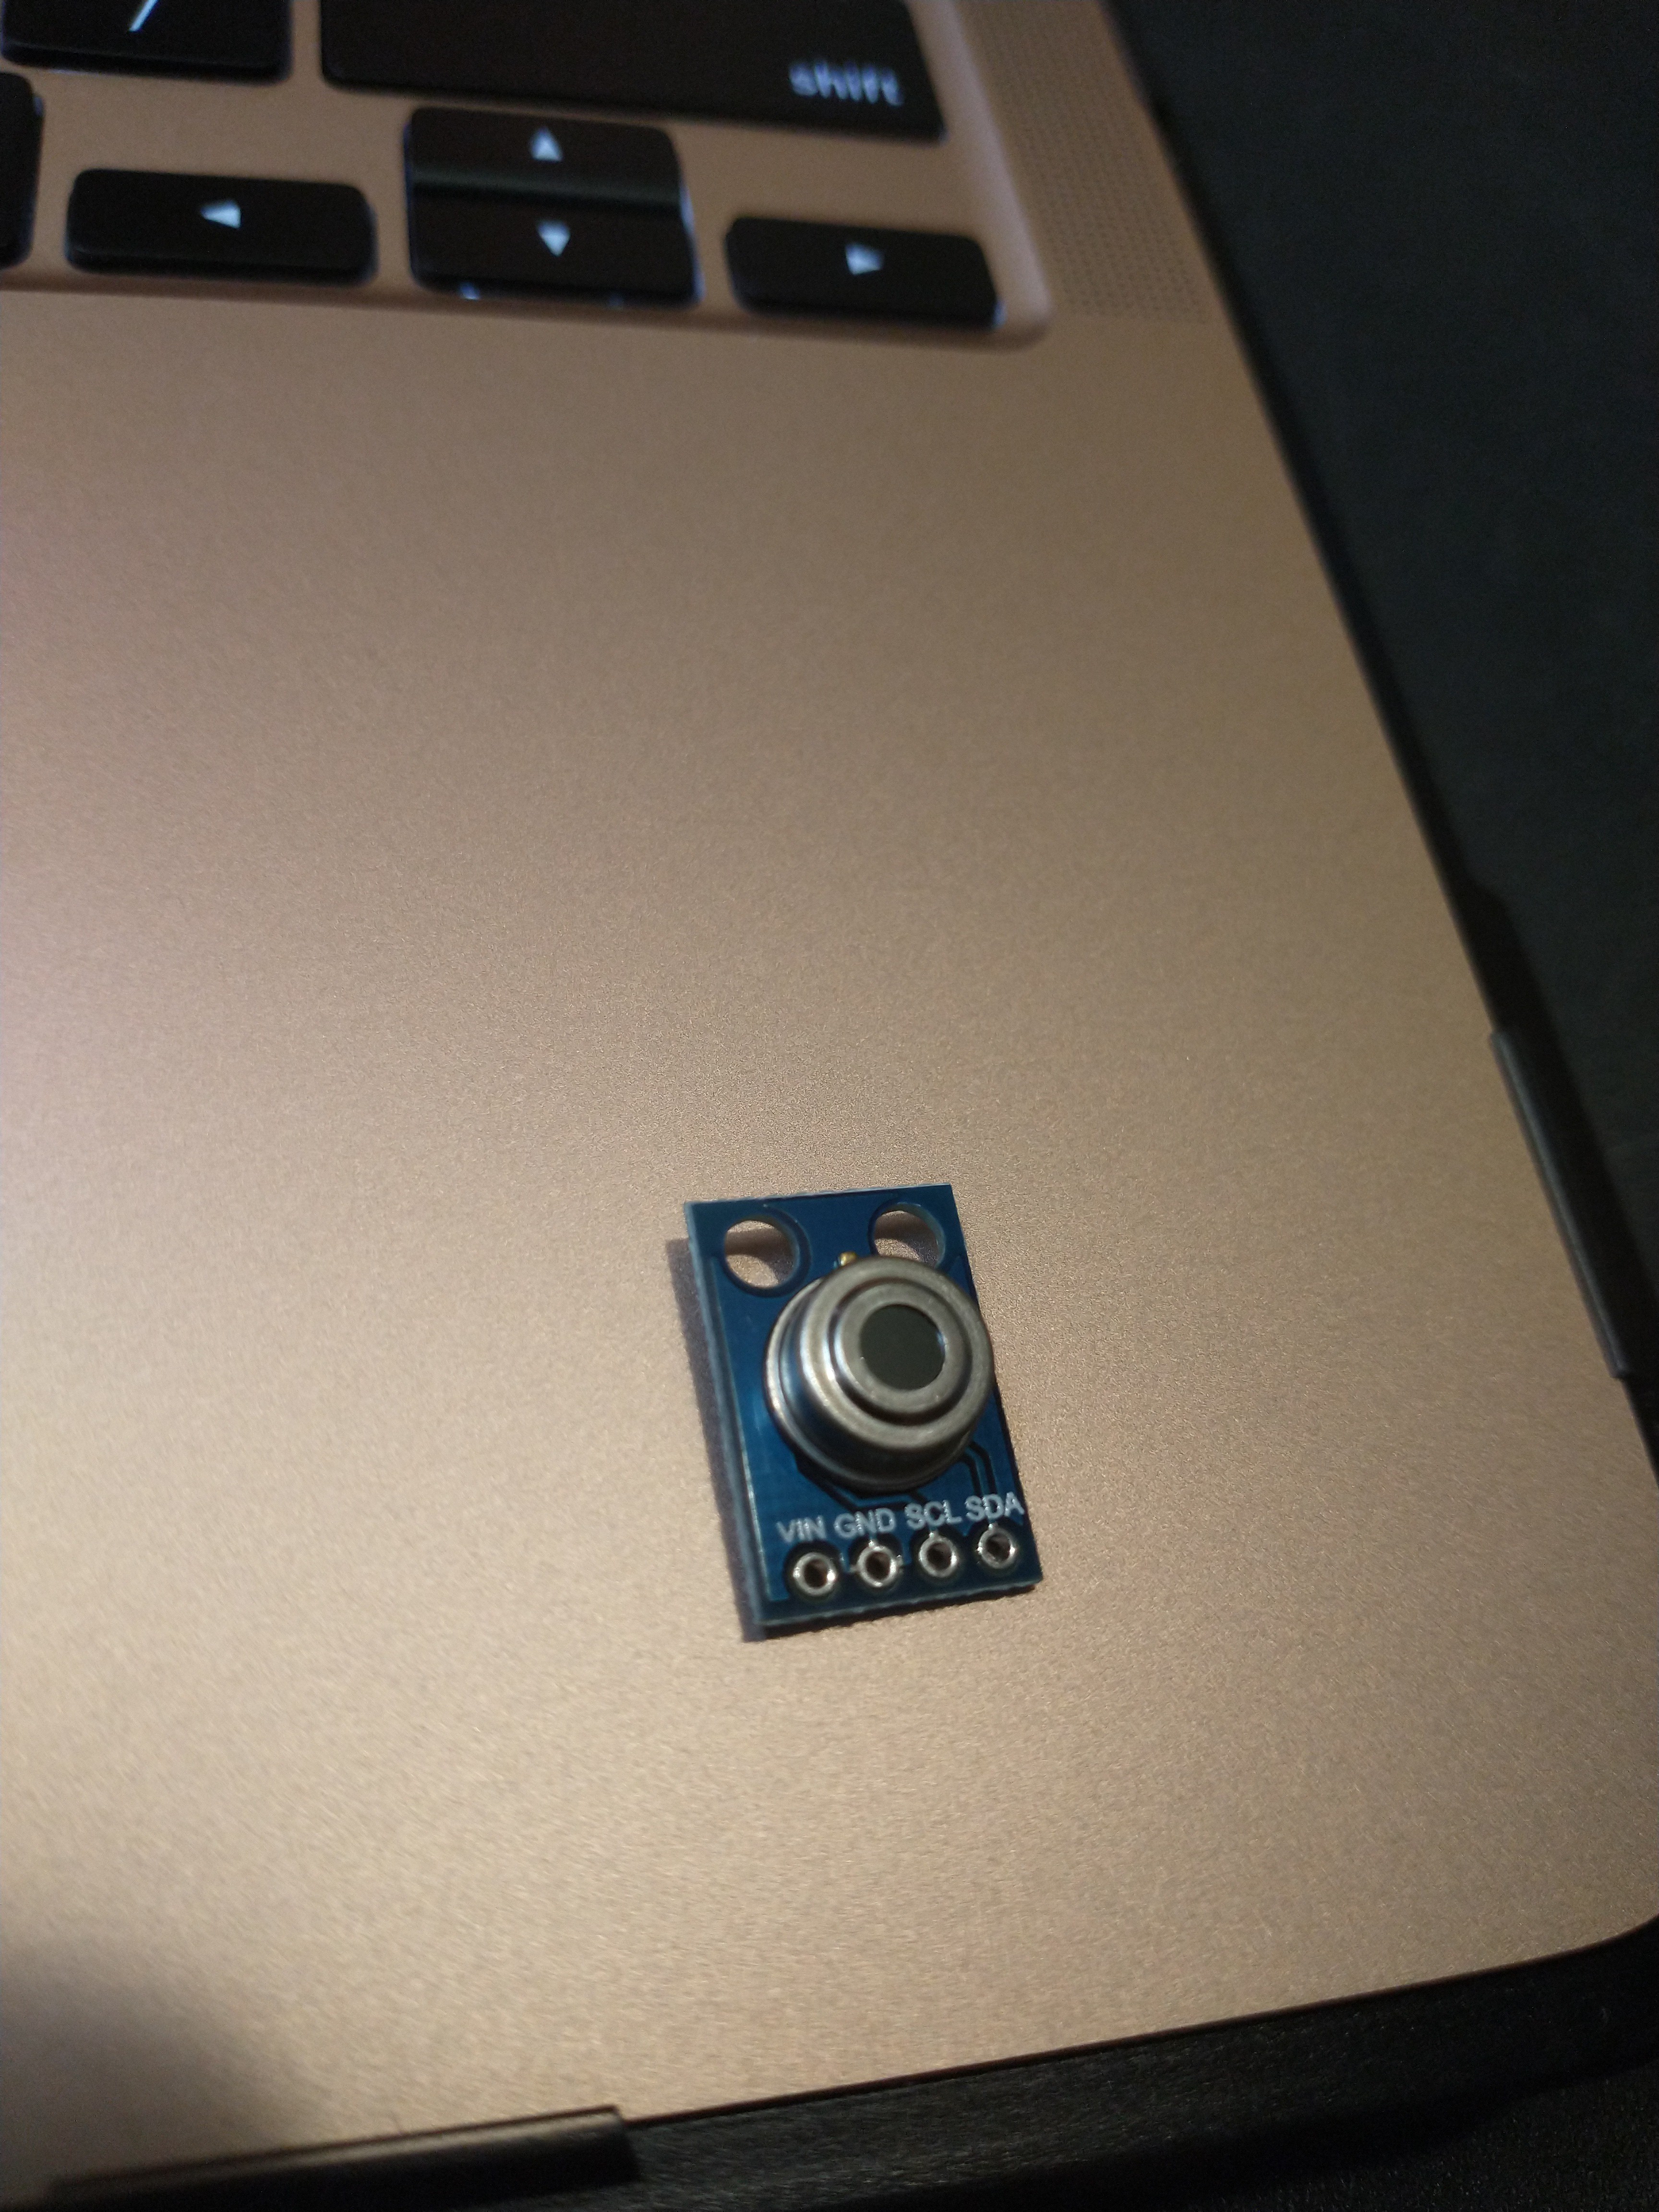
here's my original CO2 meter that's only capable of reading up to 2,000ppm, which is inadequate for the MycoBox. I have it jutting out into the chamber and positioned down a bit to get closer to where the grow region.
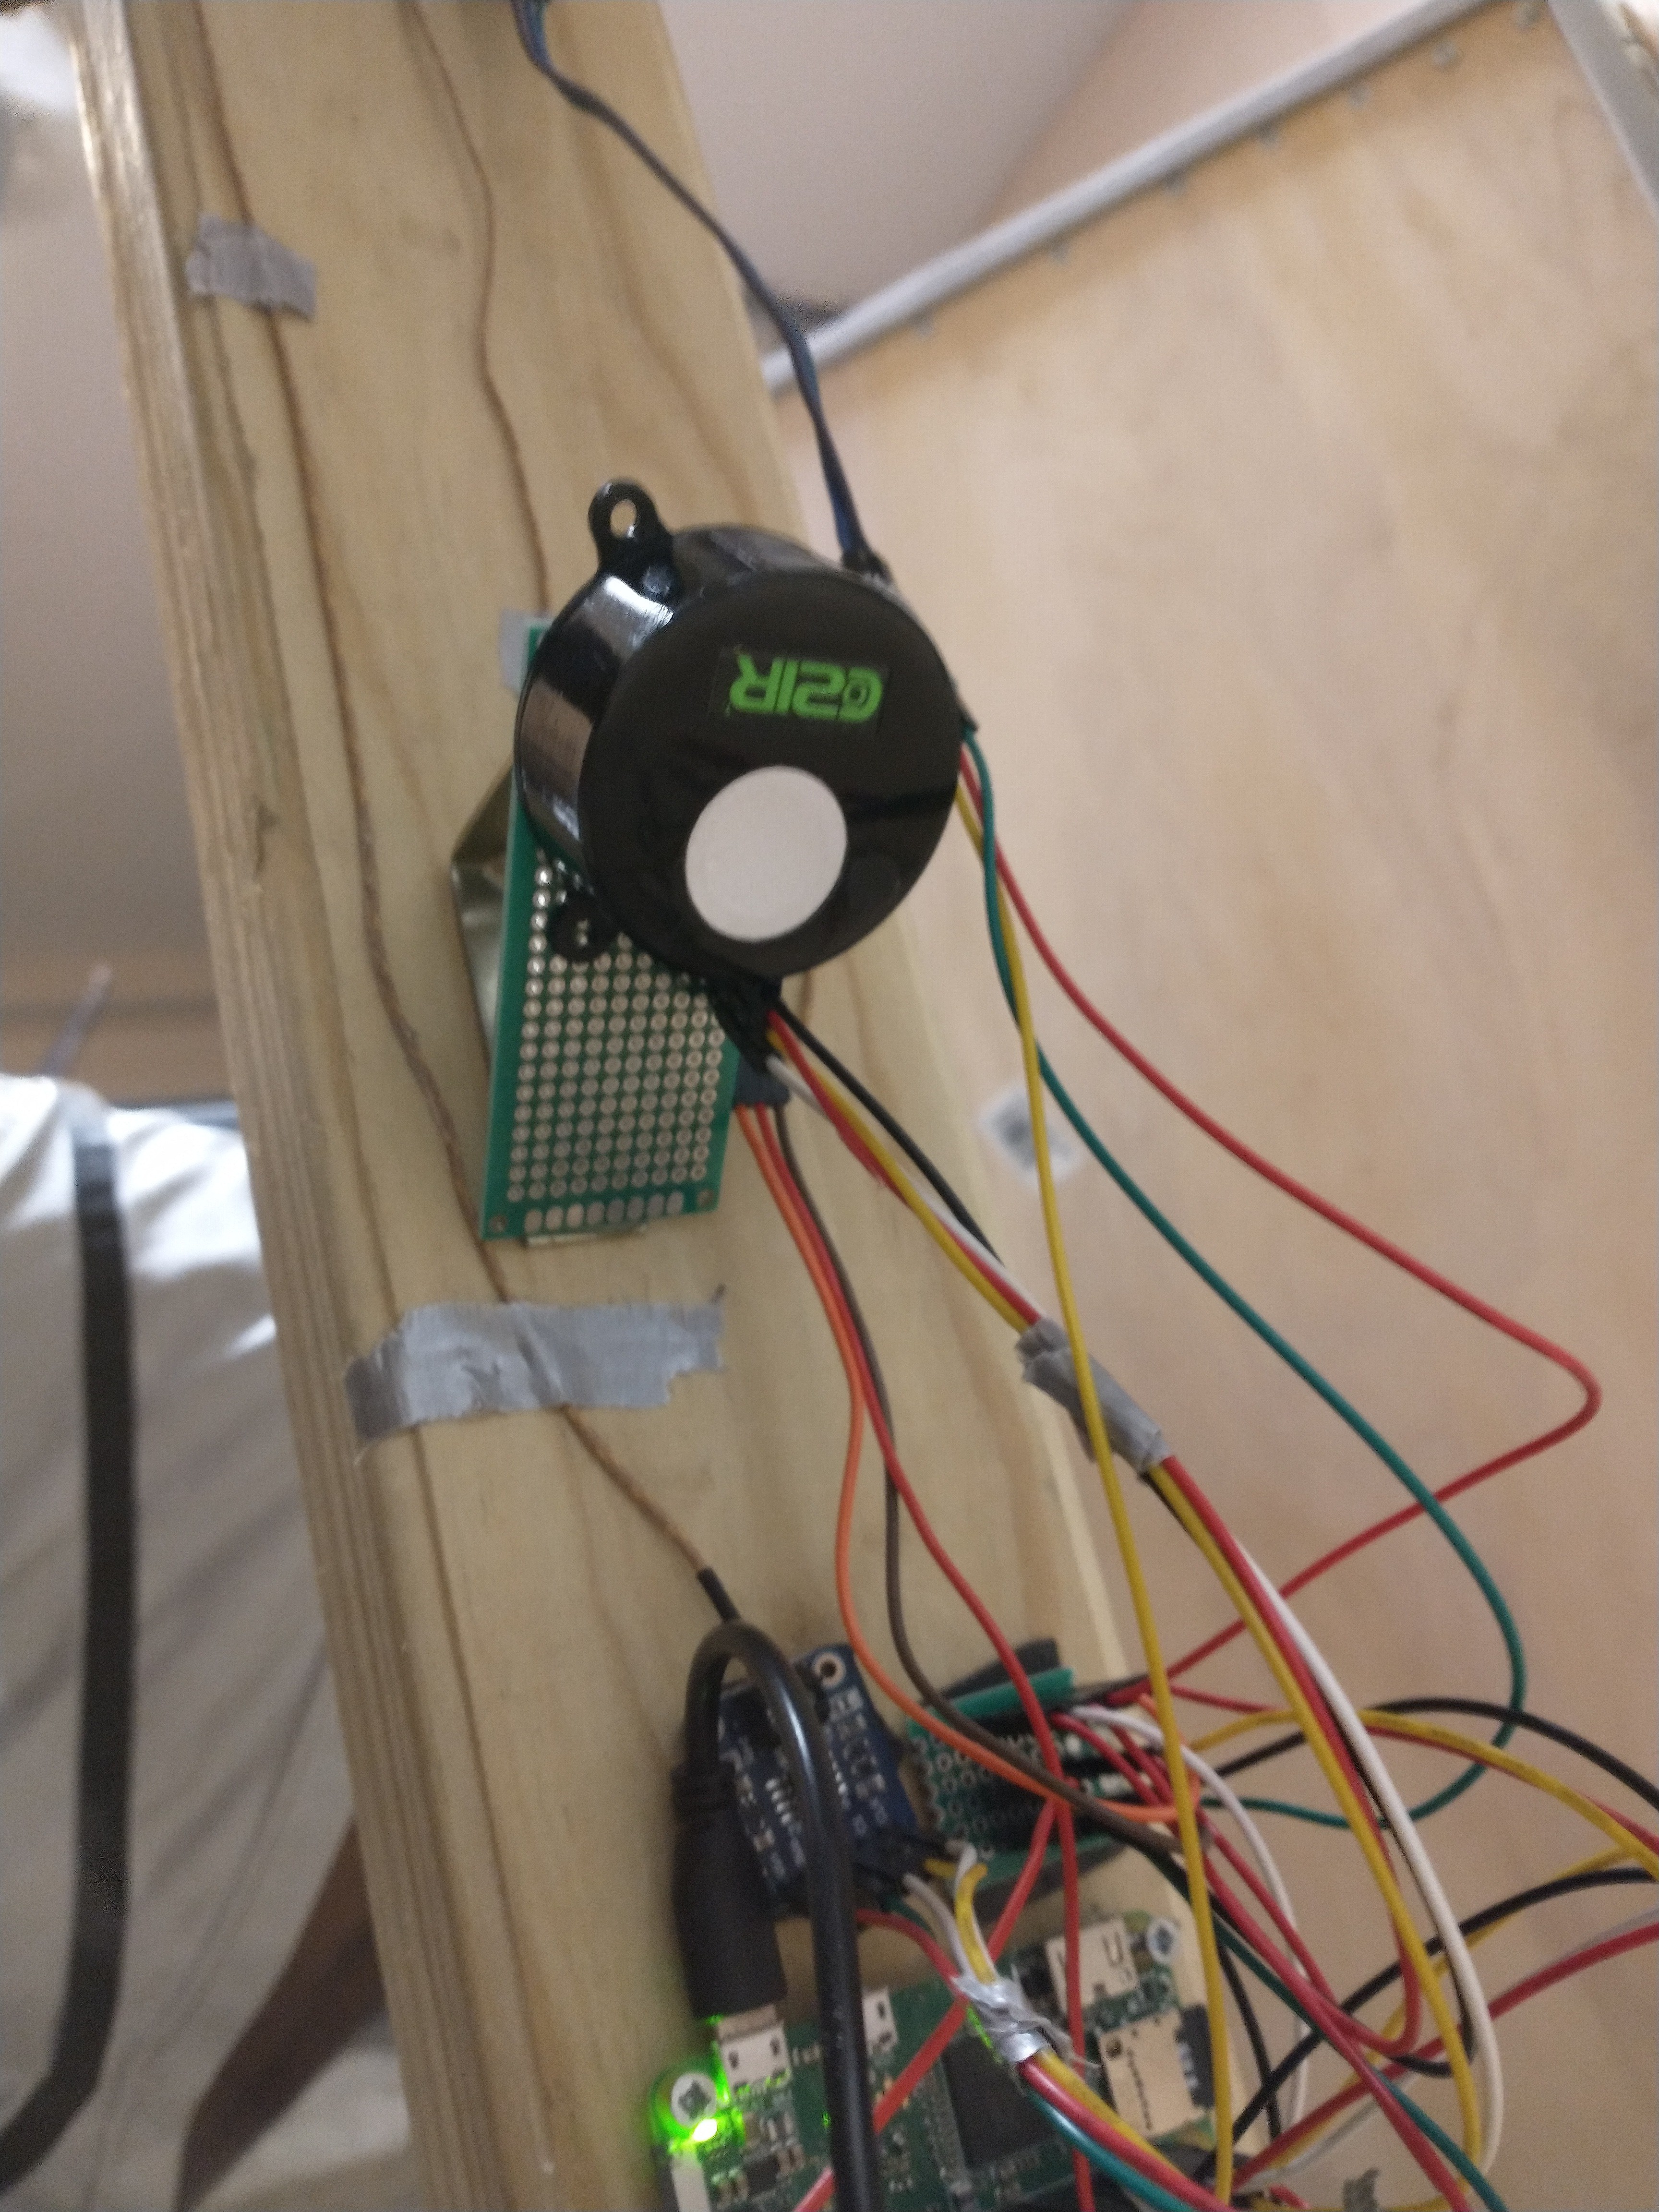
This is an early photo before the sensors were all wired that makes it easy to see the thermocouple (blue board above the raspberry pi zero), the mid section DHT22 next to the CO2 meter, and the top section DHT22. At this early stage I was still intending all of the sensors to be mounted on this front pole and only had 2 DHT22s for the top and middle of the chamber. The thermocouple wire is wrapping up and back down, and the tip rests right next to the middle DHT22; the new plan is for the tip to actually be on the mid section of the back panel. And there will be a third DHT22 lower down on this pole.
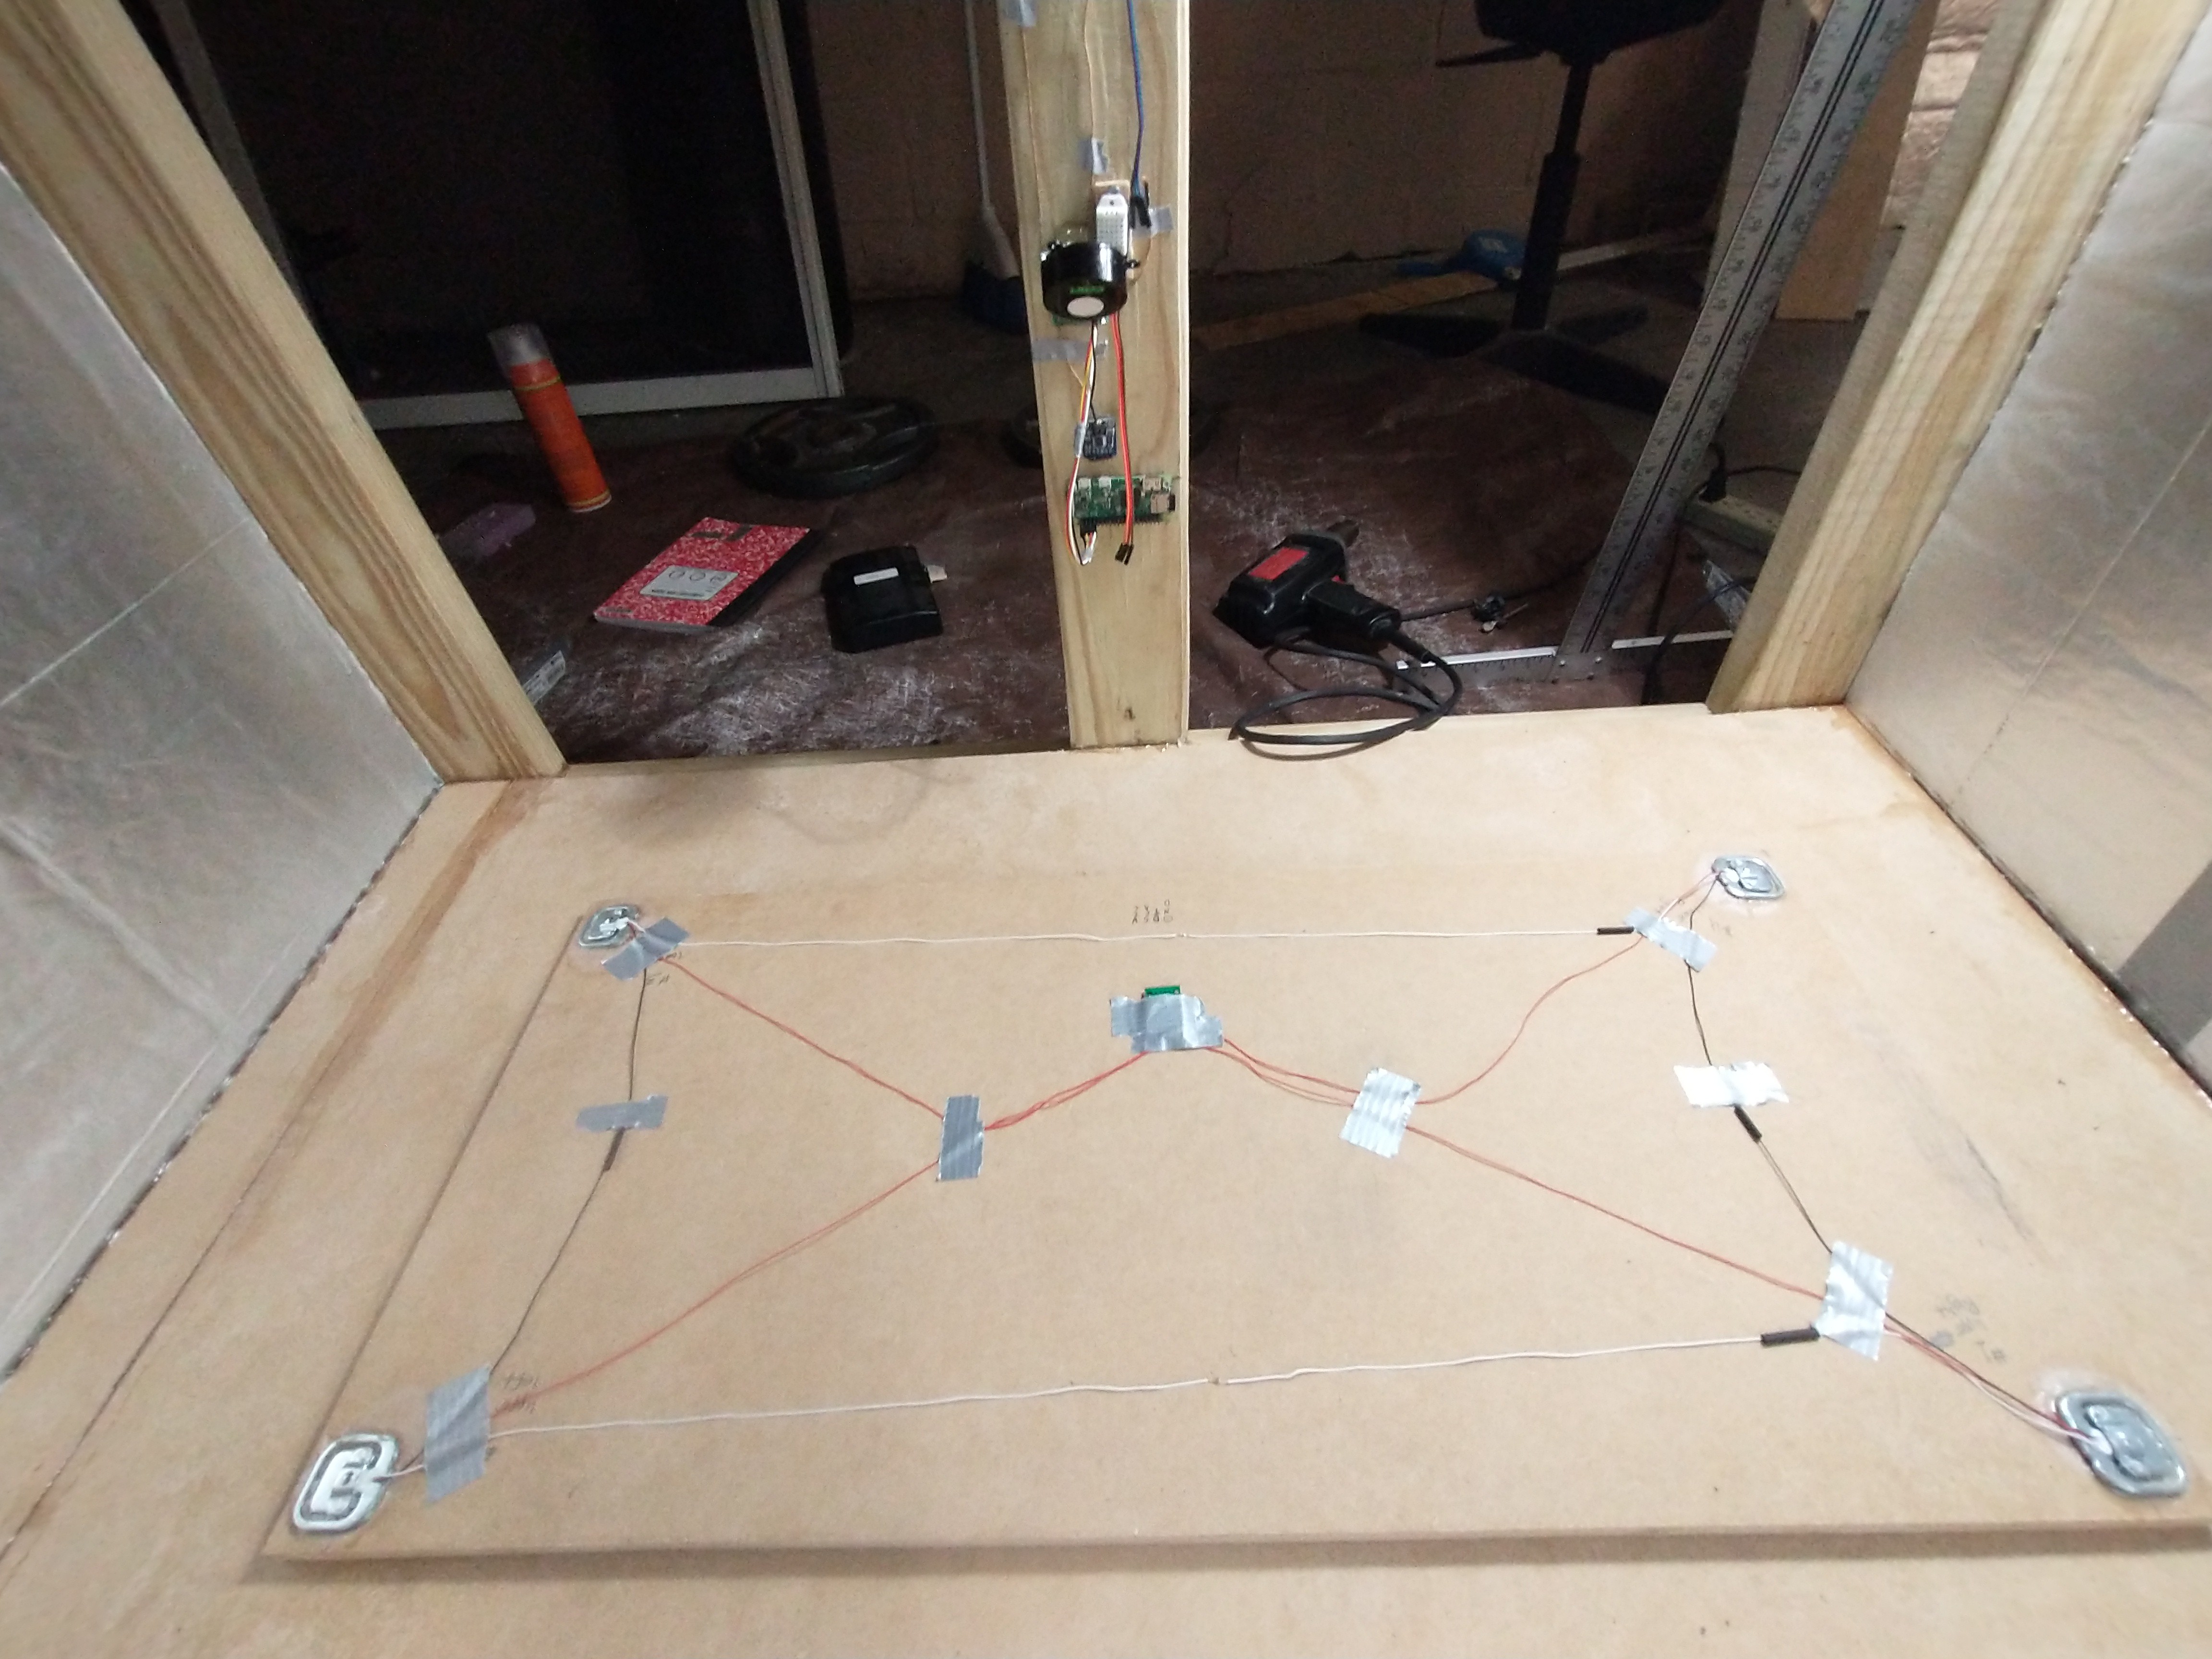
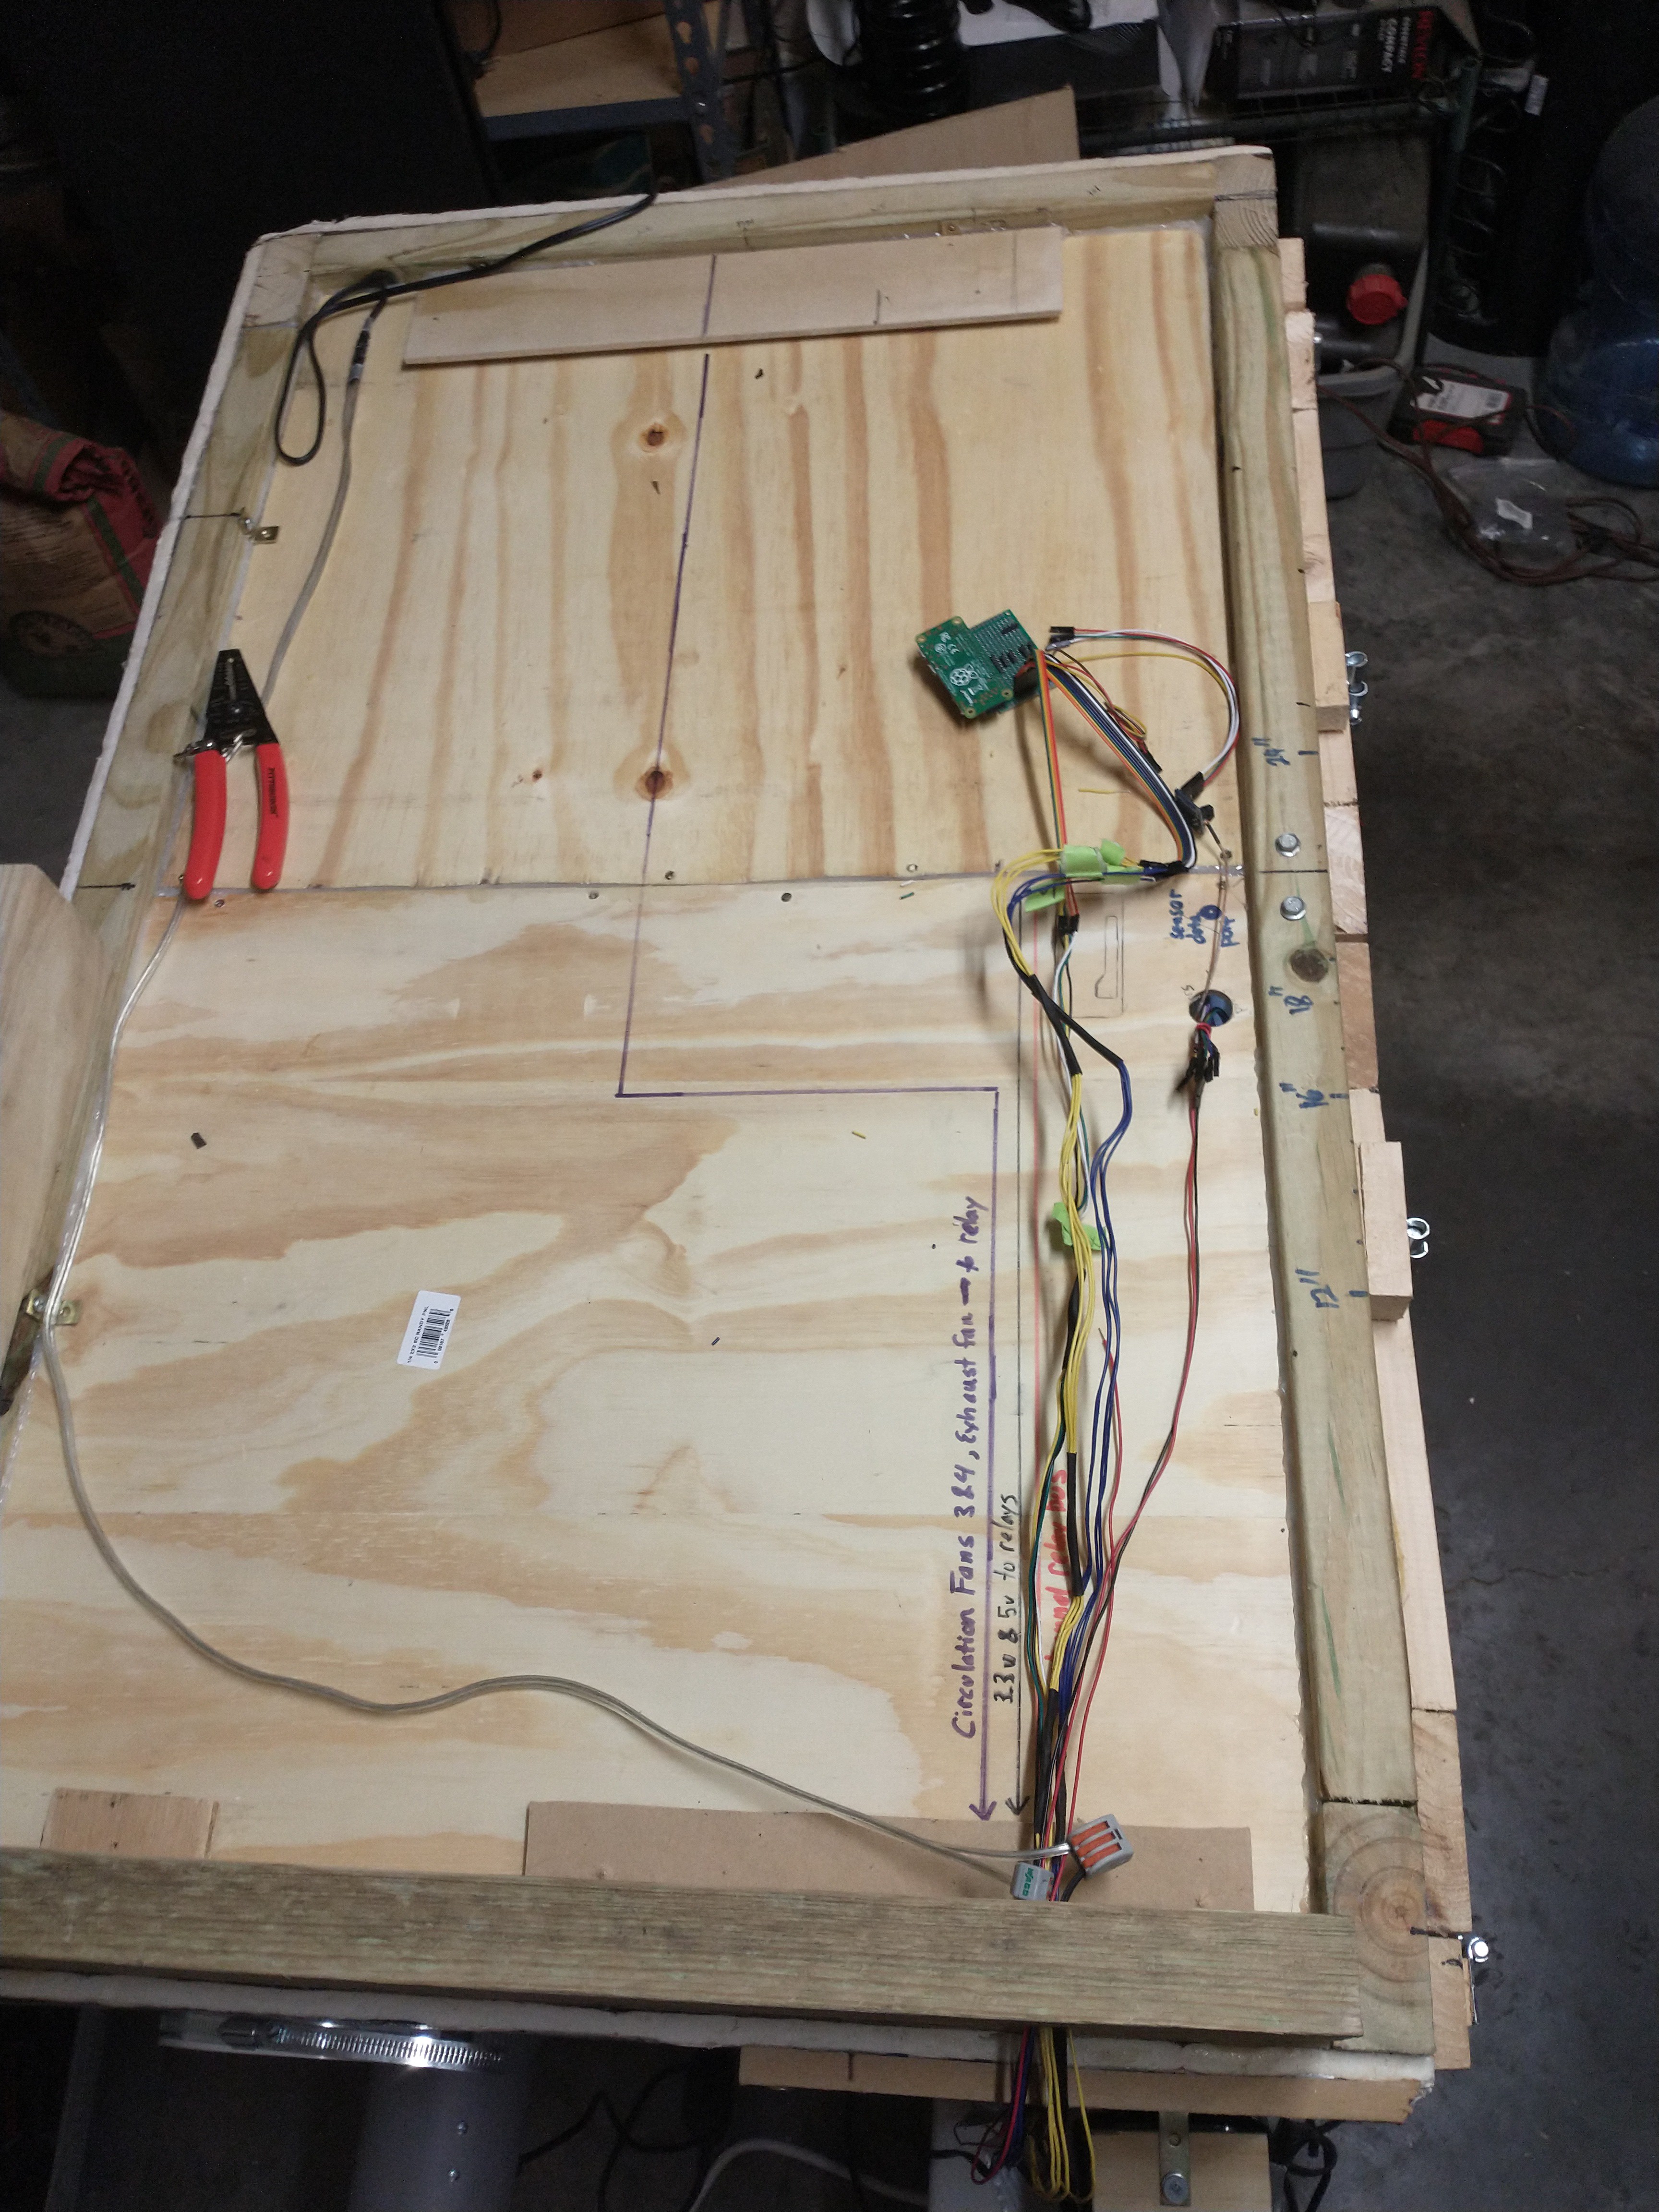
This is an early photo of the underside of the scale that lays in the box. The plan was for it to wire directly to the raspberry pi which was going to be mounted lower down on the floor of the box.
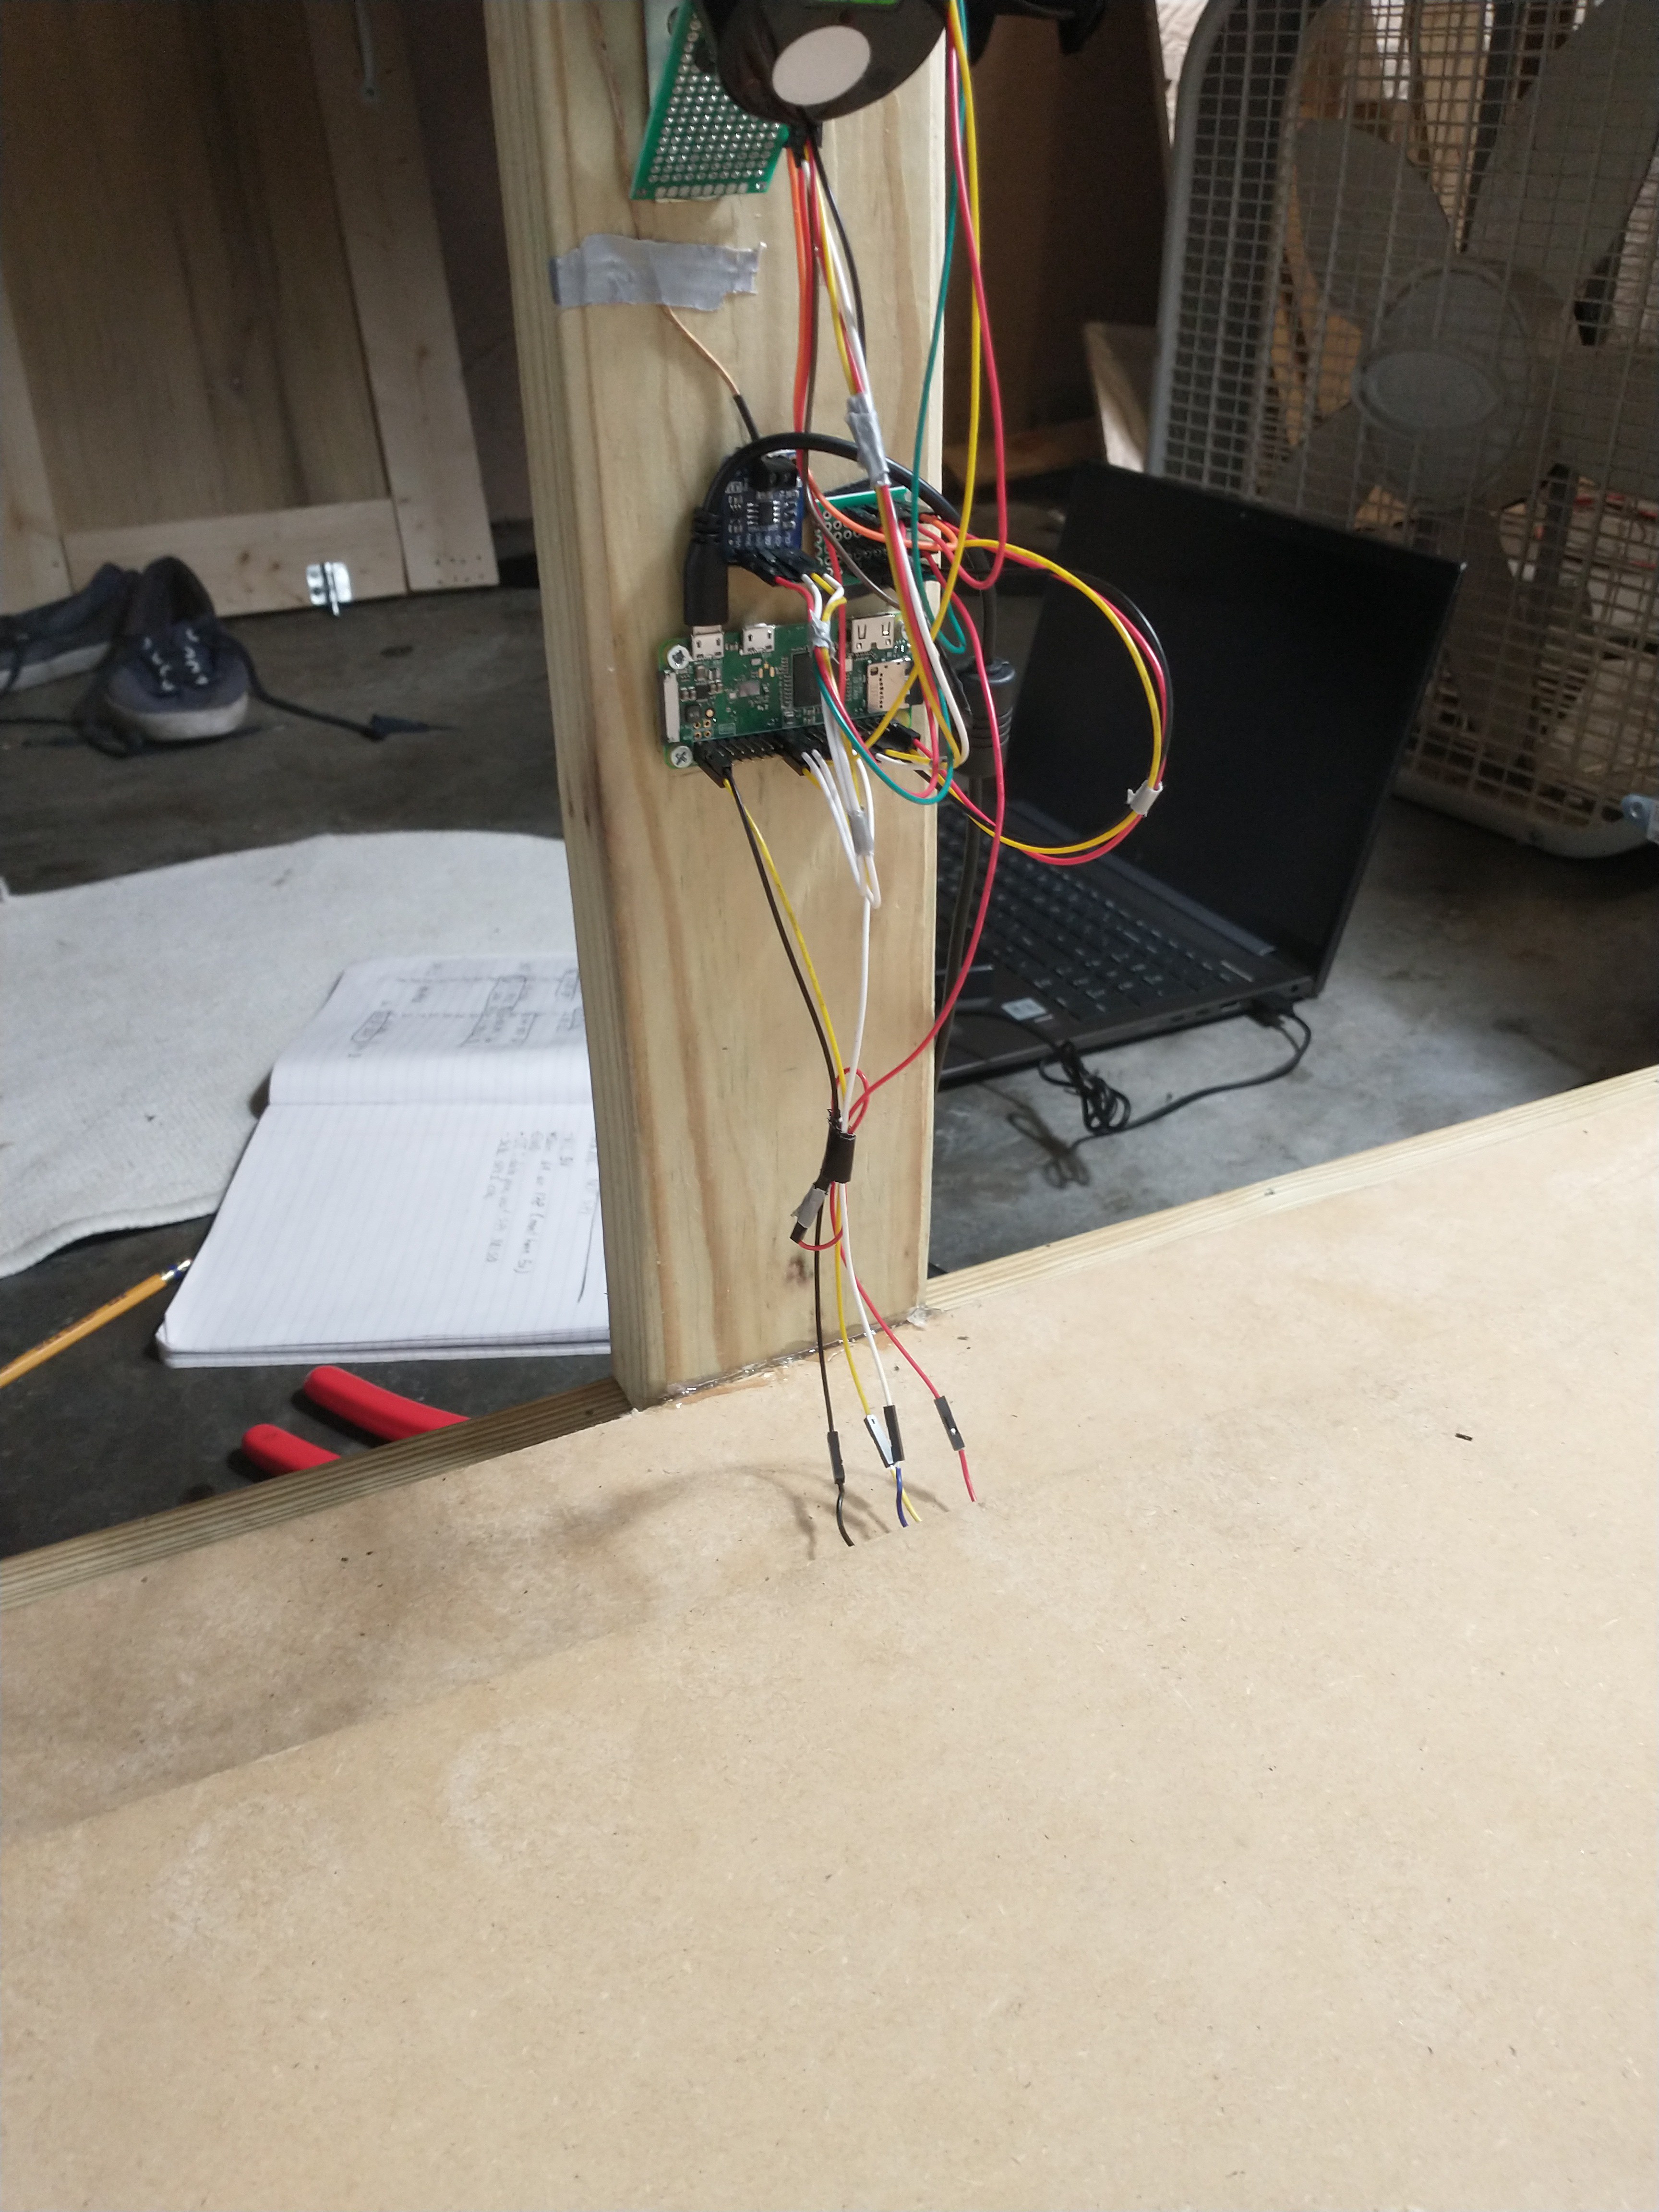
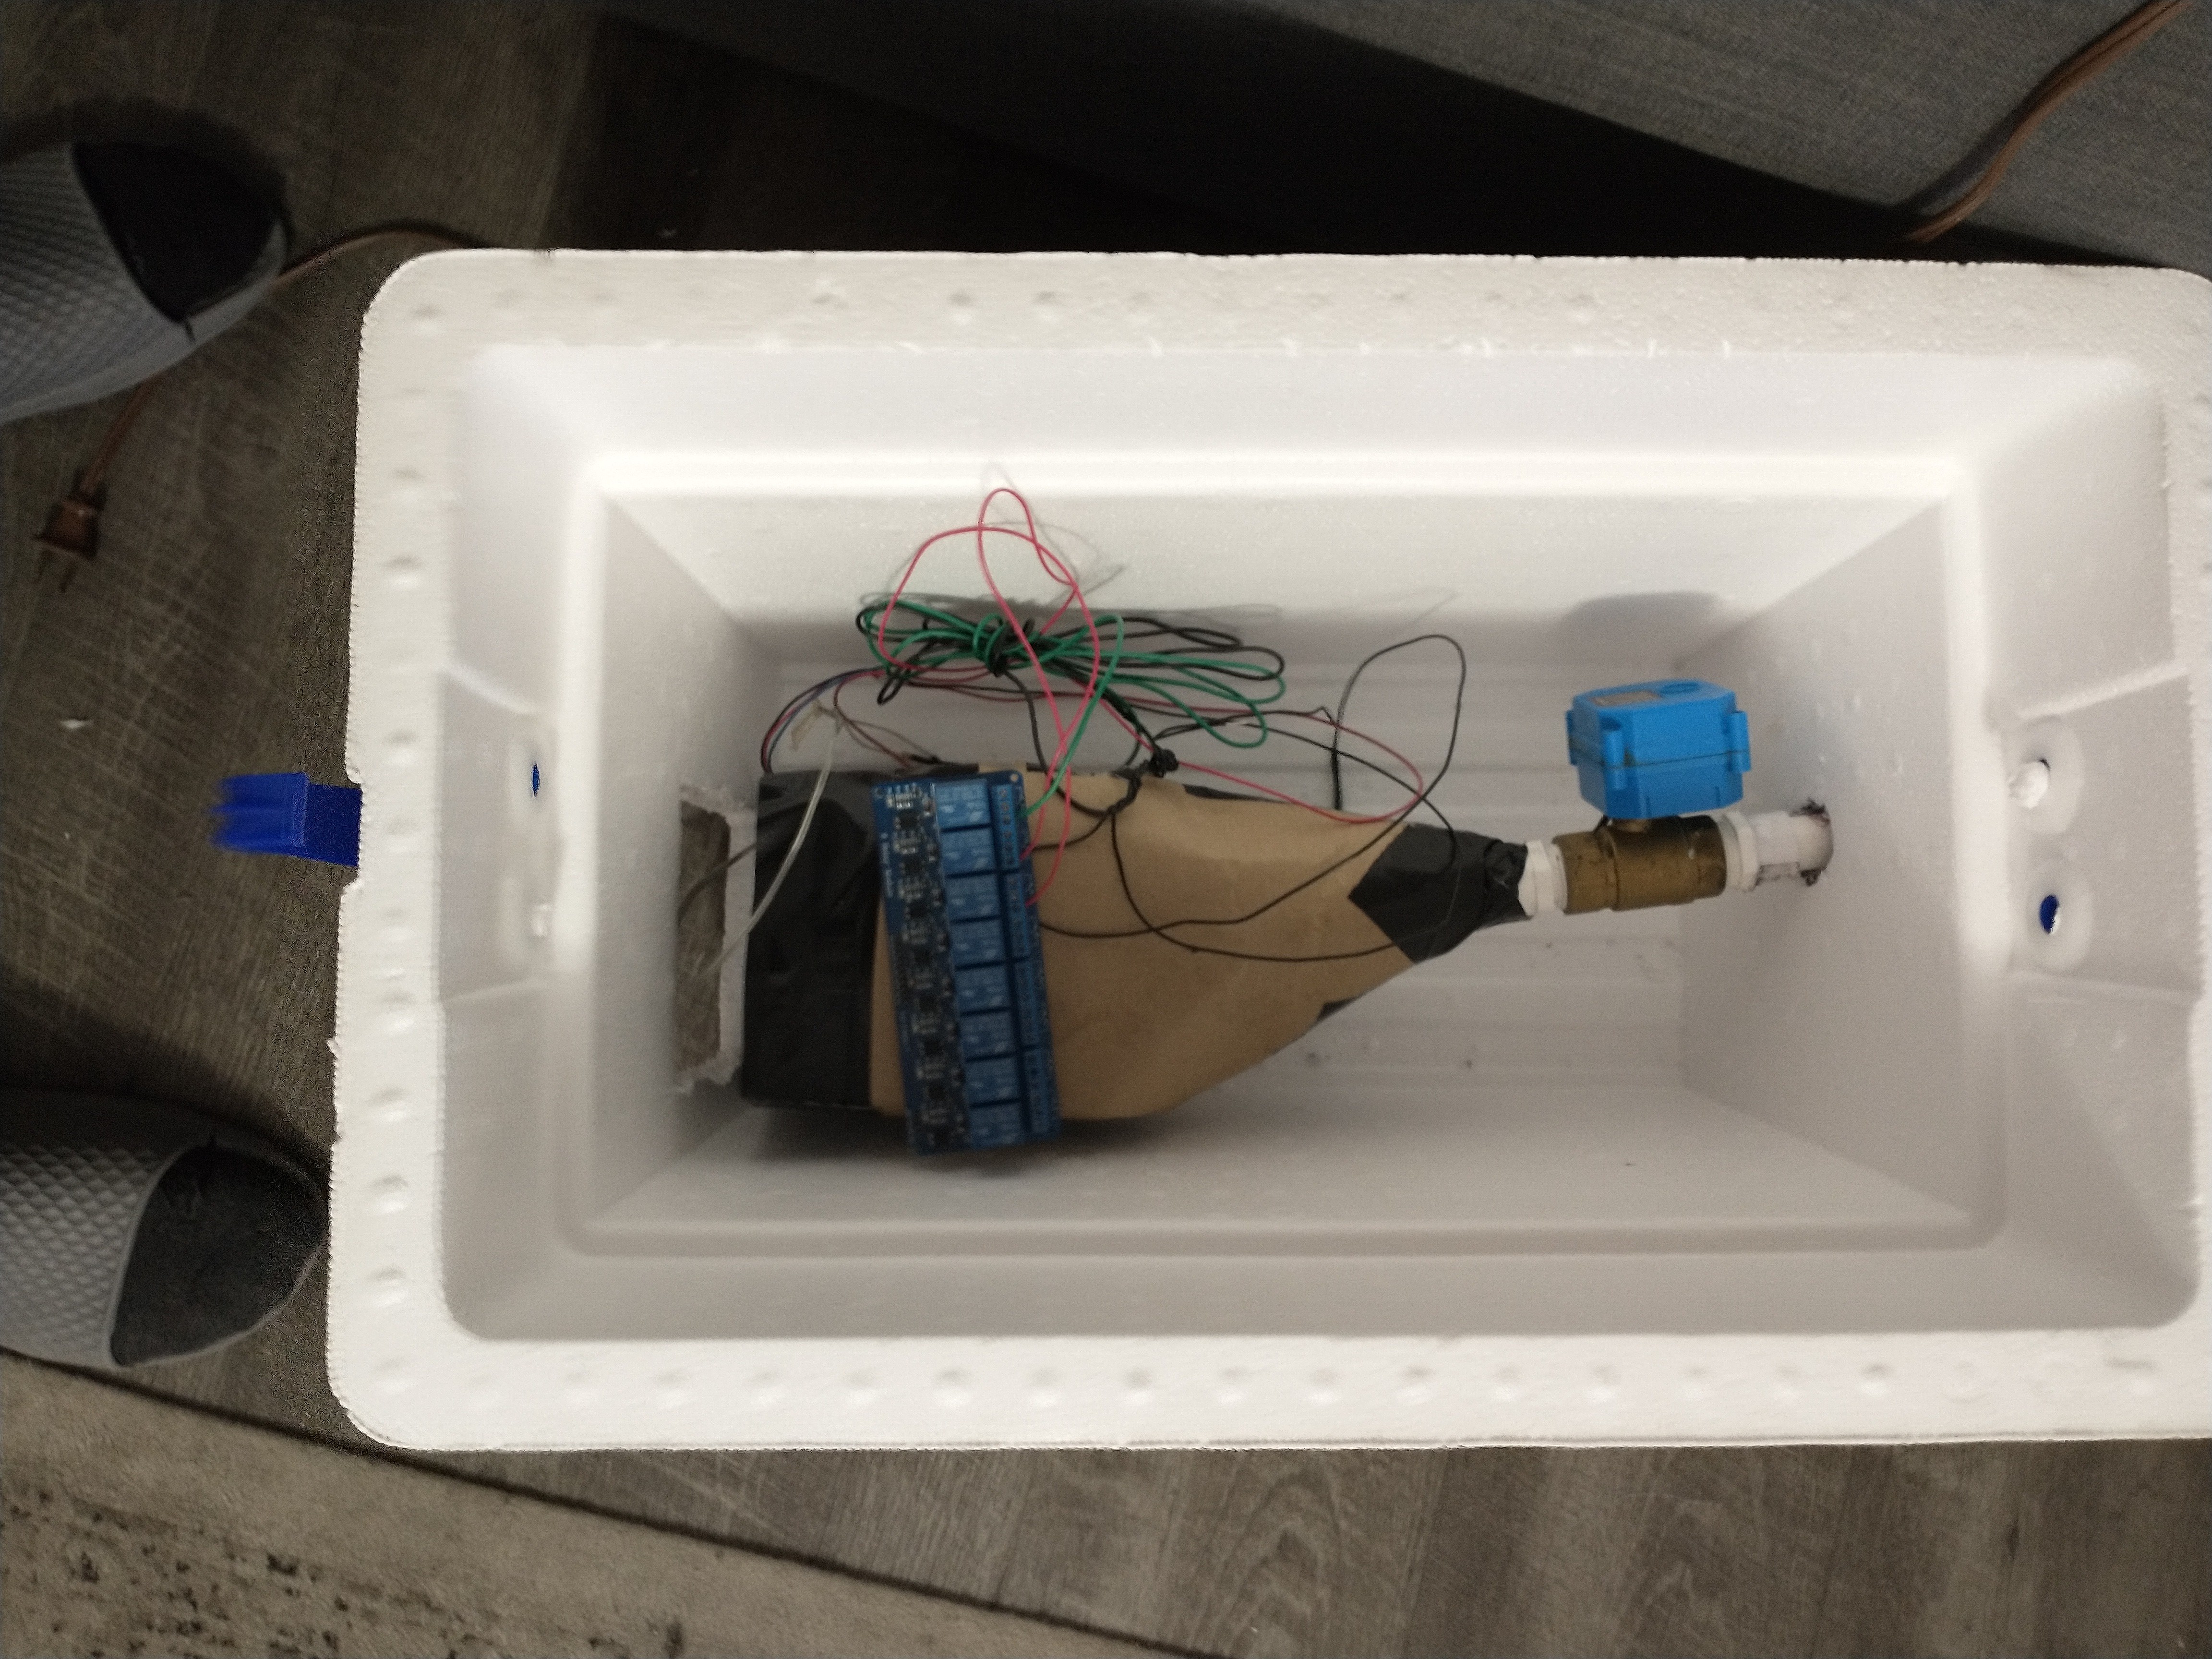
However the new design uses an ESP8266 that can wireless communicate the data to the application or connect via usb to the raspberry pi.

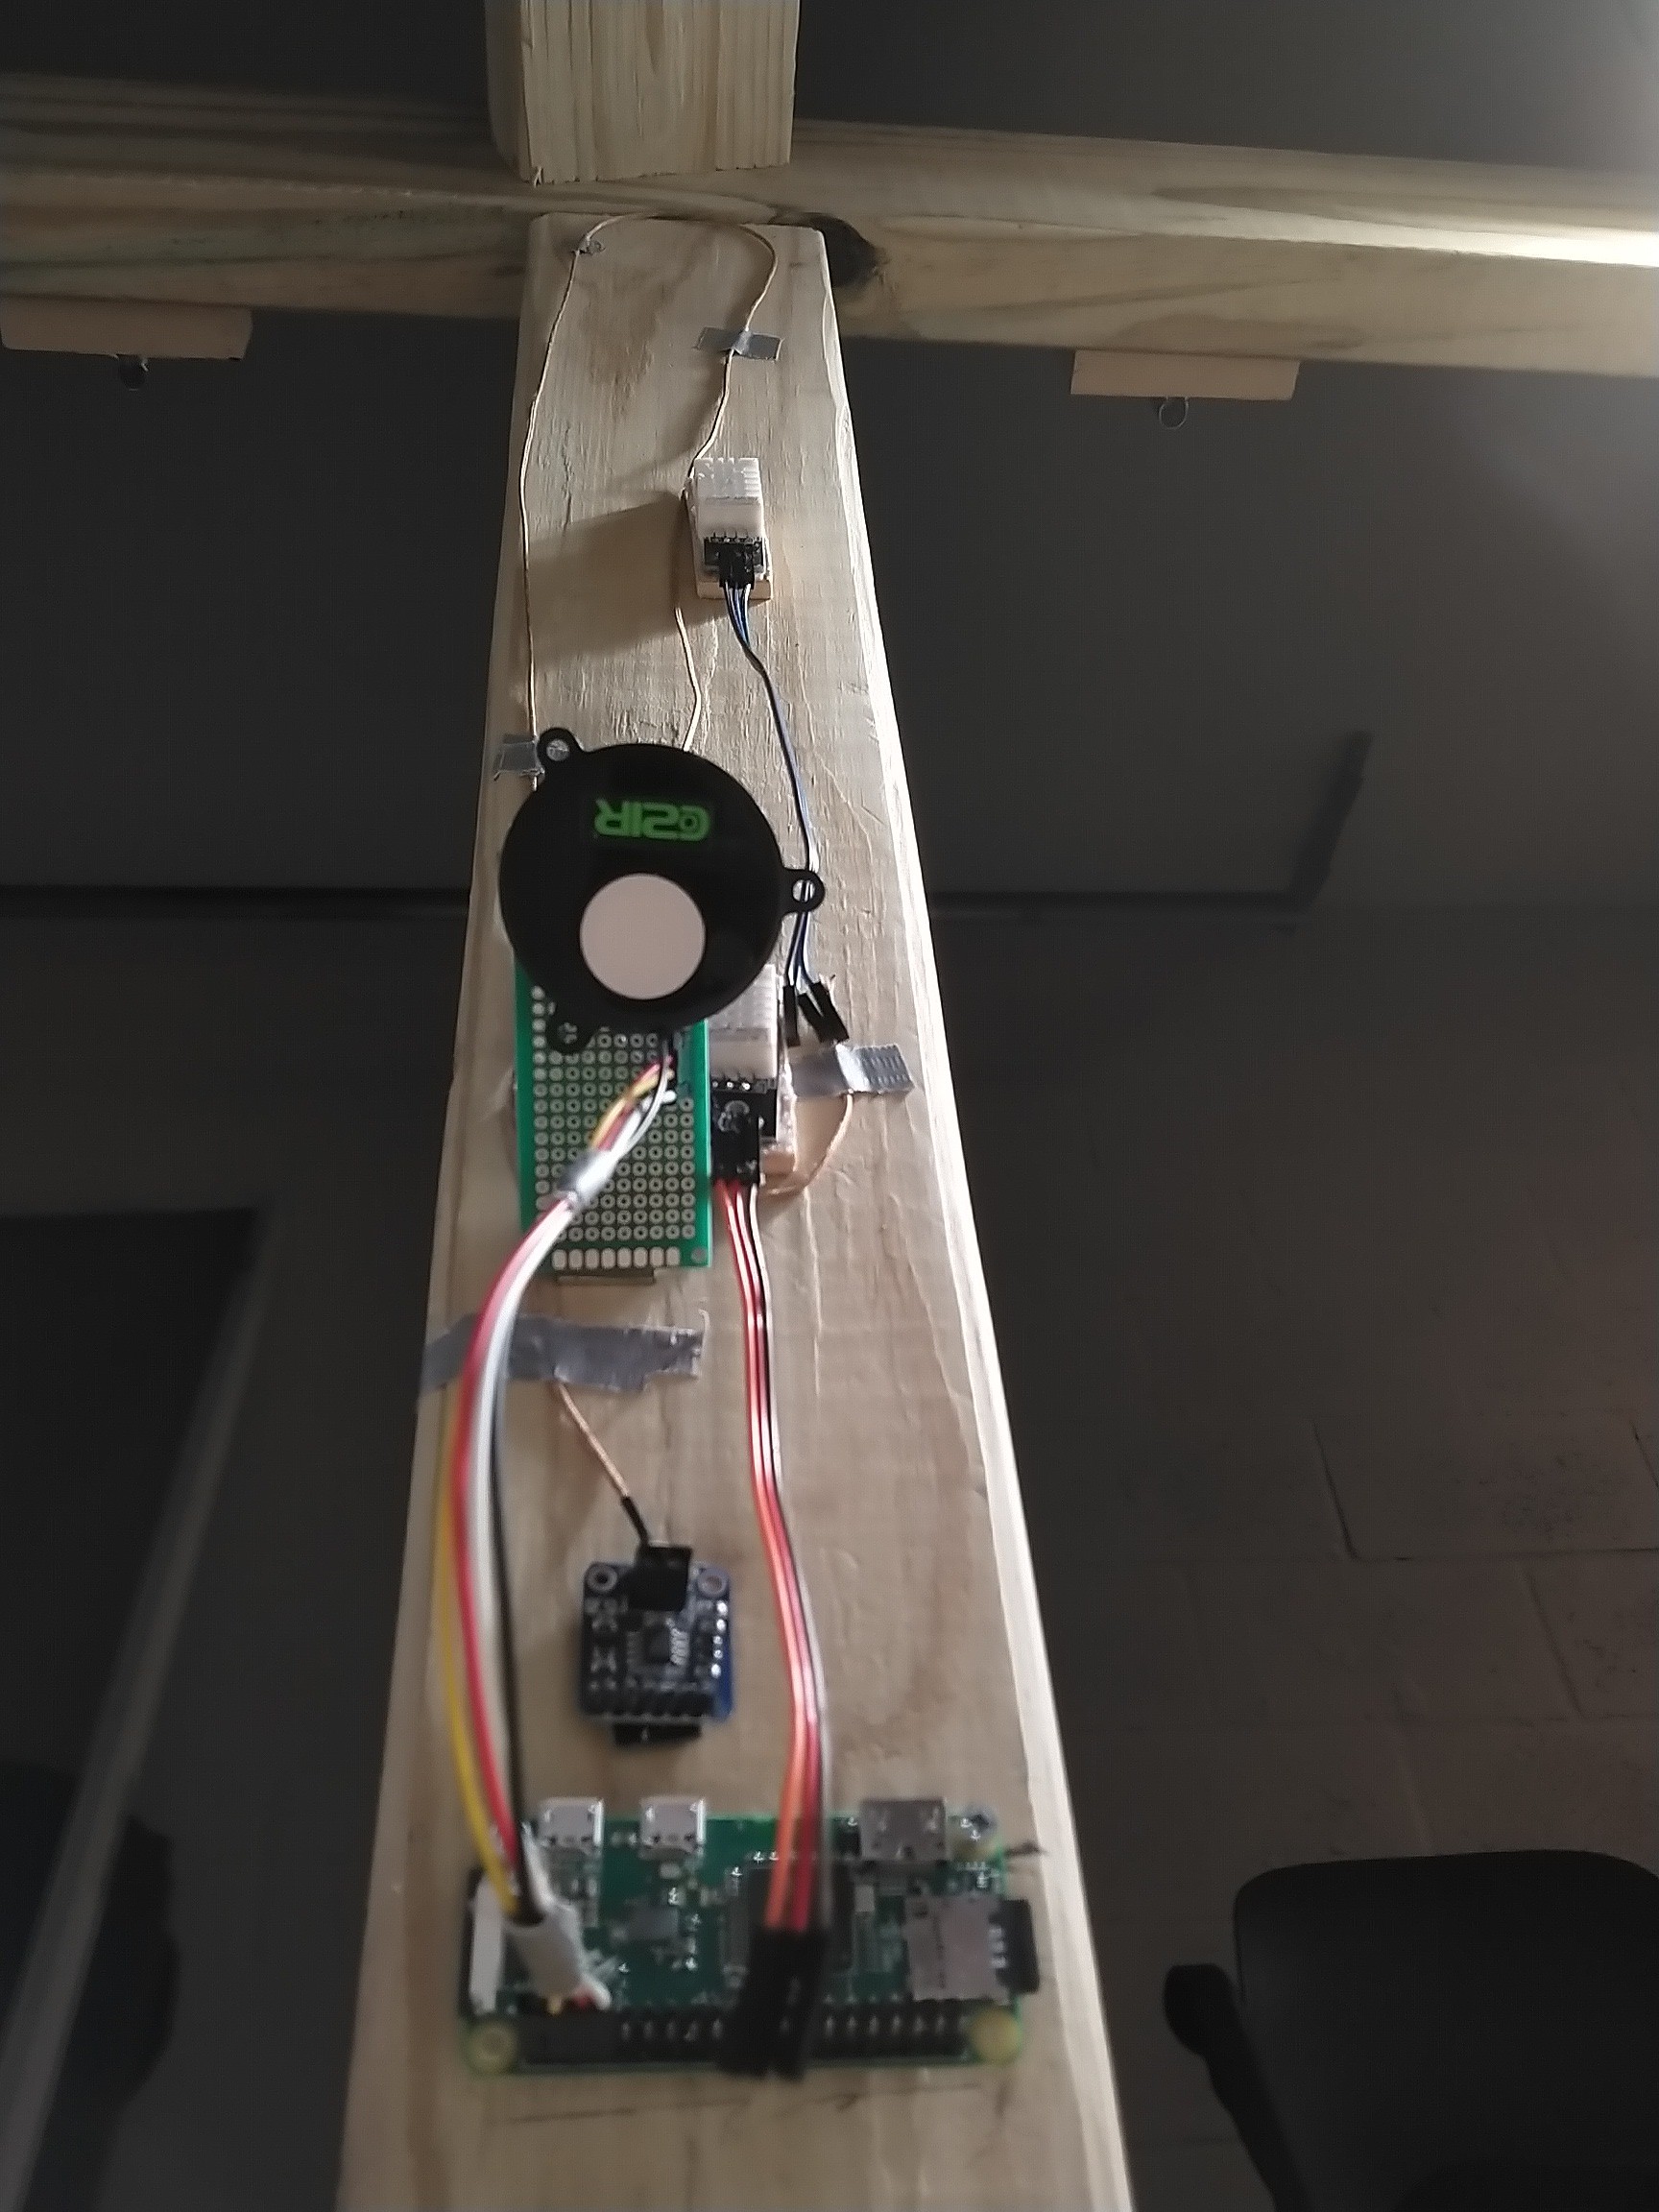
Side view of the early prototyping
The sensors are now being dropped into the chamber through the ceiling of the mycobox, and raspberry pi is in a tray above the MycoBox and below the MycoLab.
I will have more images of the newly positioned sensors soon
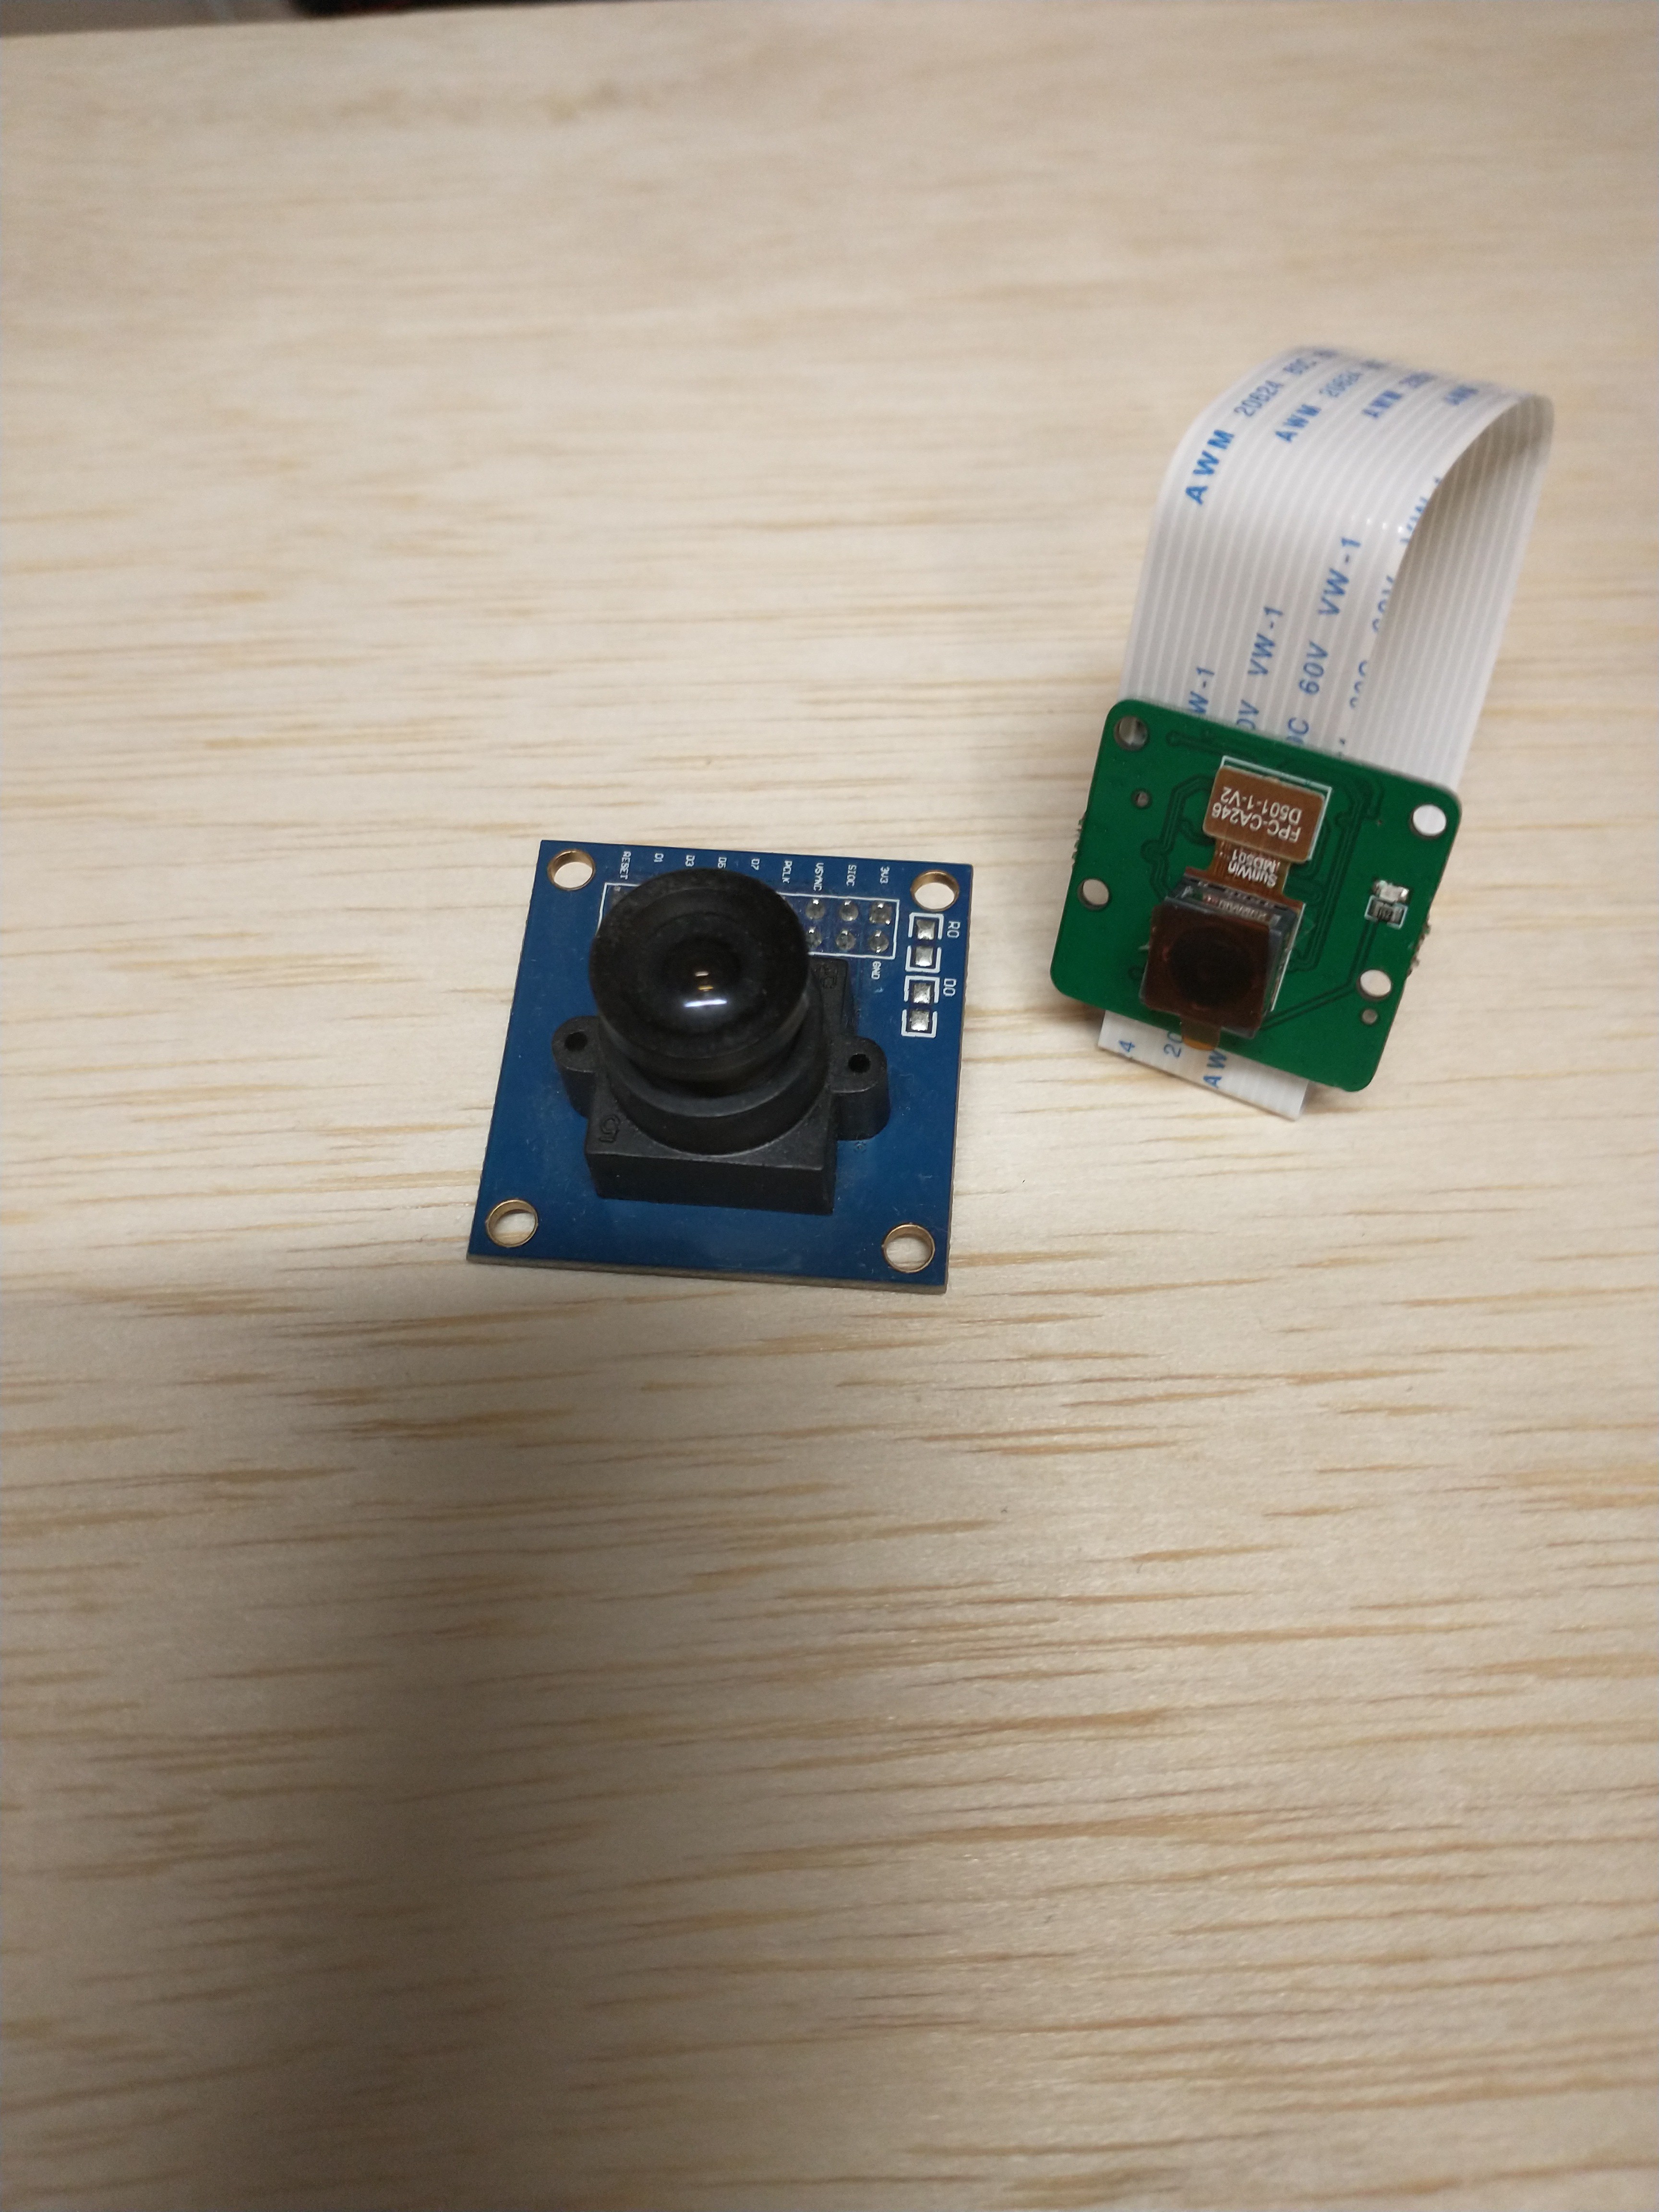
These are the cameras that I will be positioning inside the camber for observing and recording sessions. I may use a third camera for the incubator of the MycoLab, I will write a whole post about that later.
Actuators:
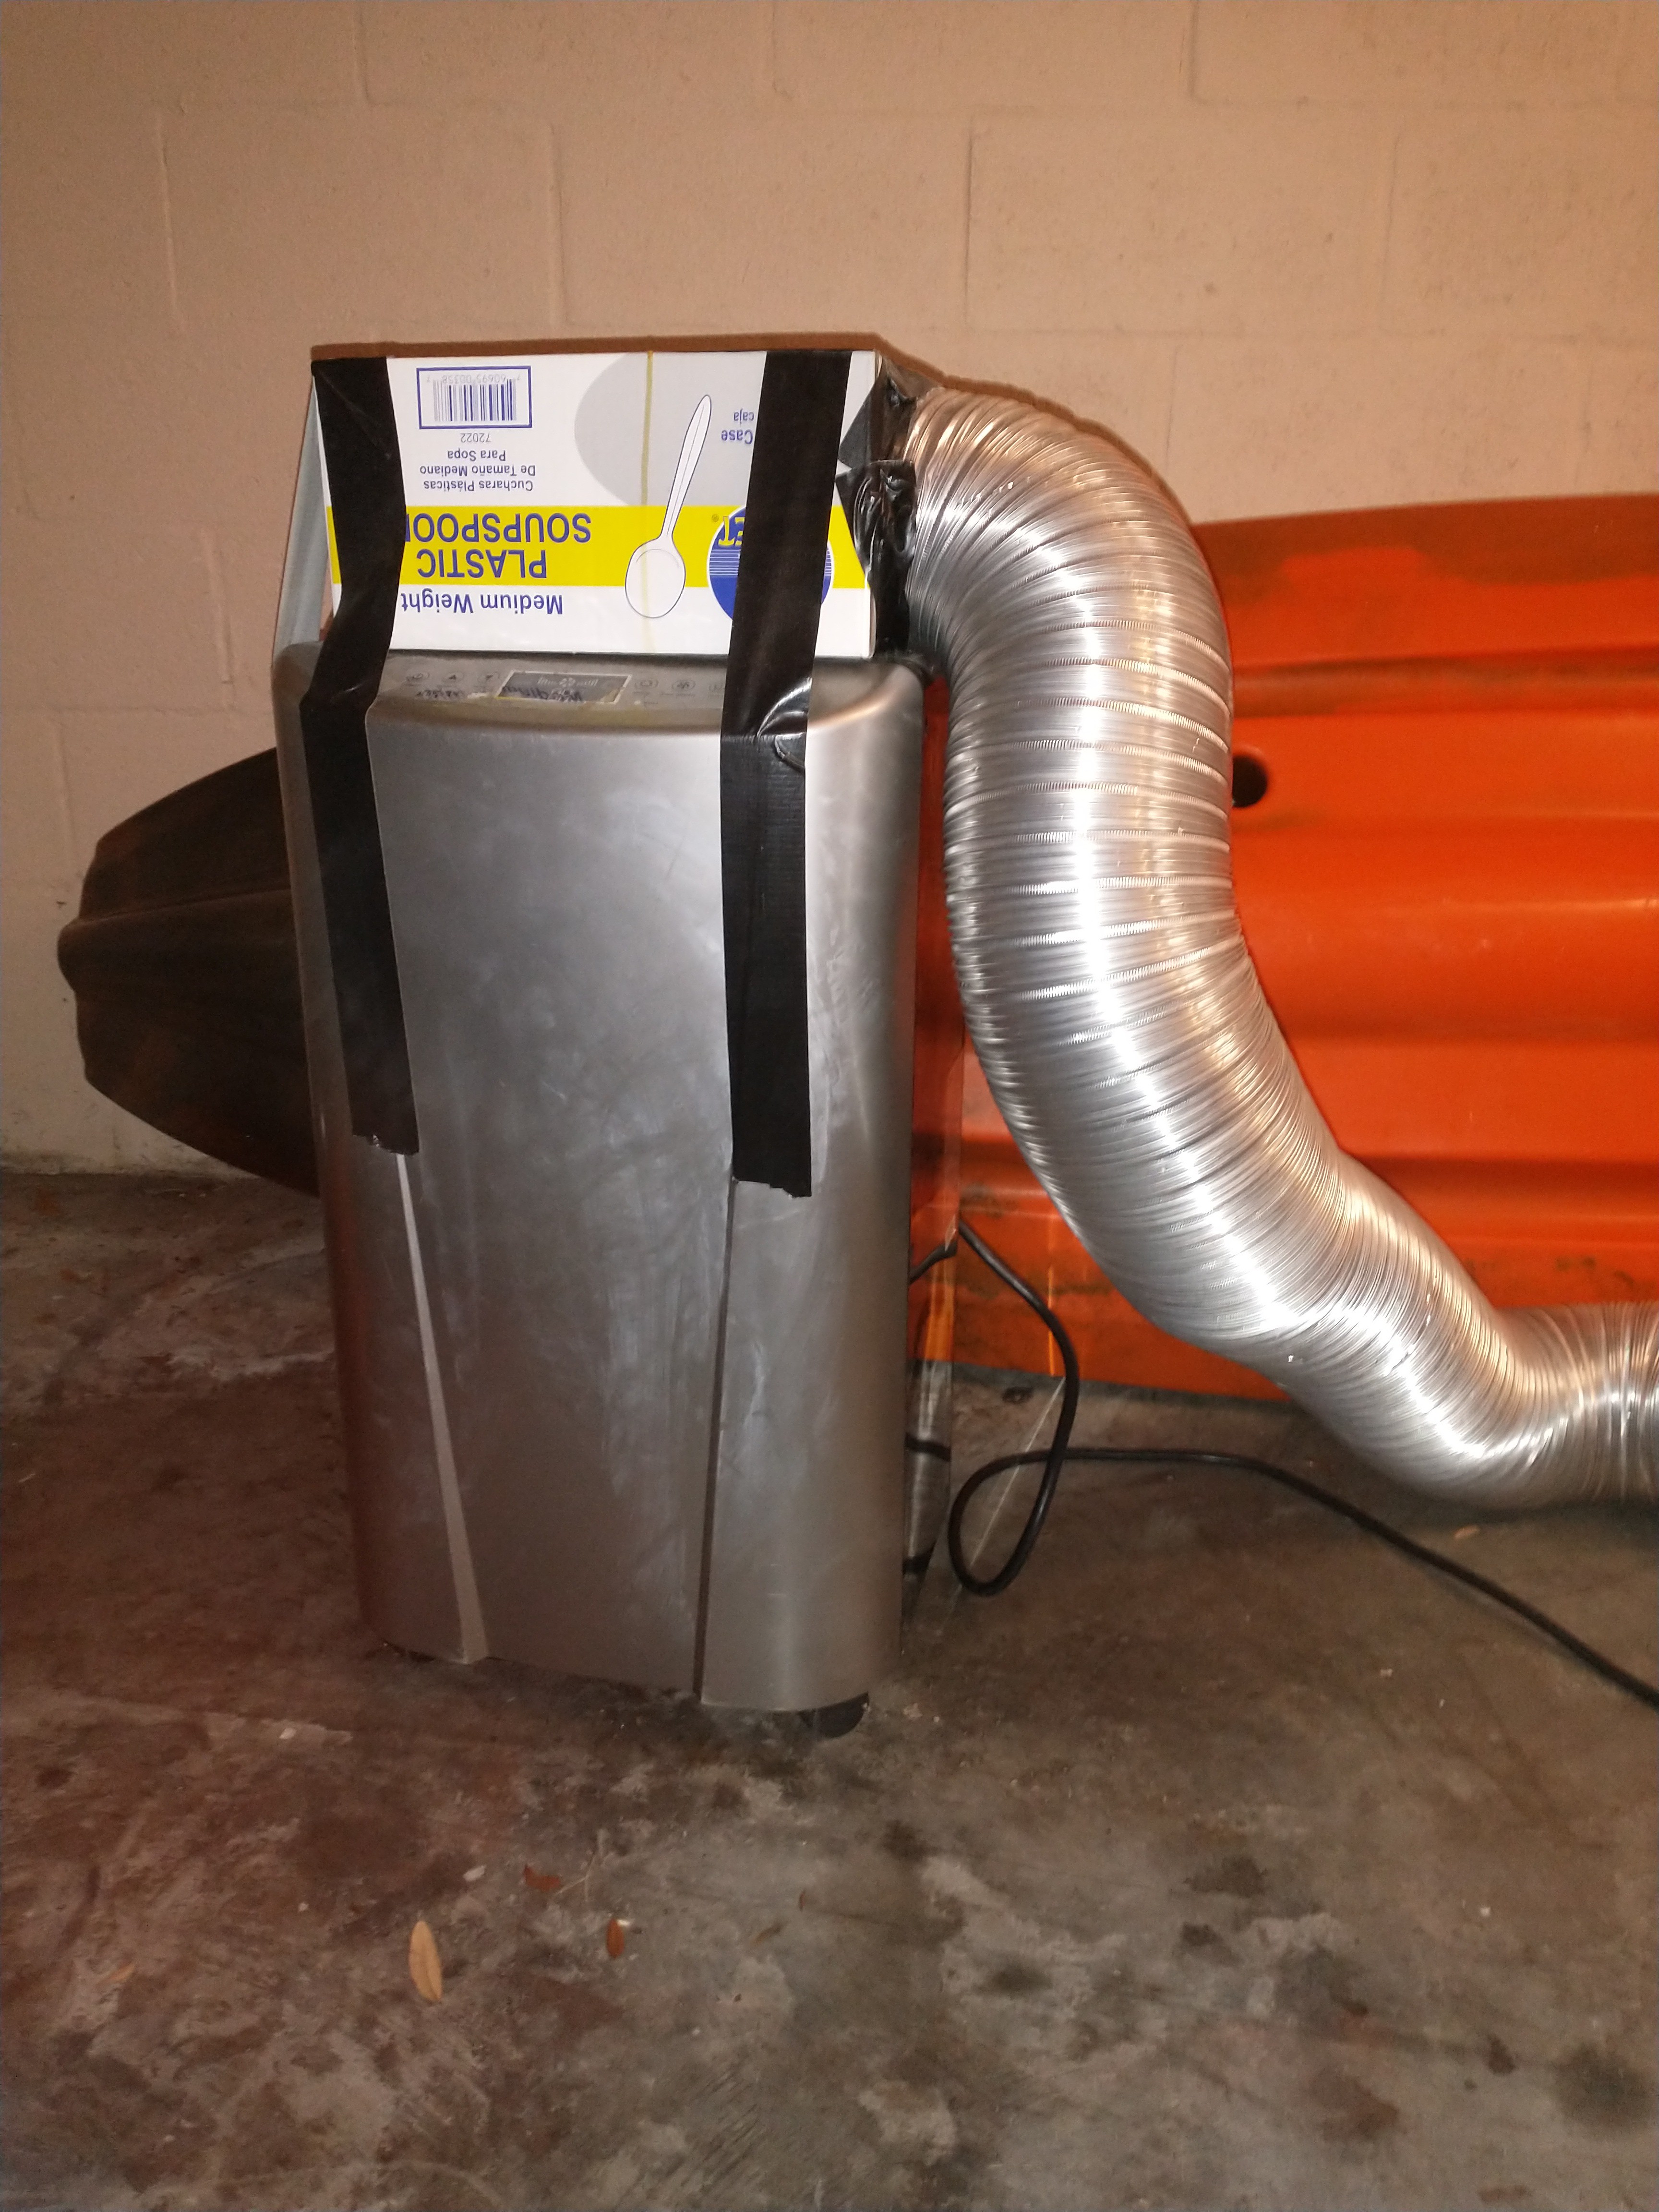
A fully functional embedded system also requires actuators to modify the monitored environment as needed. For temperature control I’m using an Active Air ACAN14 mobile air conditioner as well as a tabletop space heater. I retrofitted a simple ducting system on top of the AC with a cardboard box and some 6 inch diameter ducting that connects to the MycoBox. It’s not perfect right now but getting the job done till I finalize that design.
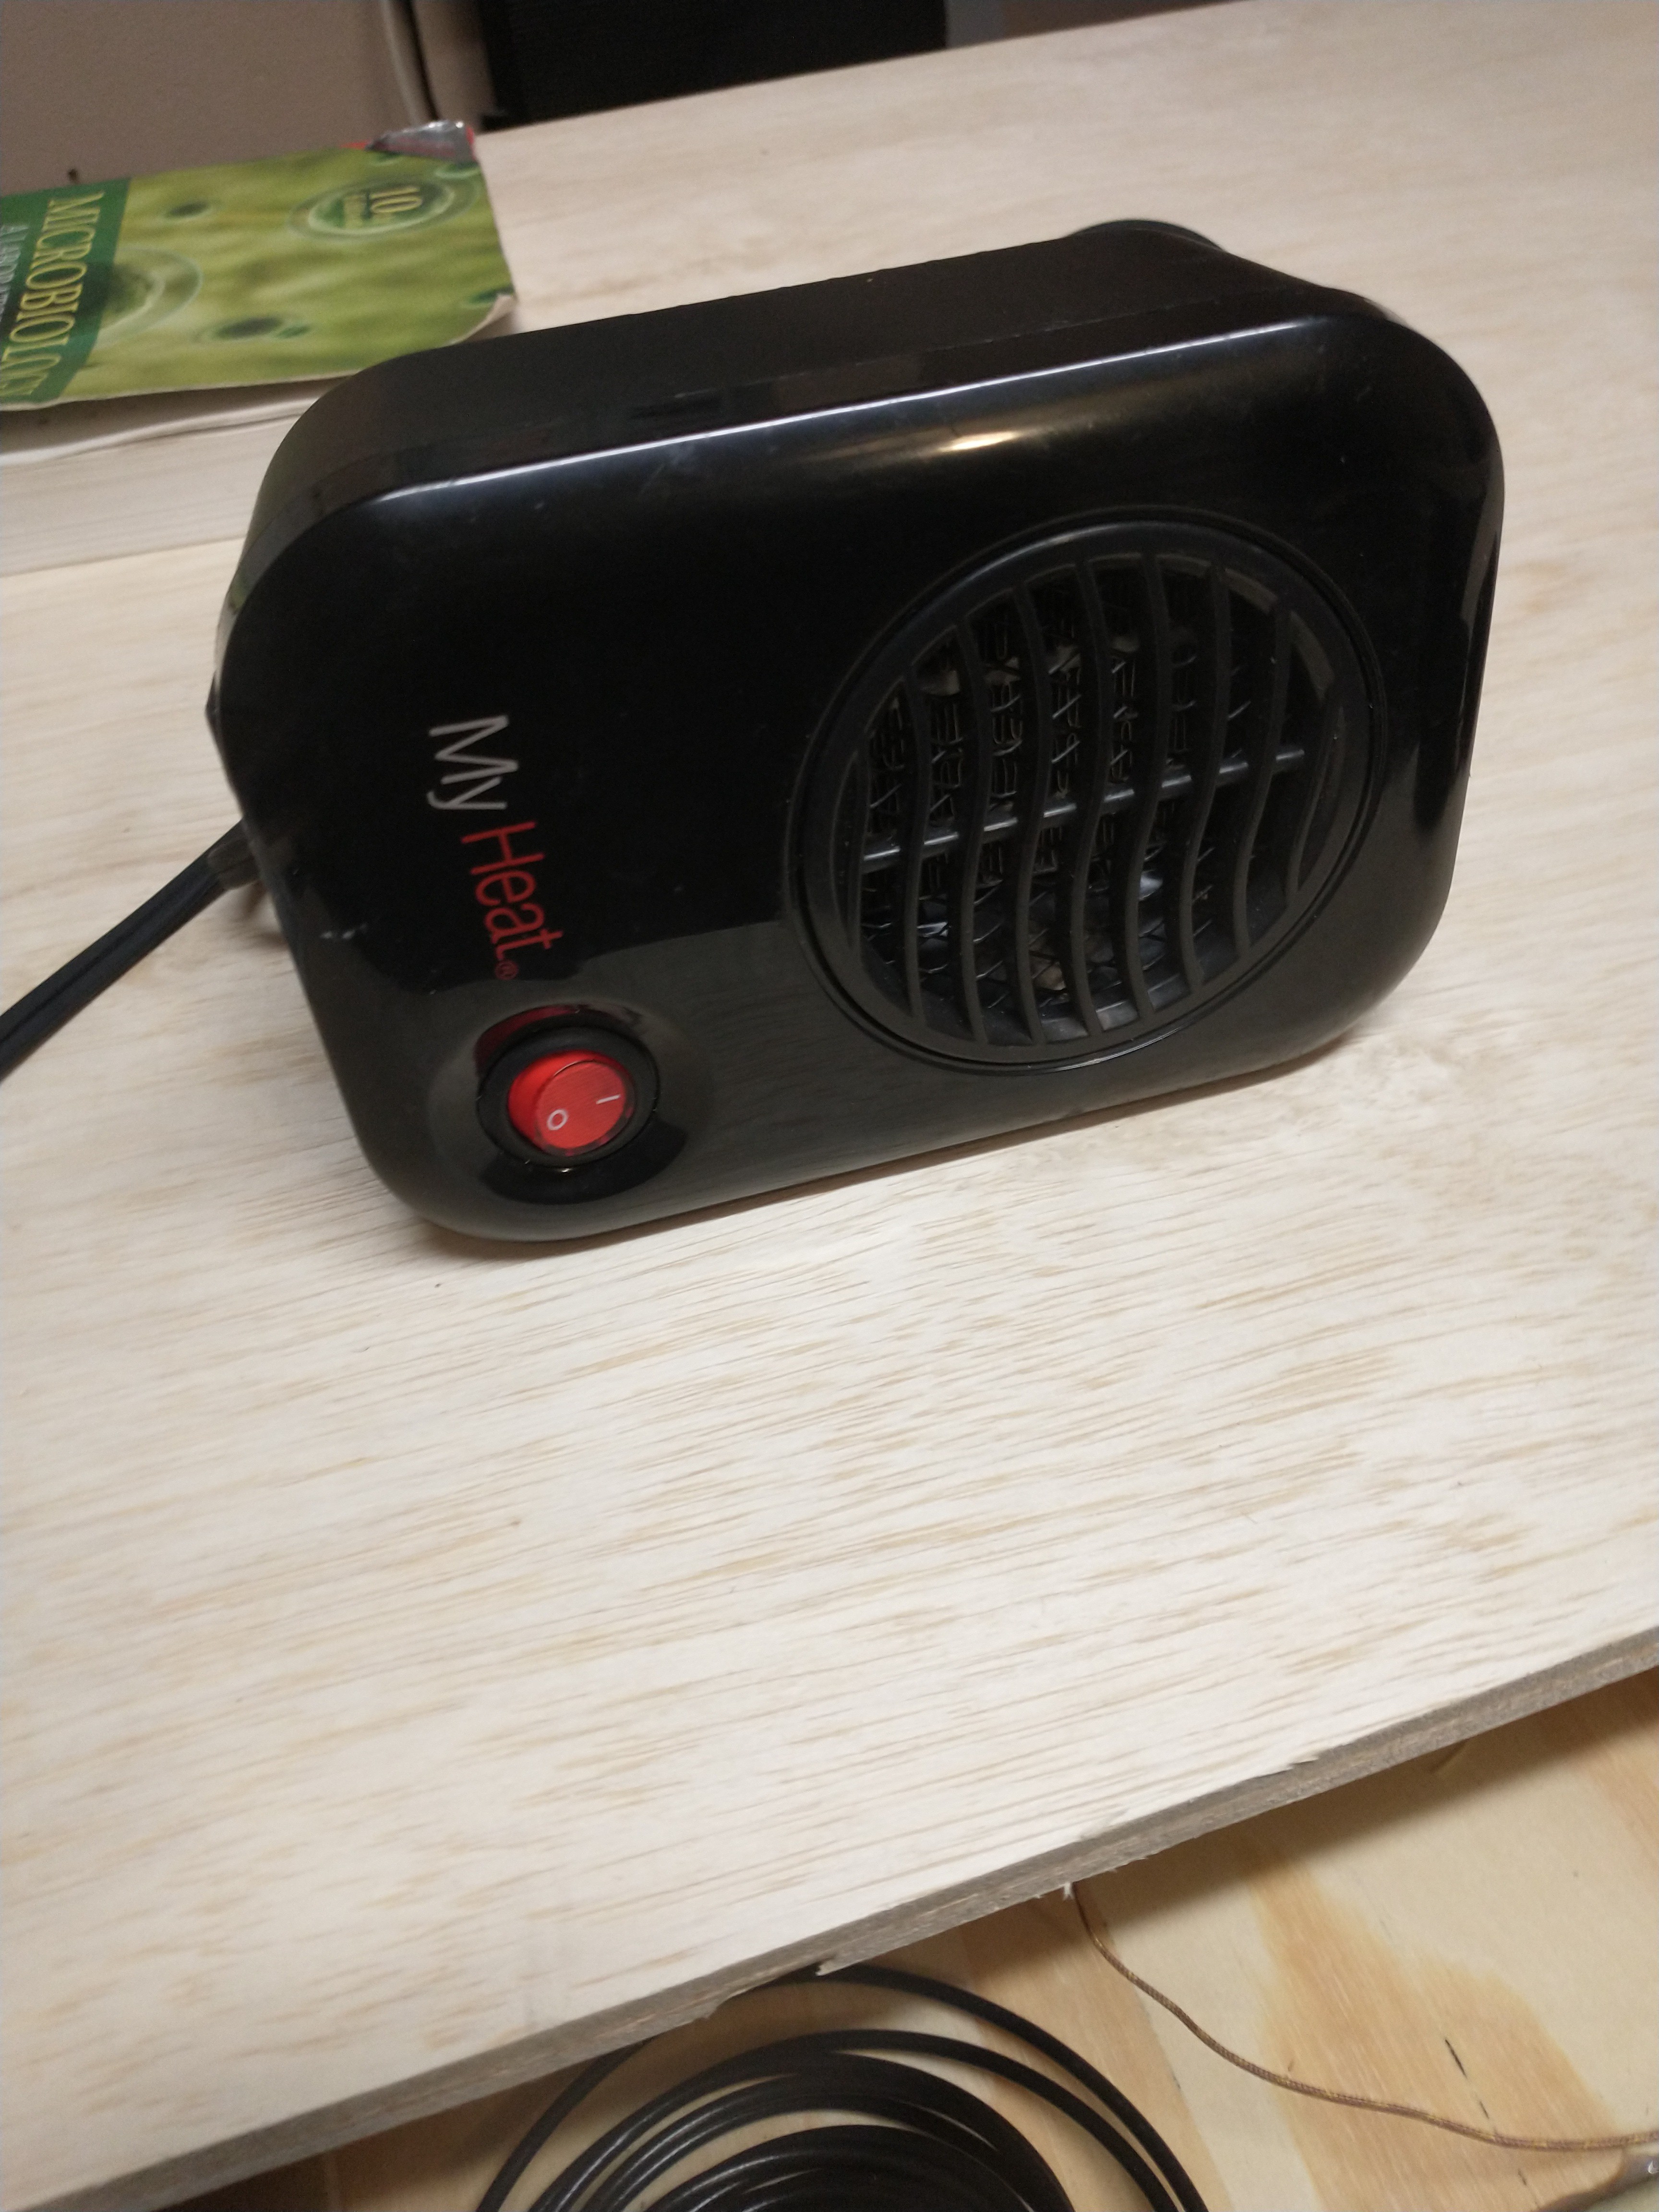
I thought the Heater could simply be mounted onto the side of the box with some double sided mounting tape, however I will need to build a small platform on the side of the box to support it. I will also need to consider how to keep it safe from humidity since it's directly exposed to the inside of the chamber which is often at 100% relative humidity. Right now the port is just a hole in the side of the box
My first thought is some sort of filter that will allow the hot air from the heater to pass through without being in danger of catching fire, yet also able to keep most of the moisture from passing through to the heater itself.
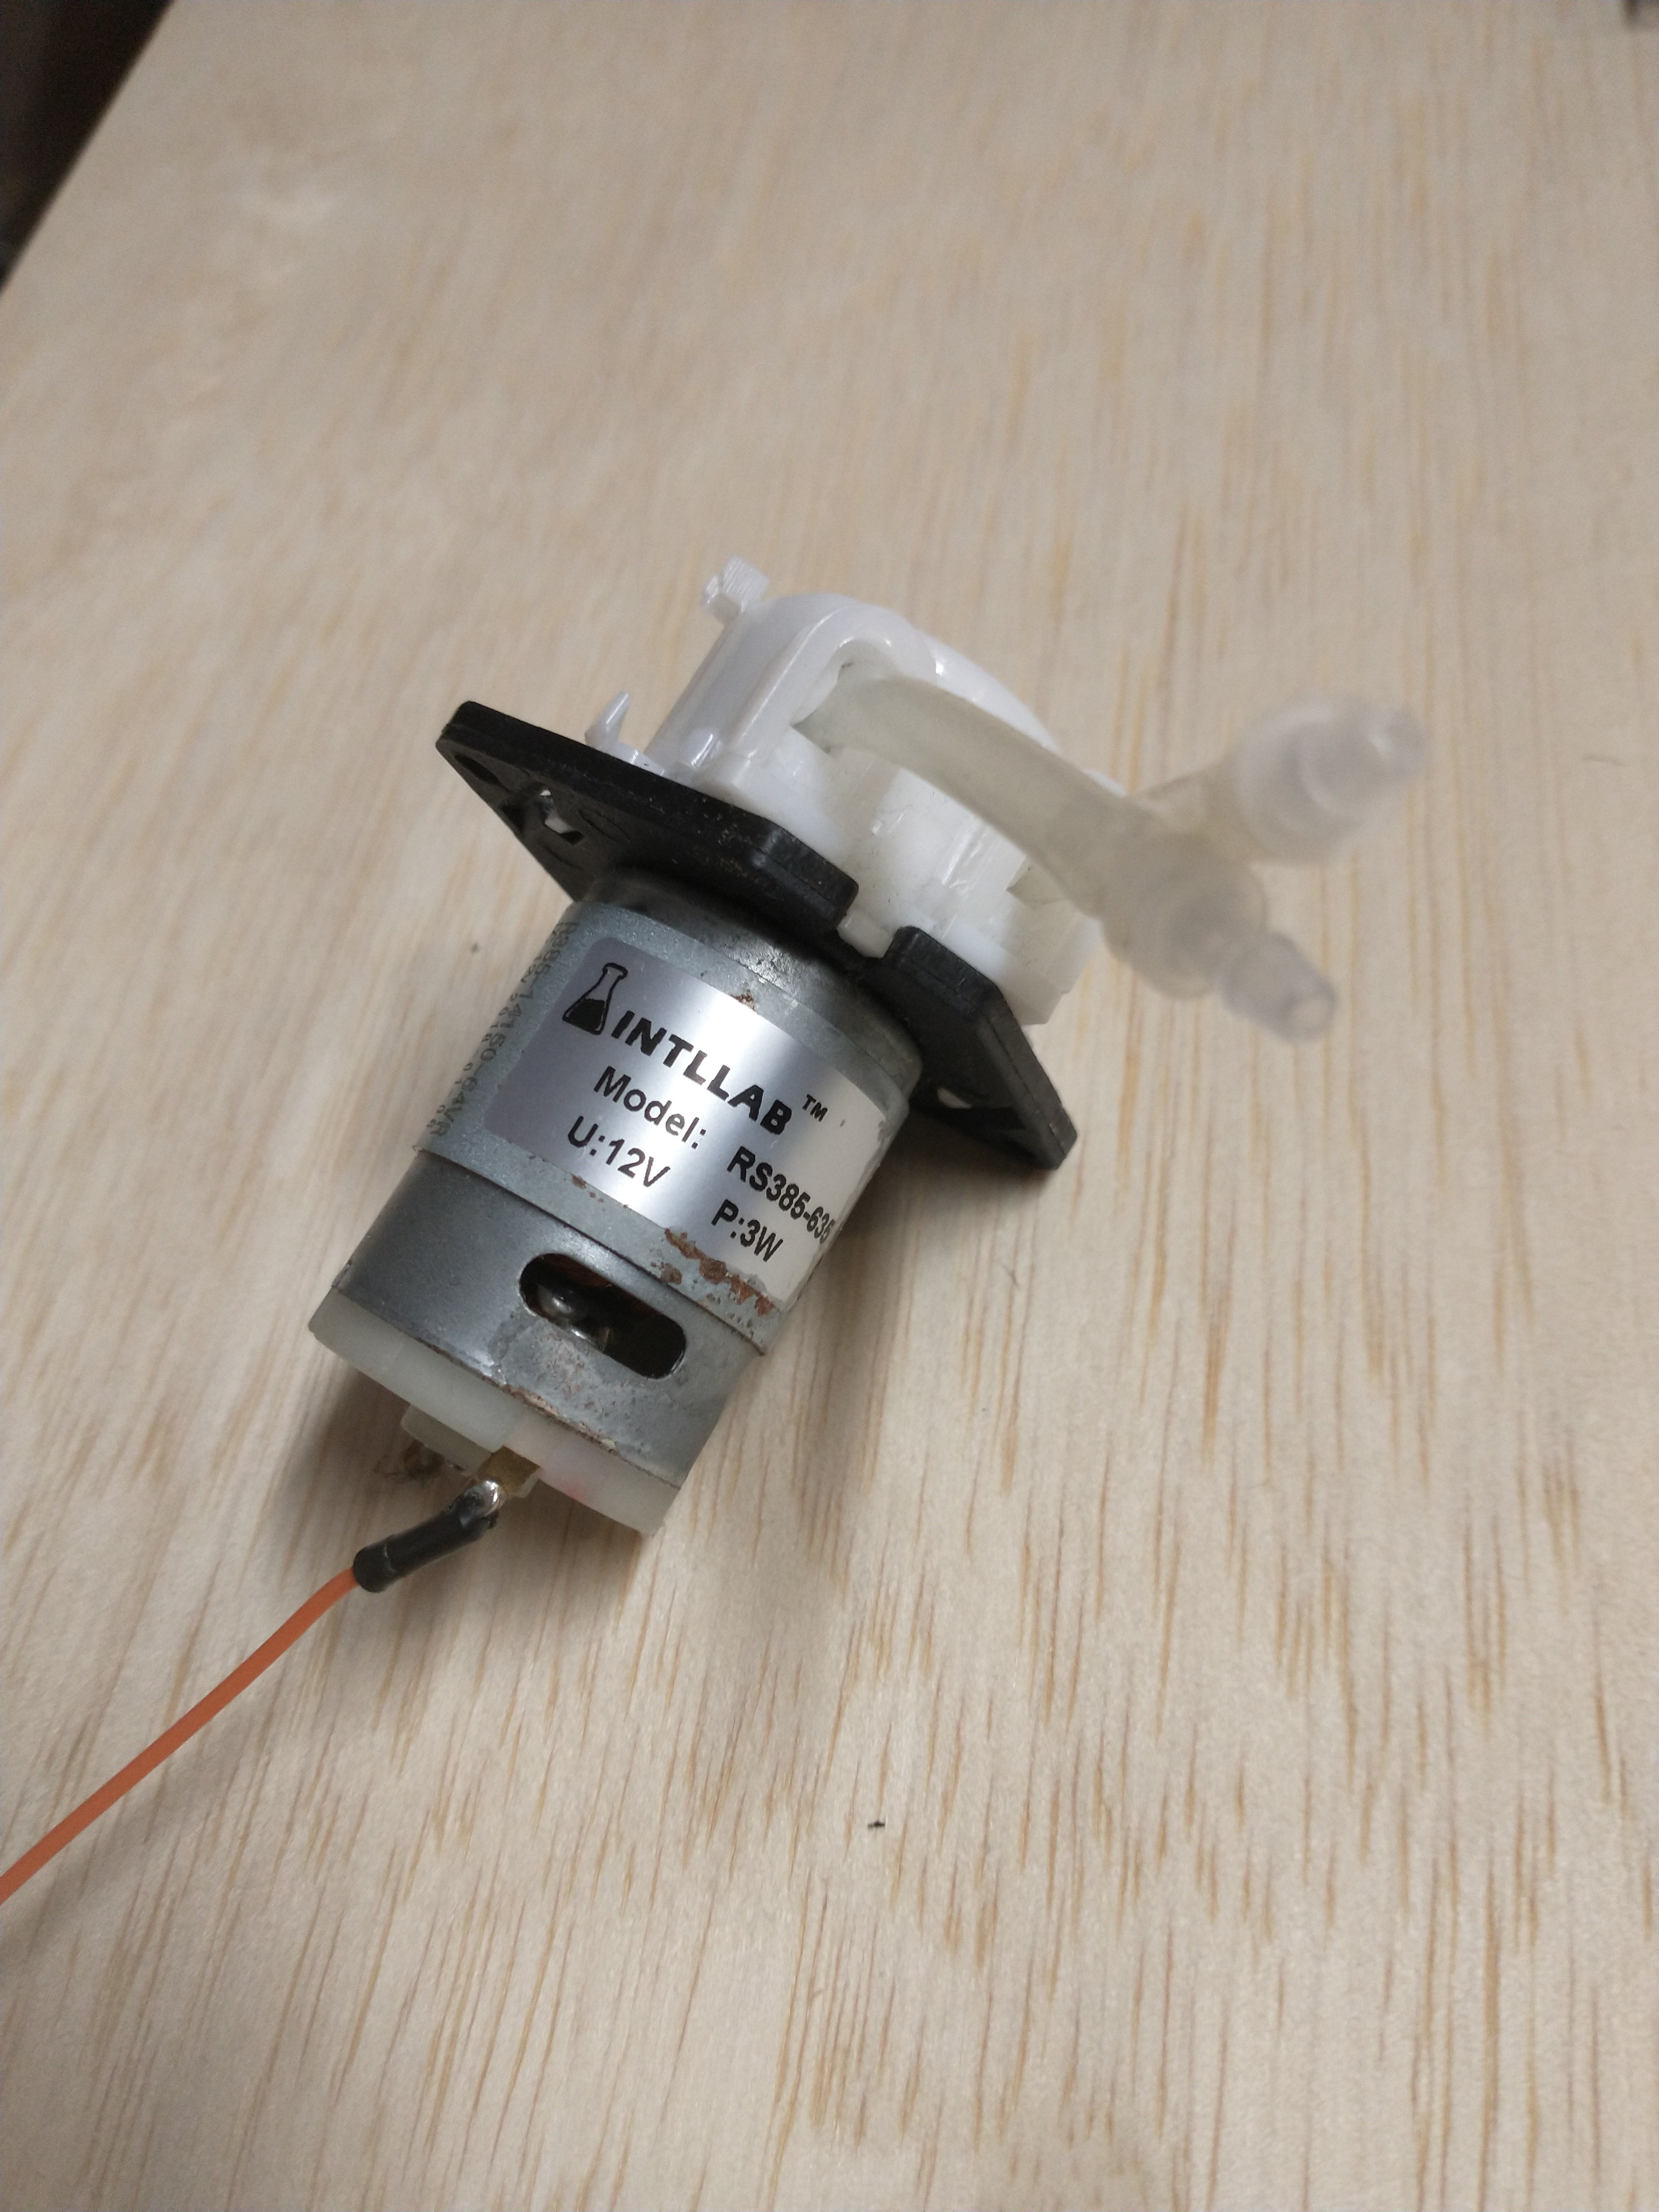
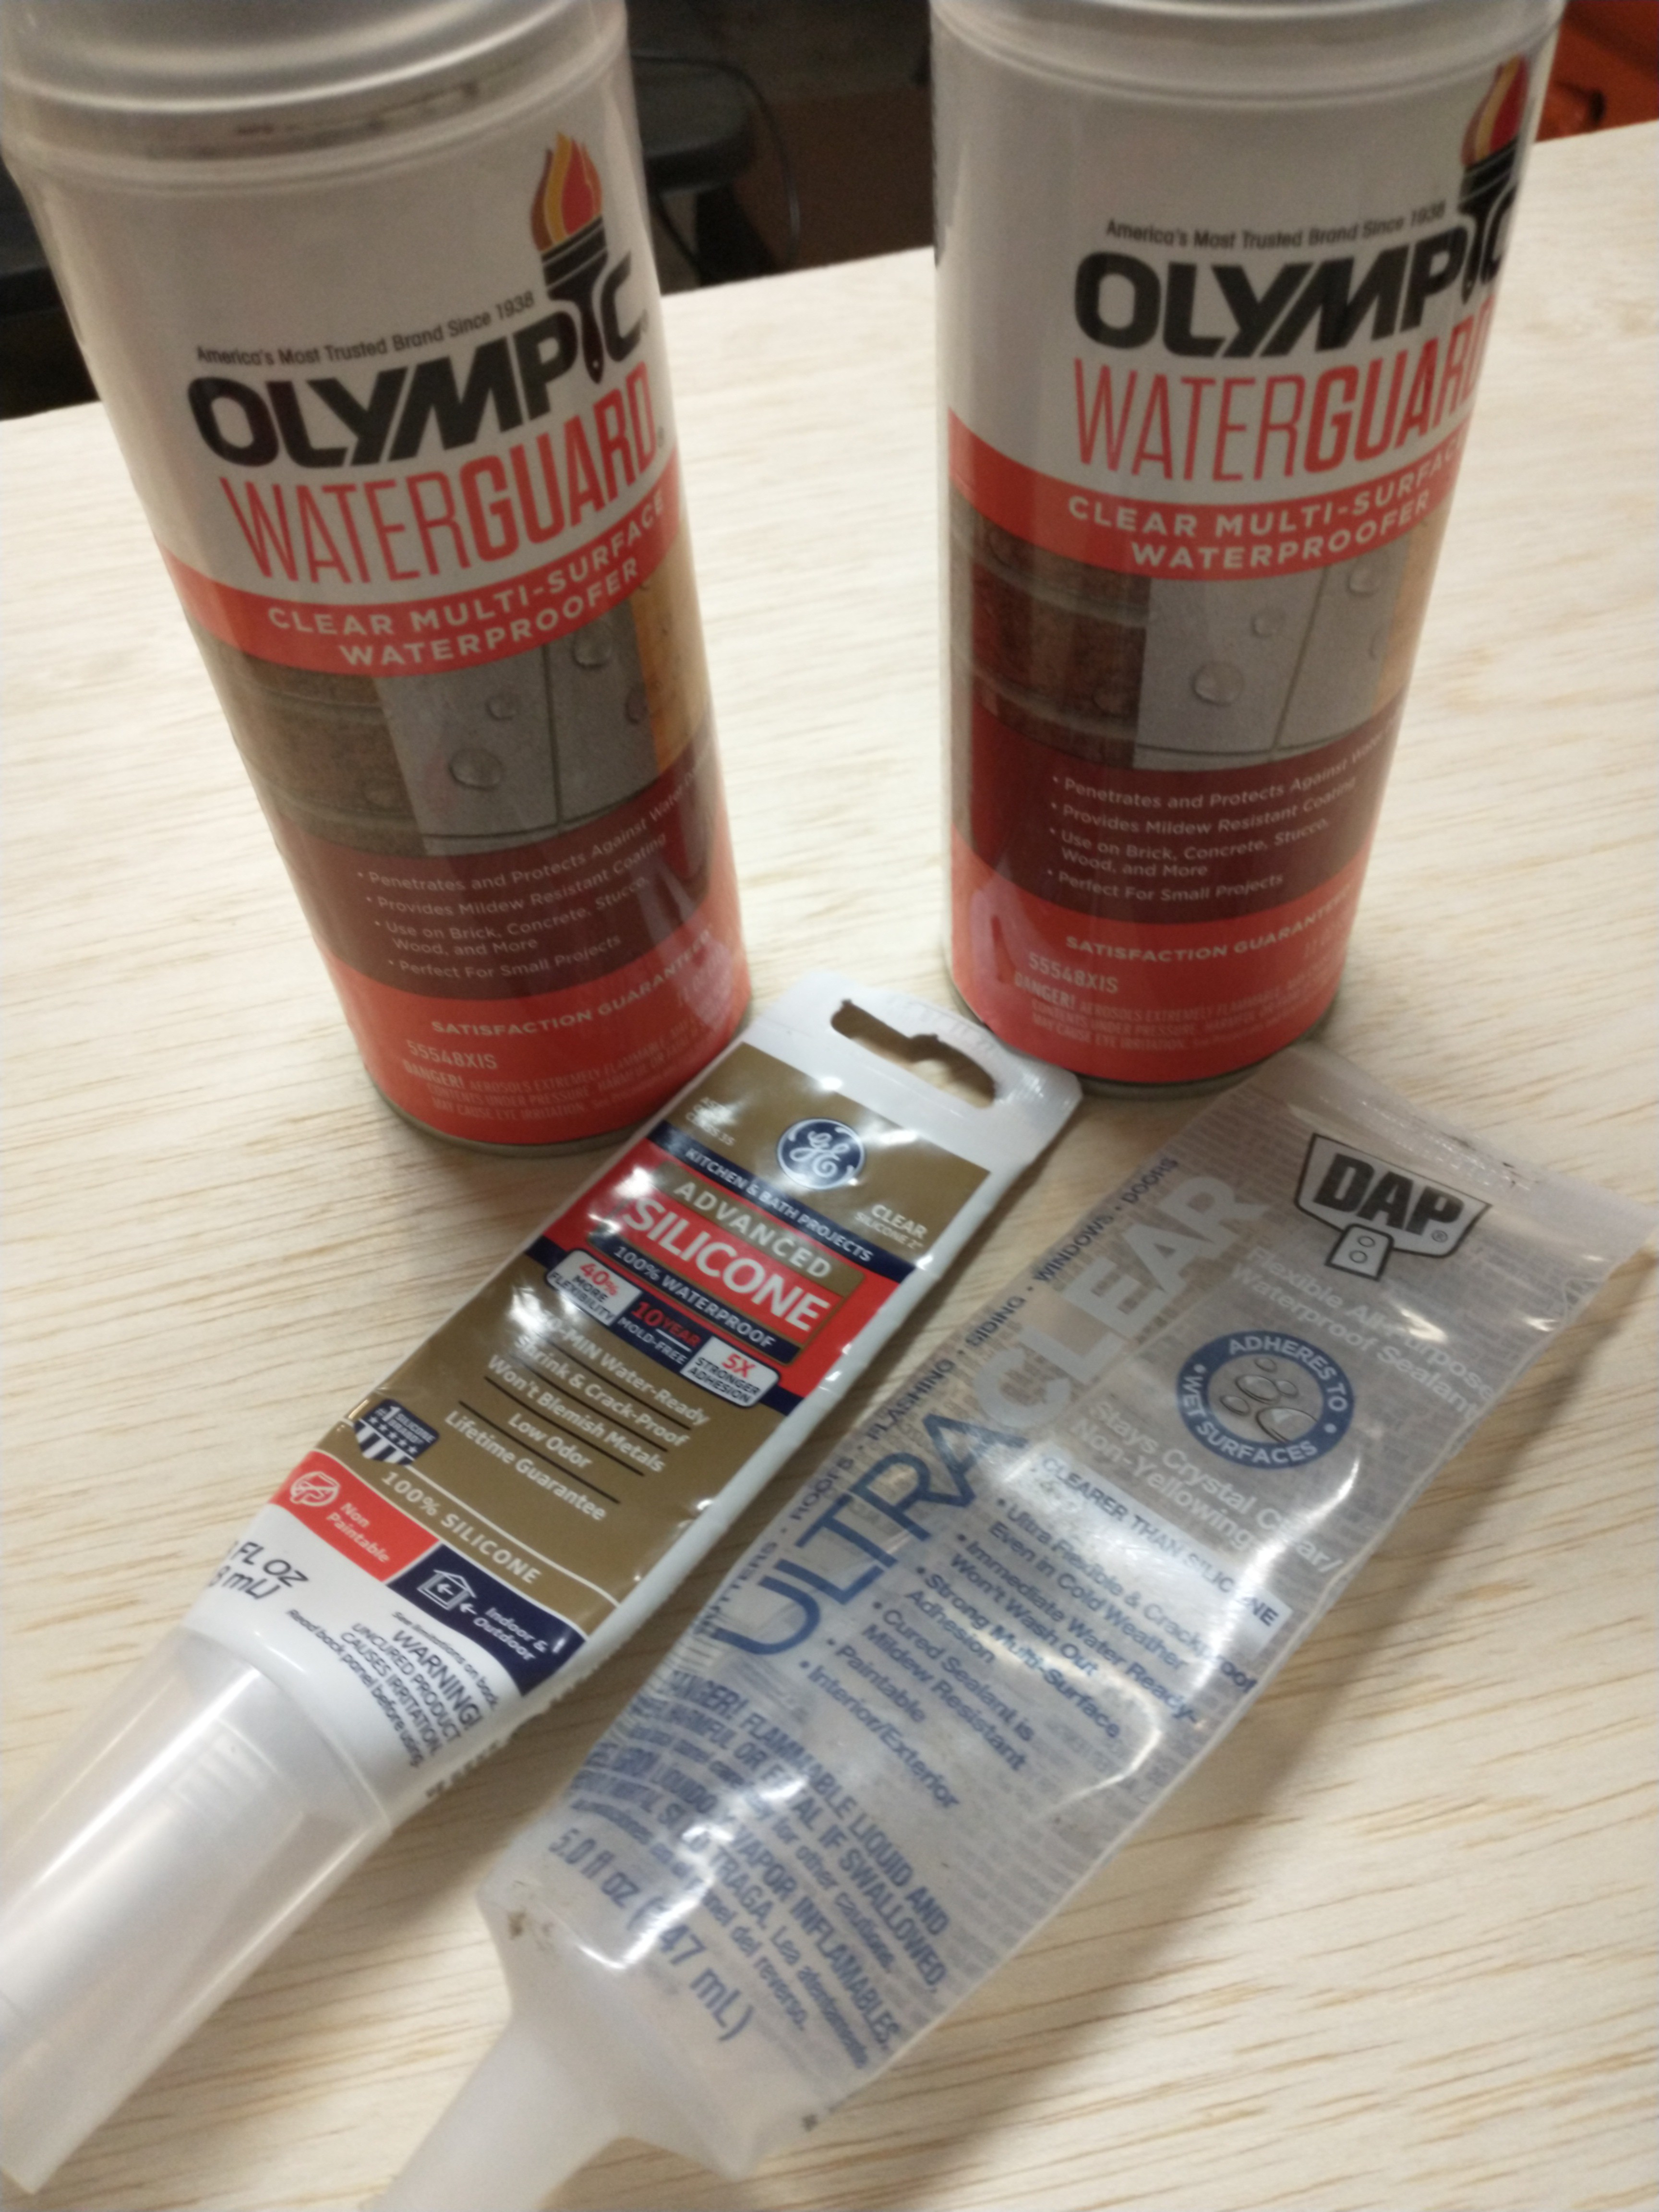
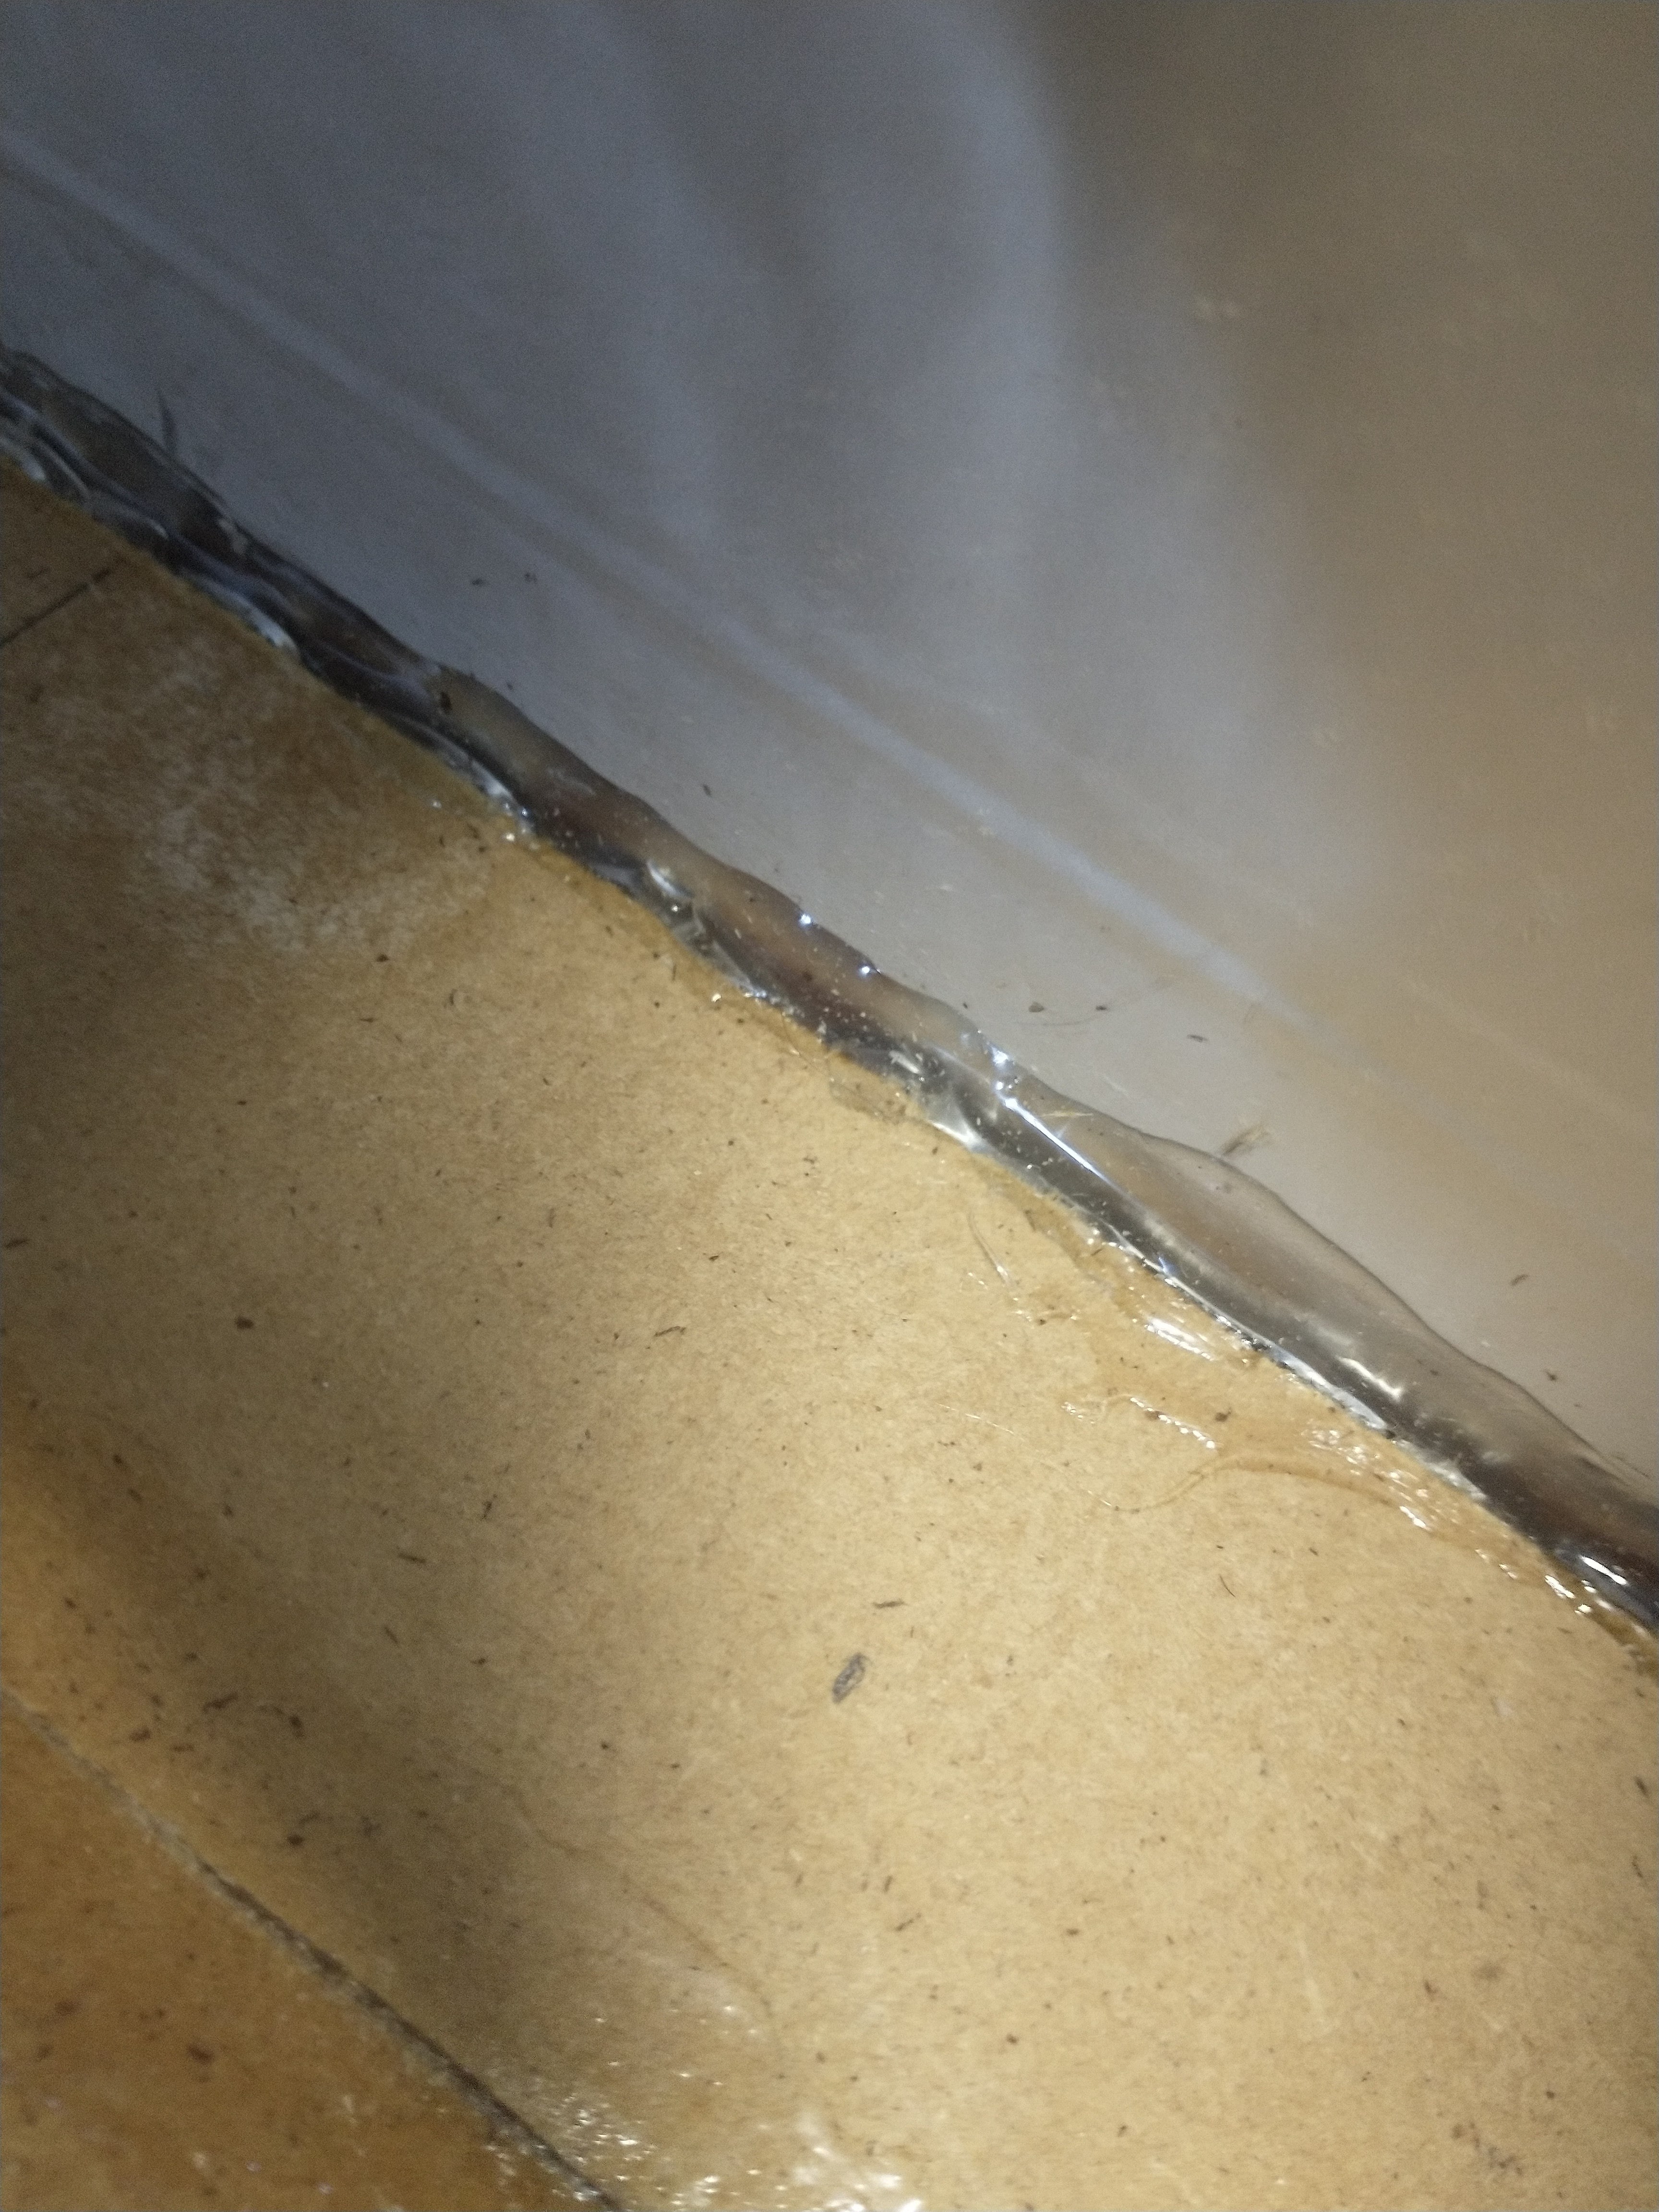
This is a peristaltic pump that will be used to drain potential excess moisture build up on the bottom of the box. I didn't discuss this in the earlier section of how the MycoBox works, however the EM will need to be aware of moisture build up and periodically turn this pump on so that water doesn't pool in the bottom of the chamber during the spawn running process. The chamber will be kept at 100% humidity and gas exchange will be limited, meaning some of that moisture is definitely going to build up at the bottom. I considered this from the start and double coated all of the wood surfaces of the box with water tight varnish, as well as sealed every edge and corner of the box with silicone. This essentially makes the box a water proof chamber, however I still don't want any water build up. The scale will need some waterproofing on the bottom to keep the electronics safe, and the front door will need additional insulation and sealing.
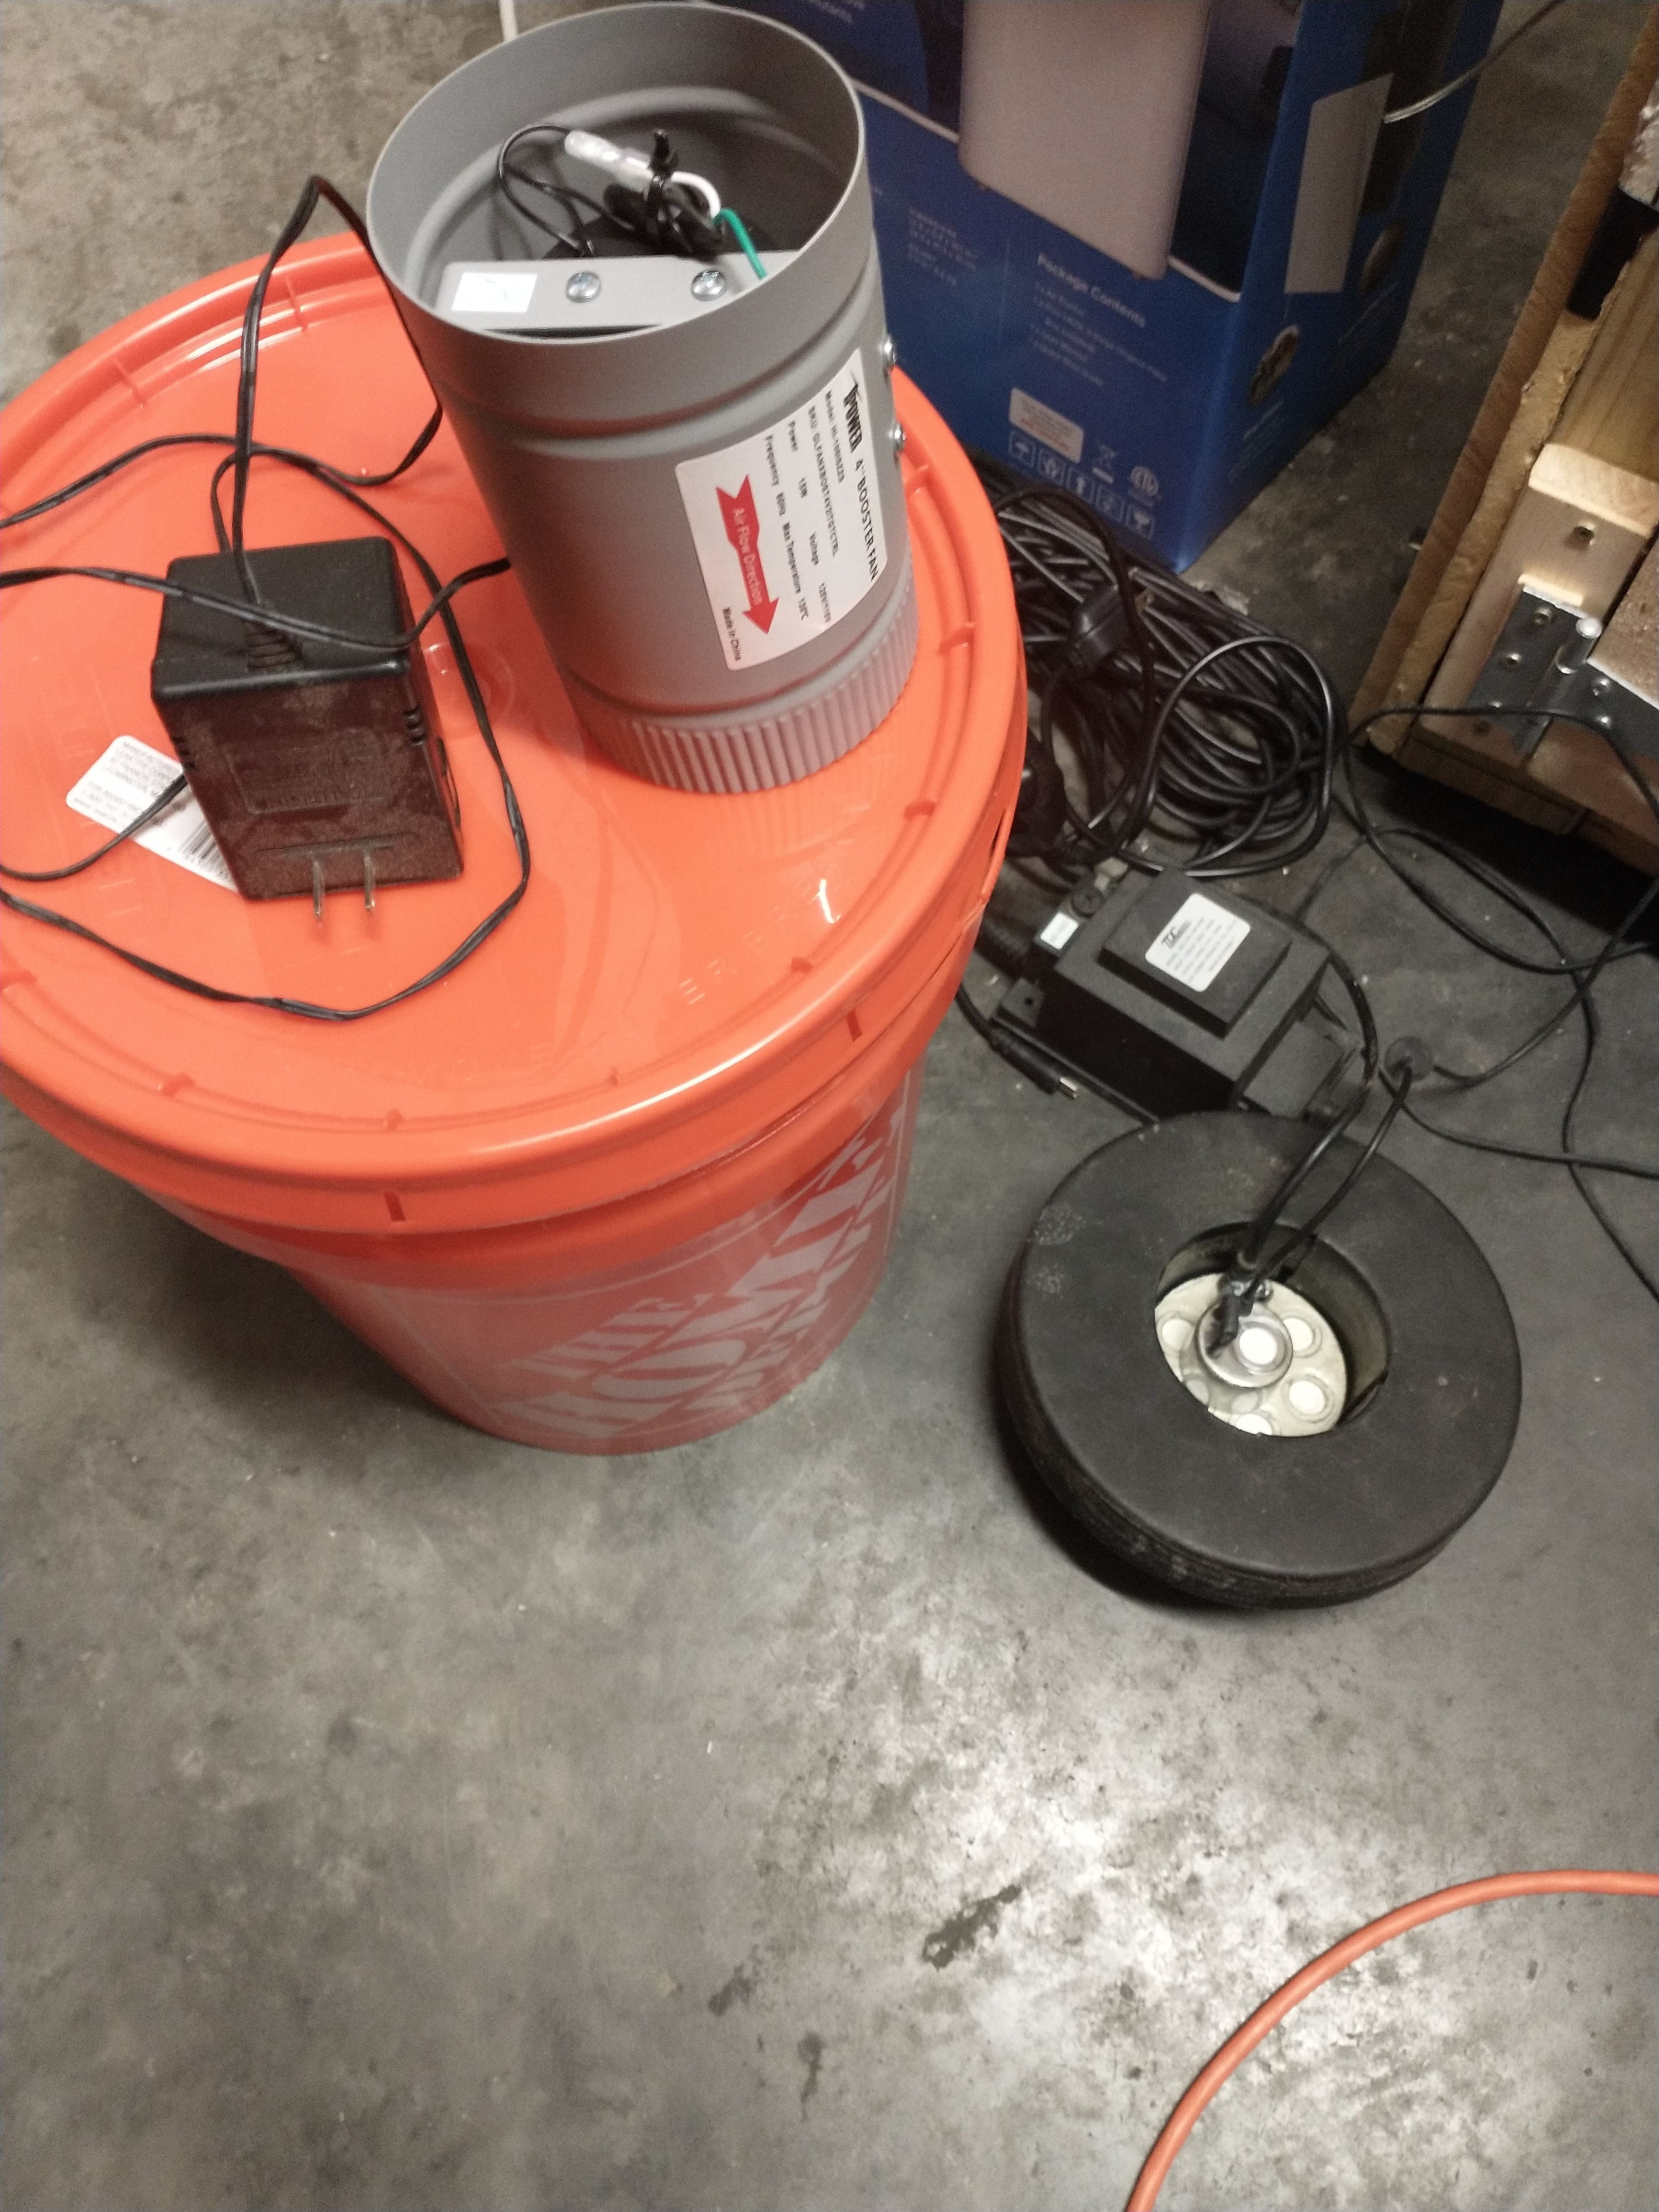
I have not yet assembled the humidifier but already have the materials needed, besides a larger tub than this 5 gallon bucket. From past project I know this mister starts to get pretty warm and can really eat up a lot of water pretty quickly, so I'll be using a much larger tub with both the 5 and single head mister inside. I think for the early spawn running stage the single head mister may actually be able to provide enough fog for the chamber to reach about 100% relative humidity. It's the primordia and fruiting stages that will likely need the larger 5 head mister to provide enough fog to keep up with the gas exchange. The large booster fan should has a high enough CFM to match the the gas exchange rate, as long as the misters can make enough fog.
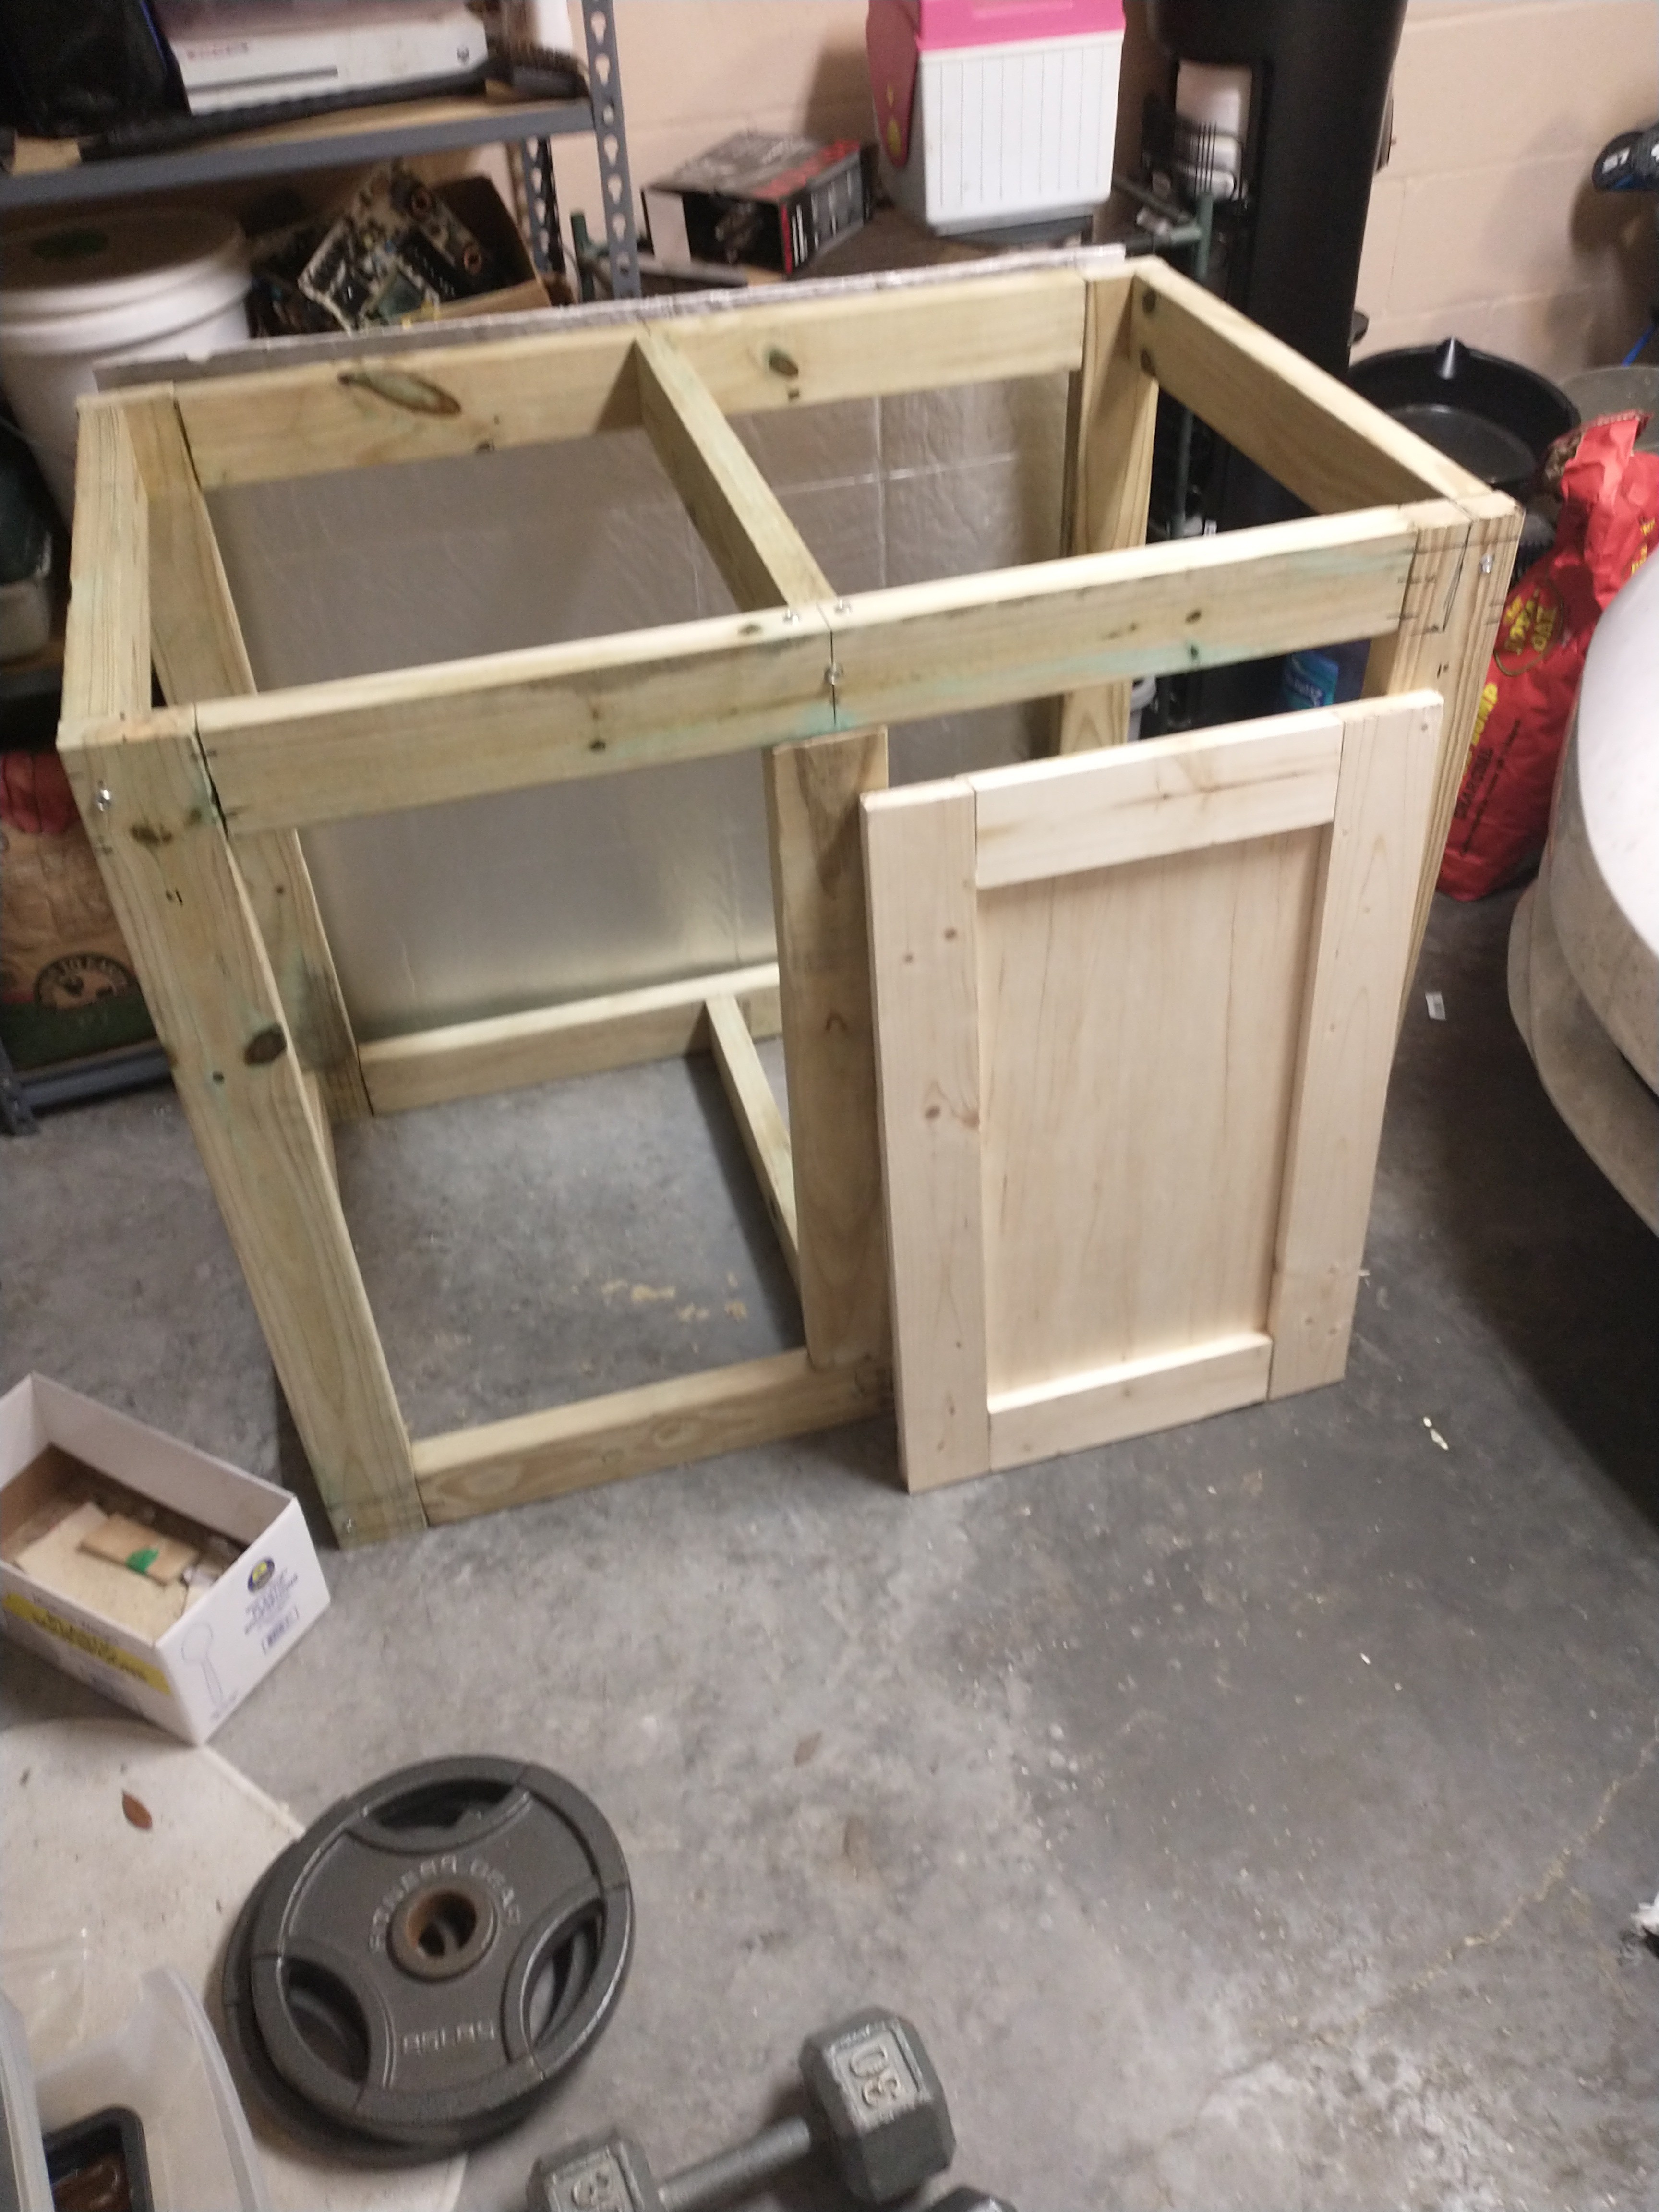
This post is getting pretty long so I'm going to just add some early photos at this point, and will continue this later.

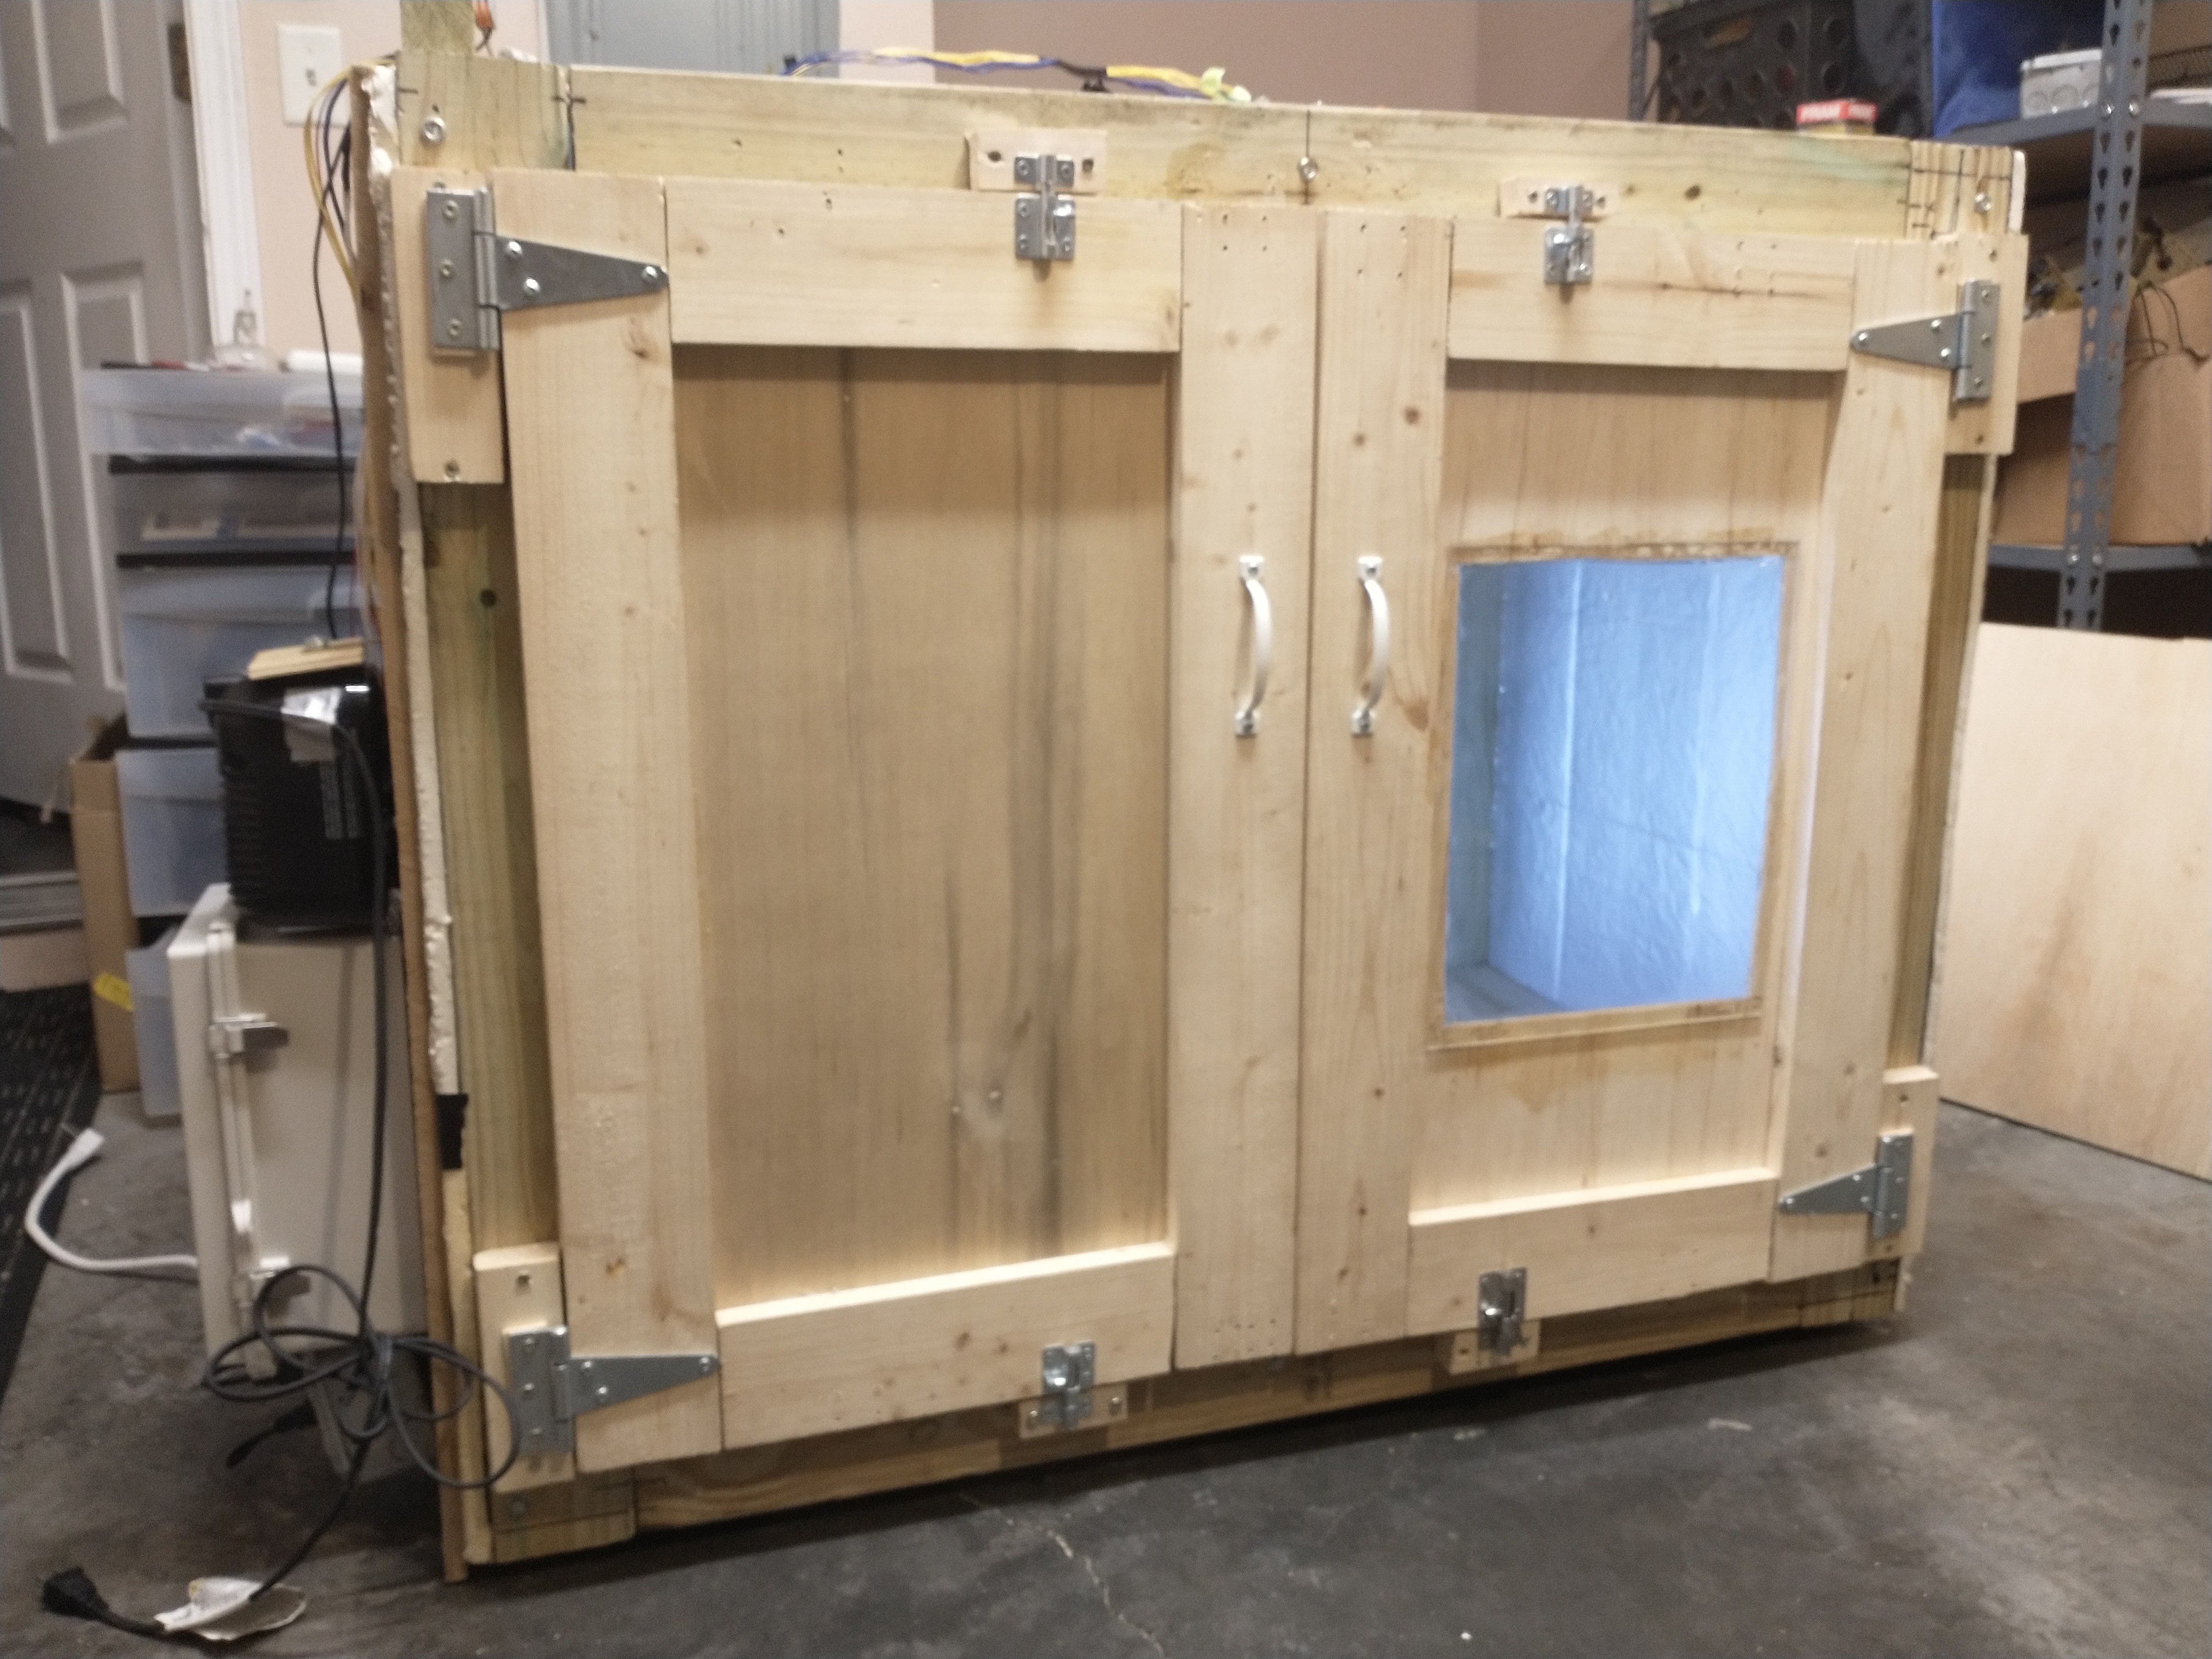
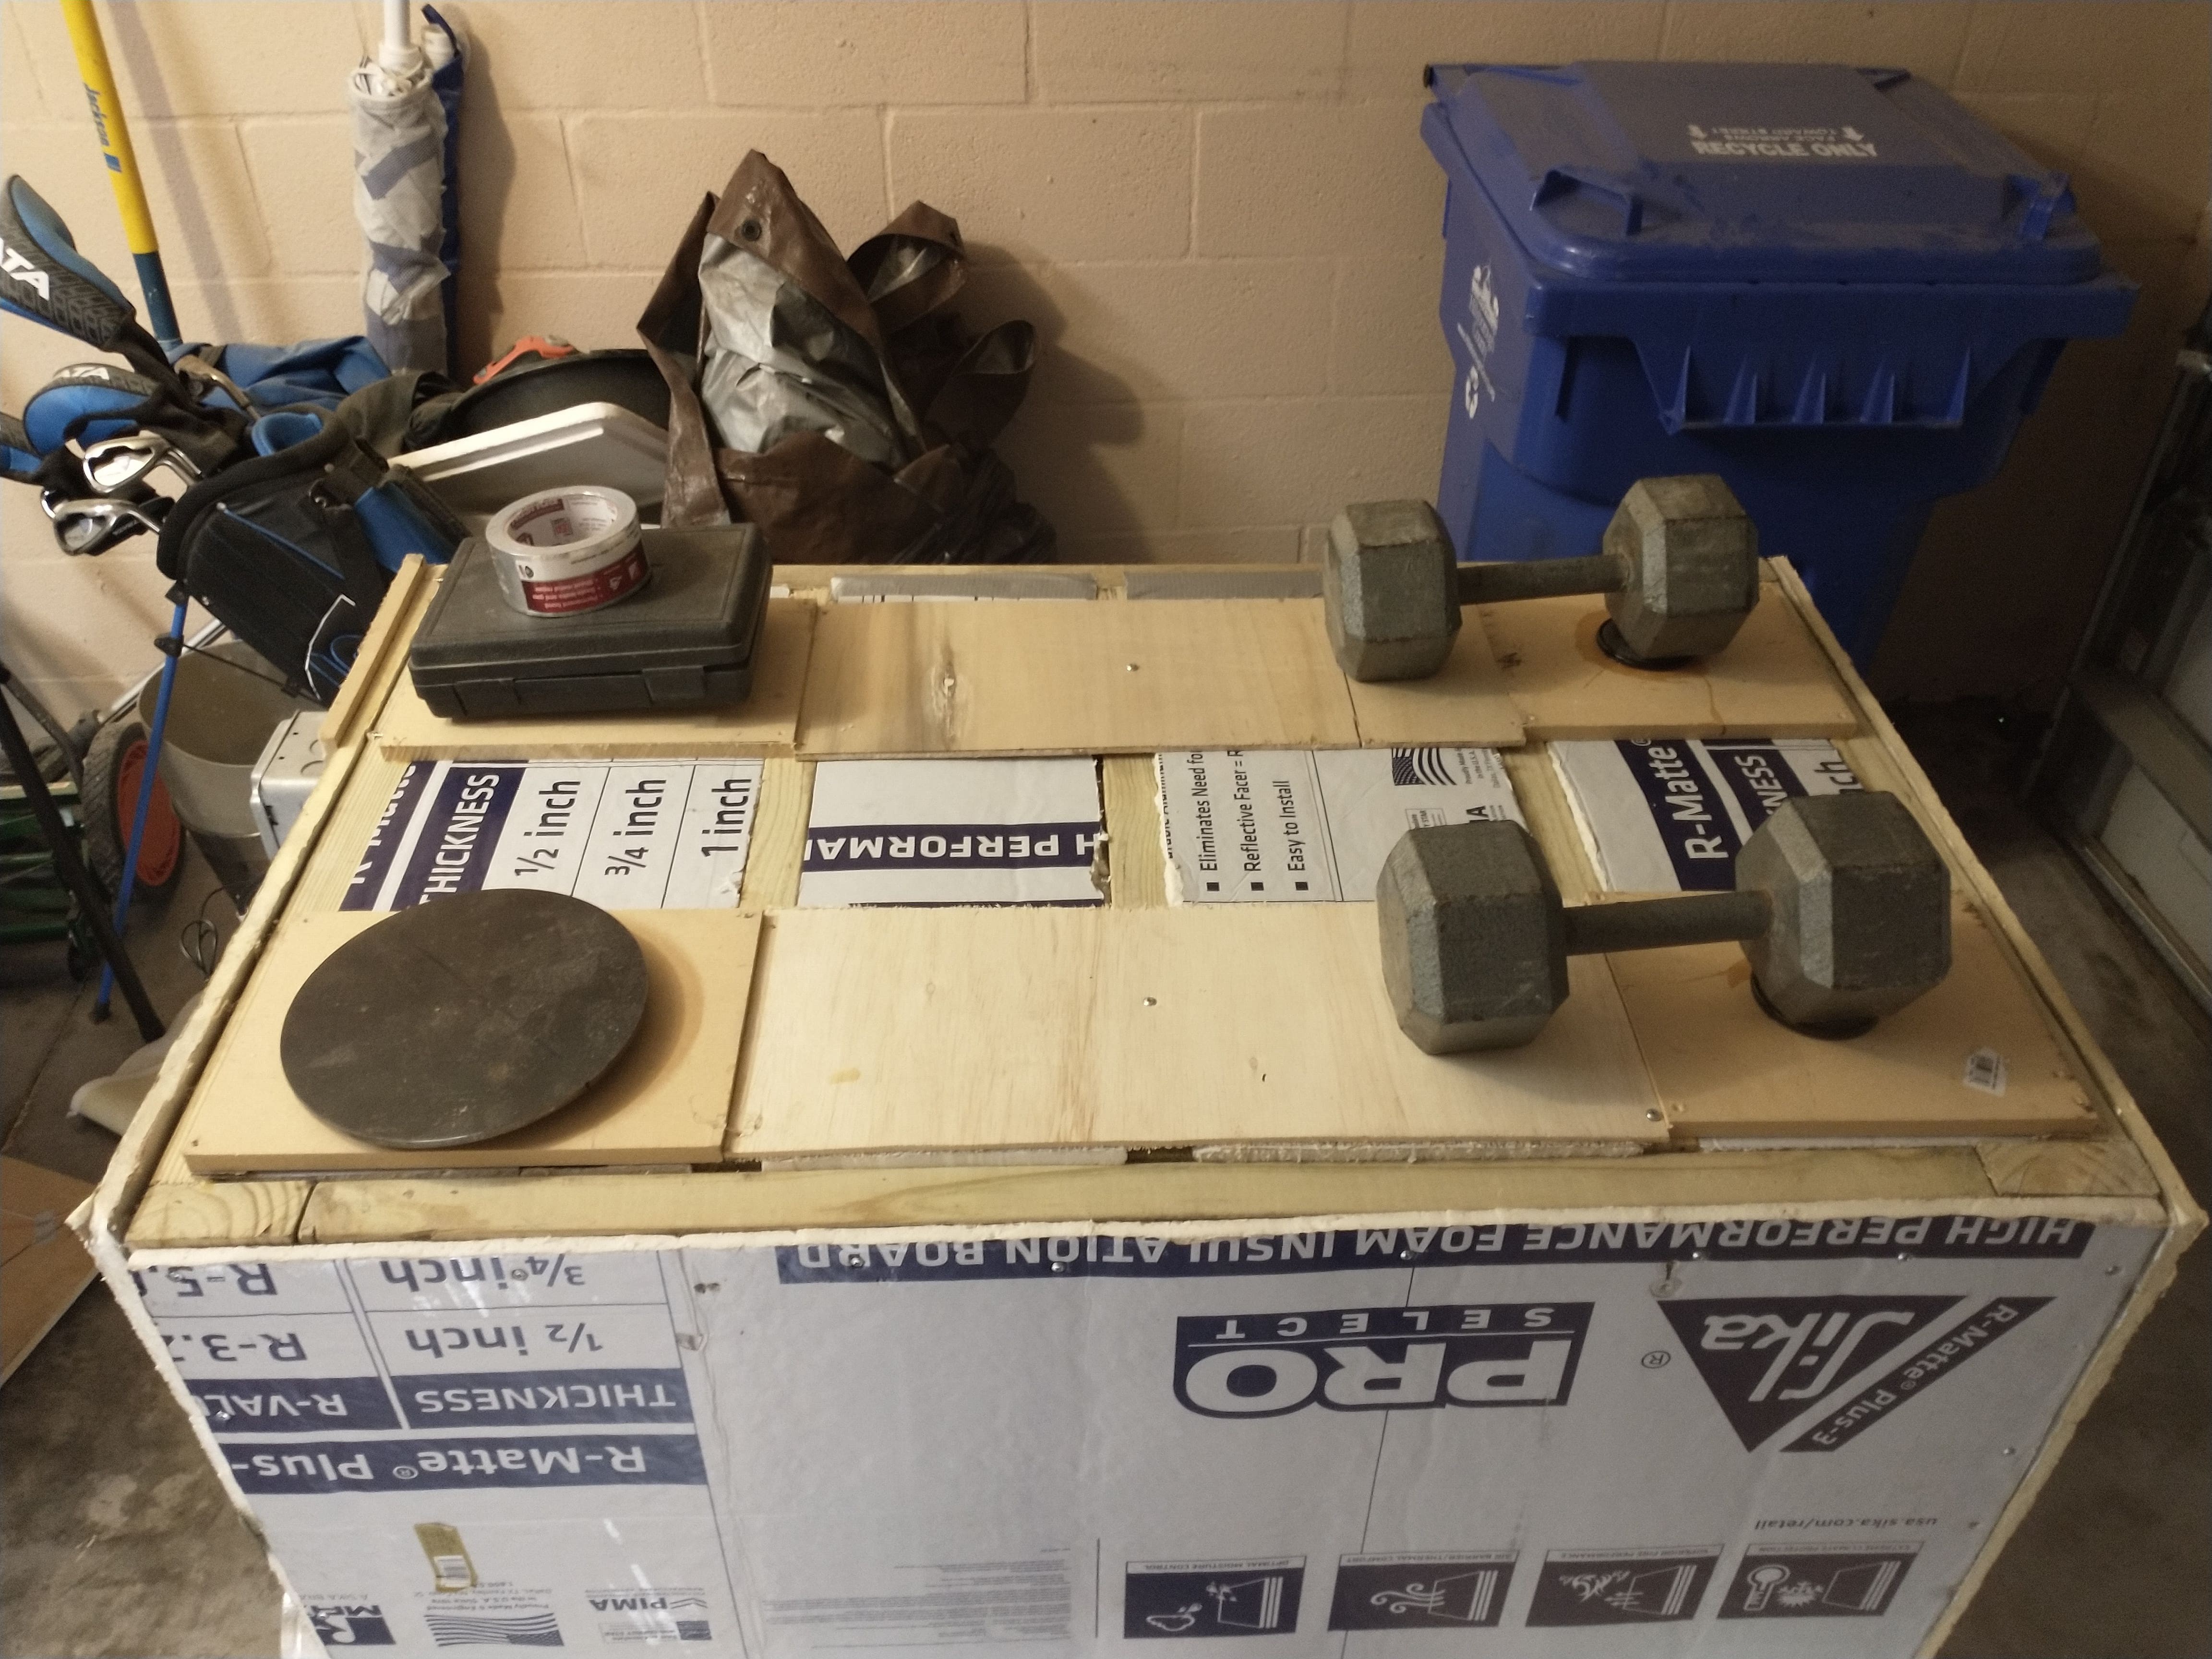
When everything is done, I plan to stick the MycoBox neatly in this back corner of my garage.
This is a day one idea I had for pumping air into the box, this was before I got serious. I didn't even know how big of a box I was making yet.
adding insulation into the floor of the MycoBox as well as gluing down the feet pads that allow it to easily slide around my garage. I considered using some cheap wheels, and still might switch to that later.