 Jonathan
What is a Laminar Flow:
A laminar flow pushes air at a high rate, in this case 273 CFM, through a very large 99.97% HEPA filter. This means the space directly in front of the filter always has a flow of sterile air, making that immediate space a sterile work environment for any lab work to be carried out.
Matching a blower to a filter:
Generally the air speed of the air flowing from the filter surface must be 100 feet per minute or higher. To calculate your required fan CFM, simply multiply 100 feet/minute by the surface area of your filter. My filter is 16"x16", or 1.333 feet x 1.333 feet, which is an area of 1.77 feet. So I needed a fan that blows at least 177 CFM, based on the area of my filter. The other factor to consider is the static pressure of the filter, which is about 1" for most HEPA filters. The pre filter adds about an additional .1 to .2 static pressure, resulting in an approximate total of 1.2" of pressure between the two filters. The static pressure impacts the fans true CFM output, the higher the pressure the lower the actual CFM output of the fan will be. My fan is a replacement fan for the Dayton 1 TDR Fan, and it reduces from 273 CFM to 245CFM @ 1" static pressure. Even @ 4" static pressure this fan outputs 183 CFM, which is more than enough for my 16"x16" HEPA filter.
Photos from the build:
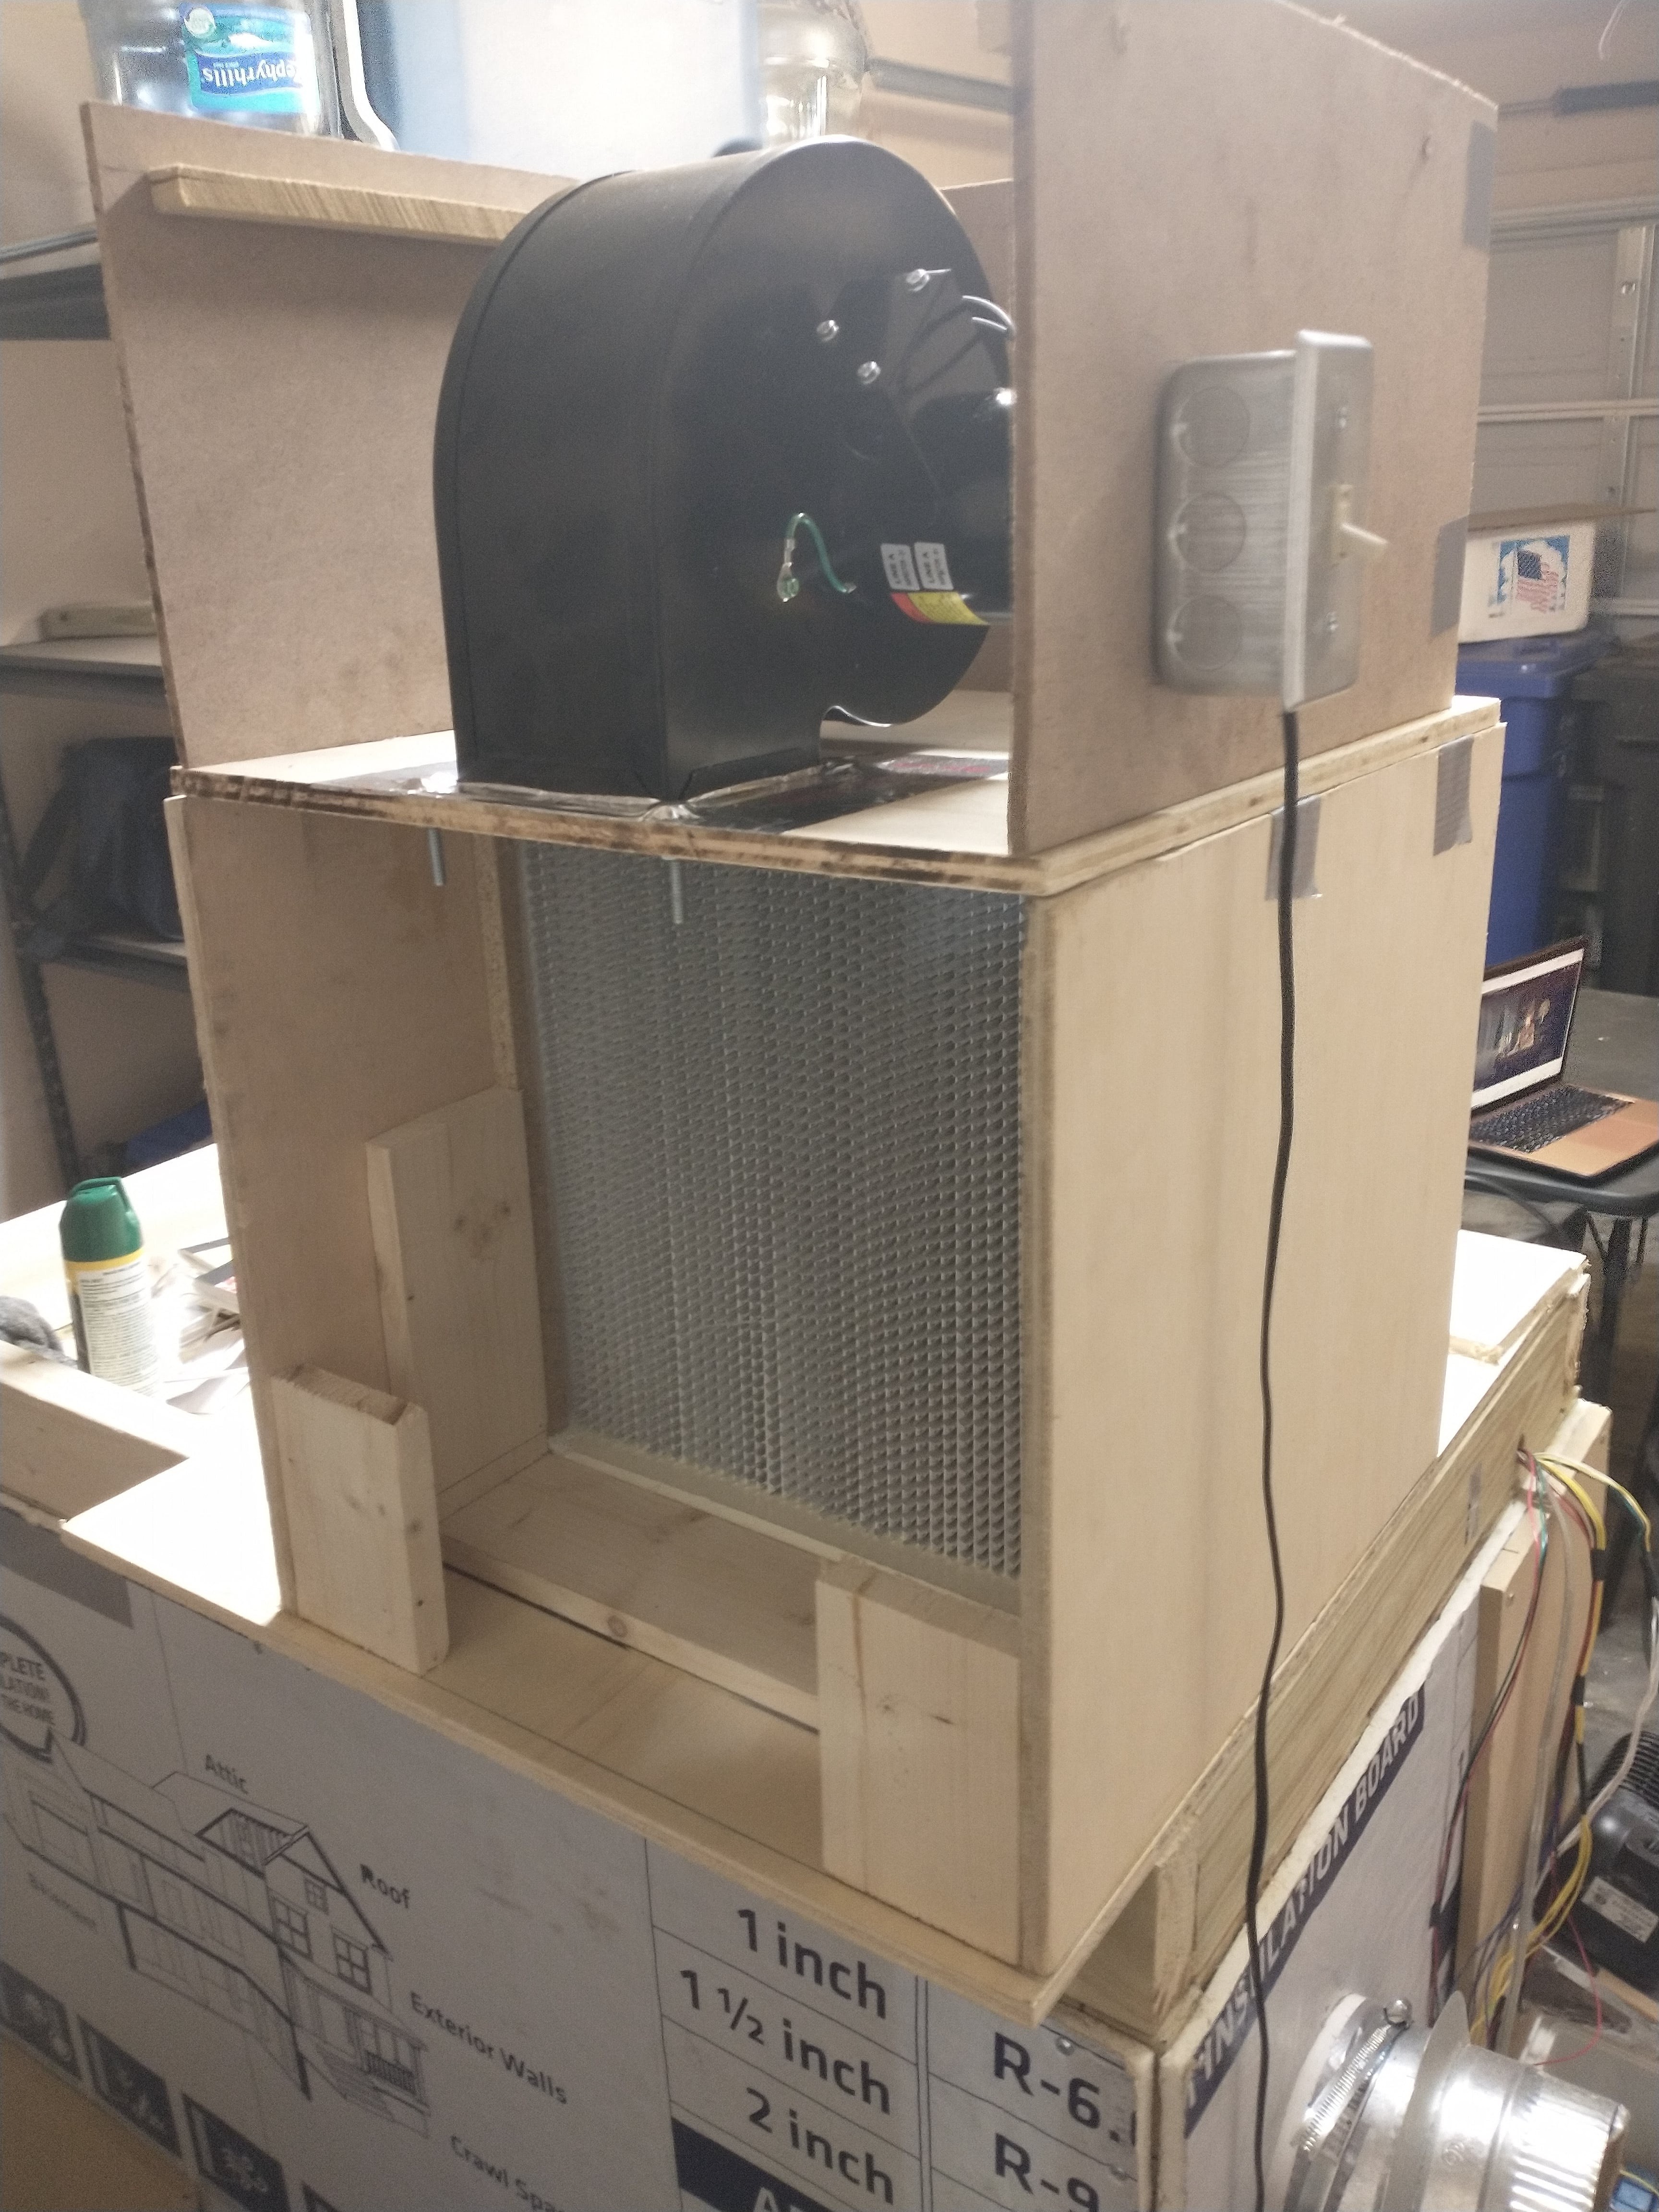
top view of the fan box that rests on top of the filter box
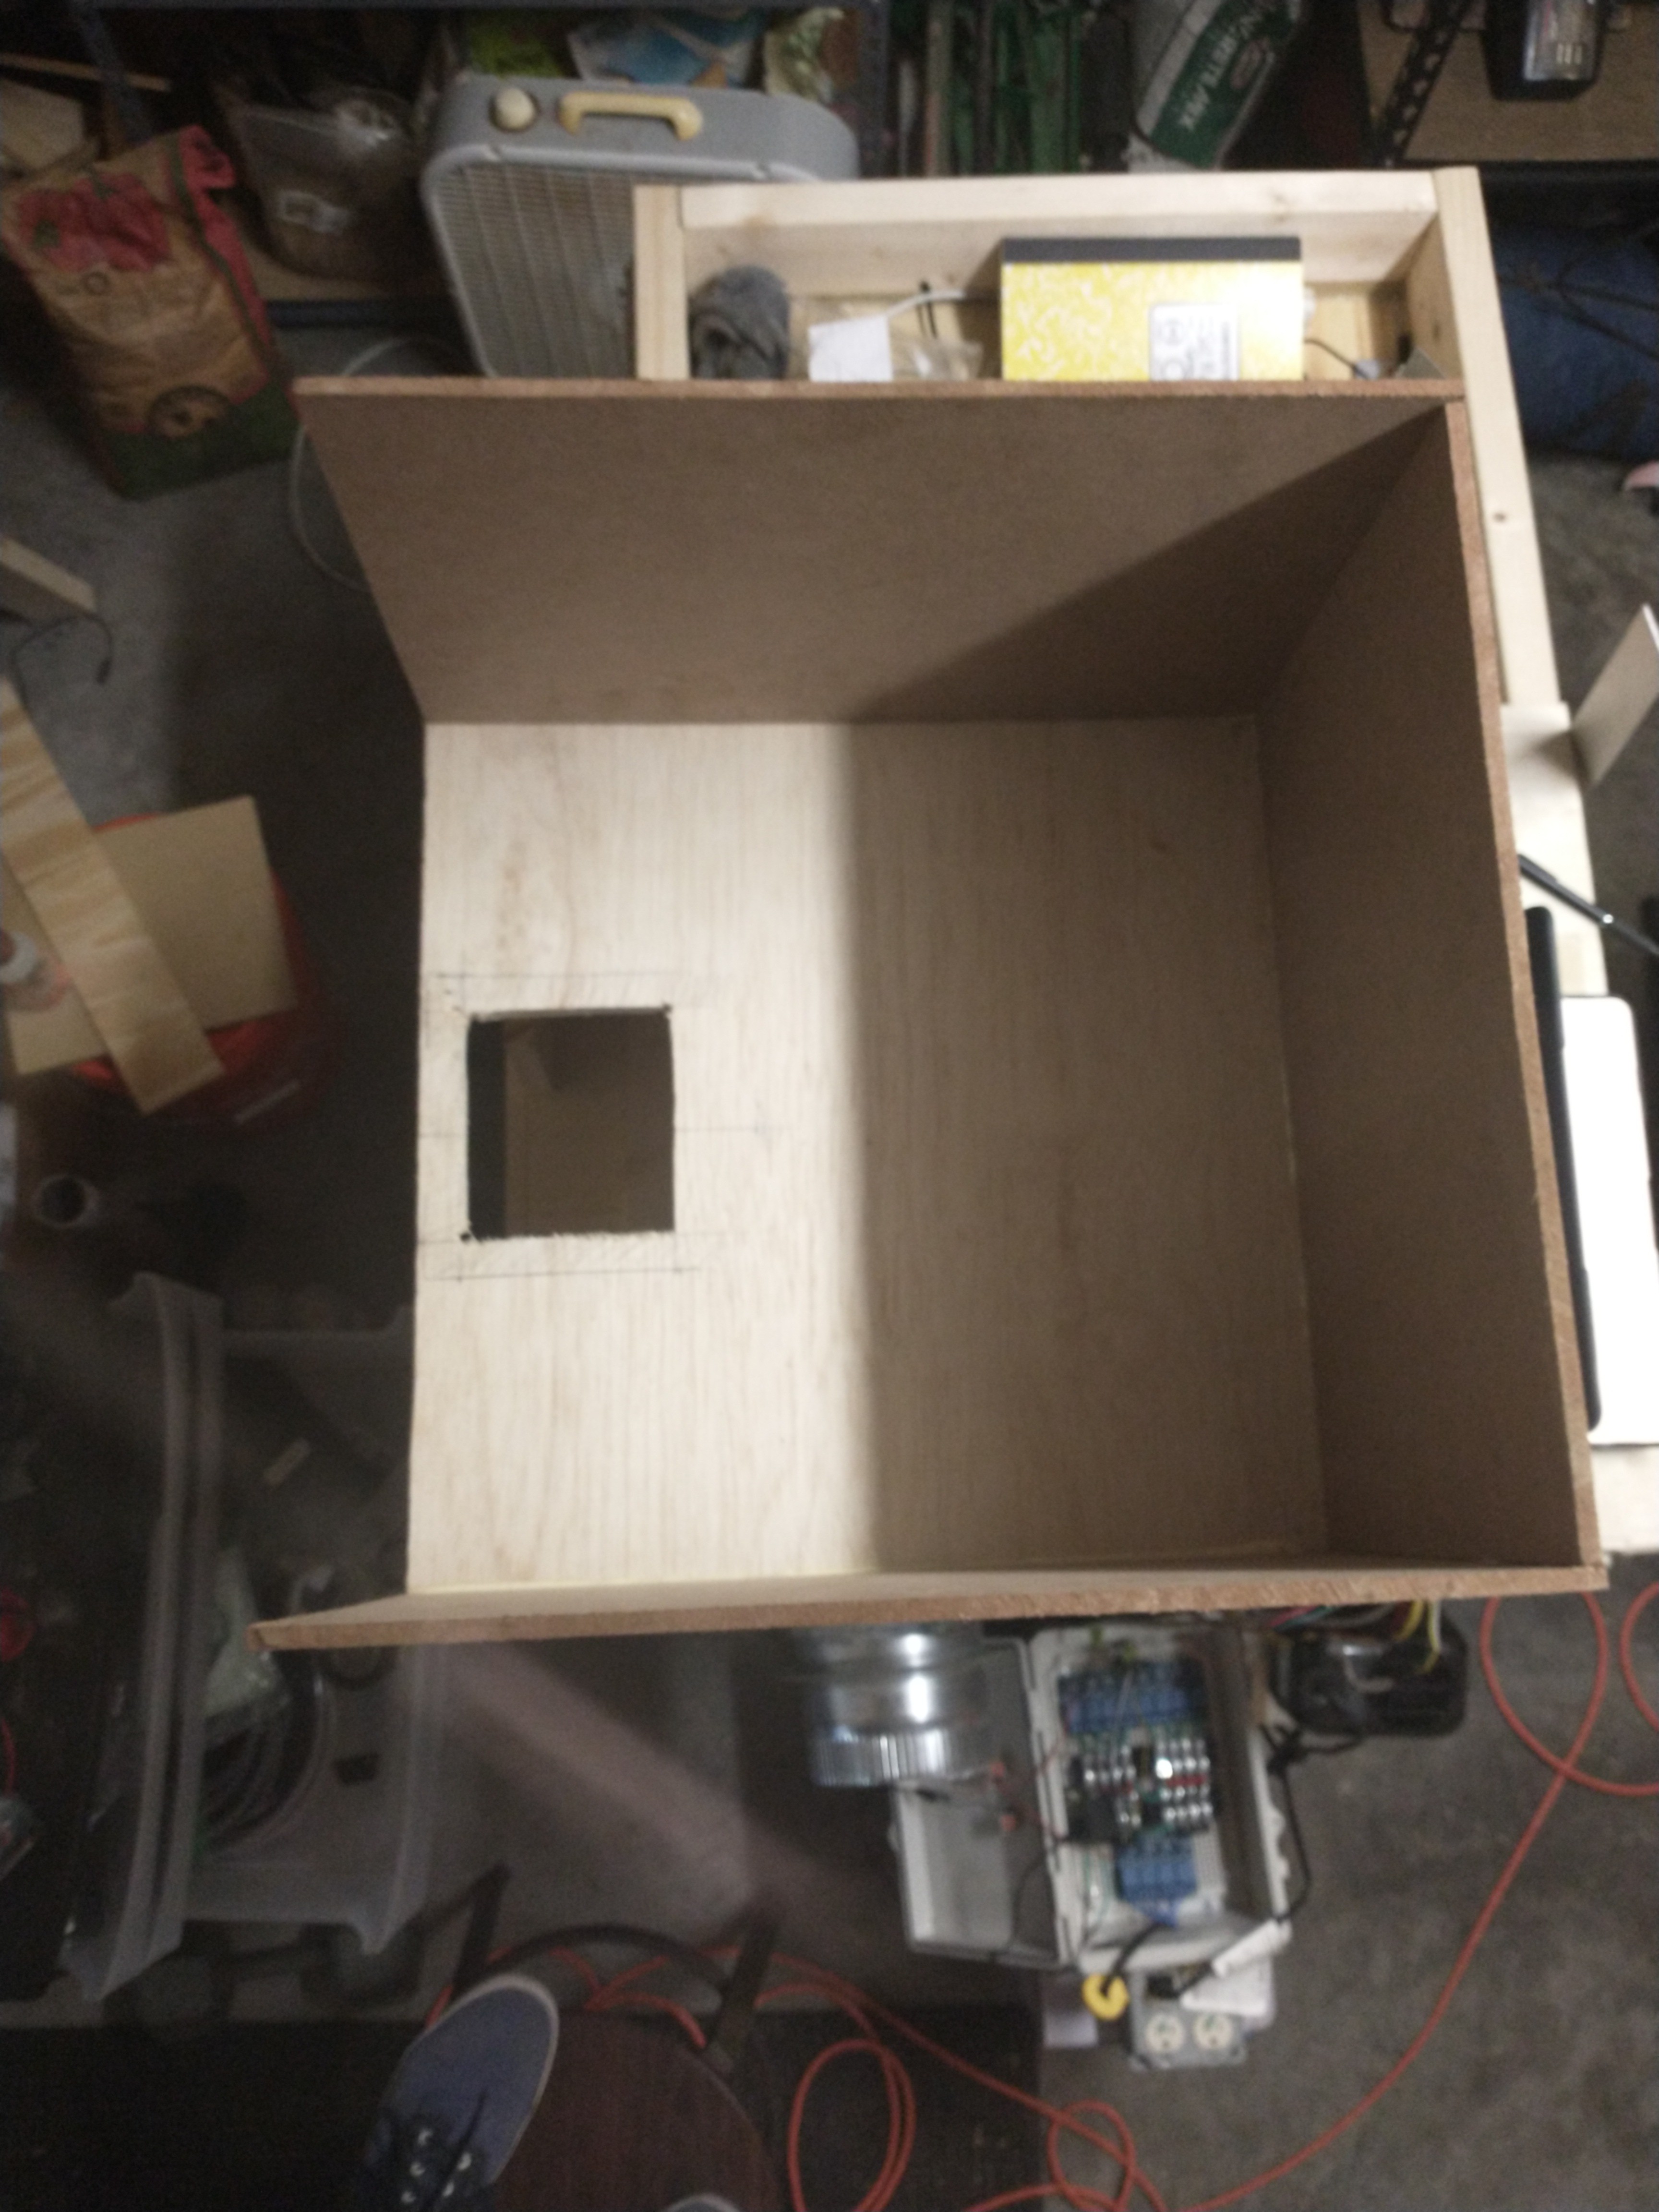
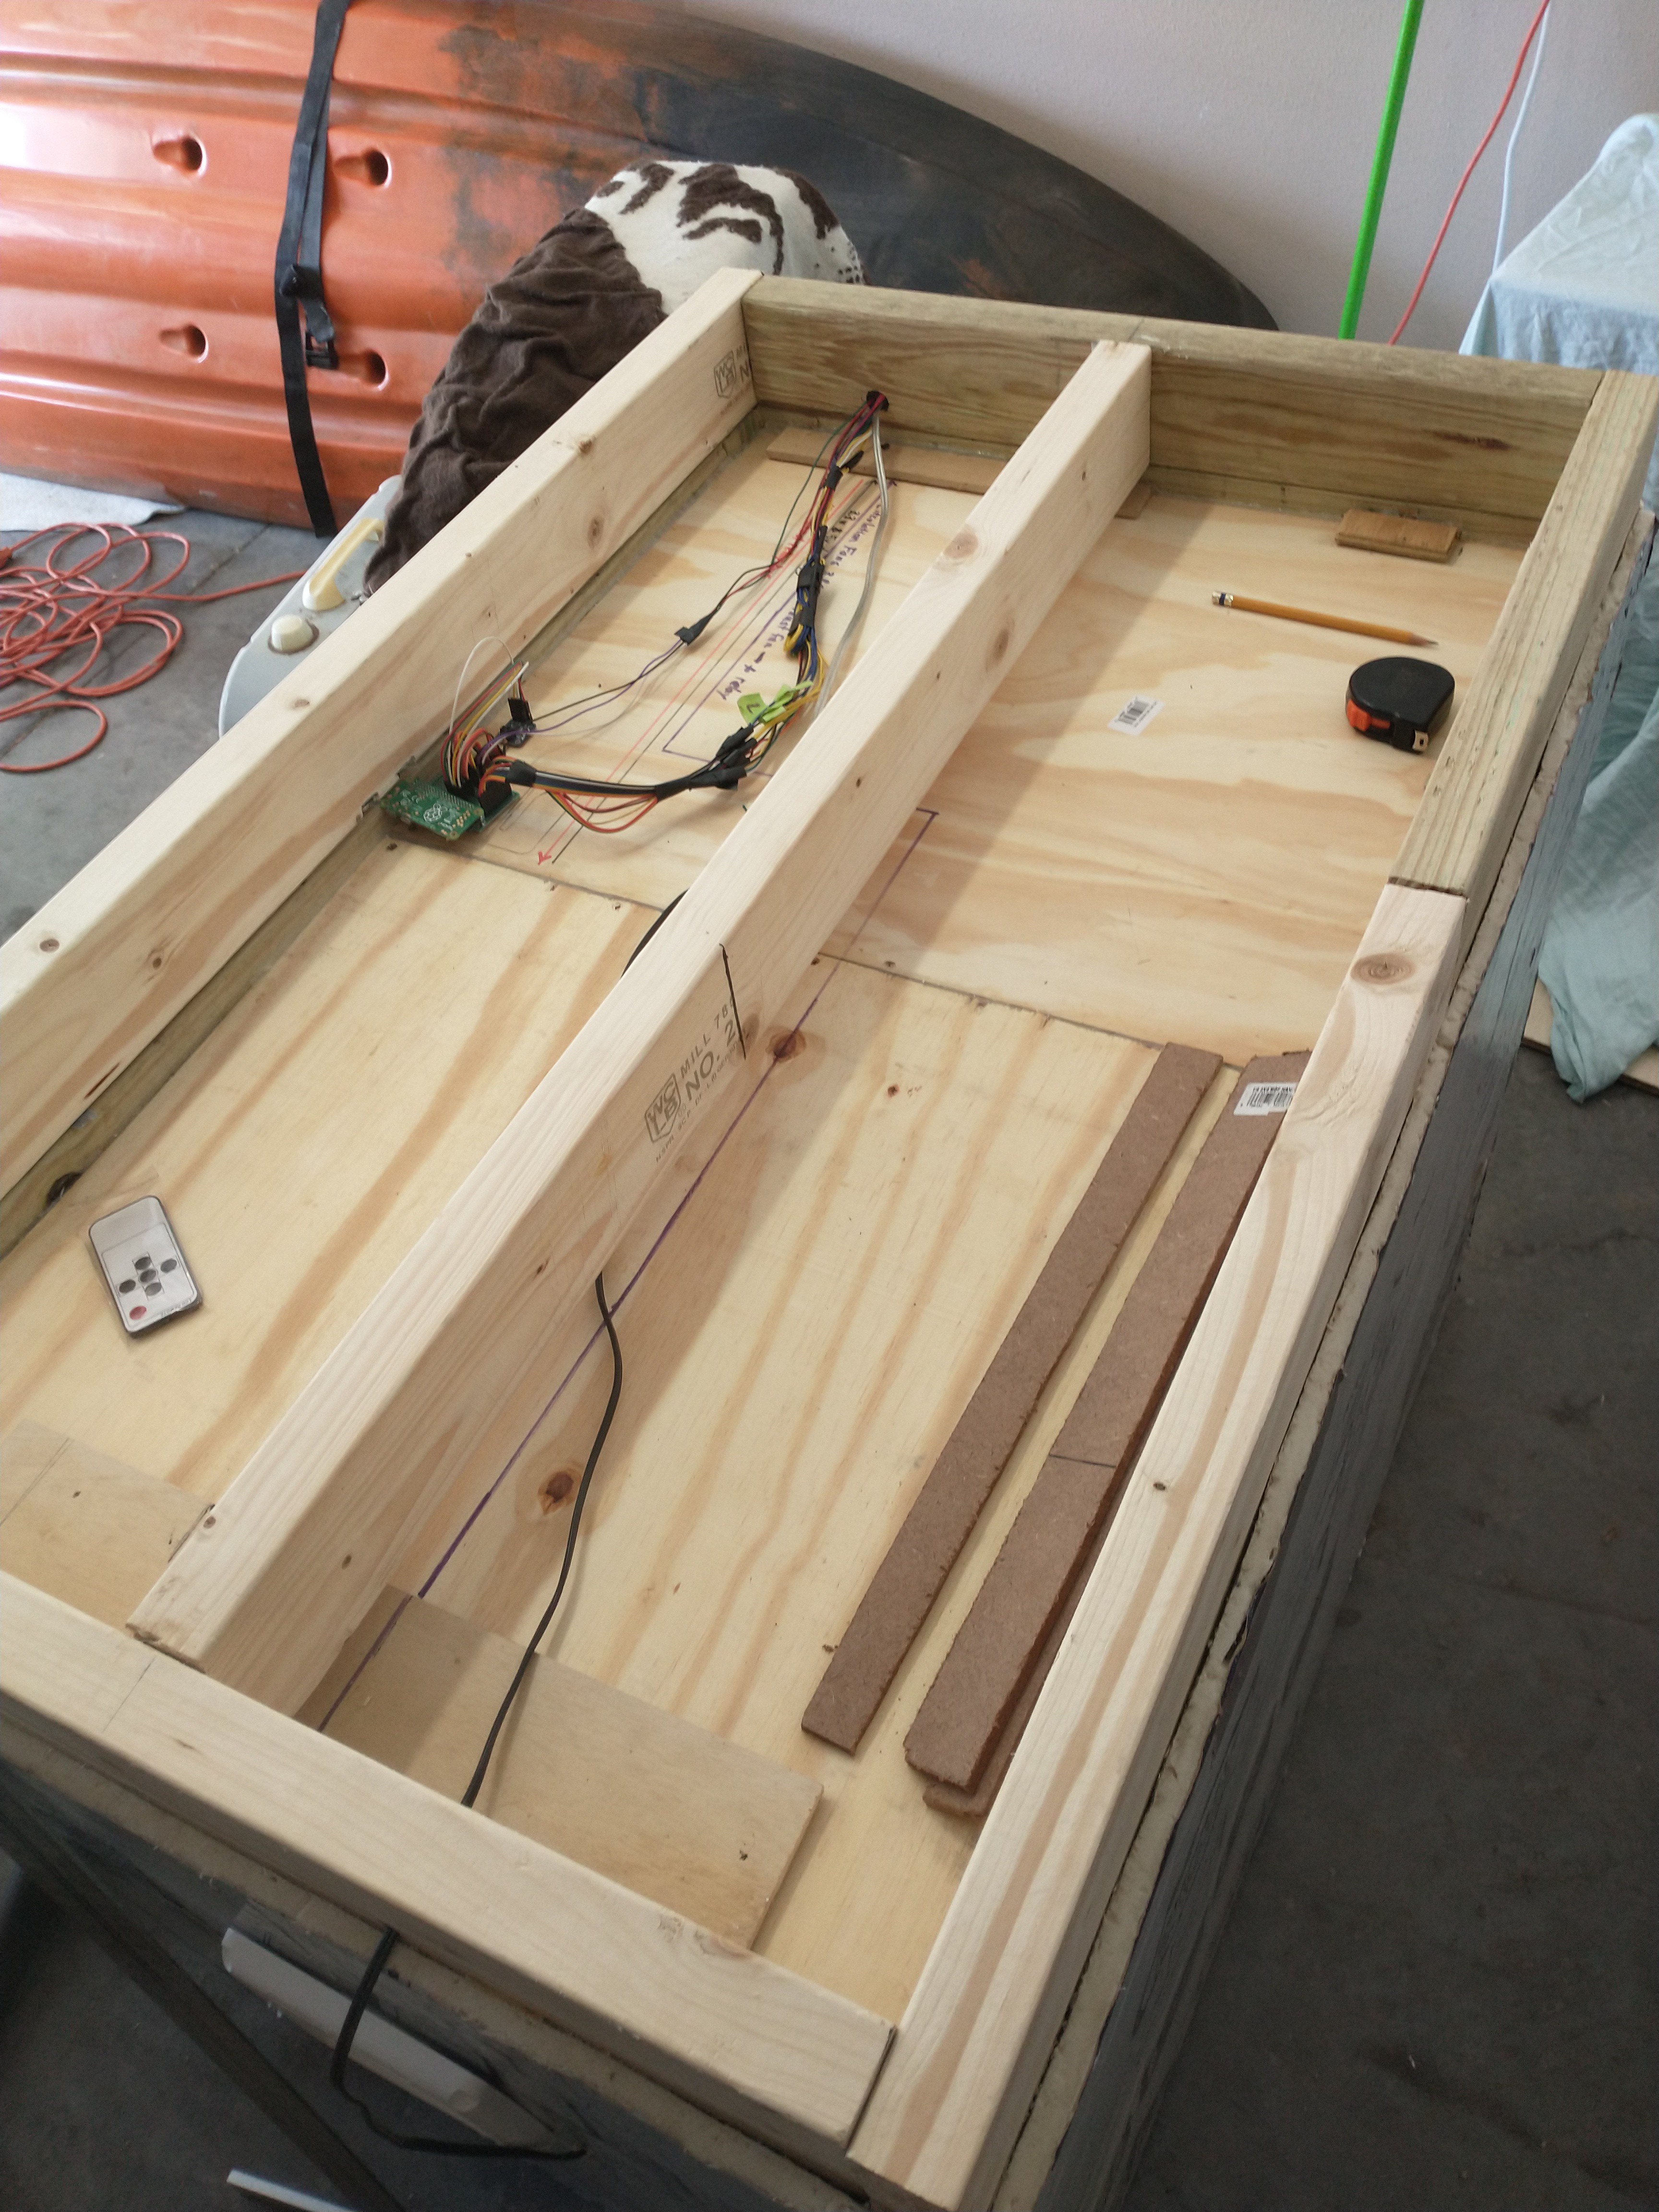
The fan port leads into the 16" wide x 16" tall x 6" deep sealed chamber behind the HEPA filter.
The planks directly touching the filter are glued to the walls, this way the filter is easily pushed into place from the front and will be stopped by these planks. The two planks nearest the missing back wall are for screwing the back wall into place
Also the back four inches of the laminar flow reach out beyond the lower MycoBox, this is to give more desk space in front of the filter to work with. Previously I considered extending the desk out over the front of the MycoBox, but I think it's better to just slightly hang the laminar flow over the back instead.
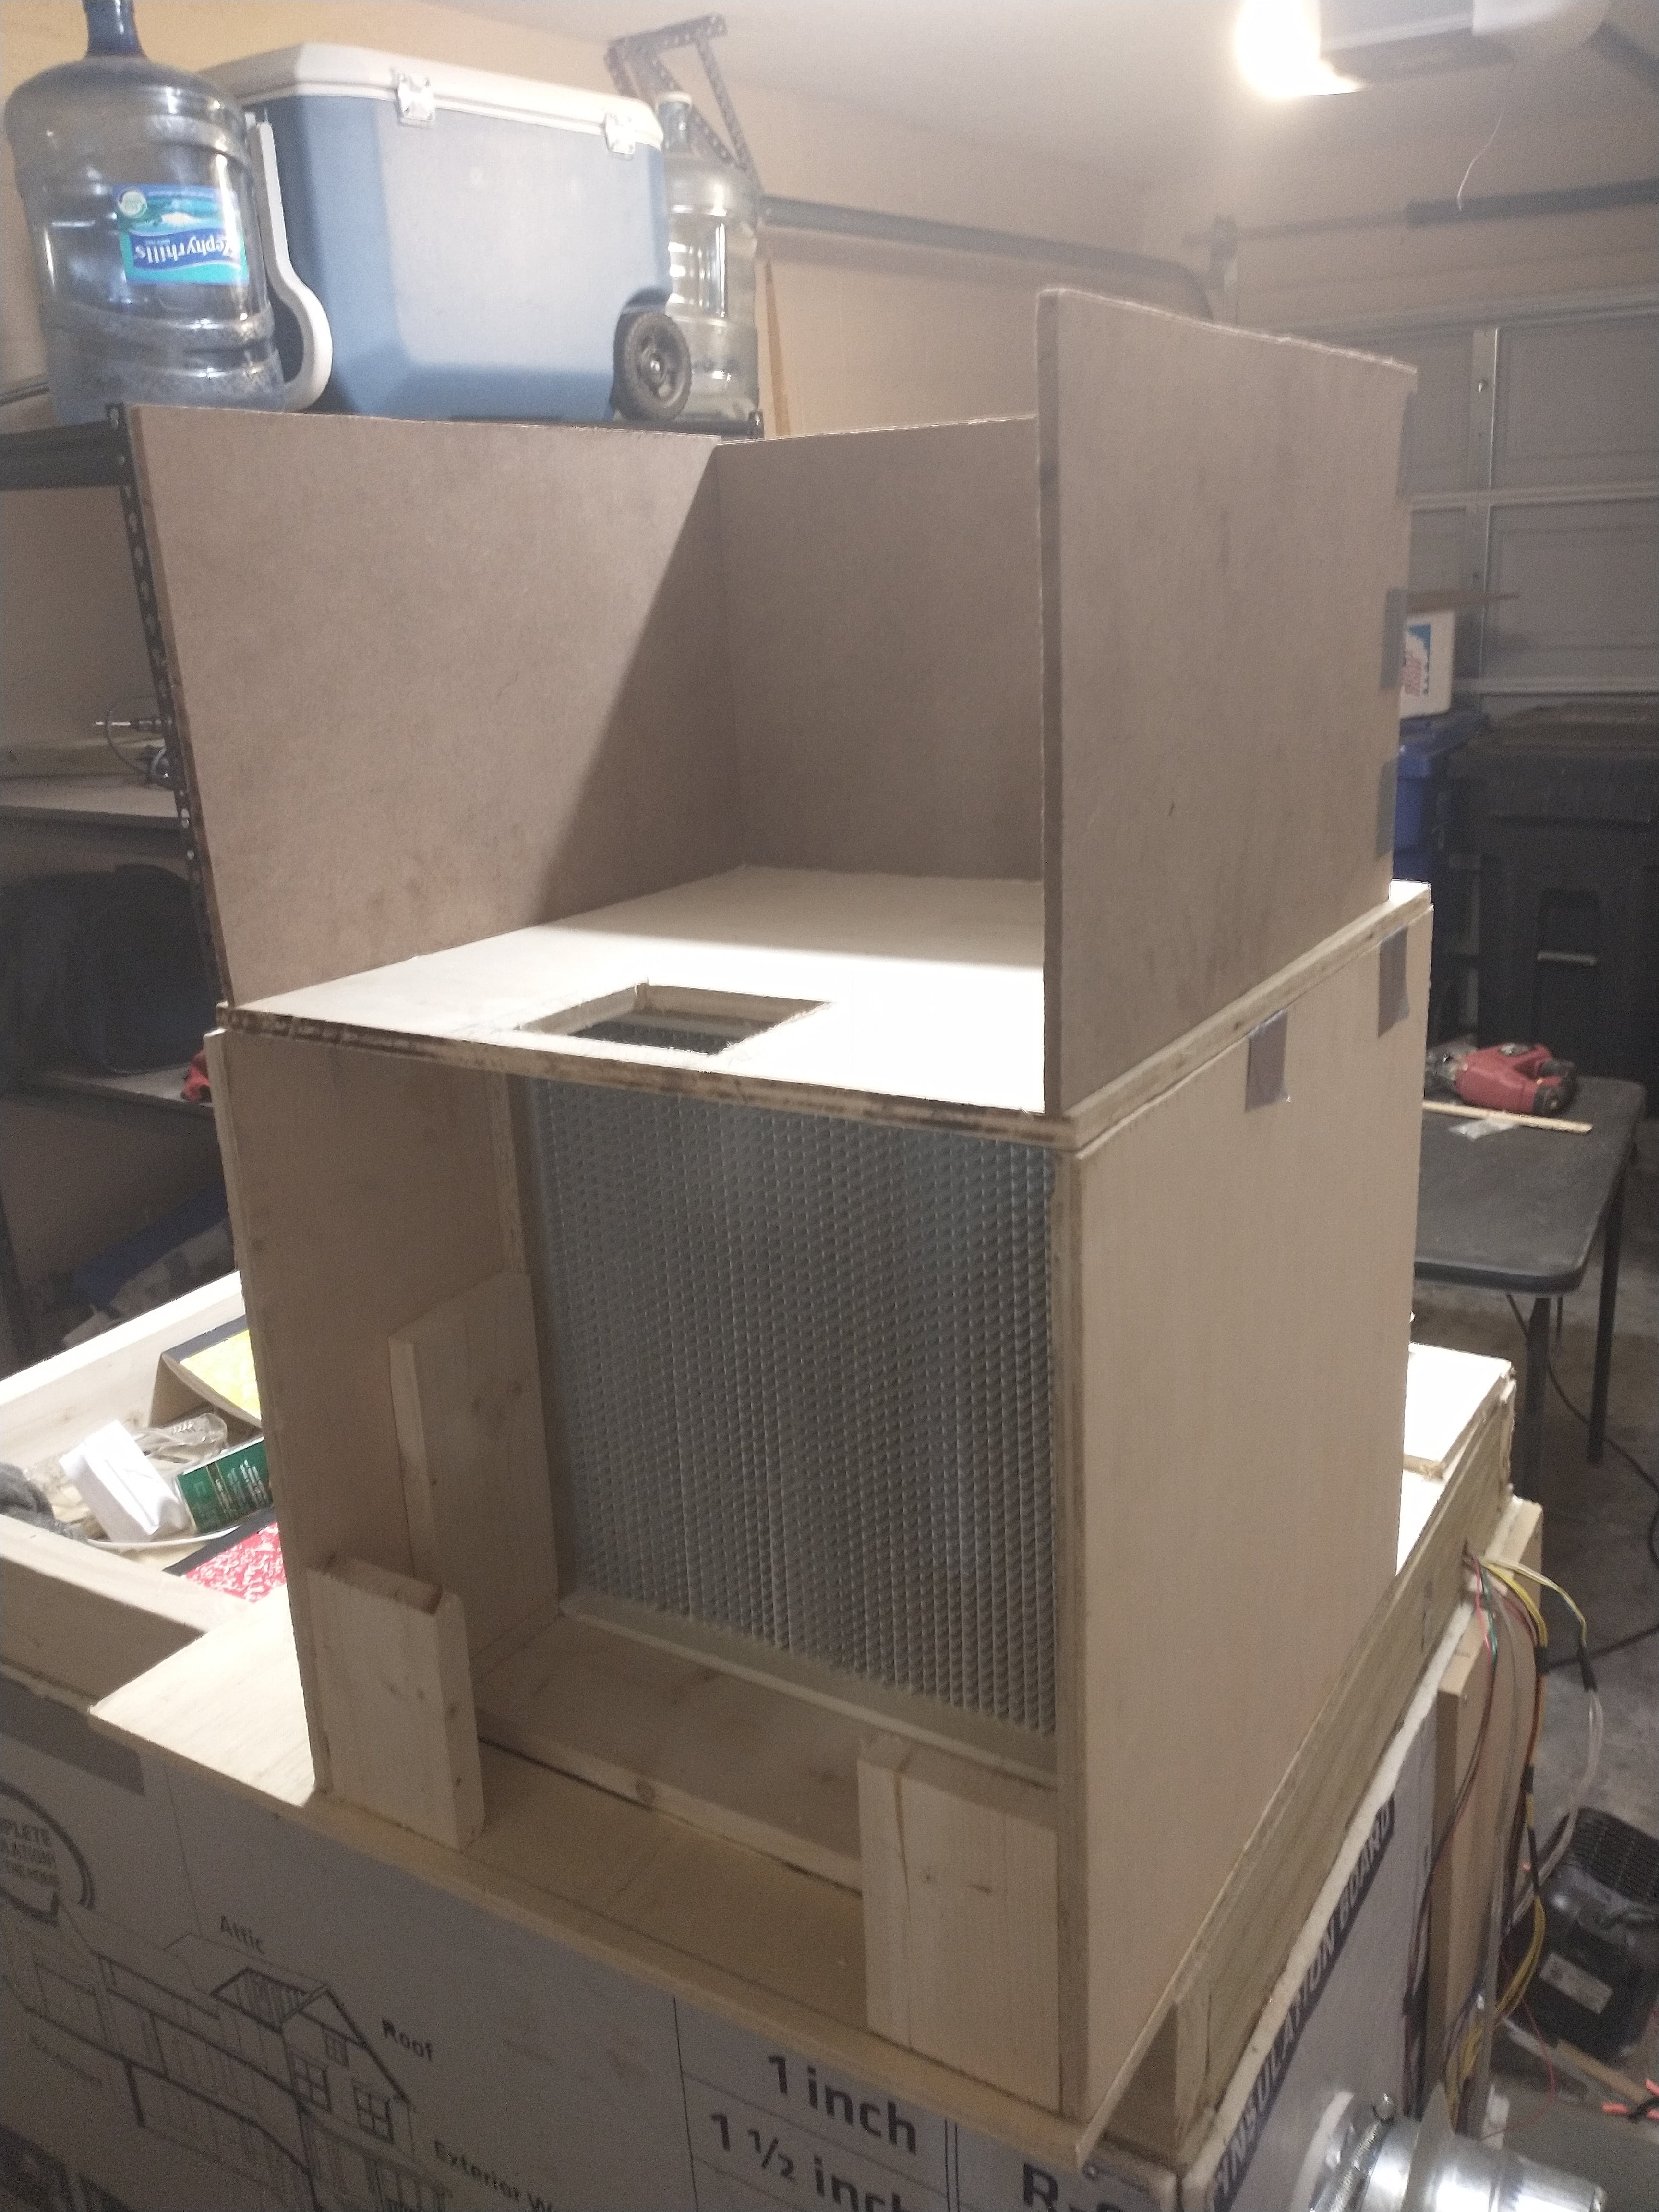
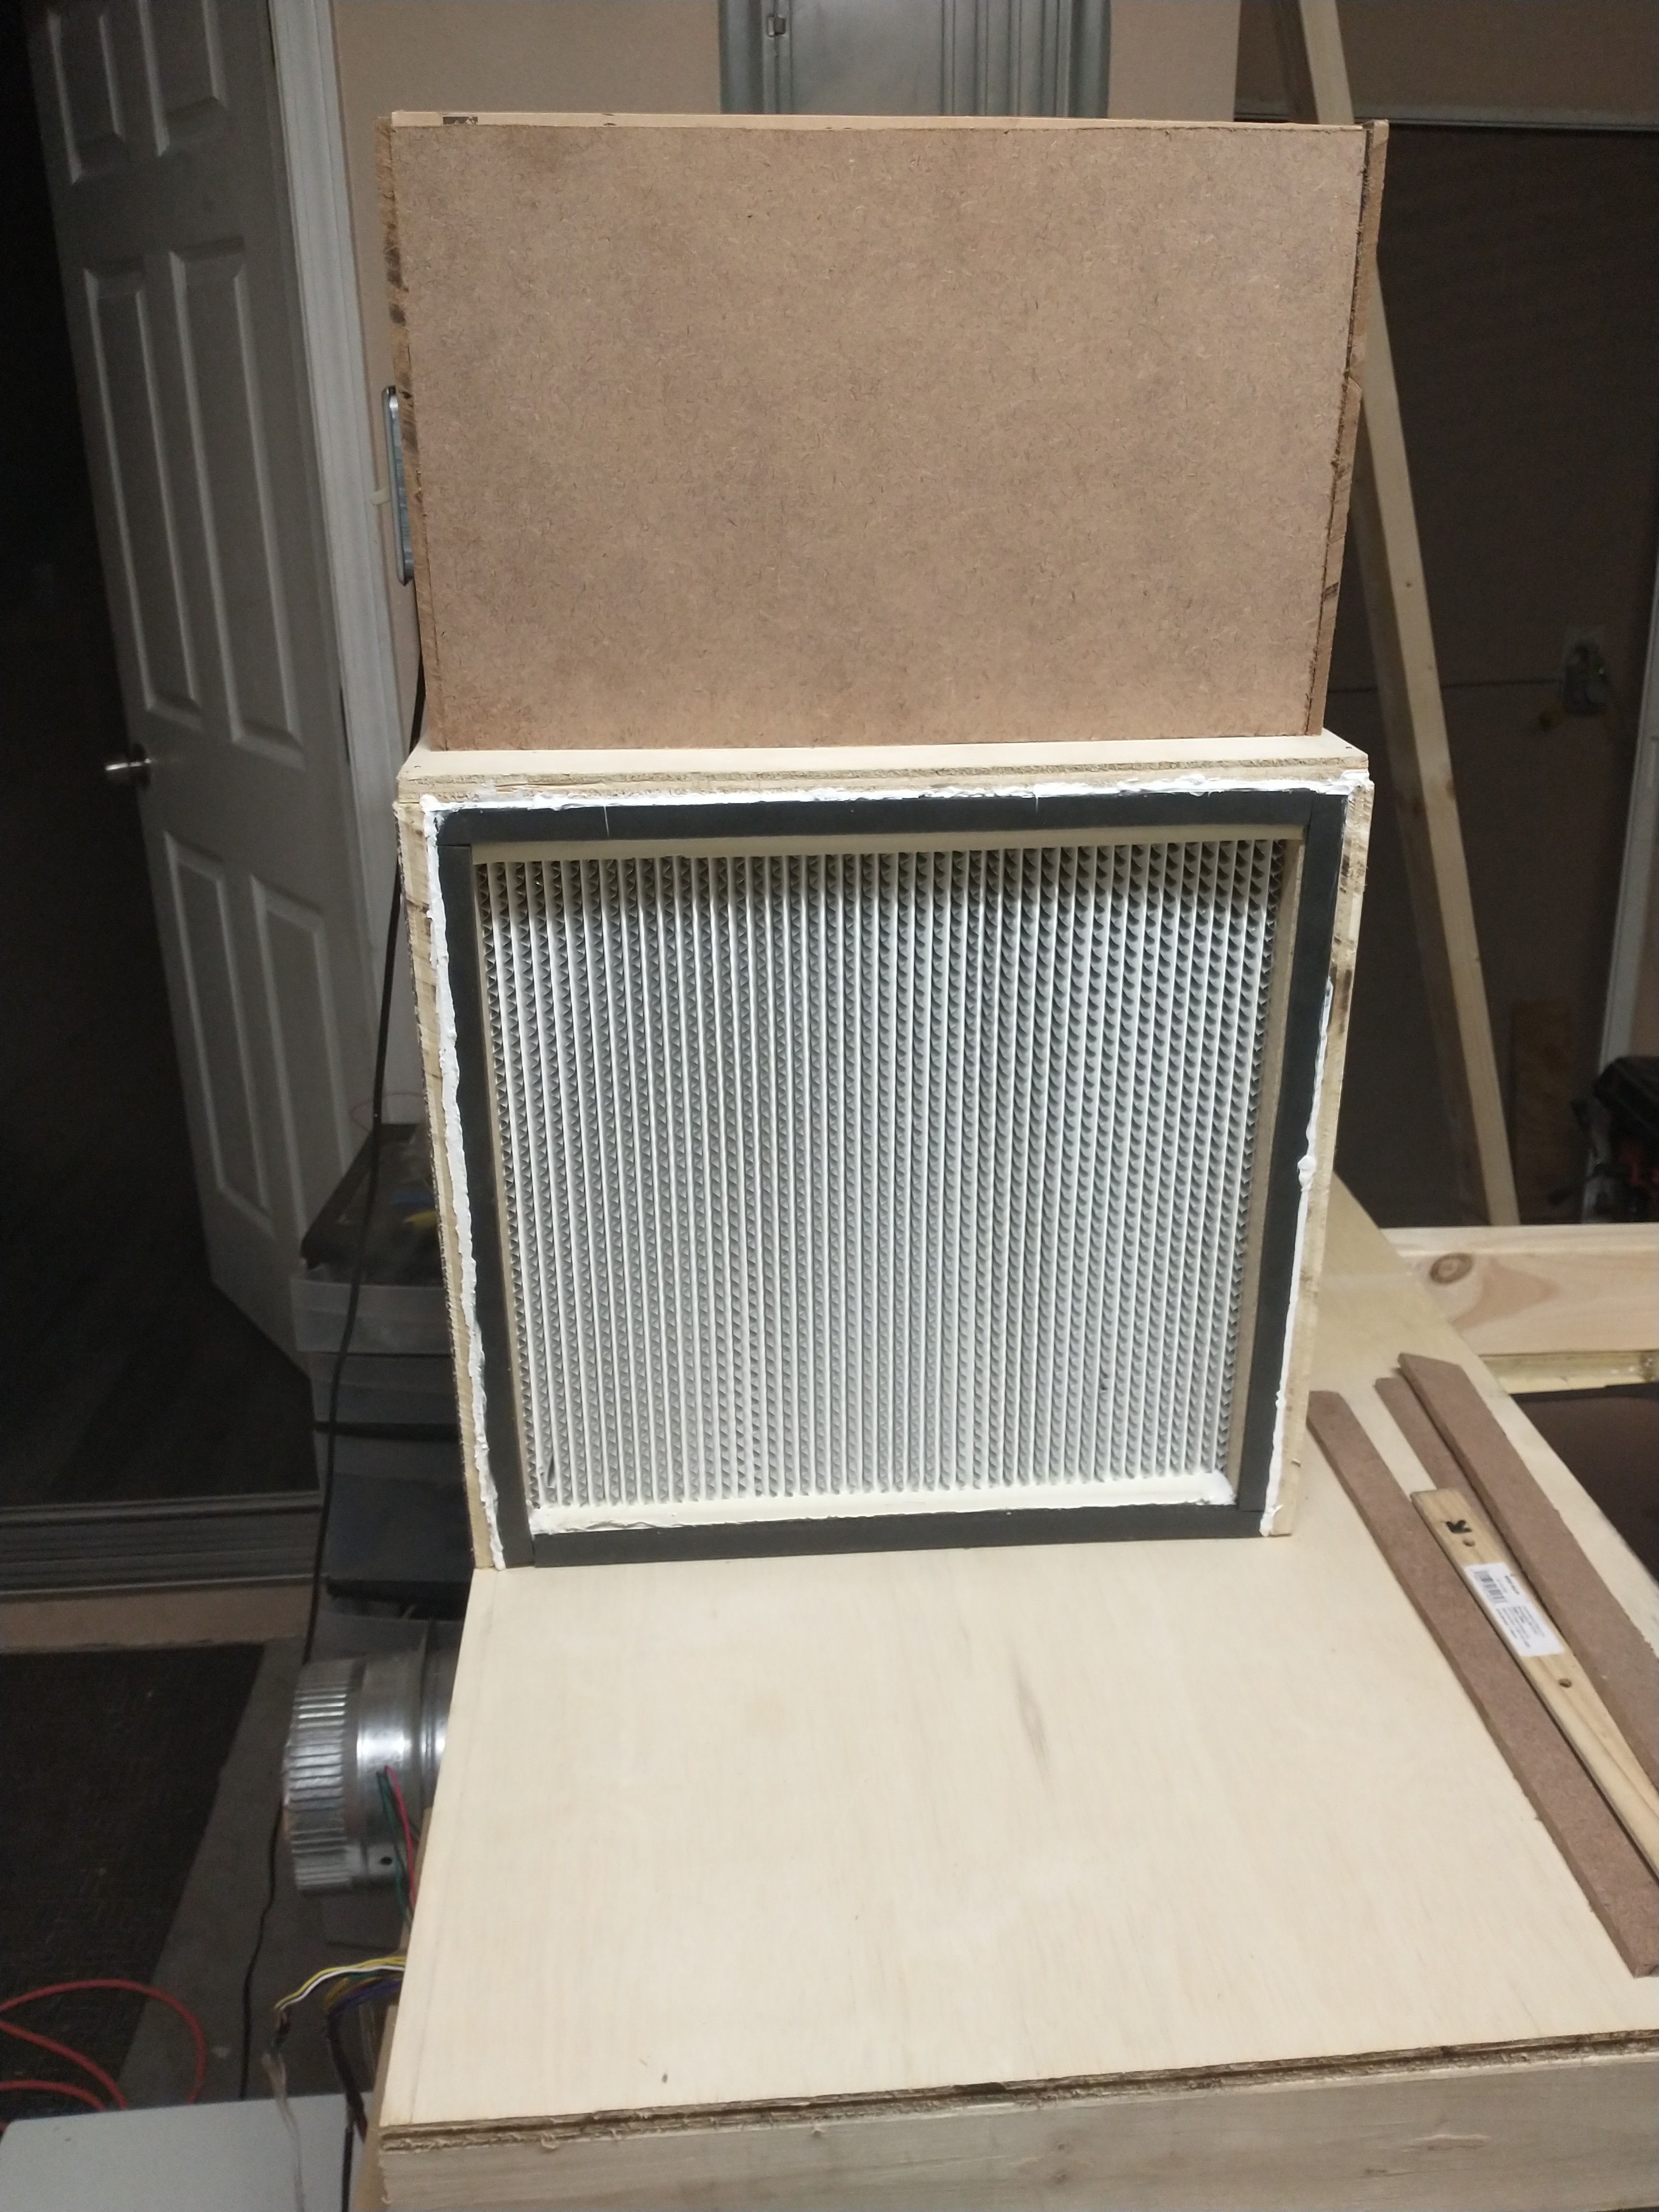
The Filter fits very snuggly in the containing box, however I still siliconed the area that the filter meets the box. When The filter has eventually expired, the back can be removed and the filter pushed out through the front. A new filter will be pushed into place from the front.
Here I'm securing the fan onto the port of the fan box. I've also screwed the pre-filter rims into place on the sides of the box.

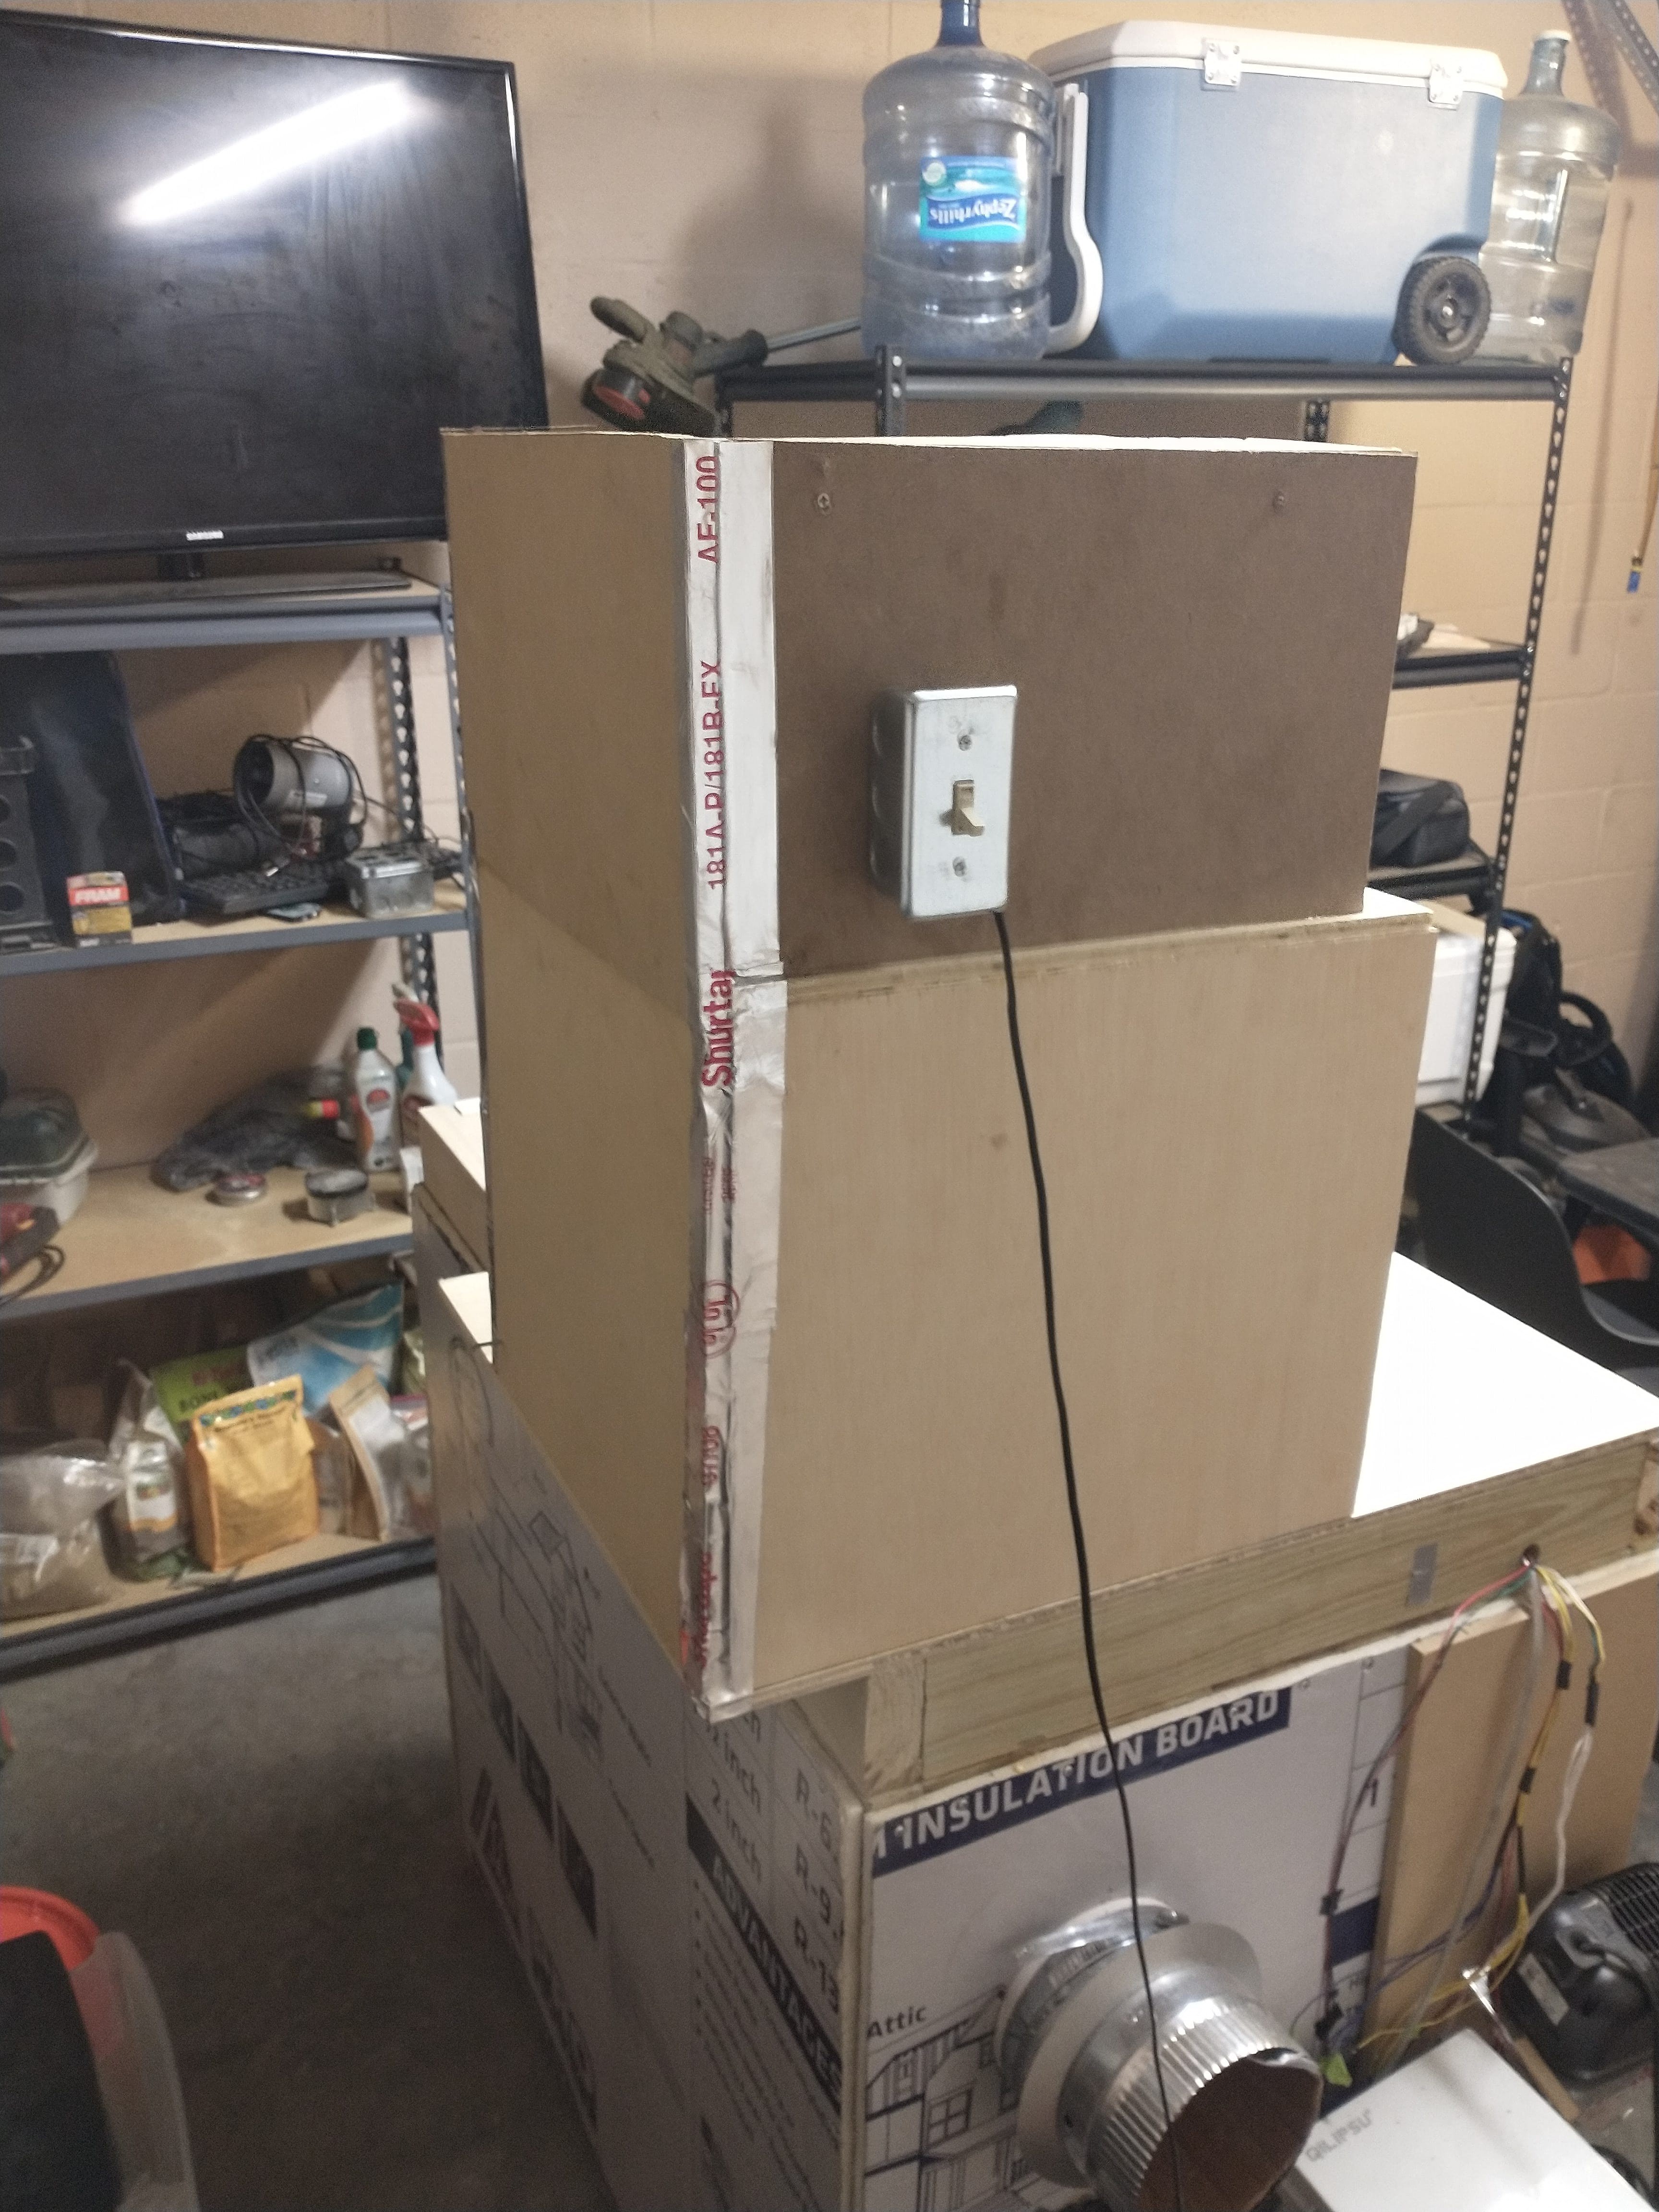
I covered the fan port with some ducting tape to make sure it's really sealed
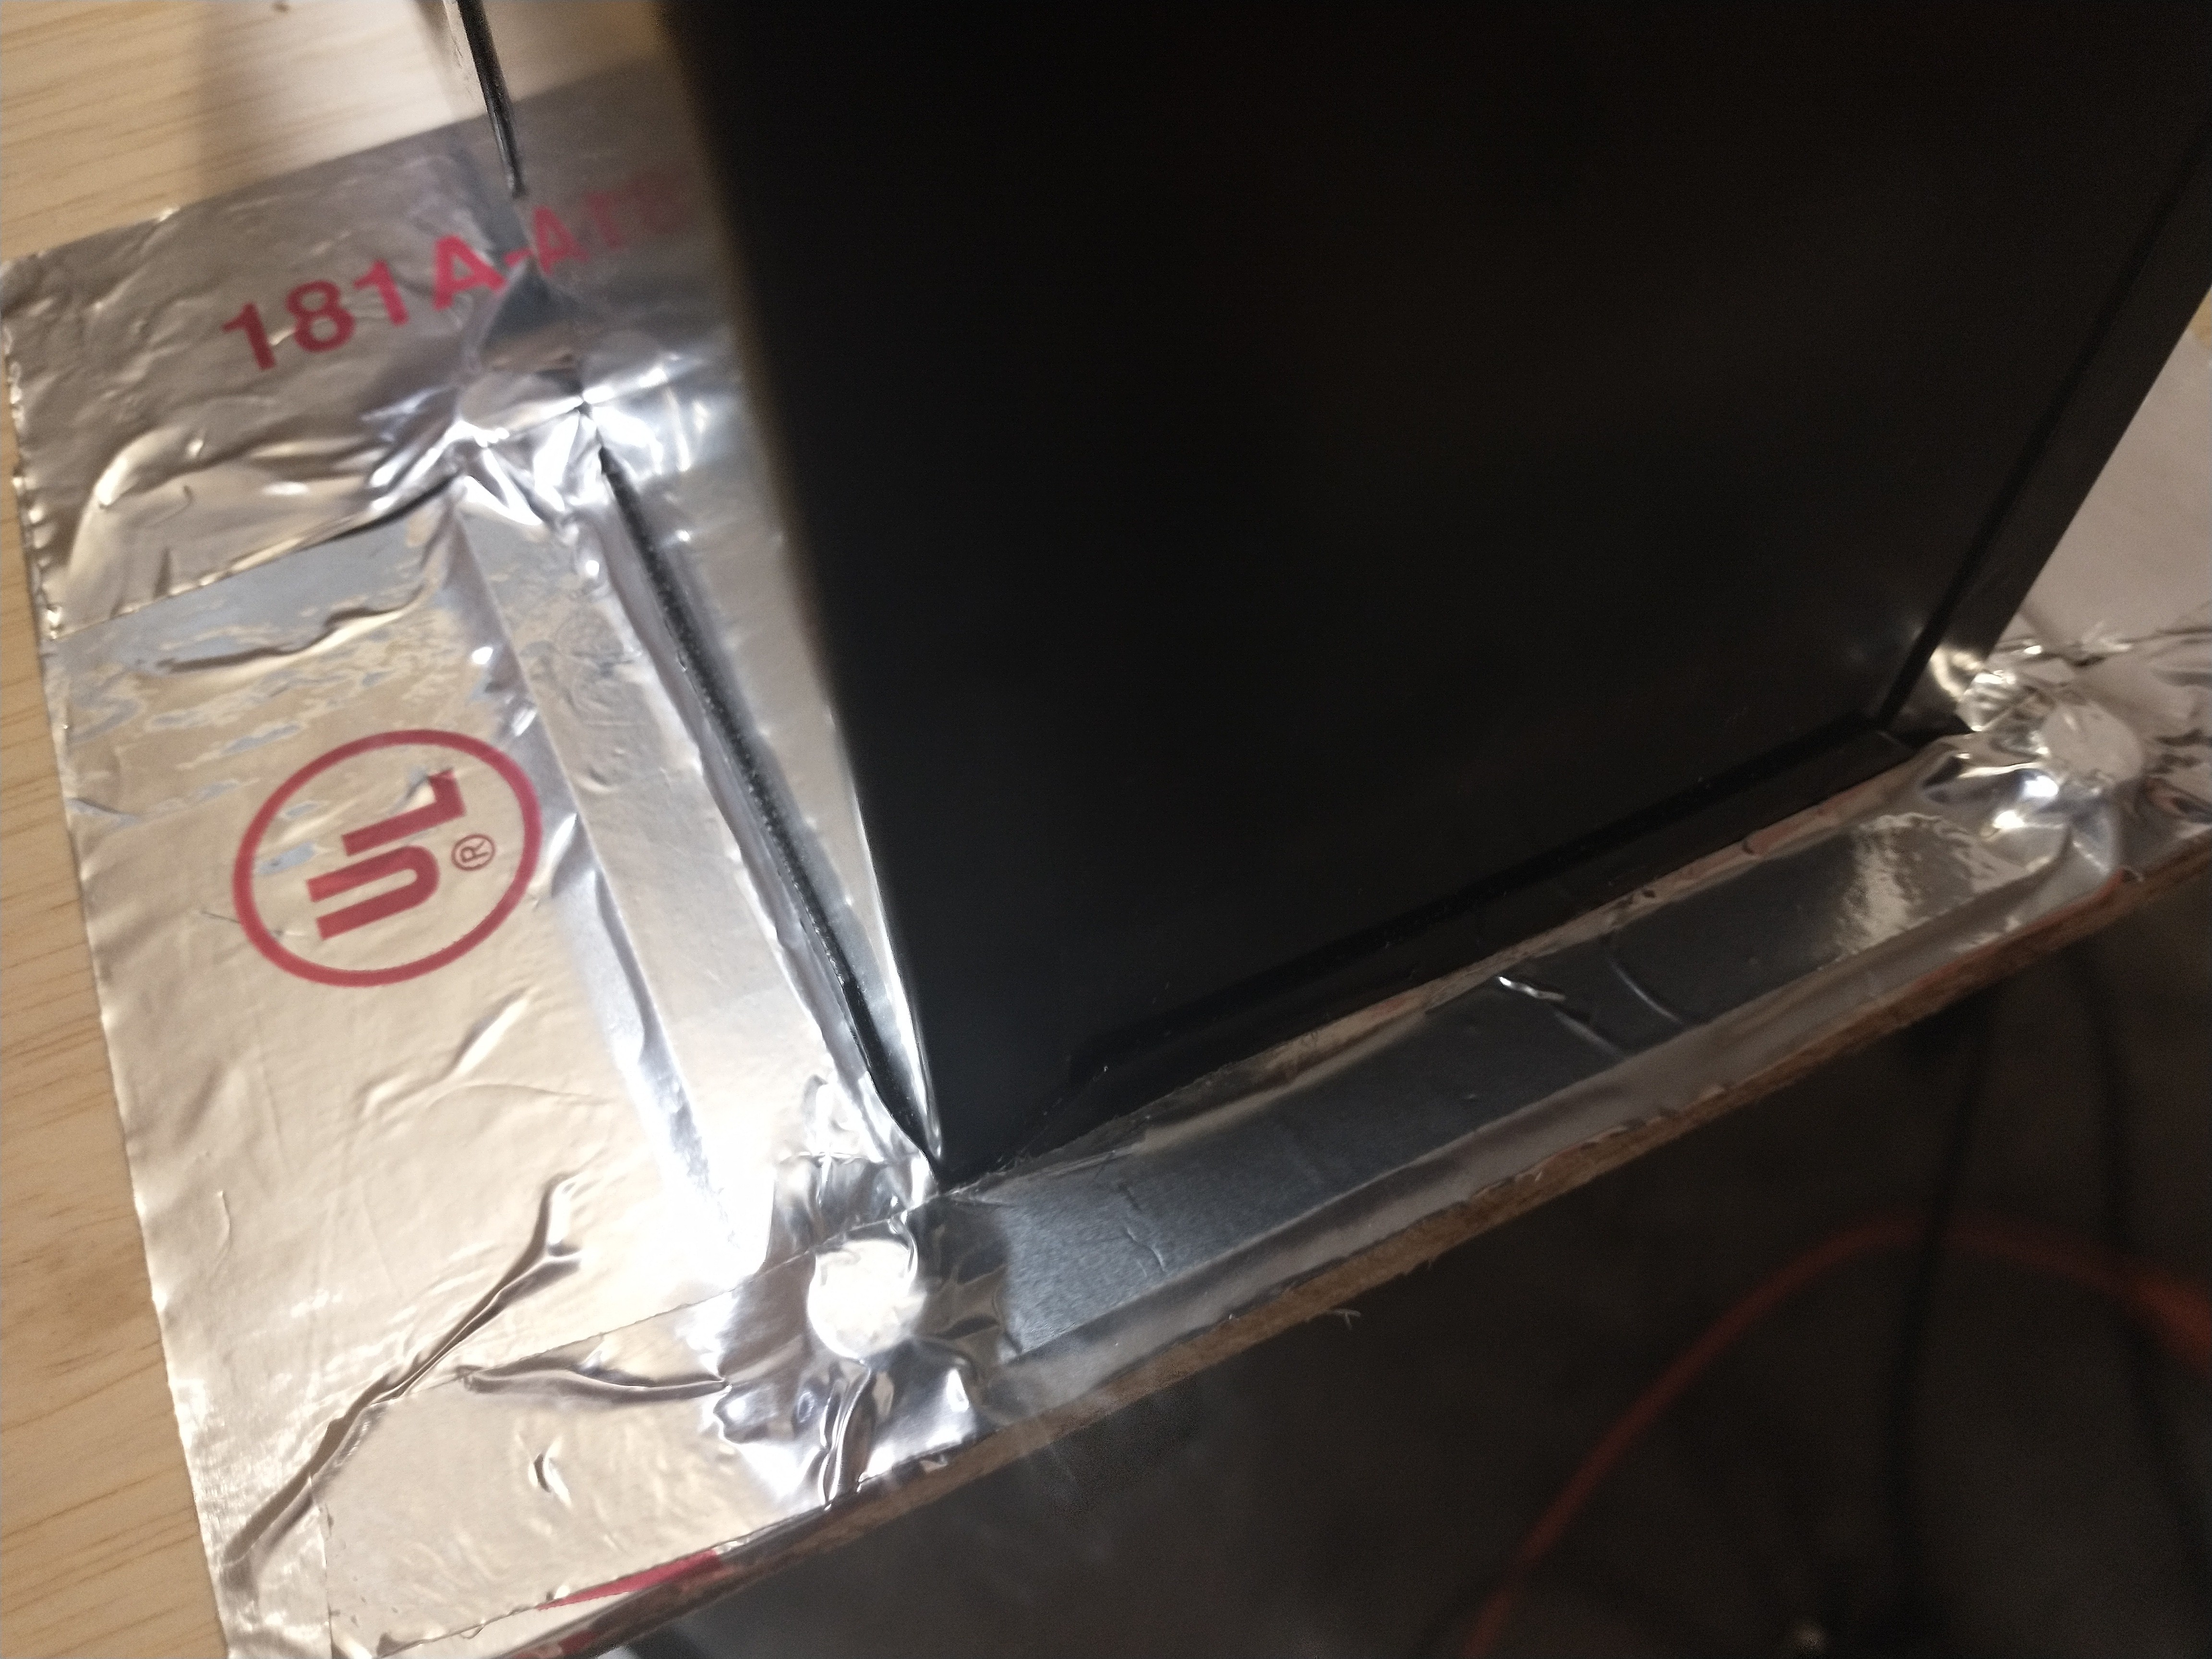

Screwed the back into place and sealed it with ducting tape
Here is the pre-filter for the fan box

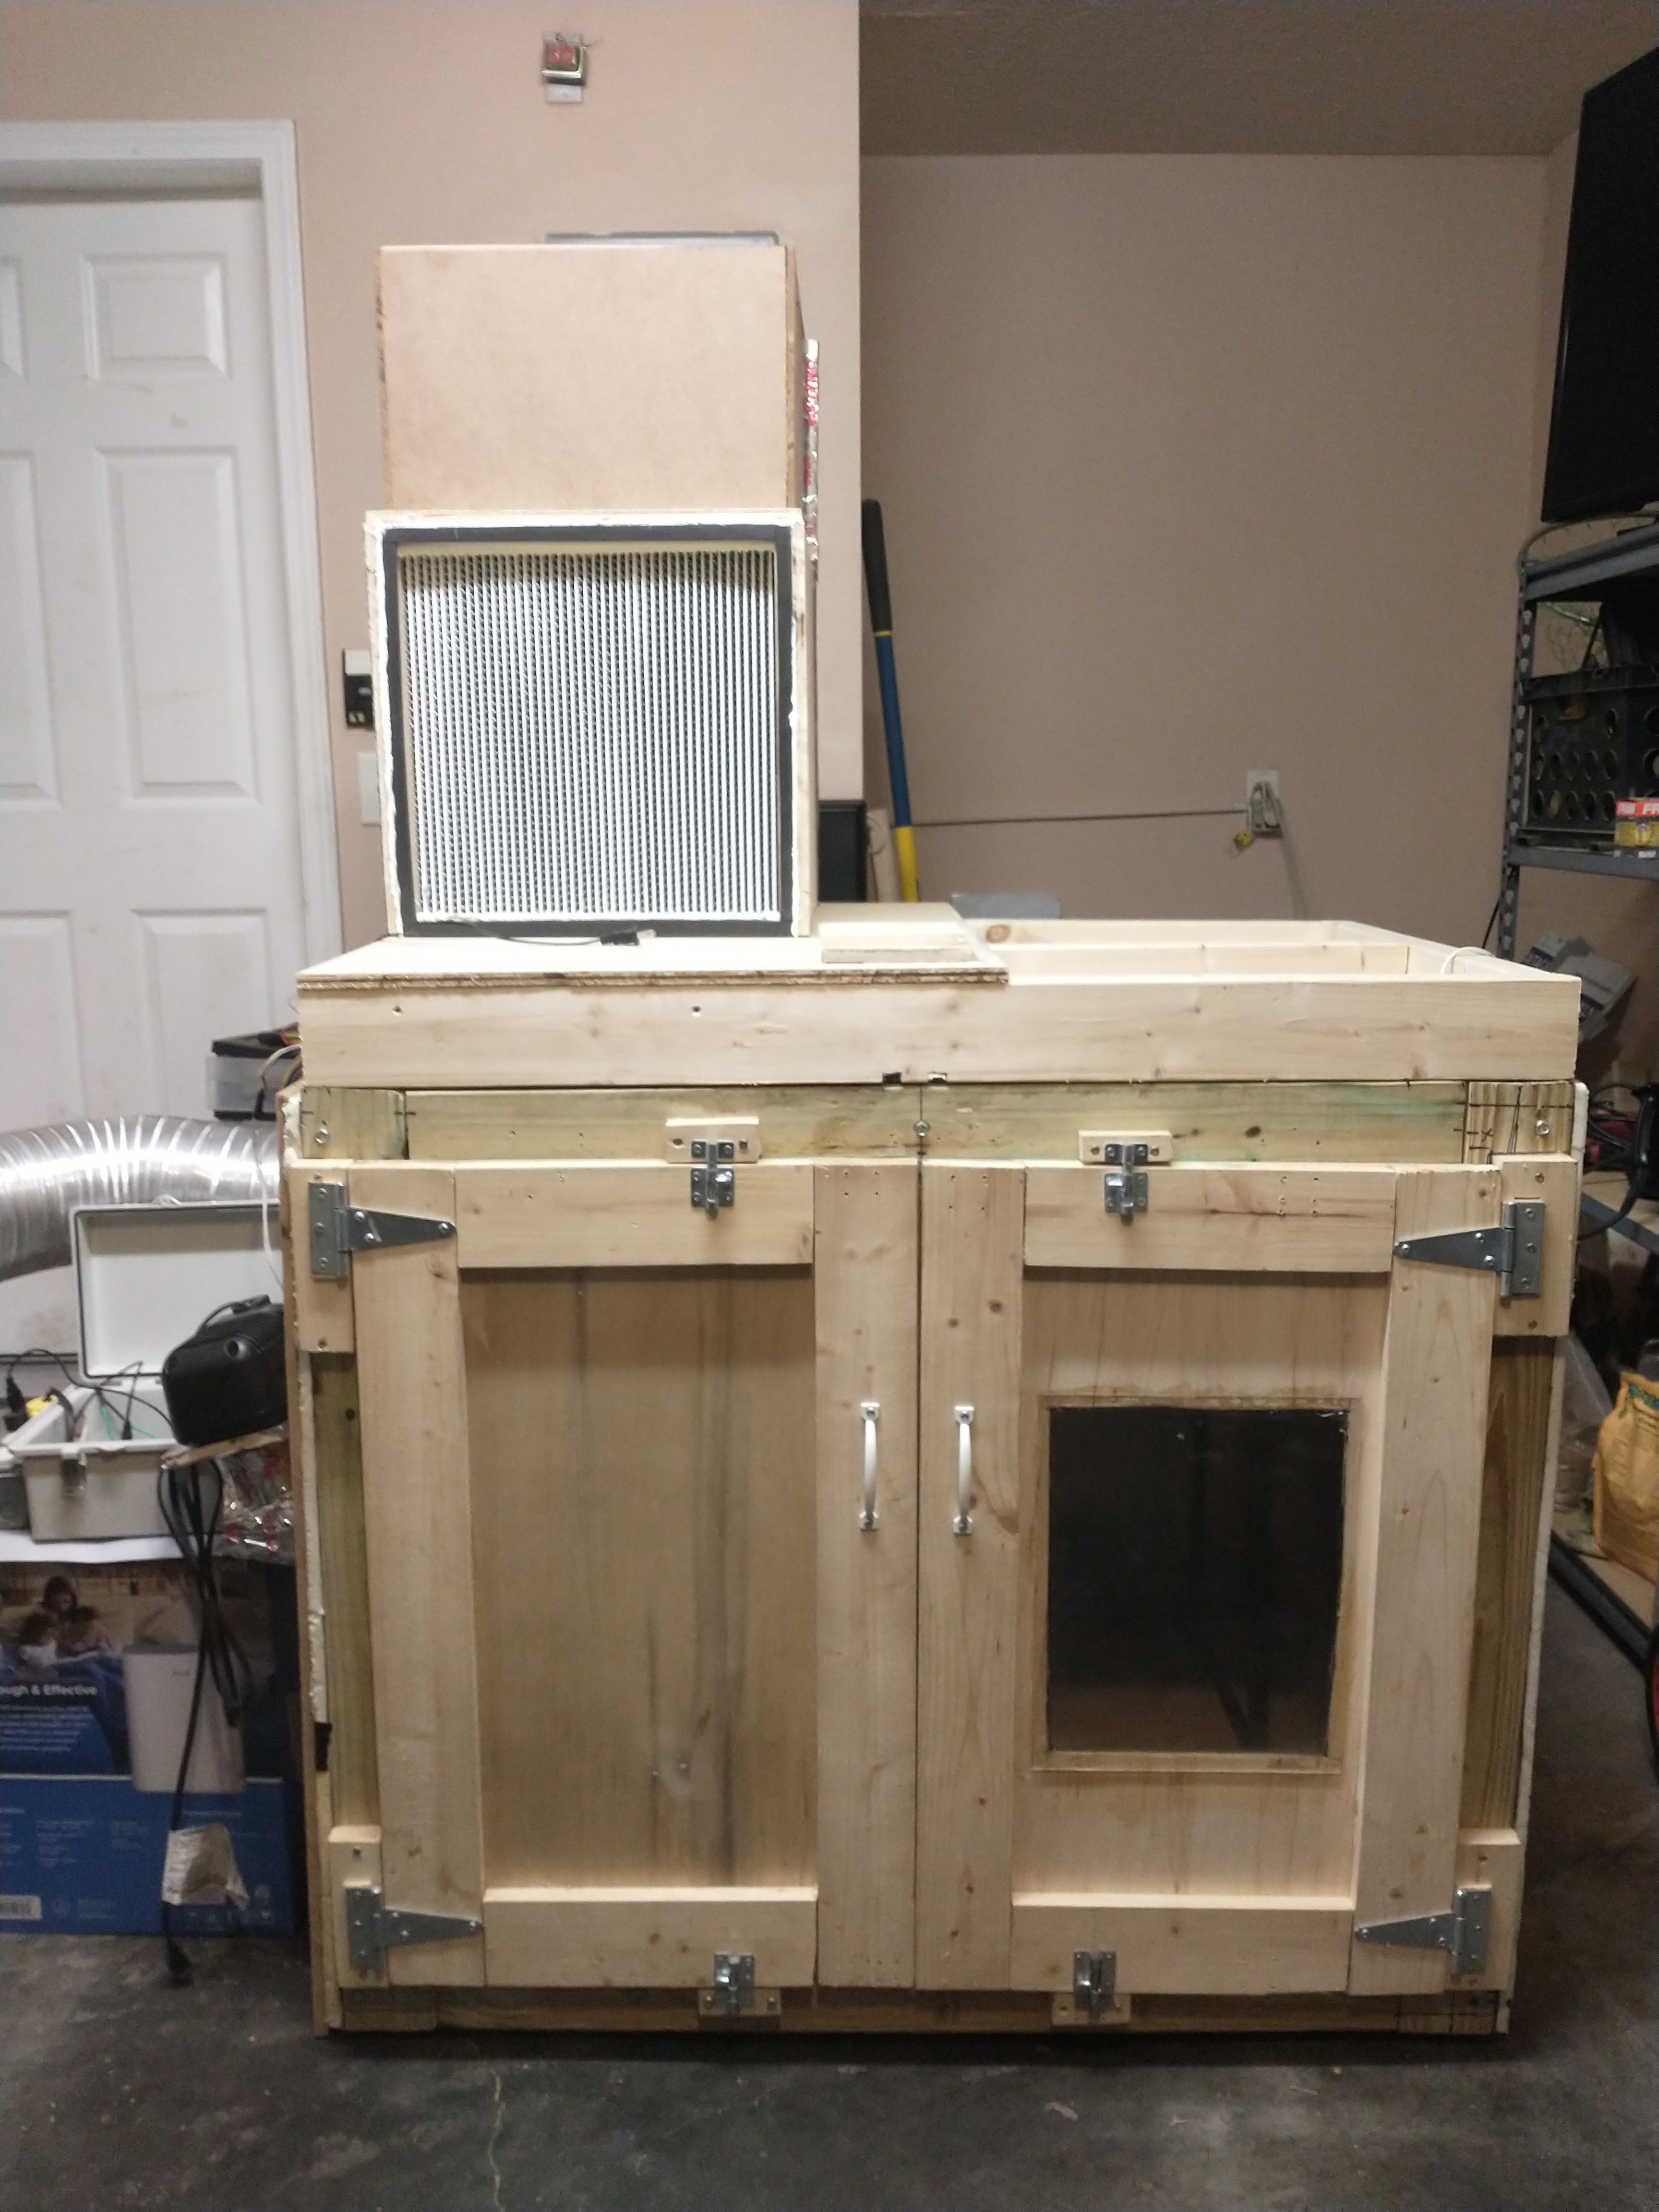
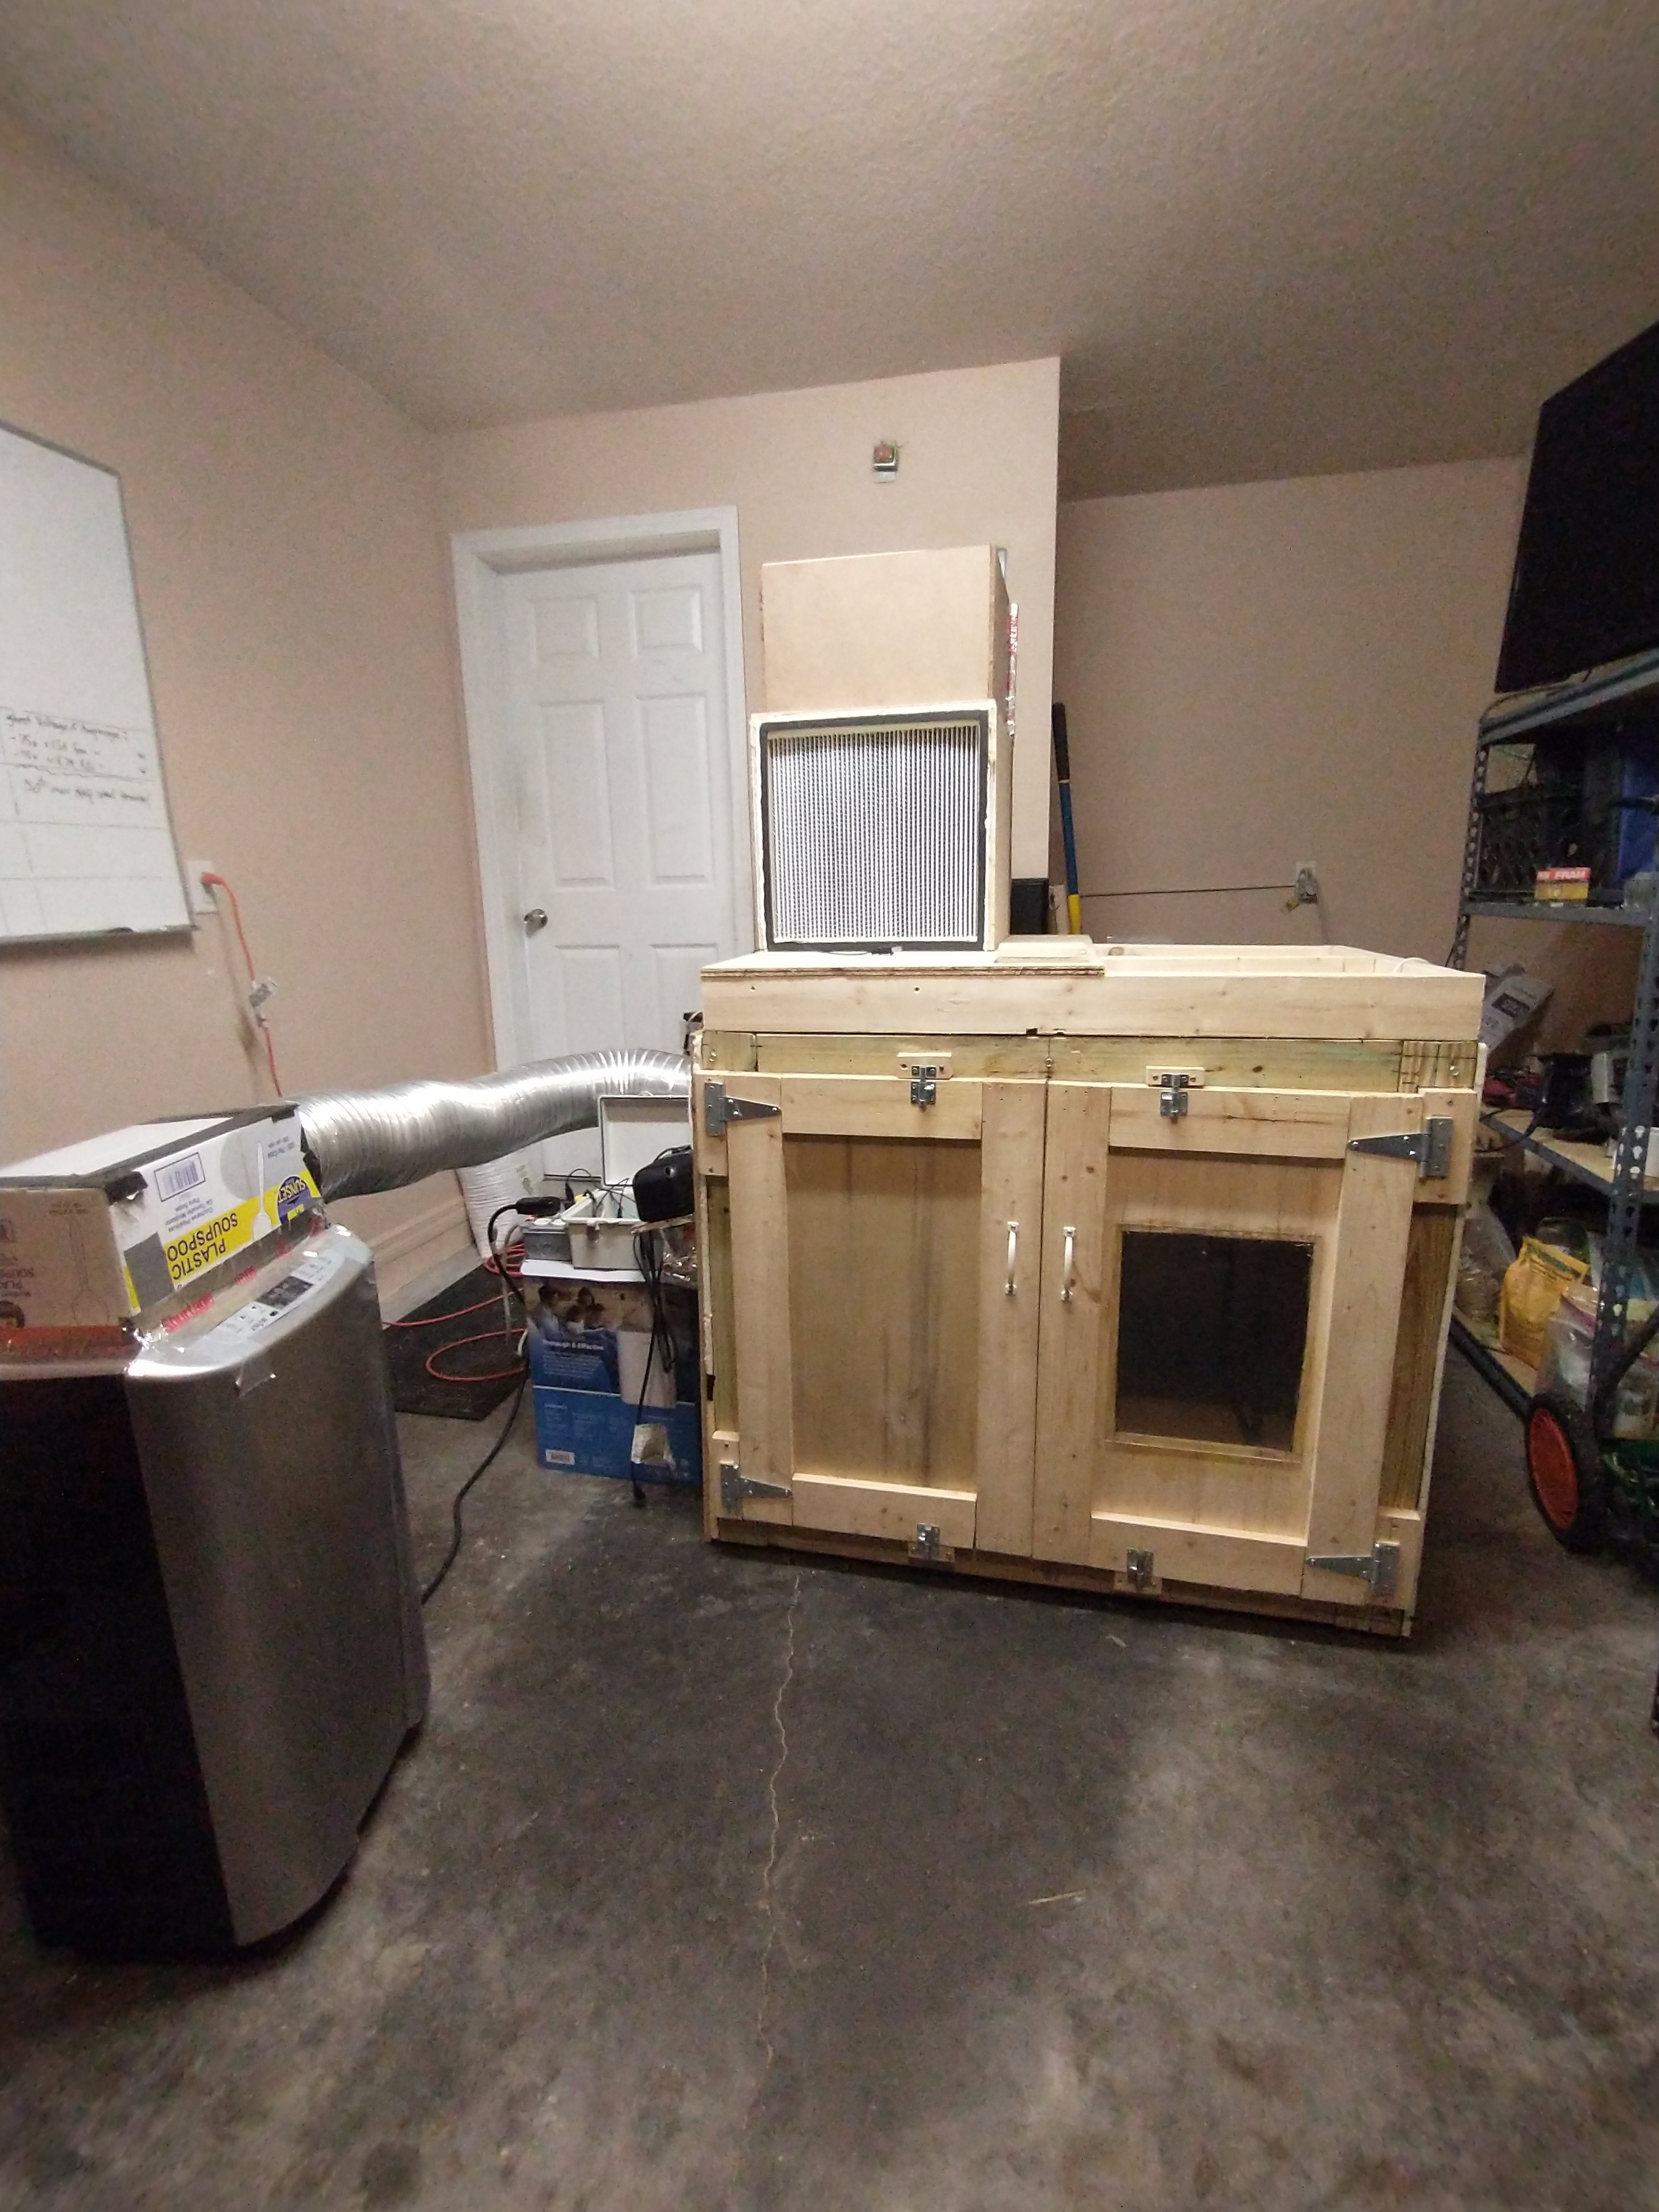
Building the Base of MycoLab
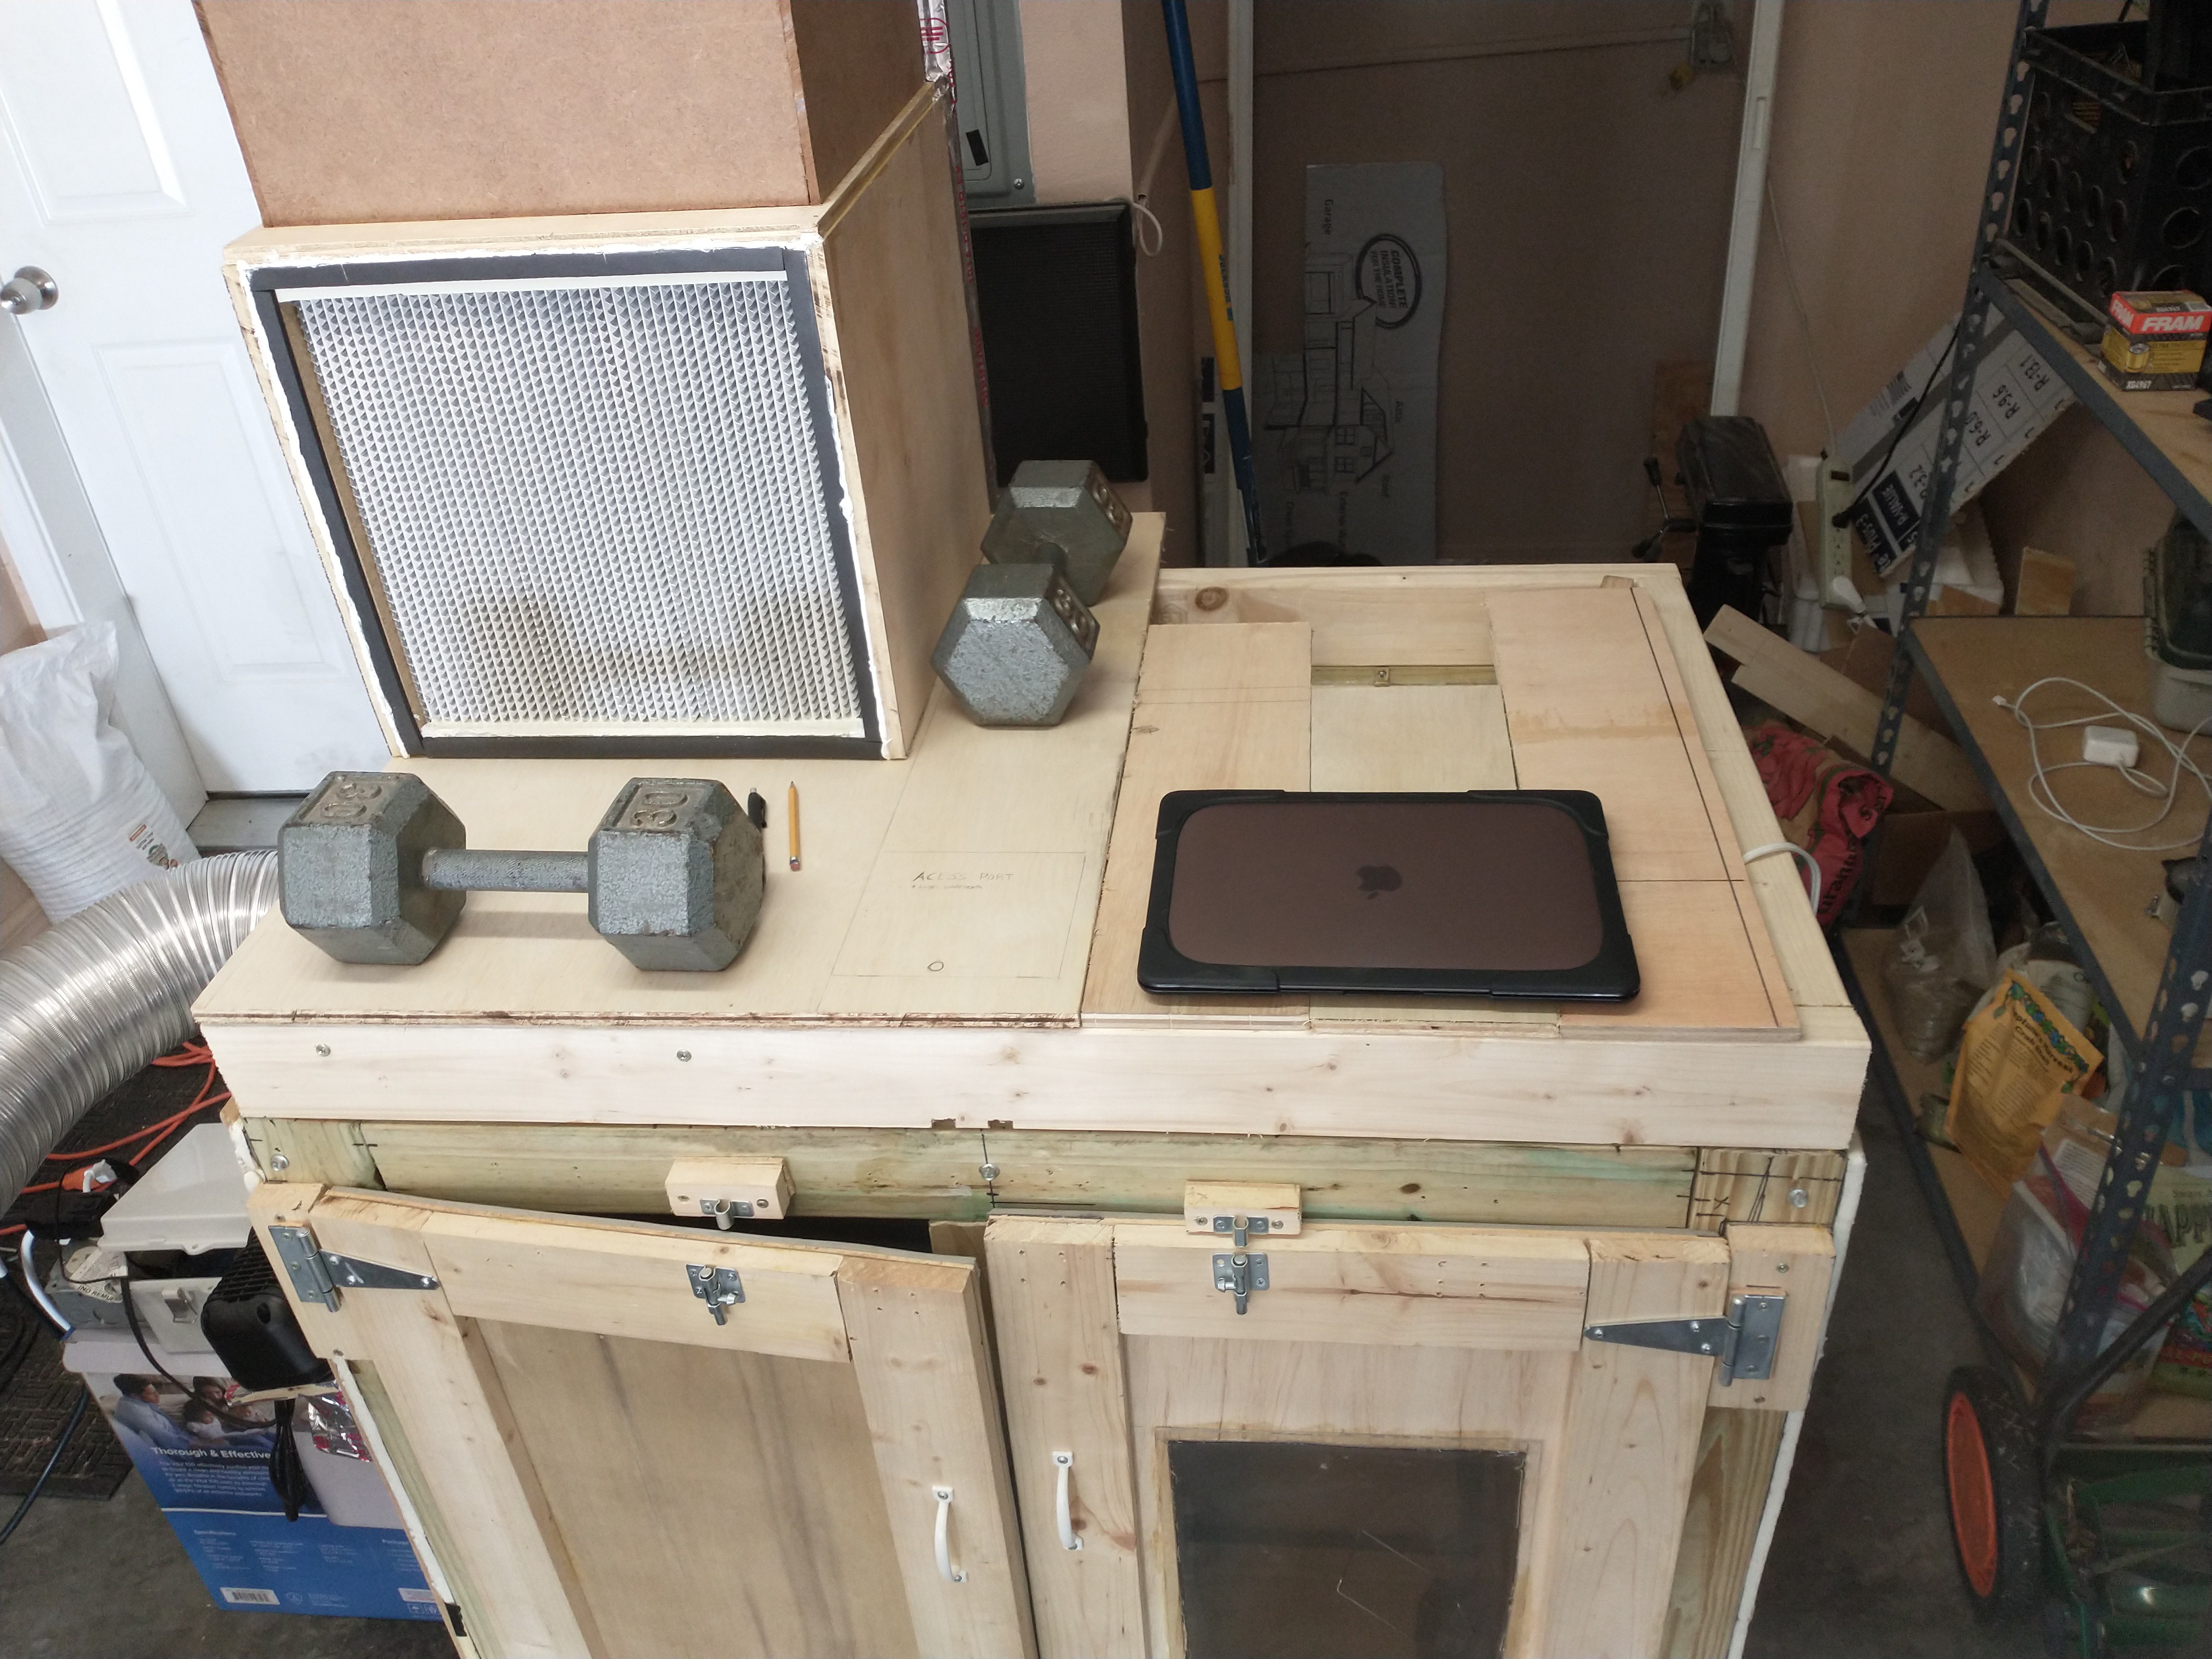
I mentioned in a previous post that the top sections of the MycoLab are not actually bolted onto the top of the MycoBox, instead they slide into place with pegs. The laminar flow makes up the left half of the MycoLab, below is a photo of the Laminar flow on its side.
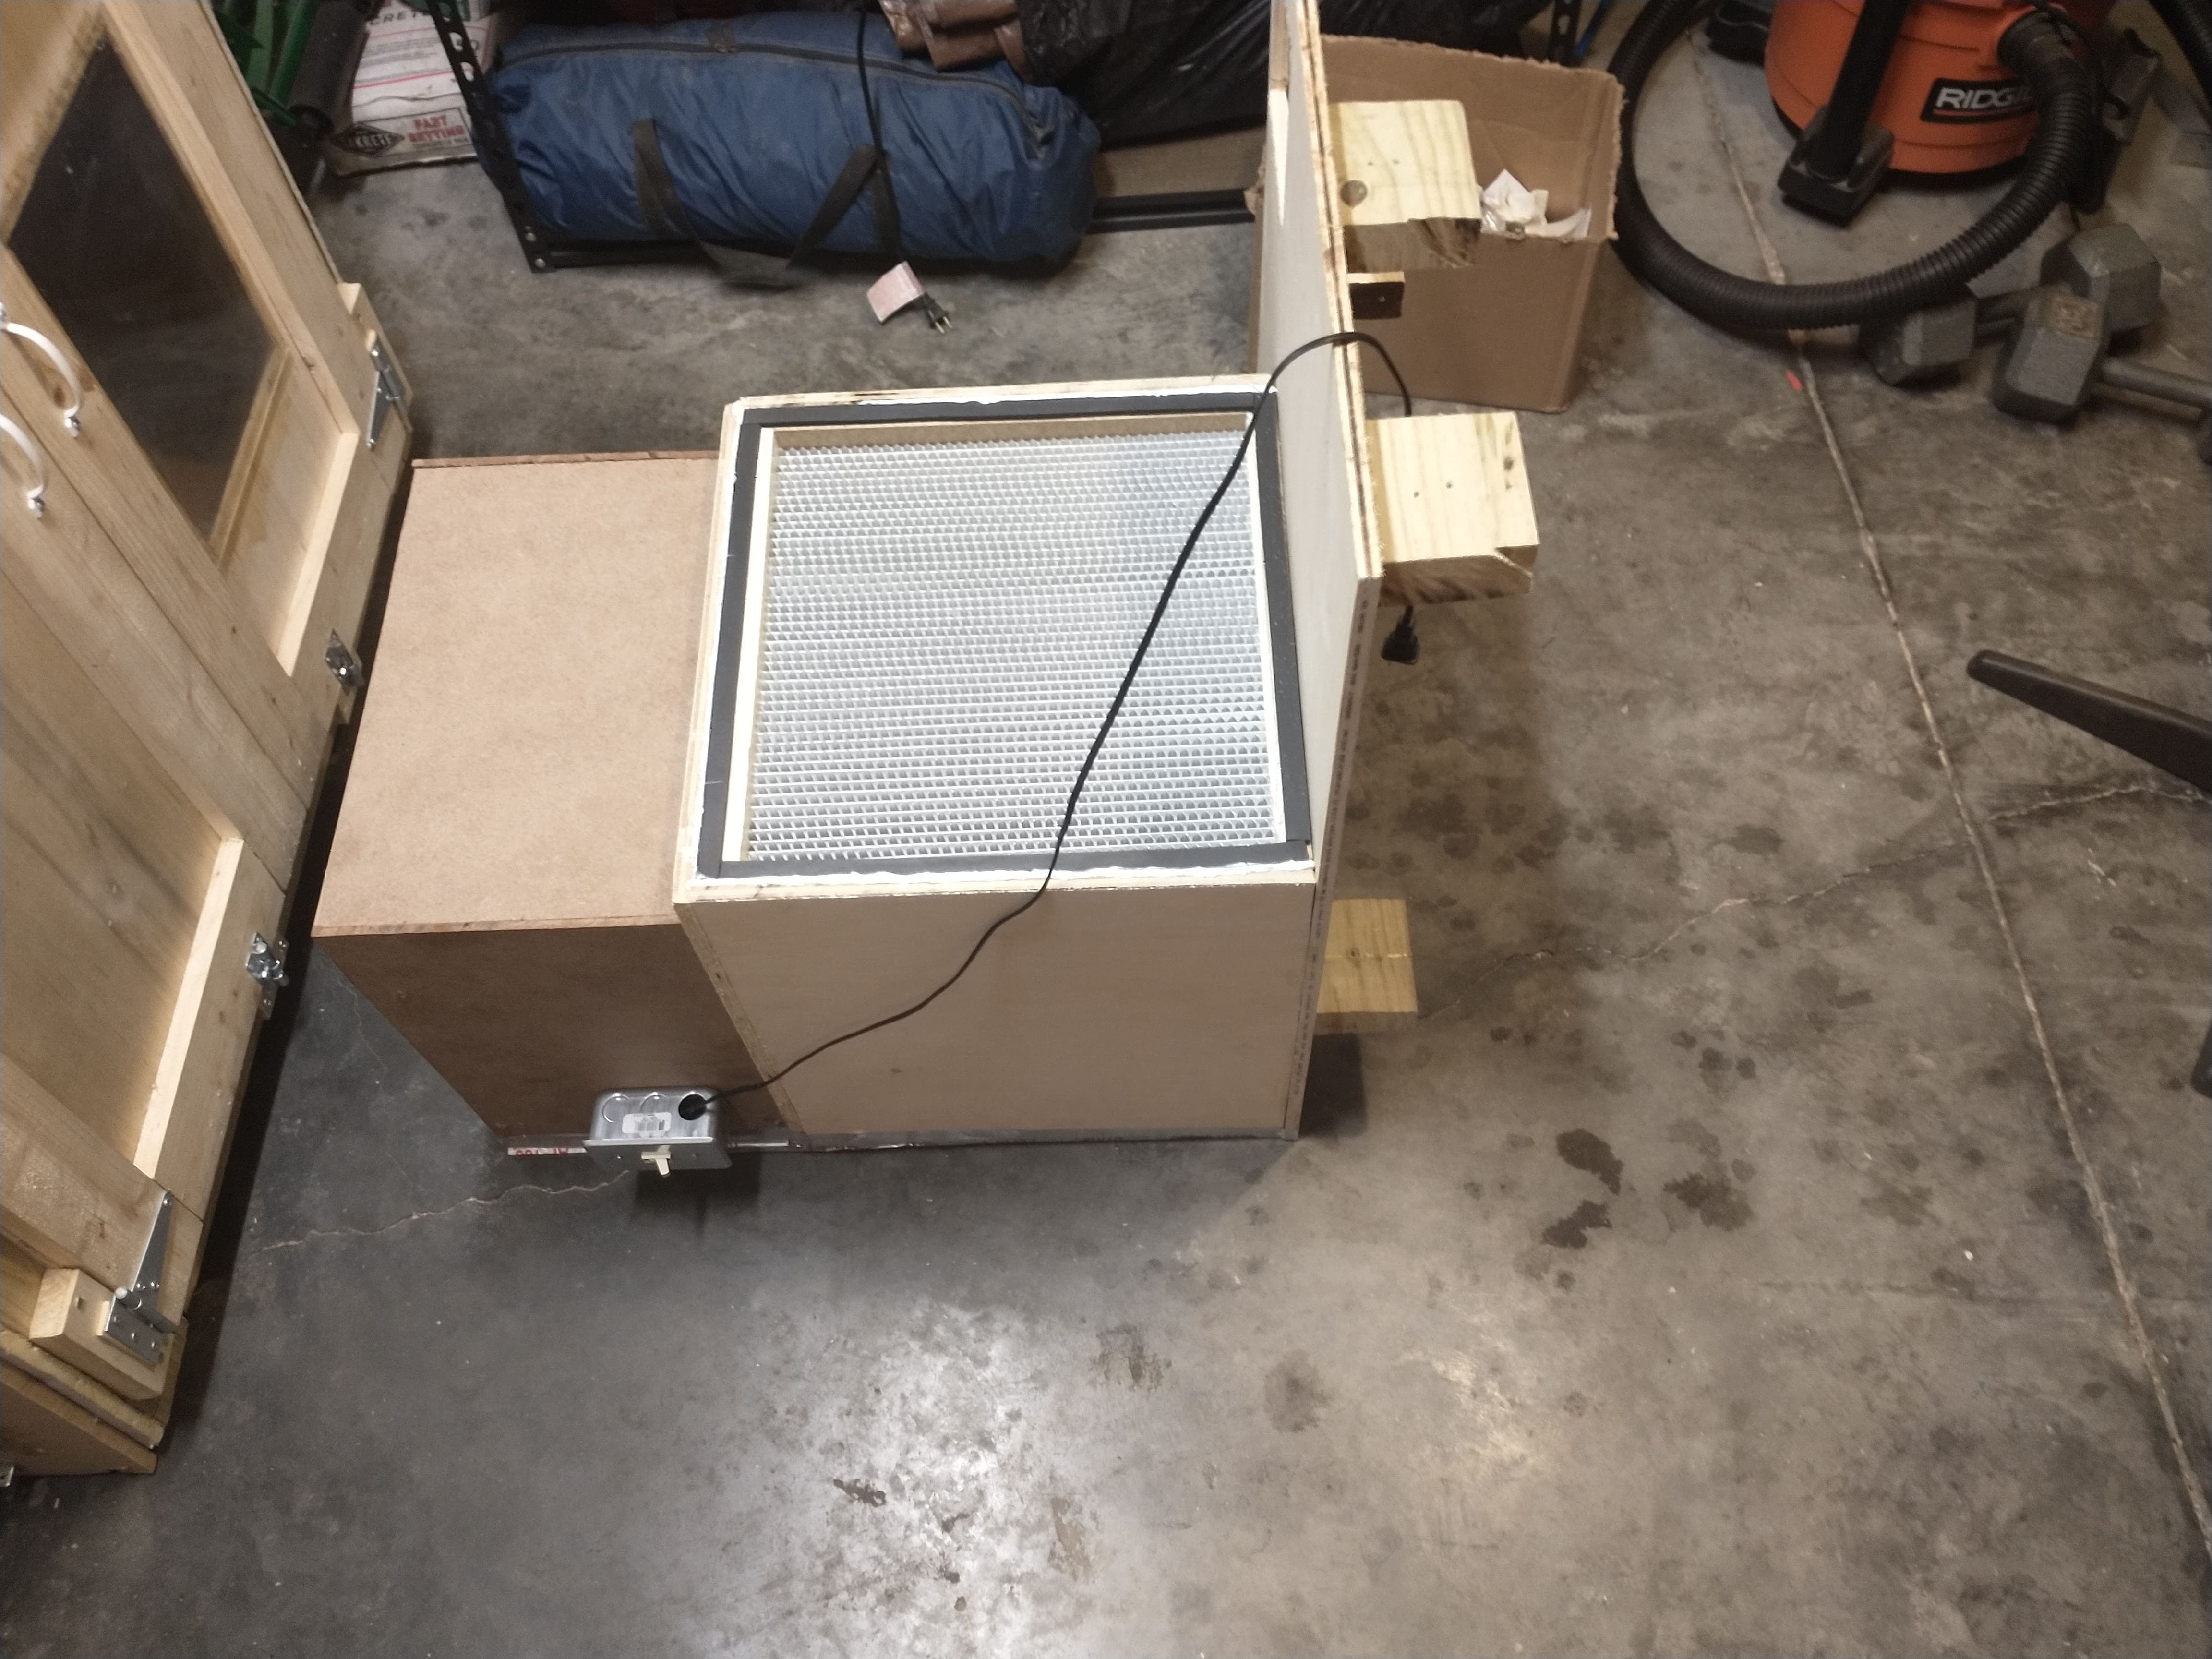
The square cutout is the access port for the raspberry pi, it will have a hinged door on it
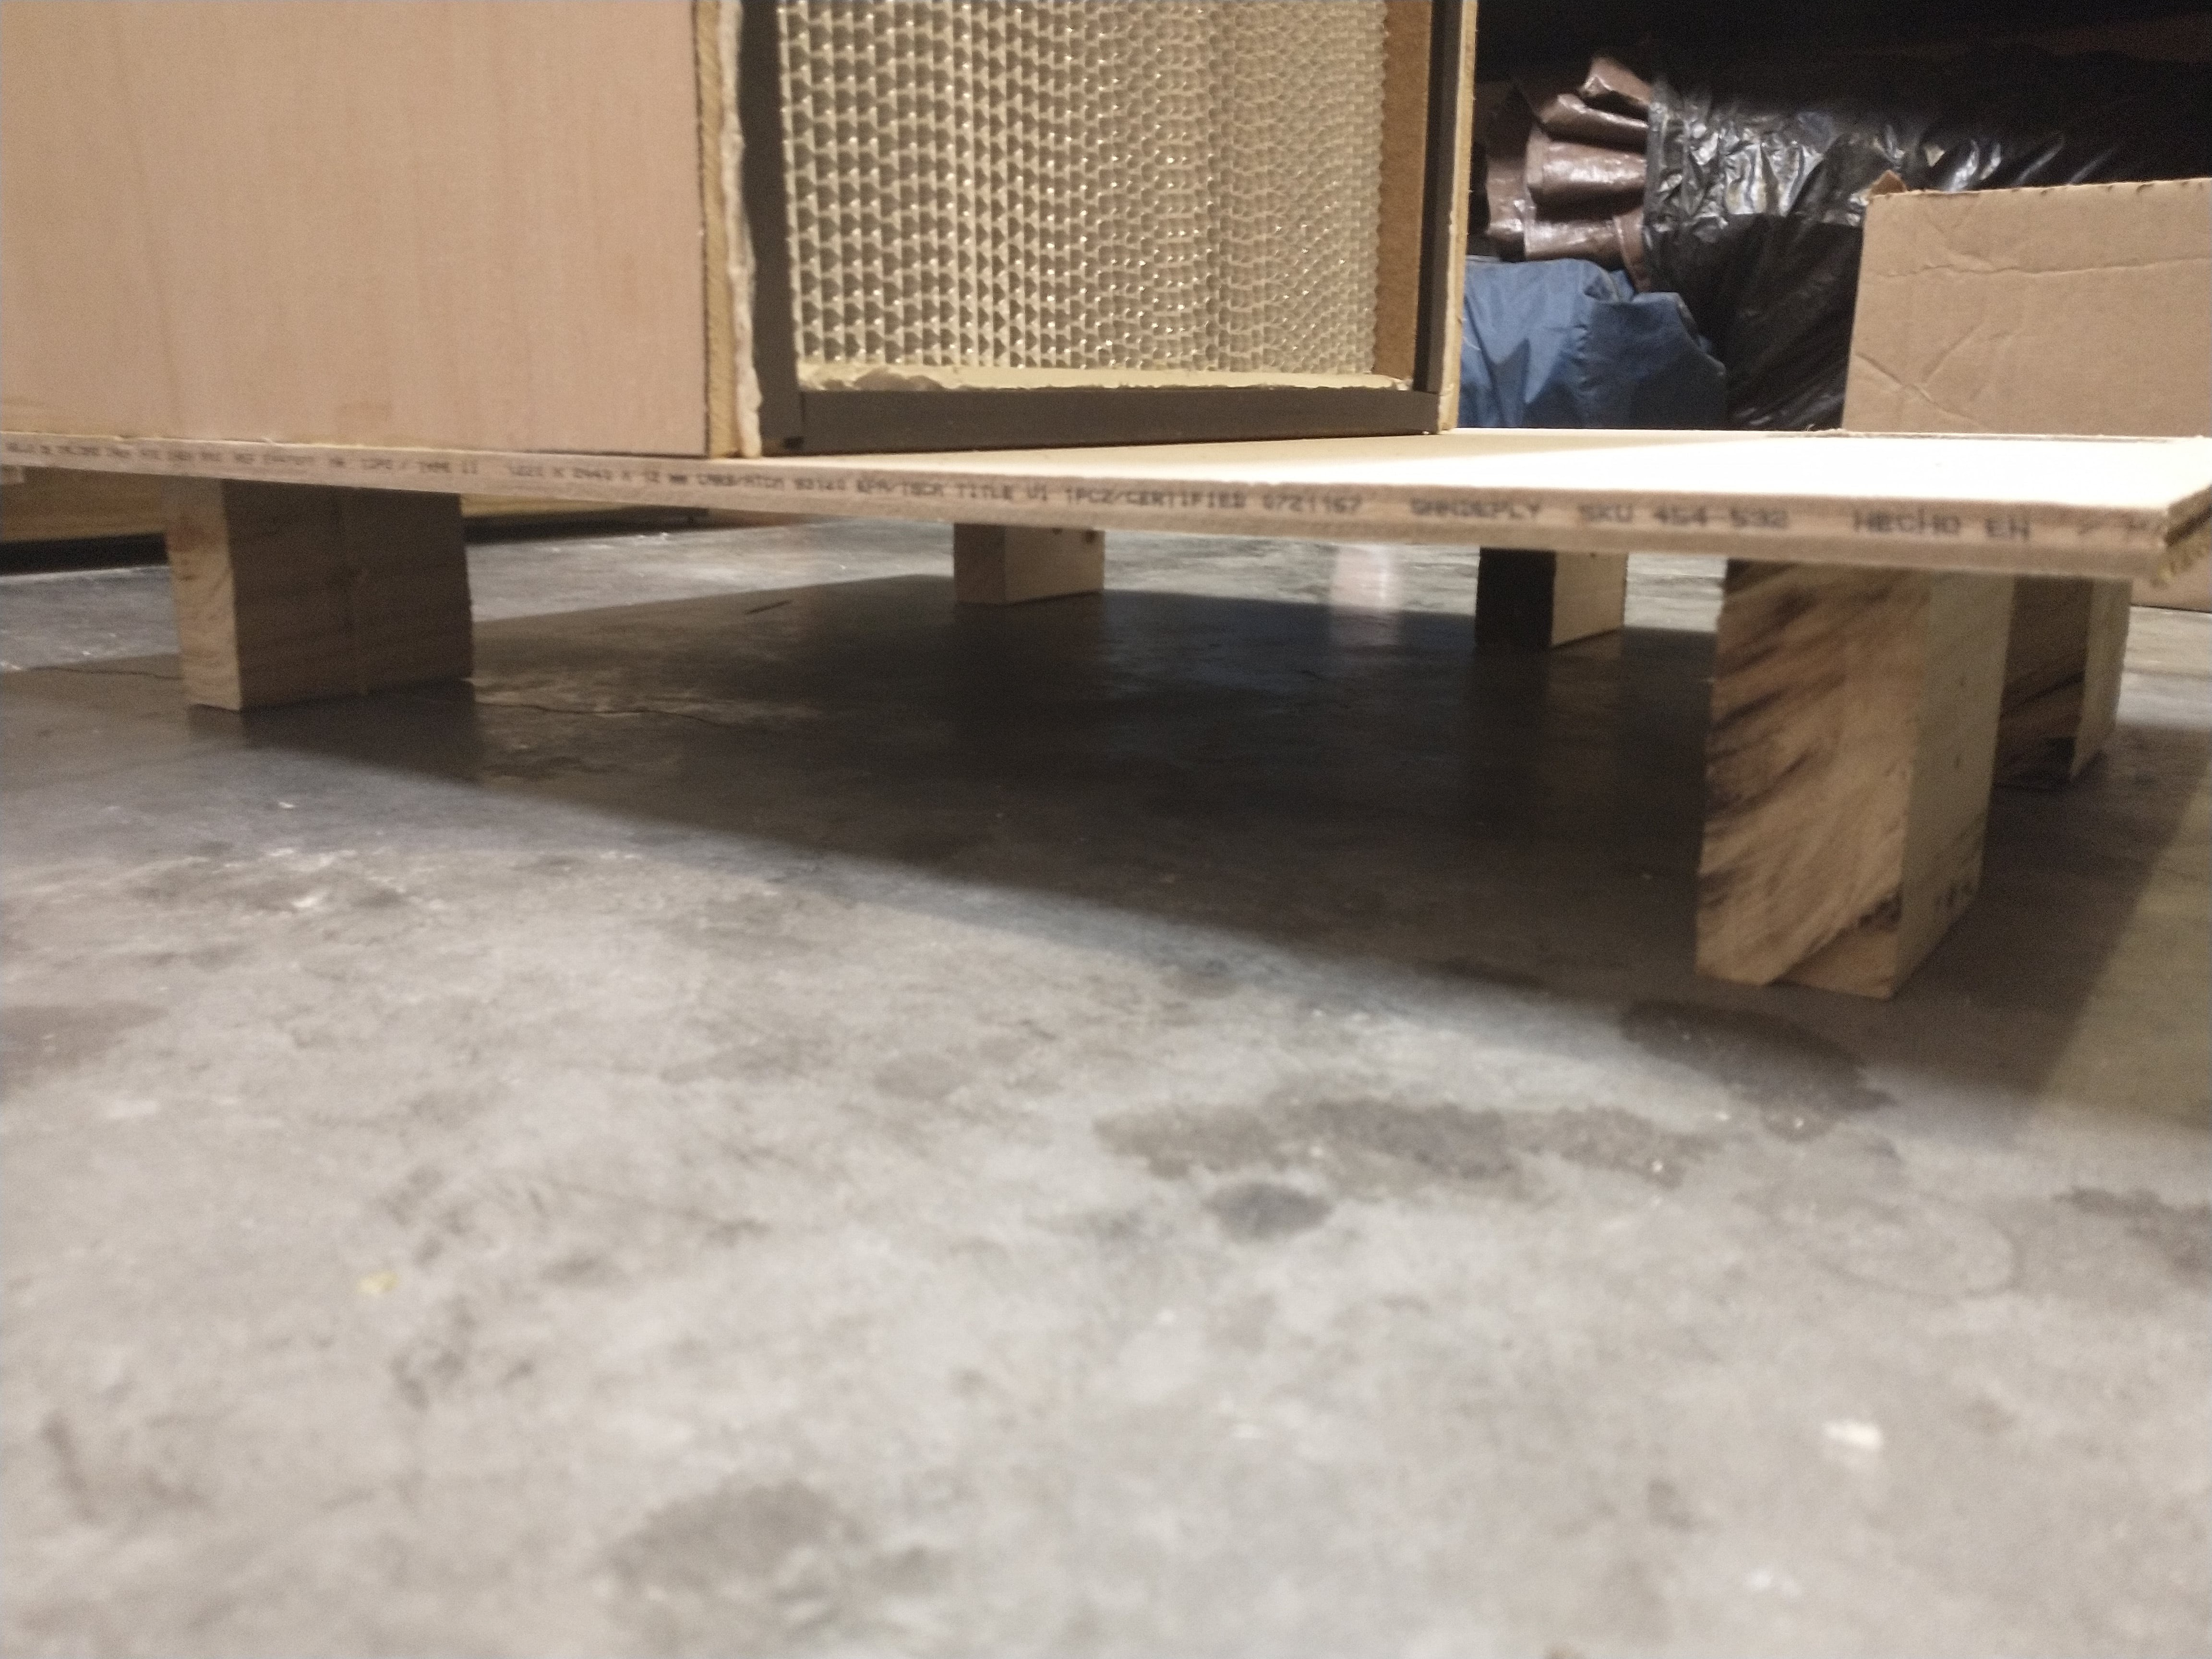
The Laminar flow can be used without the MycoBox and stand on it's own feet
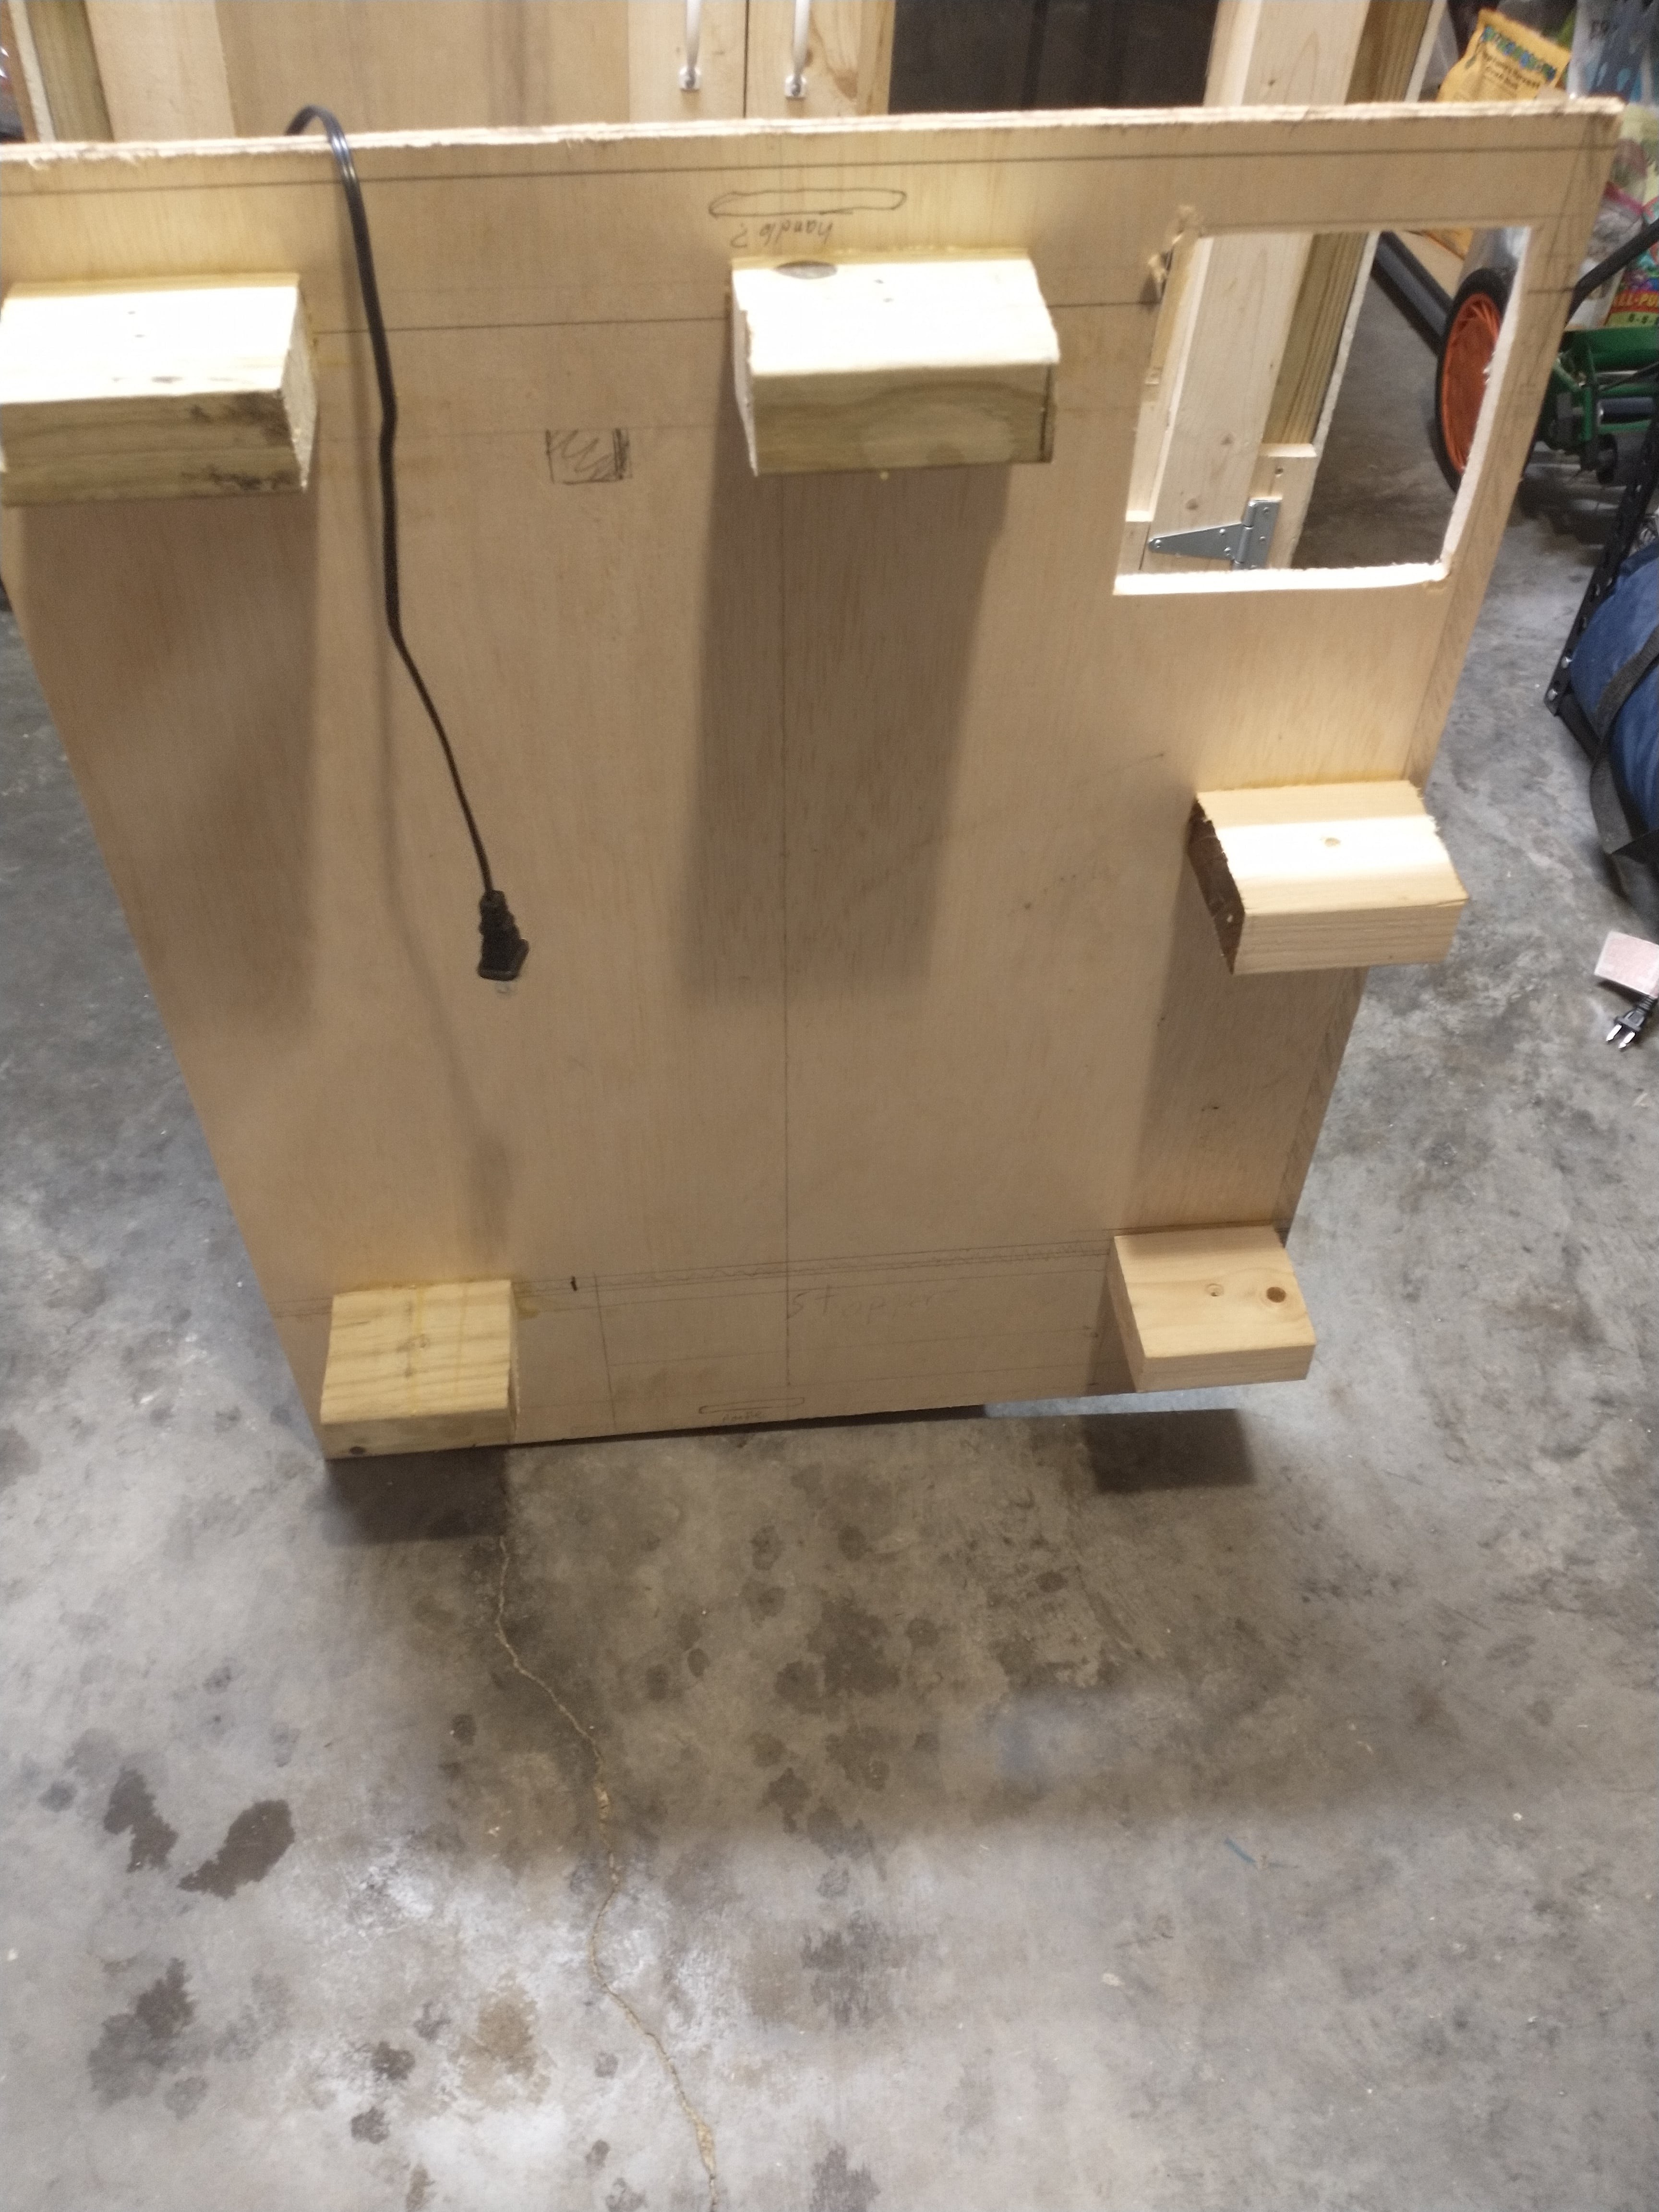
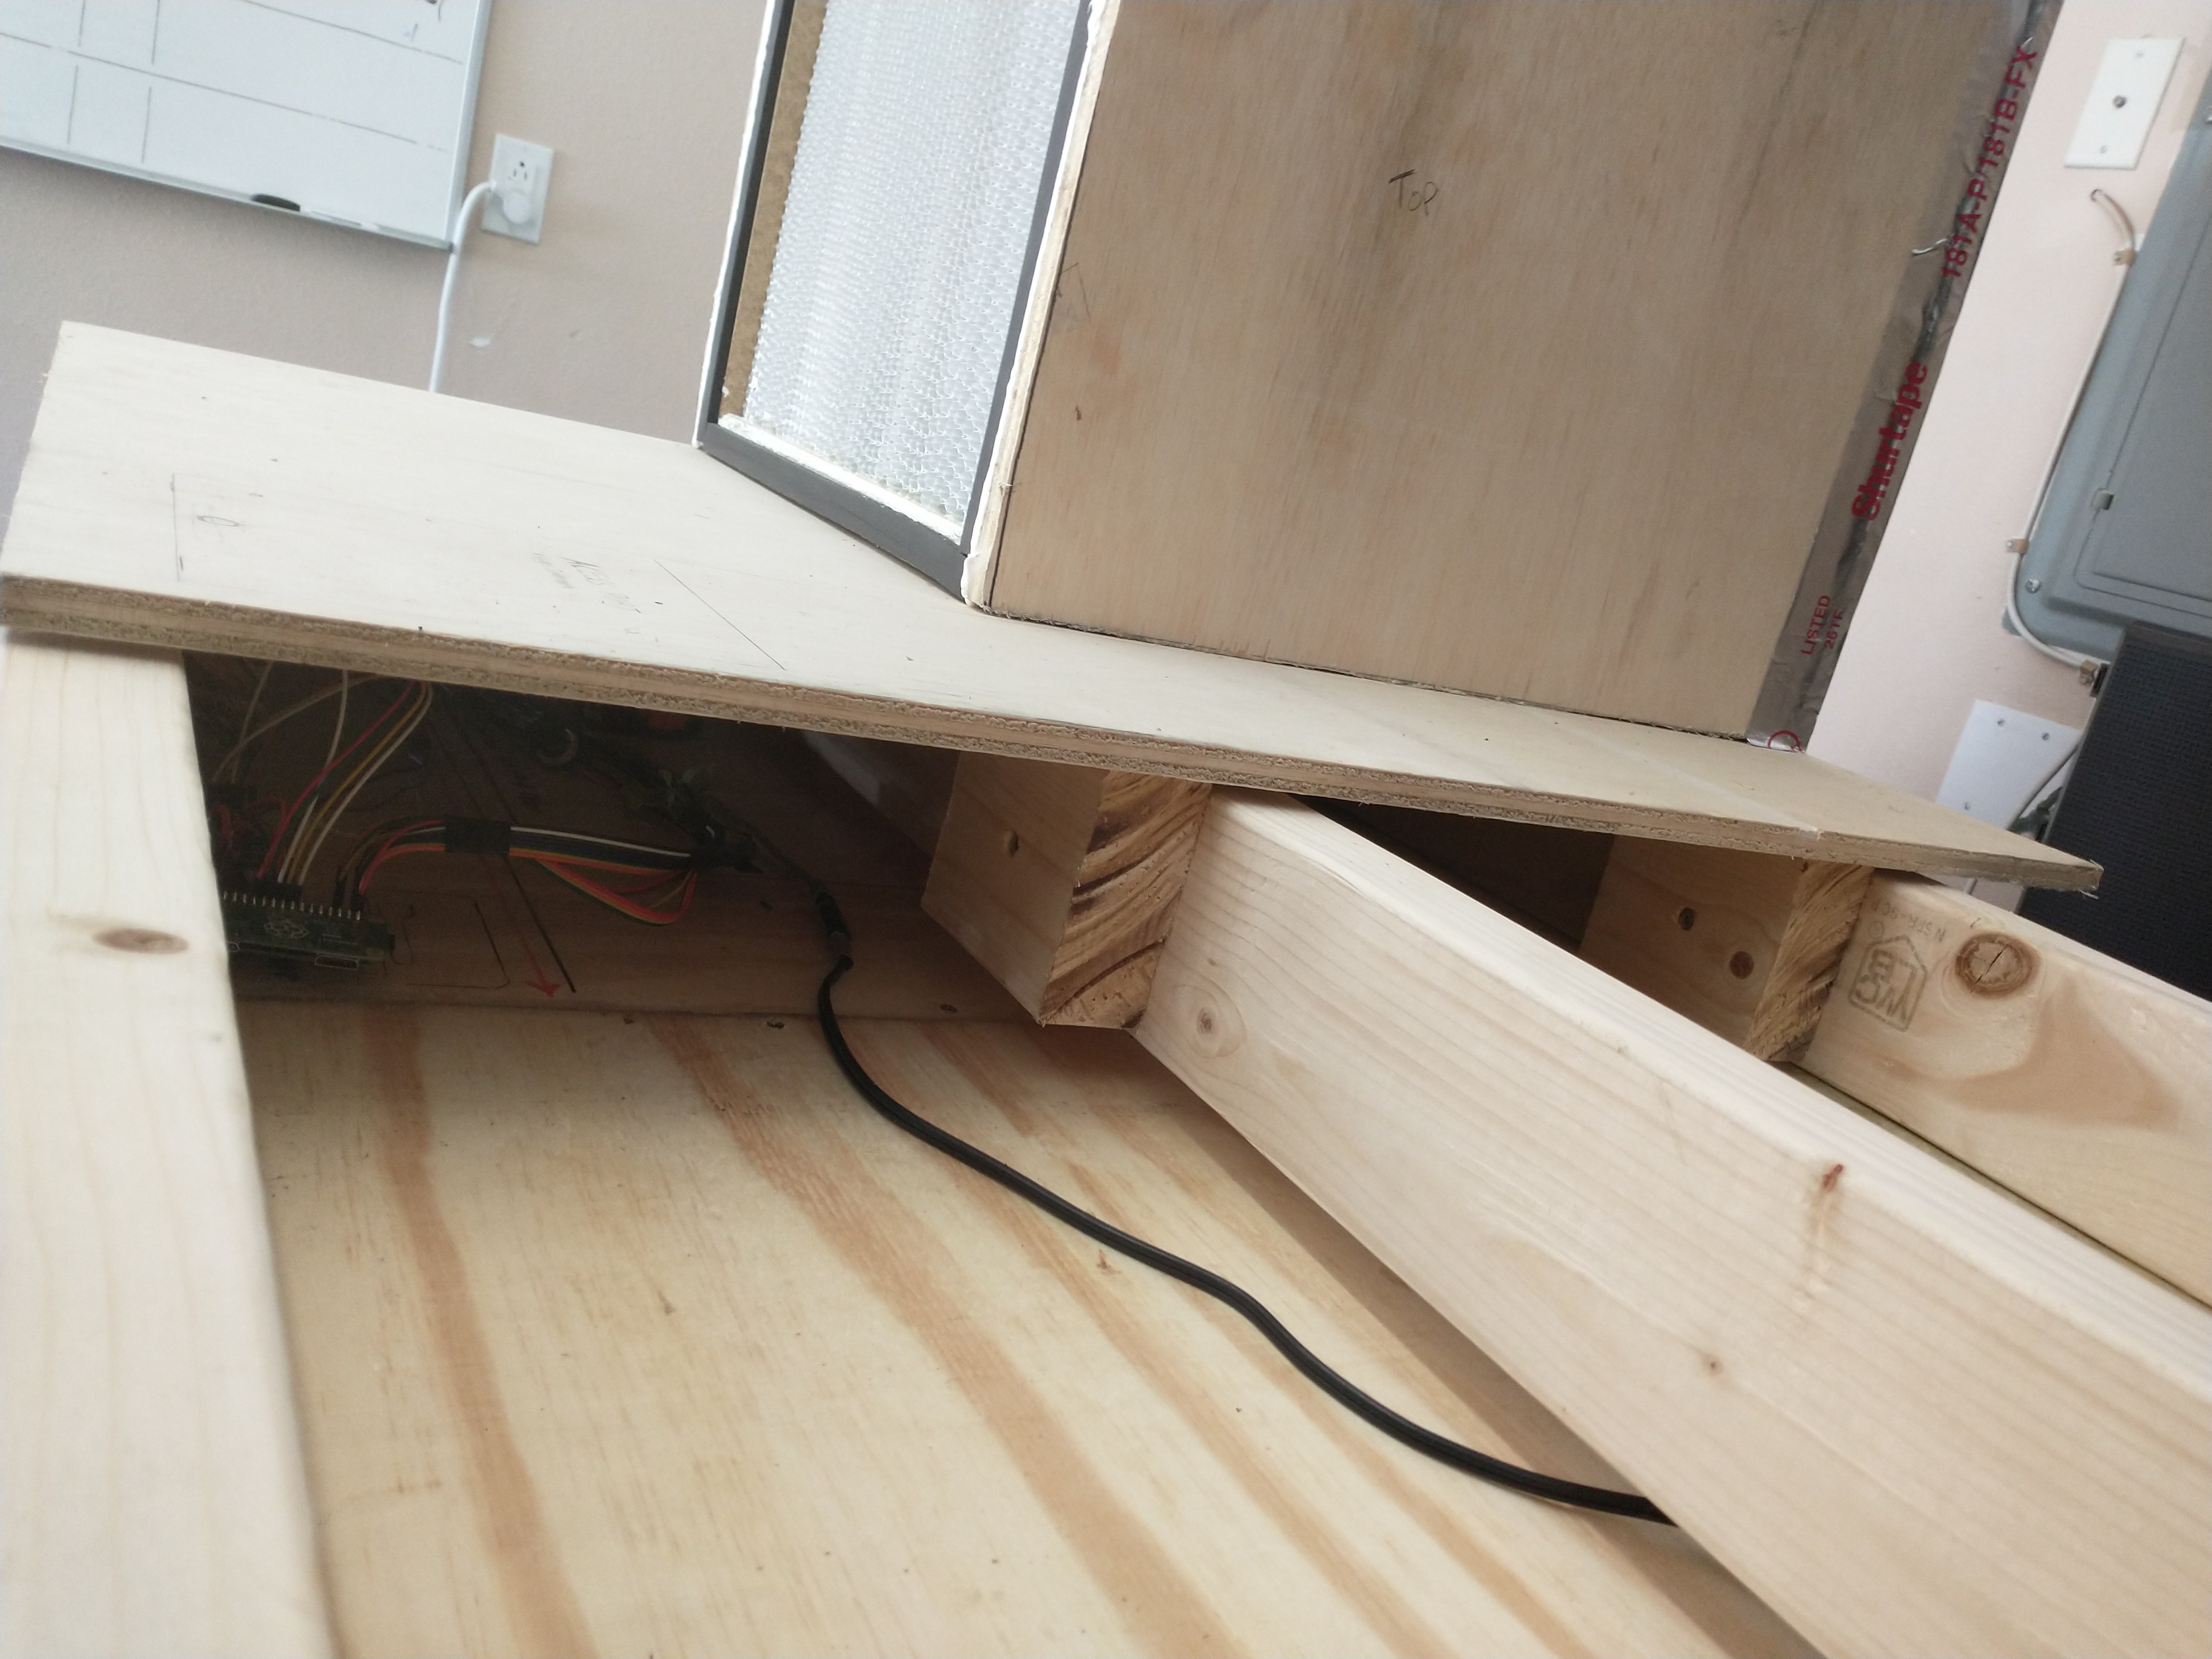
The Base of the MycoLab, the electronics tray, is has three support beams for the MycoLab. The pegs of each MycoLab section lock tightly into the electronics tray.
In the image below, I'm actually gluing the pegs onto the bottom of the laminar flow section of the MycoLab. I screwed the pegs into place on the beams where they are intended to tightly slot into place, and I screwed each one in such that 1 cm of the peg is higher than the beam. I you look at the front beam you can see the shadow of the board hovering above it.
This video shows it better
Here's the access port cutout, it leaves enough space for a 1/2" wall to section off the laminar flow half of the MycoLab.

Here the laminar flow section is gluing to its pegs, and three pieces of scrap wood are demonstrating the amount of remaining desk space for the Mycolab. The back portion of the other half of MycoLab will also extend 4" beyond the back edge of MycoBox, giving more room for the front desk space as well as the incubator and equipment cabinet.

Discussions
Become a Hackaday.io Member
Create an account to leave a comment. Already have an account? Log In.