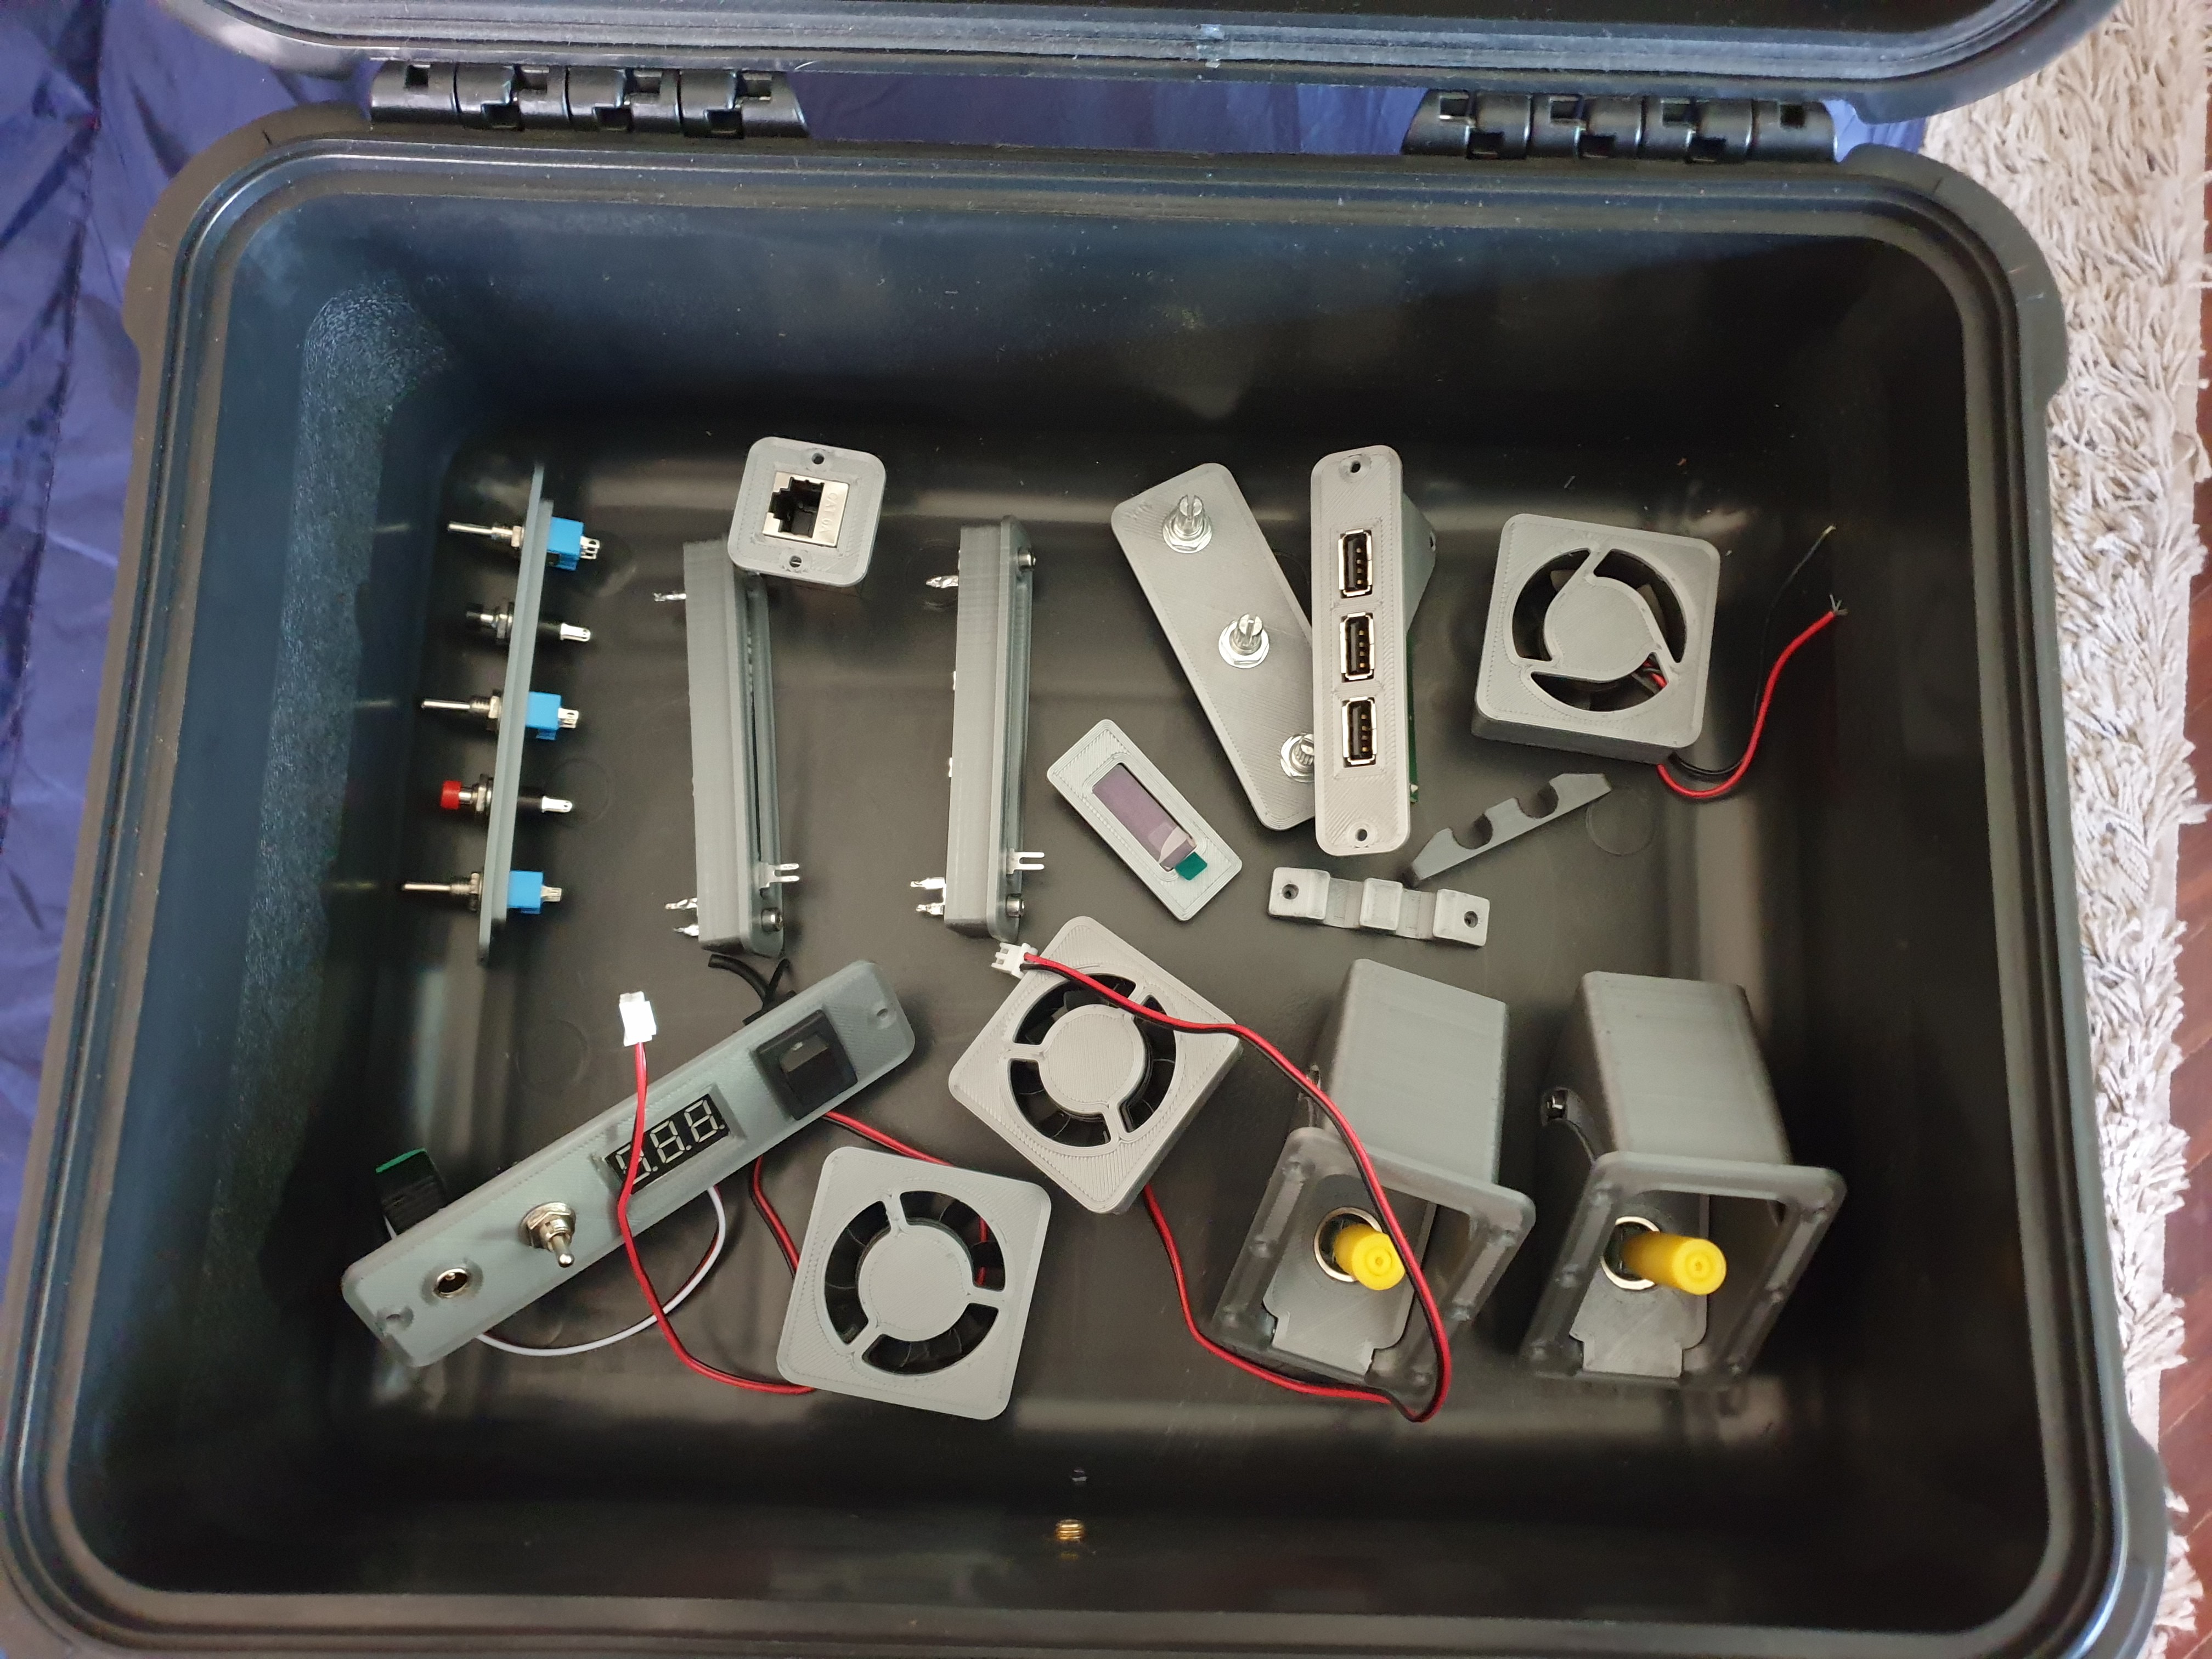
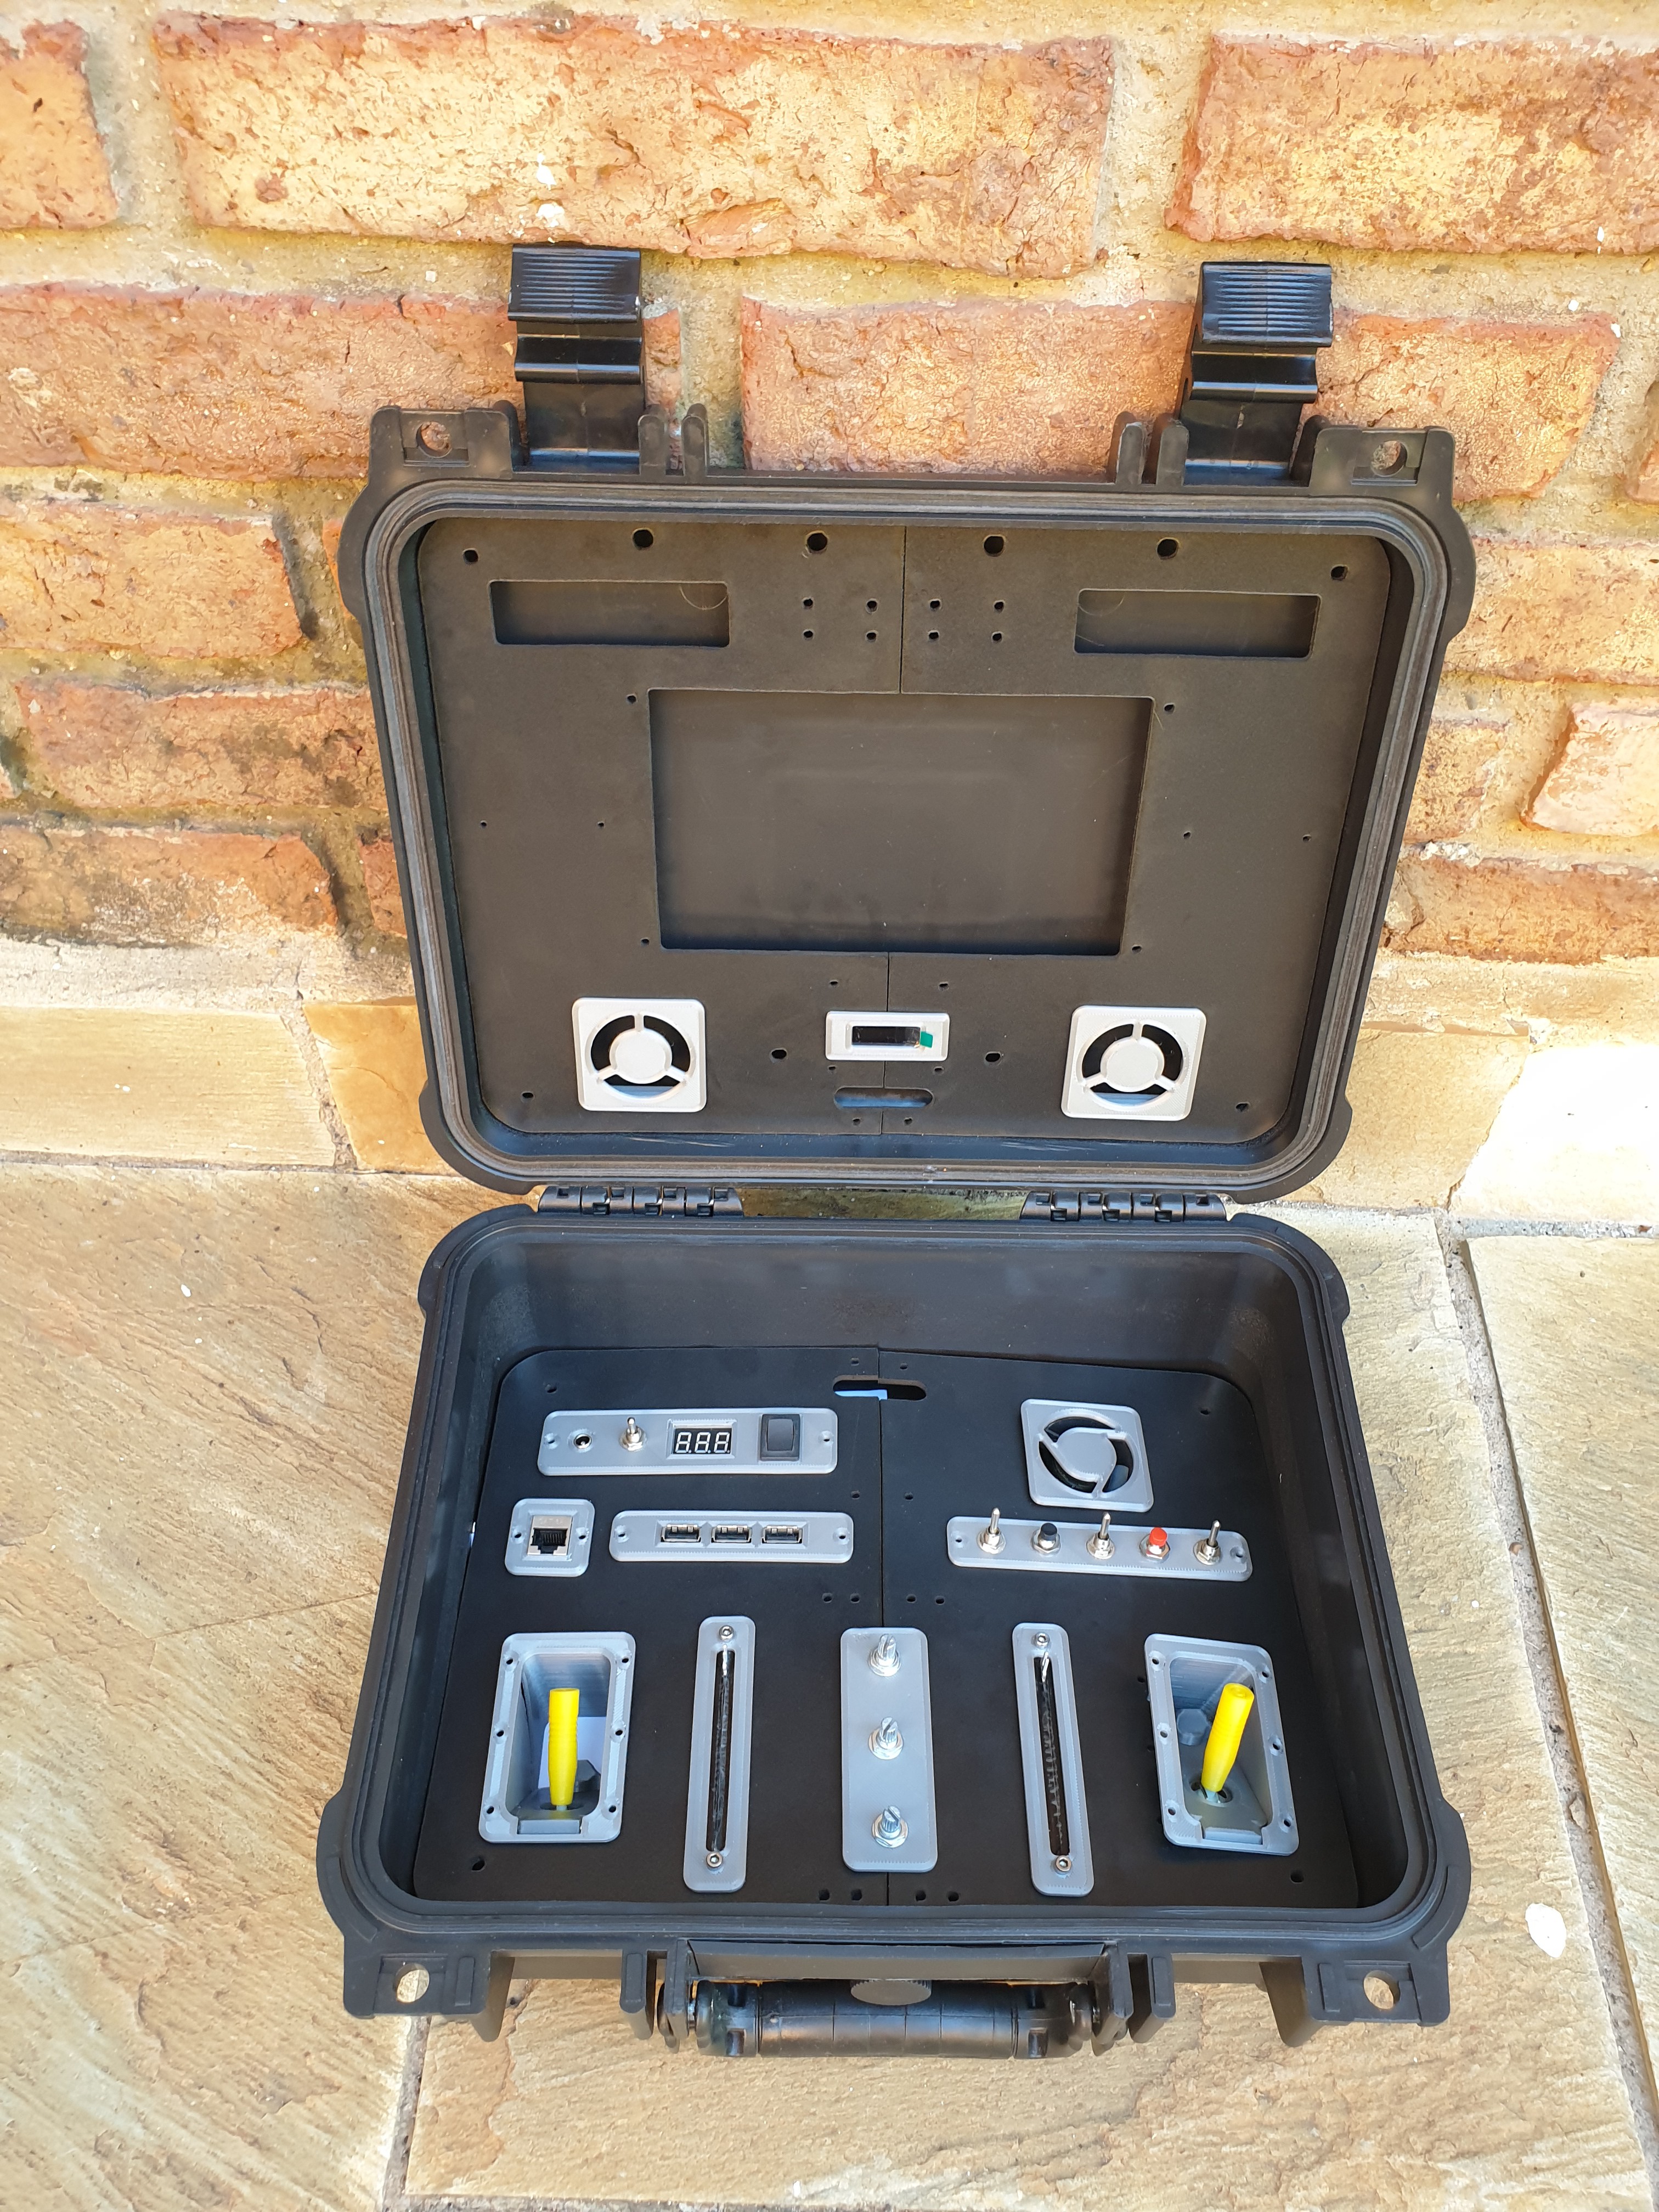
The first step towards building this project was 3d printing the parts at home. I used grey and yellow PLA, with a nozzle of 0.4 mm and layer height of 0.2 mm. The first bunch I printed and assembled looked like this. The RJ45 port is a female-female RJ45 connector which I would connect with a short cable to the Jetson Nano port. The USB hub is an old one I had lying around, I stripped its enclosure, the DC jack connector, and soldered power cables directly to it.
Unluckily, I haven’t documented much of the printing process. Basically, I just printed all the parts and fitted the electronics into them. Some, of course, required modifications to the design and a couple of tries to get the sizing right.

In this picture you can see almost every 3d printed part that goes on the panels. Most of them have the elctronics fitted in. The components that aren’t held by screws or nuts were glued into place using some epoxy.
At first, i was going to do the panels in some 3mm mdf wood, as i had previously done with the first version of the Ground Station. After plenty of tests, changing laser intensity, speed and number of passes, i gave up with this material. The fact that it was not too dark probably had a negative effect as well. I was just stuck at this point, thinking about cutting the panels by hand.
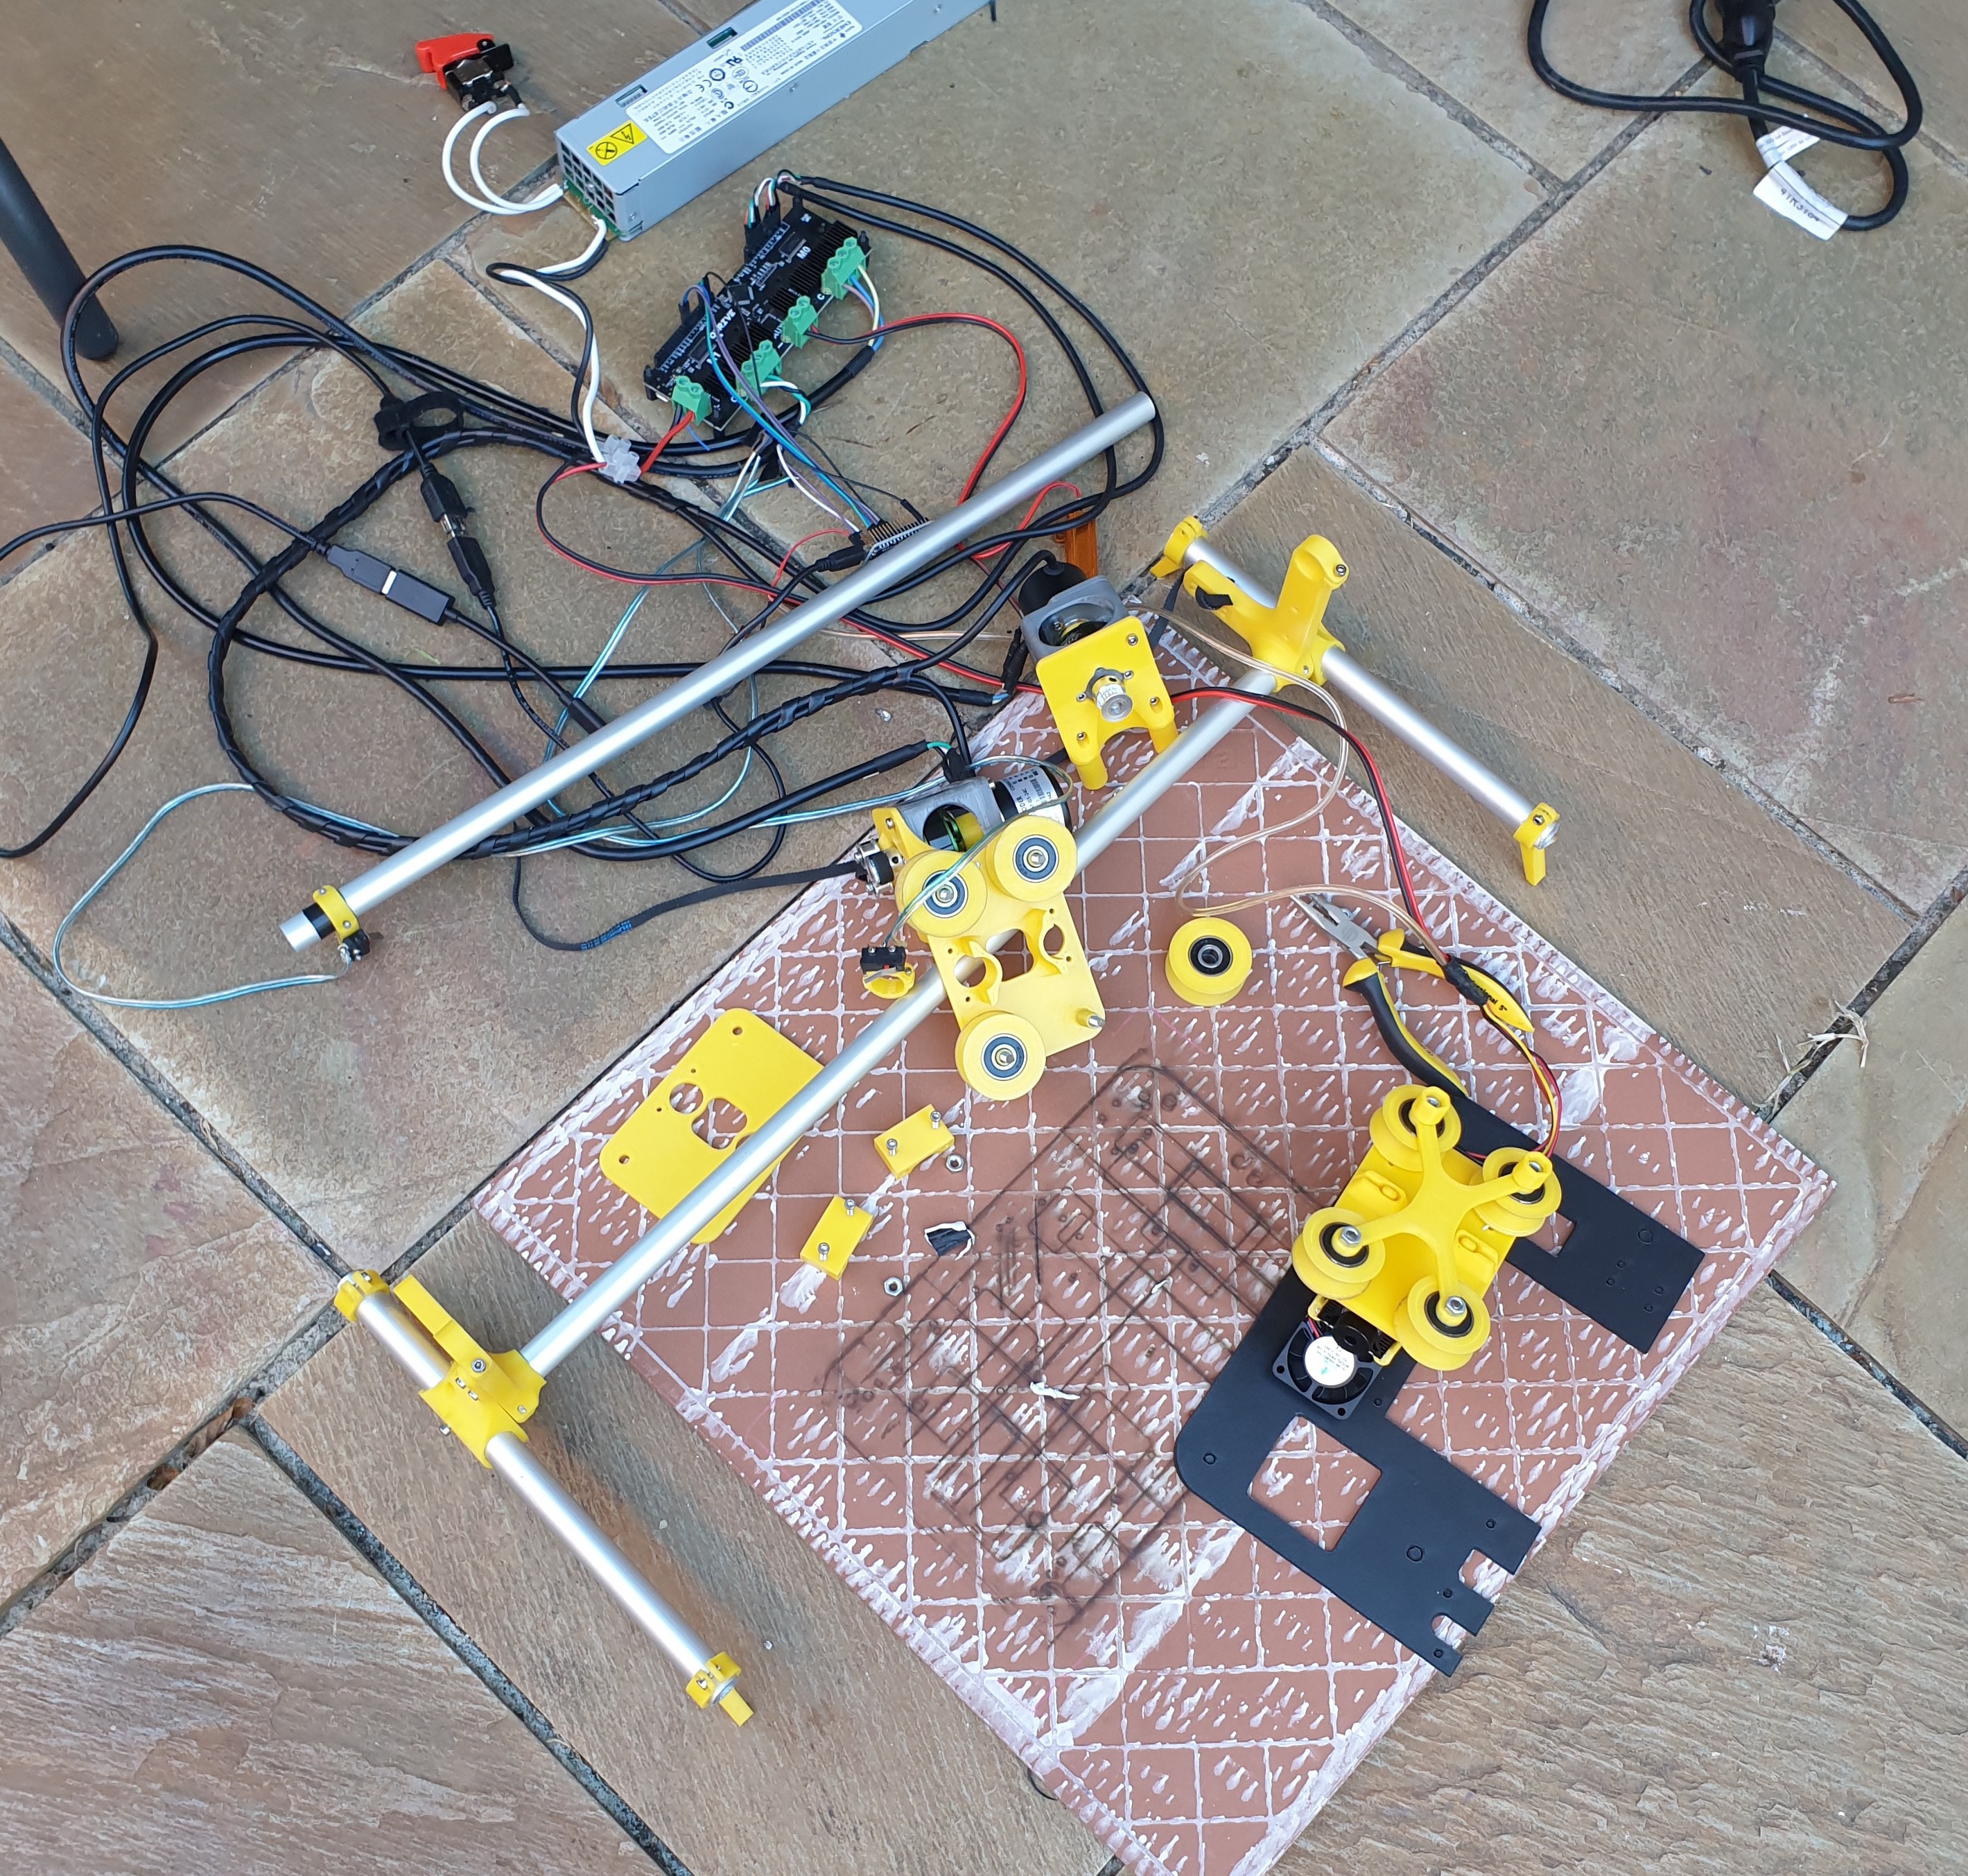
My father came to rescue with some 3mm black PVC board which seemed ideal to make this, giving a much better look than the mdf. Would the laser cut through it though? Yes it did. It required some tweaking but after a couple of attempts, everything seemed to b working out. The laser engraver I was using was kind of a supplementary project to this one, I made the engraver so I could build this. Of course, there were a couple more reasons but the fabrication of the RGCS was a great motivation to build the engraver. Cutting quality wasn’t as good because the CNC had its physical limitations (some design flaws) and the PVC tended to melt in some occasions. Due to the worksize of the engraver, I cut each panel by halves. I though the seam could be covered up with something later. Purposely mmade a couple of holes to join the halves with screws and 3d printed parts.

Oh boy that wouldn’t be easily dissimulated. After realizing that this wouldn’t end up looking good and that the joints of the halves would make great weak spots in the panels, I decided to go all in. Stripped down the engraver quite a bit, purchased some longer aluminum tubes, borrowed a belt from my 3d printer and set to cut the panels in one piece each.

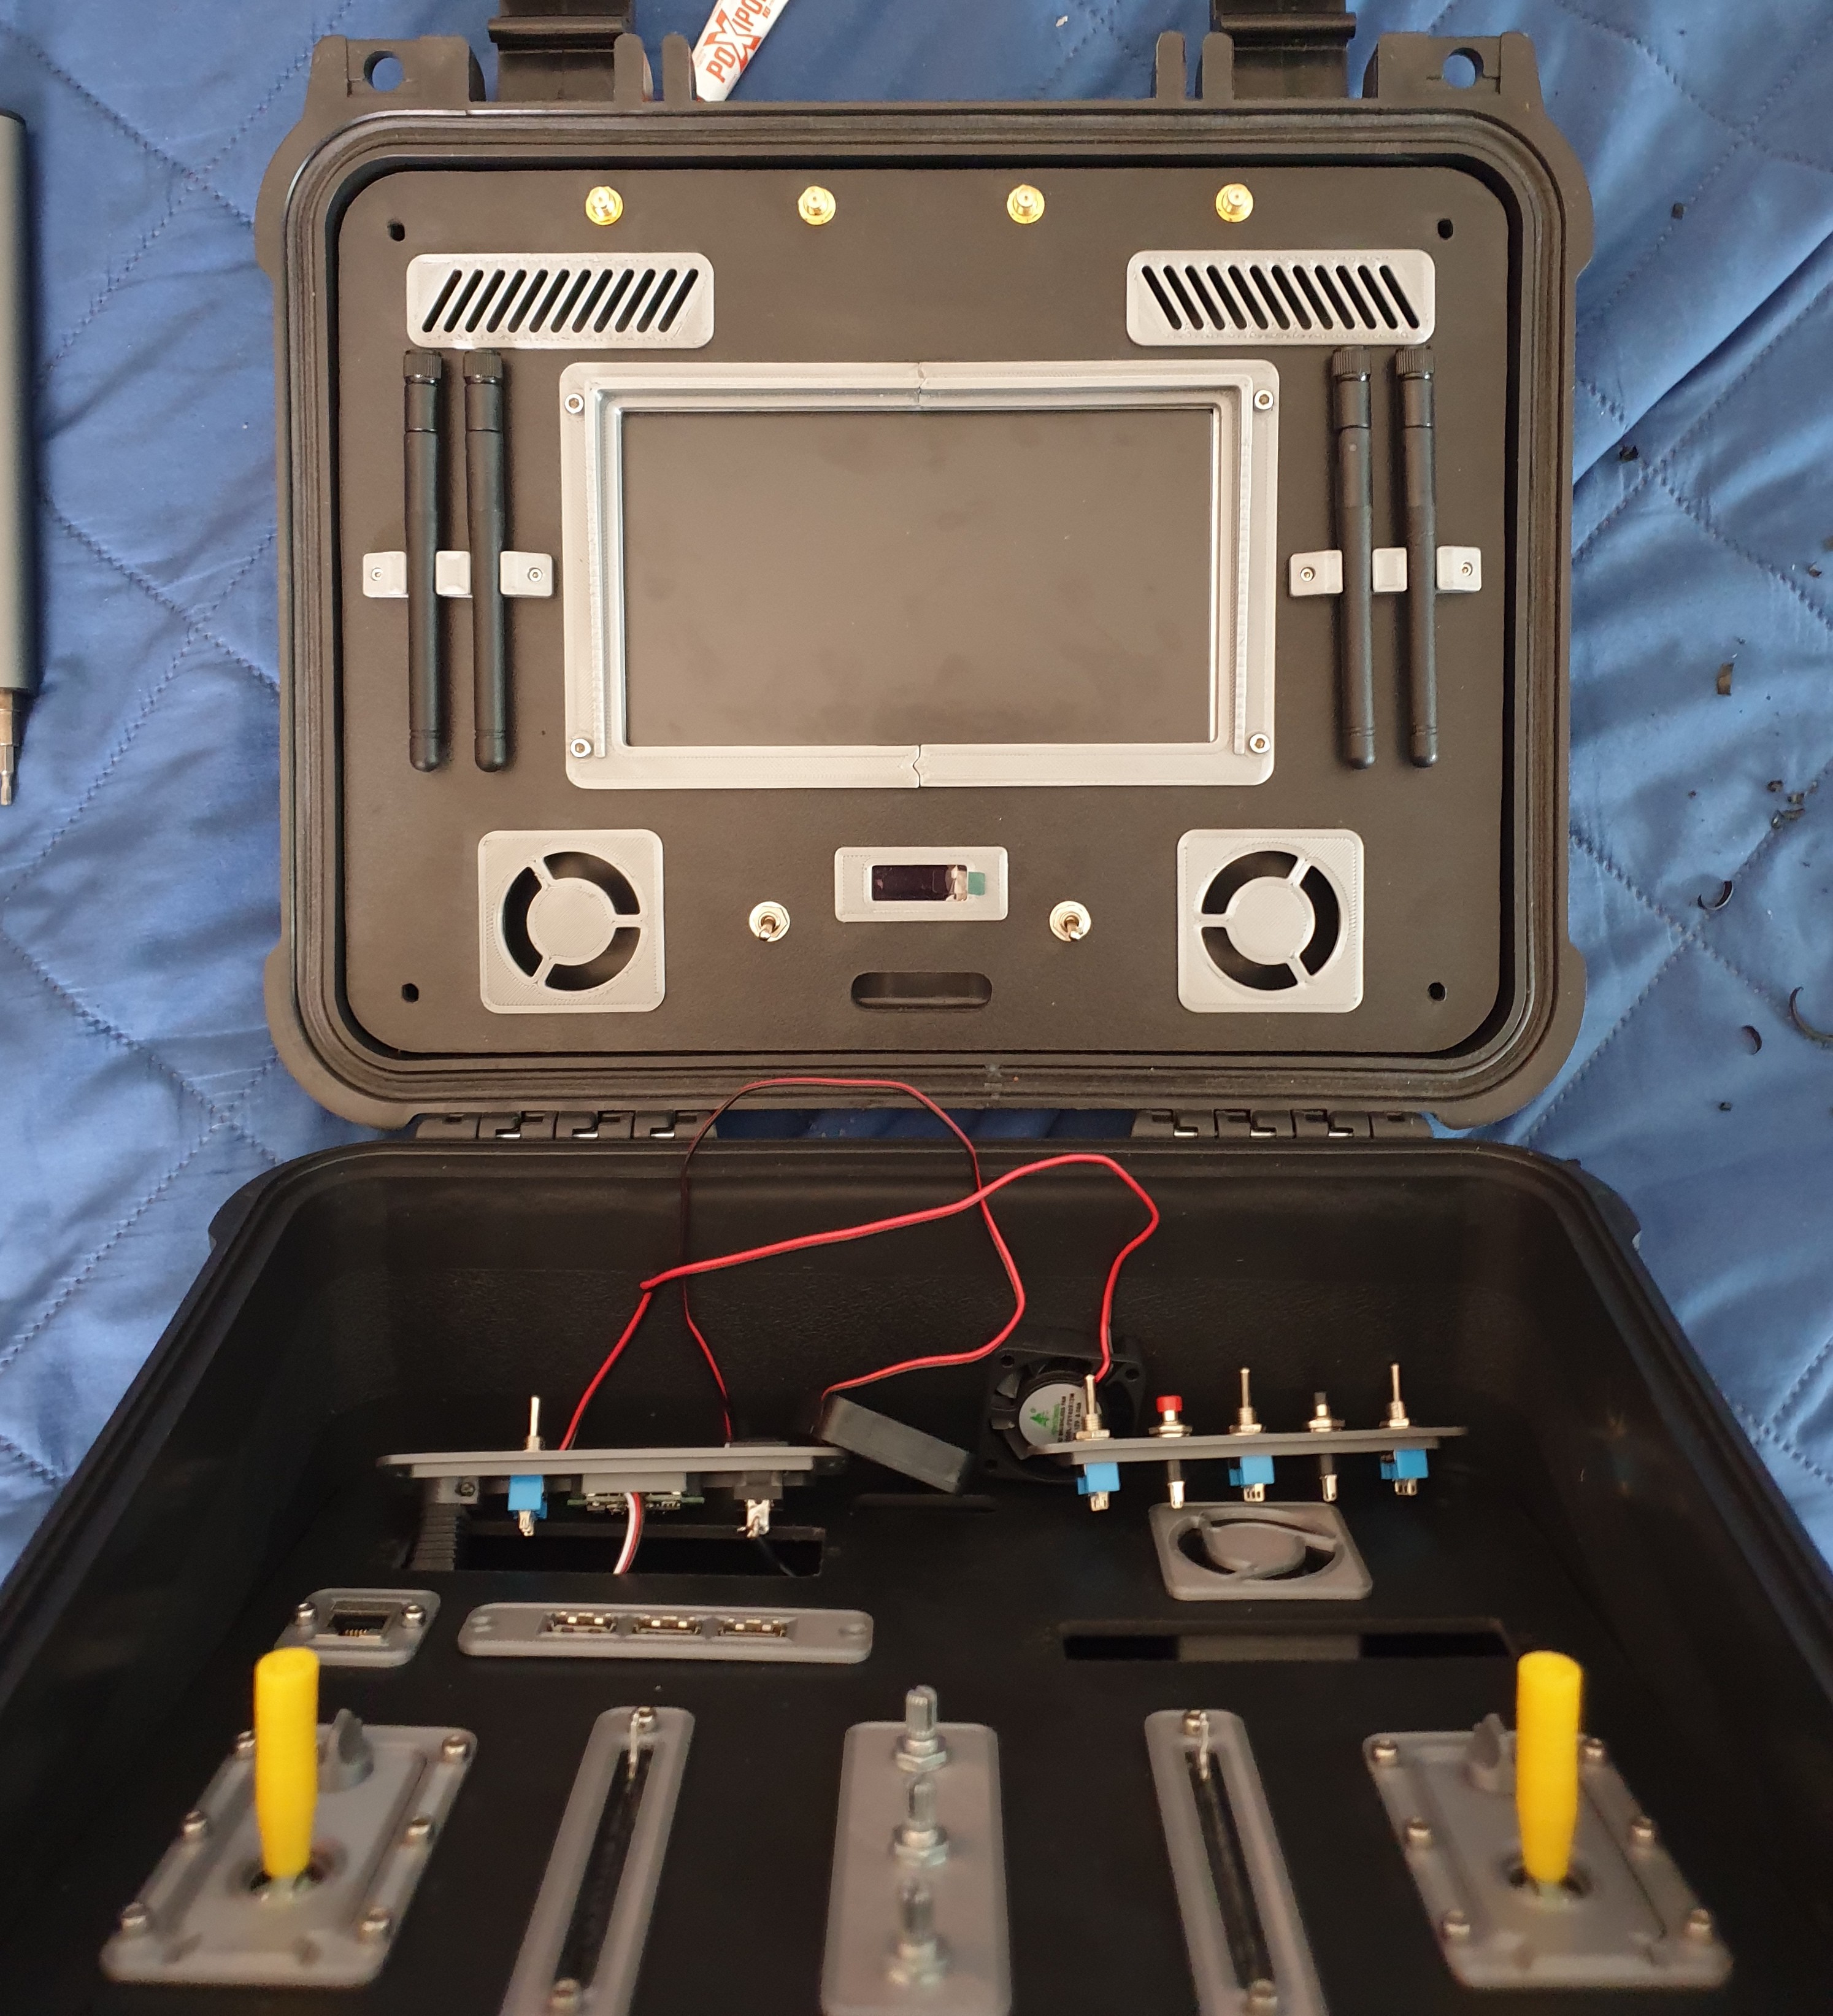
These panels looked much better. This started to seem like an actual neat product!

Ready to start assembly!
 Maximiliano Palay
Discussions
Become a Hackaday.io Member
Create an account to leave a comment. Already have an account? Log In.