ASHUMHRPROJECTS
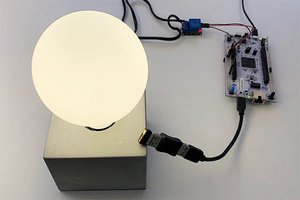
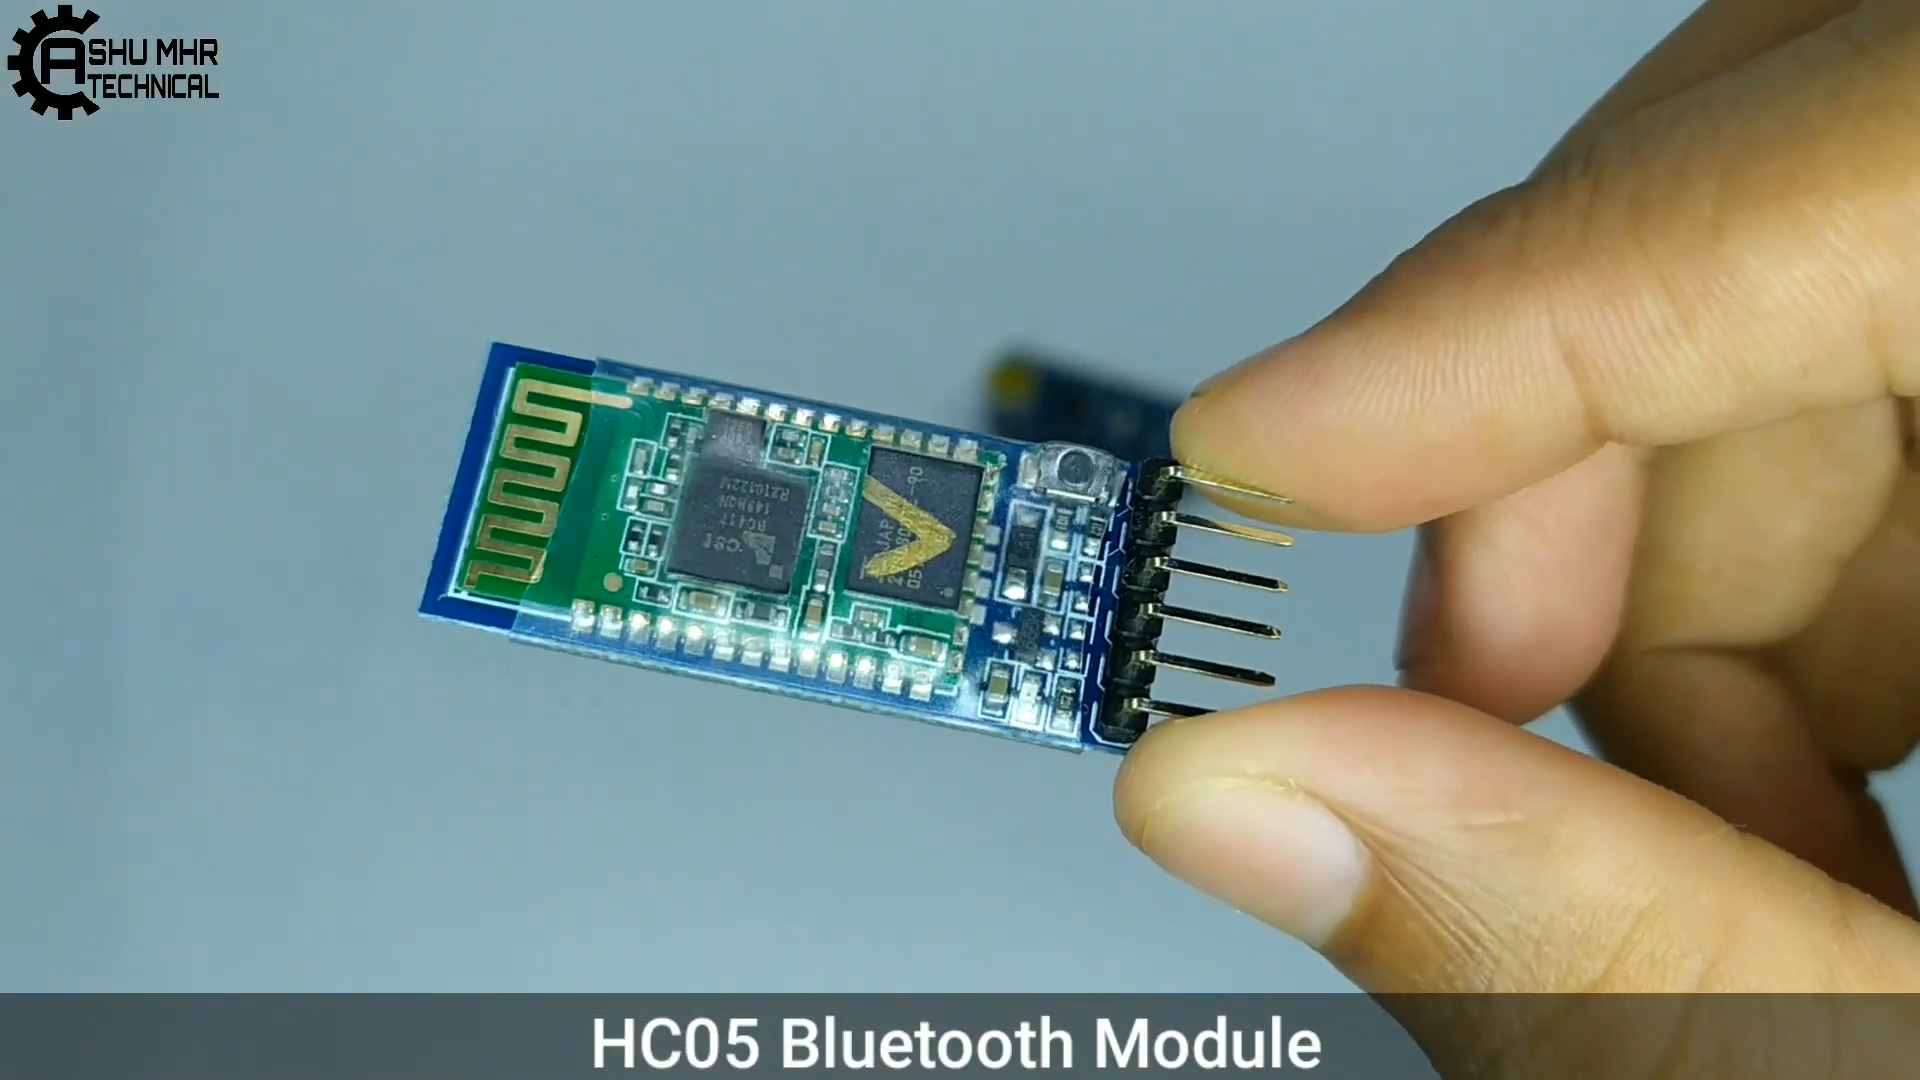
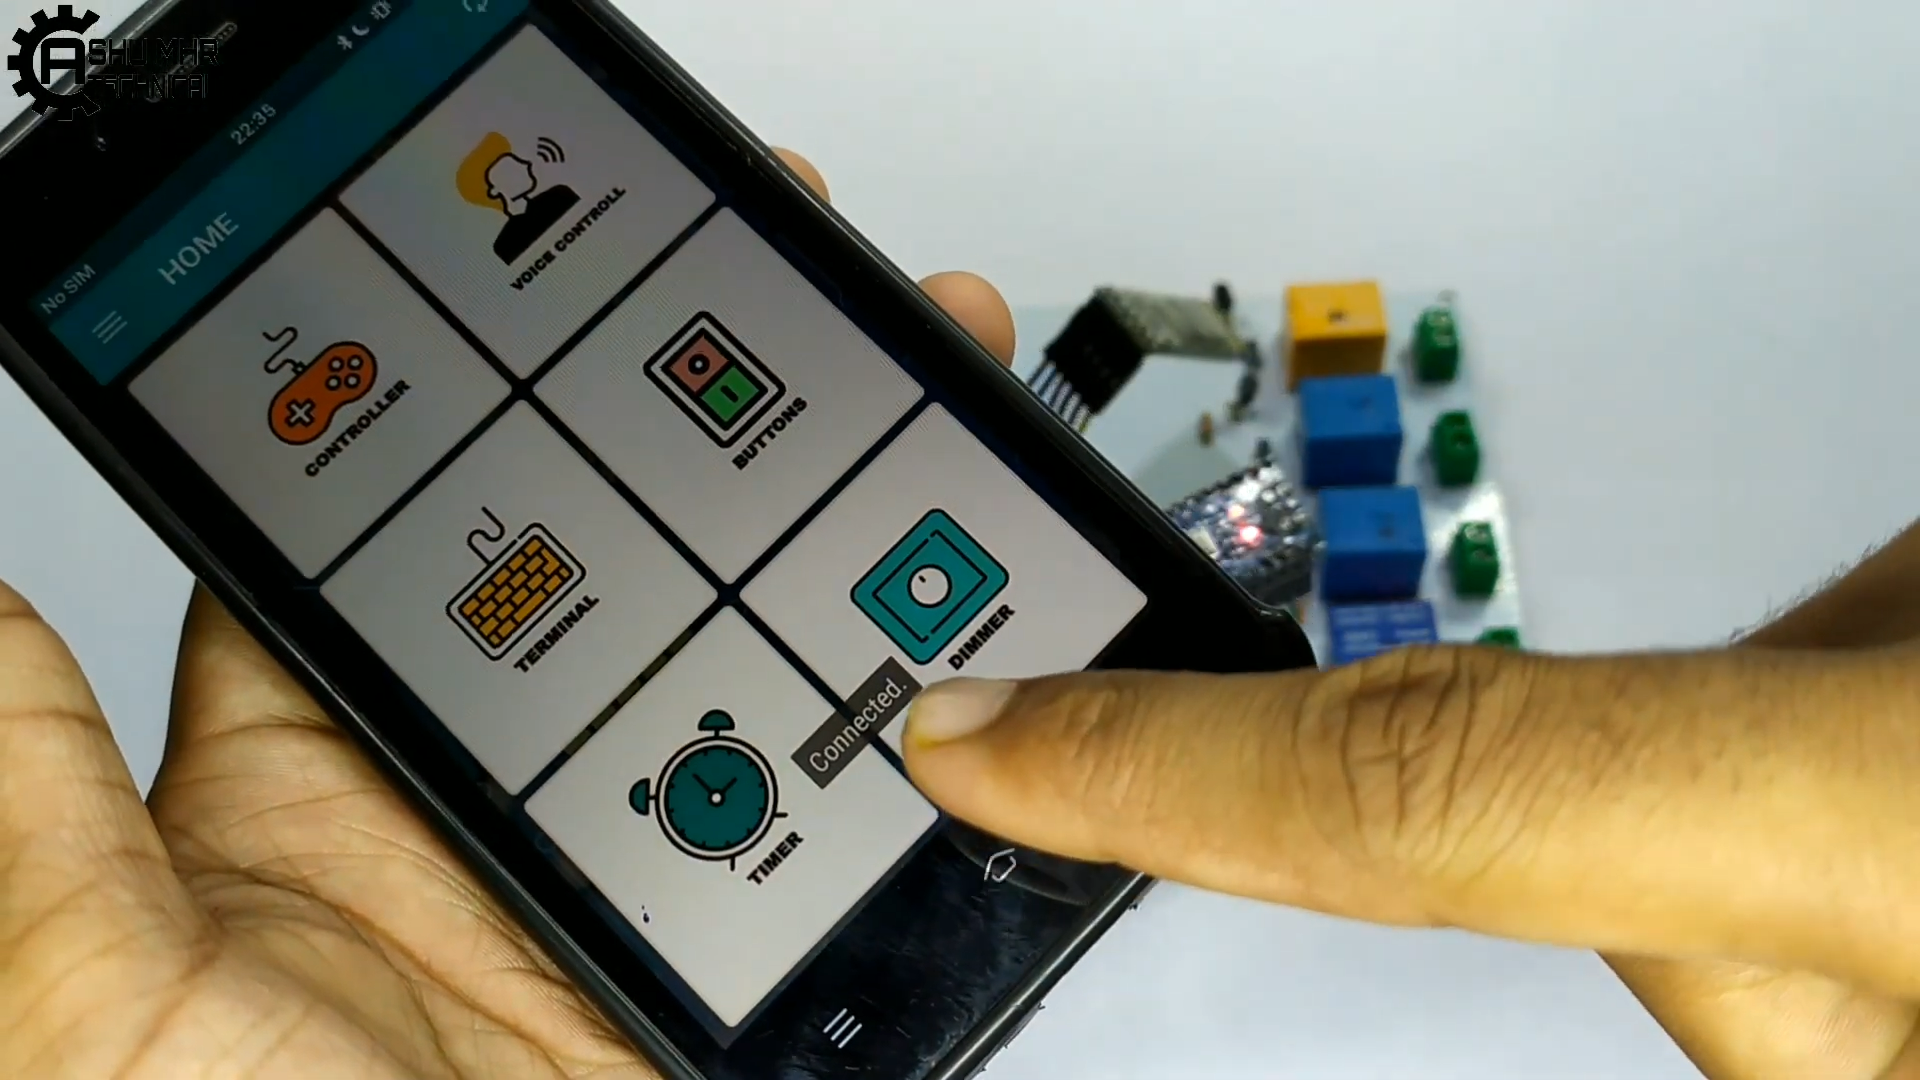
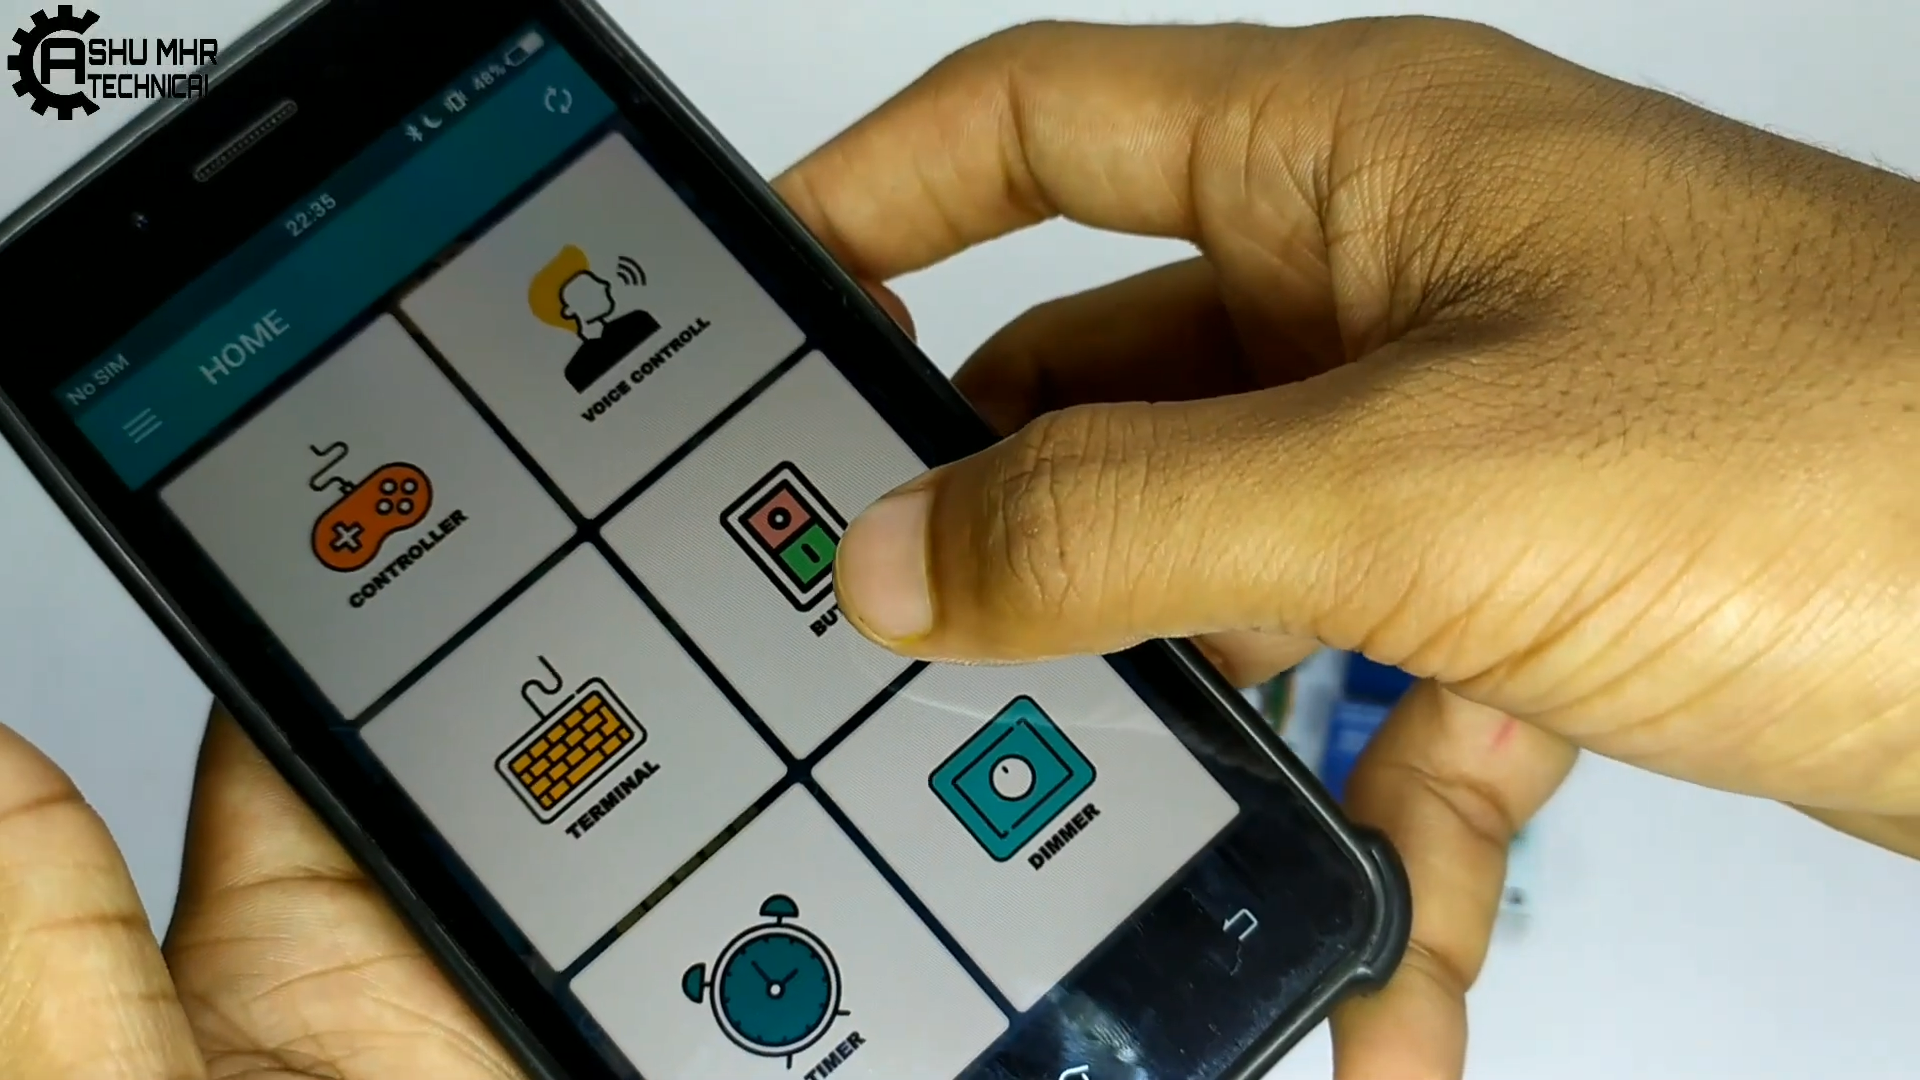
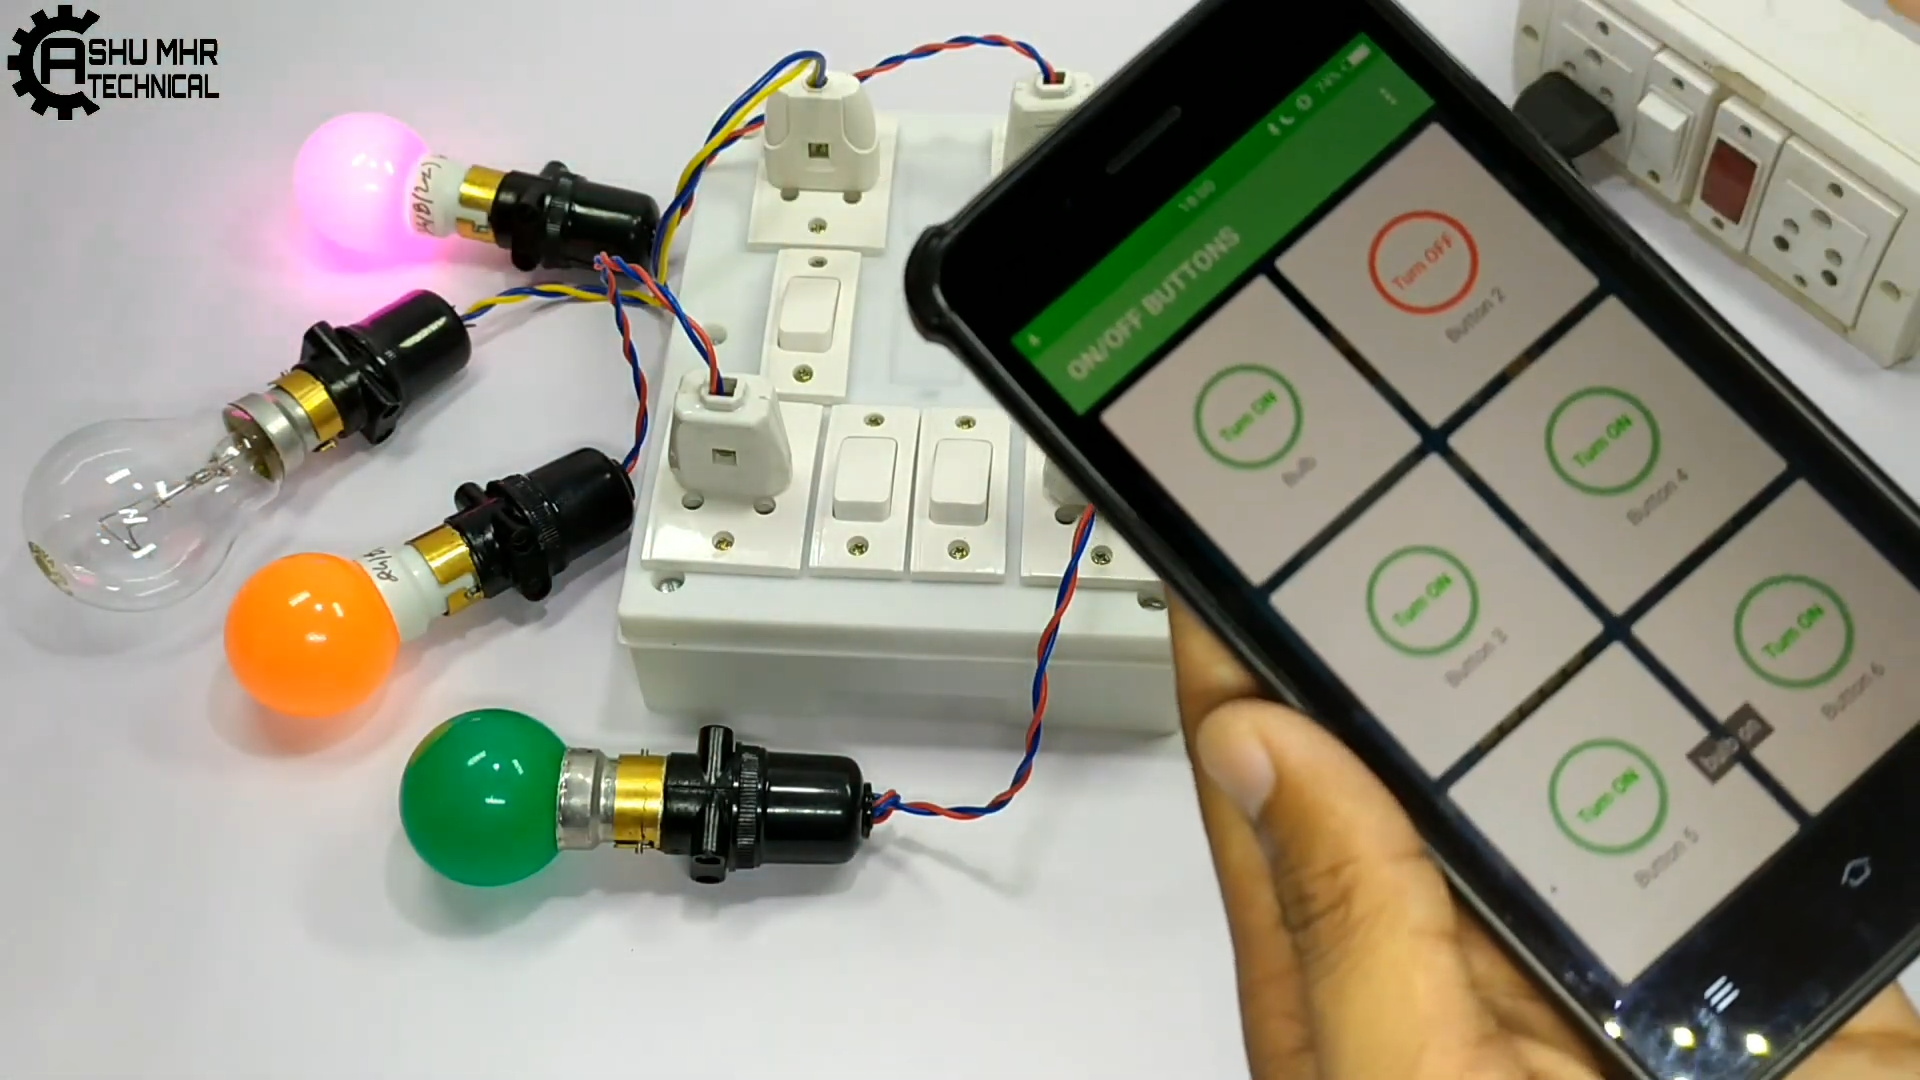
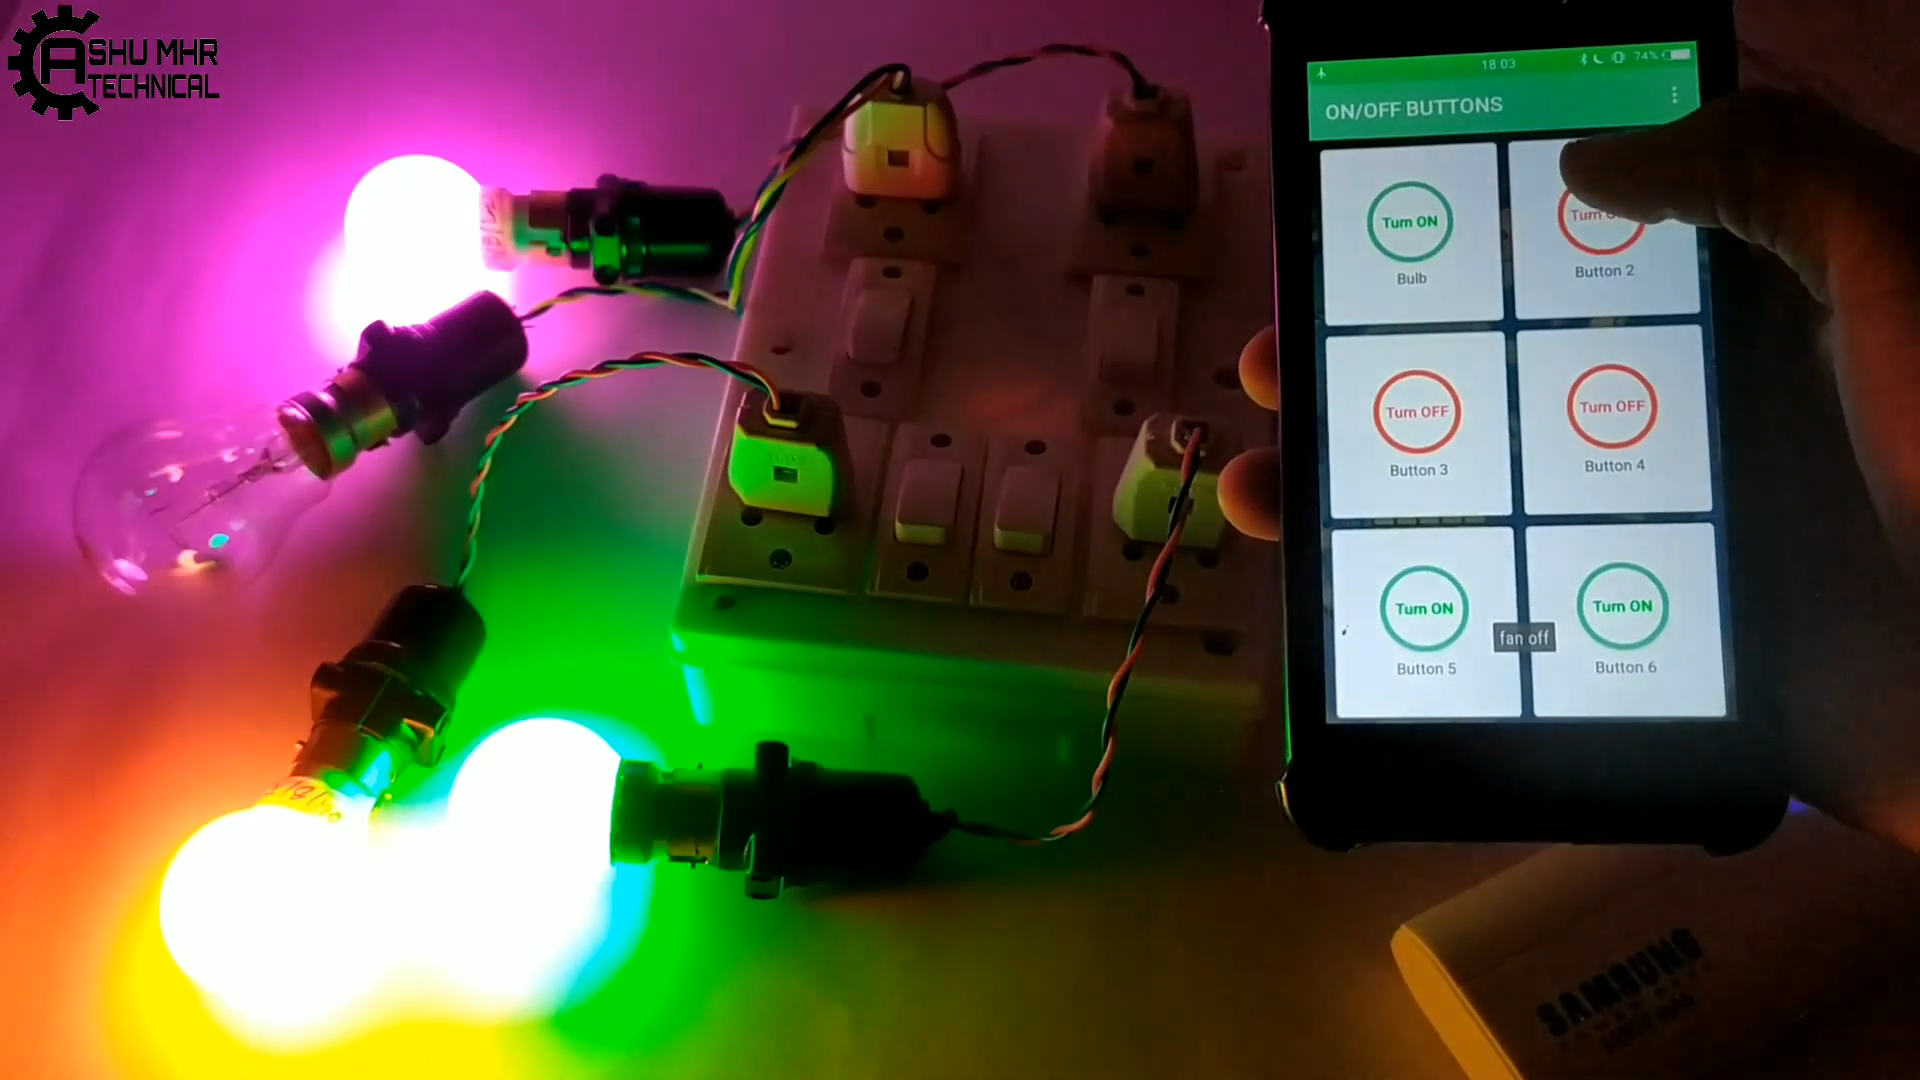
- A home automation system typically connects controlled devices to a central smart home hub. The user interface for control of the system uses a mobile phone application. Bluetooth Controlled Electronic Home Appliances is a simple project, where we can control different electrical appliances and electronic devices using an Android device with the help of Bluetooth Technology.
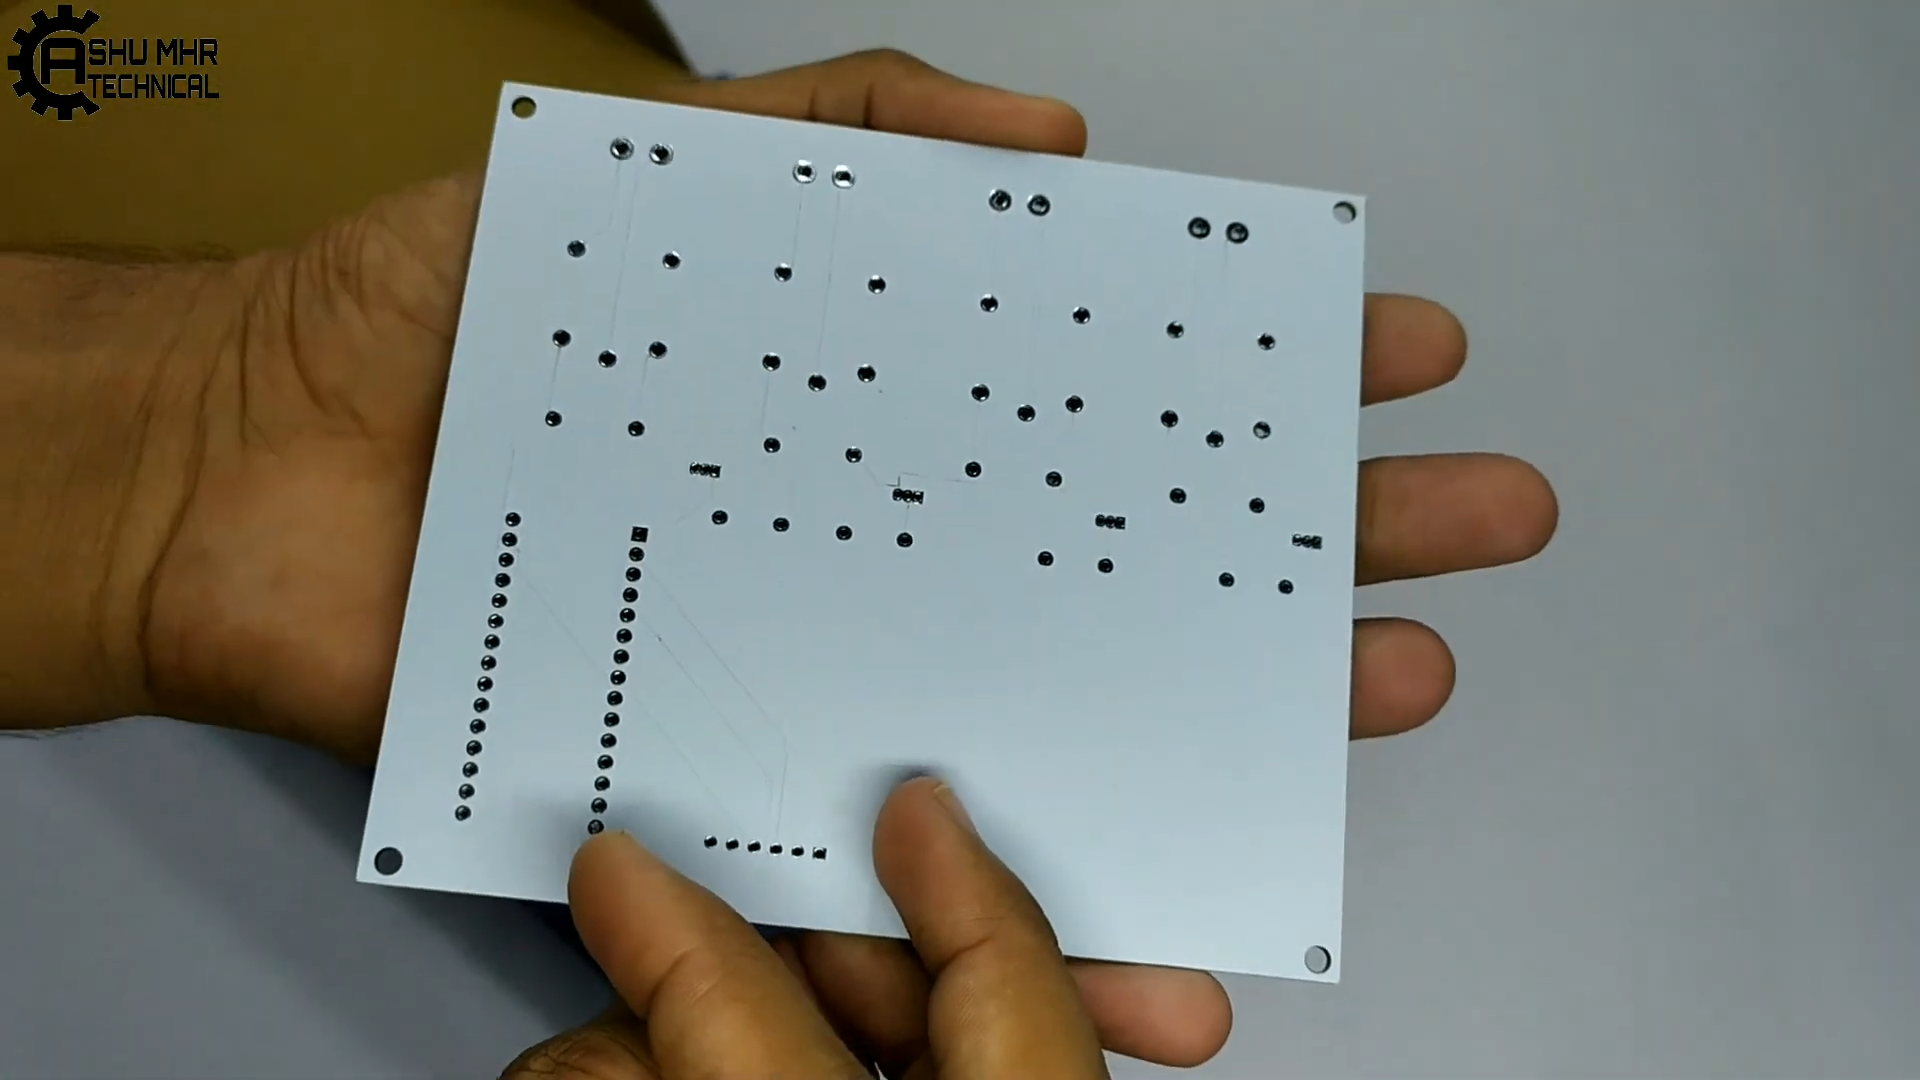
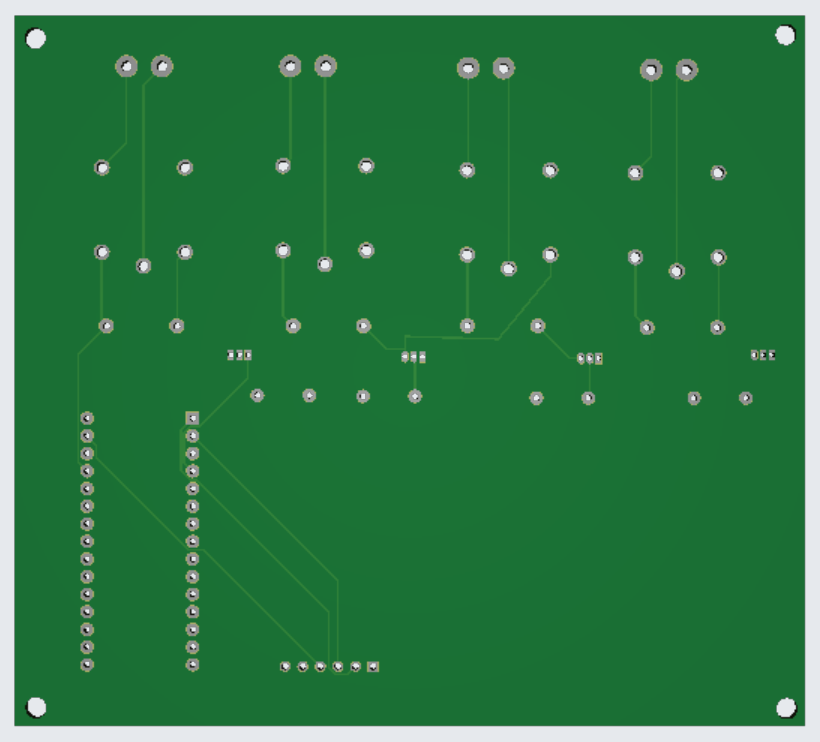
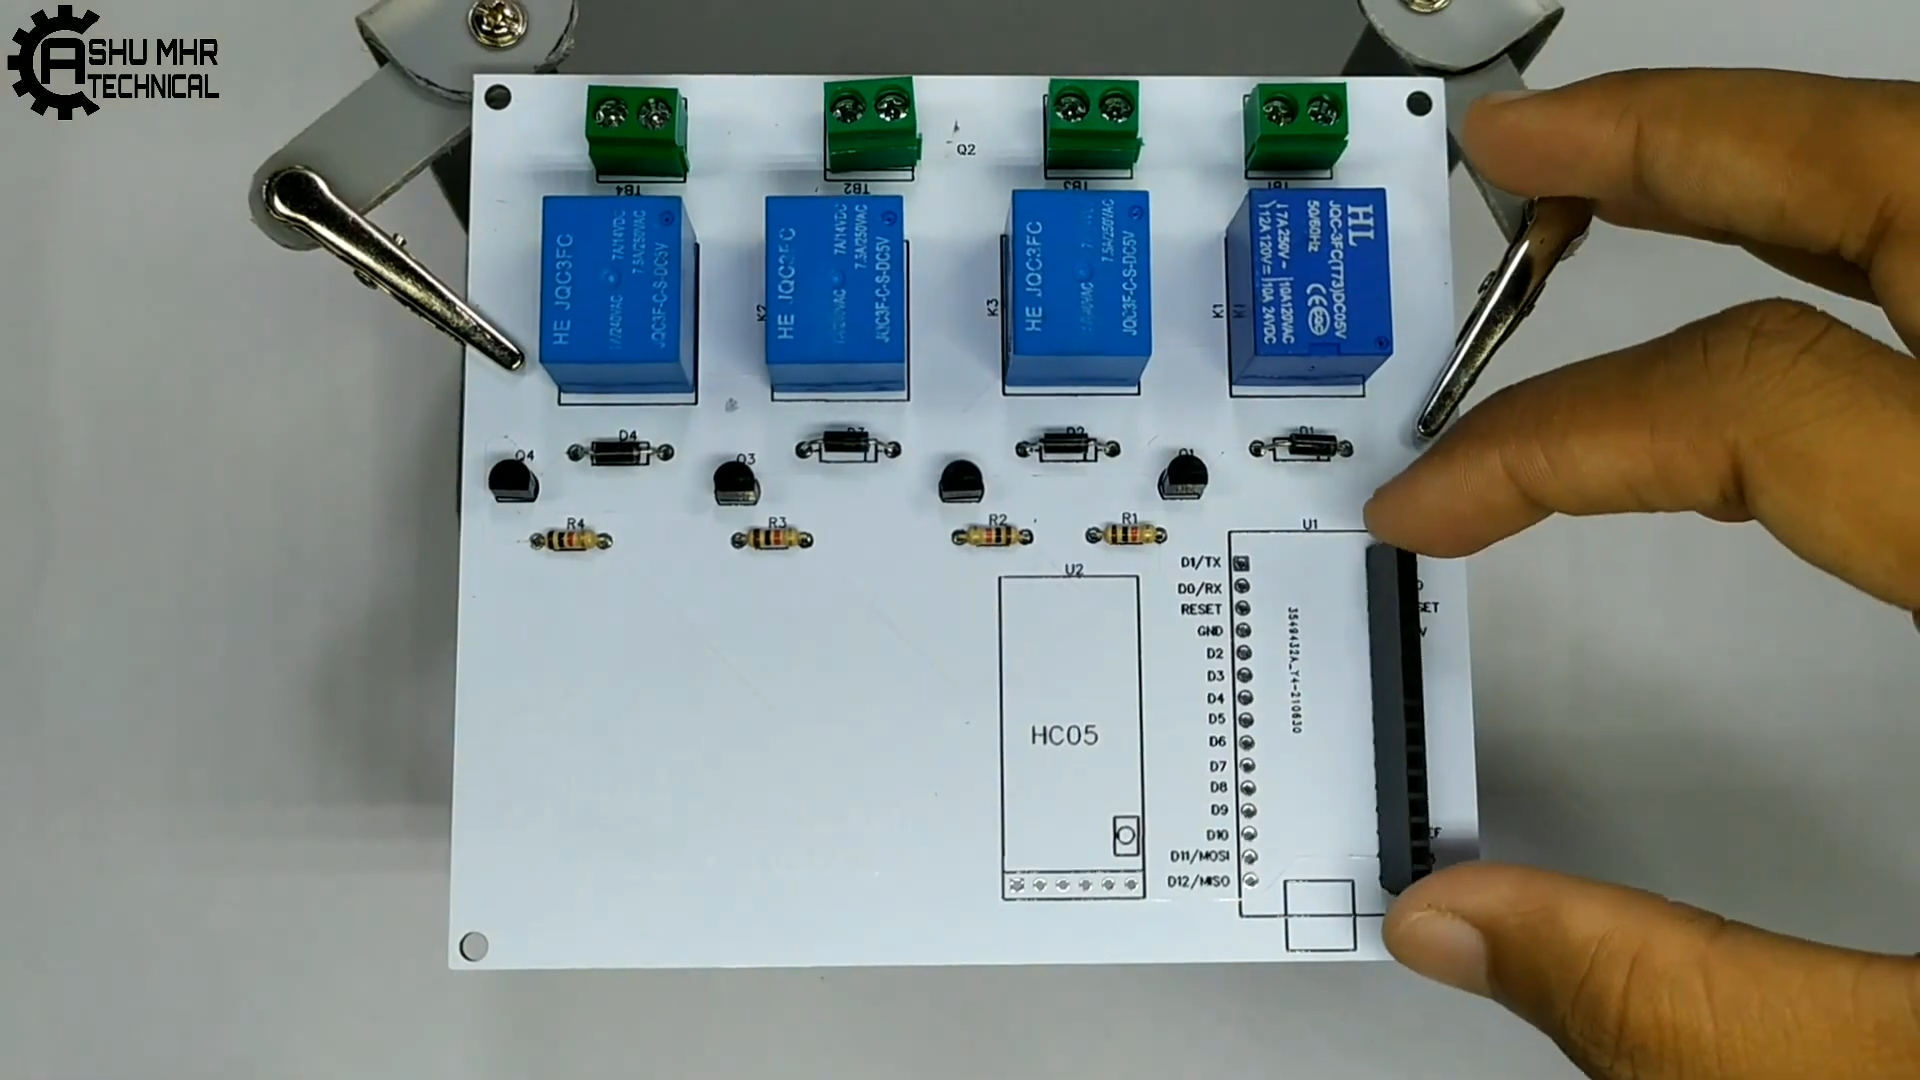
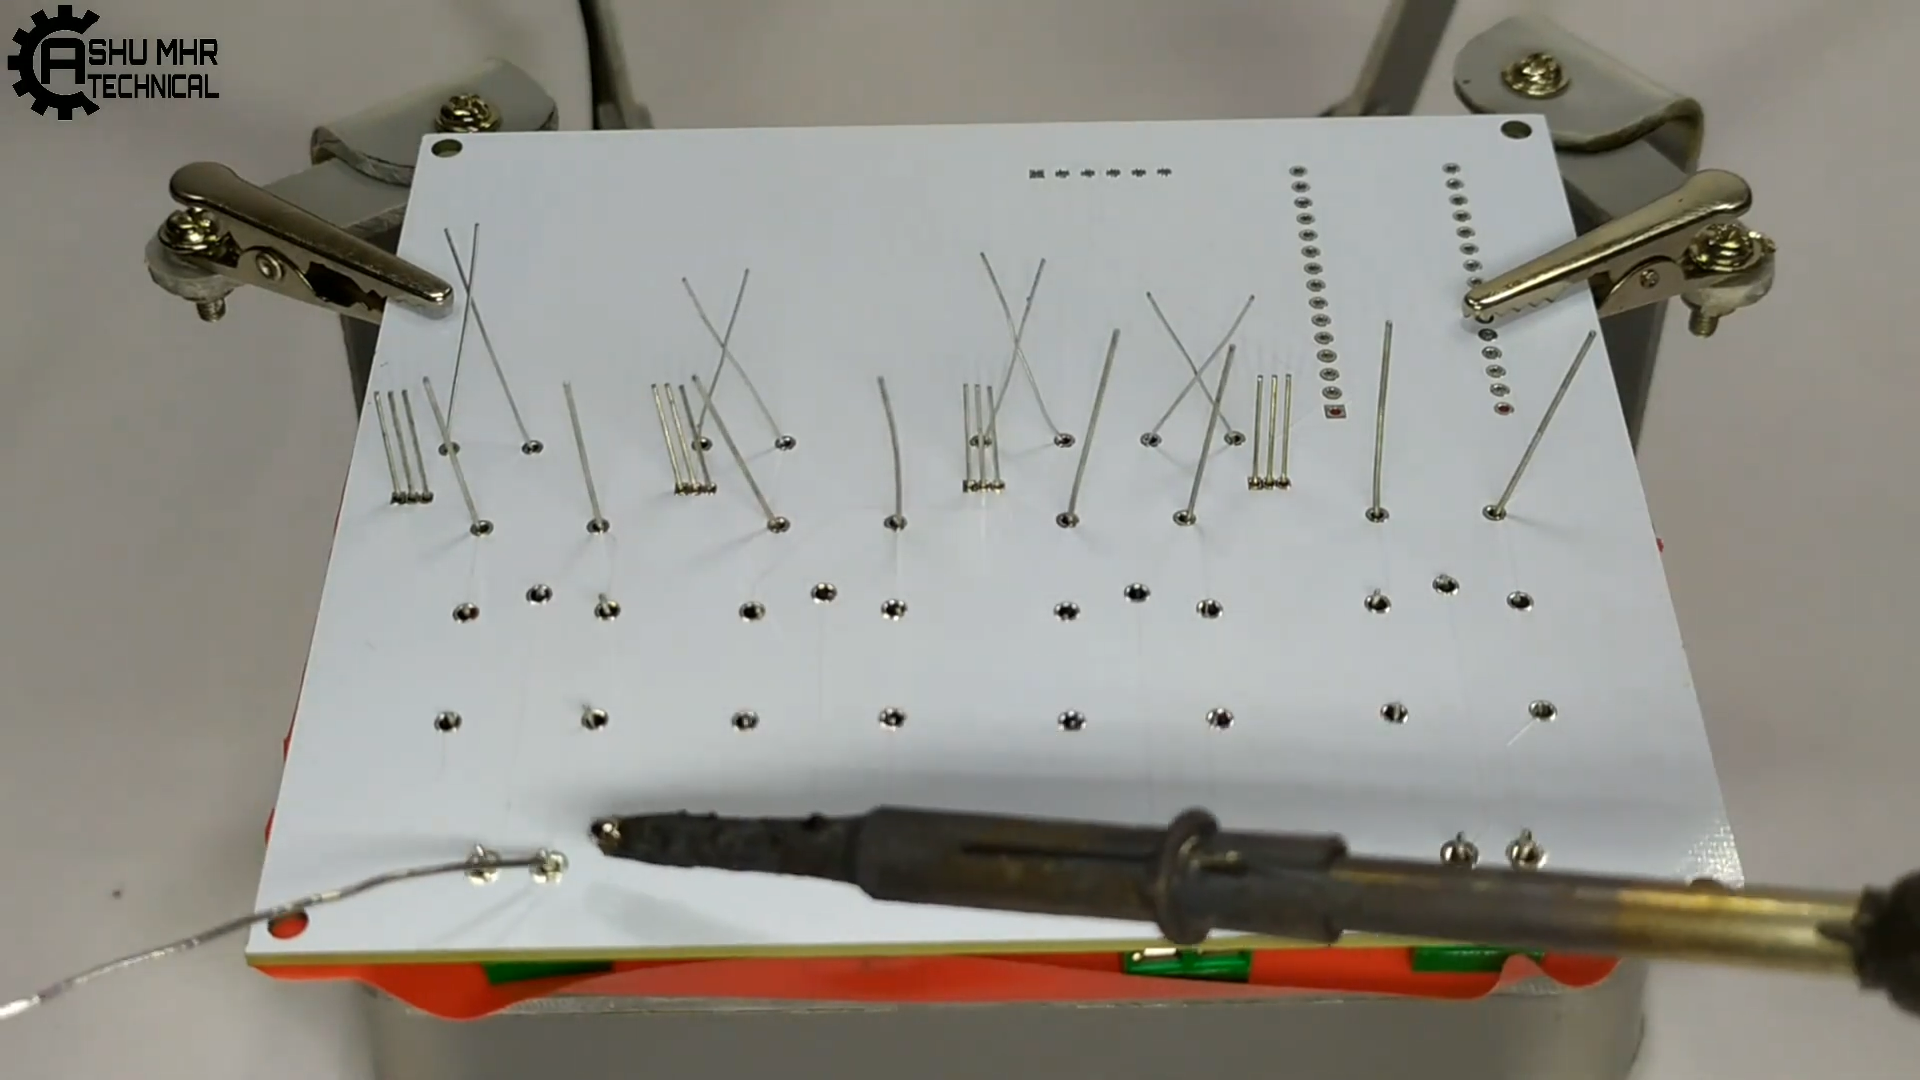
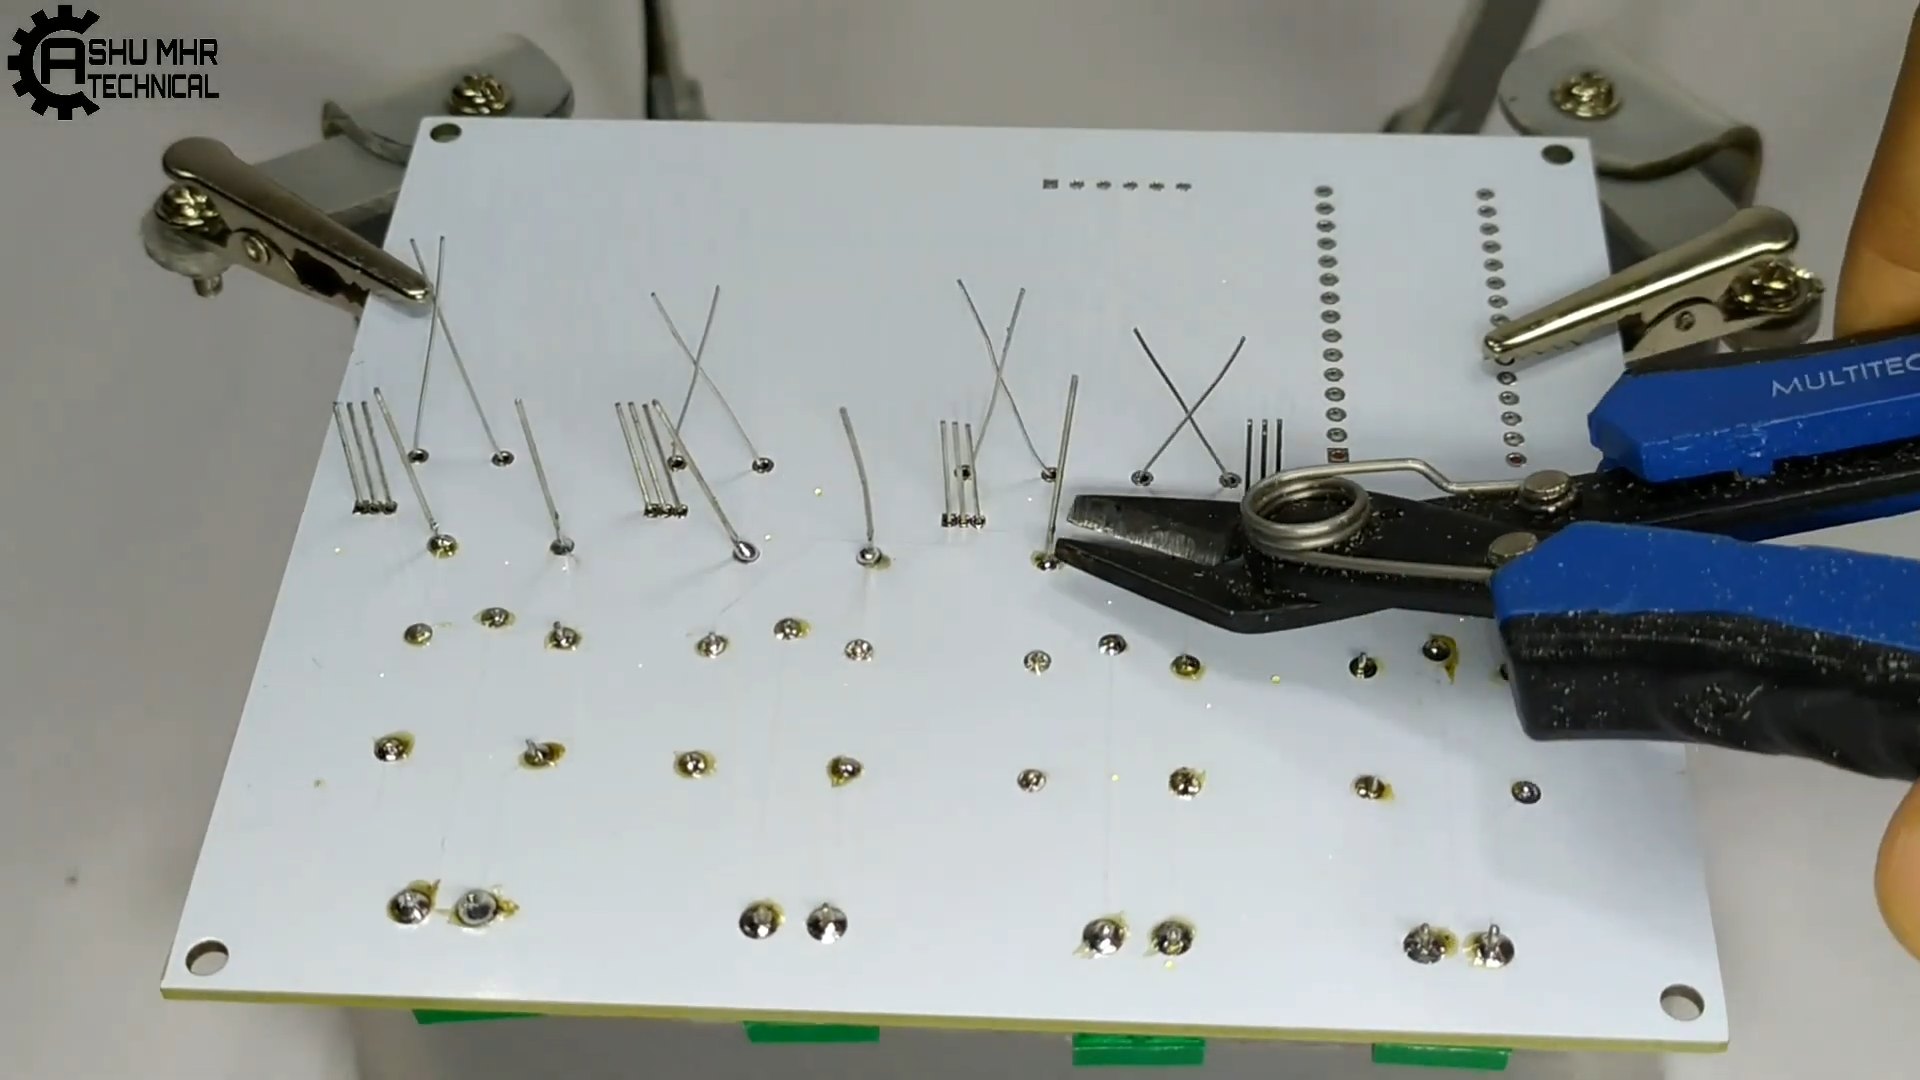
- By following this guide, you will be able to know and make your smart extension board. This project guide contains the files necessary to help you step by step produce your own Smart Extension Board. Please follow the steps of the project to get a positive result.
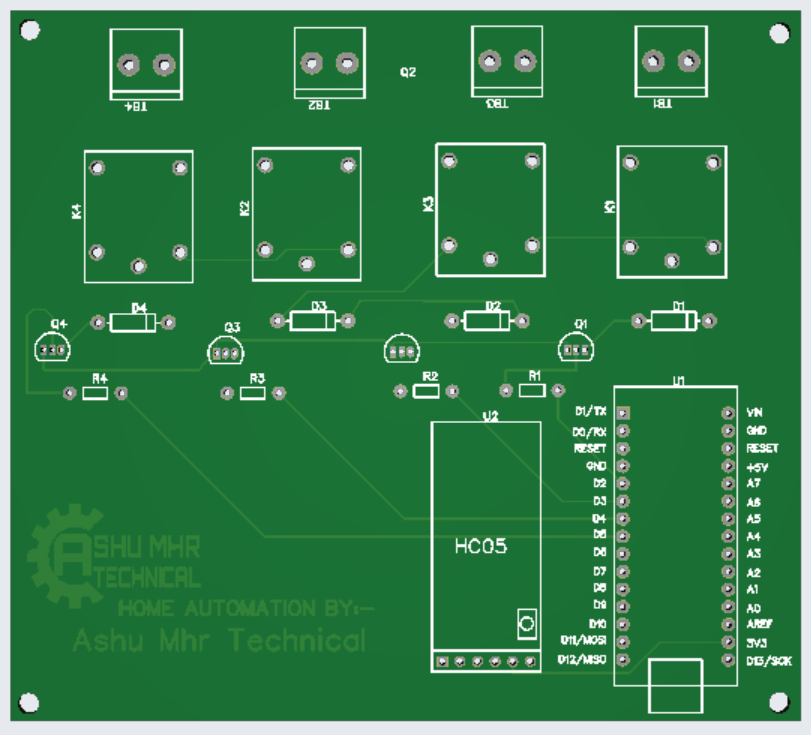
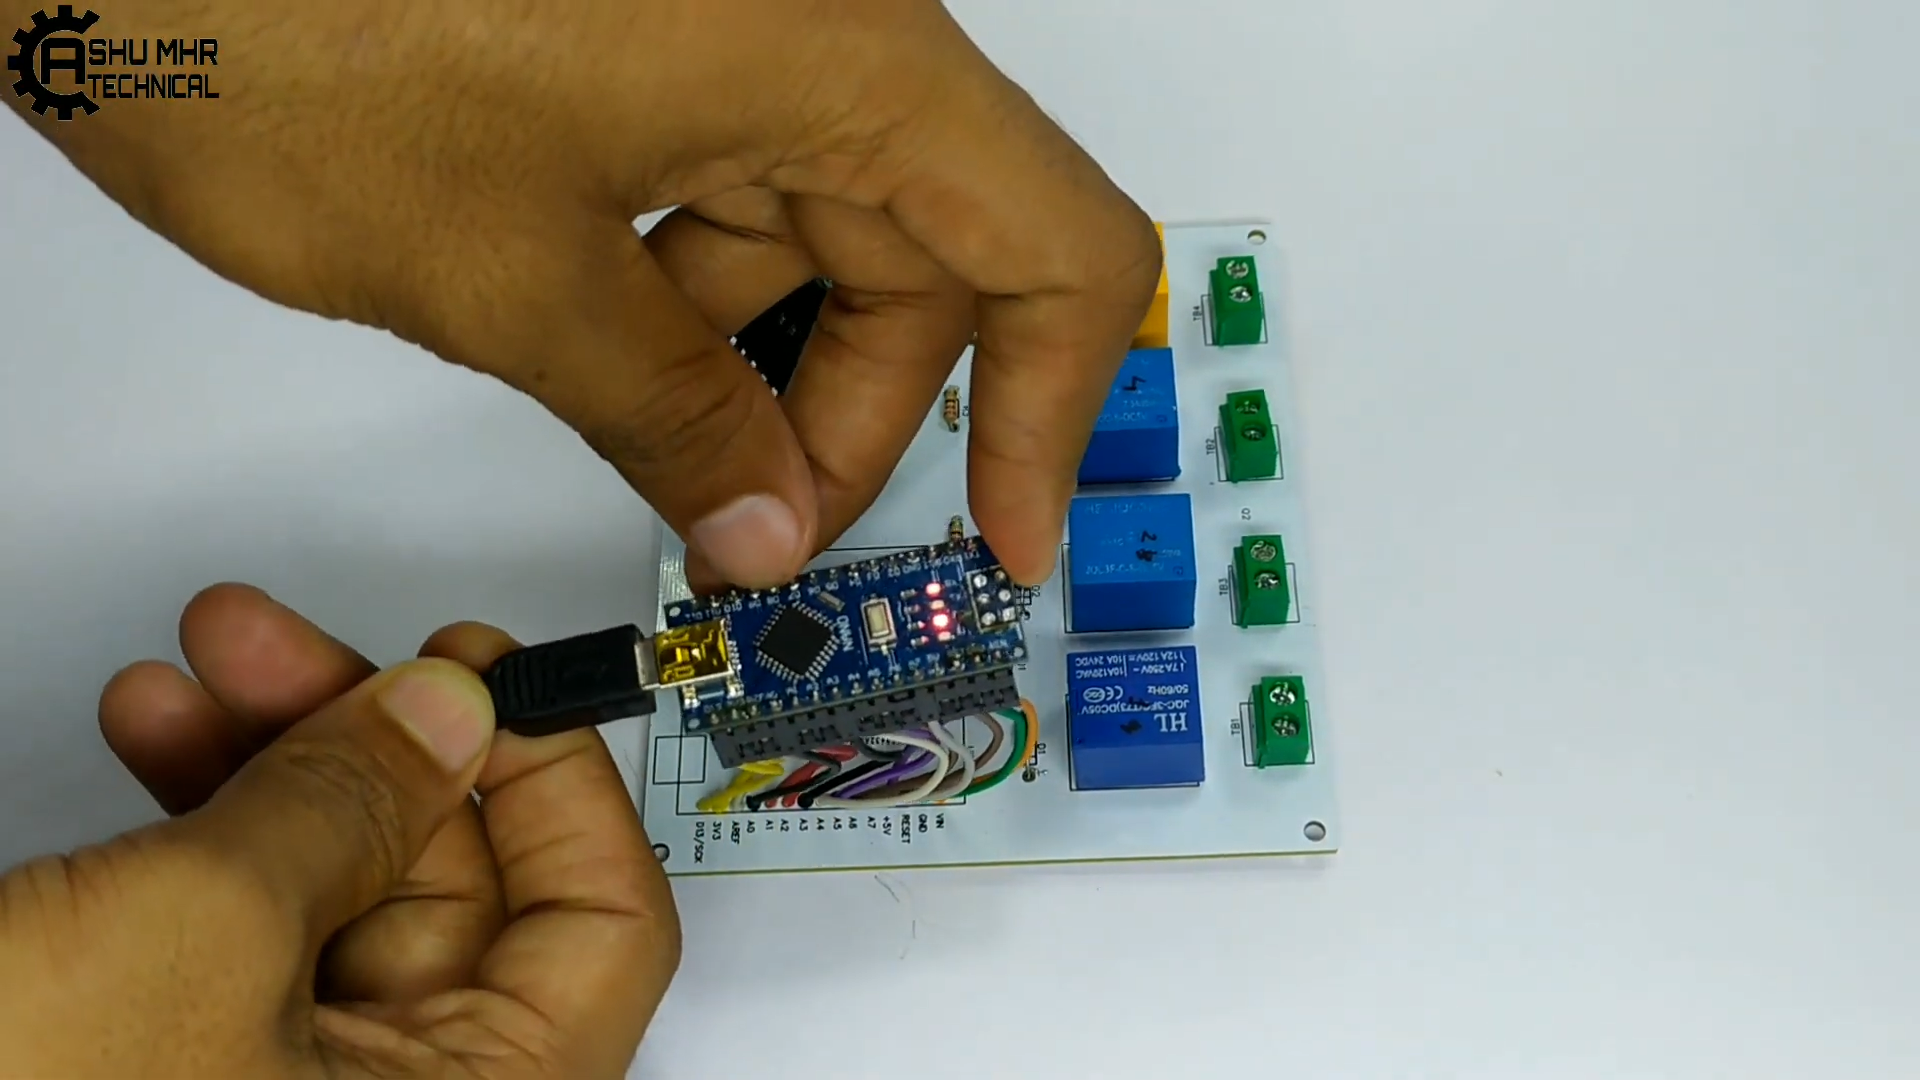
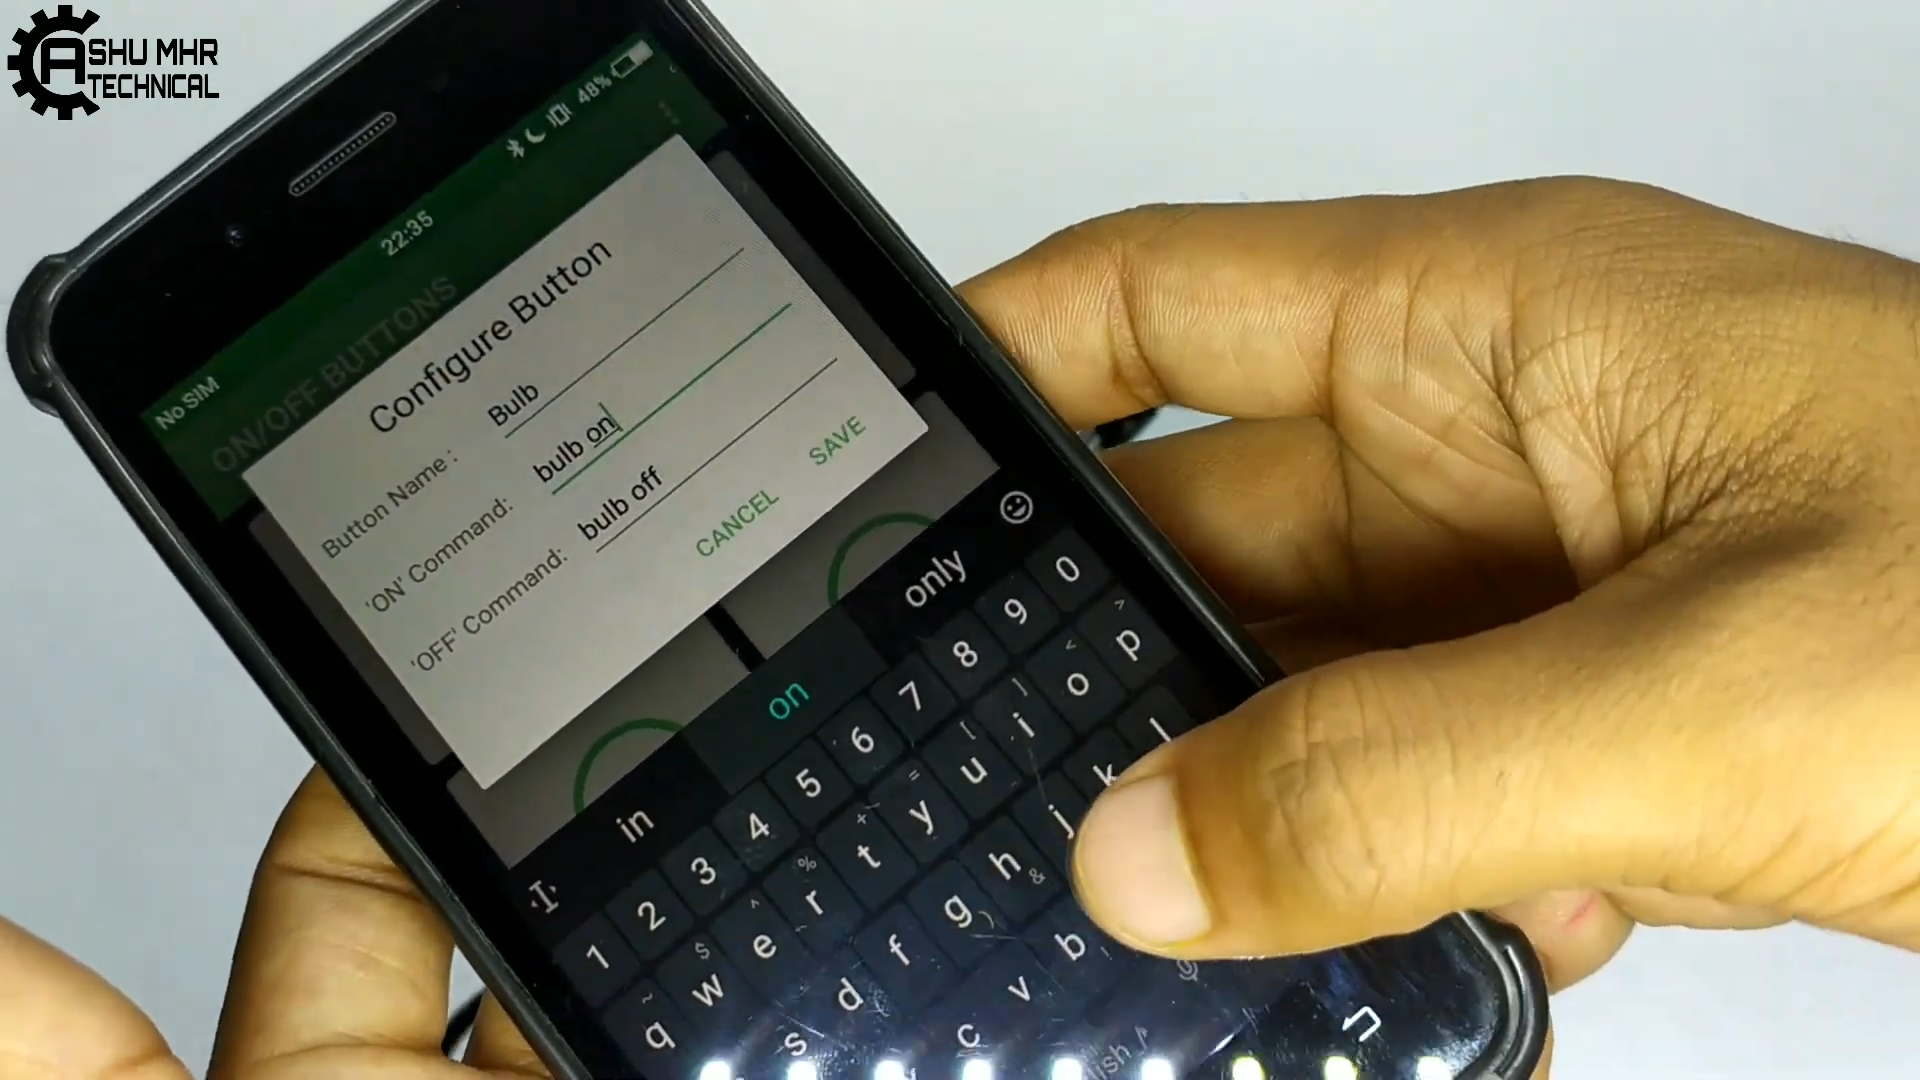
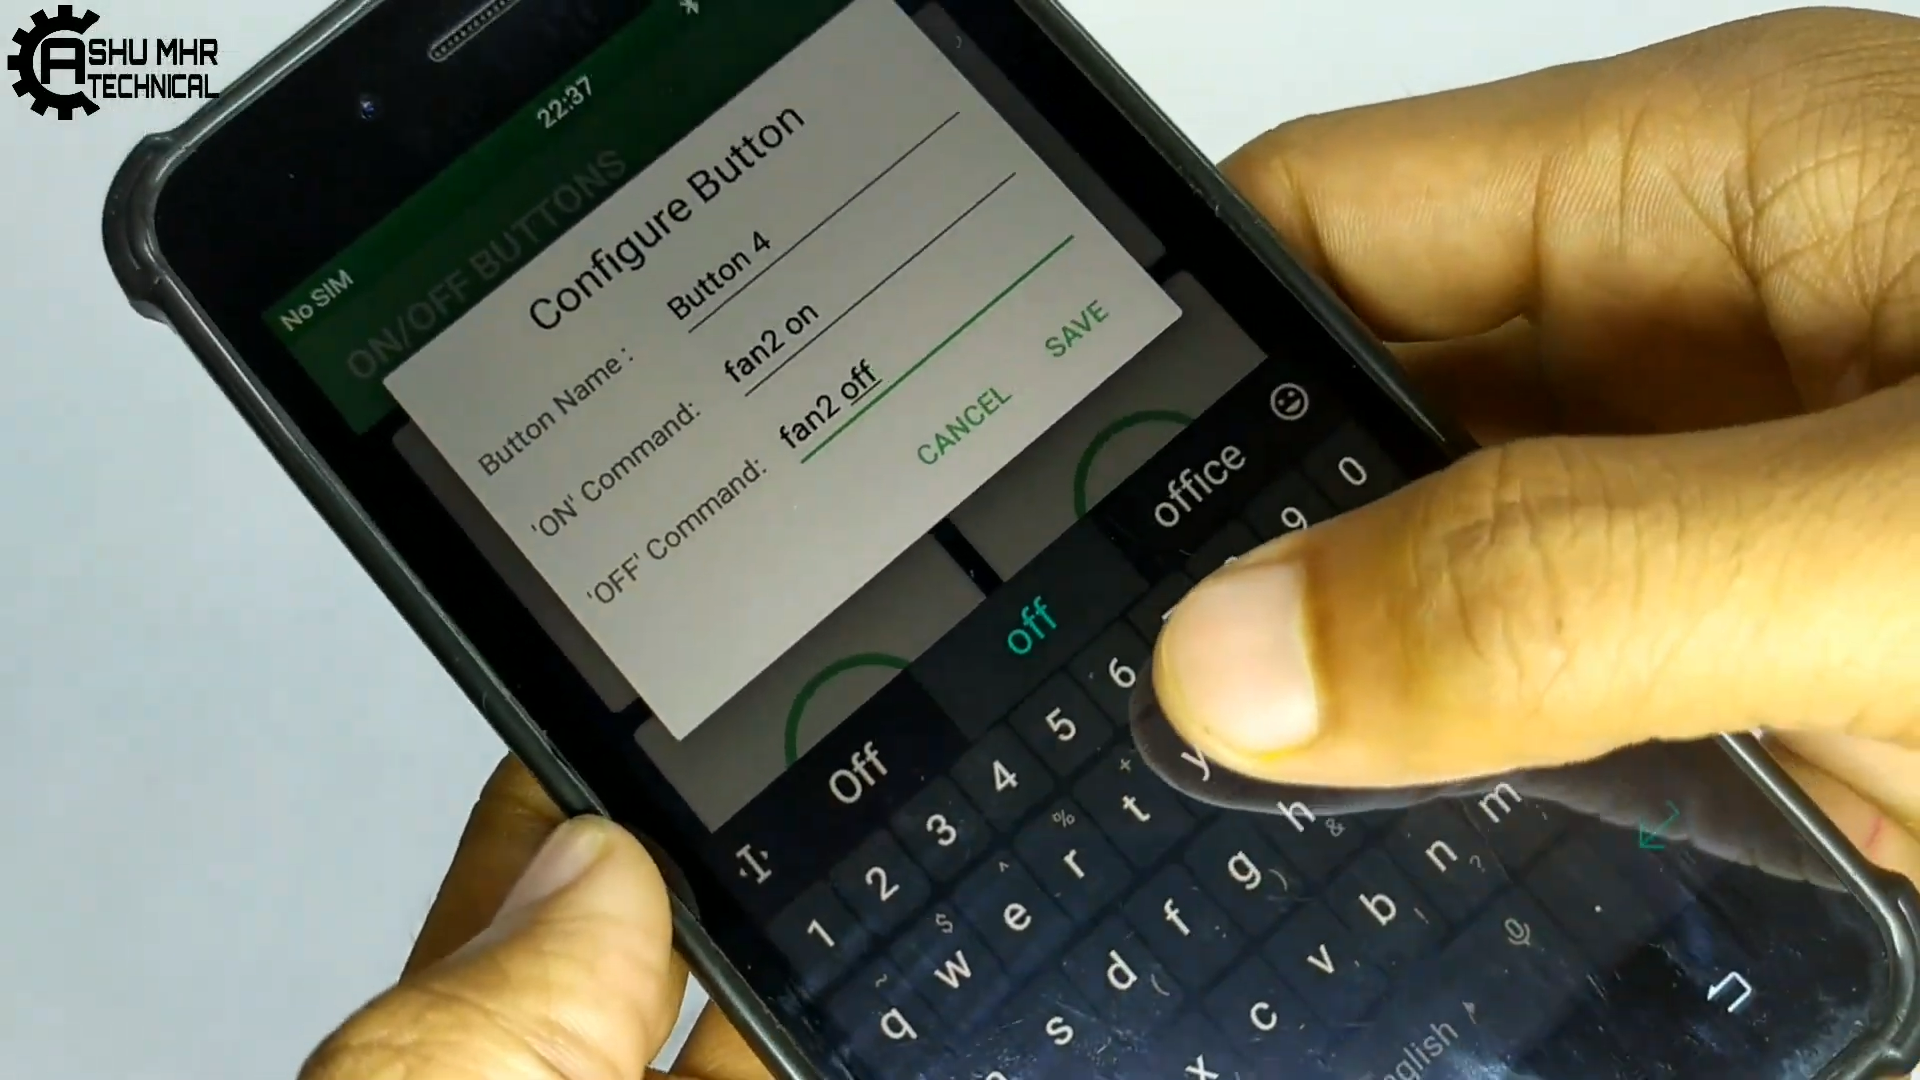
- Users should install an Android application in the user’s mobile to control the electrical loads. Using this Android application users can send the commands to the Bluetooth module to control the electrical loads. Bluetooth is used in this project... It can also be called a “Smart Extension Board” or “Android-based Home Automation System"
_4DLvW1nXnh.png?auto=compress%2Cformat&w=740&h=555&fit=max)
_zJshWDw4Vv.png?auto=compress%2Cformat&w=740&h=555&fit=max)
_lW0AbxsMdz.png?auto=compress%2Cformat&w=740&h=555&fit=max)


_1PBFefg2fC.png?auto=compress%2Cformat&w=740&h=555&fit=max)

_lhgfhaaxV1.png?auto=compress%2Cformat&w=740&h=555&fit=max)

_UjmnI8EcgJ.png?auto=compress%2Cformat&w=740&h=555&fit=max)


_5kEhtV5lQH.png?auto=compress%2Cformat&w=740&h=555&fit=max)


_4nFF5lXu7y.png?auto=compress%2Cformat&w=740&h=555&fit=max)

 wombatics
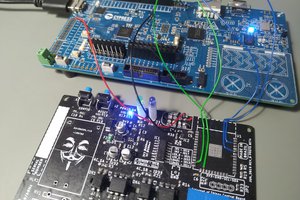
 Pedro Minatel
 CiferTech