Øystein
-
CAD and template
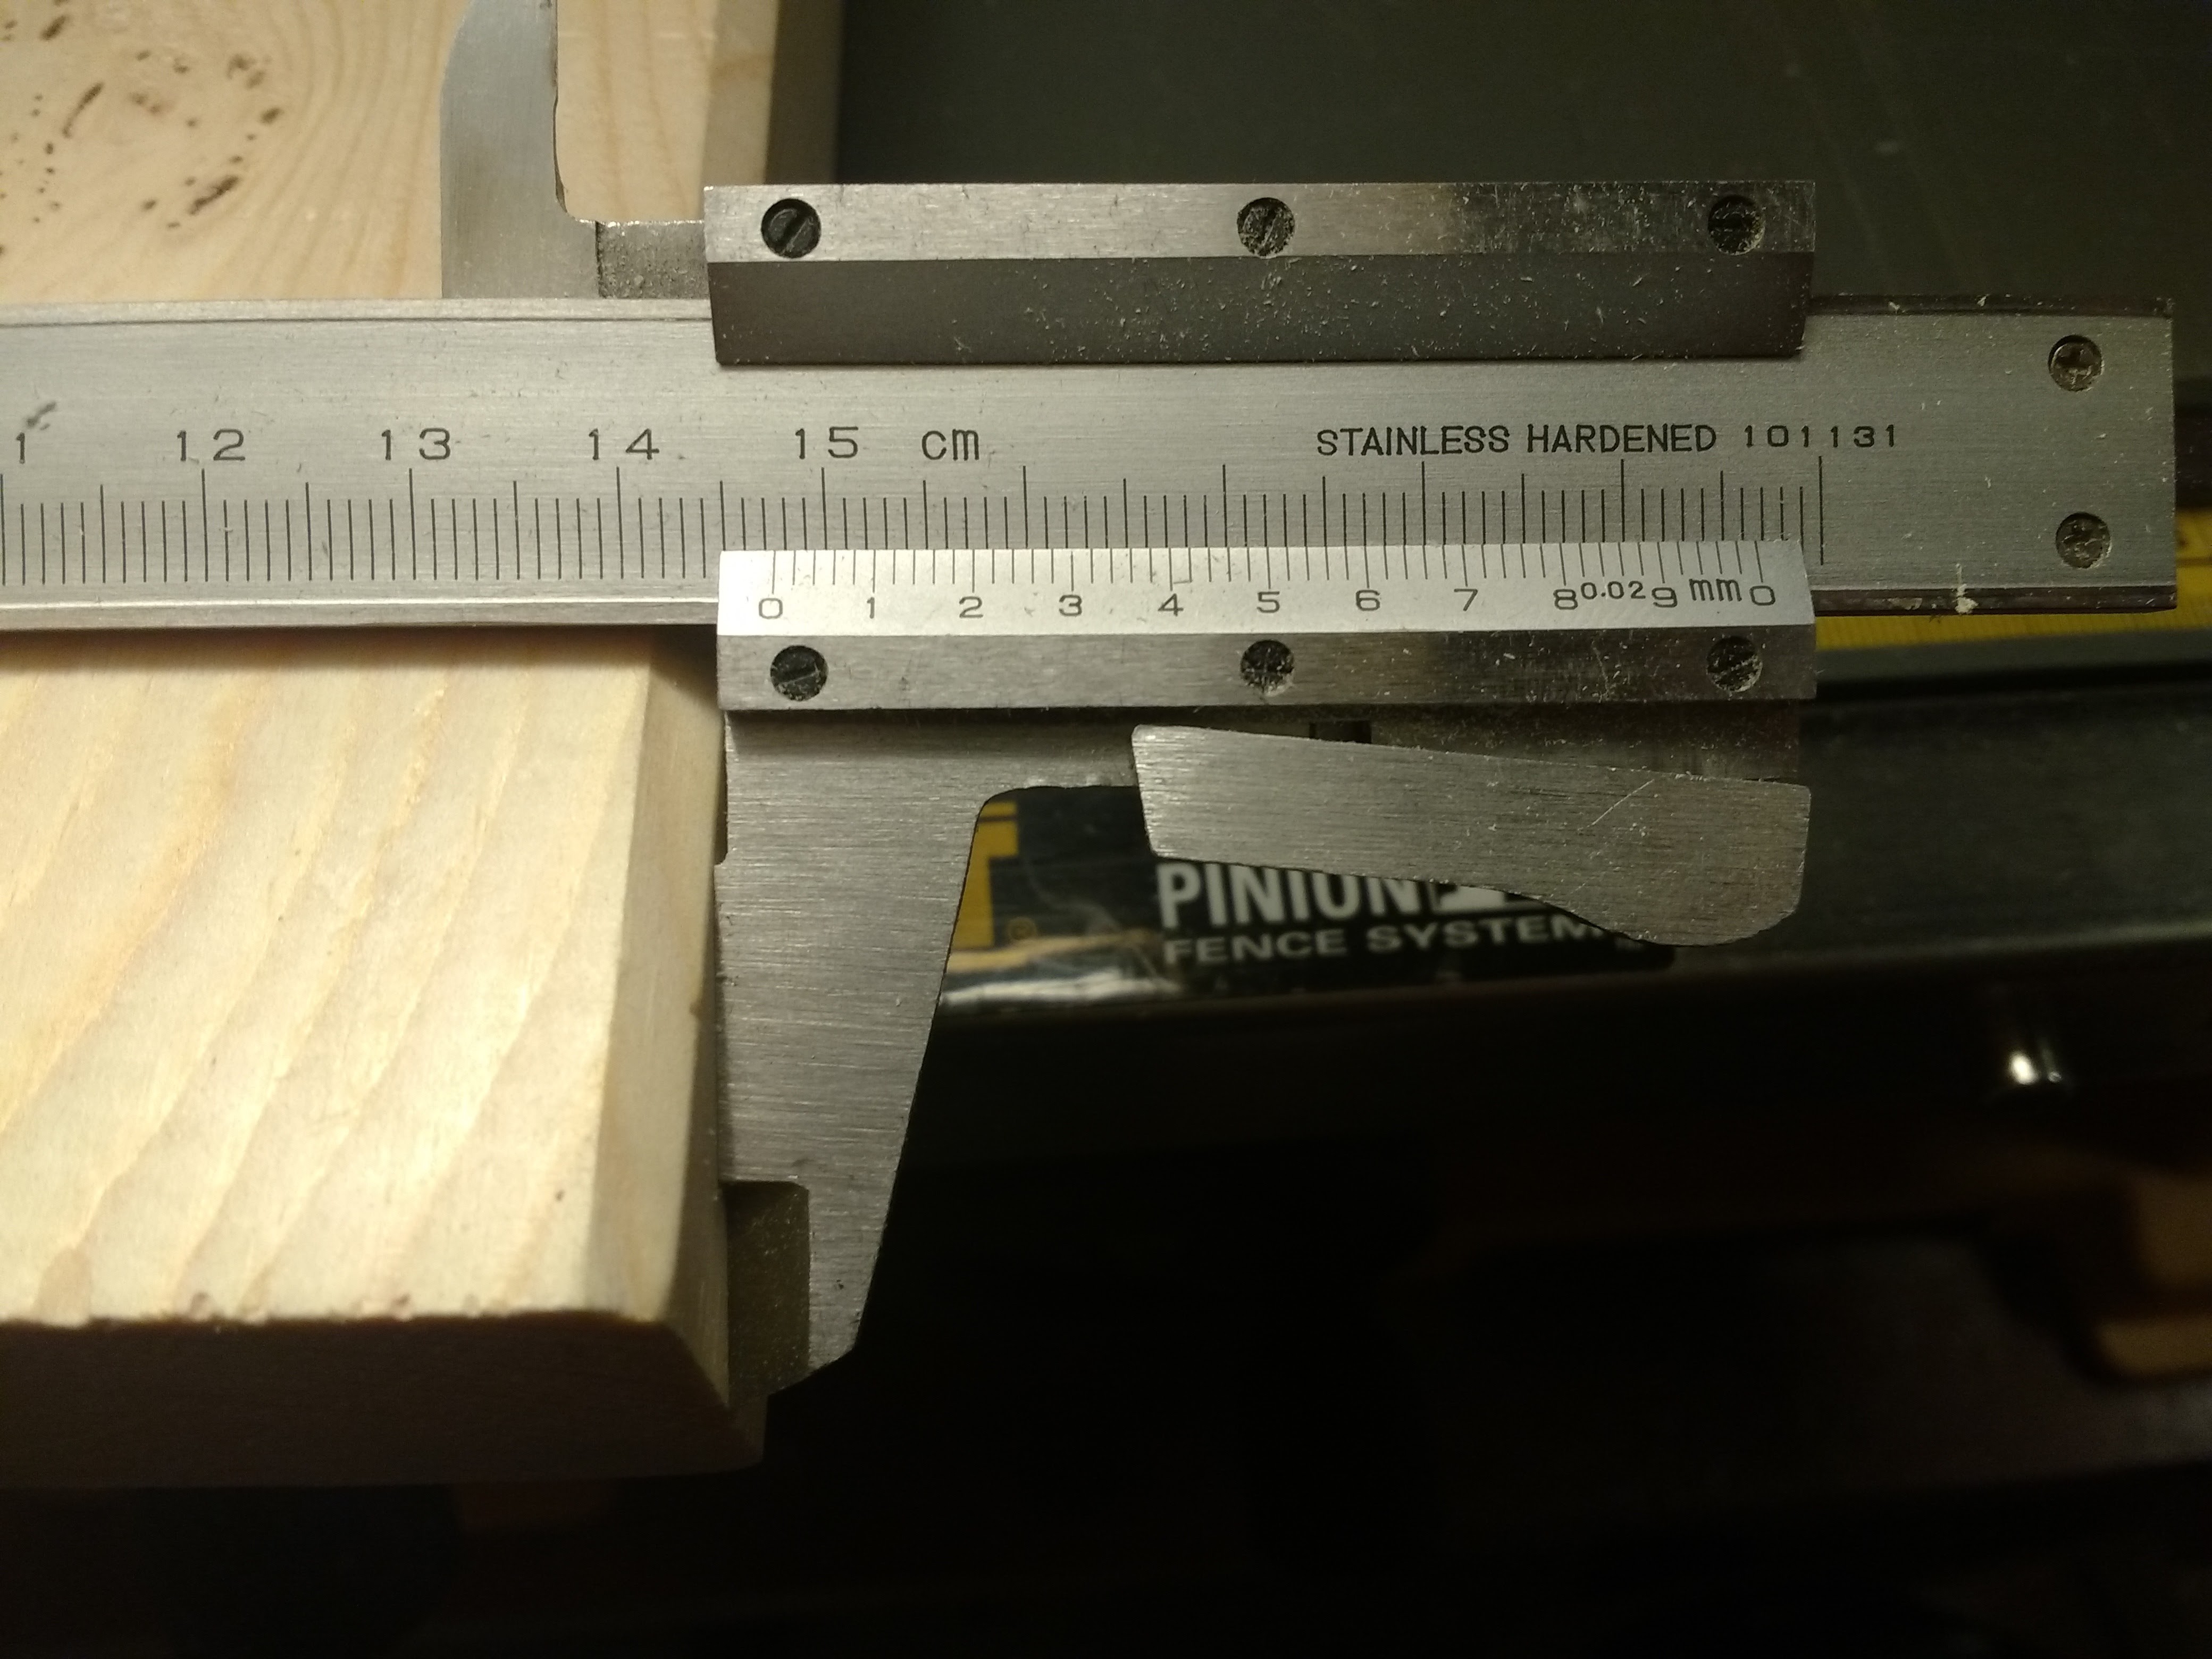
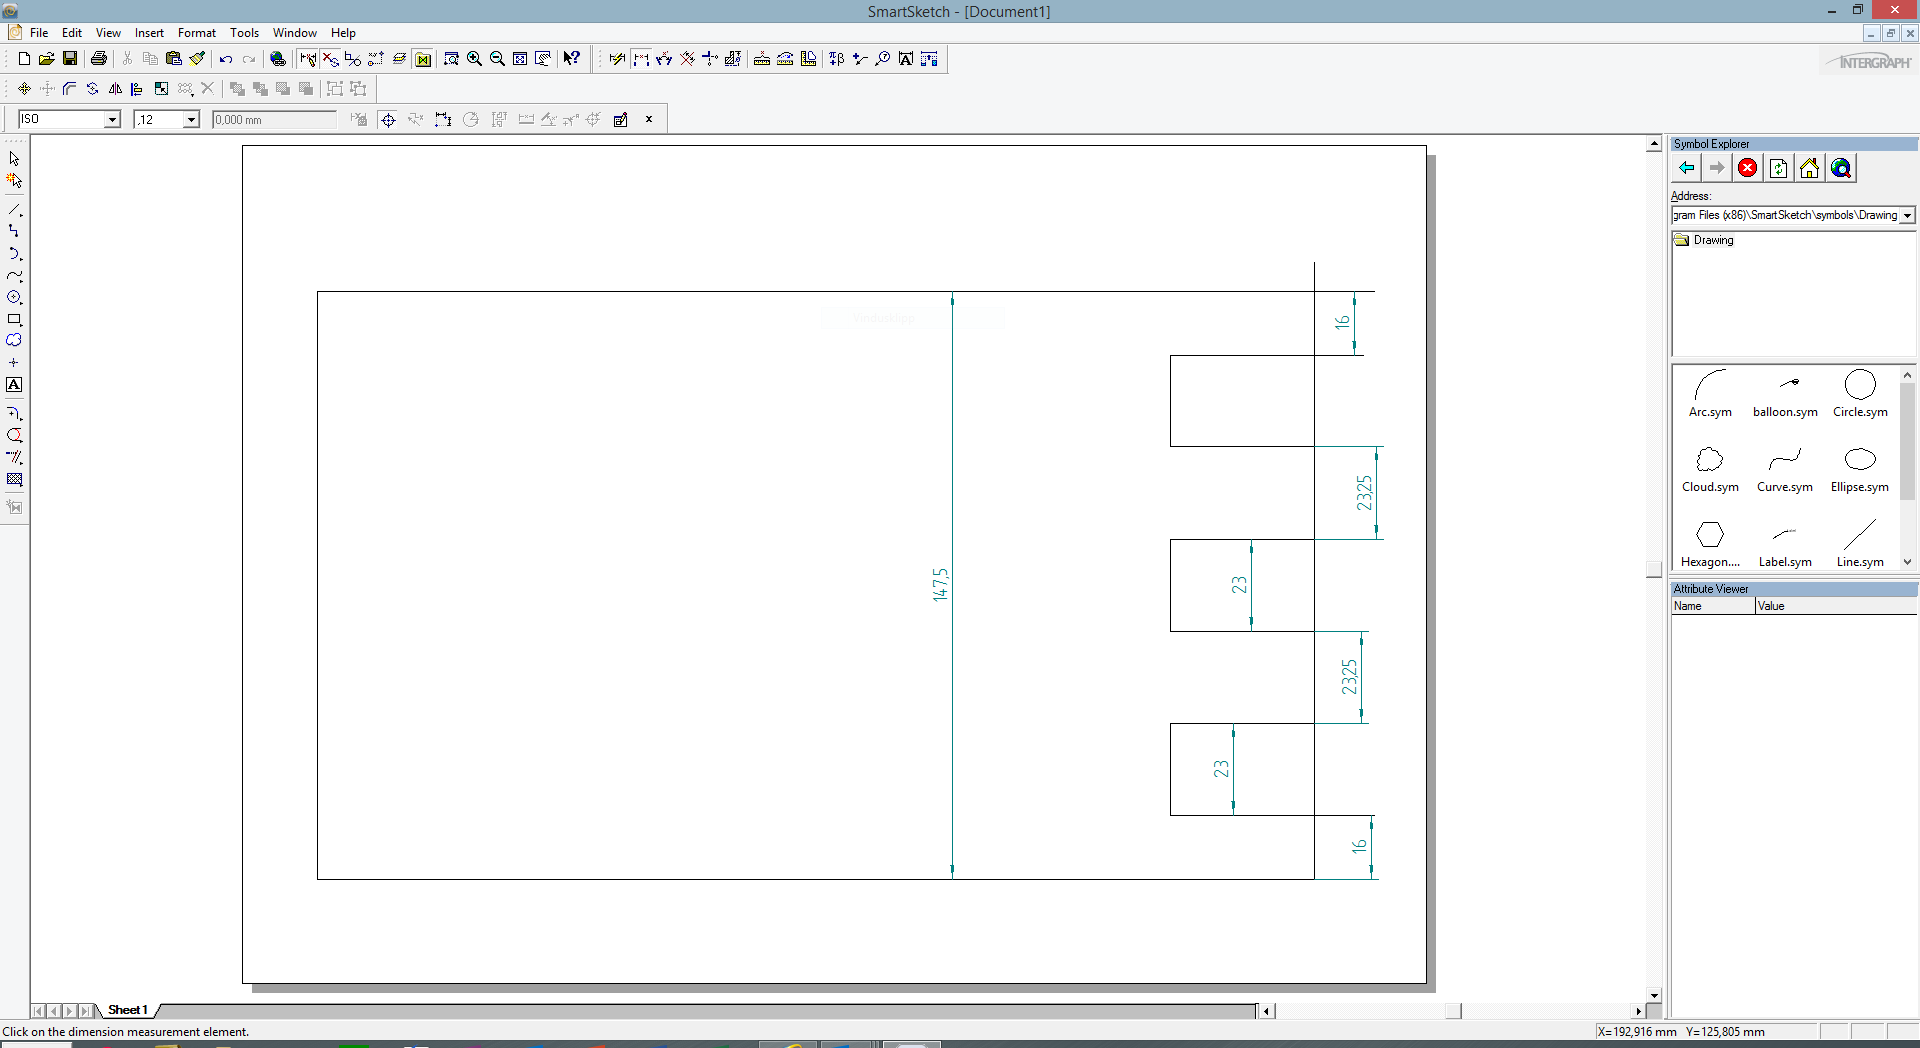
12/18/2016 at 21:43 • 0 commentsStarted with the CAD work today. I am using CAD to make a custom template for the finger joint. First, Smartsketch was used to make a 2d representation. But even before that I did a thing to I hav e learned from previous mistakes. Measure even if you have a precut material from the store! The wood was supposed to be 148millimeters but it was actually 147.5 millimeters.
![]()
The image shows 147.6 but when it was as doublechecked it was 147.5. Then Vcarve was used to make a file readable from the CNC machine.
![]()
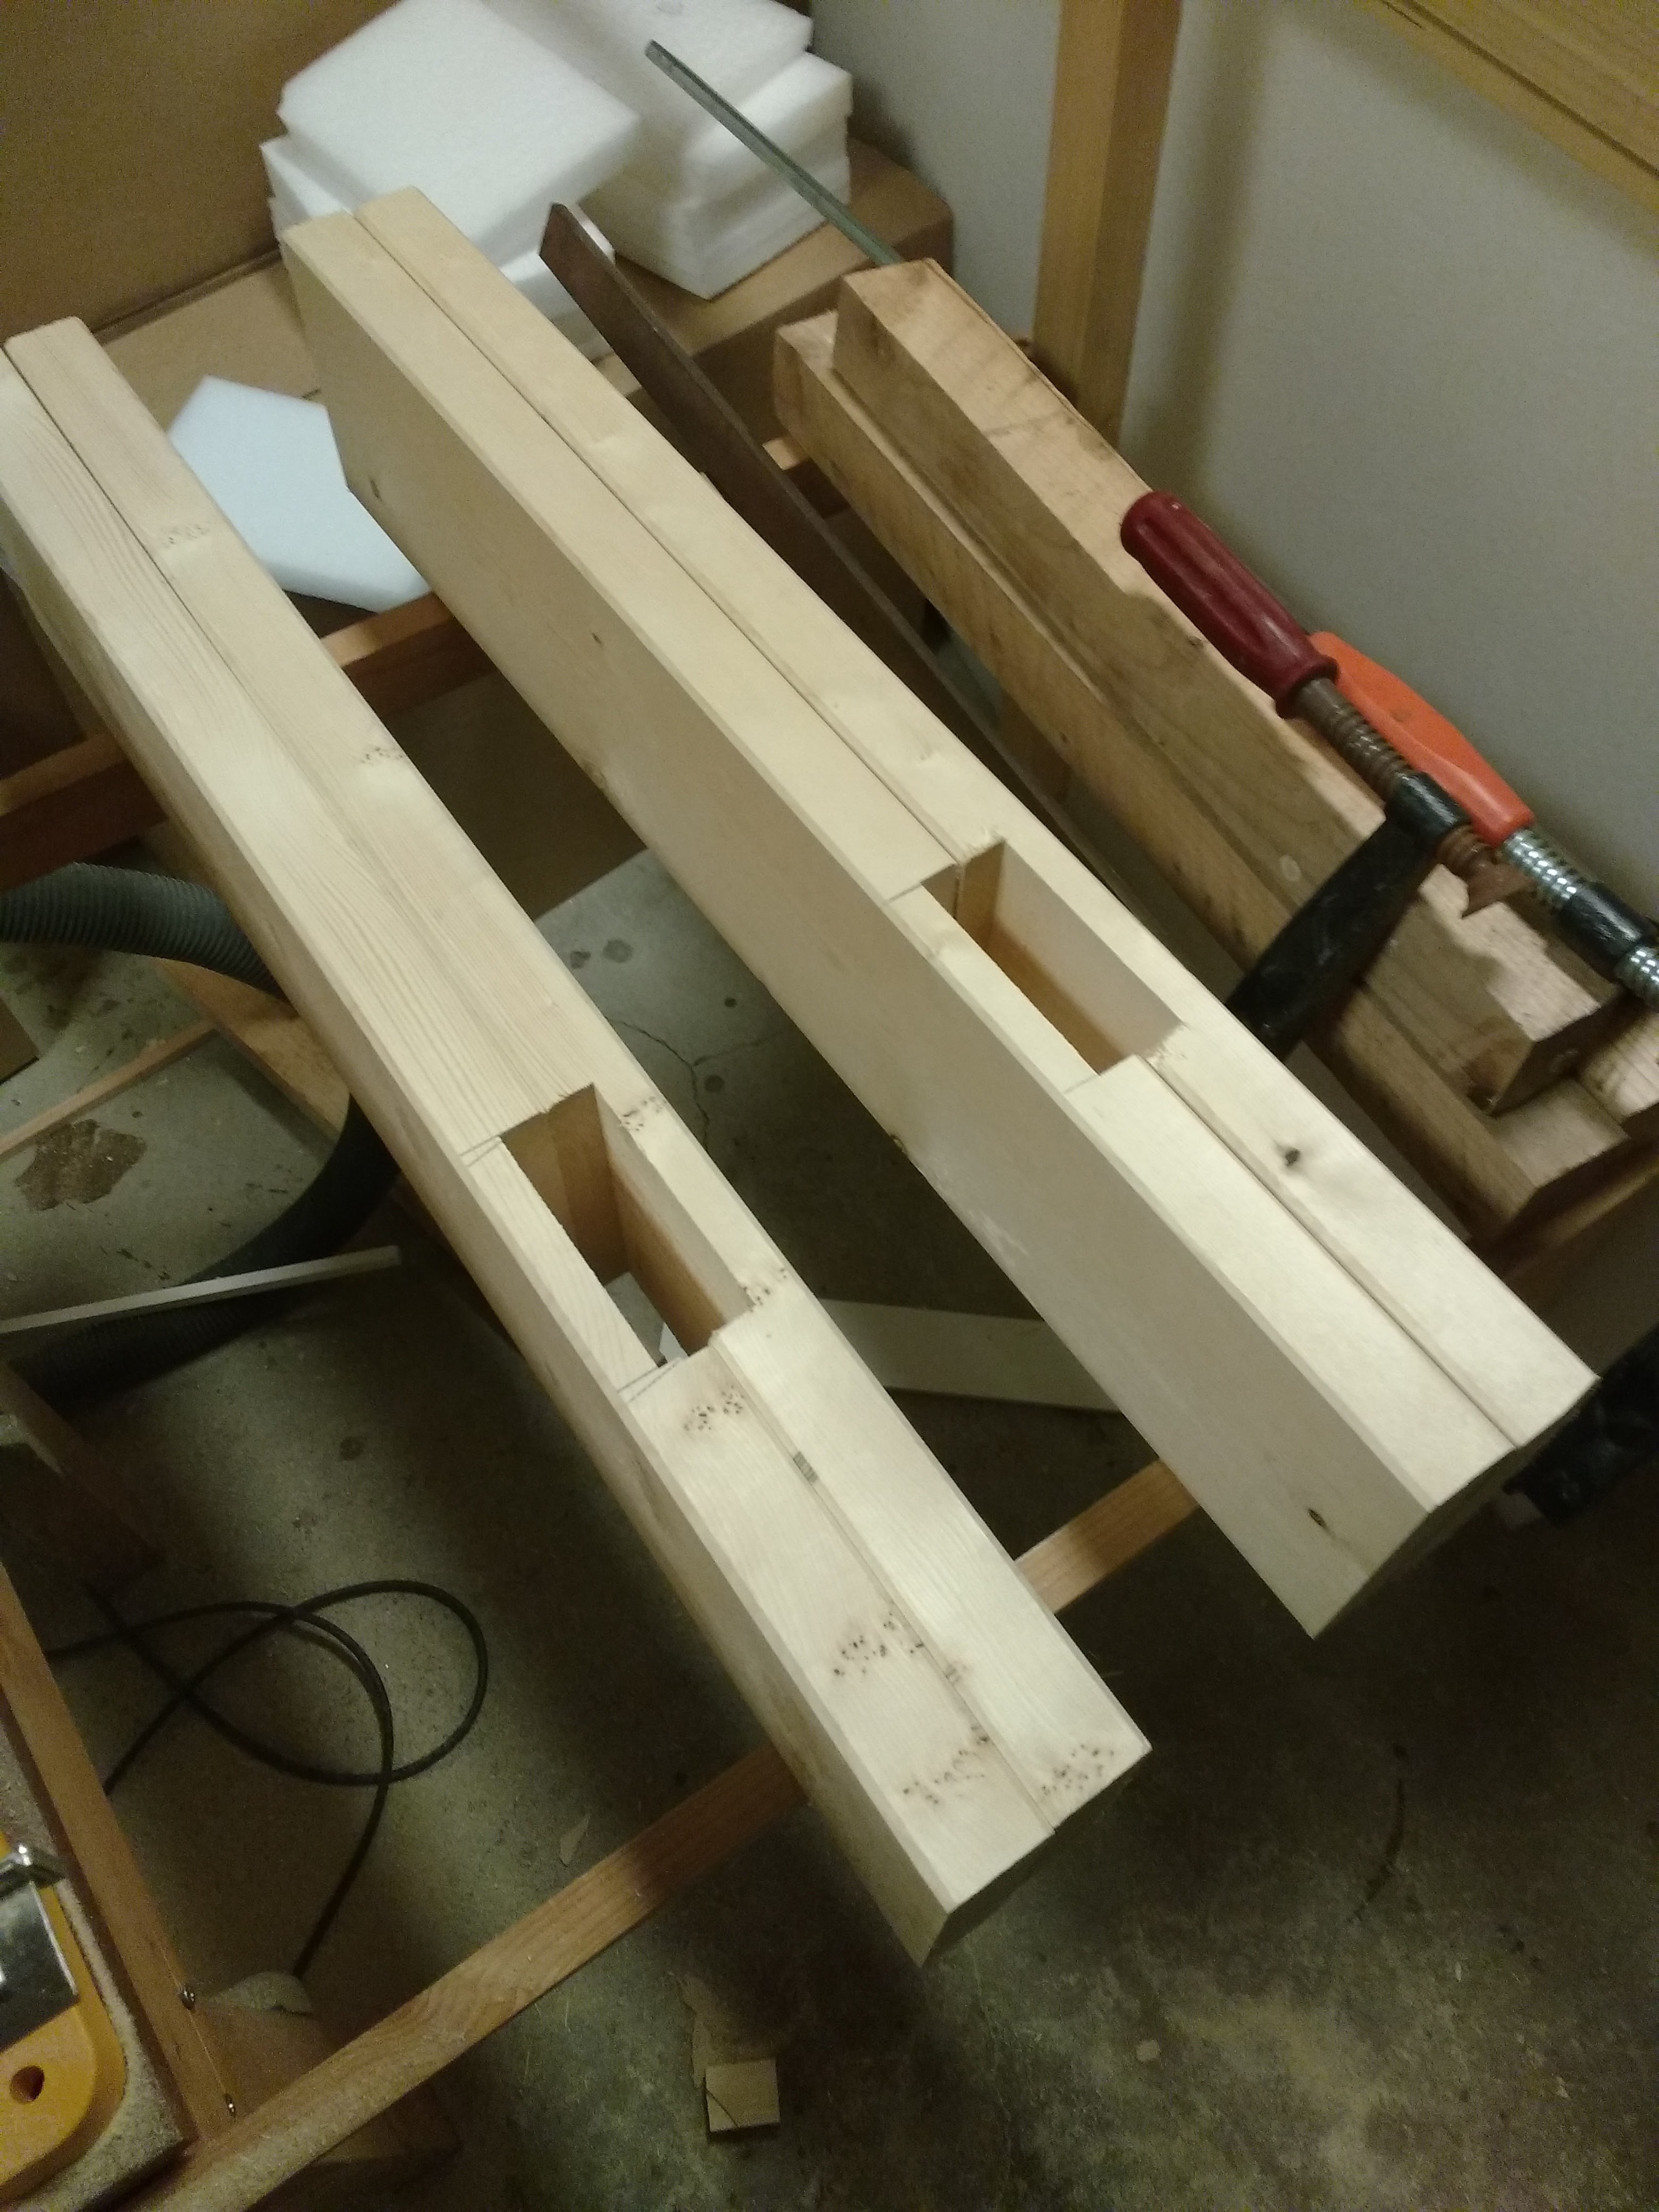
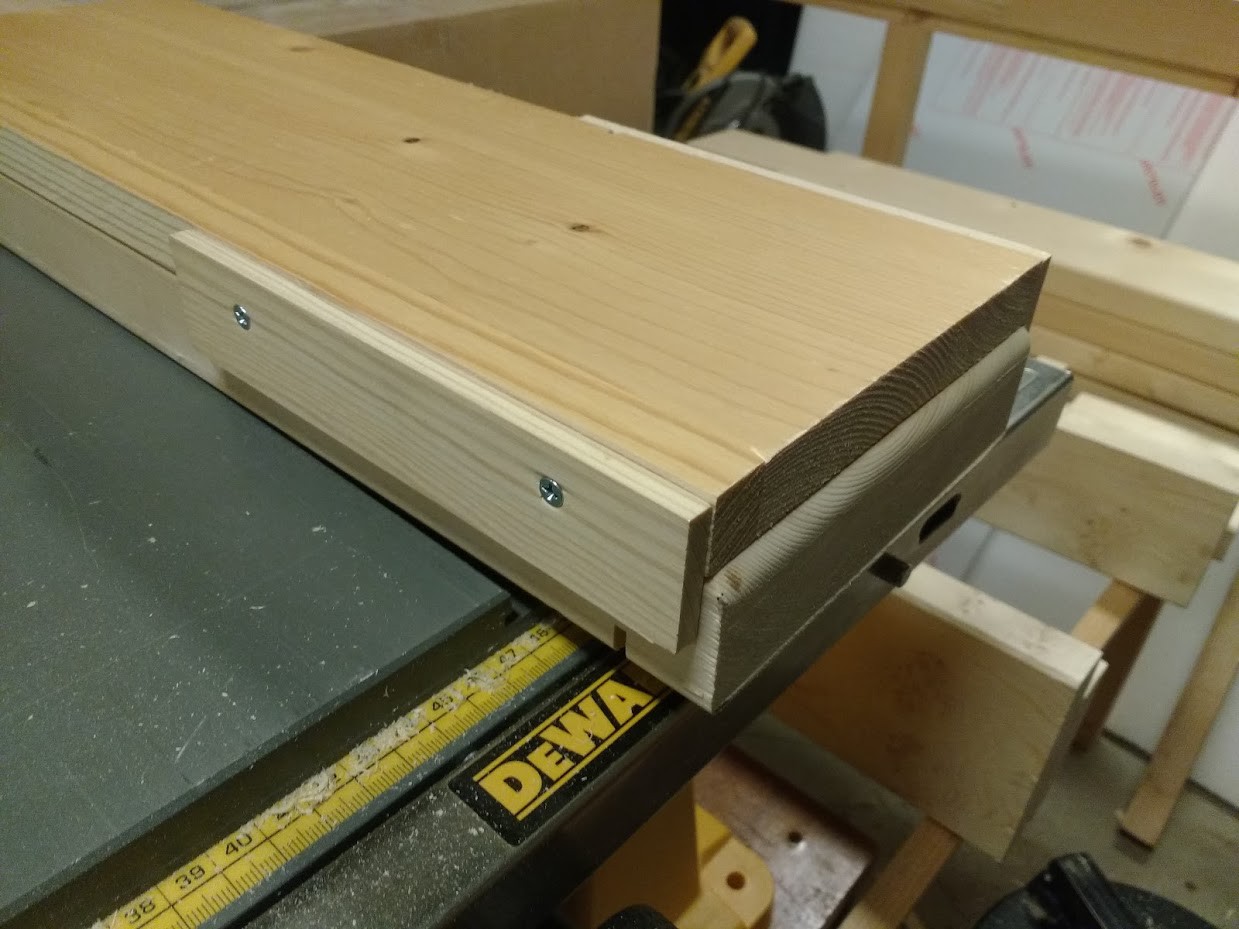
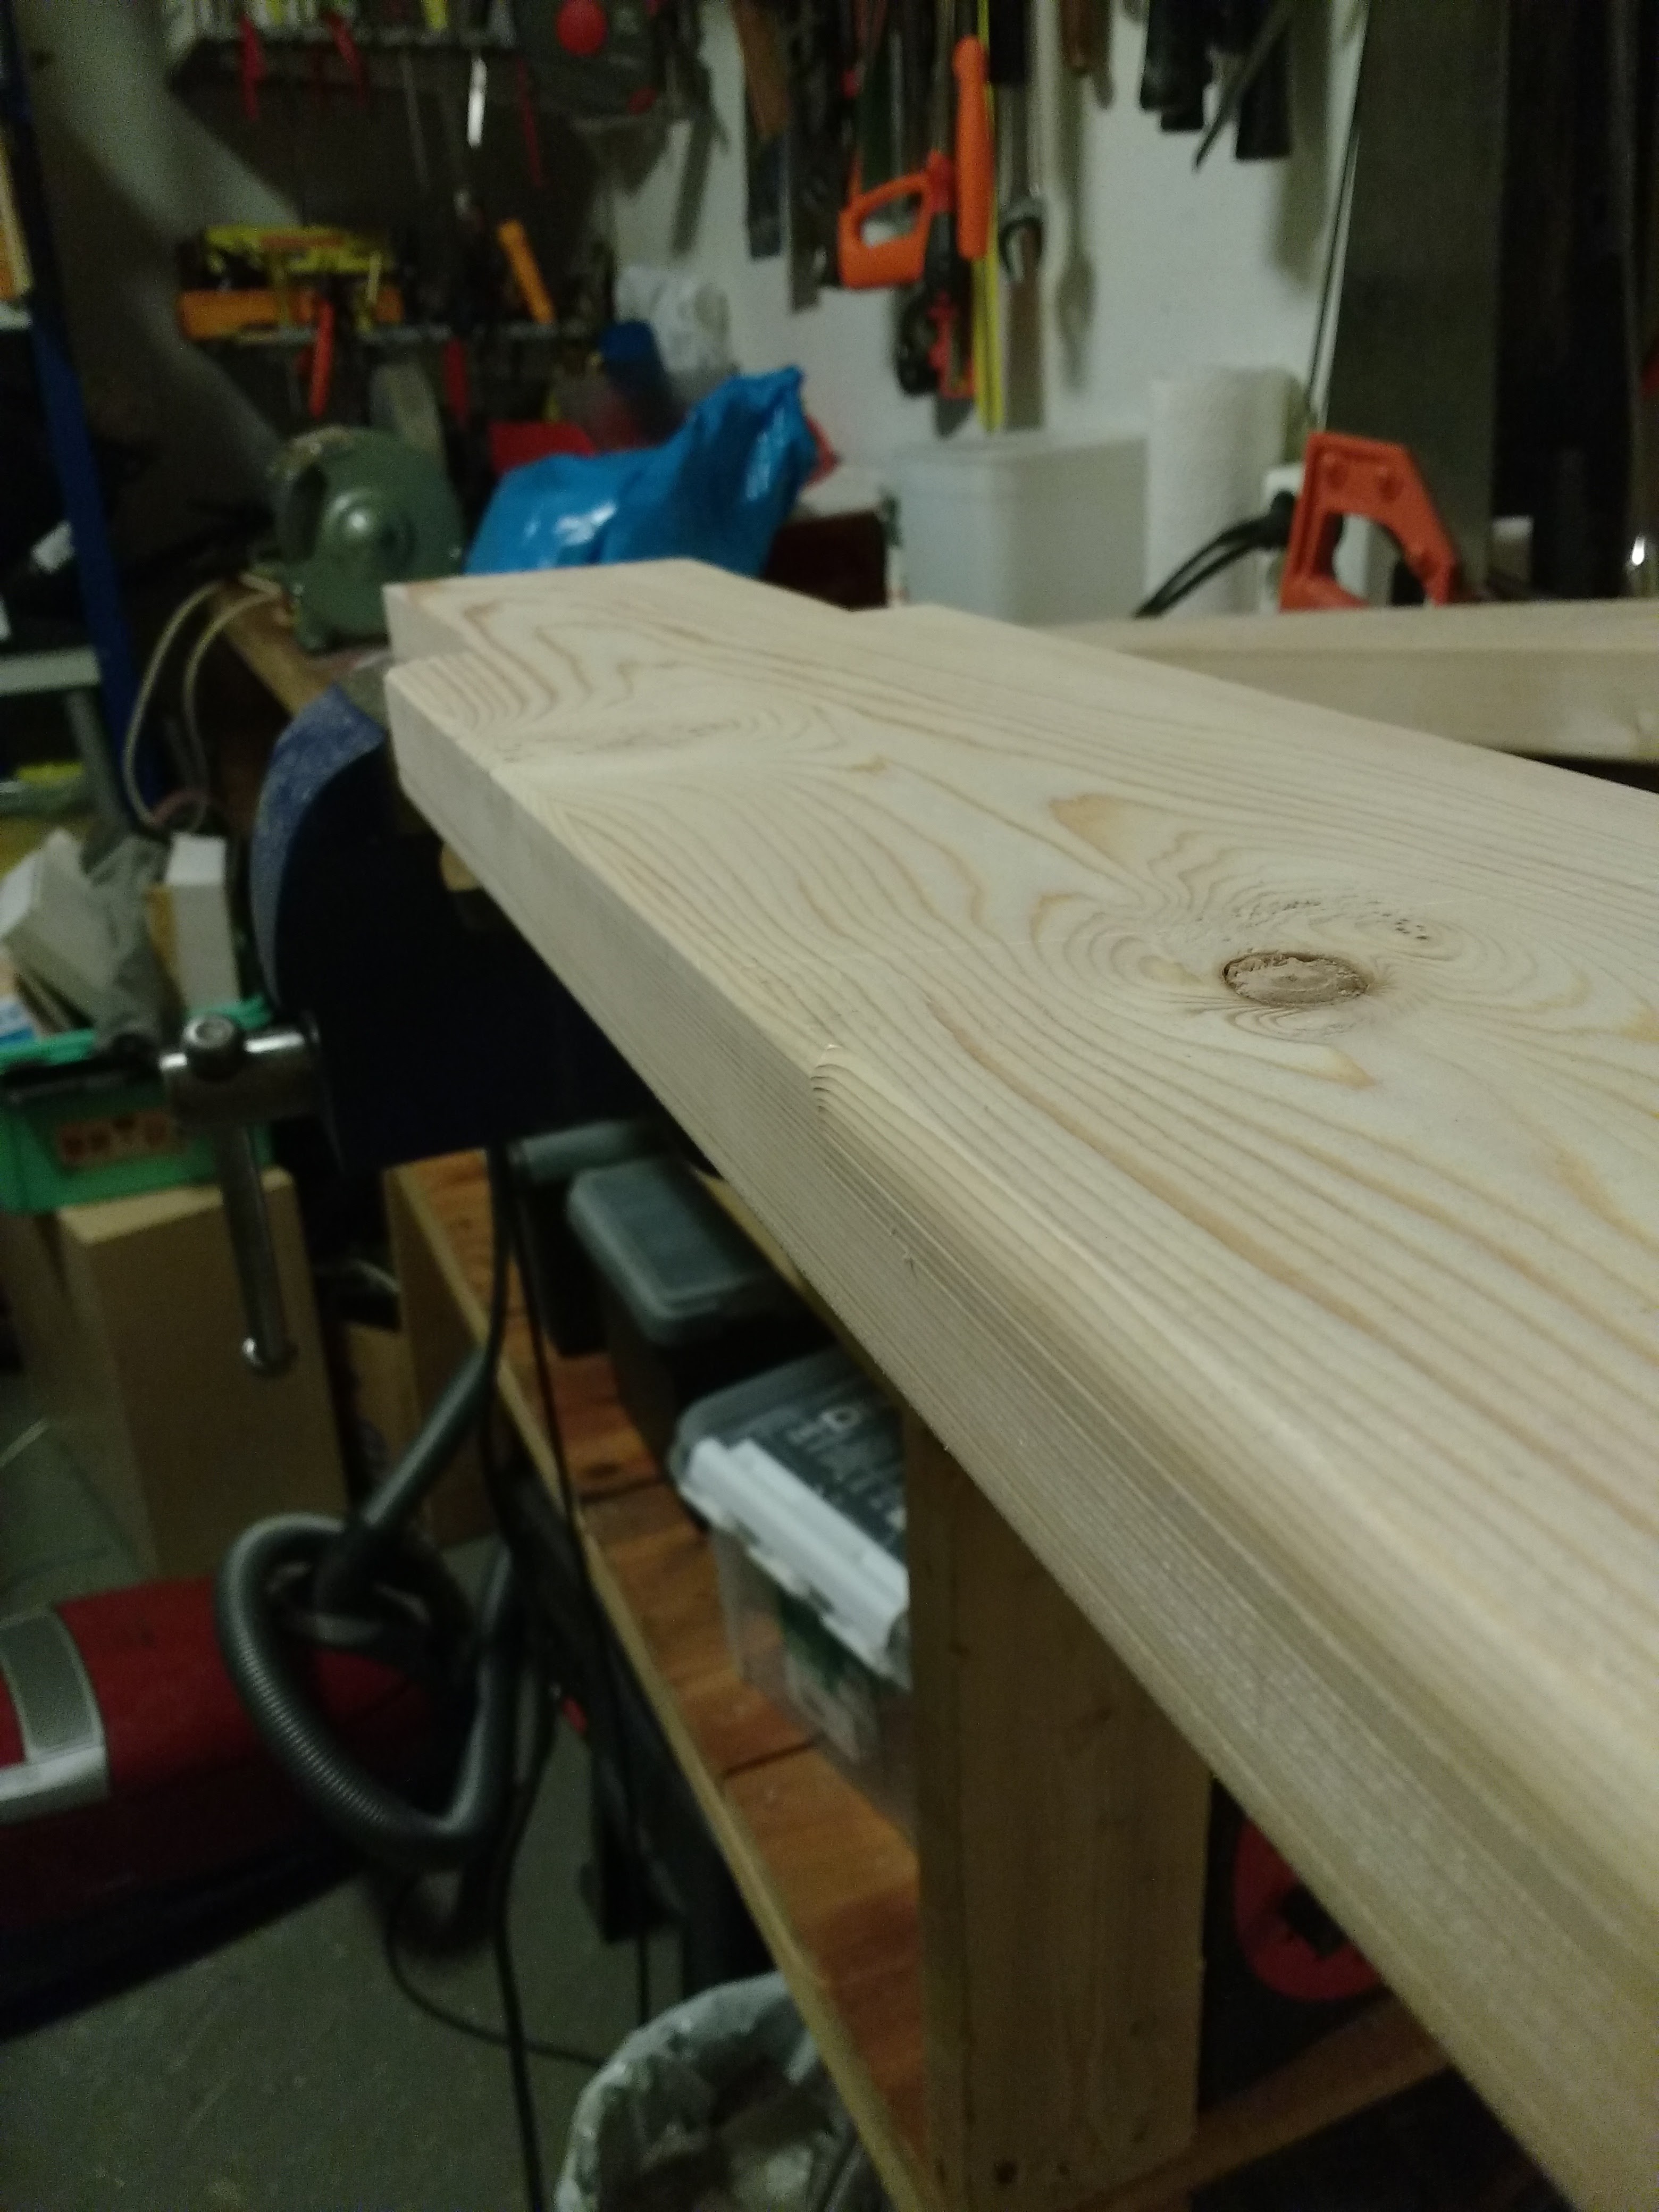
The template was cut with the tablesaw to the correct width before it was put into the cnc machine. I also screw on some support brackets so it would flop around when I use the handheld router.
![]()
Next time I will finnish the template and make a test finger joint.
-
Finnishing and bitraf
12/15/2016 at 21:38 • 0 commentsshort update:
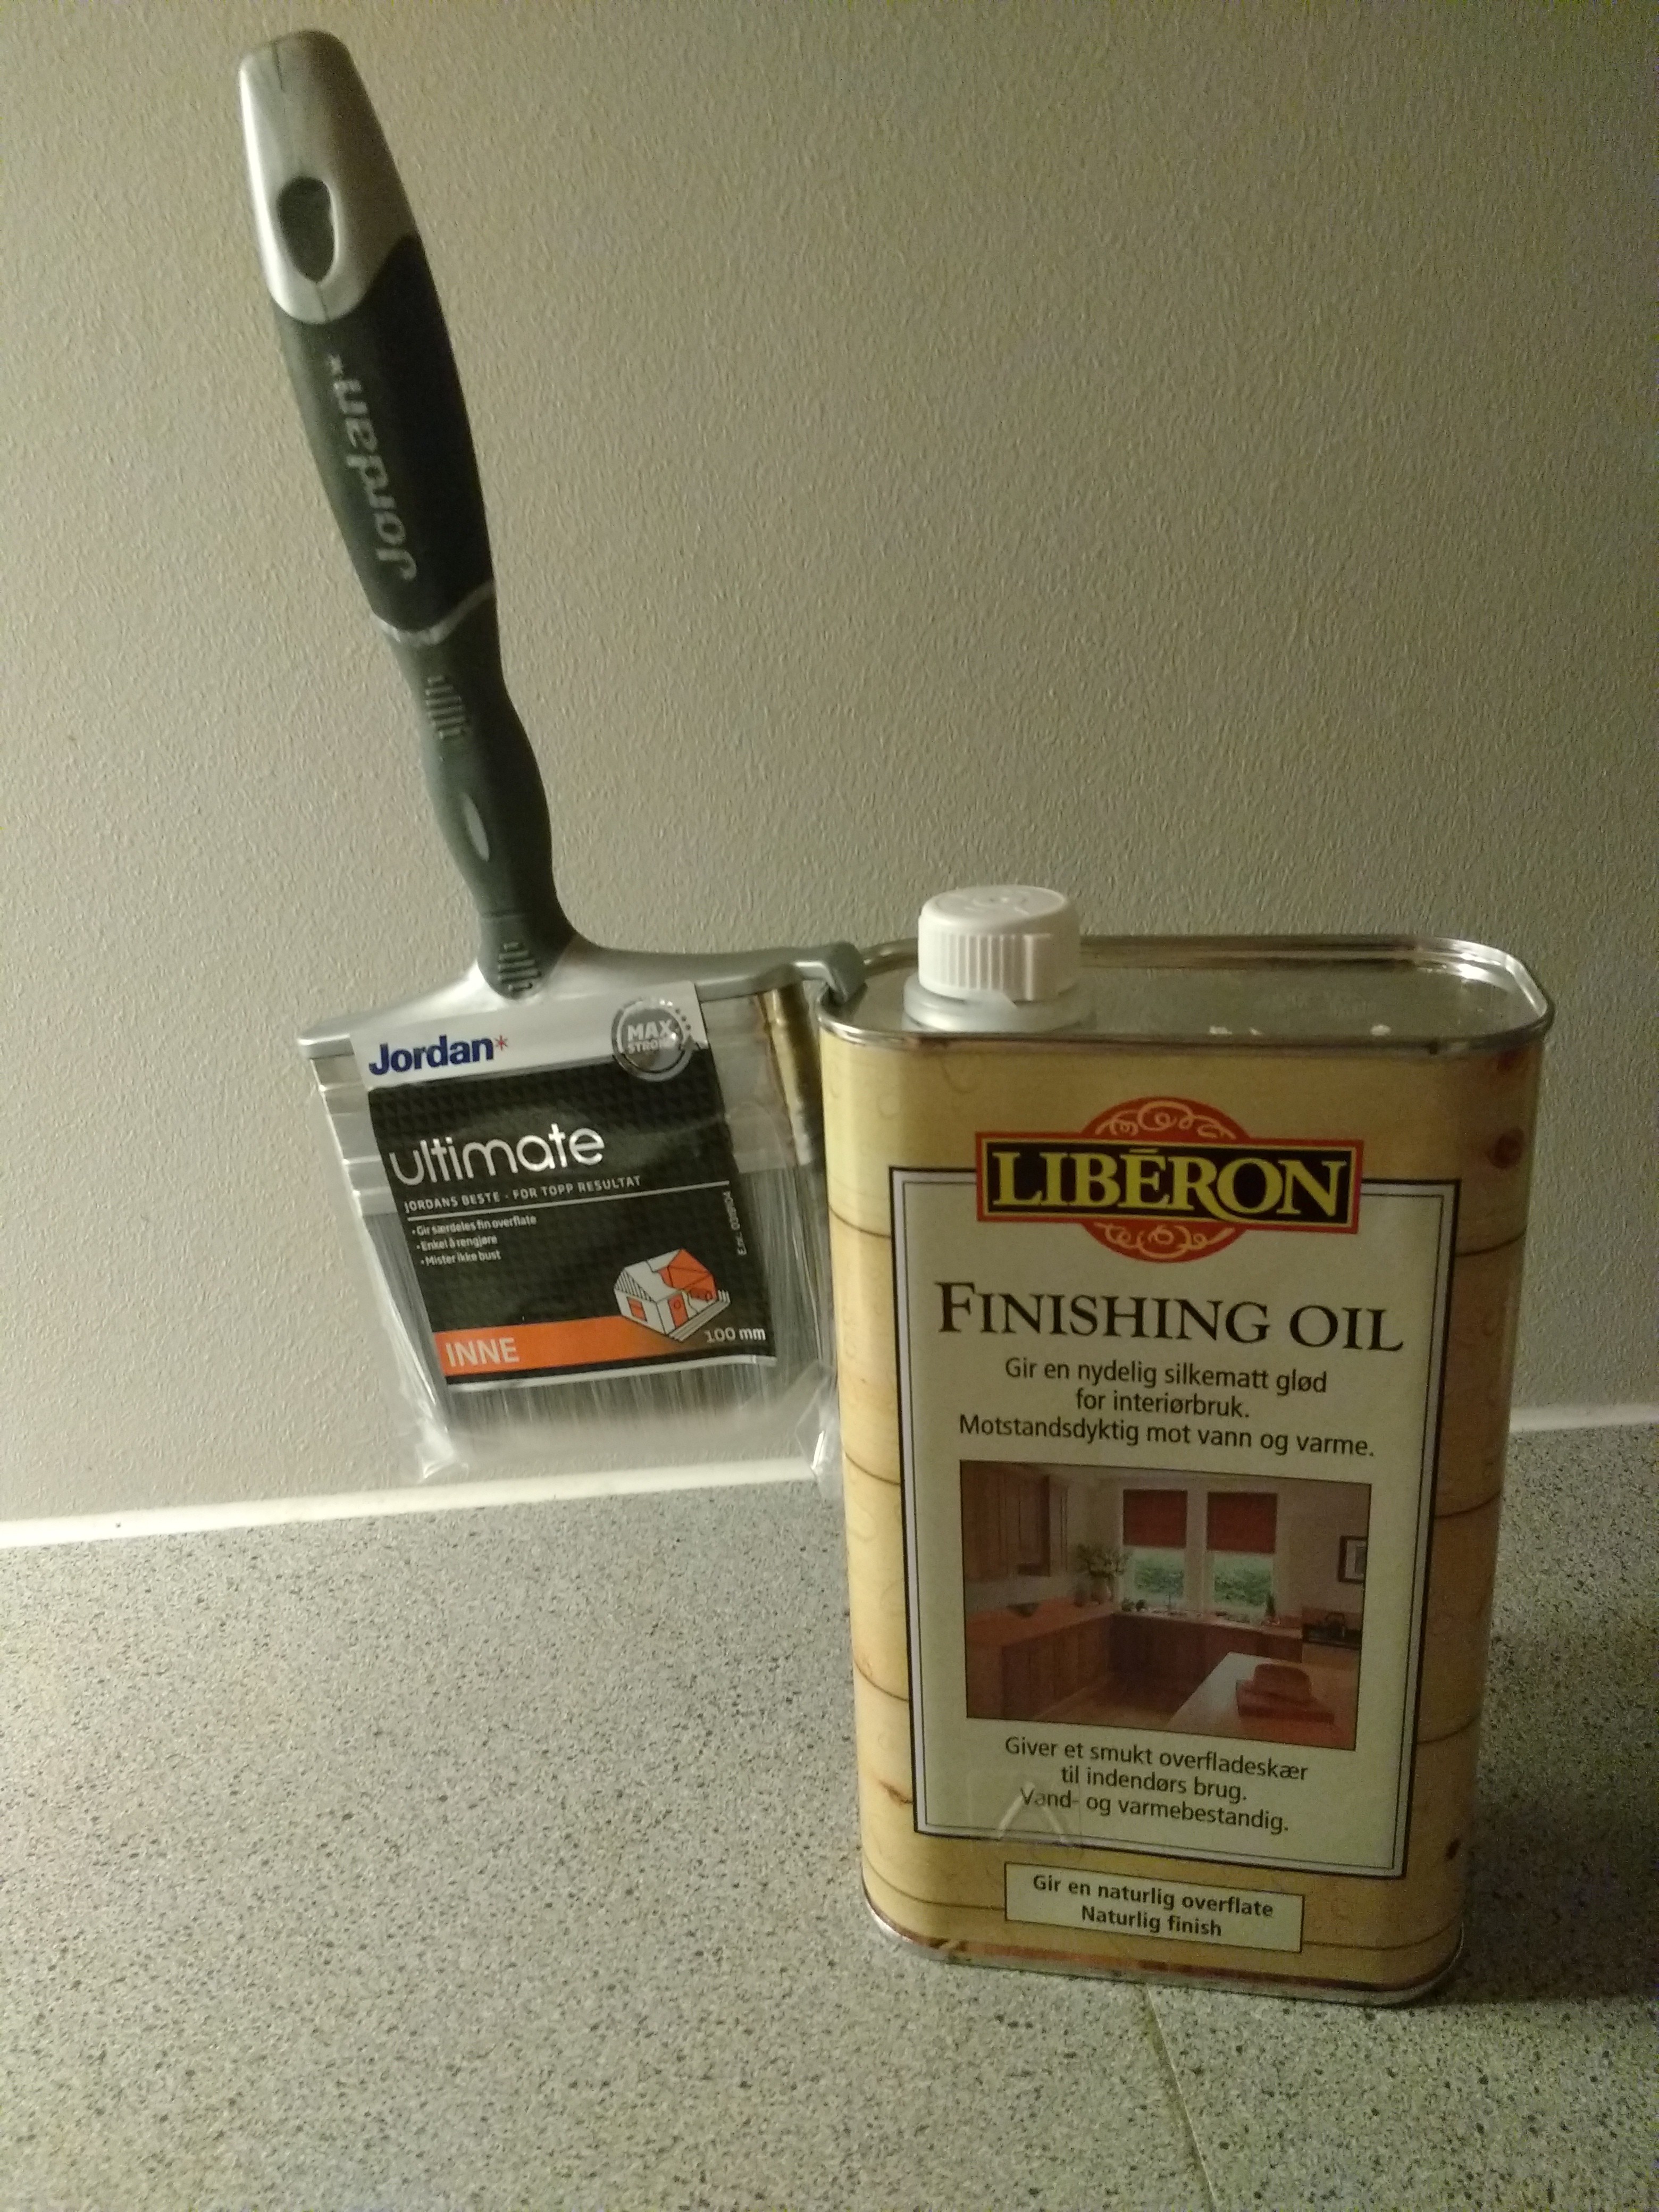
Yesterday I went to a awesome hackerspace in Oslo called bitraf. They have all sorts of tools, including a lathe. So I will be making my bolts for the legs on that lathe probably. I also bought some finnishing oil and a brush for, well finnishing.
![]()
-
Progress!
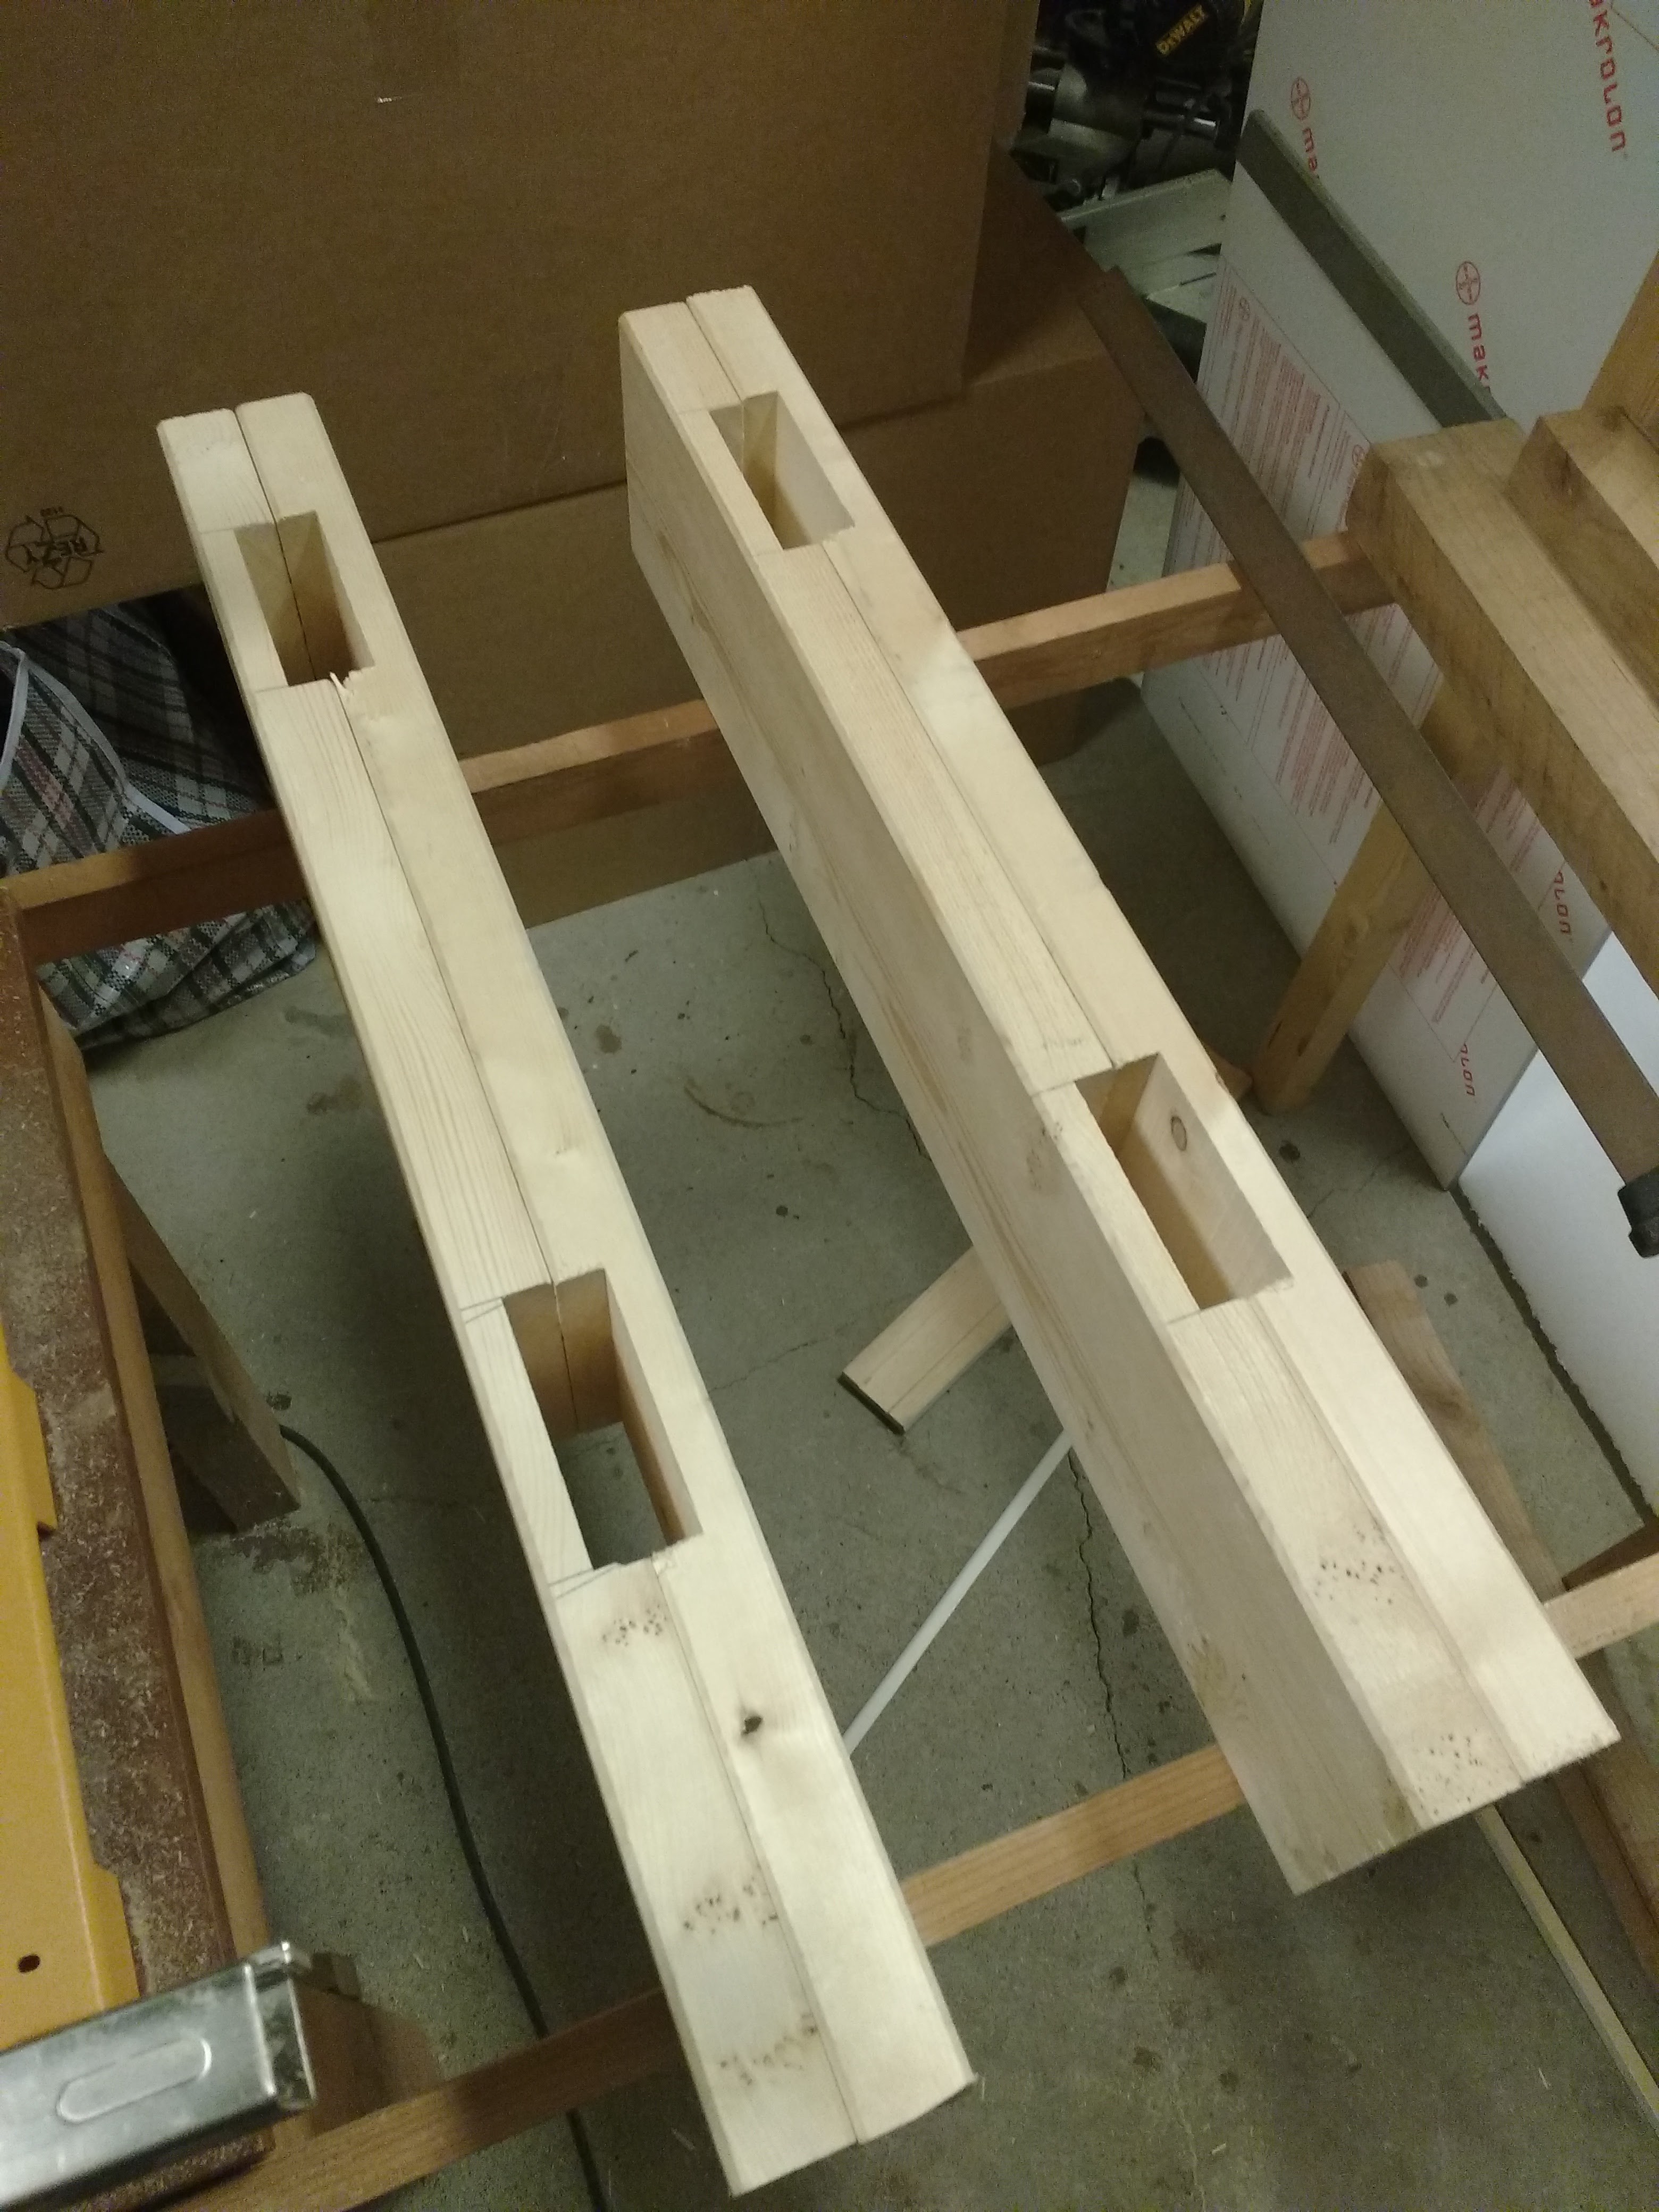
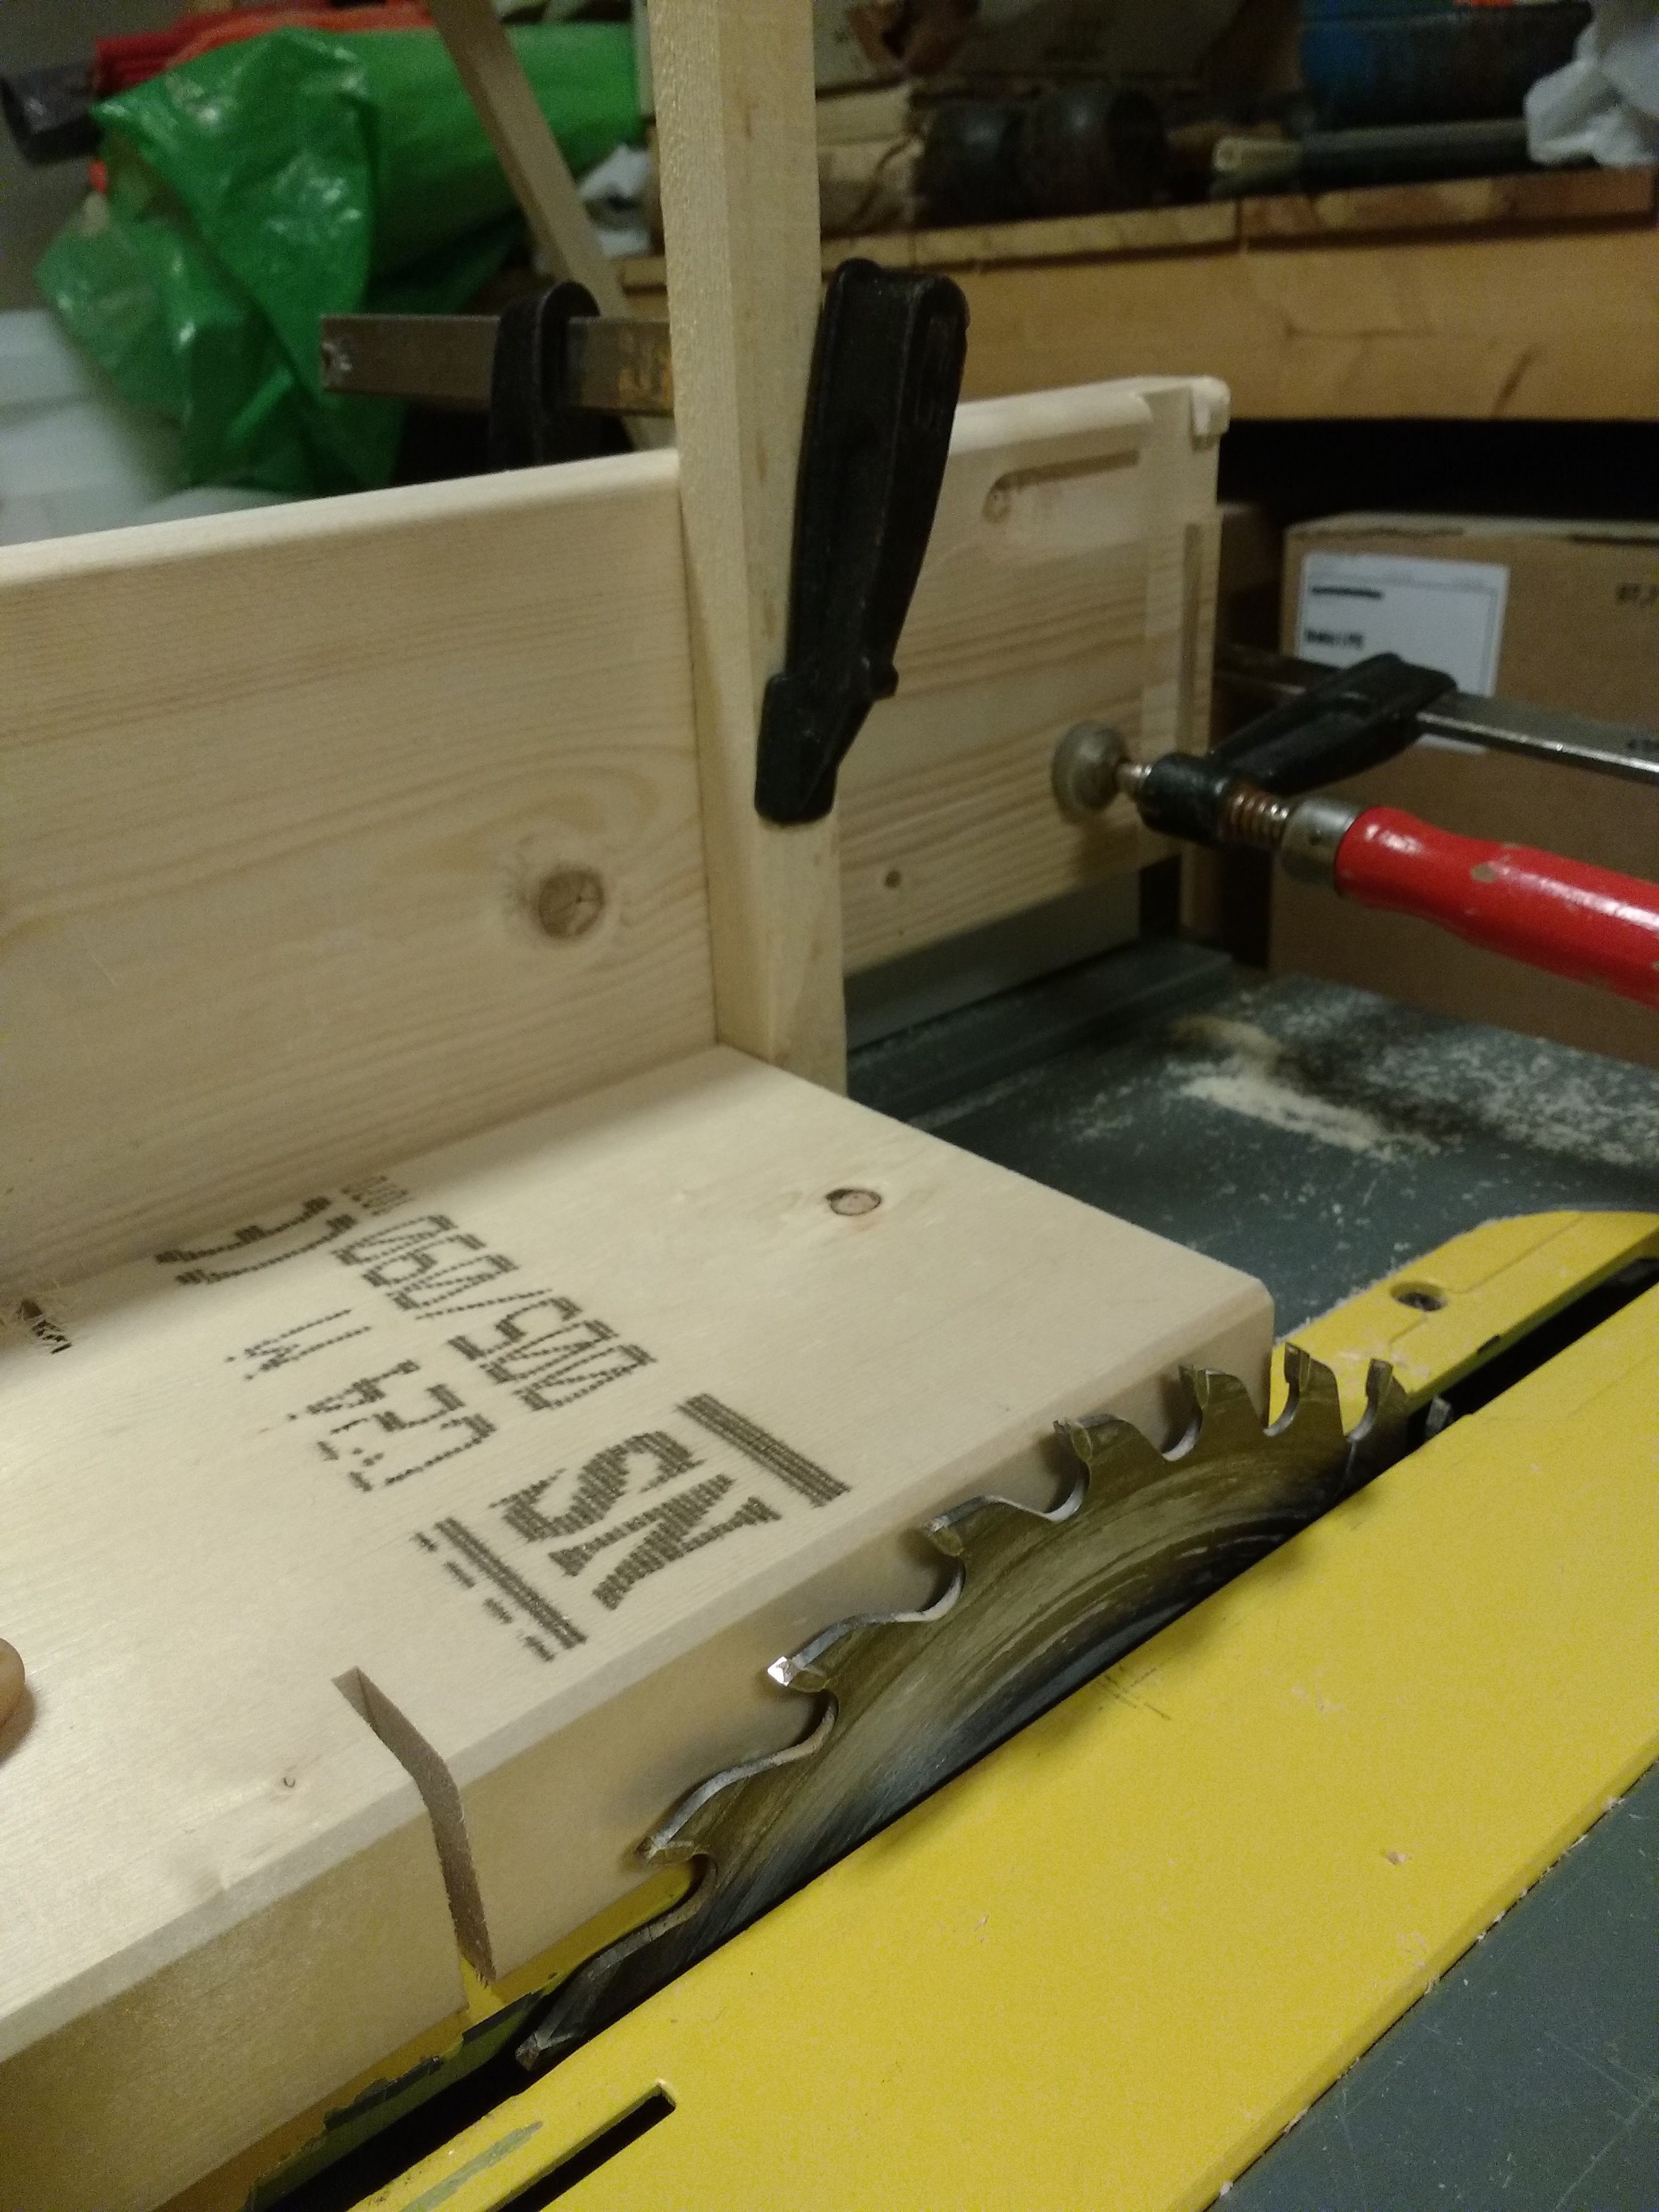
12/11/2016 at 22:58 • 0 commentsSo All is well and progress has been made. I started today By finishing the cuts on the legs so I could testfit them. To make sure I did not cut to deep in the leg I made a stop block as seen below.
![]()
Actually the first thing I did was mounting My dji osmo to the wall and make a timelapse of me cutting and testing the legs. I used a 4 second interval and the built in timelapse function.
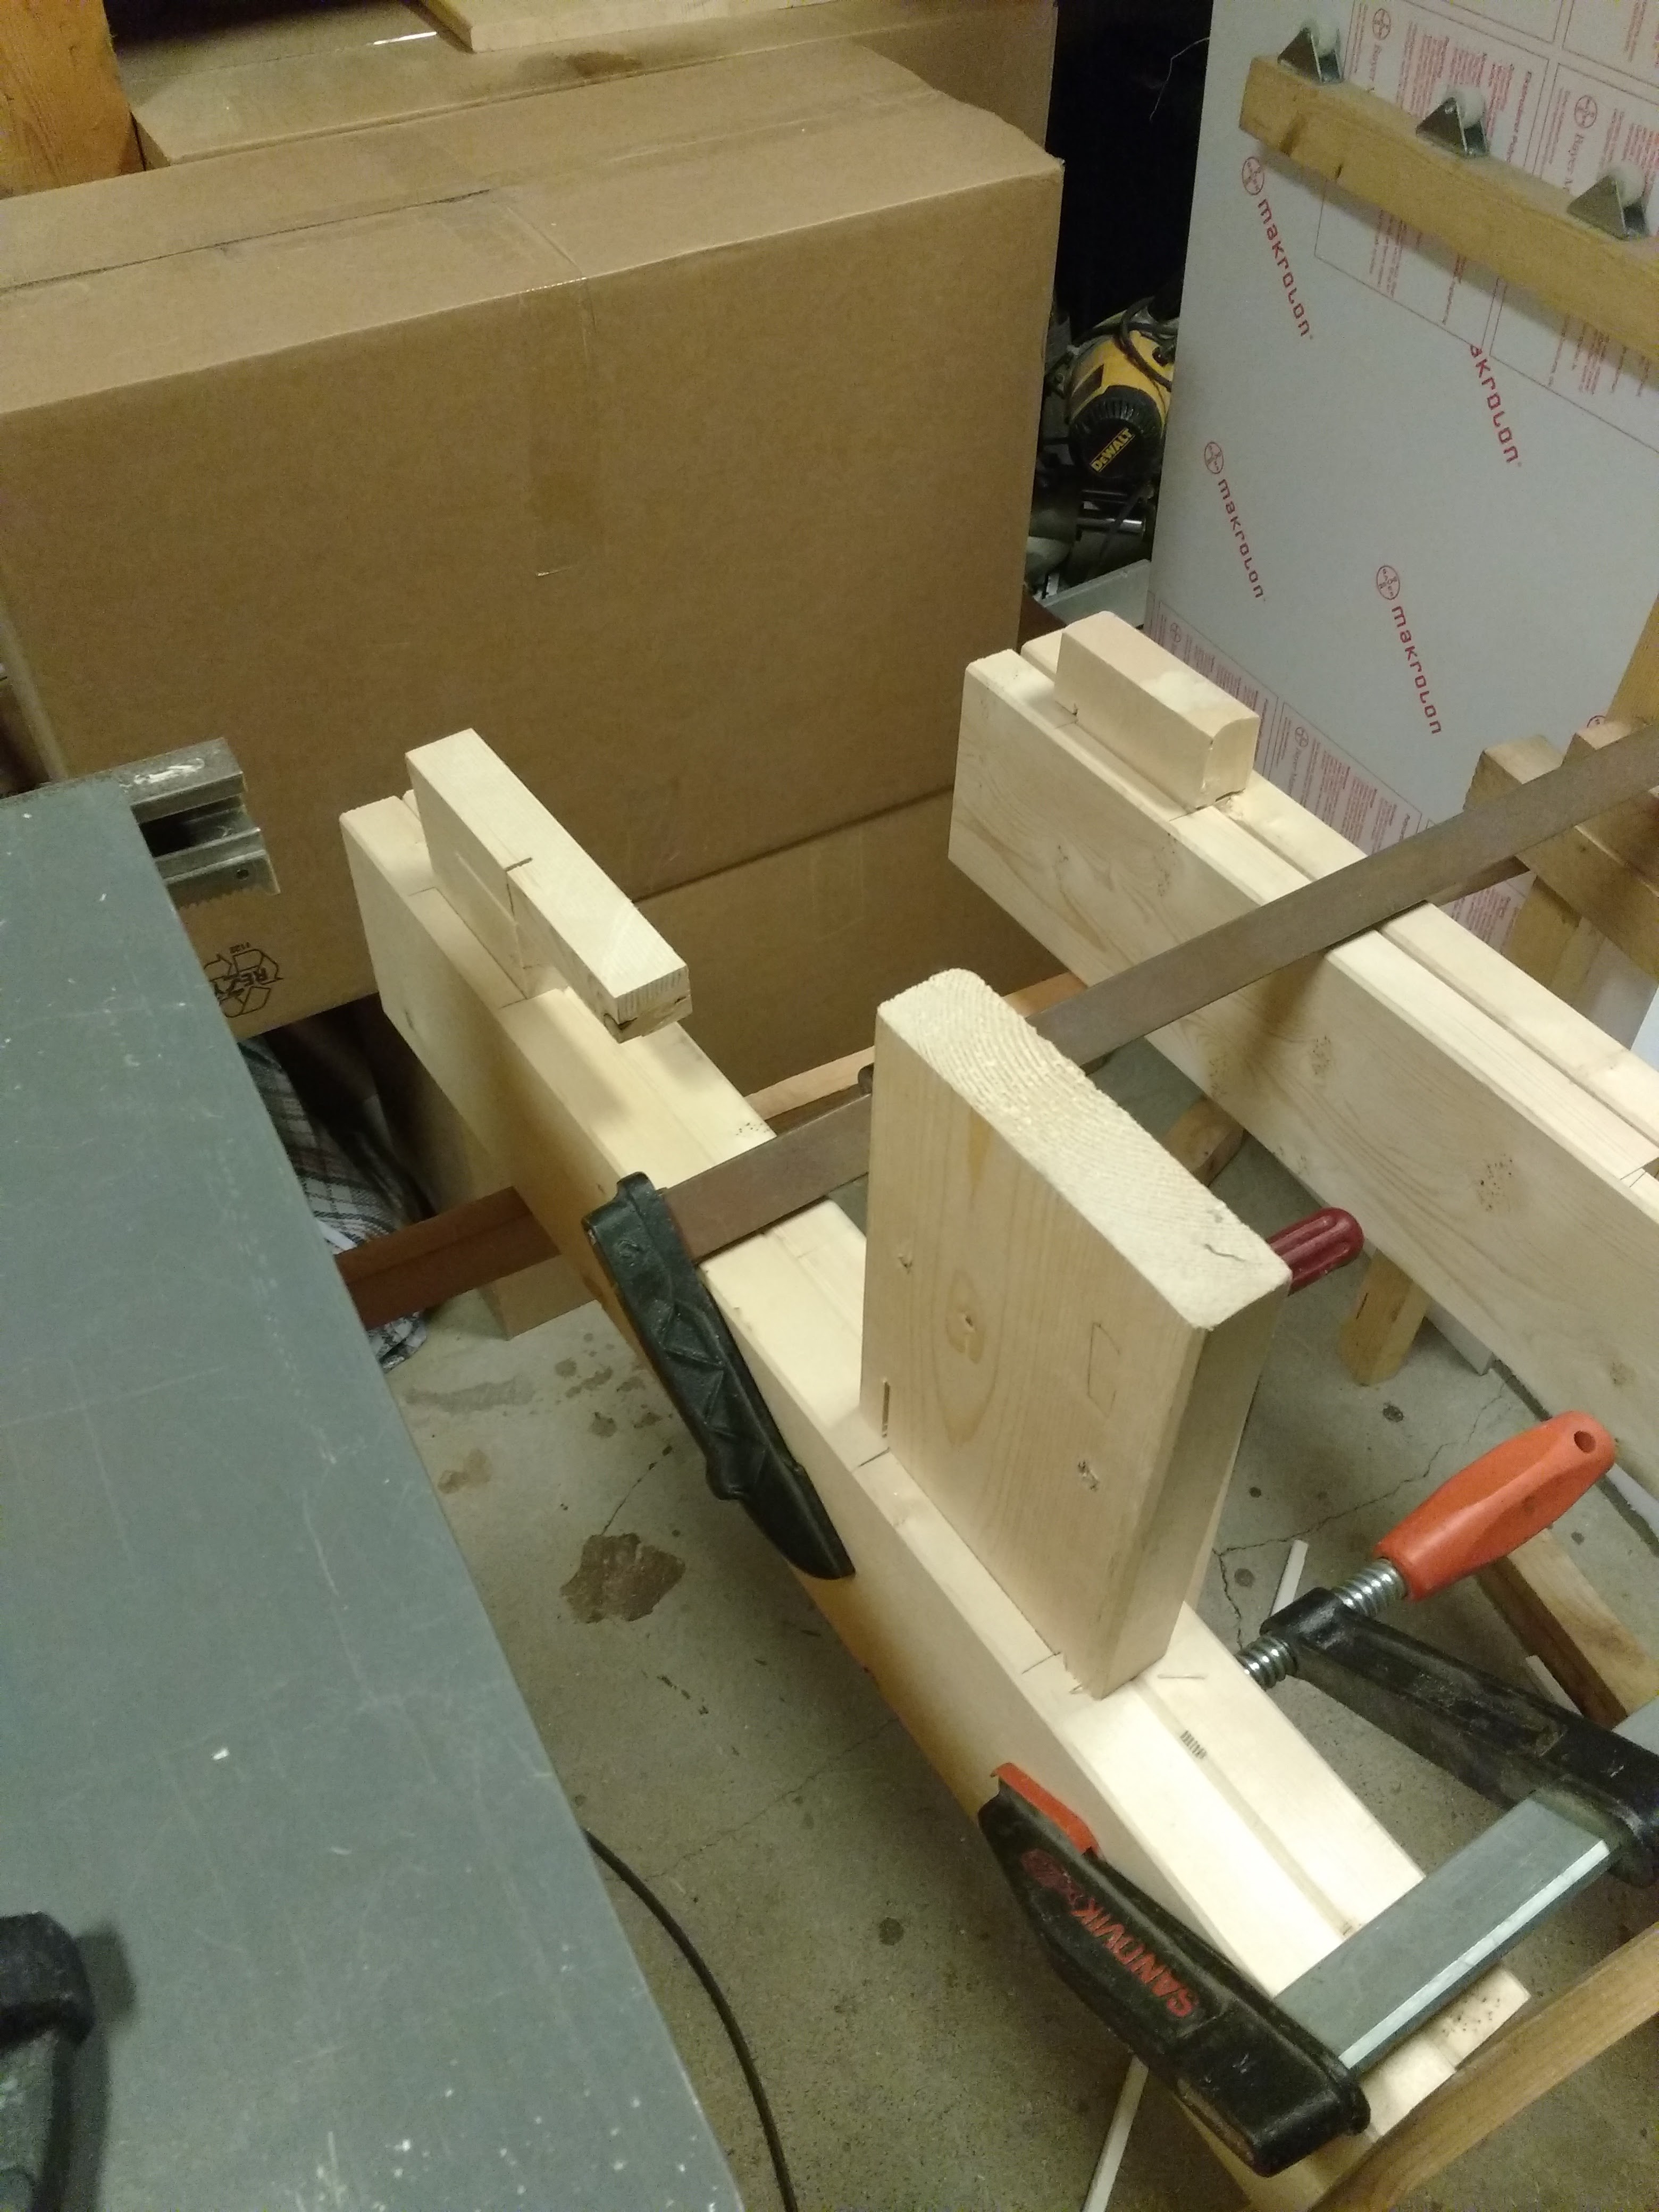
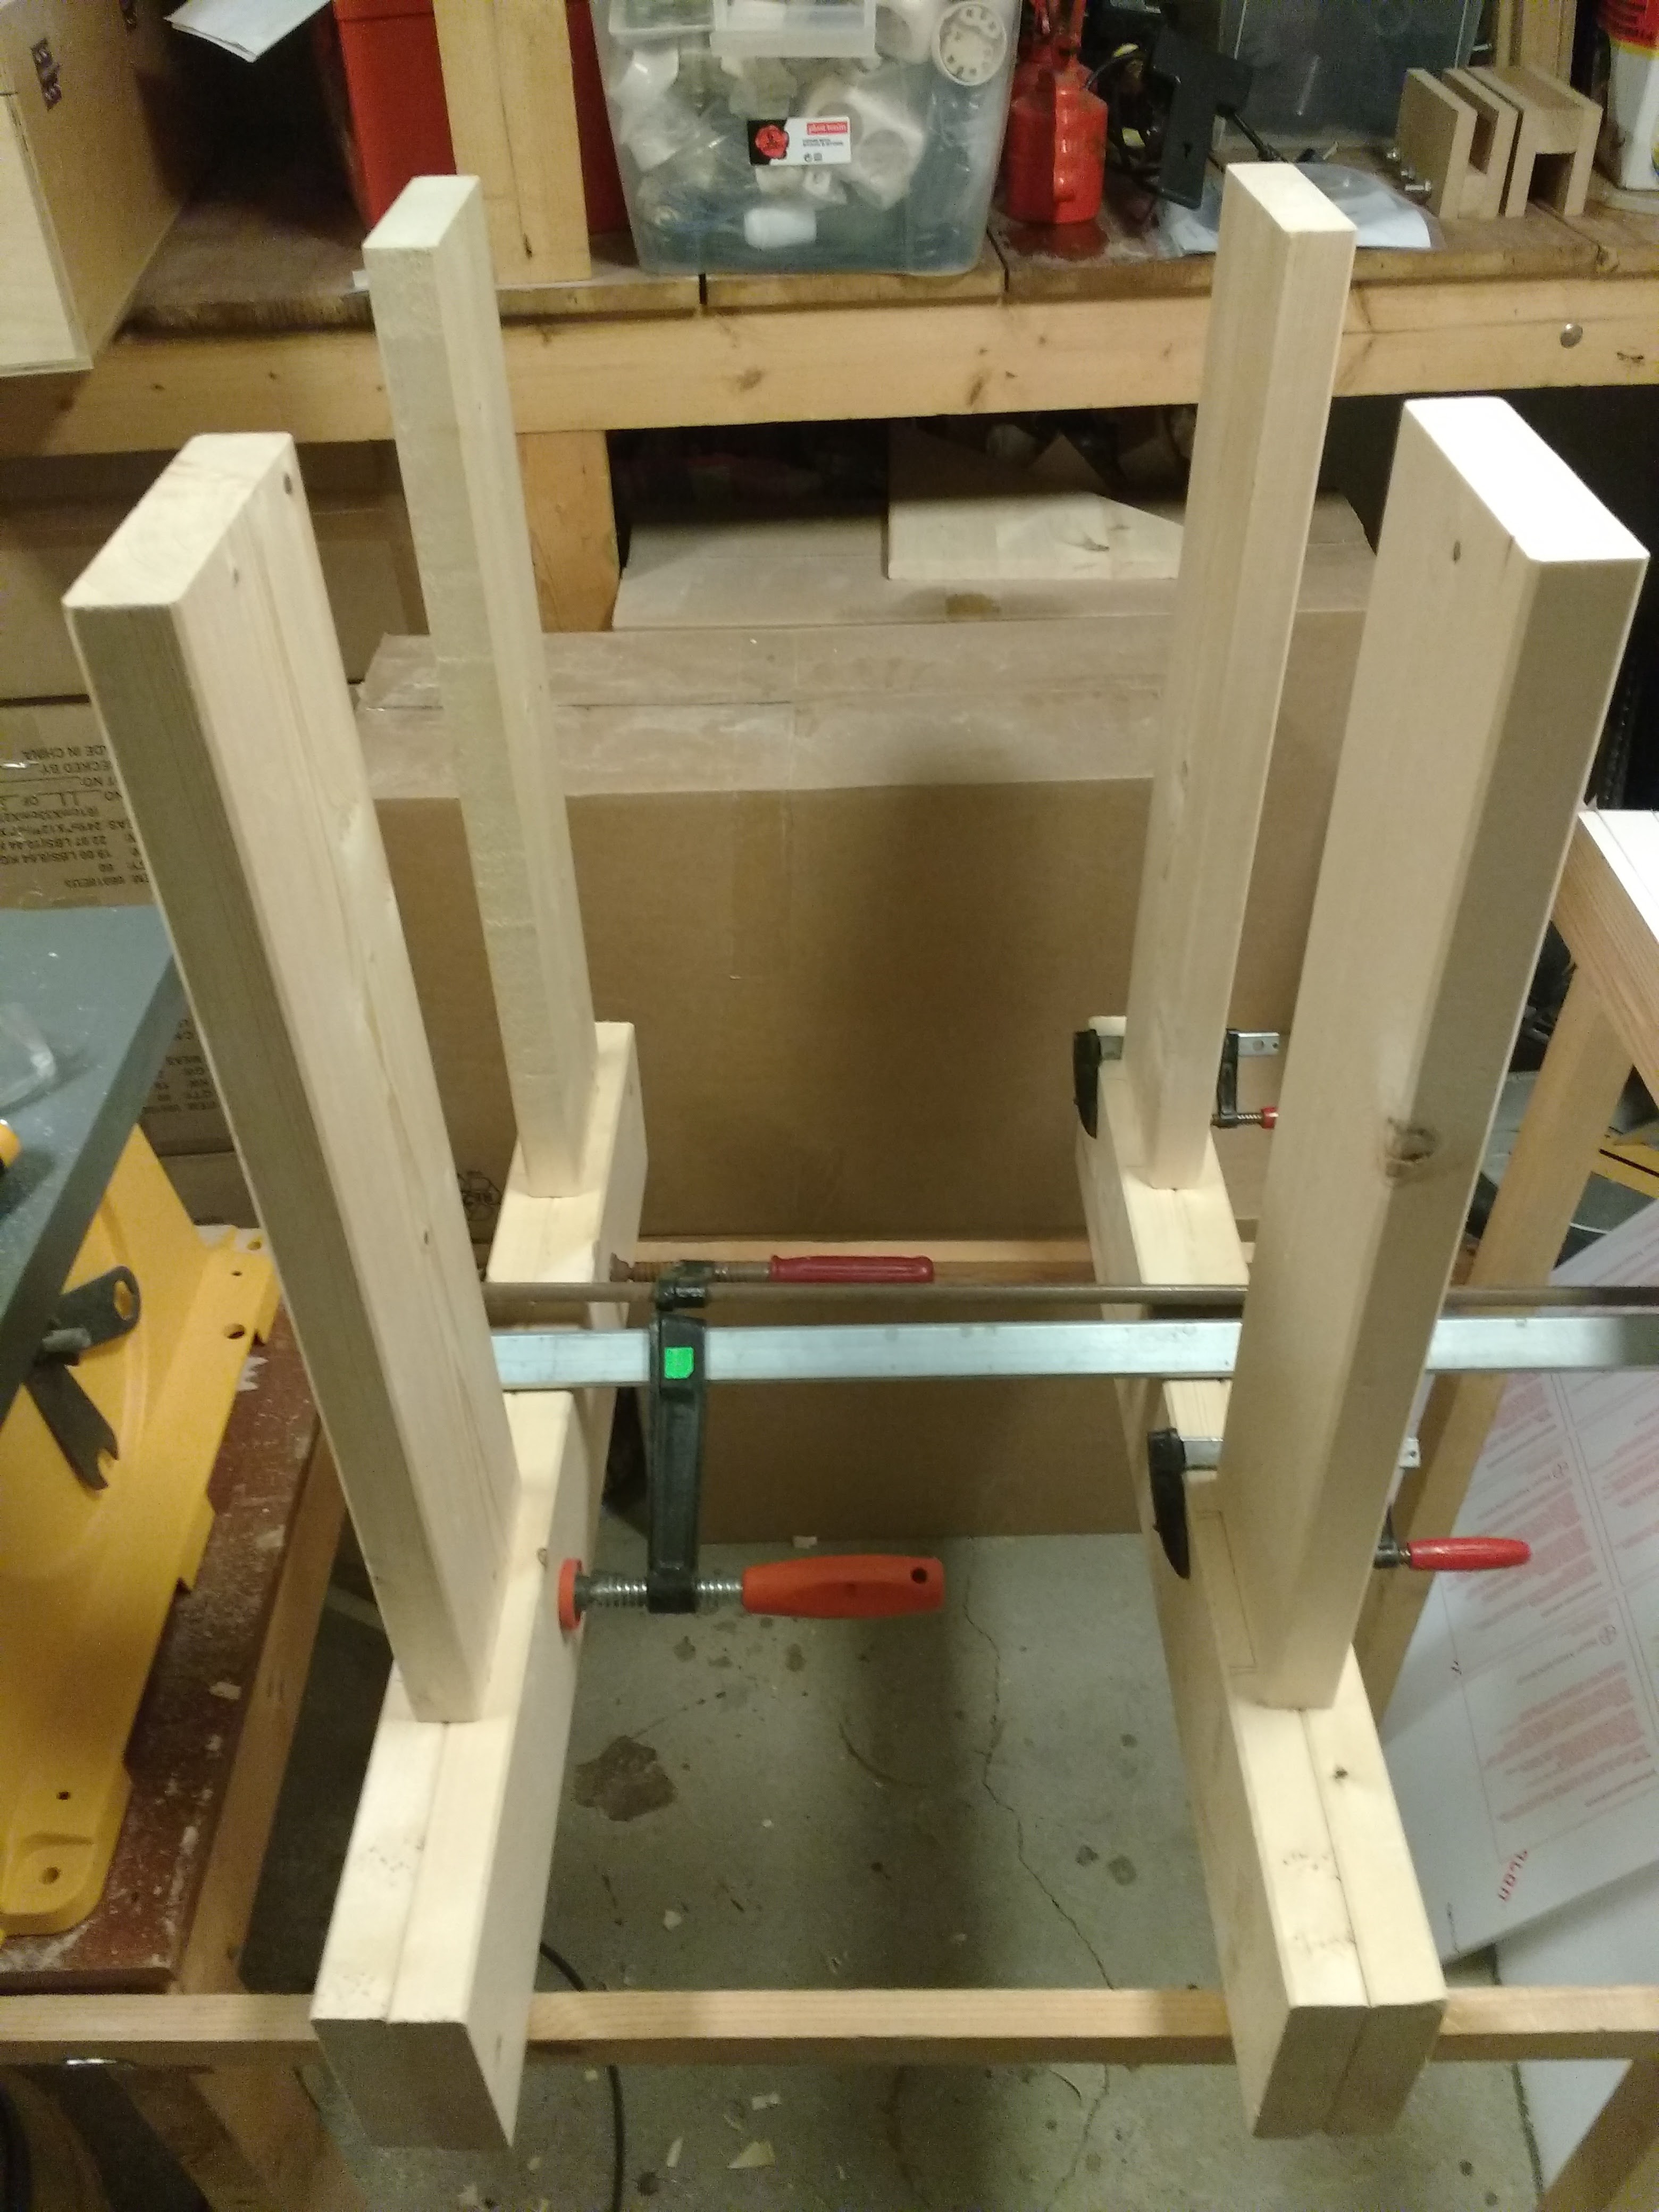
I numbered each of the tablelegs and made individual adjustments on the thickness of the since the dado cuts do not match up 100%. I use claps to make shure they fit snugly without to much force.
![]()
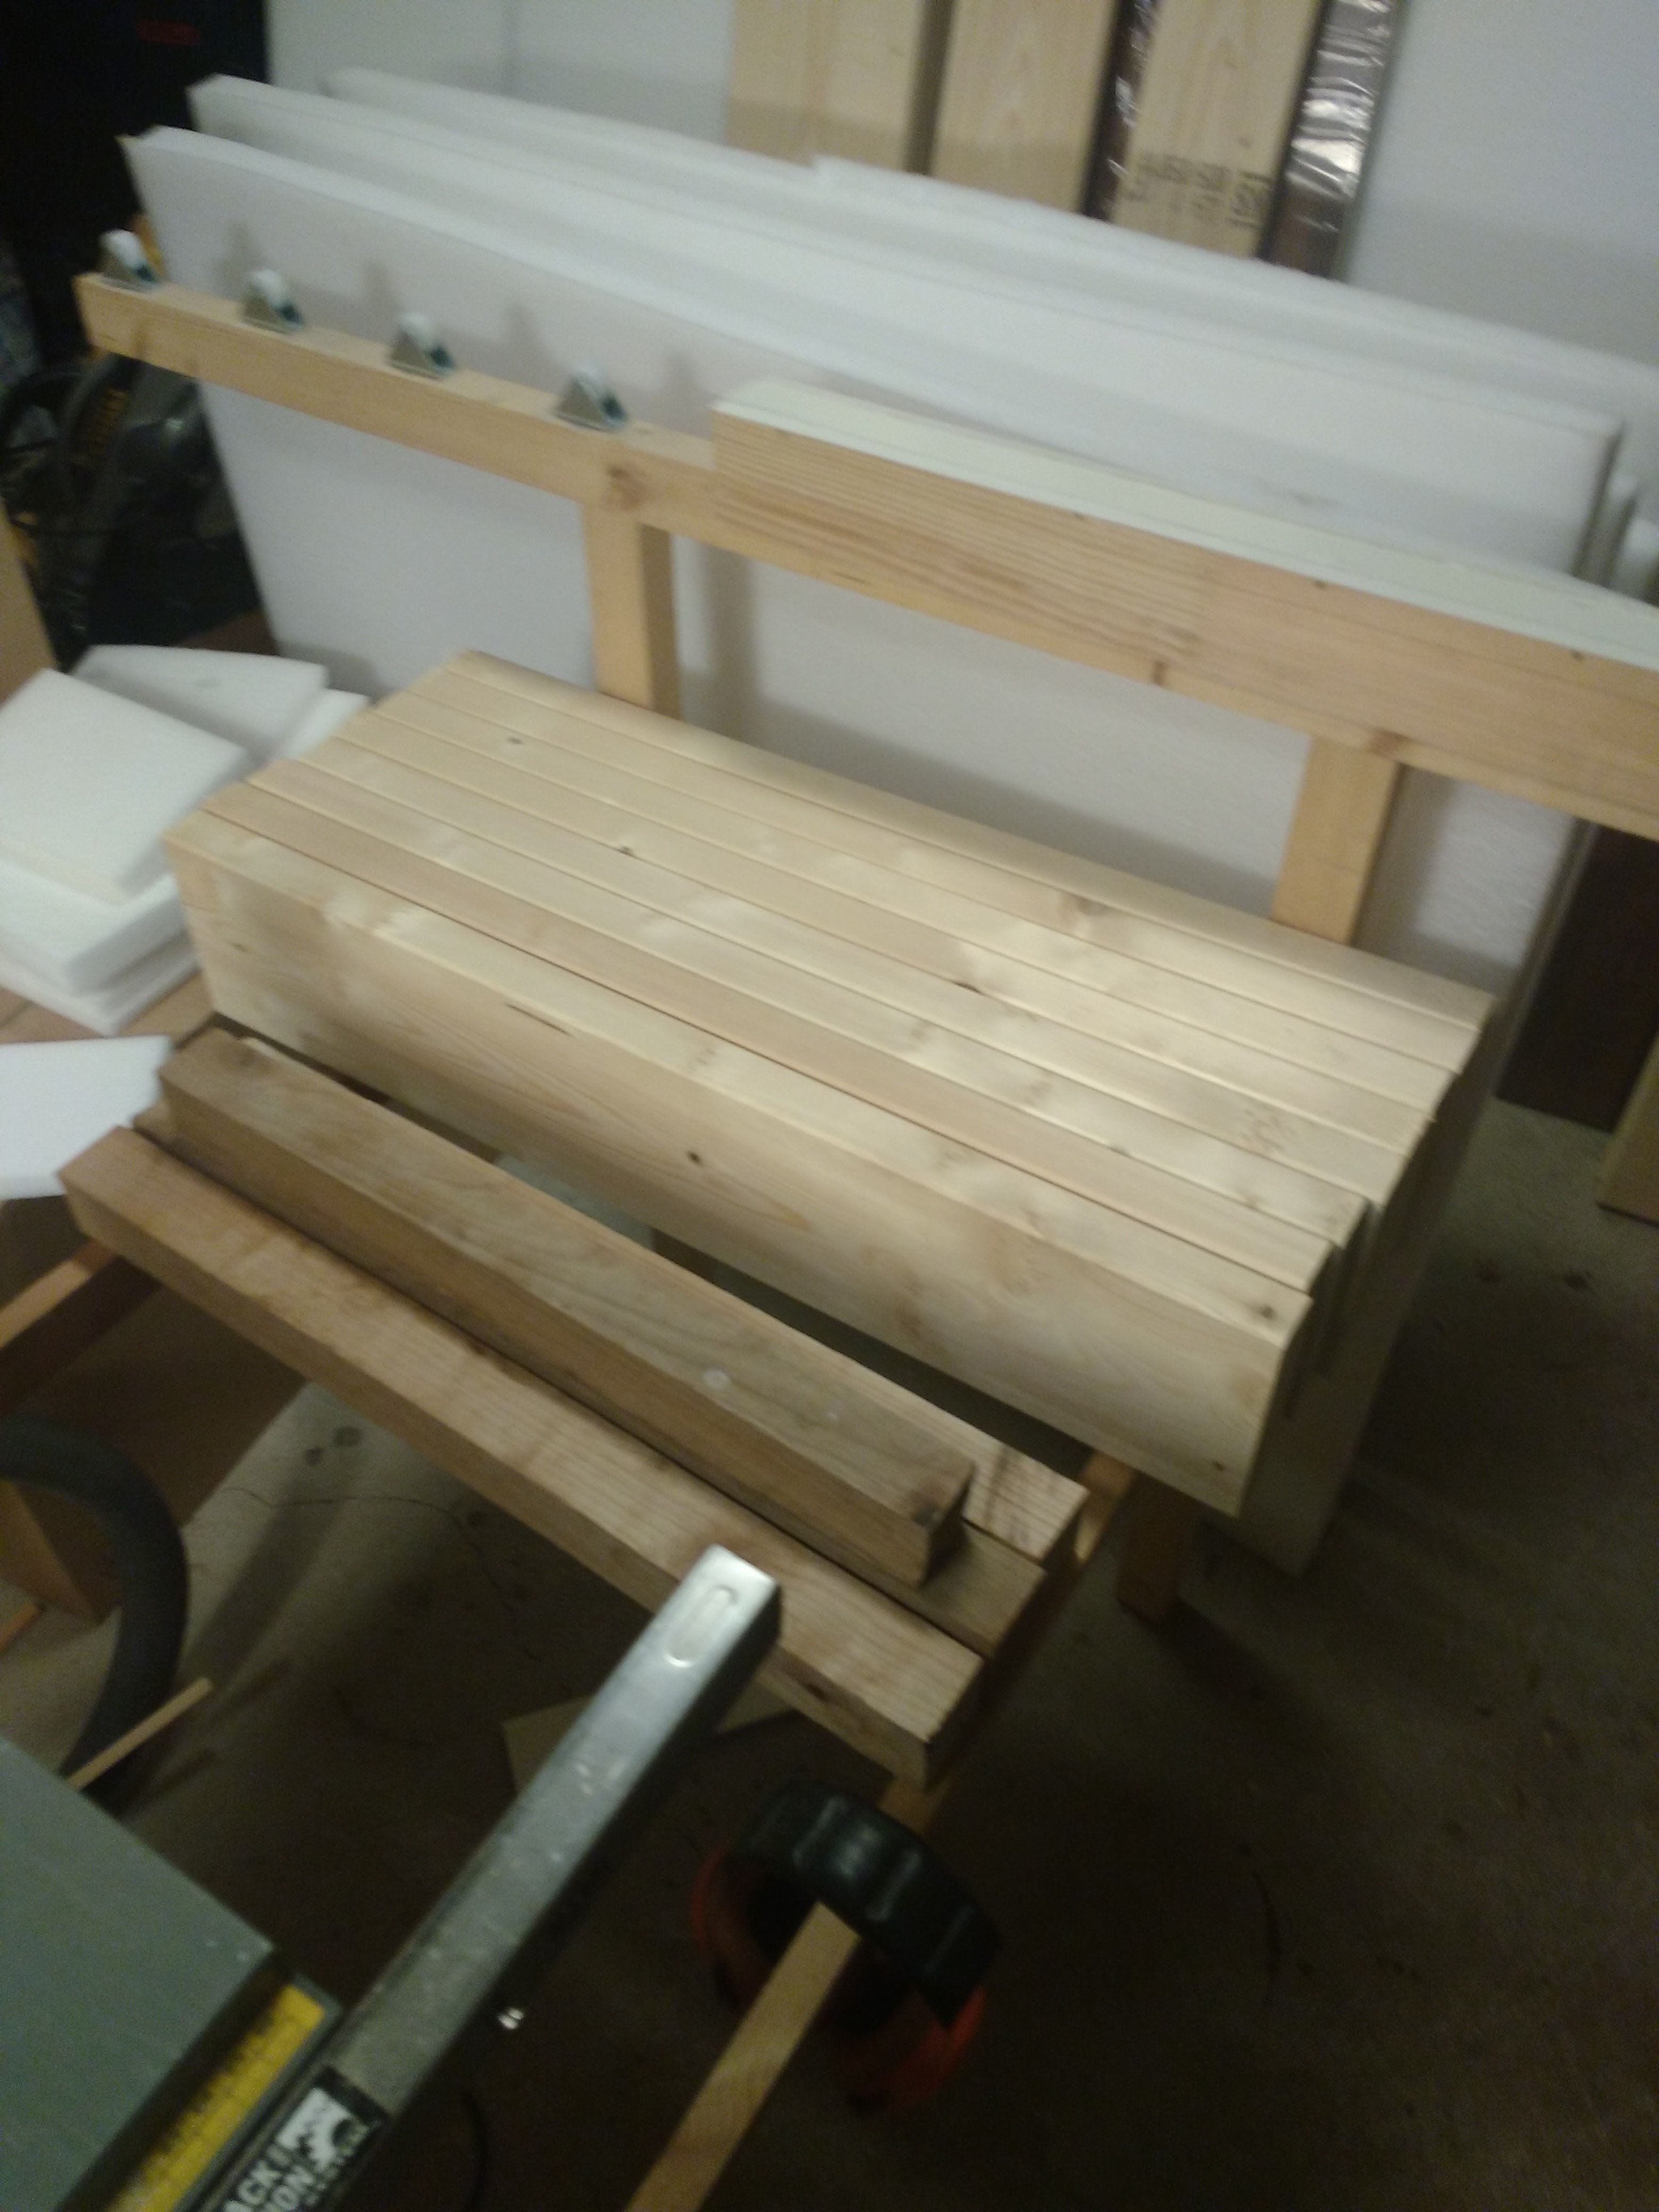
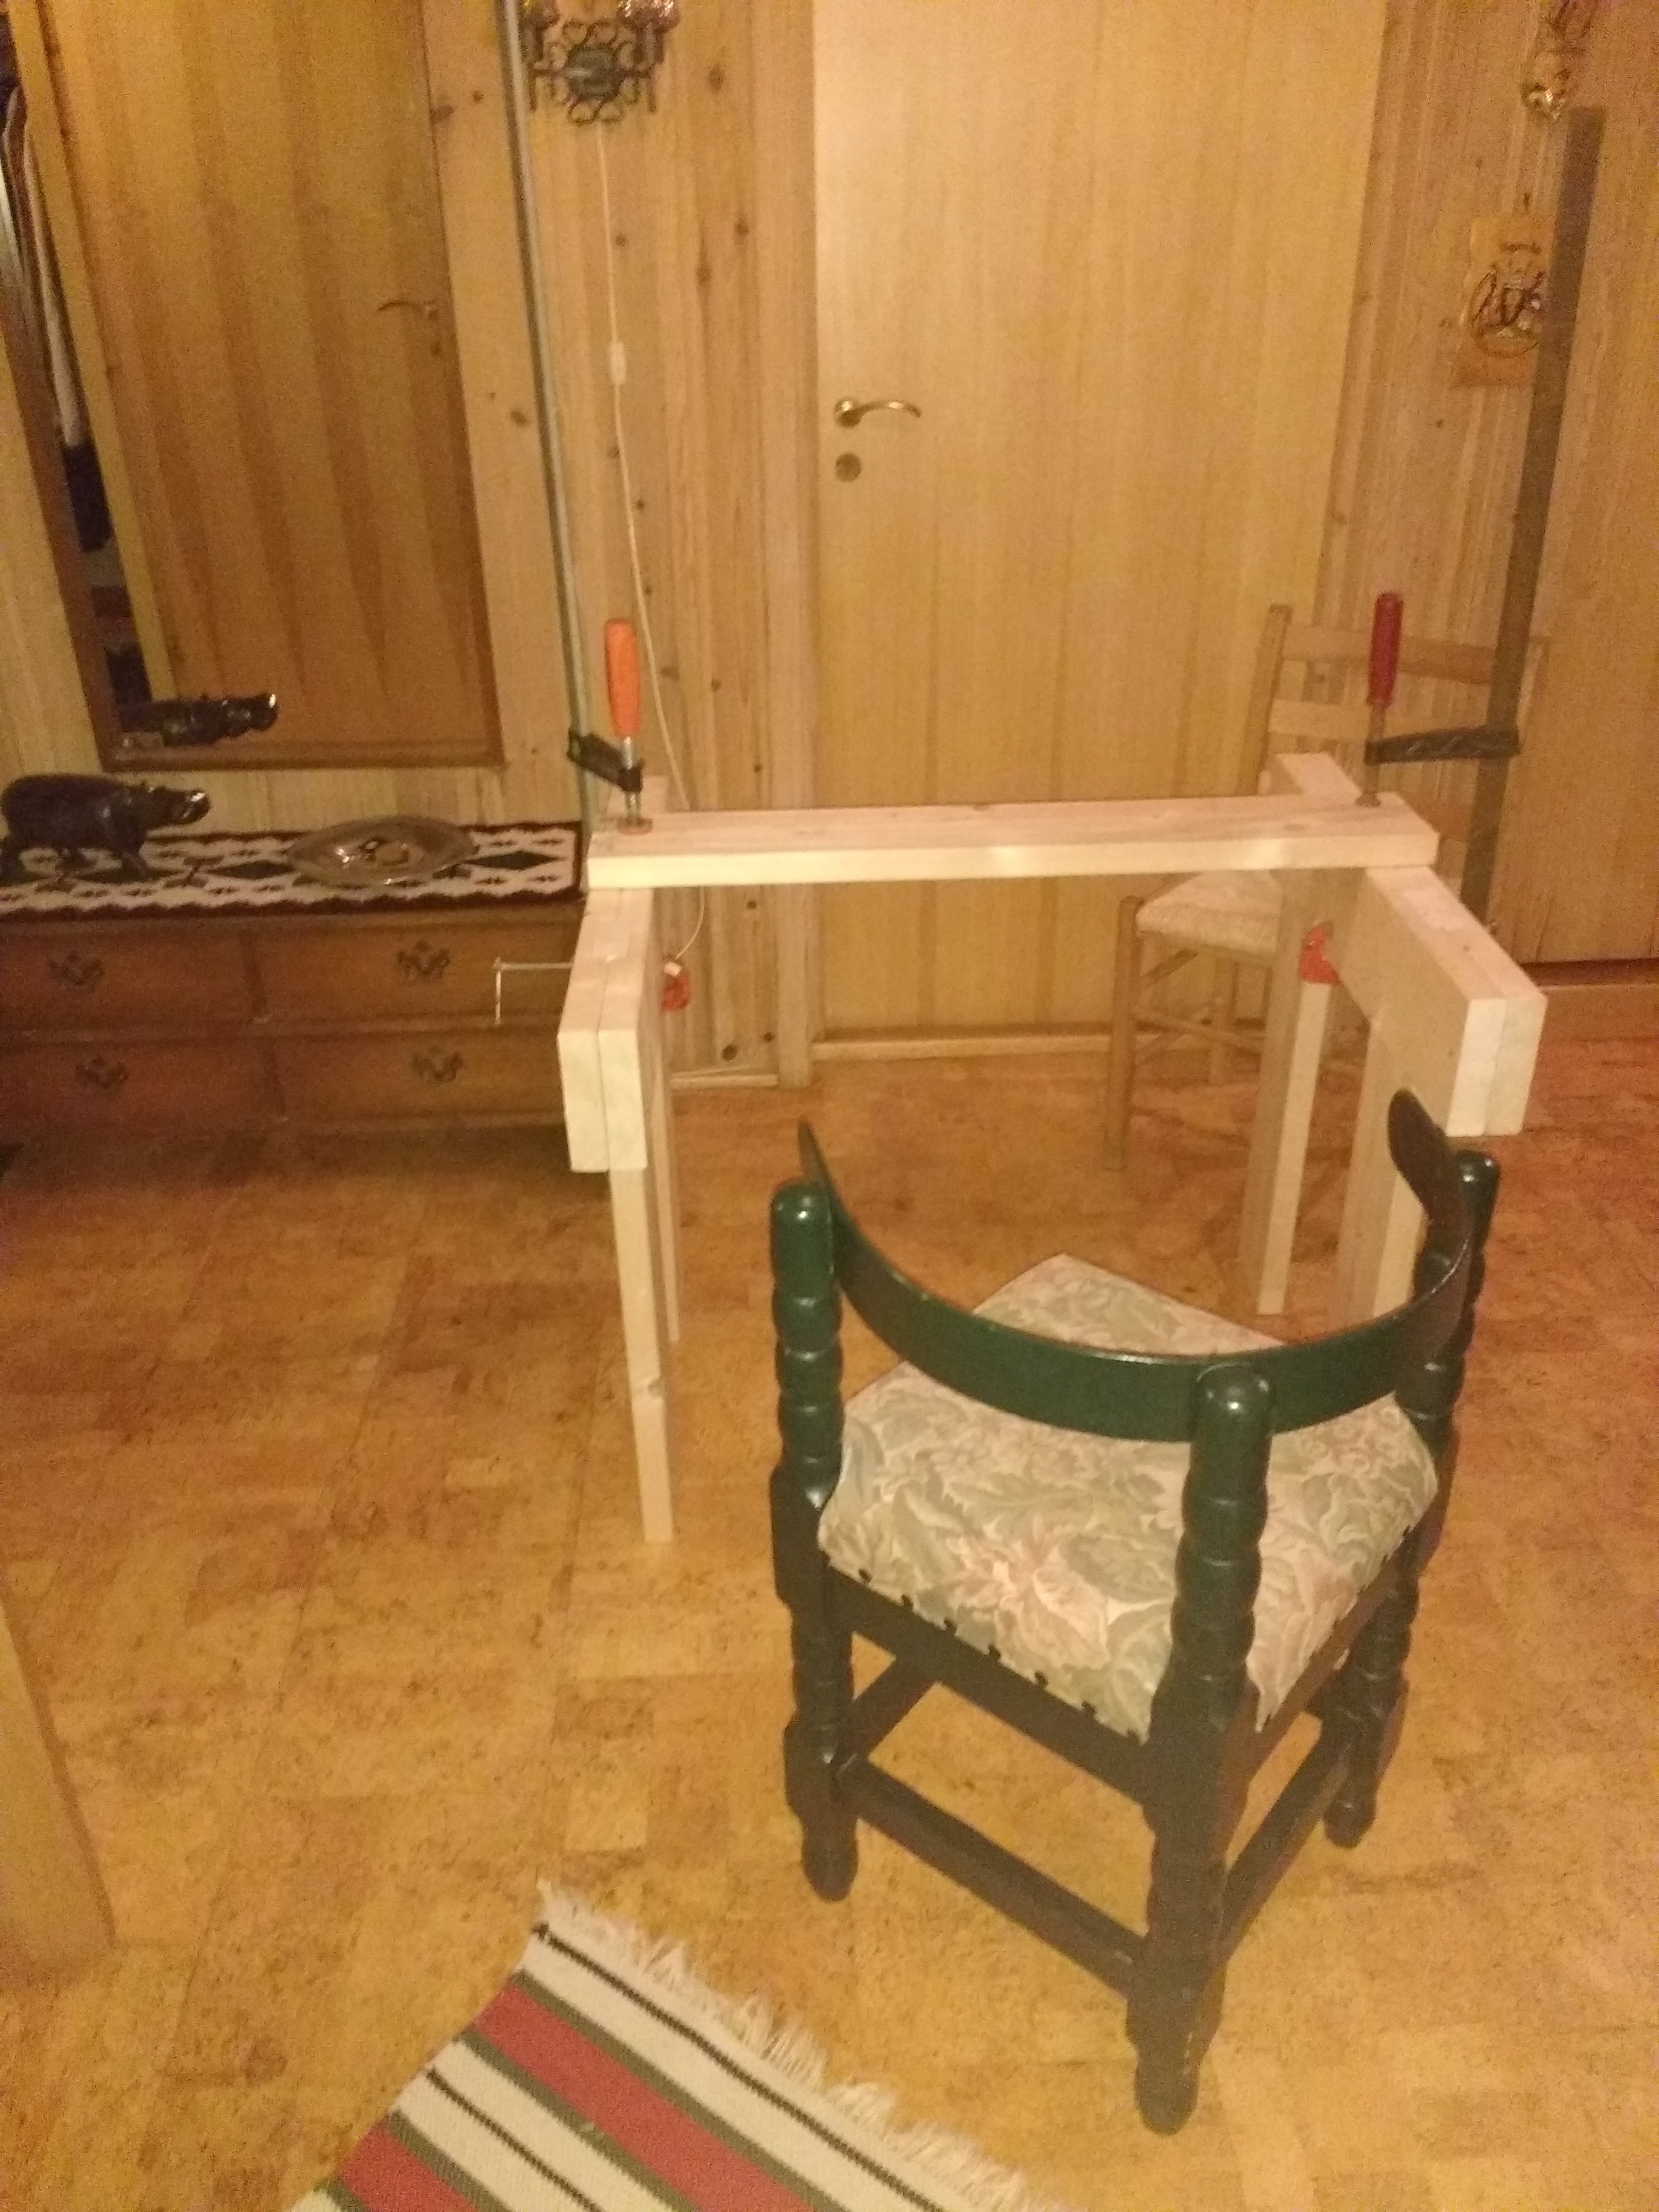
By now I was filled with excitment And I just had to make a quick test to see it use as a "Table". So I set up this quick test with four clamps.
![]()
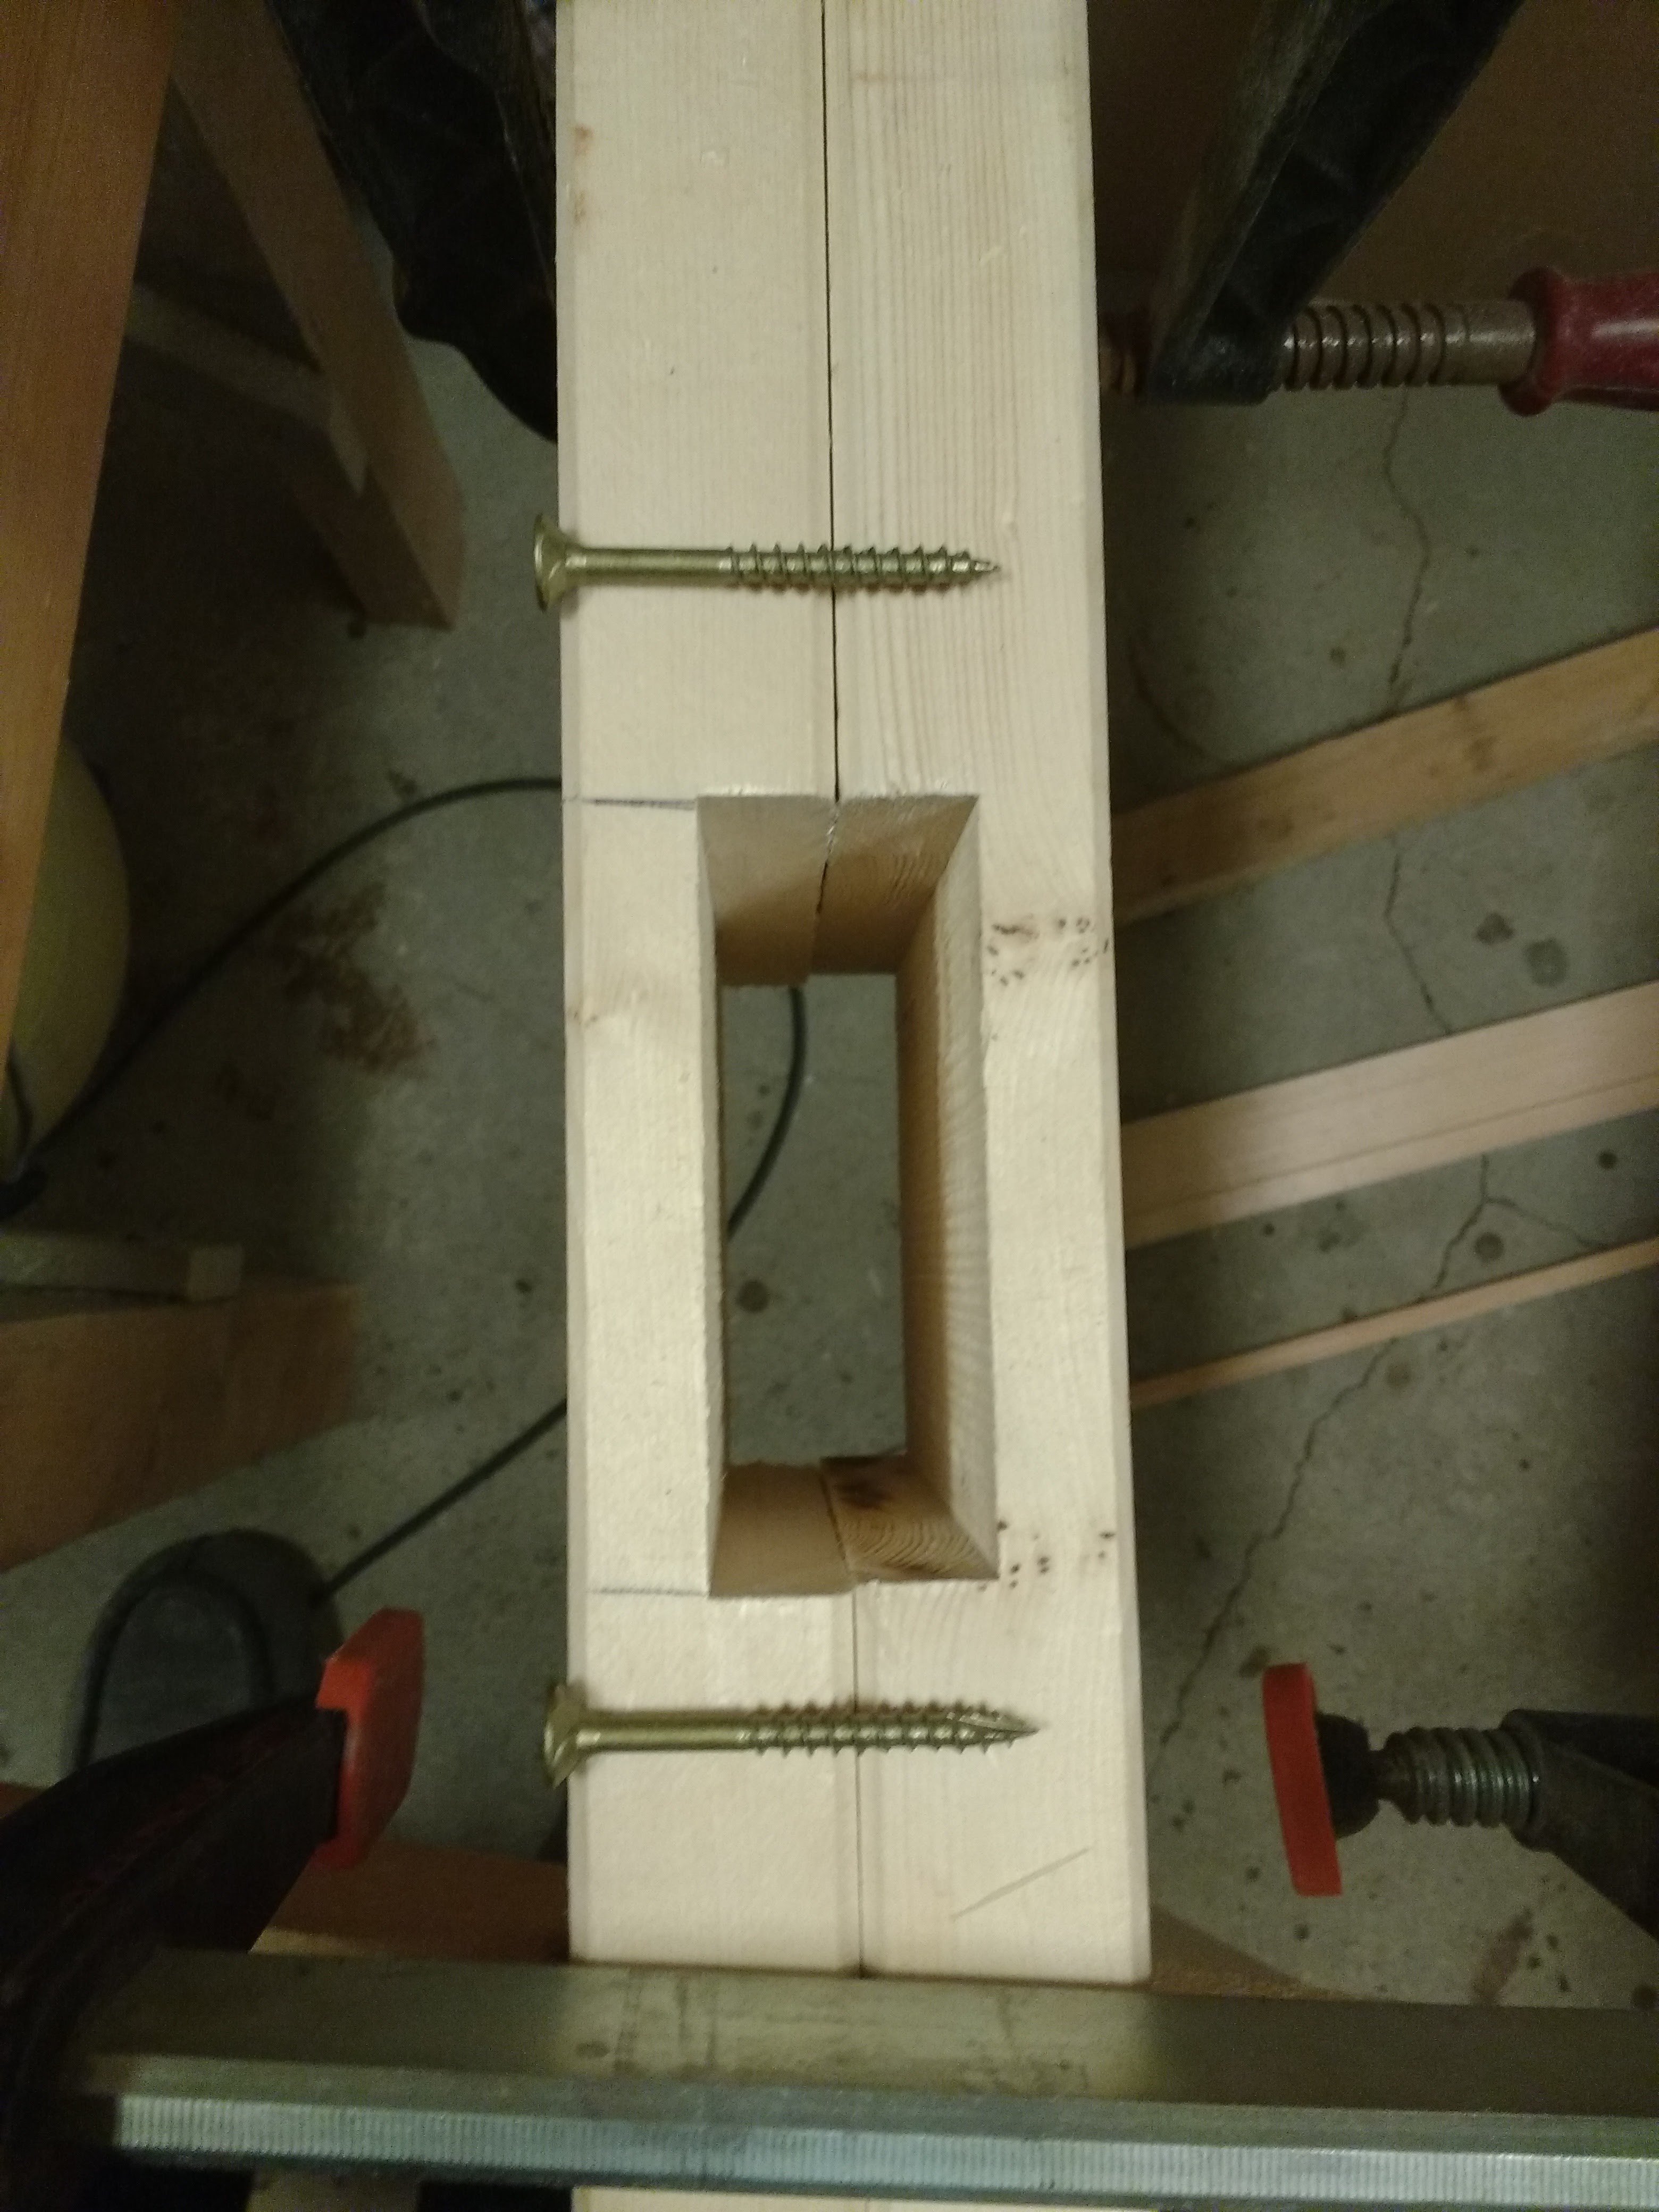
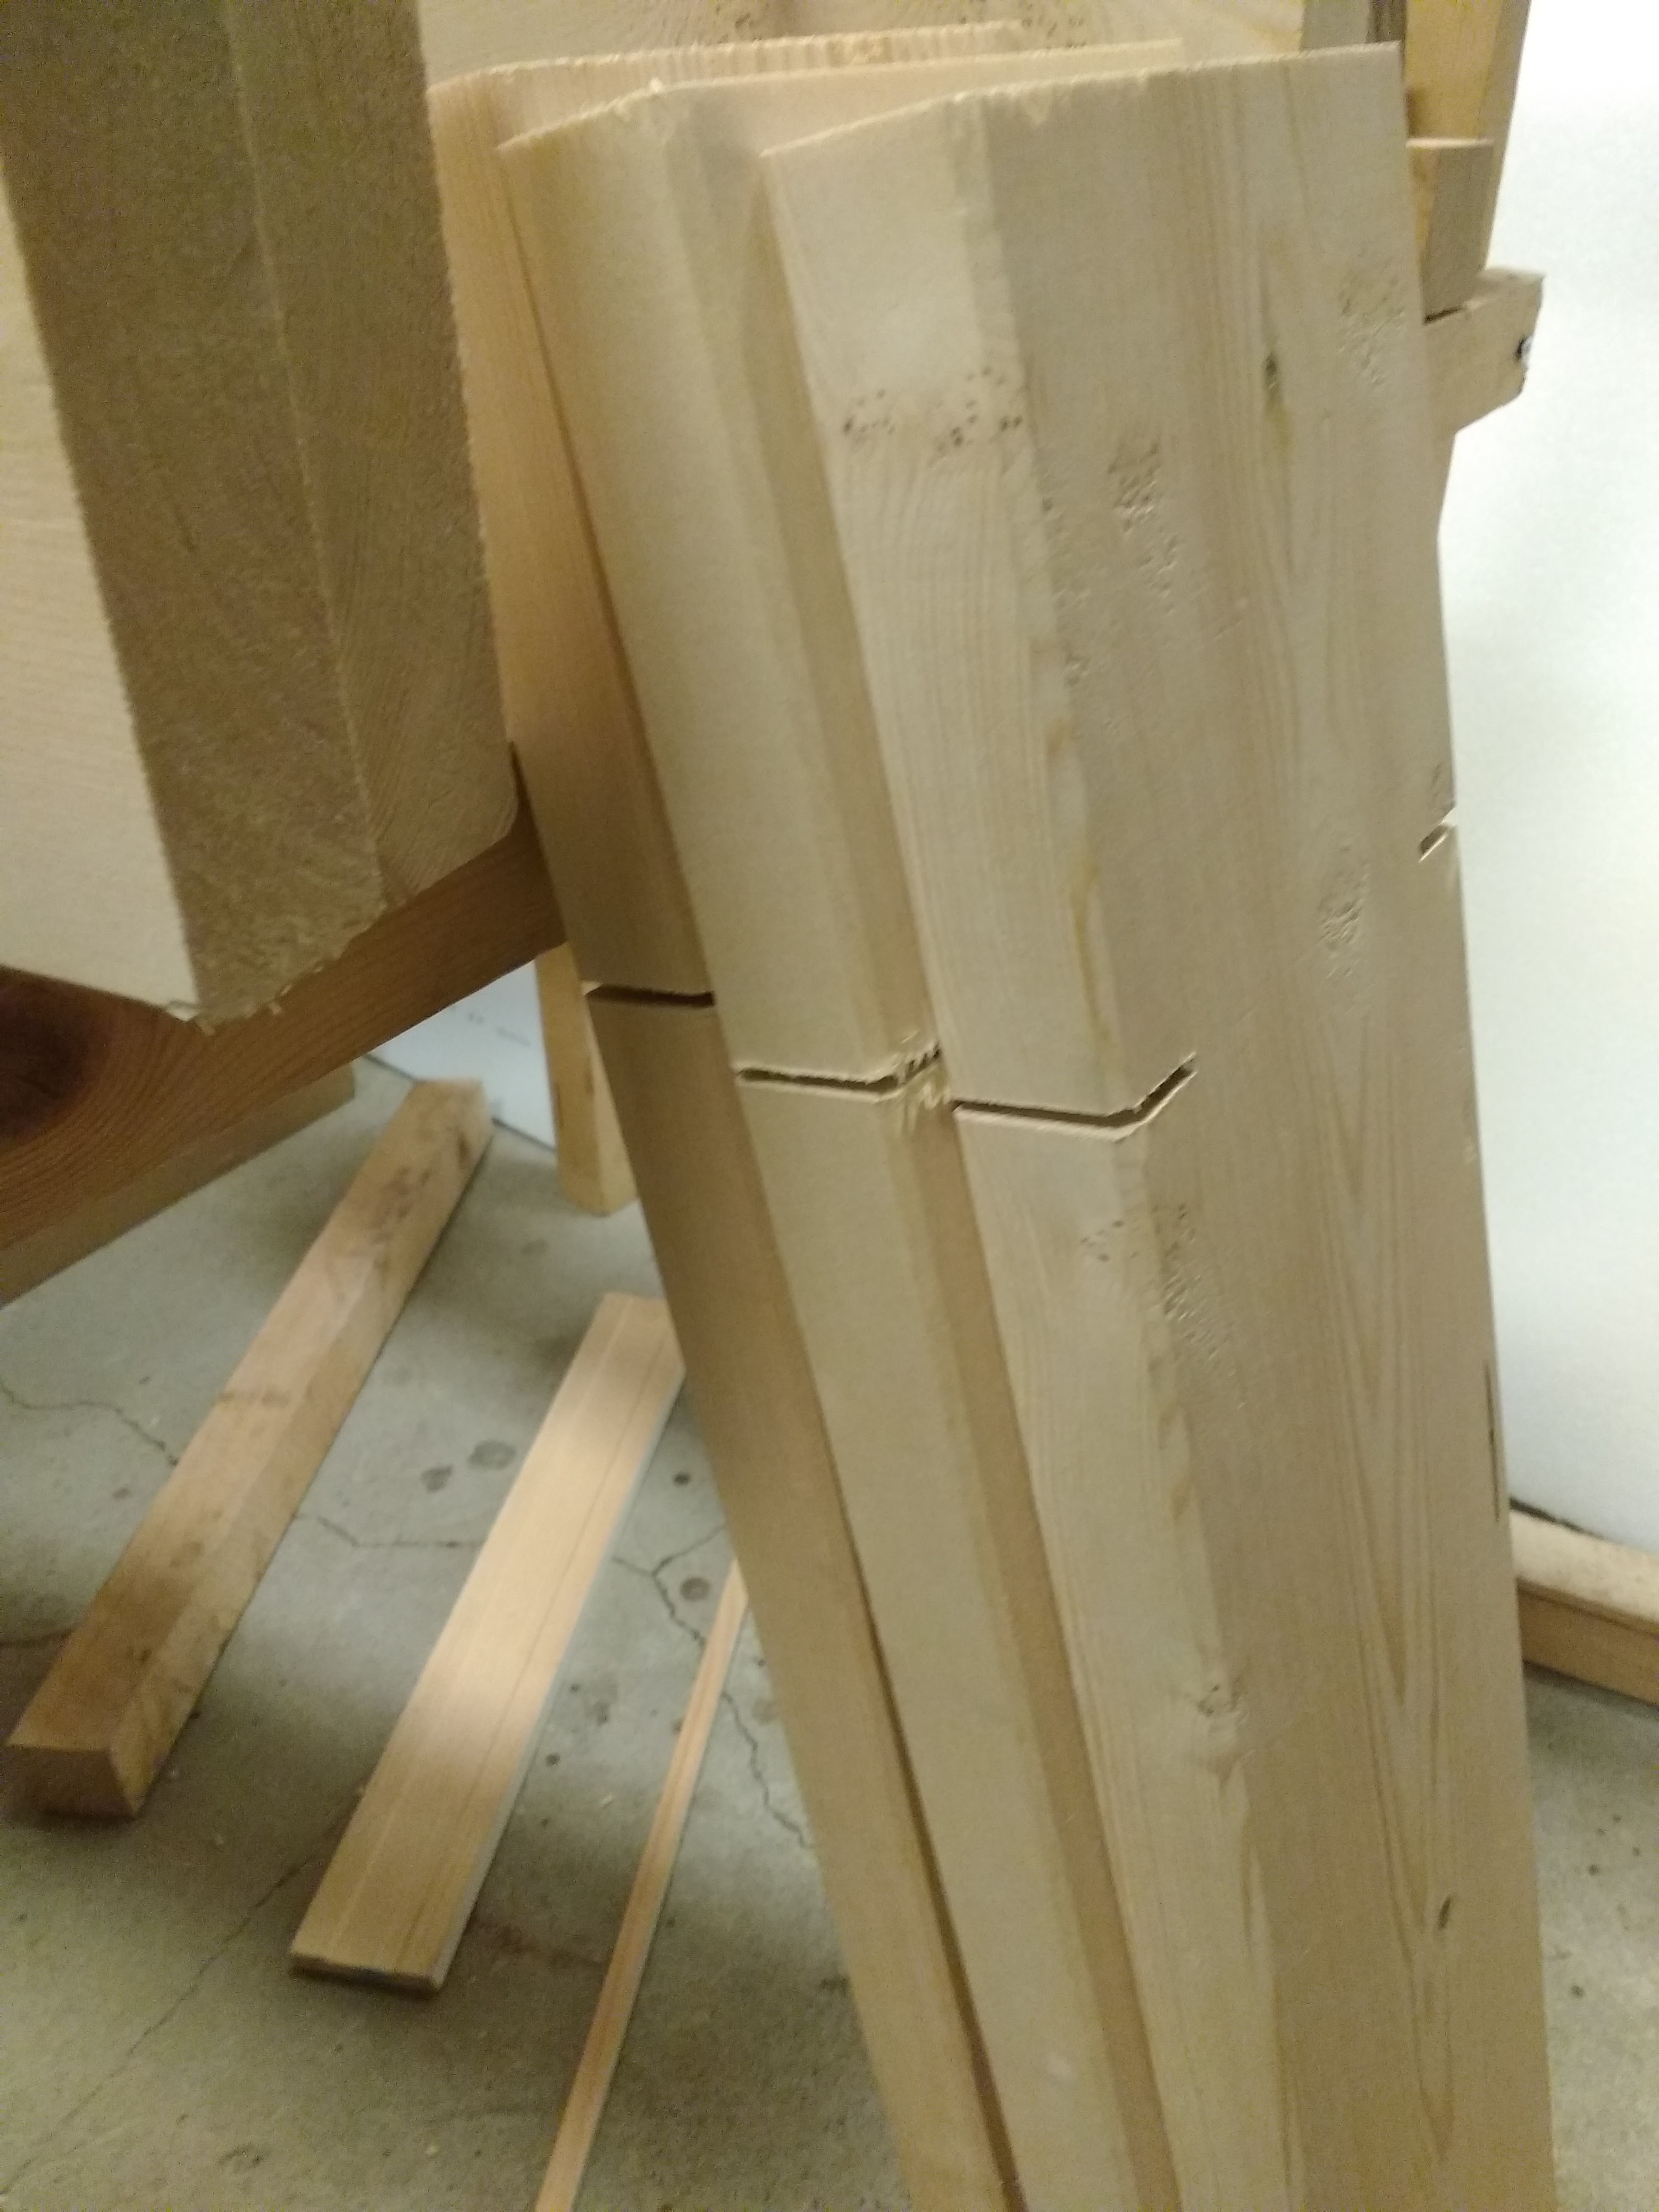
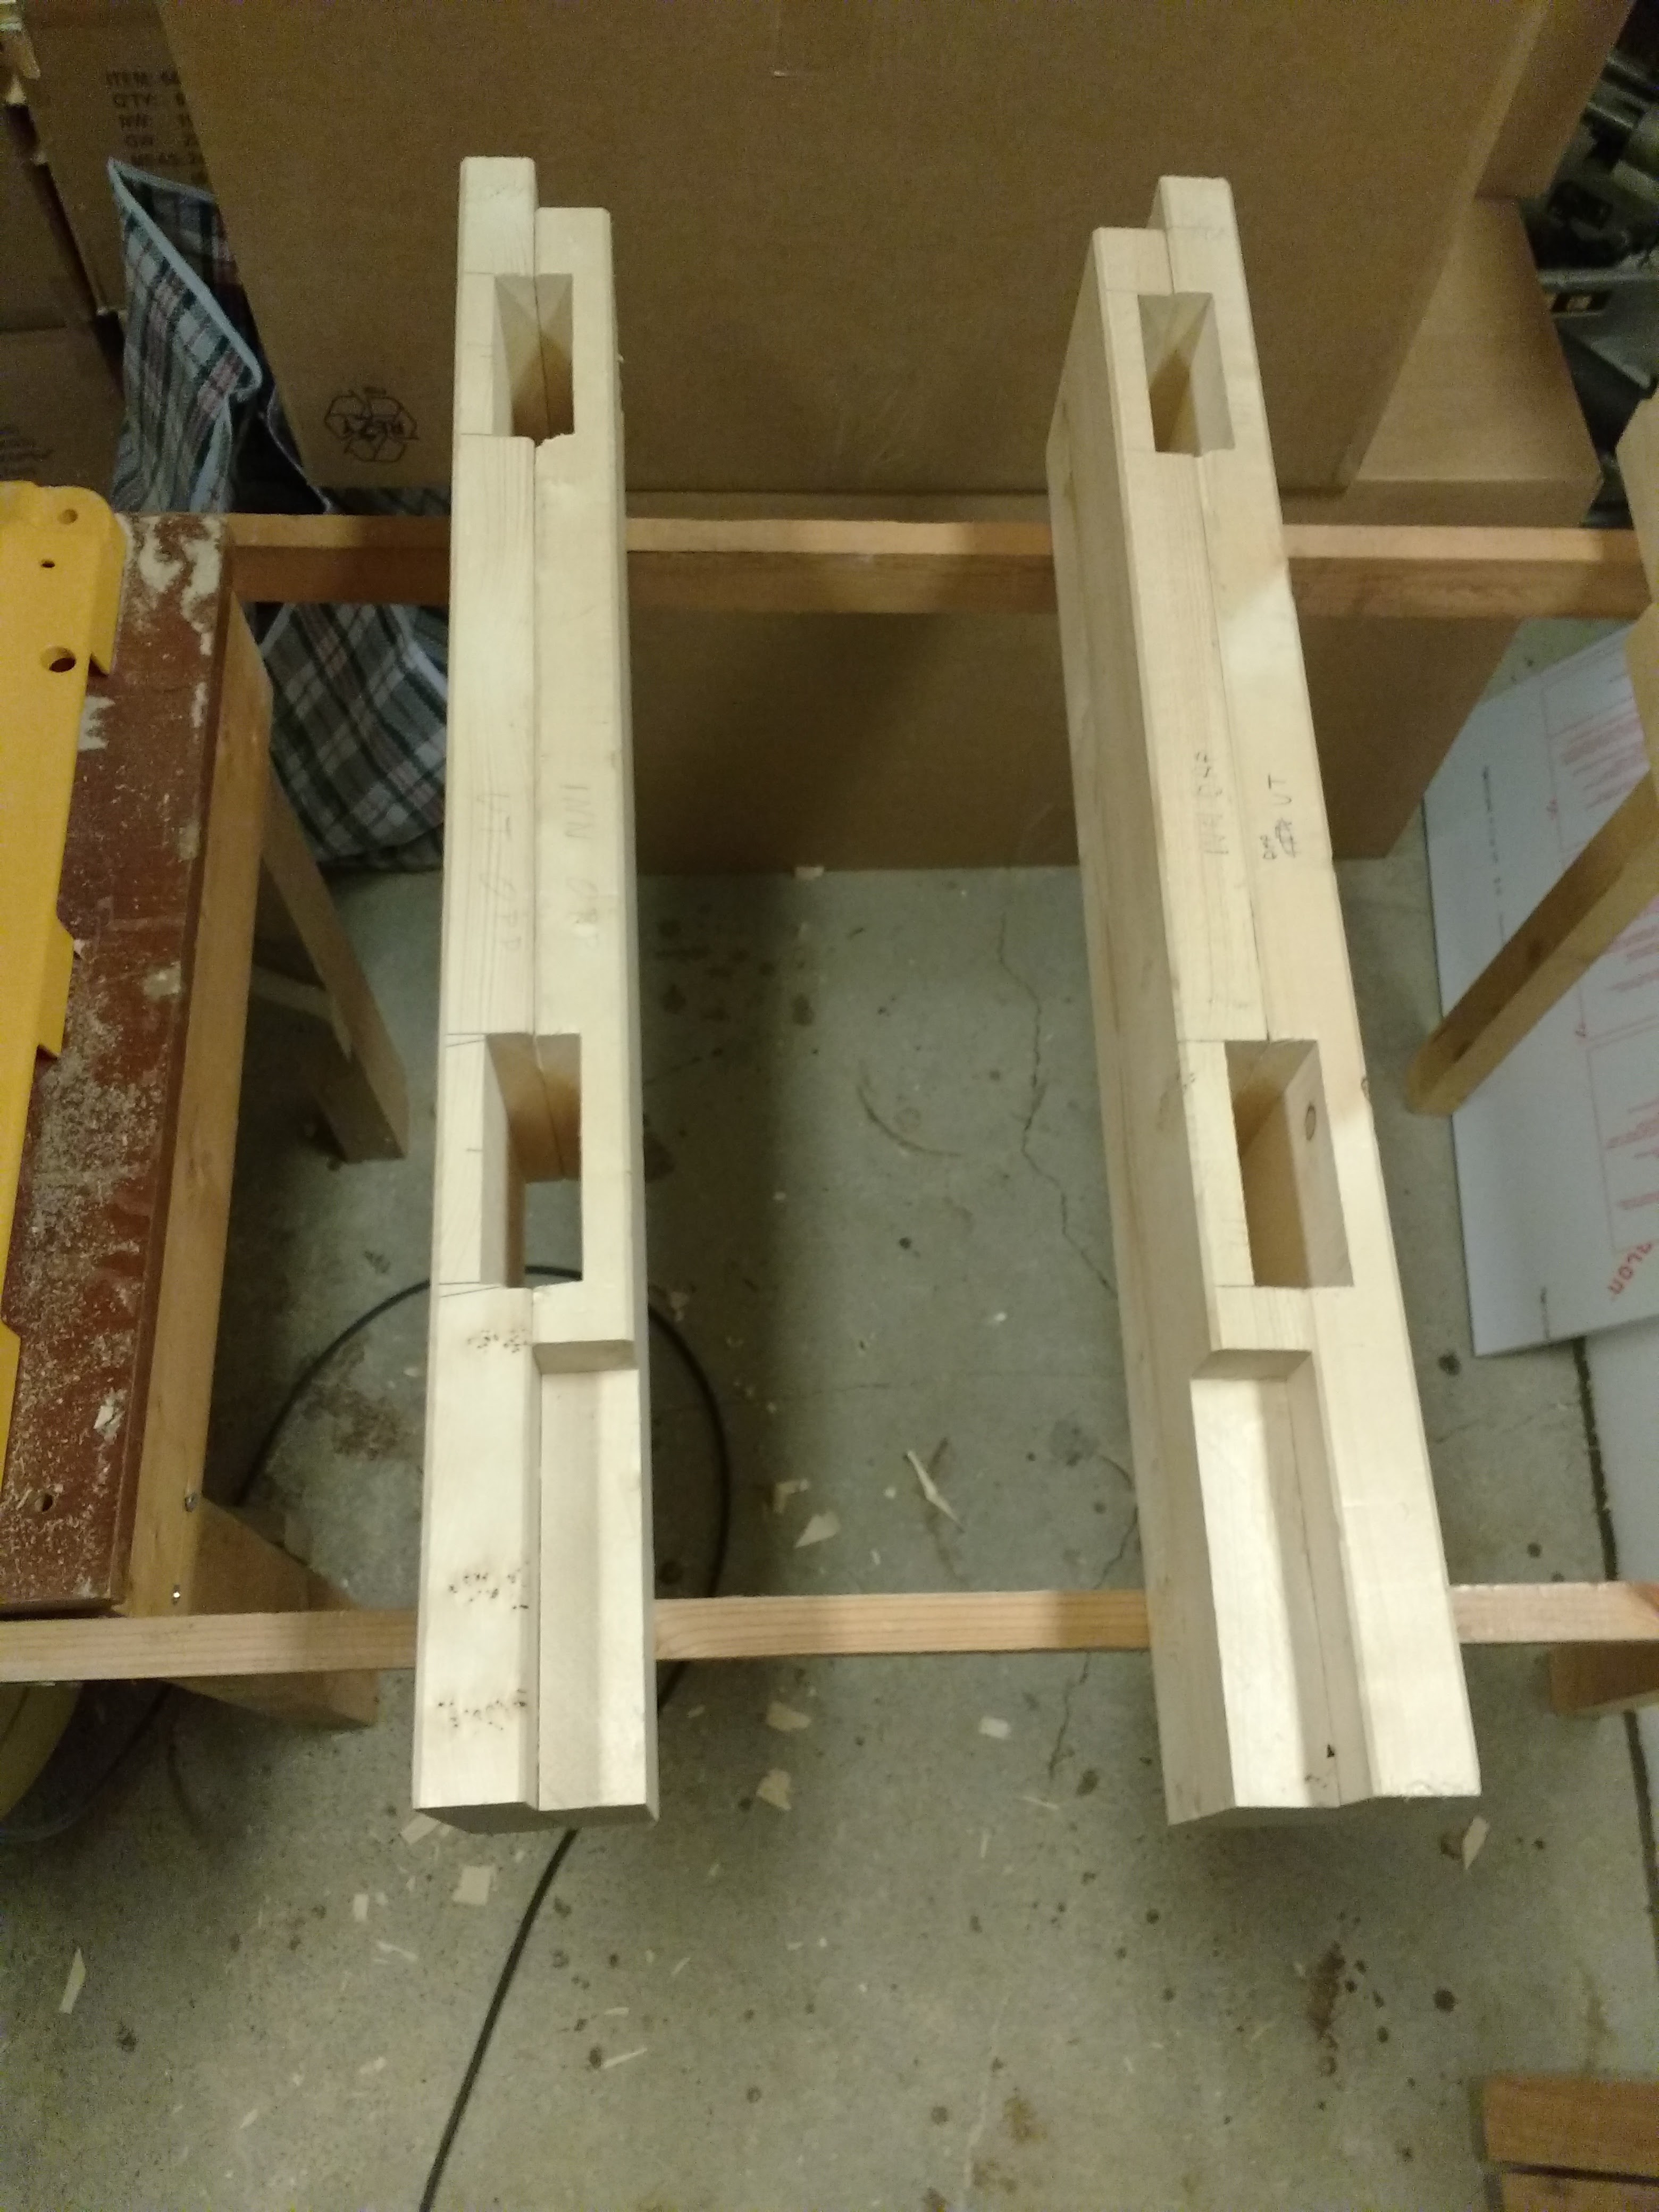
I sat on it and it felt very sturdy considering how it was clamped together. Milestone reached. I then proceed to make cutouts the supports in the length direction (sigh, that was a really badly written sentence). Better to show you a picture of it finished.
![]()
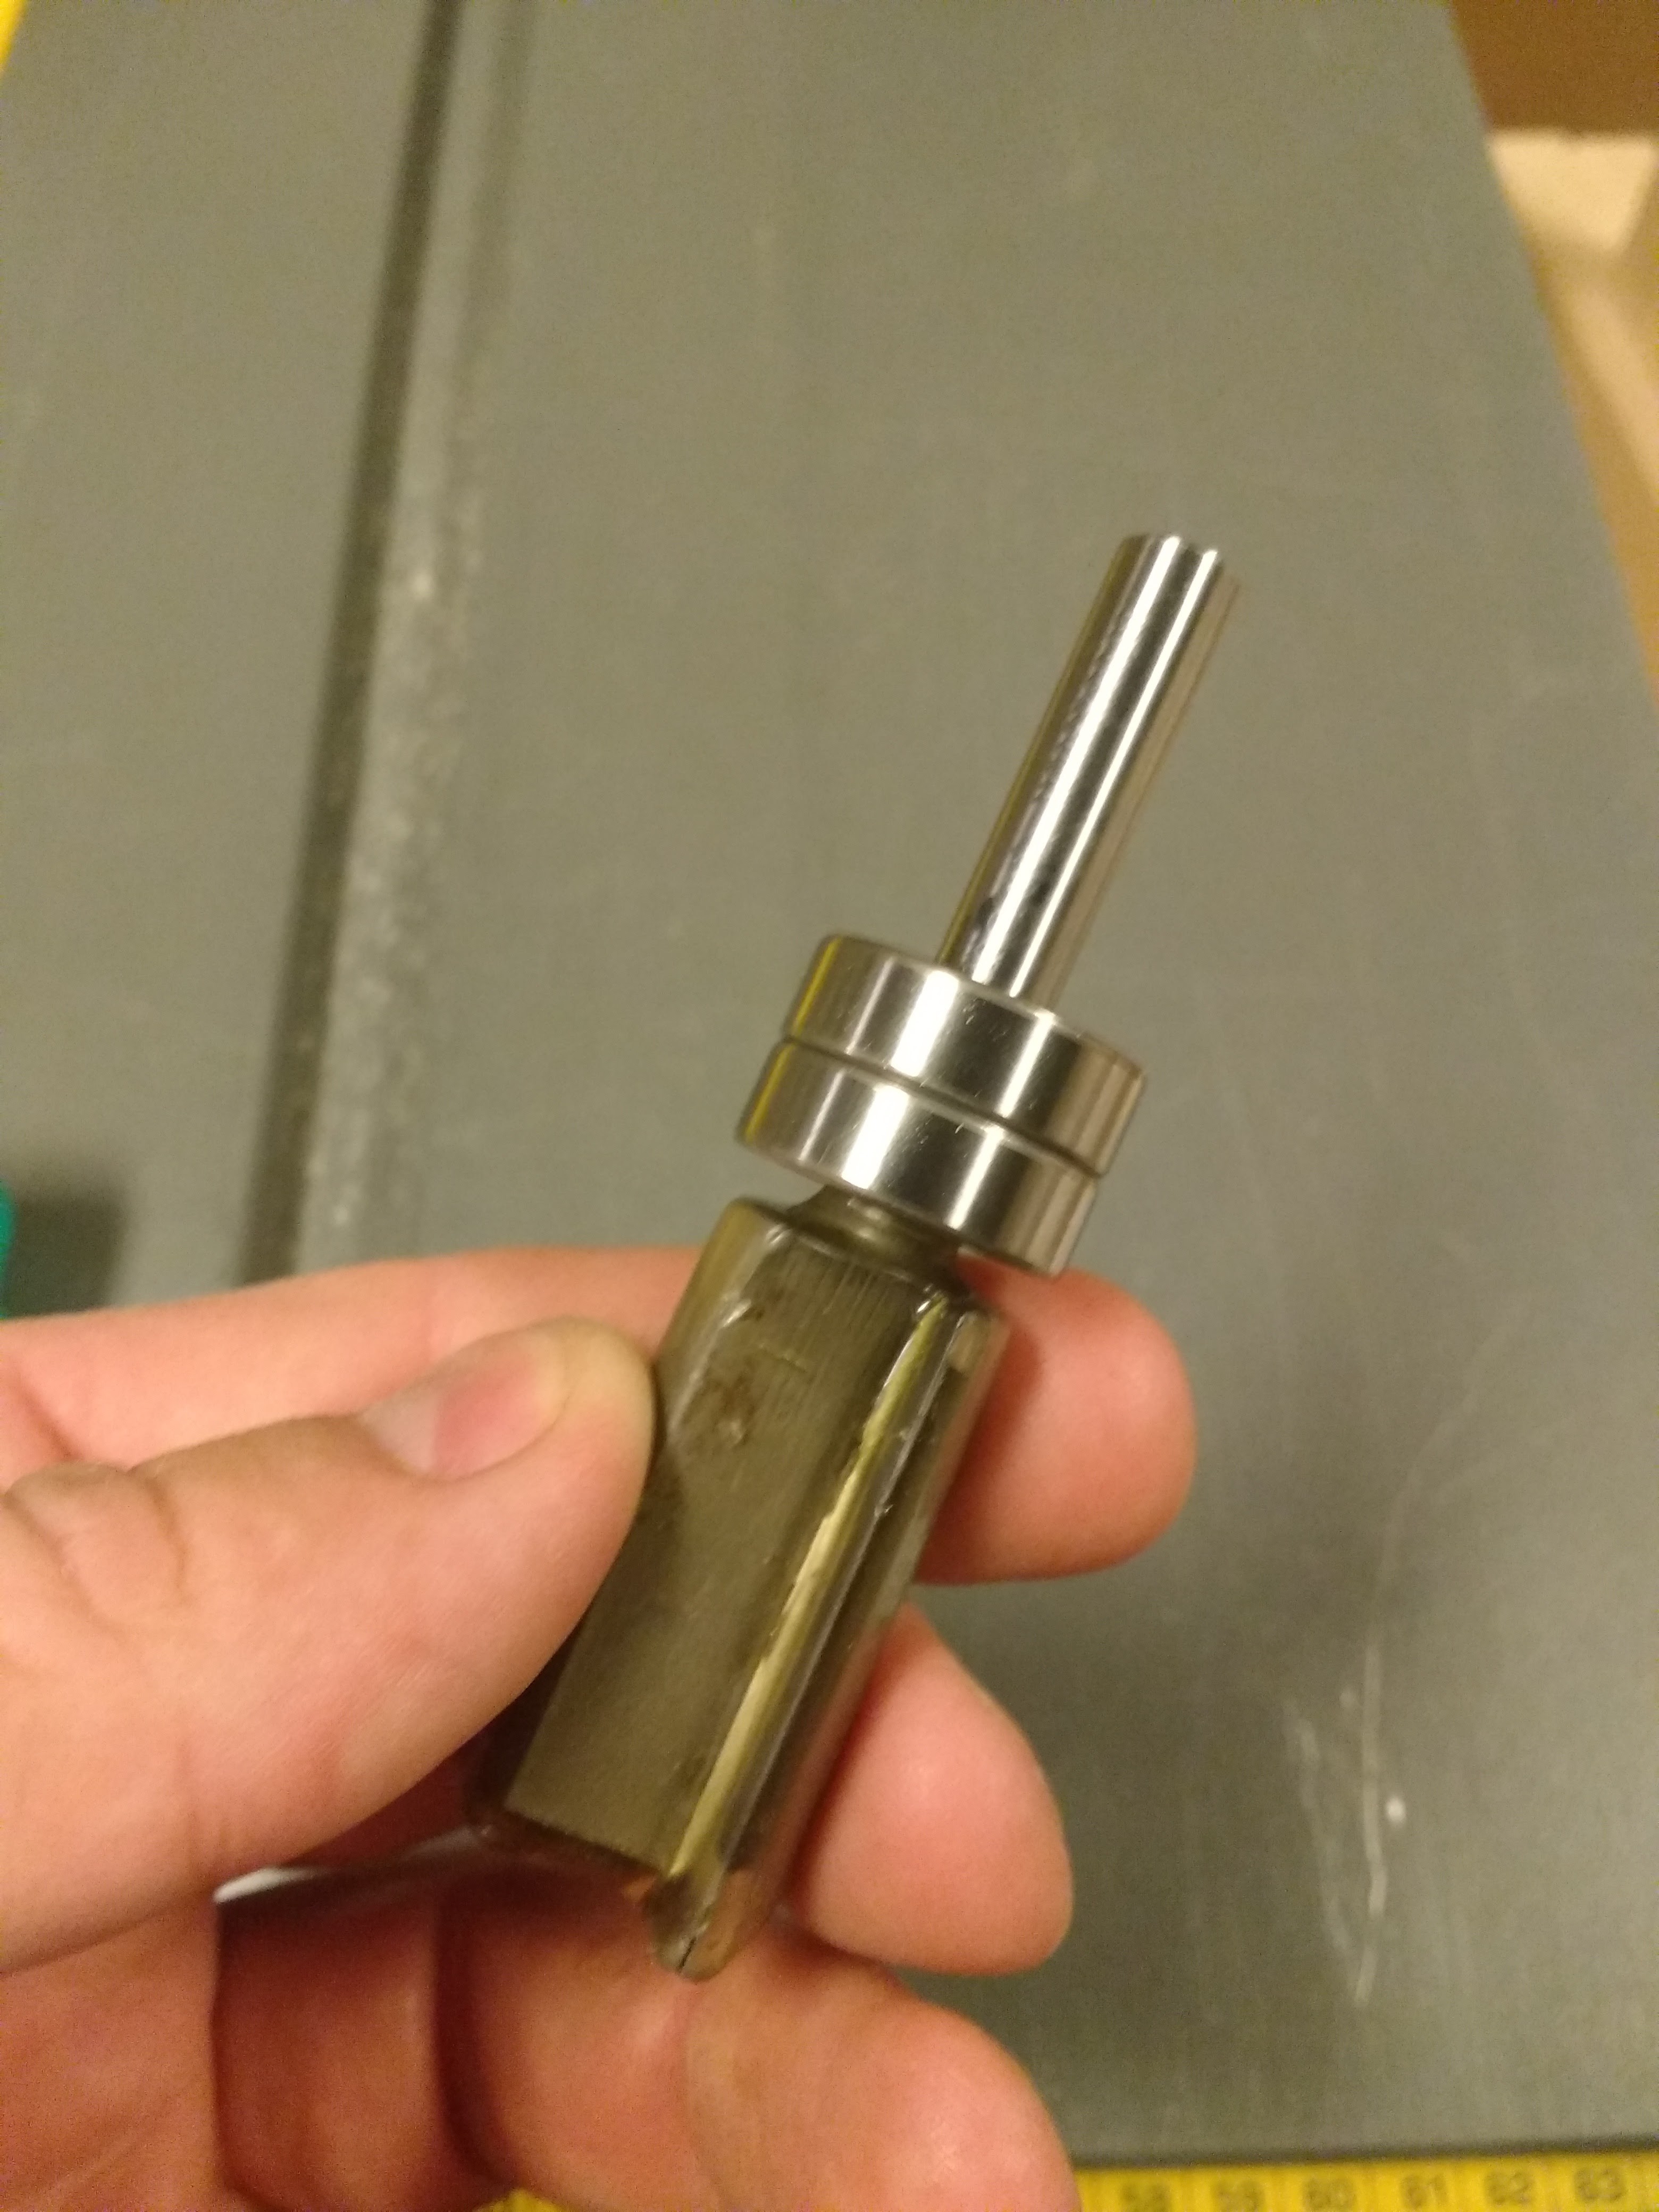
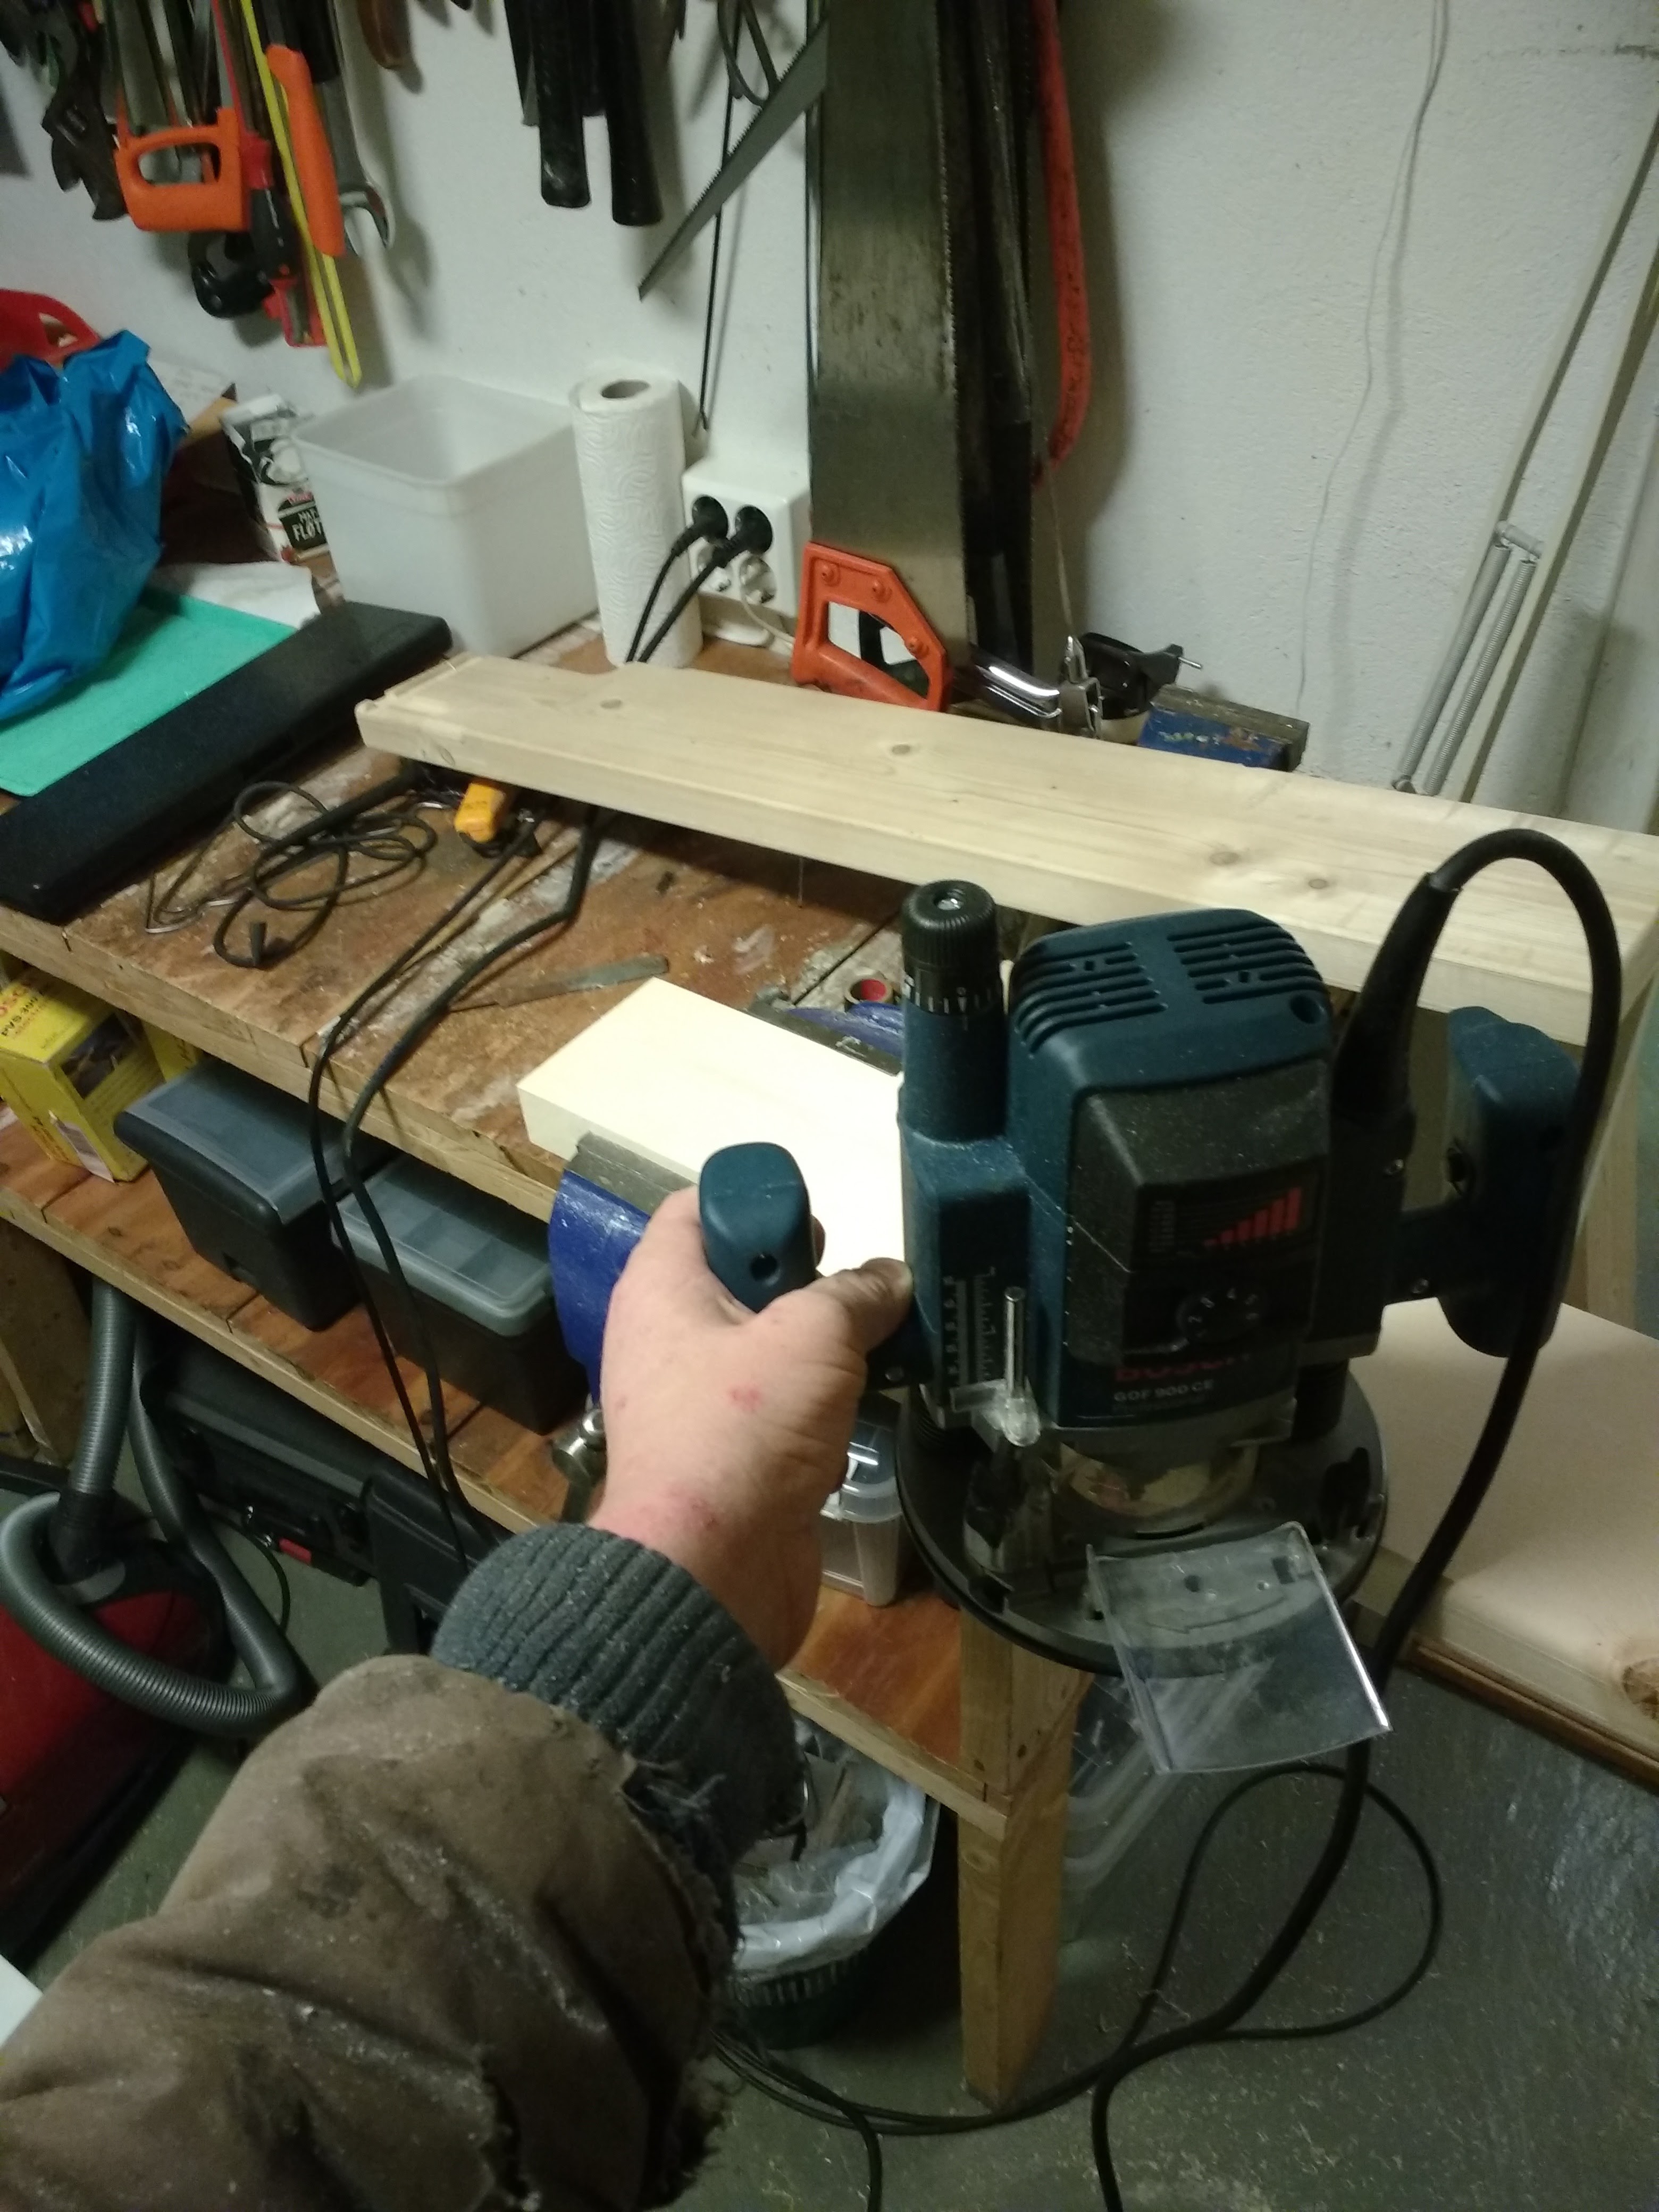
The parts that are not cut out for the support bar is going to be part of the fingerjoint I will make. Next I use a handheld router to make the edges smoother on the tablelegs. To do this I use a roundover bit. As shown here:
![]()
Trusty Bochy
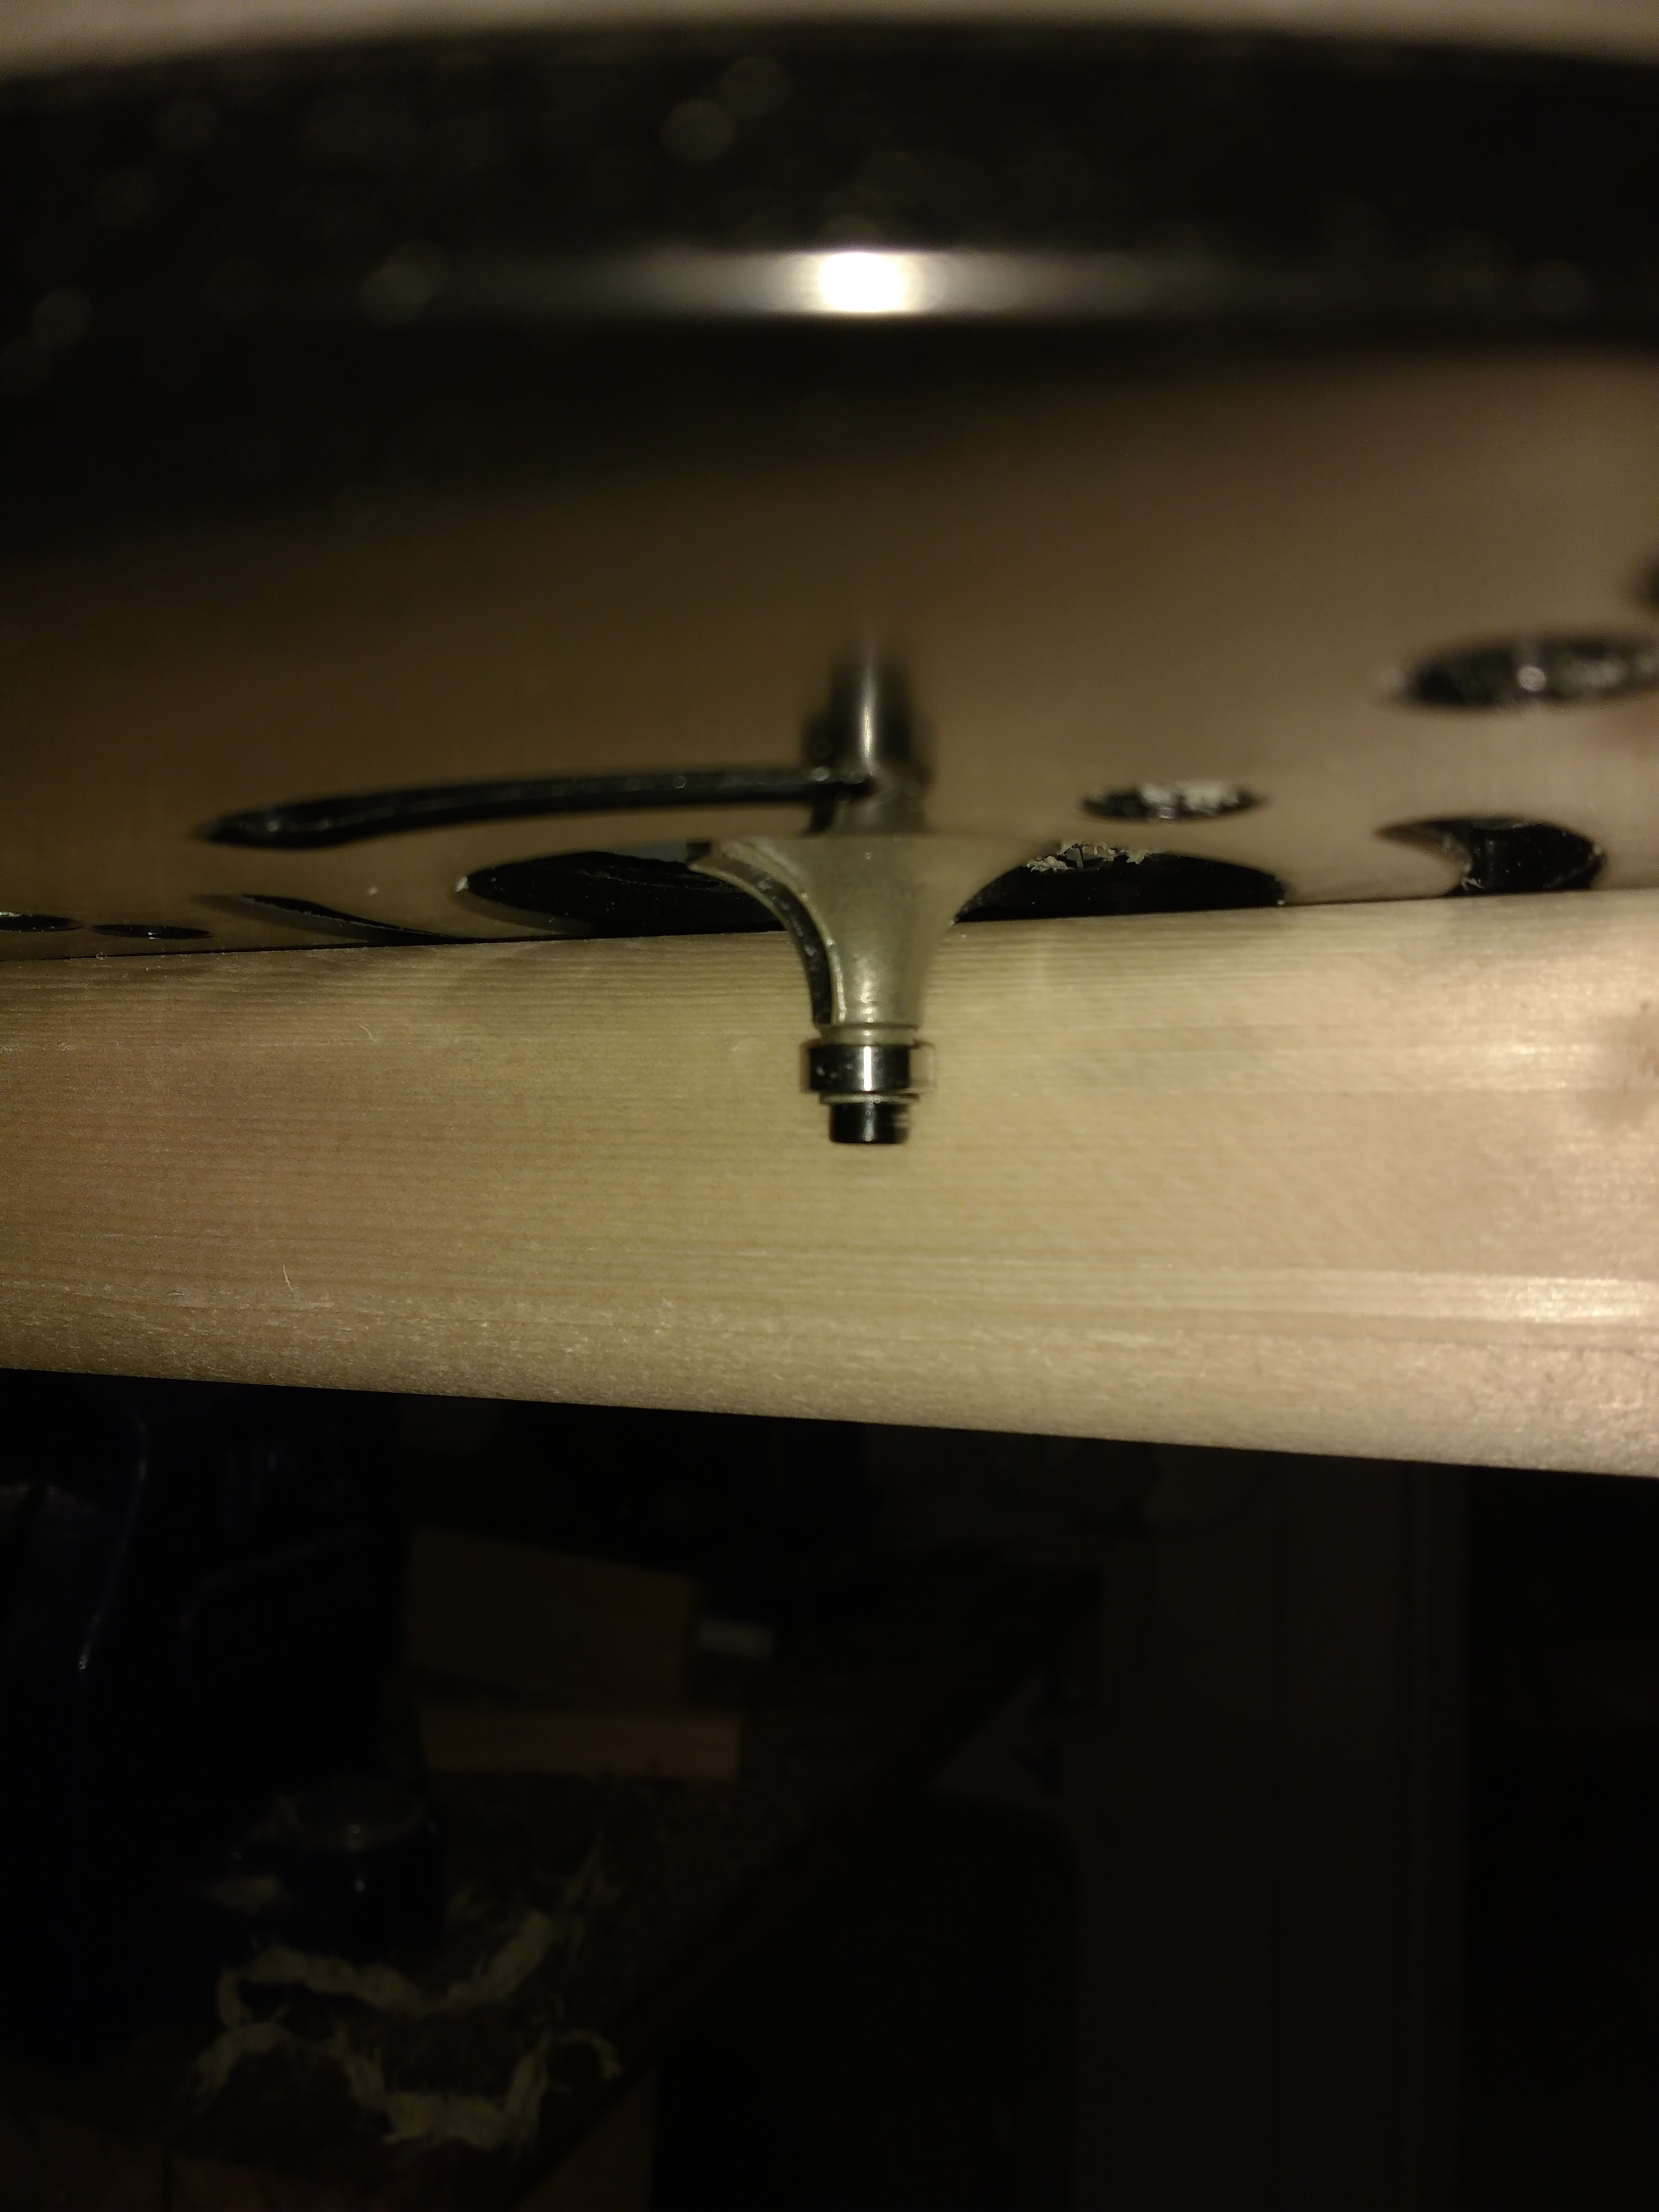
![]()
Roundover bit with ballbearing that follows the edge.
![]() Here You can see the difference between an the edges with and without a chamfer. Overall I did quite alot done today. the next thing to do is to make the template for the finger joints. The template will be made with a cnc machine.
Here You can see the difference between an the edges with and without a chamfer. Overall I did quite alot done today. the next thing to do is to make the template for the finger joints. The template will be made with a cnc machine. -
Custom router bit and measuring about 14 times
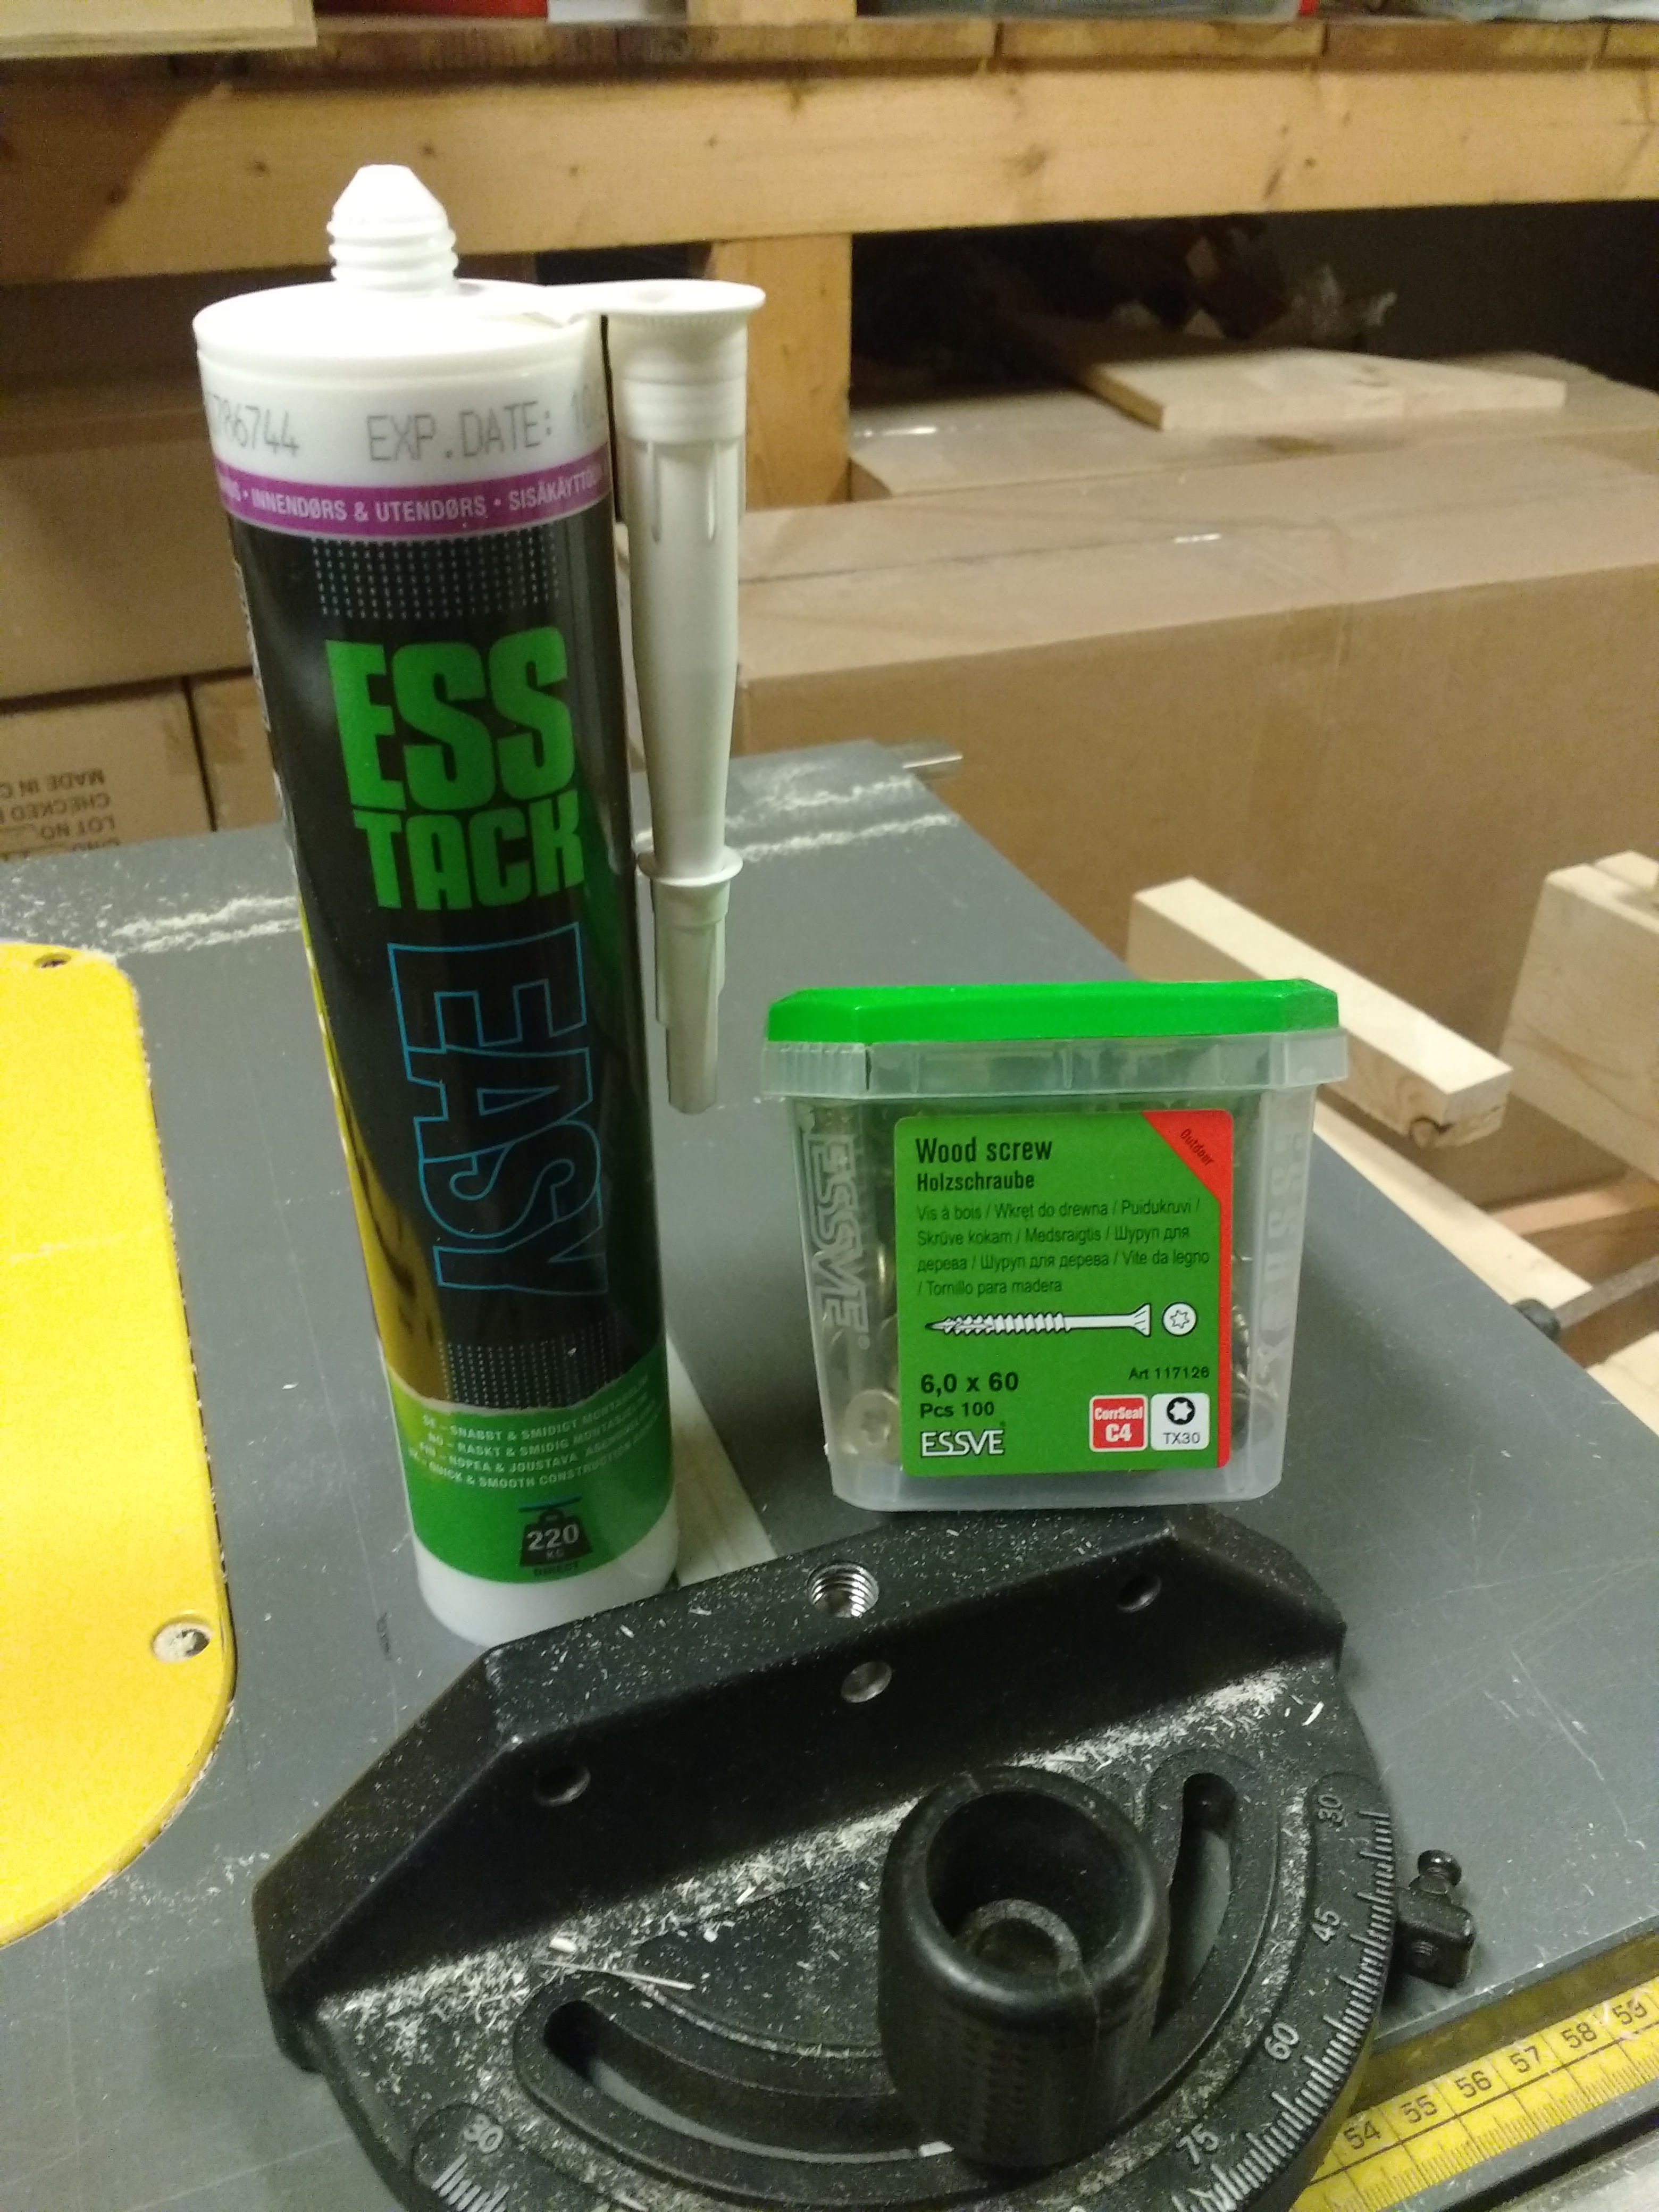
12/07/2016 at 08:54 • 0 commentsSo I got a call. It was the store owner of Grønvold maskin (Grønvold machineservices) . He had the custom router bit ready for me! I was so excited so I got to Grønvold maskin as fast as I could after work (they have opening times that makes it kinda difficult to shop there). I got the bit and also bought some other supplies:
![]()
And here are screws that Will fit perfectly and a very strong adhesive (cab withstand 220KG of force applied to it) to hold the to sides of the leg support together:
![]()
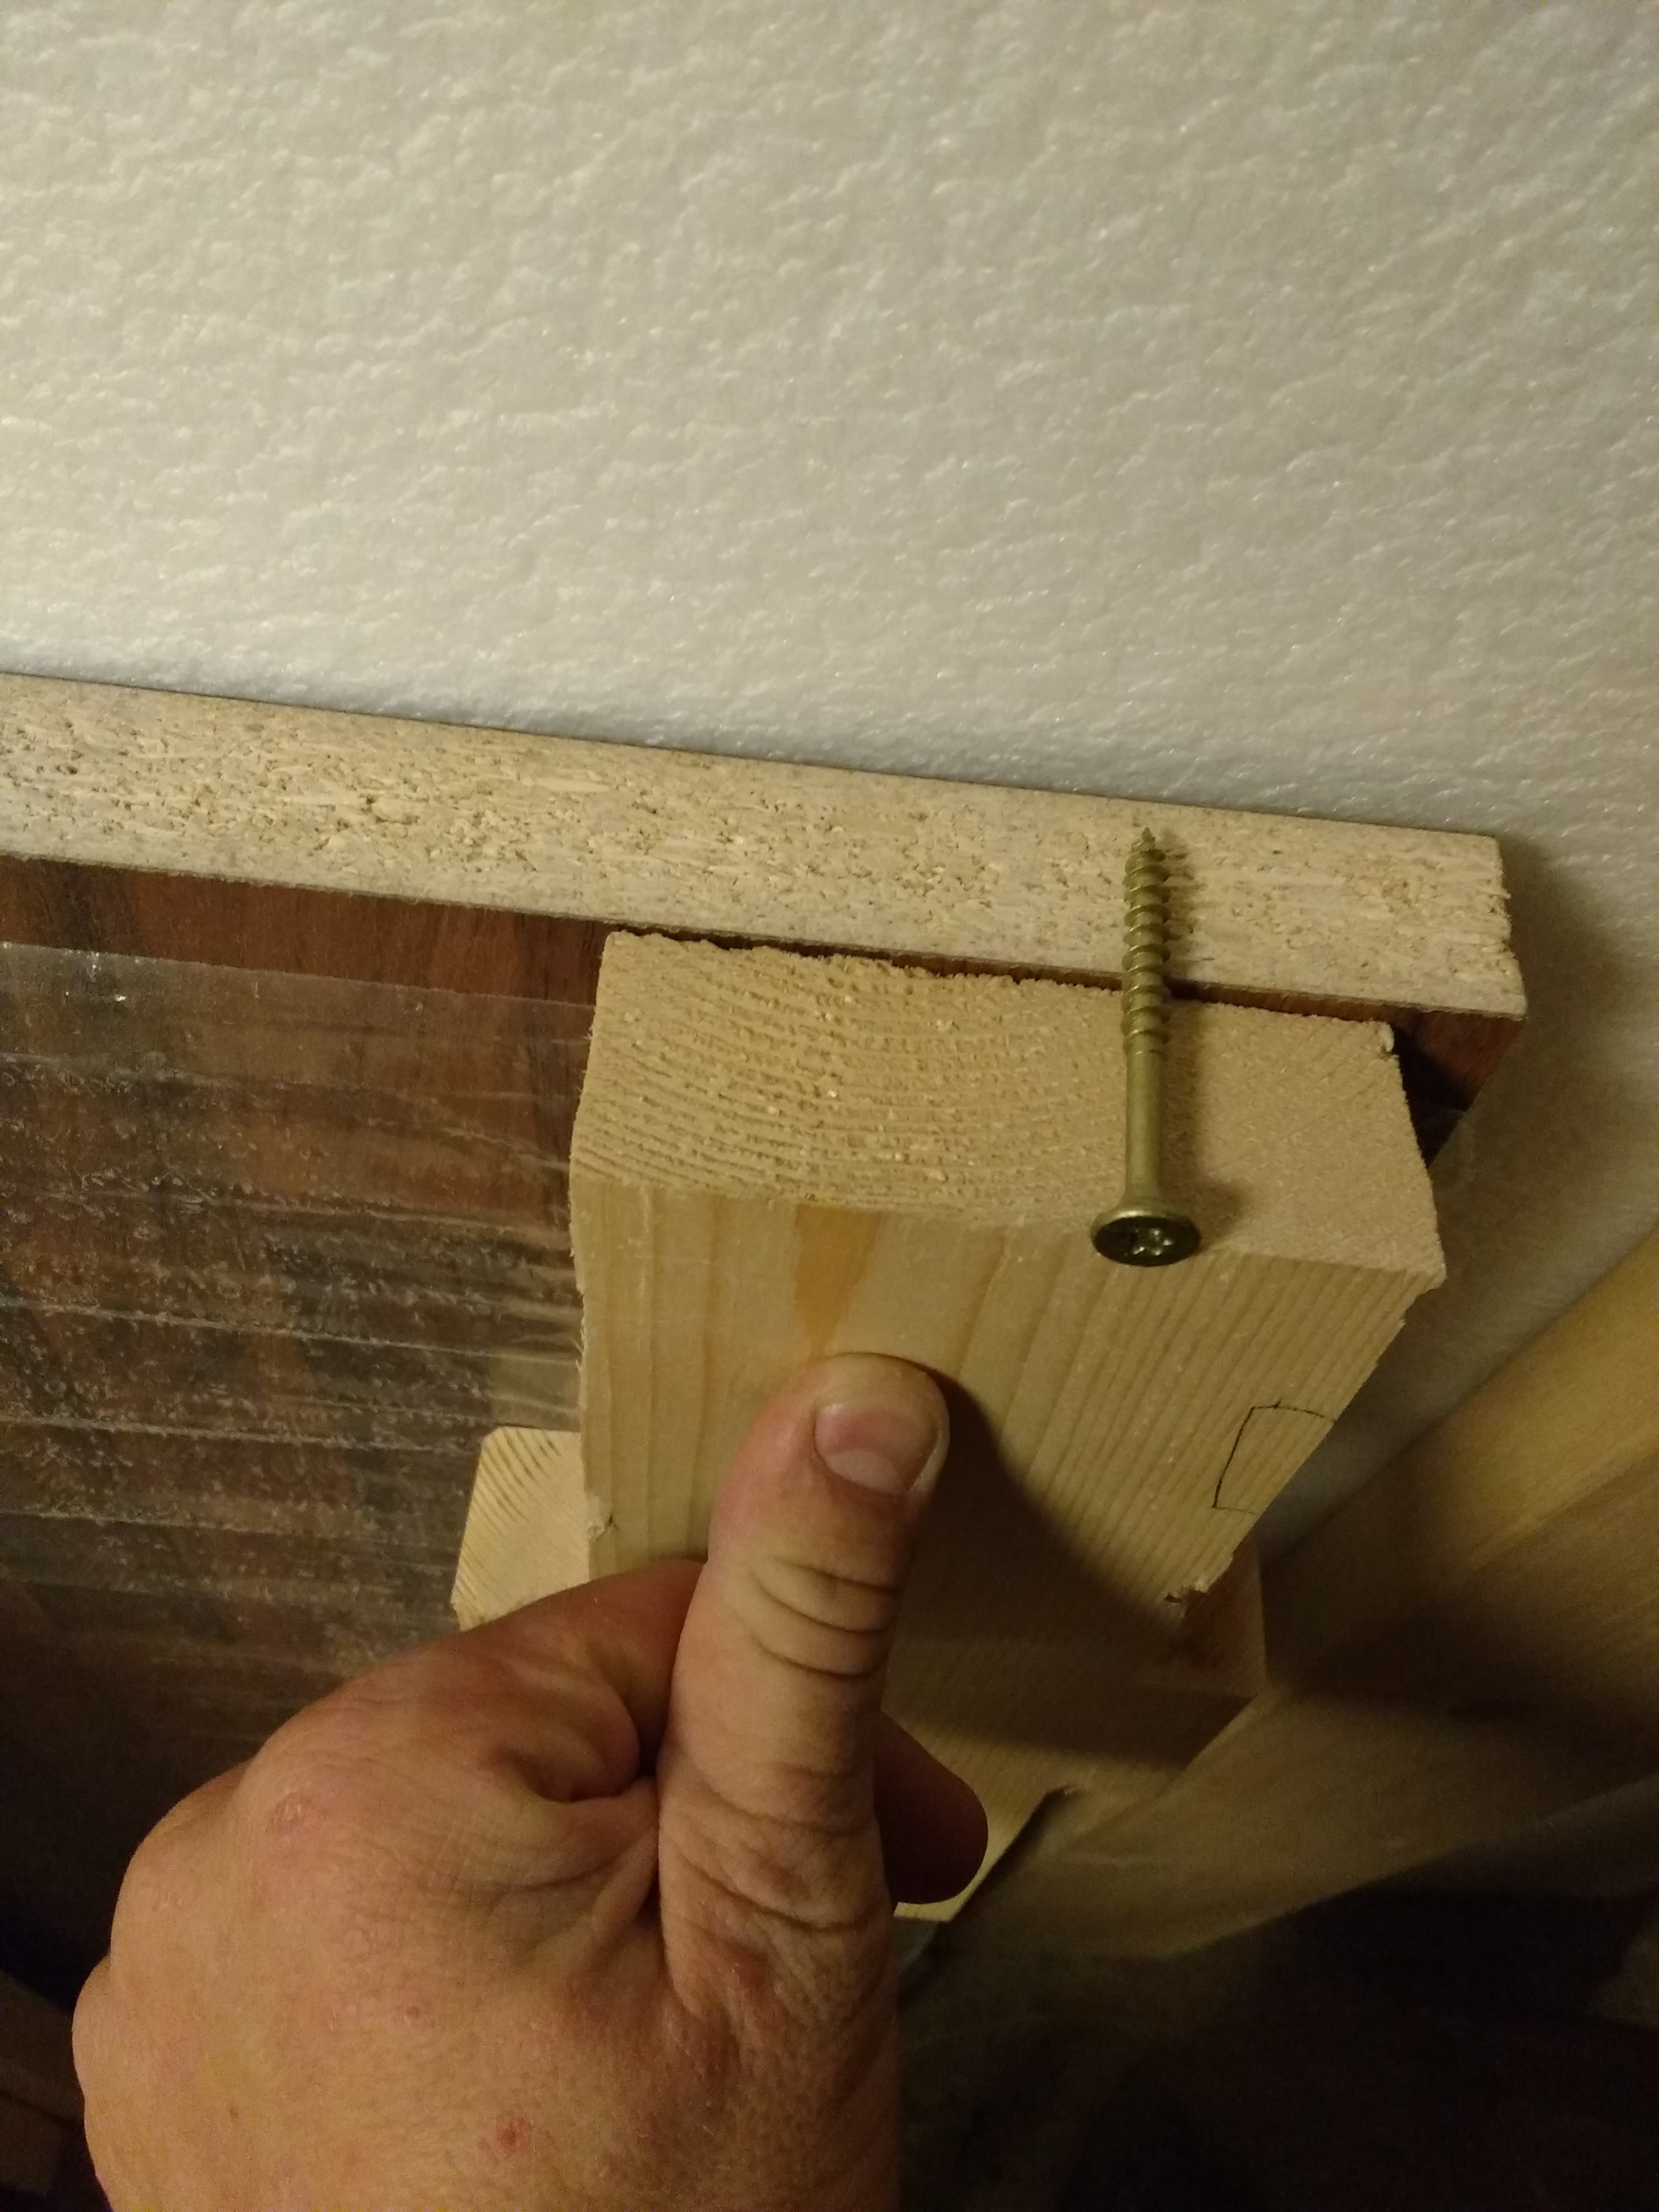
The screws match perfectly to where I want to use them:
![]()
I tested if I could use the to mount the table top. Seems like it is excactly what I need. on a side note I am going to attach the table tobs with the mentioned screws and doubblesided UHB (ultra high bondage) tape.
![]()
I then did practiced with the handheld router, the custom router bit and a roundoverbit:
![]()
Finally I start making the cuts for the legs. Had to measure it like 14 times to make shure everything was correct.
![]()
-
the quest for the correct router bit
12/06/2016 at 06:02 • 0 commentsI am going to finger joint the support for the tabletop. This is to add strength to the structure of the table(and for learning how to do it). As my project uses waaay oversized wood I am going to have a fingerjoint in some 36mm thick wood. To make the finger joint I wanted to do it with a handheld router that I have access to. The router bit must have a ball bearing on the bottom of the router bit so I can make a template, stick it on top of the wood and let the ball bearing be guided by the template. Turns out it was not so easy to find such a bit for routing in wood of that thickness. I went to the machineshop for proffesionals to find it. The shop is called Grønvold maskin (they had a very good selection of tools). After talking to the staff for sometime to find out where one could get such a router bit the owner of the shop came and helped me. It turns out you could sort of get the bit but with 12mm shaft to mount it with. Since the Boch GOF 900 CE I have access to only support 6-8mm I was stuck. He was very interested and said the he could use a company in the south of Norway that could custom make one for me and call me tomorrow about it! Excellent service!
-
More cutting!
12/05/2016 at 09:52 • 0 commentsNew update! Yesterday I finnished the dado cut for the legs. The cut is 10 cm wide and I startet making test legs to make shure the legs would fit and look good.
![]()
Dado cuts finished. Now lets put in the testblocks to se how it fits togheter.
![]()
Looks good altough I messed up the test leg. Goint to be carefull on the tablesaw when I cut the legs.
-
Cutting and cutting
11/28/2016 at 15:54 • 0 commentsSo this is the next update. A fair amount has happened since last update. I started by cutting the length i wanted. The tabletop is 2 meters long and 80 centimetres deep. I decided that the supportstructure was going to be 5 centimetres shorter than the length and width of the table on each side(except the side facing the wall.
![]()
I then started on the legs. The legs use what i belive is called a dado cut(please correct me).
![]()
As you can see I have yet to make the cuts for the rear legs.
-
A start
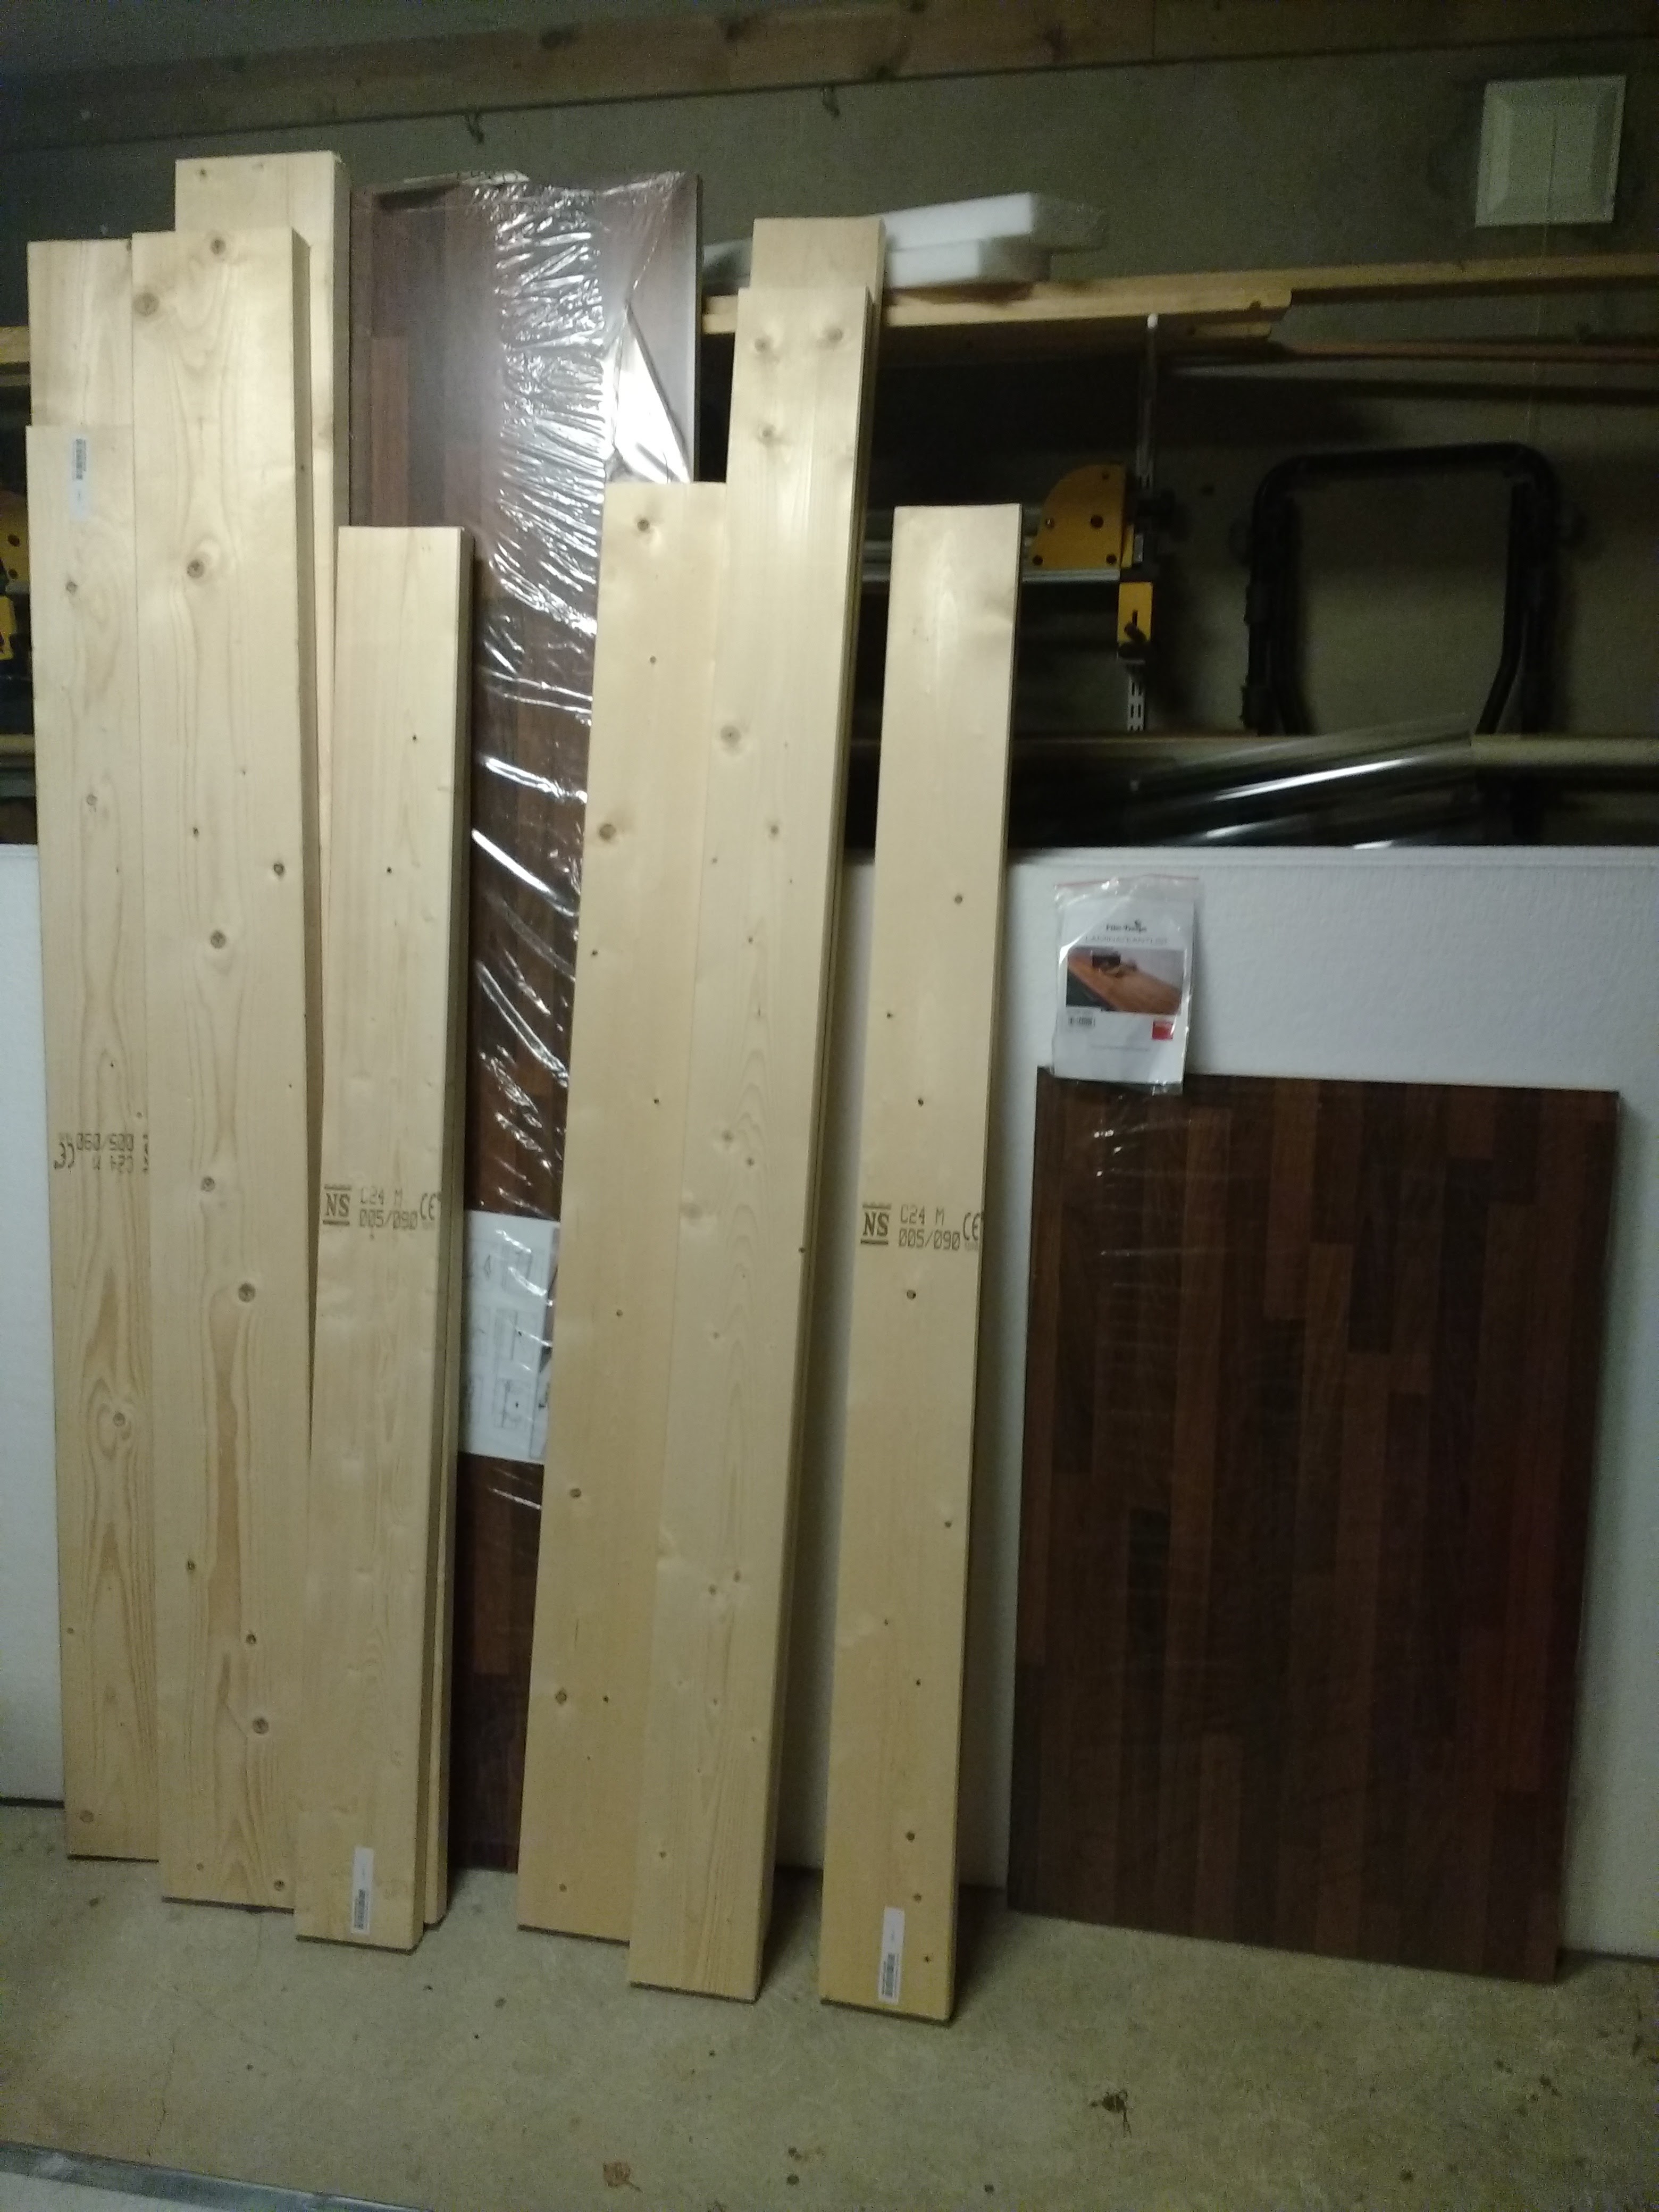
11/16/2016 at 22:25 • 0 commentsYesterday was the first day of the project. Materials have been bought and brought to the shop. The Tabletop was the same one used in the last project. The table is going to be in the same room as my previous table so thats nice to have somewhat consistent design on the tables. The tabletop is actually meant for kitchen use so its really easy to clean.
![]()
 Here You can see the difference between an the edges with and without a chamfer. Overall I did quite alot done today. the next thing to do is to make the template for the finger joints. The template will be made with a cnc machine.