 KSUdoubleE
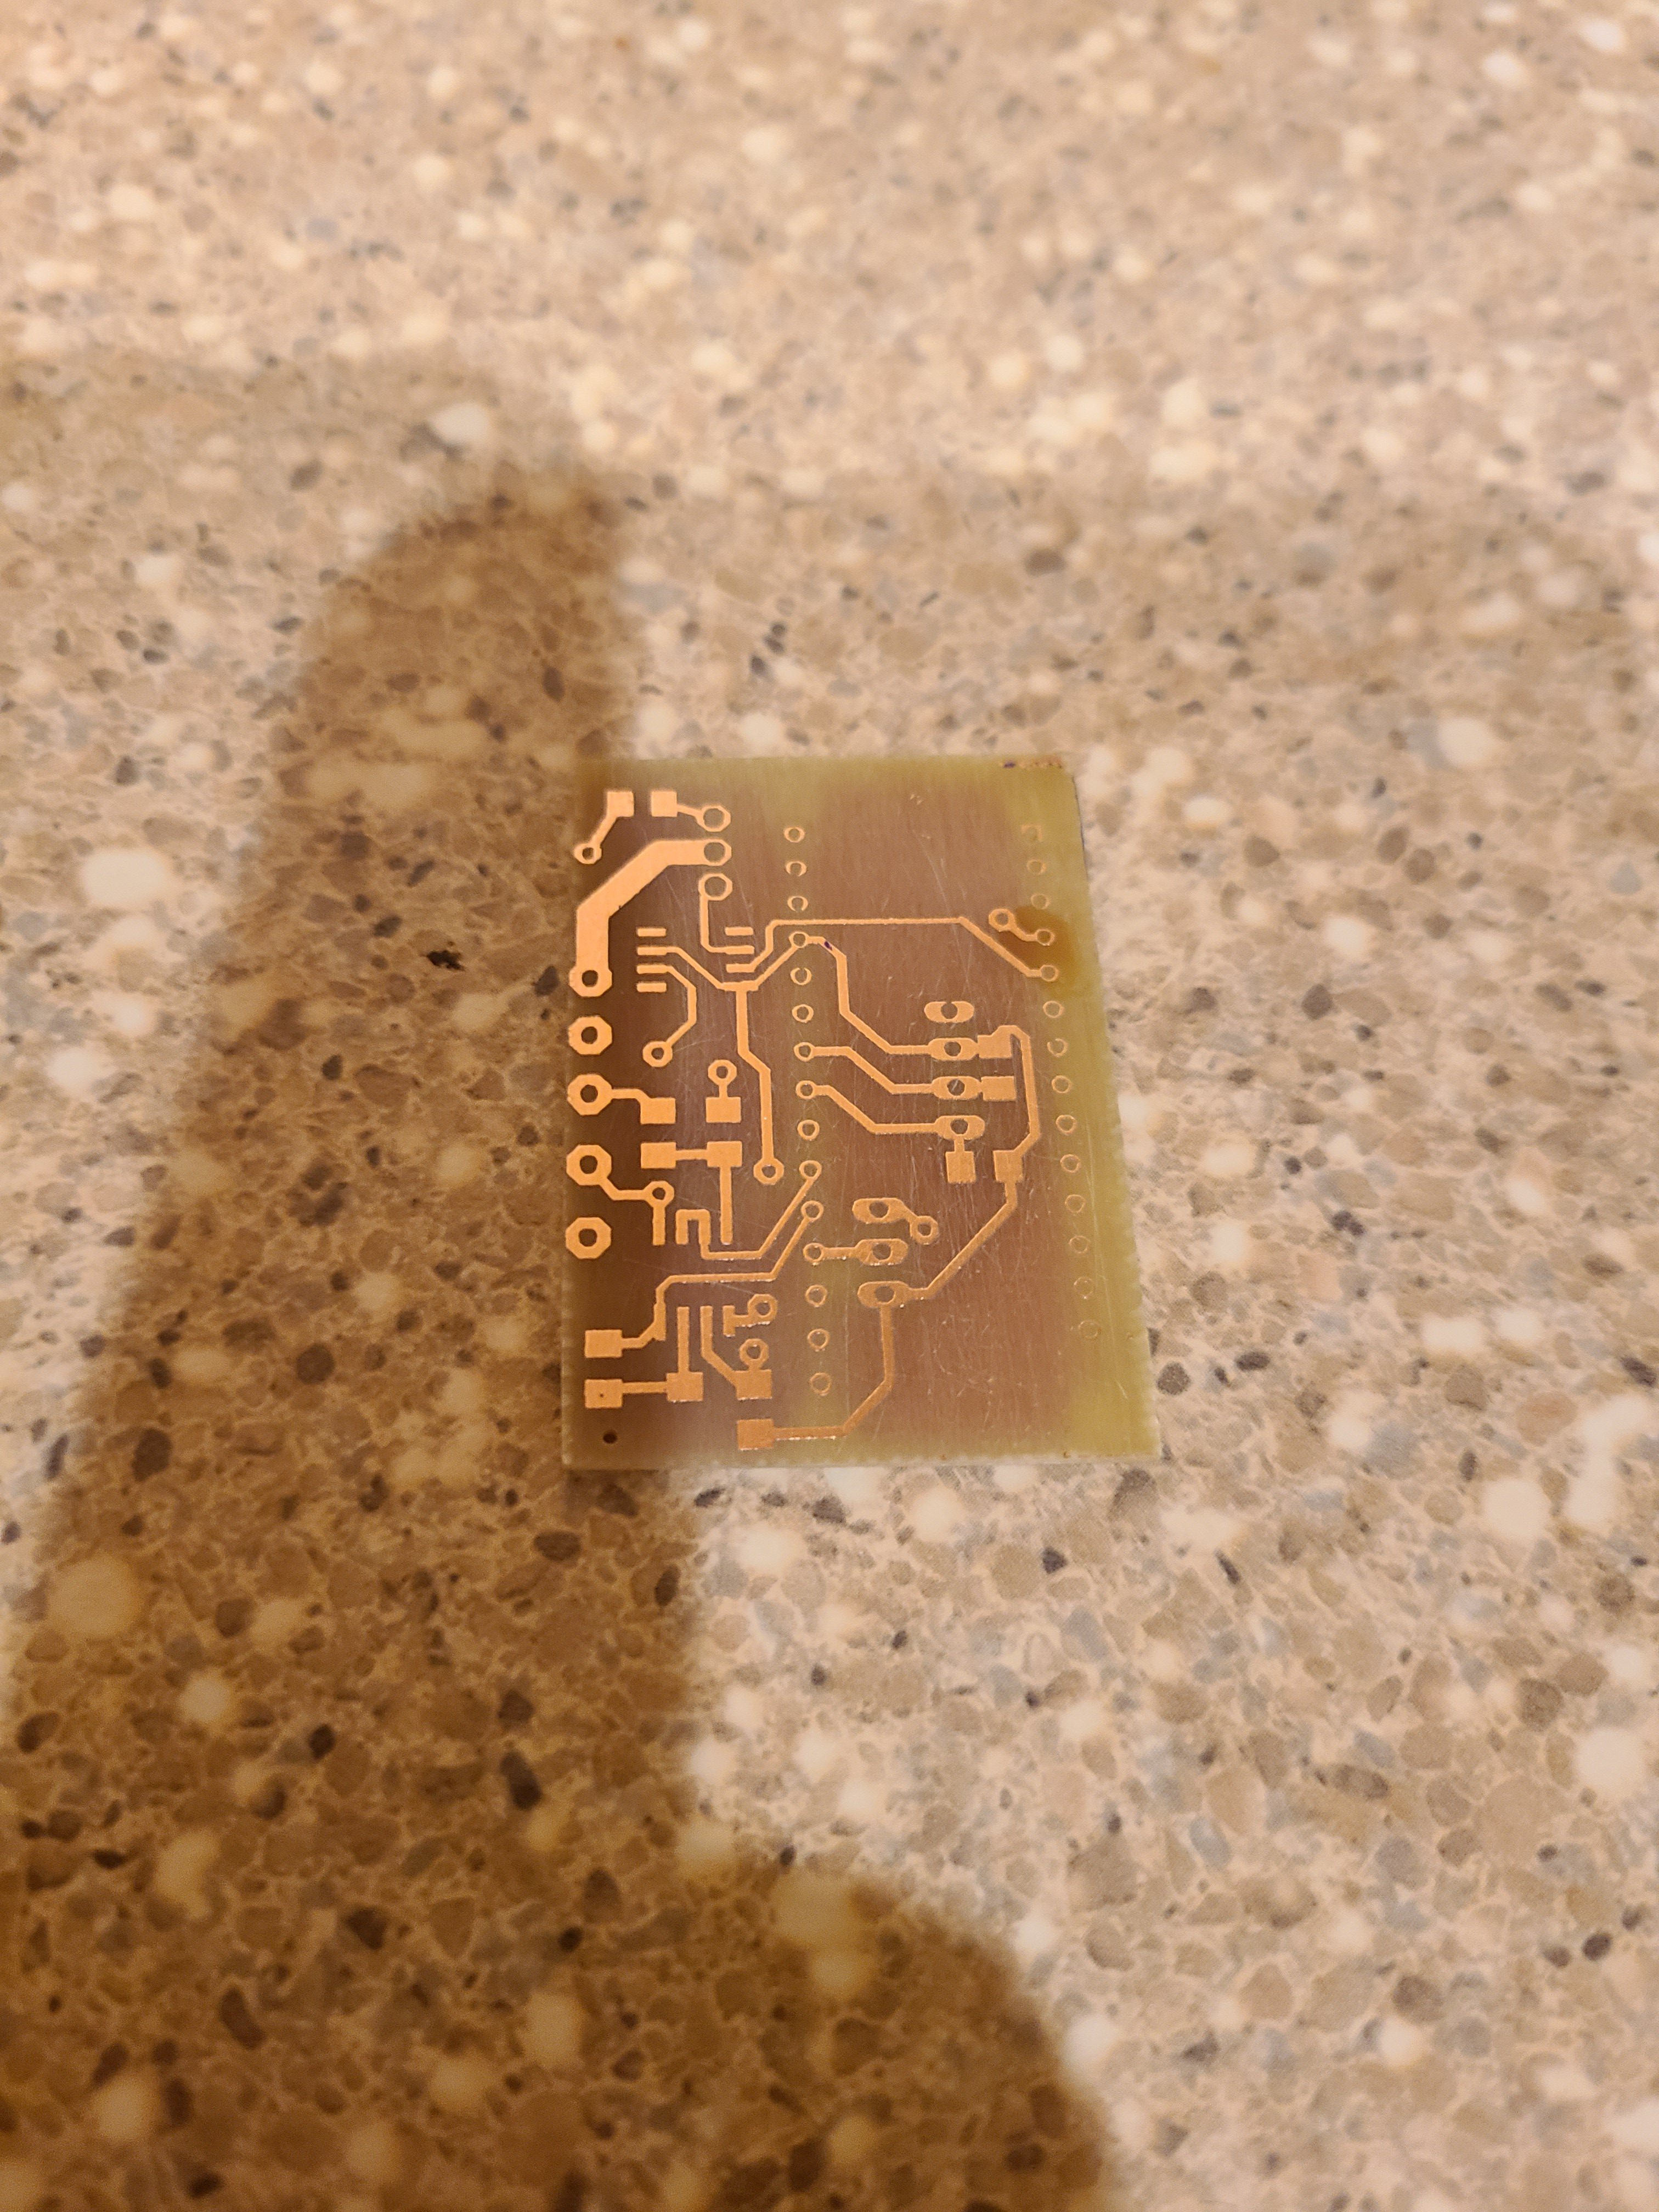
The etching process went well, I'm happy with the results. The ferric chloride I use is placed in a thick plasting zip top bag and placed in hot tap water to warm up the etchant. I place the board in the bag and agitate every minute or so. I checked progress after 5 minutes and the board was fully etched in about 7 minutes.
In the past, I've always used the toner/iron method that did a good job, but there were always areas that needed touching up with a sharpie before etching. I didn't have to do anything with this board. The ironing part was always a pain and very touchy to get right.
The hardest part of this process is getting the front and back lined up right. I try to align it with two edges of the board, but that still results results in a little error. I wil try printing a registration mark on both the front and back transparencies, and 3D print a "L" shaped jig the same thickness as the board to hold the board square and allow to align the transparencies to the jig. The transparencies will be taped to the board or jig to hold them in place before putting the glass on top. It might be a while before I print another board, but I'll post what I come up with and how it works. (On these two sided boards, I try to keep the number of vias to a minimum and use chopped up through hole resistor leads in the vias as jumpers from front/back.)

Discussions
Become a Hackaday.io Member
Create an account to leave a comment. Already have an account? Log In.