 robotistan
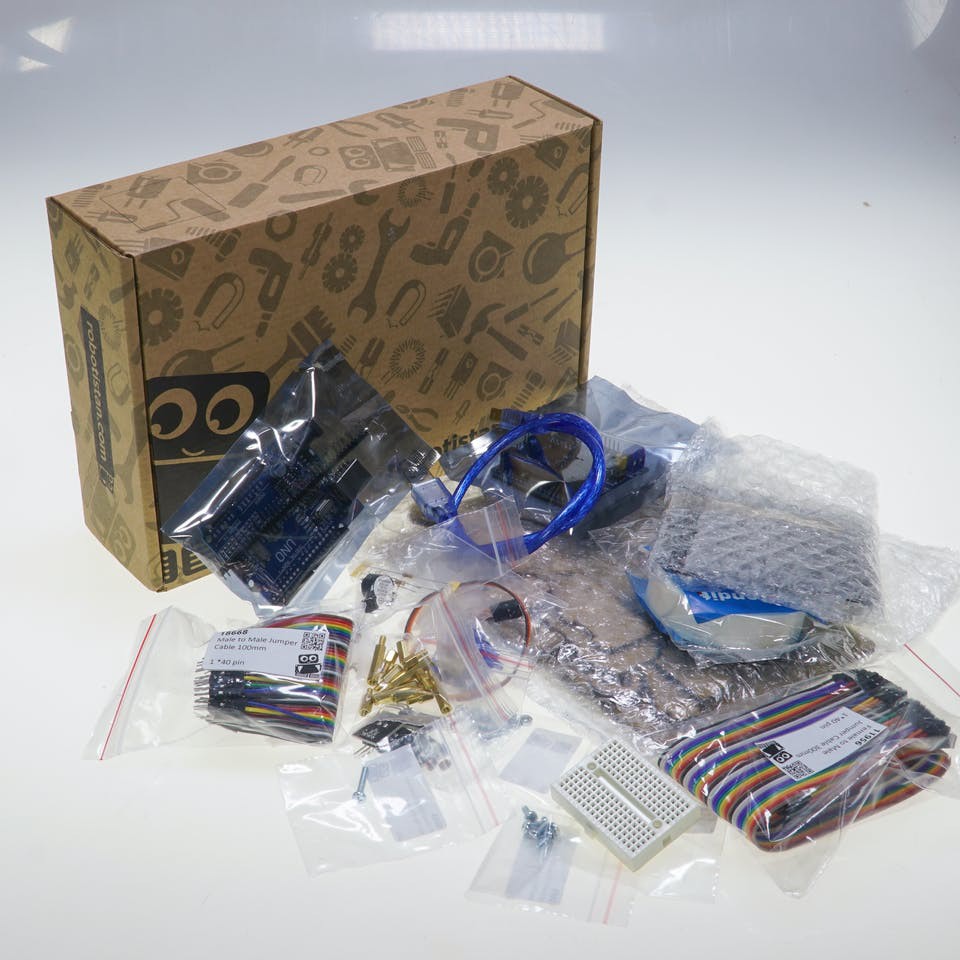
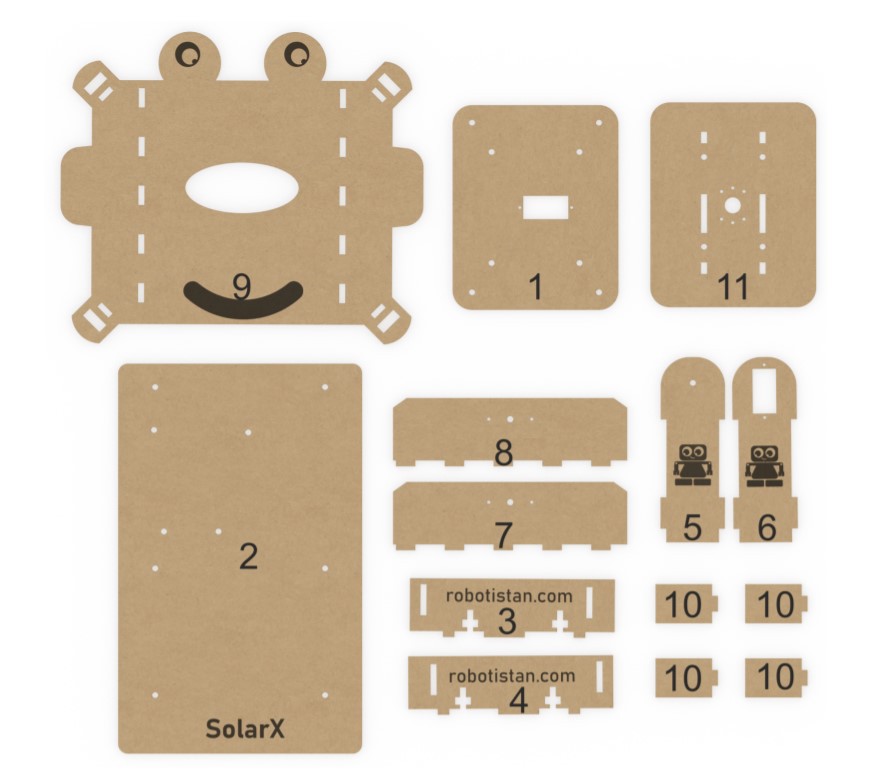
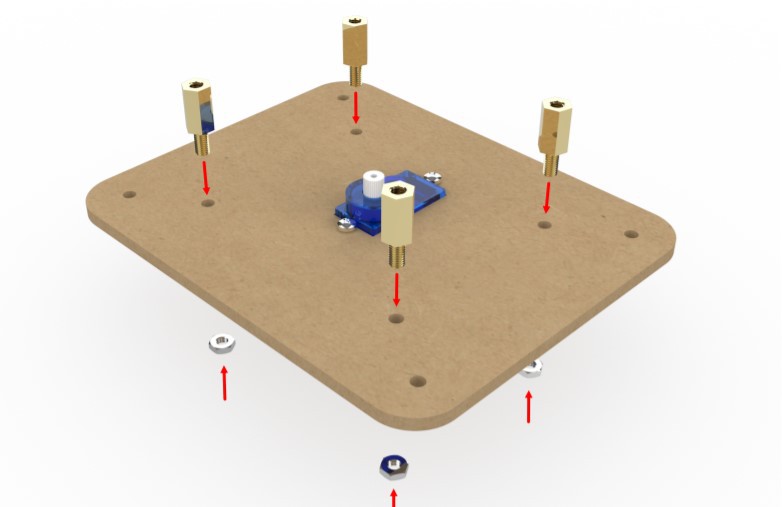
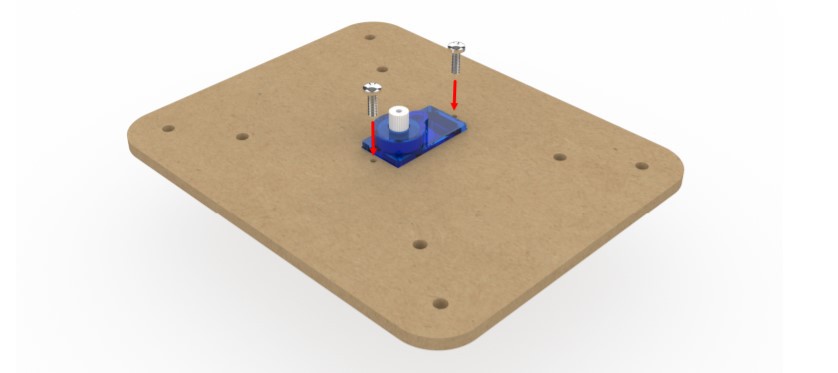
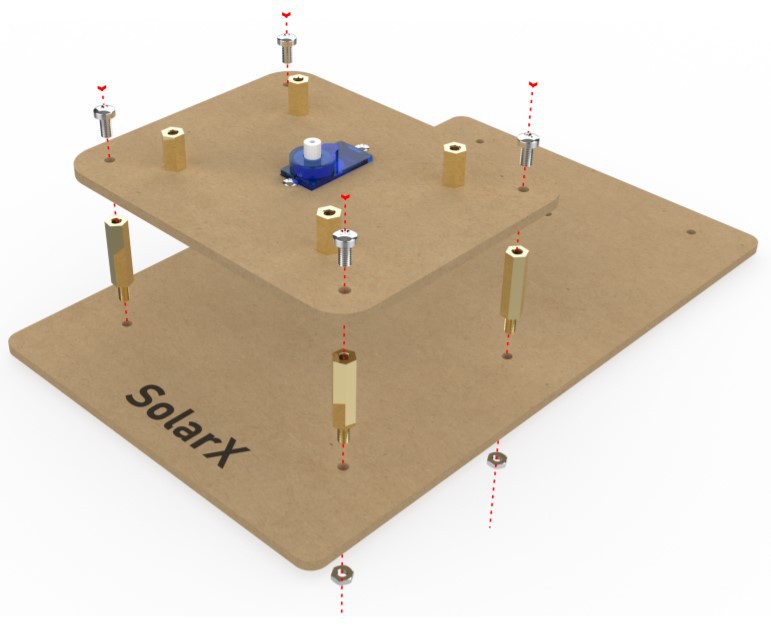
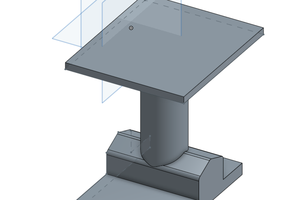
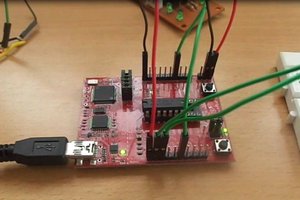
The goal of this project is to generate energy from sunlight. To accomplish so, we'll build a two-axis solar tracker system with several light sensors. The device will track the source of light and harvest the energy using its solar panel. The technology will then be able to store clean solar energy for later use.
0%
0%
DIY Solar Panel Tracker with Arduino
In this article, we'll use Arduino to build our own solar system in the home conditions.
Become a Hackaday.io member
Already have an account? Log in.
Just one more thing
To make the experience fit your profile, pick a username and tell us what interests you.
Pick an awesome username
hackaday.io/
Your profile's URL: hackaday.io/username. Max 25 alphanumeric characters.
Pick a few interests
Projects that share your interests
People that share your interests
 vigneshraja
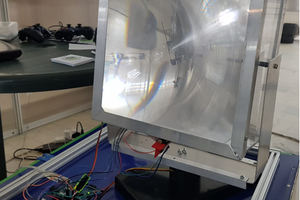

 kutluhan_aktar