Reverse engineering
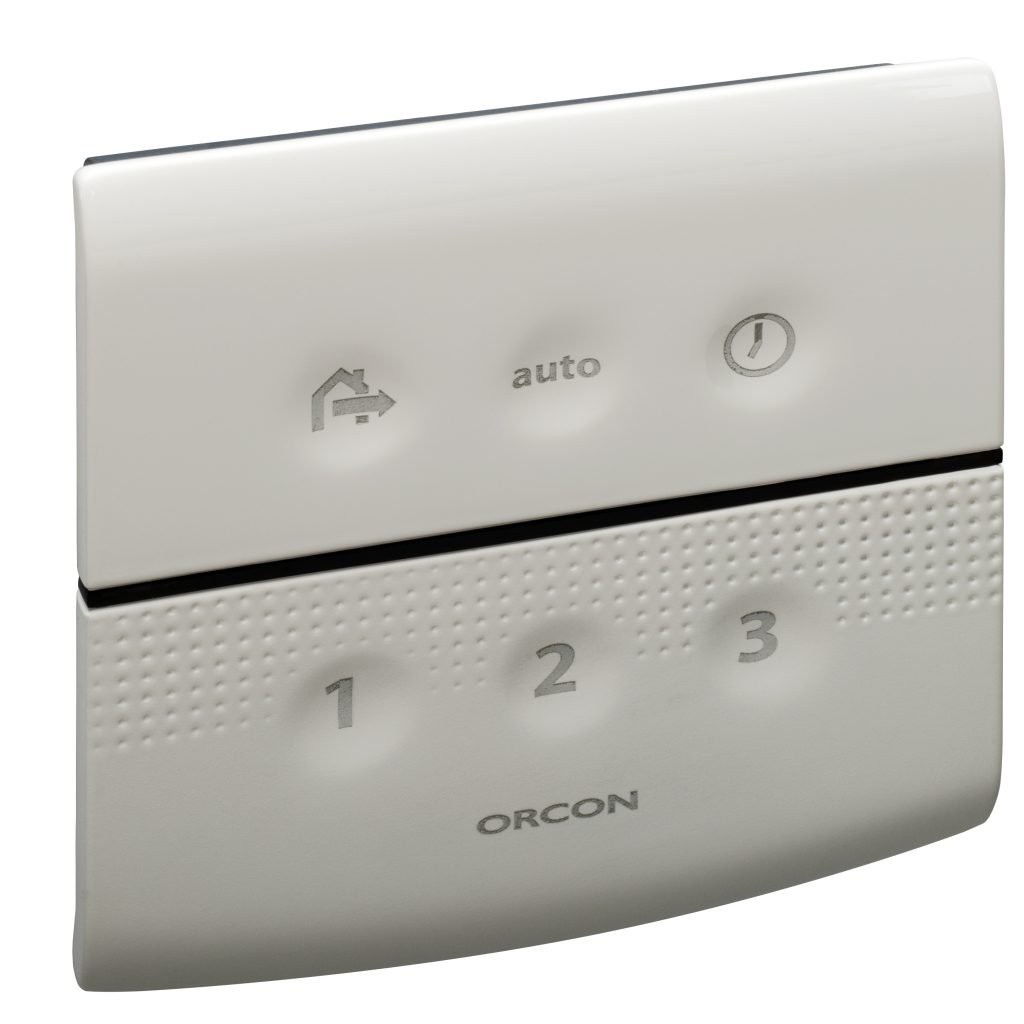
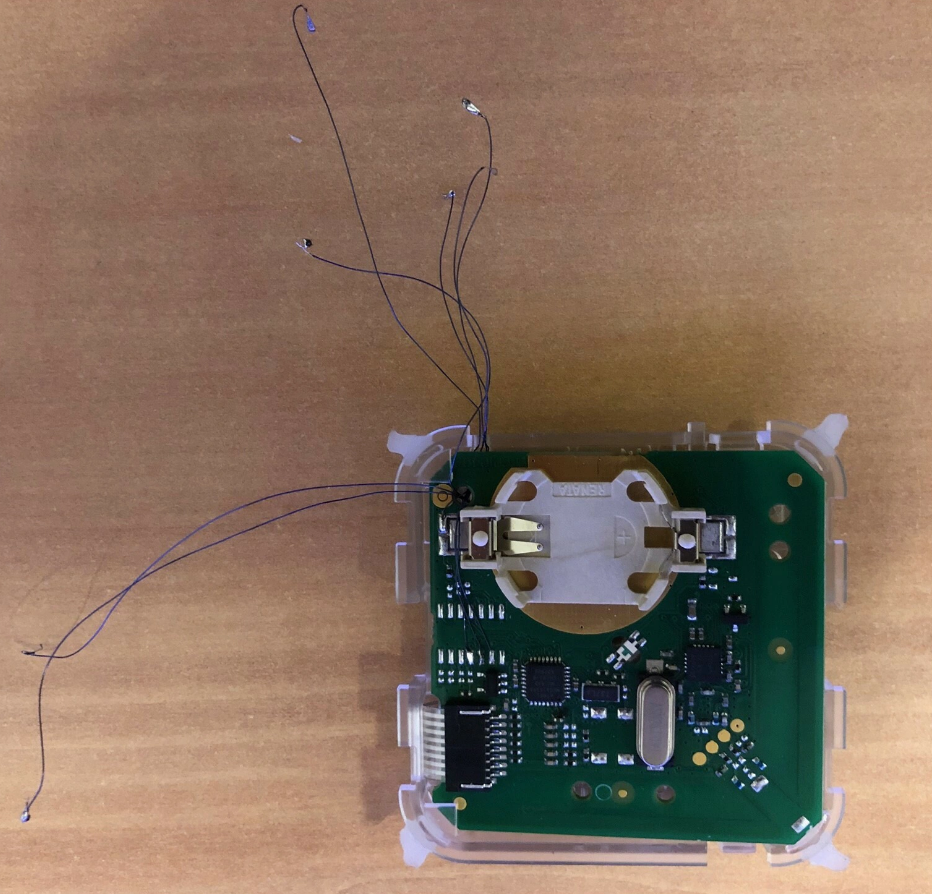
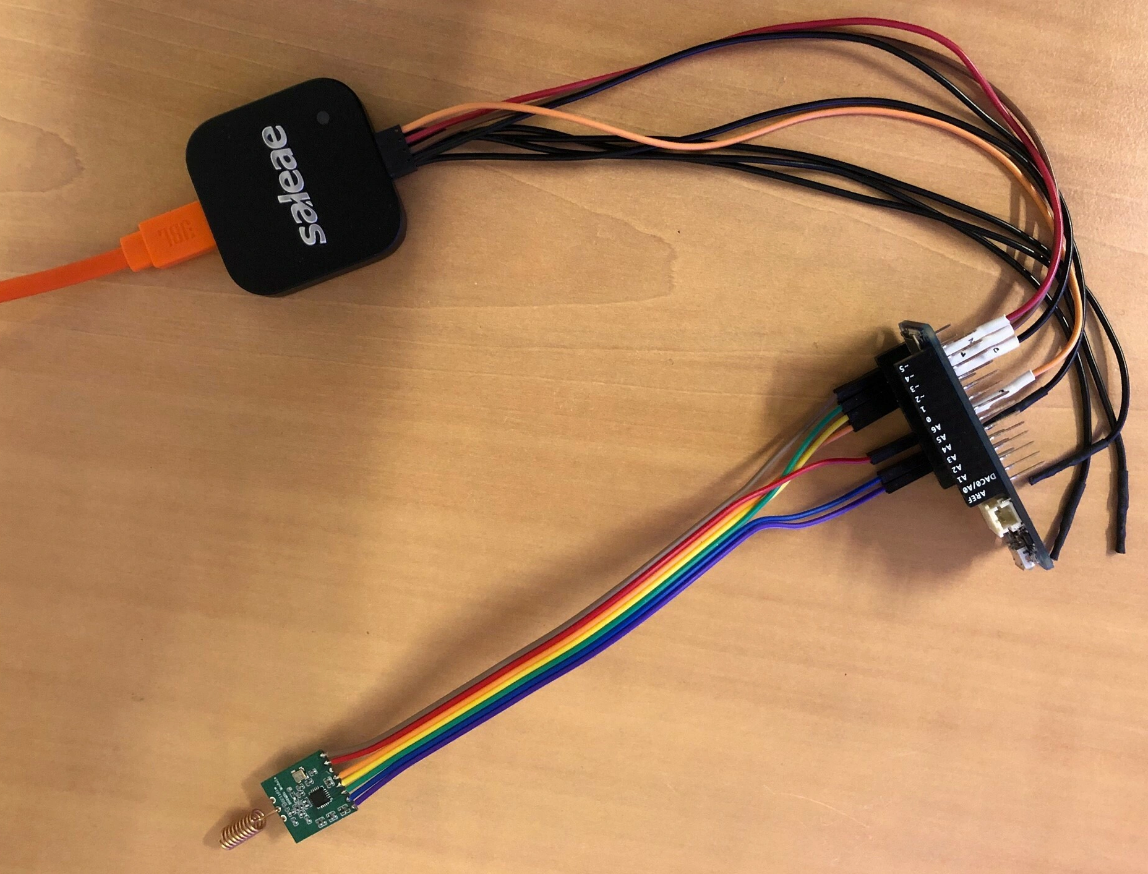
Before starting hardware and software design, the communication protocol needed to be reverse-engineered. Therefore I opened up my Orcon wireless RF15 remote control, I noticed that there is a Atmel mcu together with CC1101 wireless chip. The CC1101 uses a SPI interface for communication. To get more info about the communication, I attached very thin "patch wires" to lines between the CC1101 and host mcu. I connected them to my Saleae logic analyzer to see what's happening.
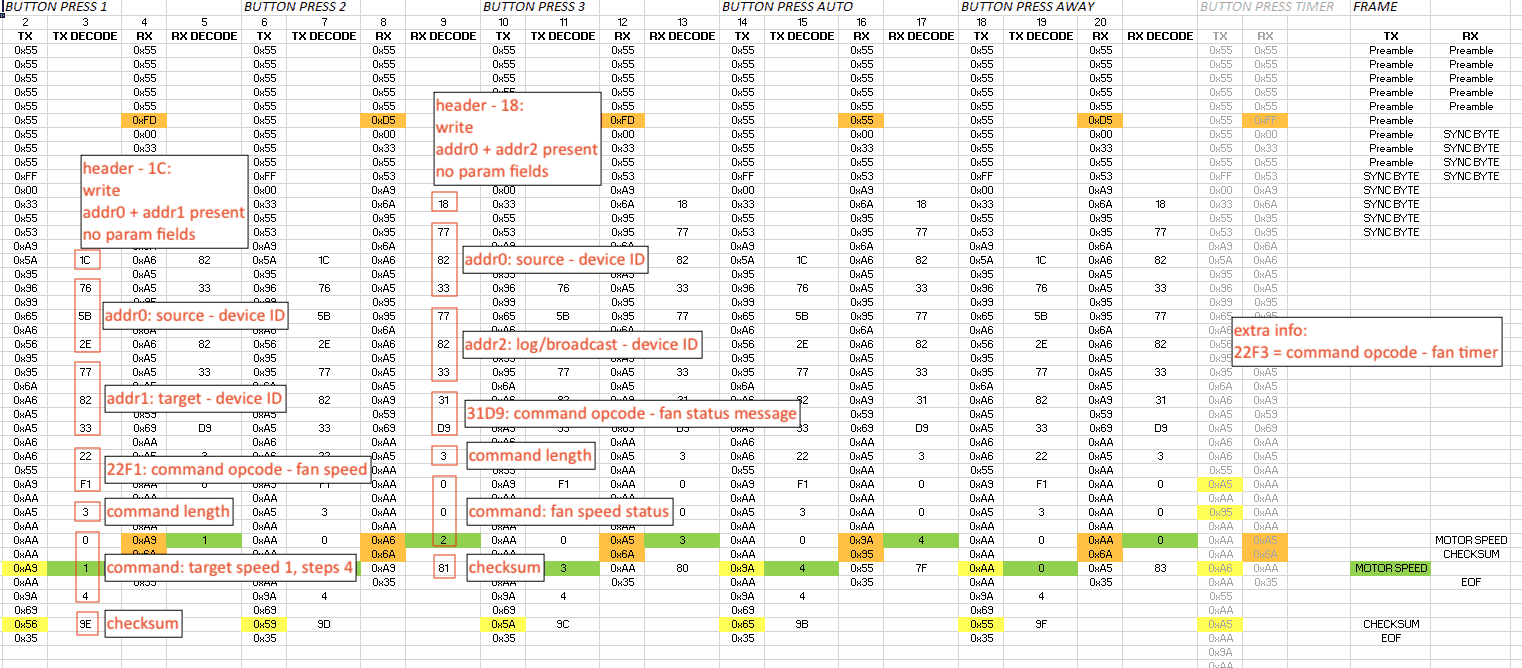
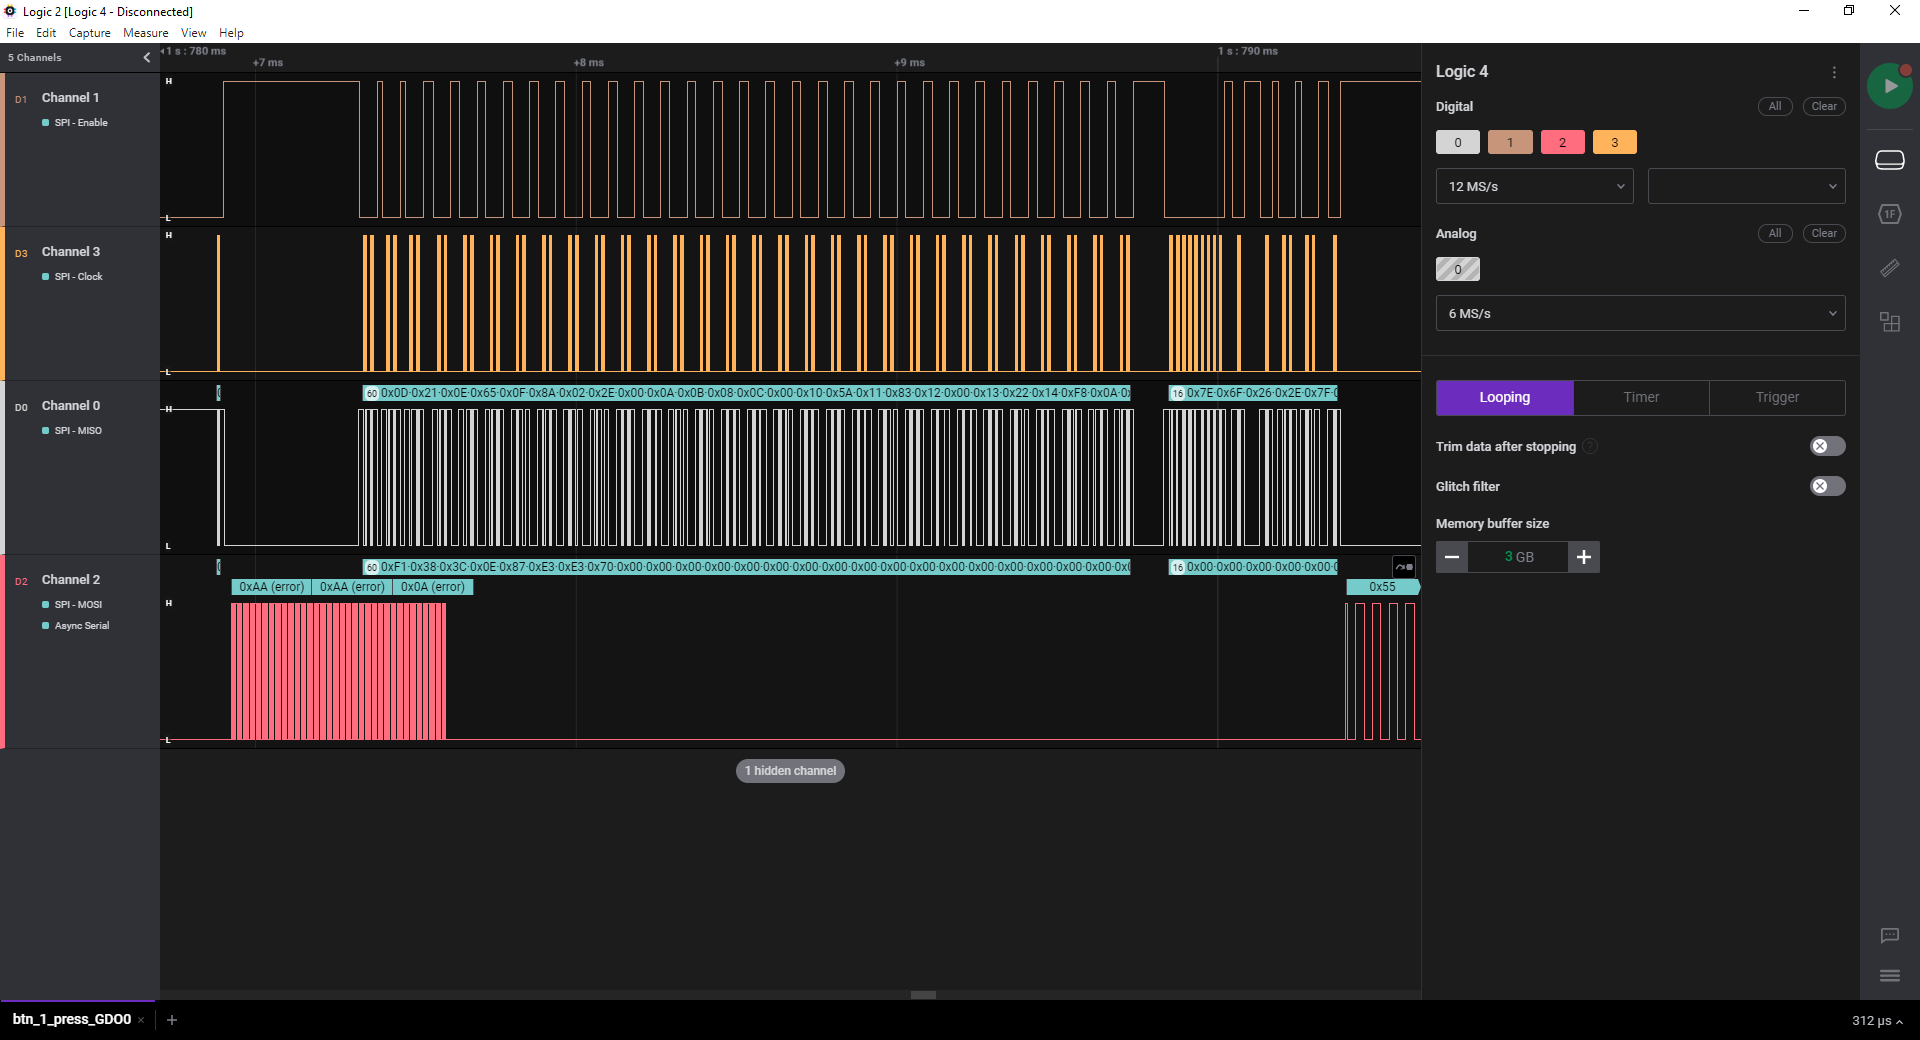
Via the SPI interface the CC1101 registers are configured, also via the SPI interface the radio is put into RX or TX mode, furthermore it turned out that the GDO0 pin of the CC1101 is used to transmit and receive 38k4 serial data as payload. Via the Logic analyzer, it was possible to record the configuration of the CC1101. Also see the Excel file in the attachements.
Next steps...
When I got familiar with the configuration and serial messages, I tried to control my Orcon unit by an Arduino connected to a CC1101 radio module:
It was more repeating the messages I recorded earlier, but anyway, it worked perfectly fine! The next days with the help of some blogs on the internet I was able to understand the serial data in more detail: Tweakers.net It seems the serial data is manchester encoded.
In general when sending a message via the CC1101 radio, the order is as follows:
1. Reset CC1101
2. CC1101 configured
3. Put CC1101 into TX mode and serial messages sent by GDO0
4. Put CC1101 into RX mode and waiting for valid messages on GDO0
5. Put CC1101 into sleep mode again
For detailed info about the registers, check the attached Excel file!
Hardware design

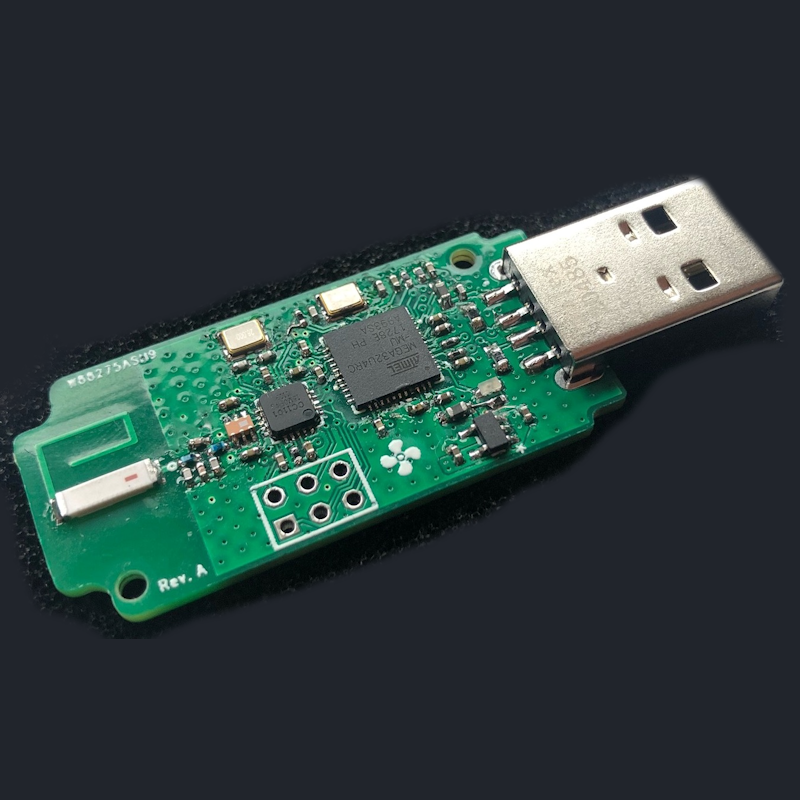
From here I started with the hardware design since I knew that it worked with the seperate modules. The idea is to use a Atmega32u4 as host mcu, since it has built-in USB and 2 UART's. Also it can work on +3V3 supply voltage, the same as the CC1101 radio chip. The end result of the hardware design:
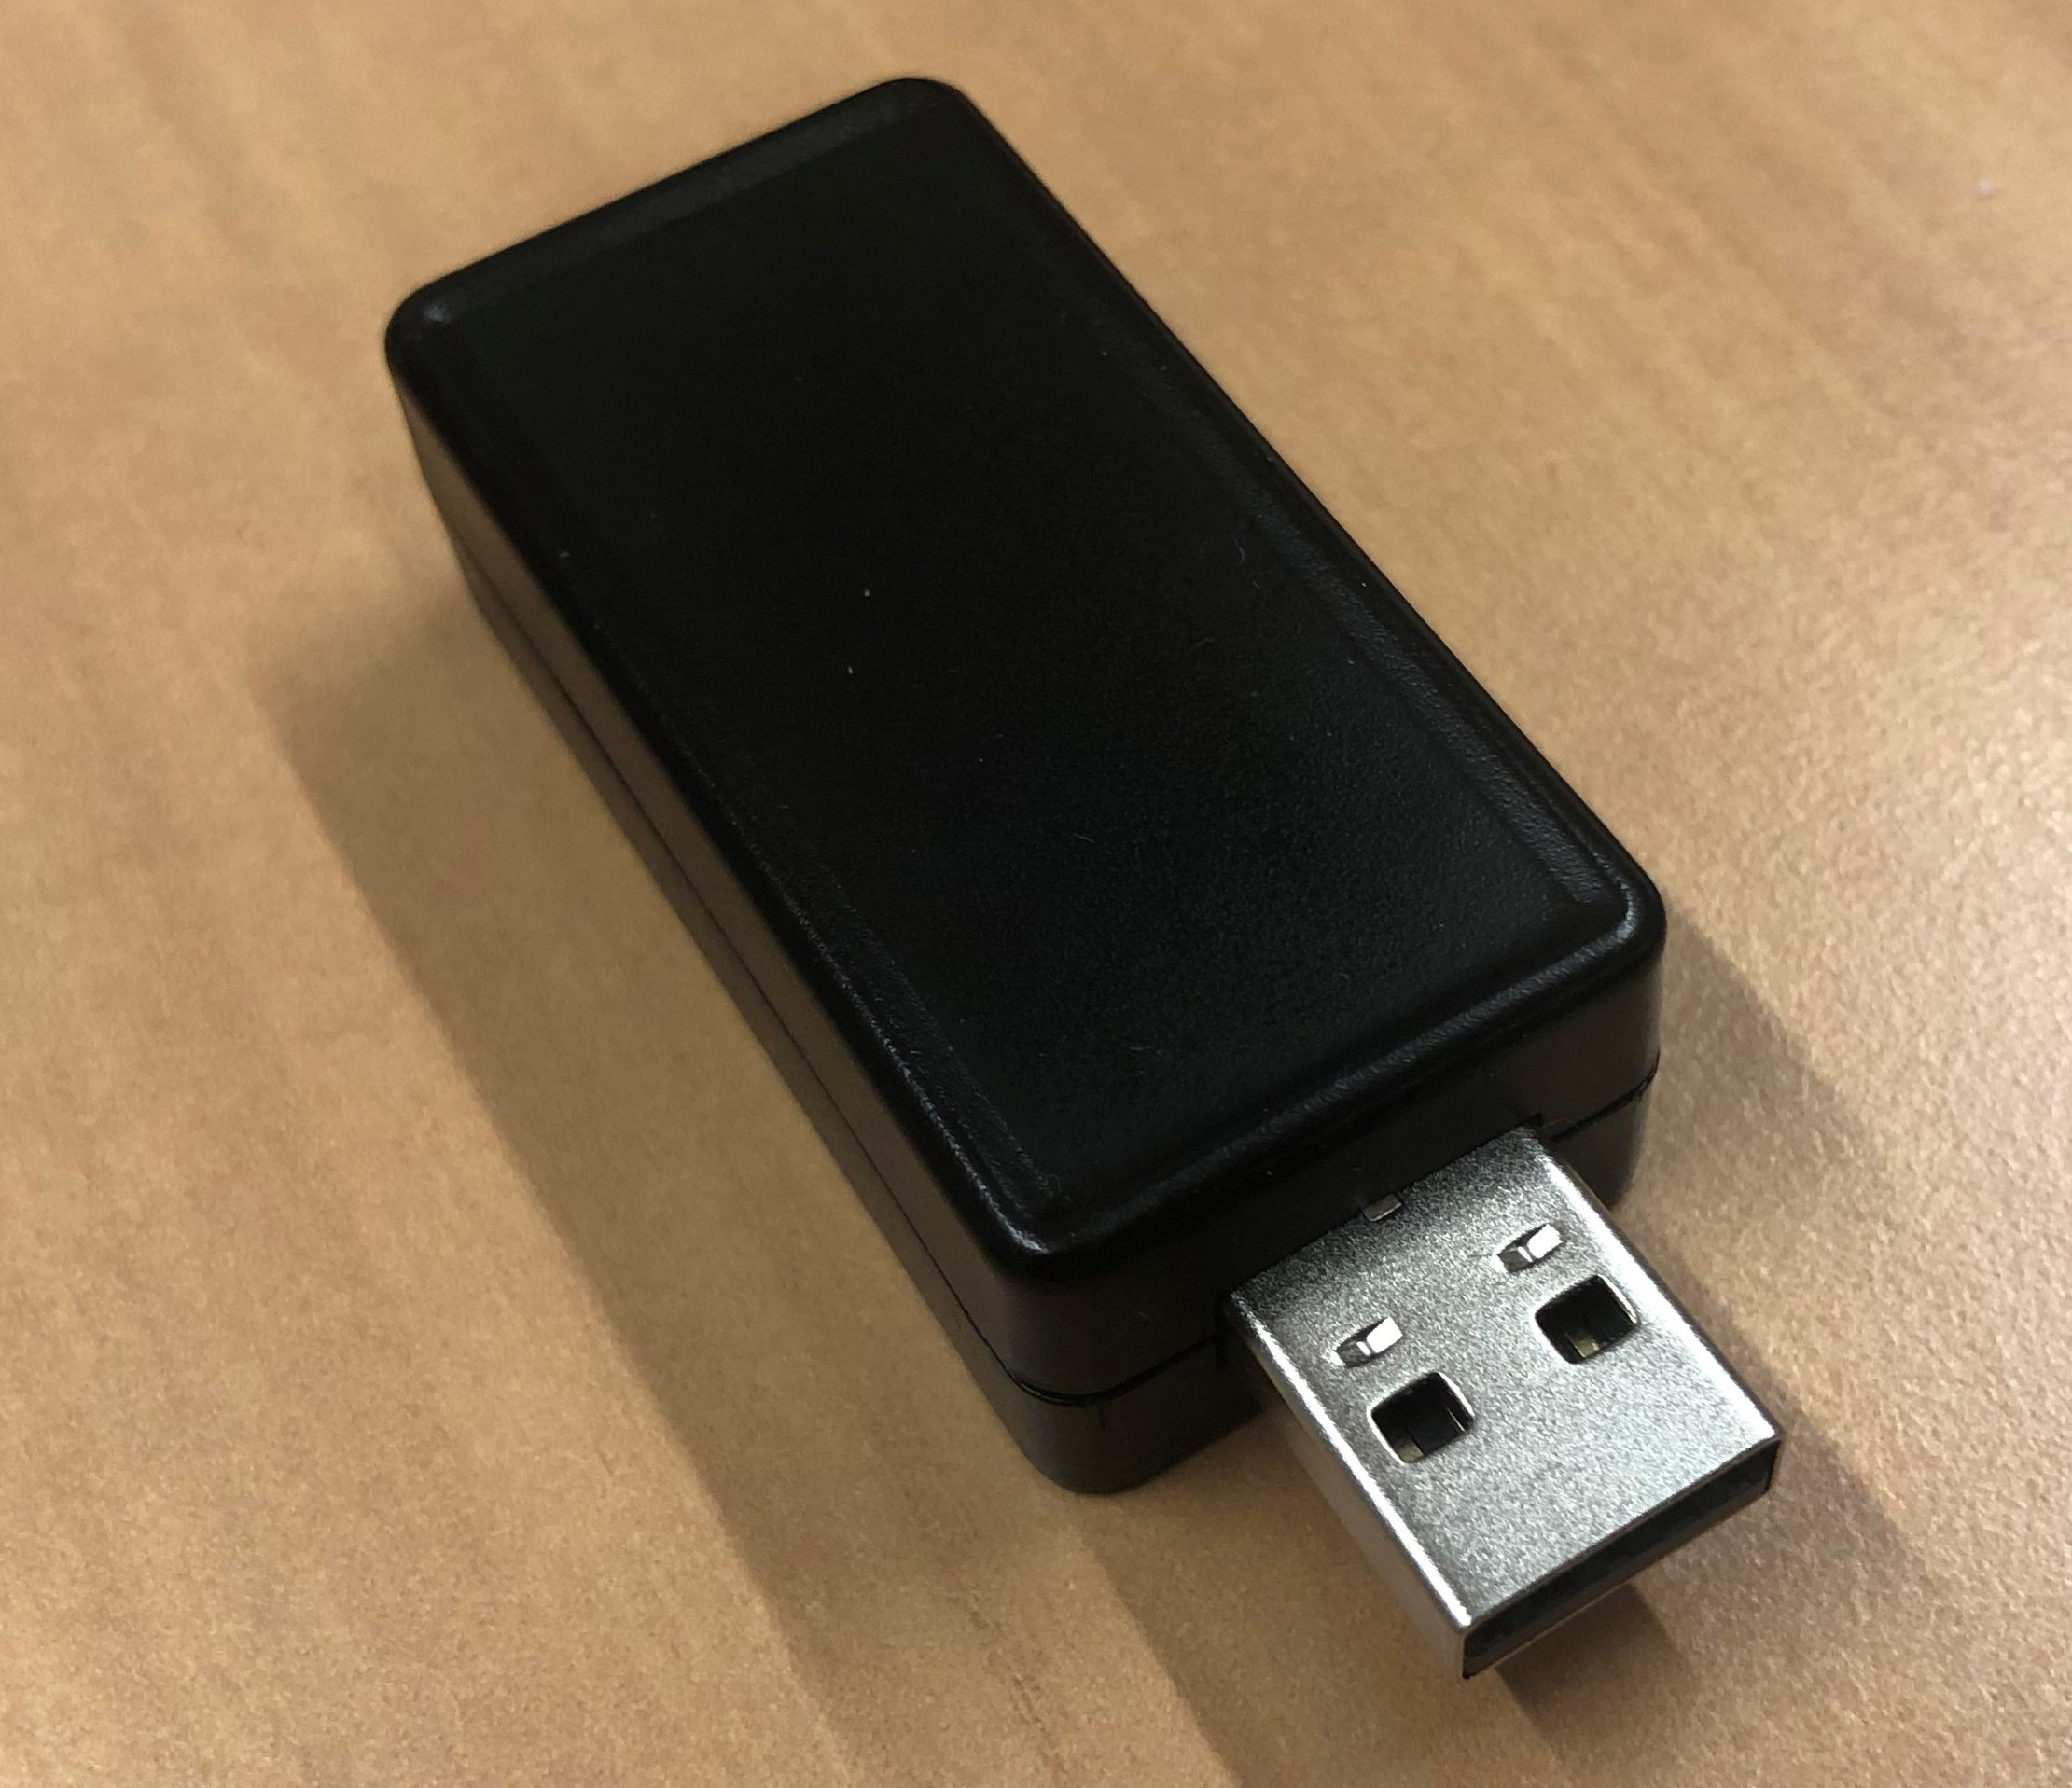
The pcb outline is designed in a way that it fits within a standard hammond 1551USB2 USB enclosure. Within the enclosure, the dongle looks like this:
Software design
The idea is to simply upload the Arduino micro bootloader via the ISP header, from this point the software application can be flashed via the USB port by using the Arduino IDE. From here I started writing the software, the software is based on Arduino StandardFirmata.
After powering the USB dongle, it will stay in "clone mode" for 2,5sec, when you press a random button on the default Orcon RF15 remote control, the addresses will be copied. After this, the USB dongle will simply use the same addresses as the RF15 and Orcon ventilation unit, that means the Orcon unit cannot see difference between messages coming from the RF15 or USB dongle. If no button pressed within 2,5sec, it will use previous stored address in eeprom. The addresses will be stored in eeprom so that it is not forgotten during power off.
The dongle will request the last Orcon fan speed state each 5 sec, if the fan speed is changed by the RF15 standard remote control, it will be known within around 5 sec. The orange led on the Orcon unit will blink around each 5sec, this represents successful radio communication.
For all the details and source code, check the GIT in the "links" section!
Getting things to work in Home Assistant
To be able to control and read the FAN speed from Home Assistant using Firmata, a "sensor" and "light" entity is used. At the moment this is the only method to communicate an analog value between Home Assistant and the Arduino board. Normally the entity: "lights" in Home Assistant is being controlled by sending percentage based on a range from 0 till 255, therefore setting the min/max range to 0-99, will result in percentage equals decimal number, what is more convenient in automations, it prevents you have to calc the right percentage yourself.
This is the script used to enable communication with the USB dongle:
- serial_port: /dev/serial/by-id/usb-Arduino_LLC_ORCON_RF_Dongle-if00
  serial_baud_rate: 57600
  lights:
    - name: fan speed
      pin_mode: PWM
      pin: 3
      minimum: 0
      maximum: 99
  sensors:
    - name: fan speed
      pin_mode: ANALOG
      pin: A0
      differential: 1
From this point, it's possible to use automations in Home Assistant to control the Orcon unit :)
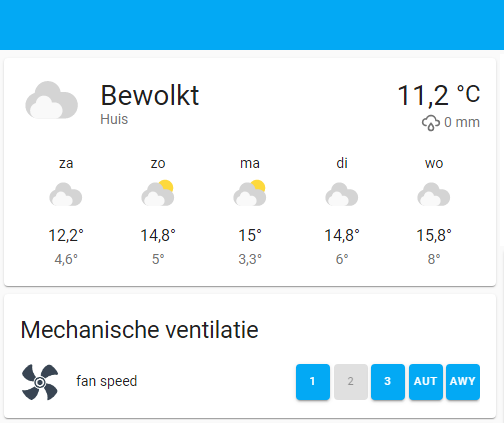
Of course, it is also cool to have a user interface on the Lovelace interface:
Whats next!?
For the summer, when a hot day is forecasted, I would like to have fresh air (FAN at max speed) in the morning when everybody is away from home, till outdoor temperature reached high value or someone got home early (to prevent too much audible noise).
At the moment, the Orcon unit is put to "0" (= Away mode) on Home Assistant reboot, I still have to find a solution for that. Problaby at booting, it makes sense to first check the actual state and try to integrate this within the Firmata part.
Furthermore I would like to support 915MHz as well, for different countries.
Ultimate goal
Of course, it would be very interesting to make this USB dongle the "ultimate ventilation stick" that support any kind of ventilation brand and any kind of home automation system.