 Michael Gardi
So with the major components of the project completed and tested it's time to start putting it all together. The first thing I did was to put the dowel and flanges that I removed from the front of the case (to make room for the keyboard) to the rear of the case level with the existing bottom dowel.
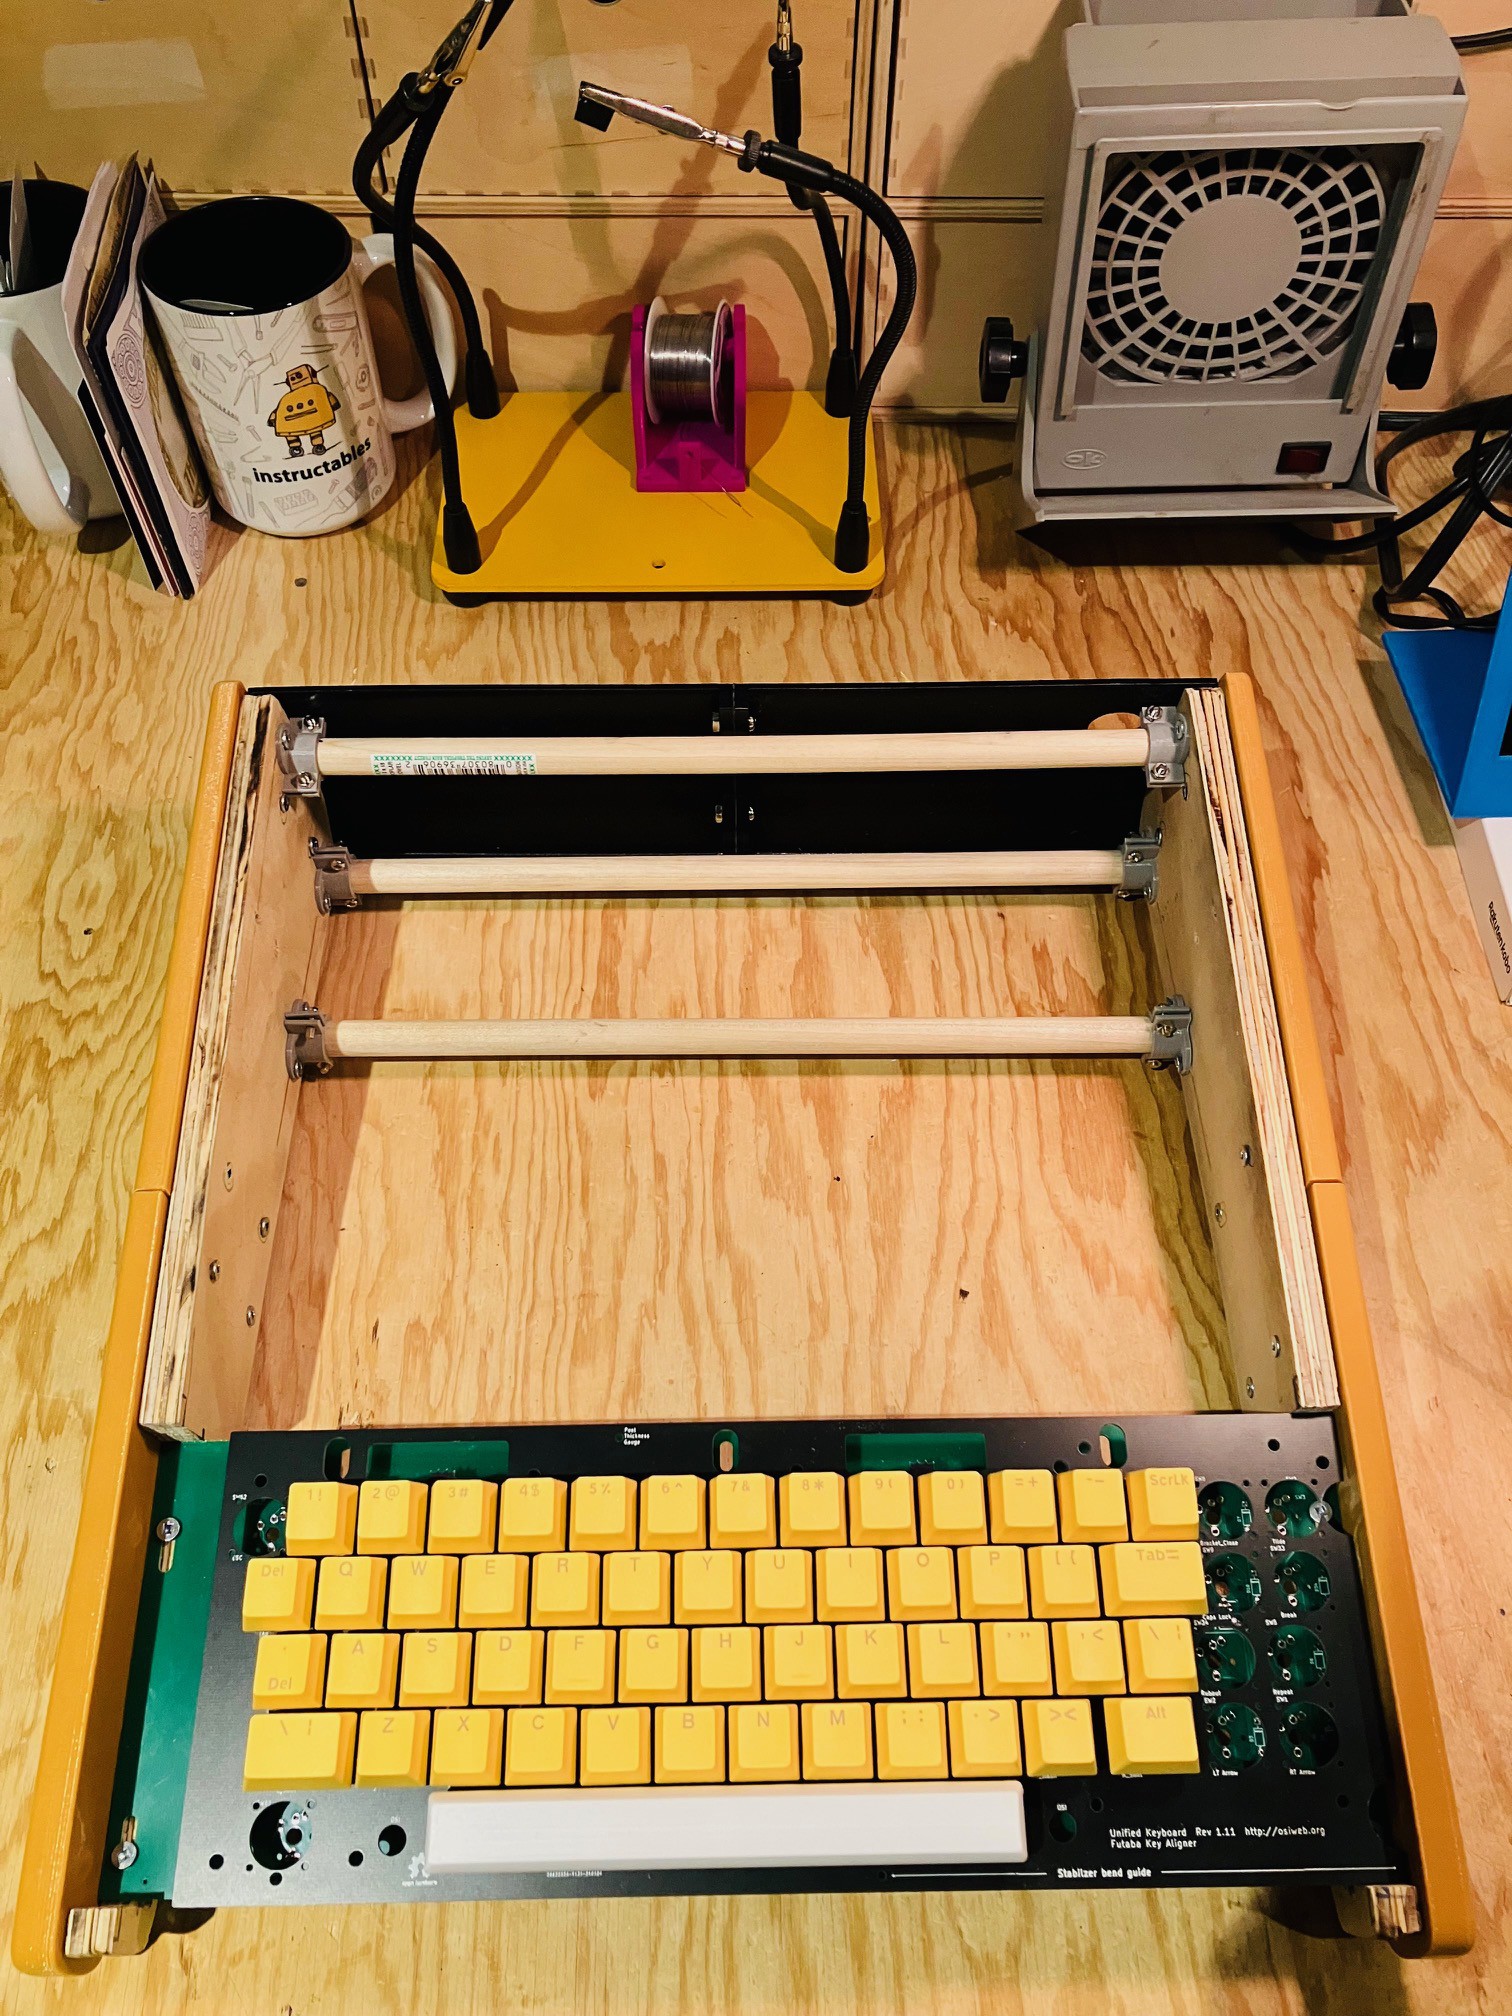
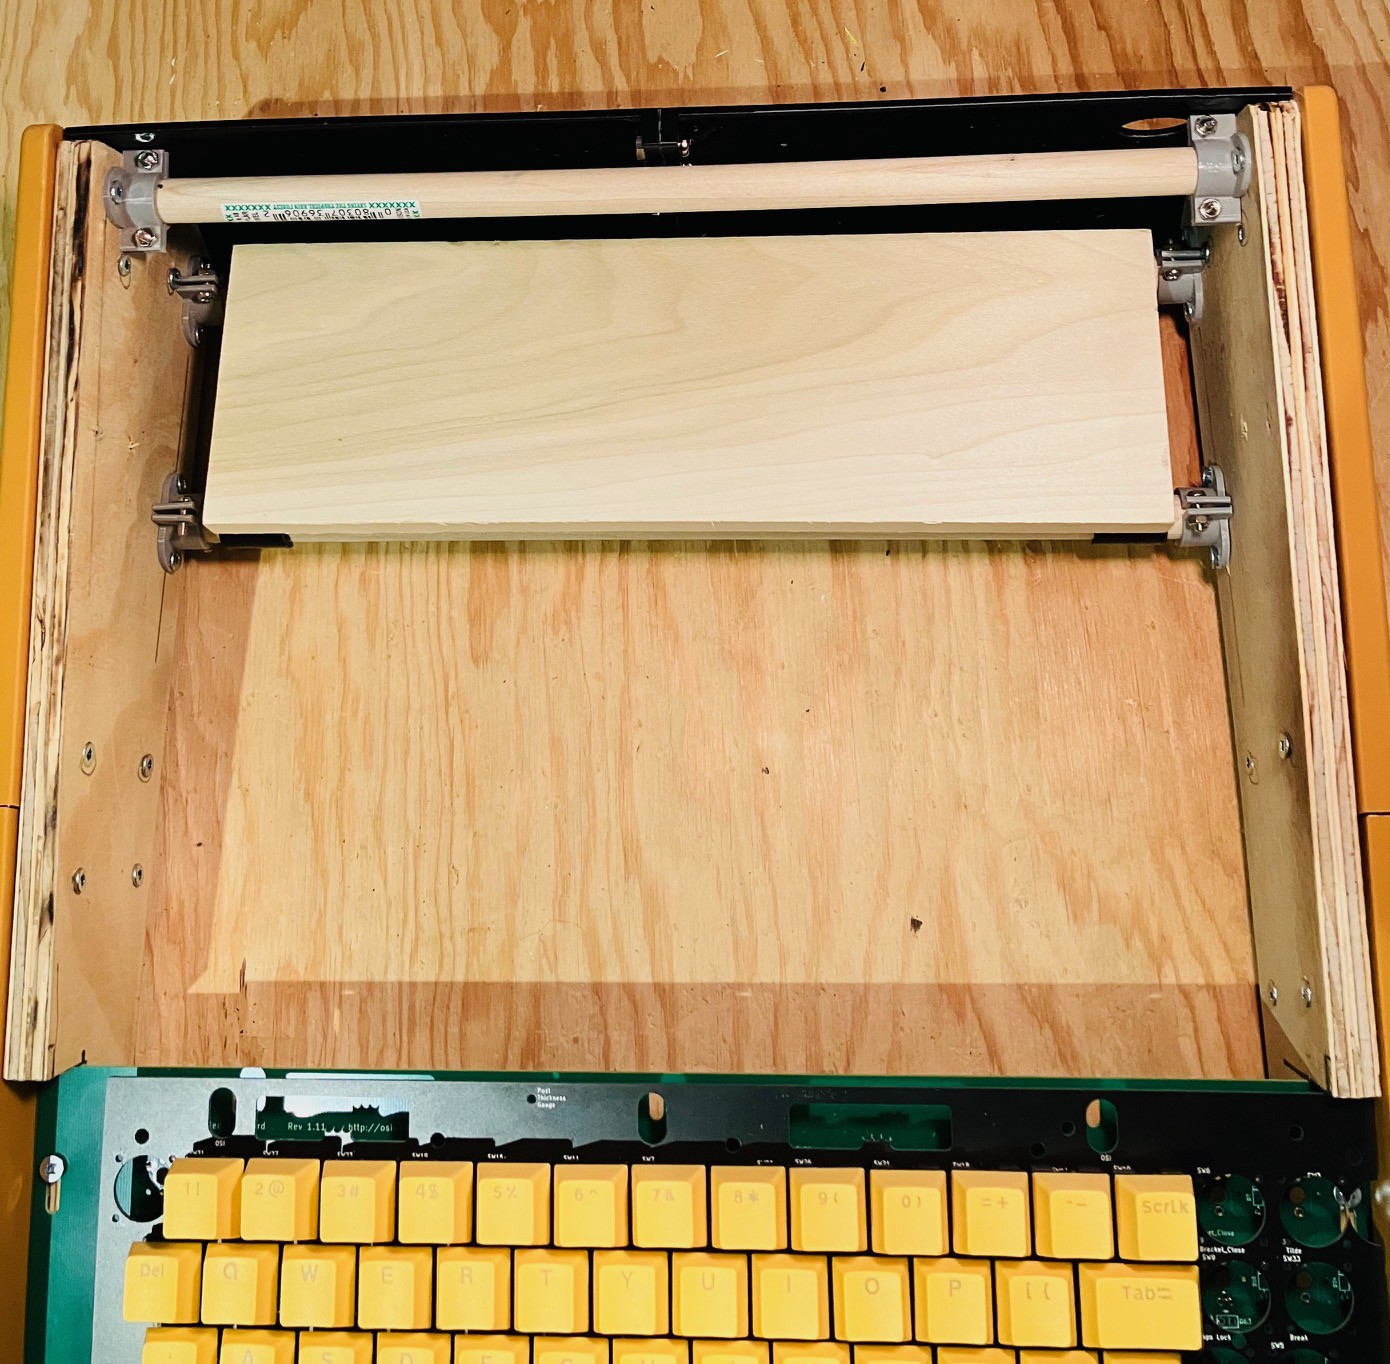
I cut a piece of 1/2 x 4 inch pine to size and attached some printed brackets in order to mount the board to the dowels.
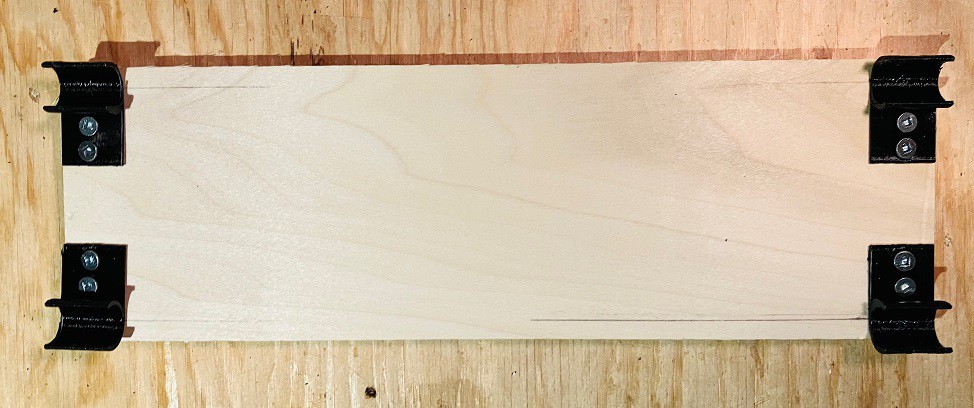
This will give me a platform to mount the Raspberry Pi 4 and the keyboard encoder.
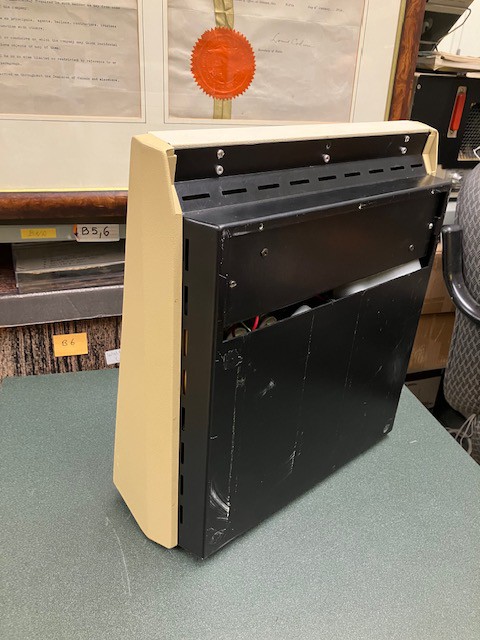
You might have noticed that I also modeled a back panel for the case.
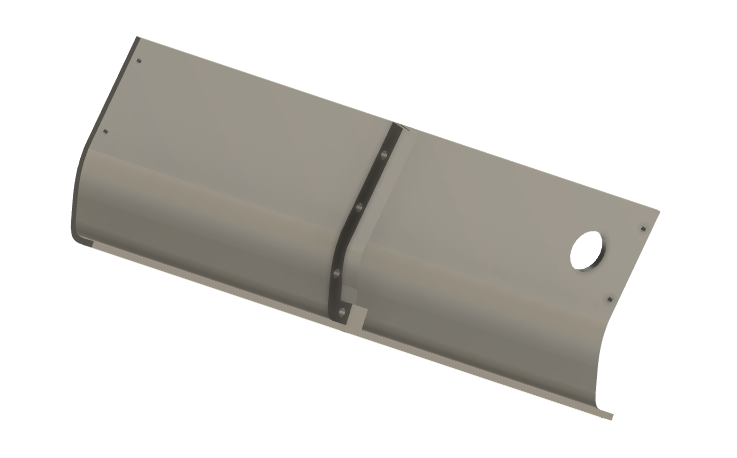
The original back panel had a fuse, a printer connector, lots of screws, and other details.
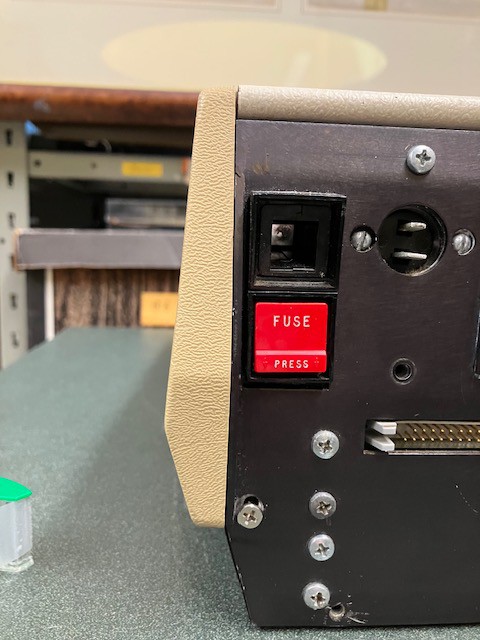
I decided for my reproduction to keep things simple and did not follow suit. One reason is that the original MCM/70 sat on a black box that extended down below the sides. At this point I don't think I'm going to do that. On most of the pictures you see of the MCM/70, the black box bottom is never really shown. In fact I didn't even know it existed until I visited the York University Computer Museum and saw an original (pictured below).
I might revisit this down the road but I have to admit I like the nice clean look of my reproduction without the bulky bottom.
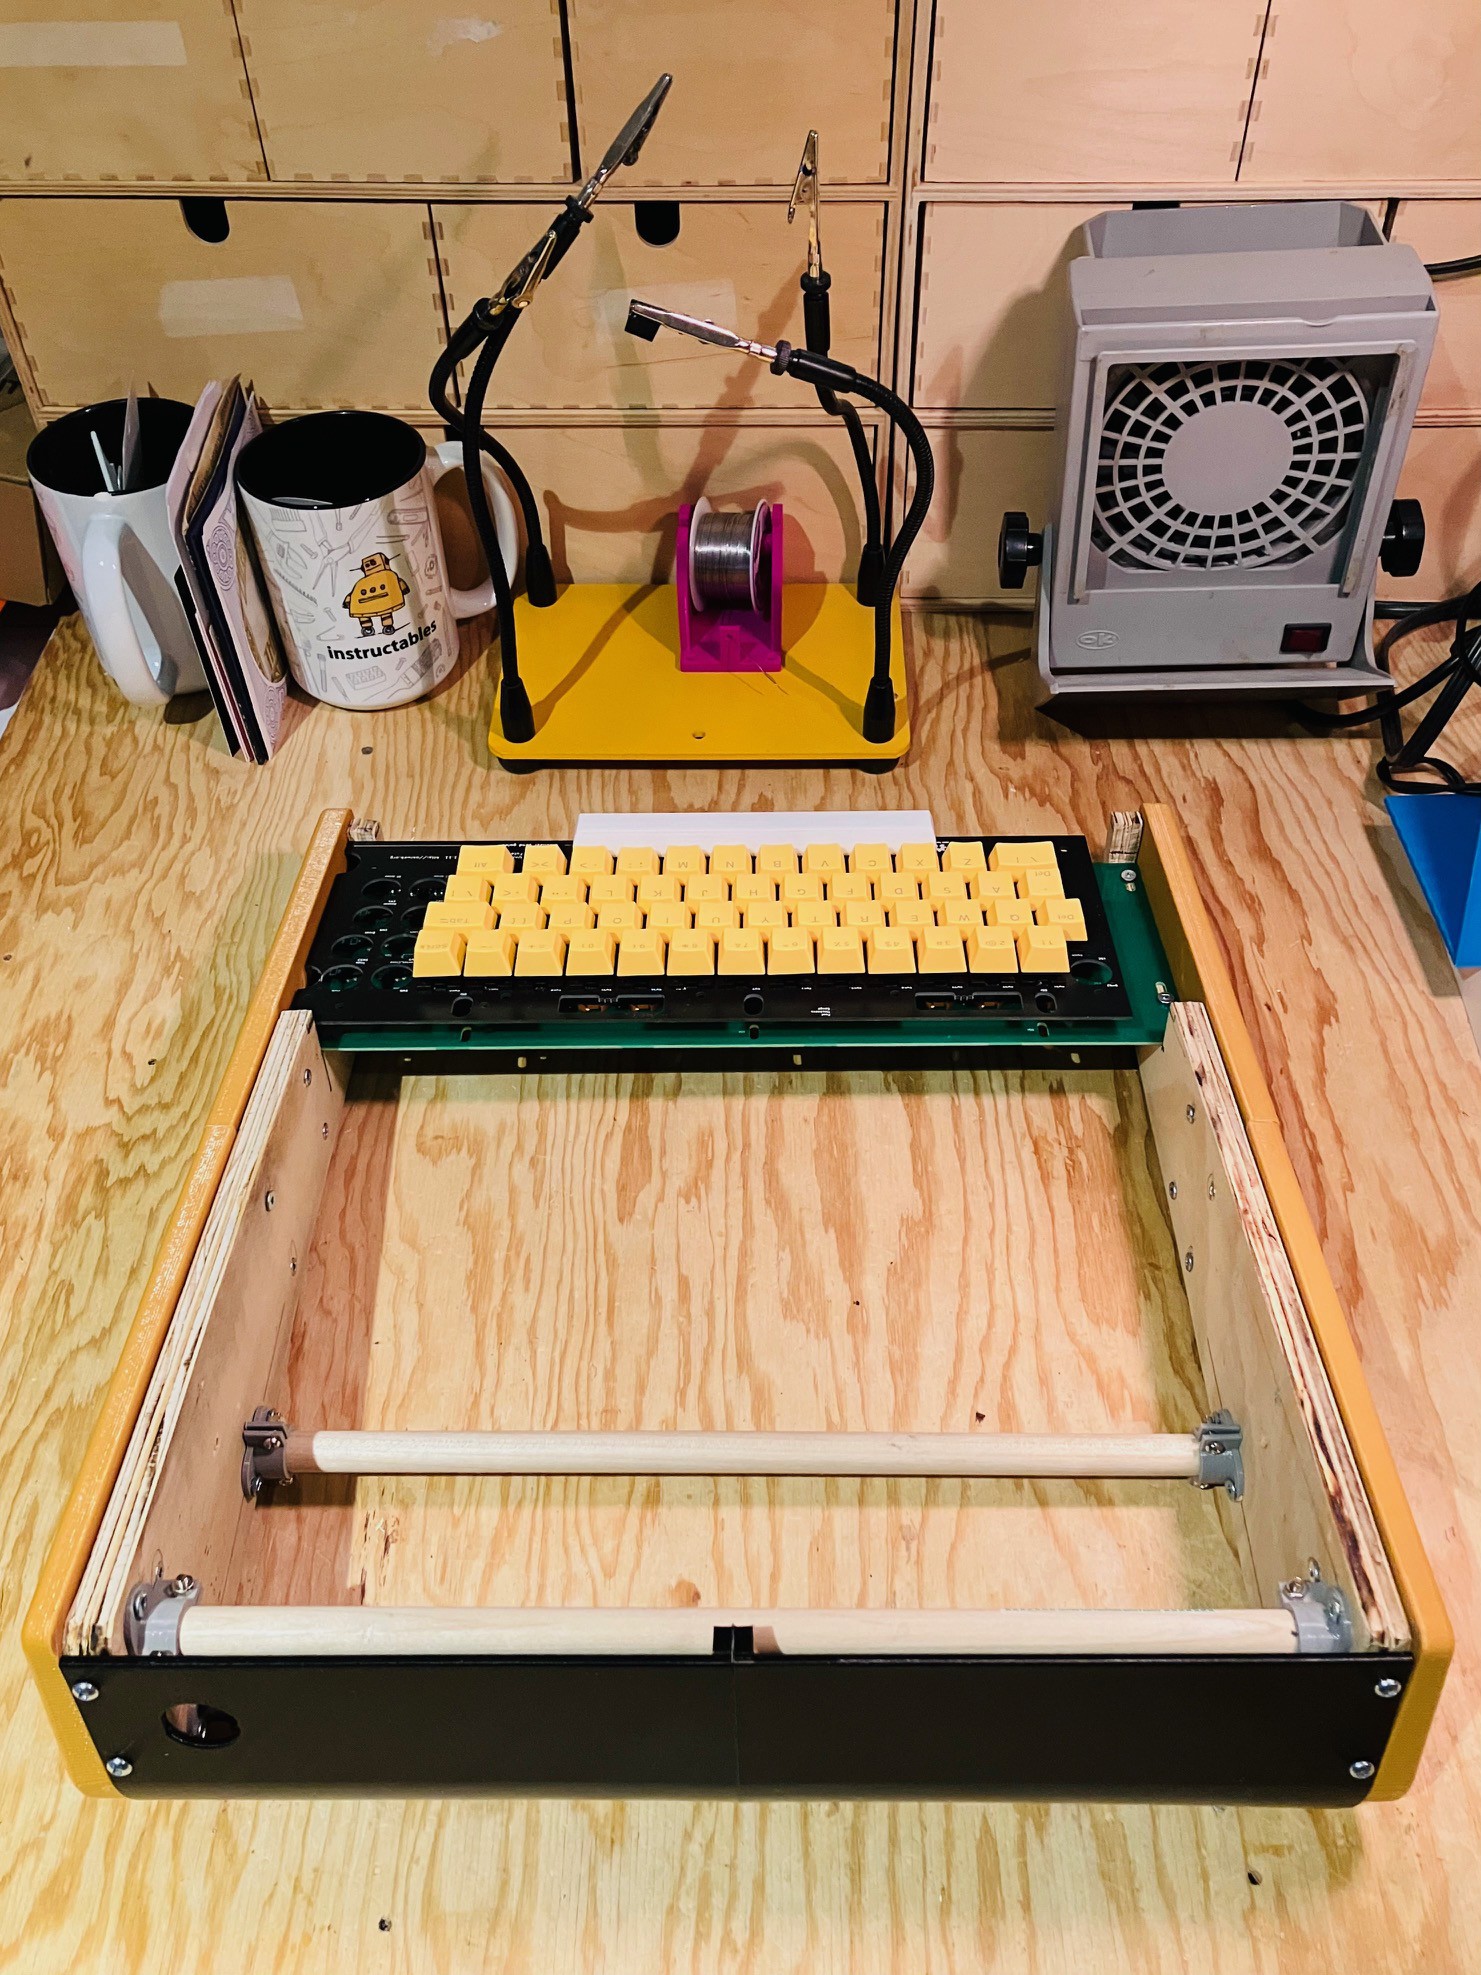
I attached the keyboard panel to the top panel with a good CA glue and added a brace to the front part of the panel.

Putting it all together with the tape drives and display this is what you end up with.
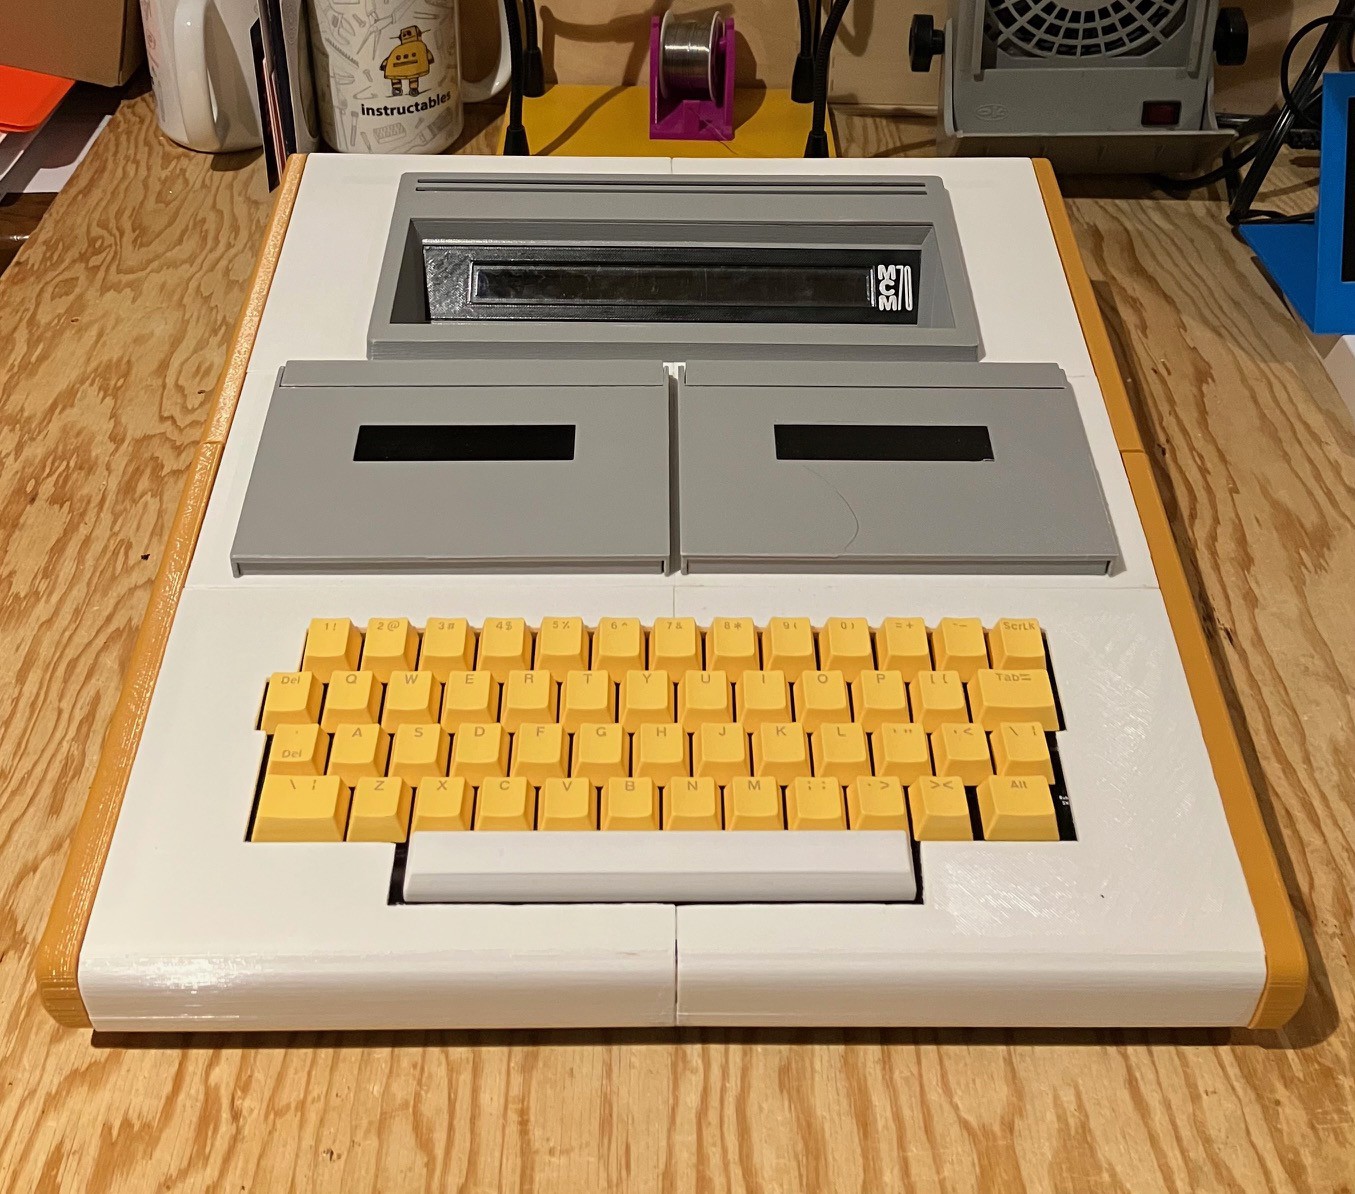
Almost there! The keycaps pictured above are still the cheap ones from Amazon. I have ordered custom keycaps from KROME Keycaps. They have been great to work with and the order is in transit from Great Briton. I'm very excited to see the result.
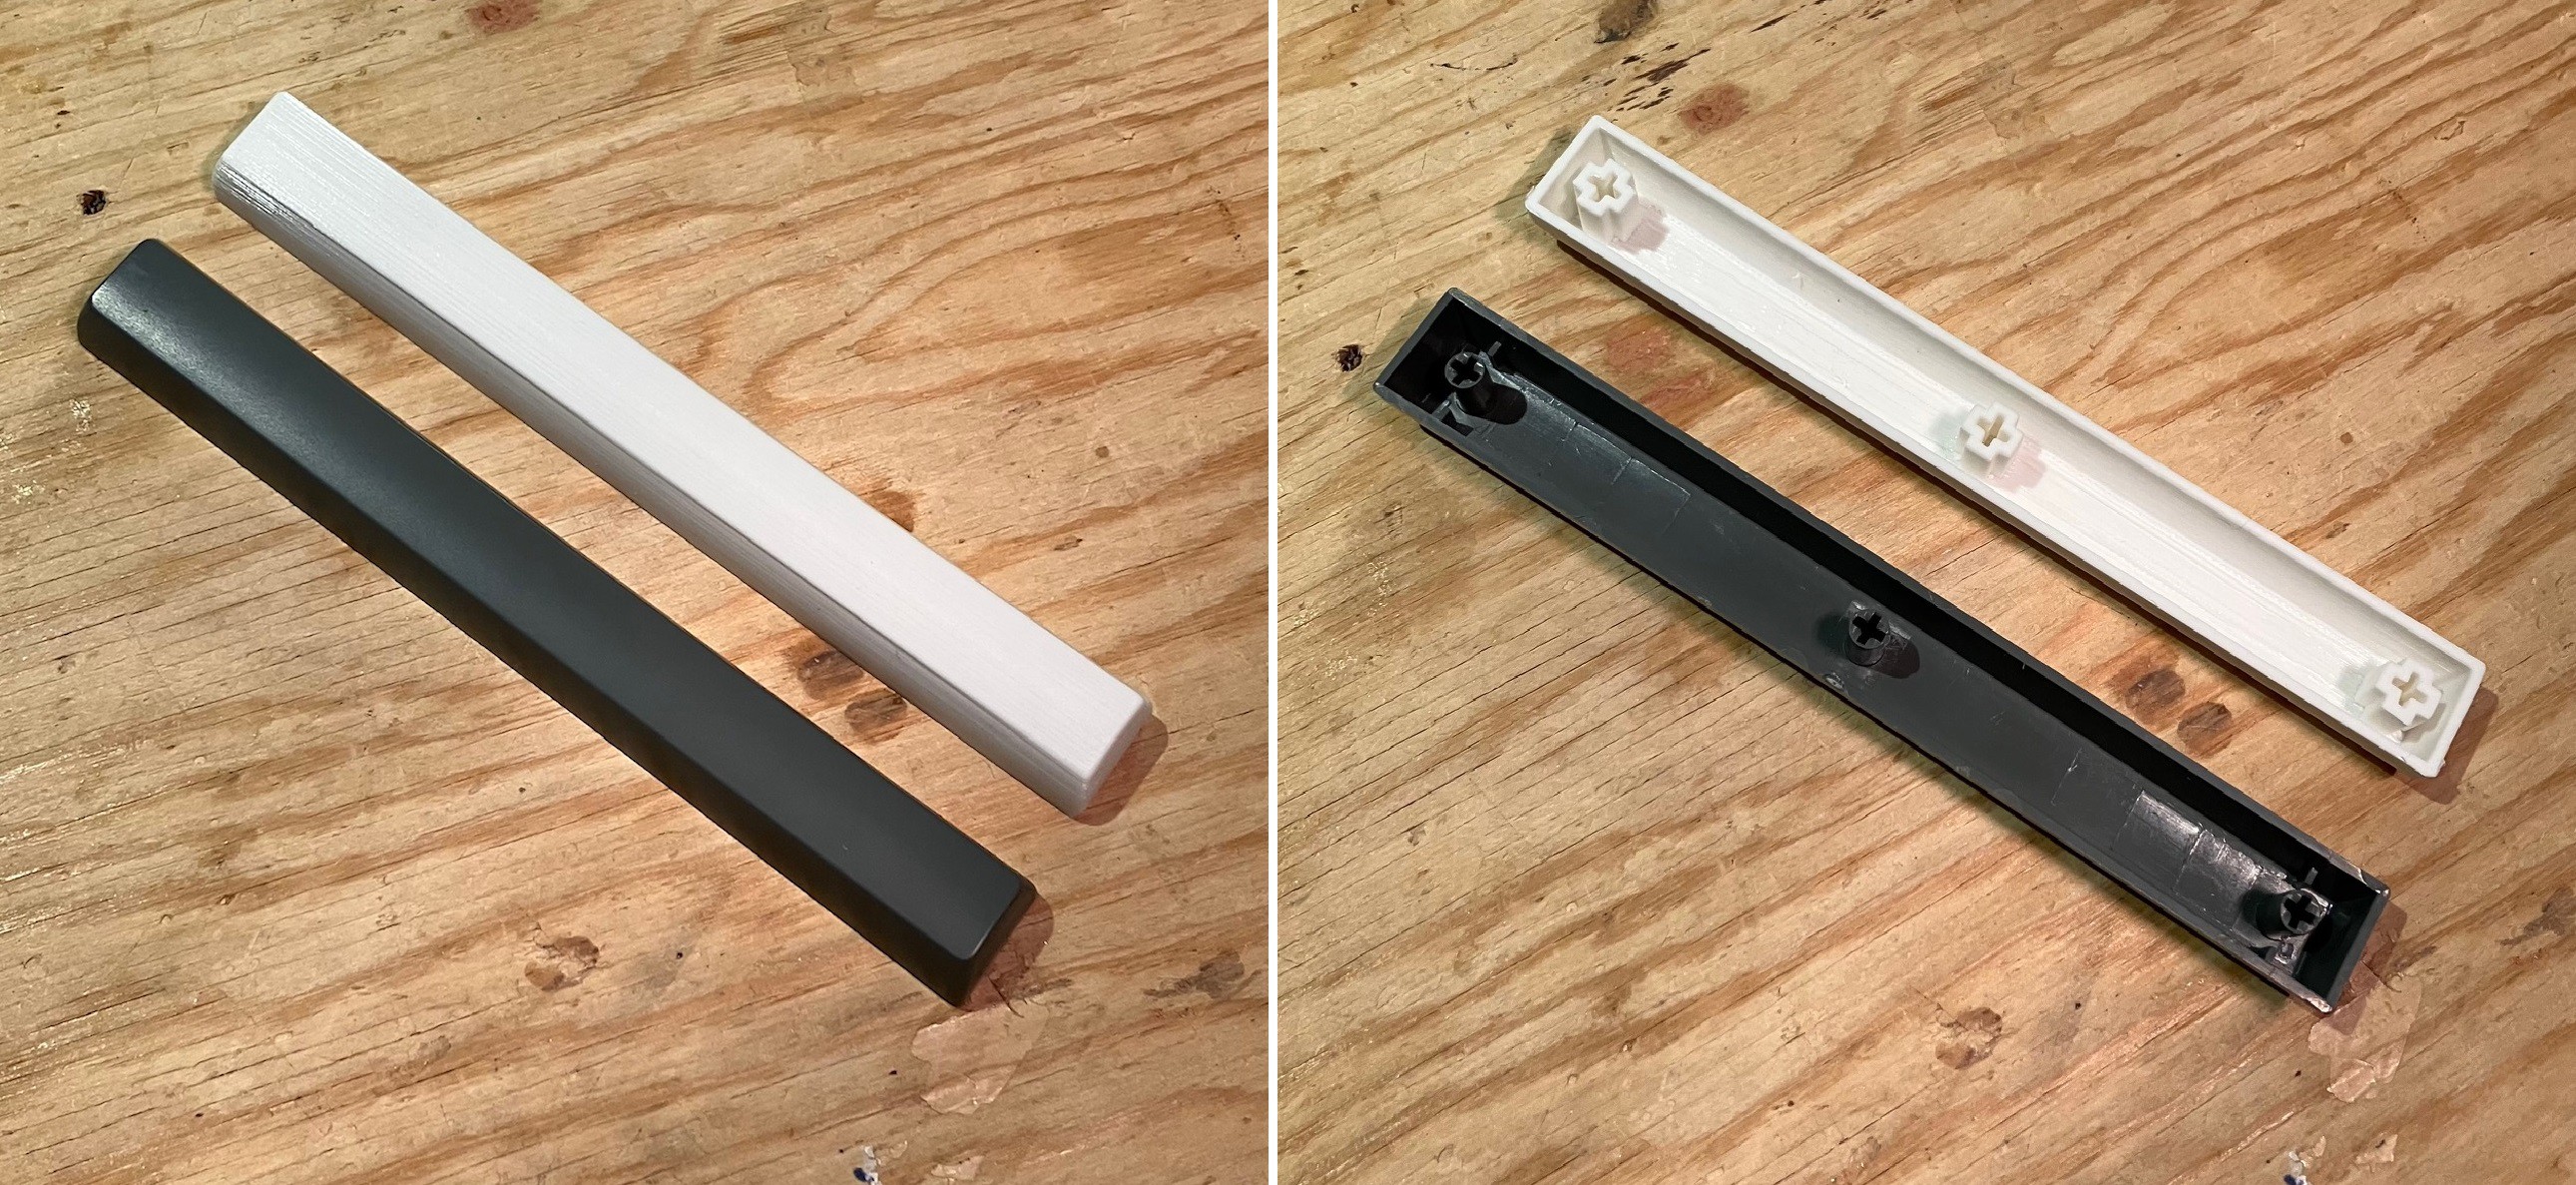
Also note that I have not been able to track down an 8U or 9U spacebar in yellow or even white. So I modeled and 3D printed the one you see above. I'm pretty happy with the result. Here is what it looks like compared to the 8U spacebar from the OSI keyset.
Next step will be to install the electronics.
Discussions
Become a Hackaday.io Member
Create an account to leave a comment. Already have an account? Log In.