 Fabian
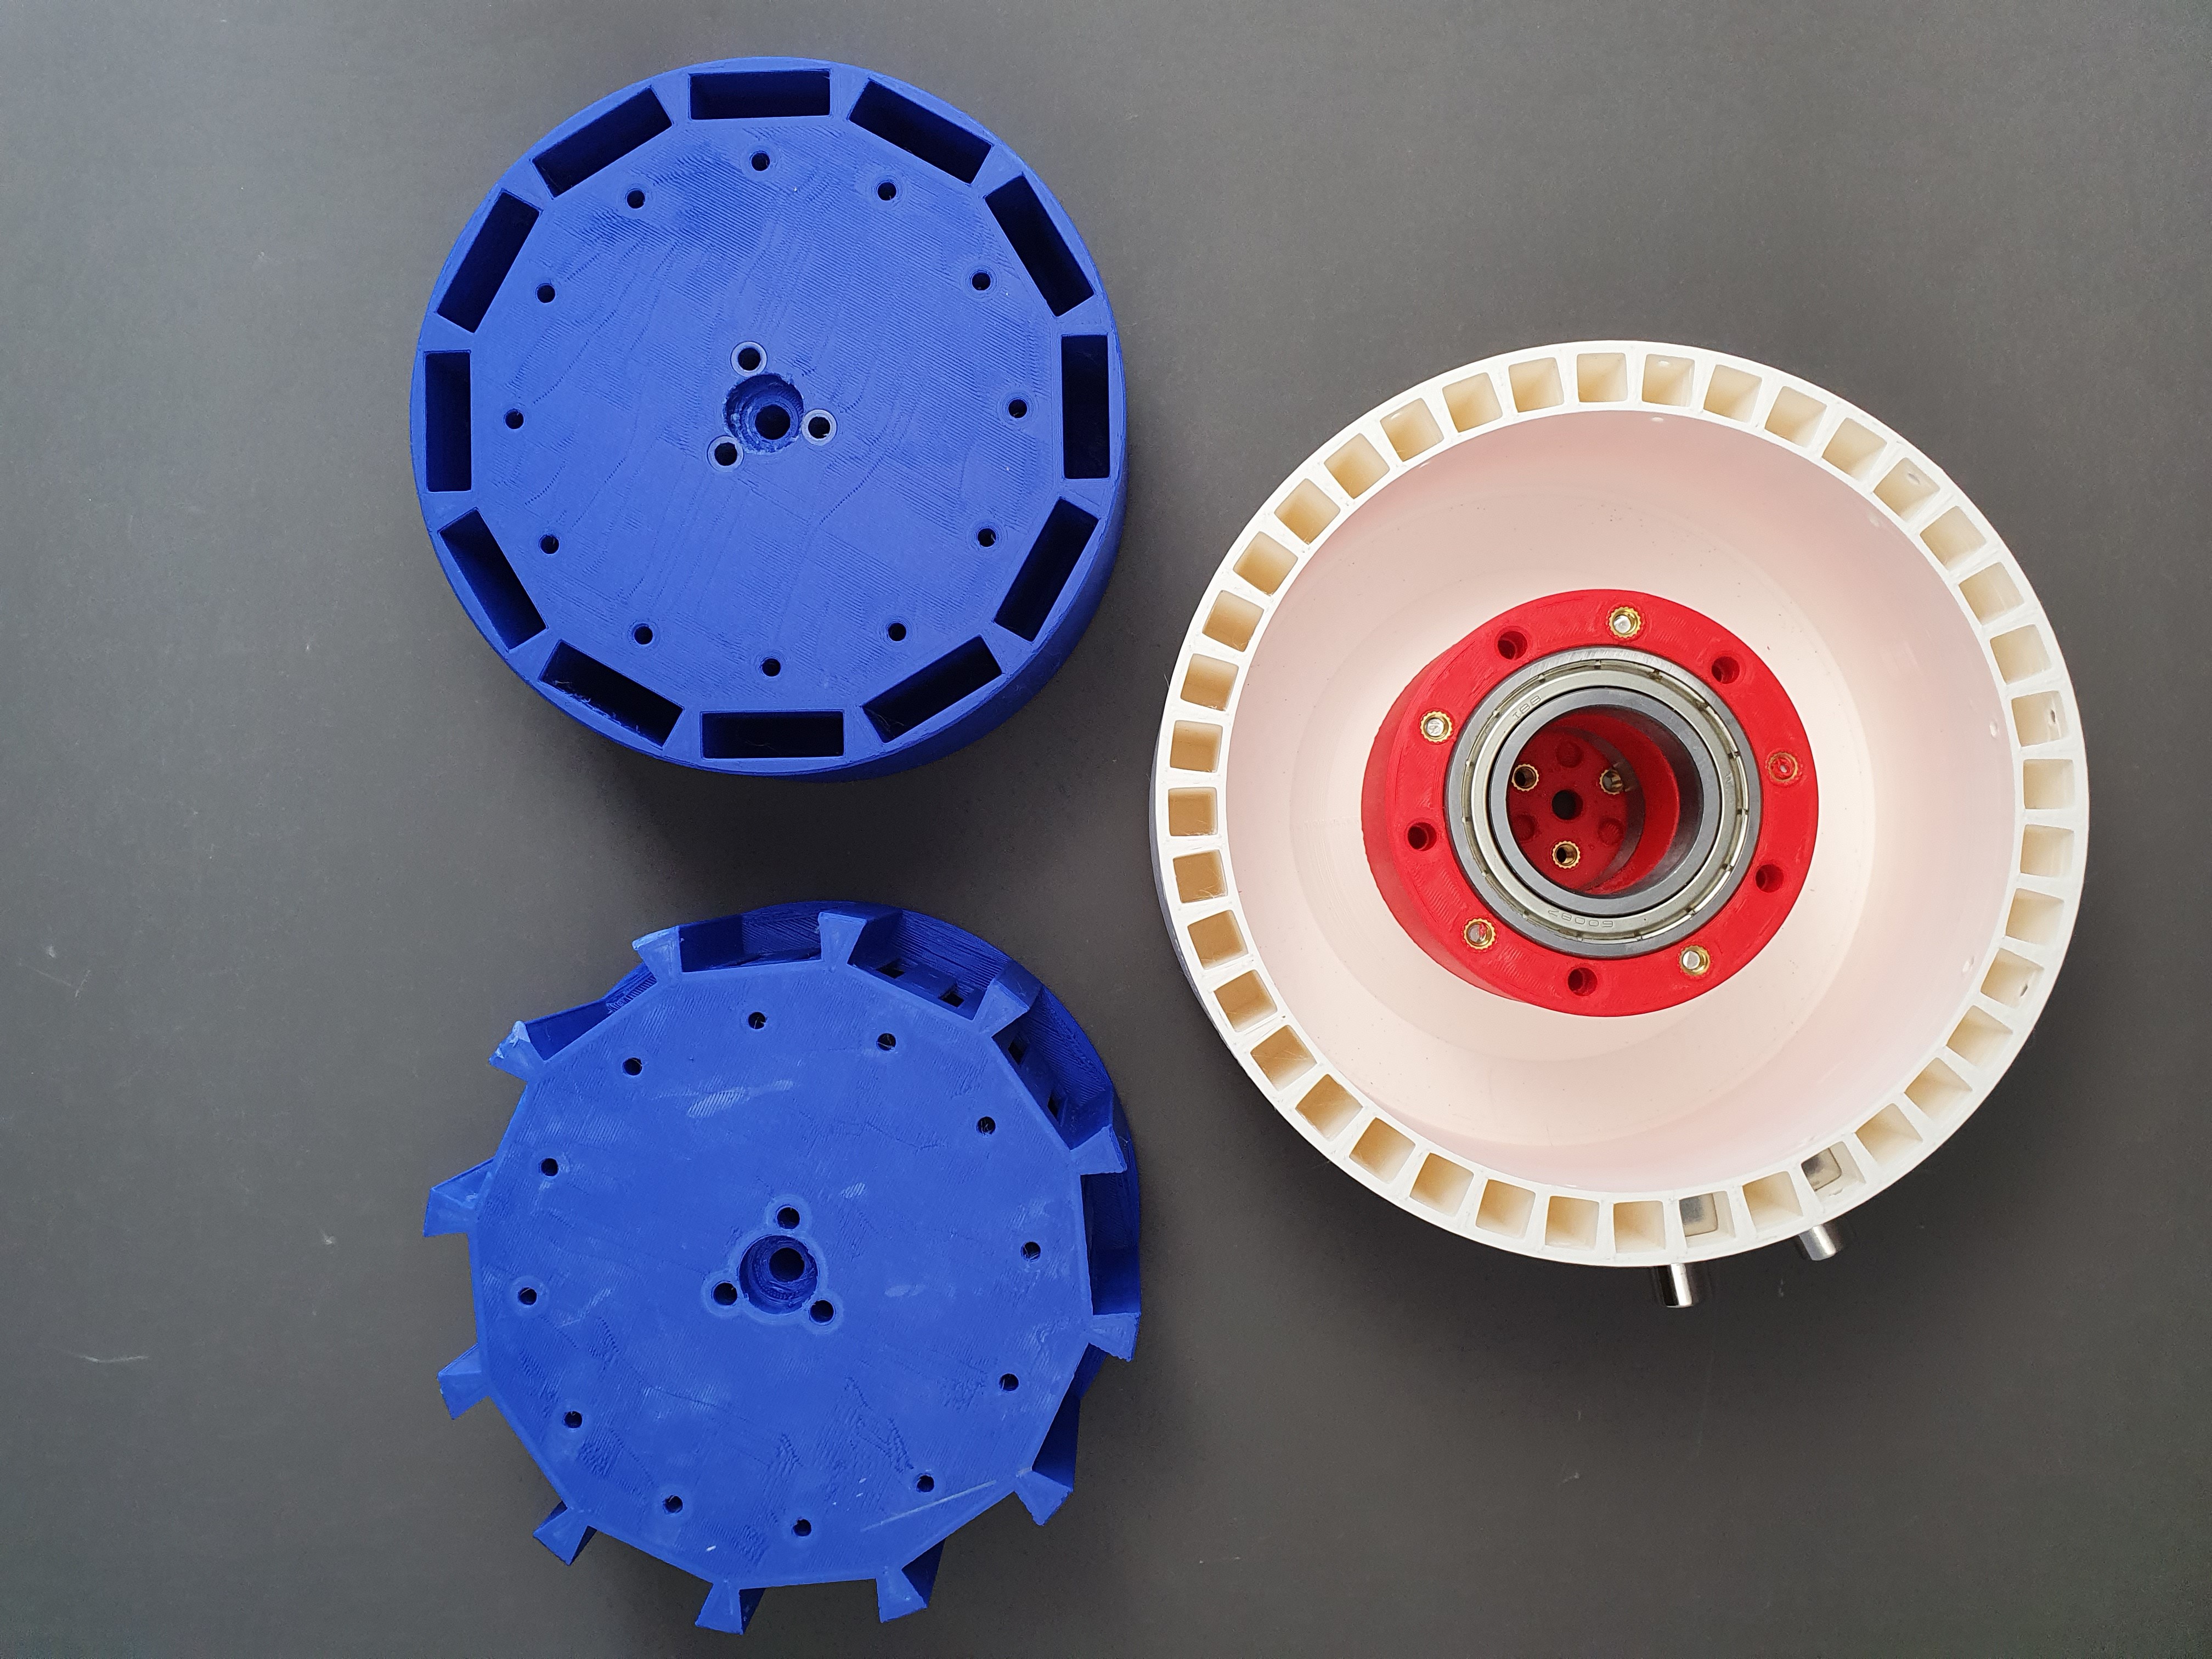
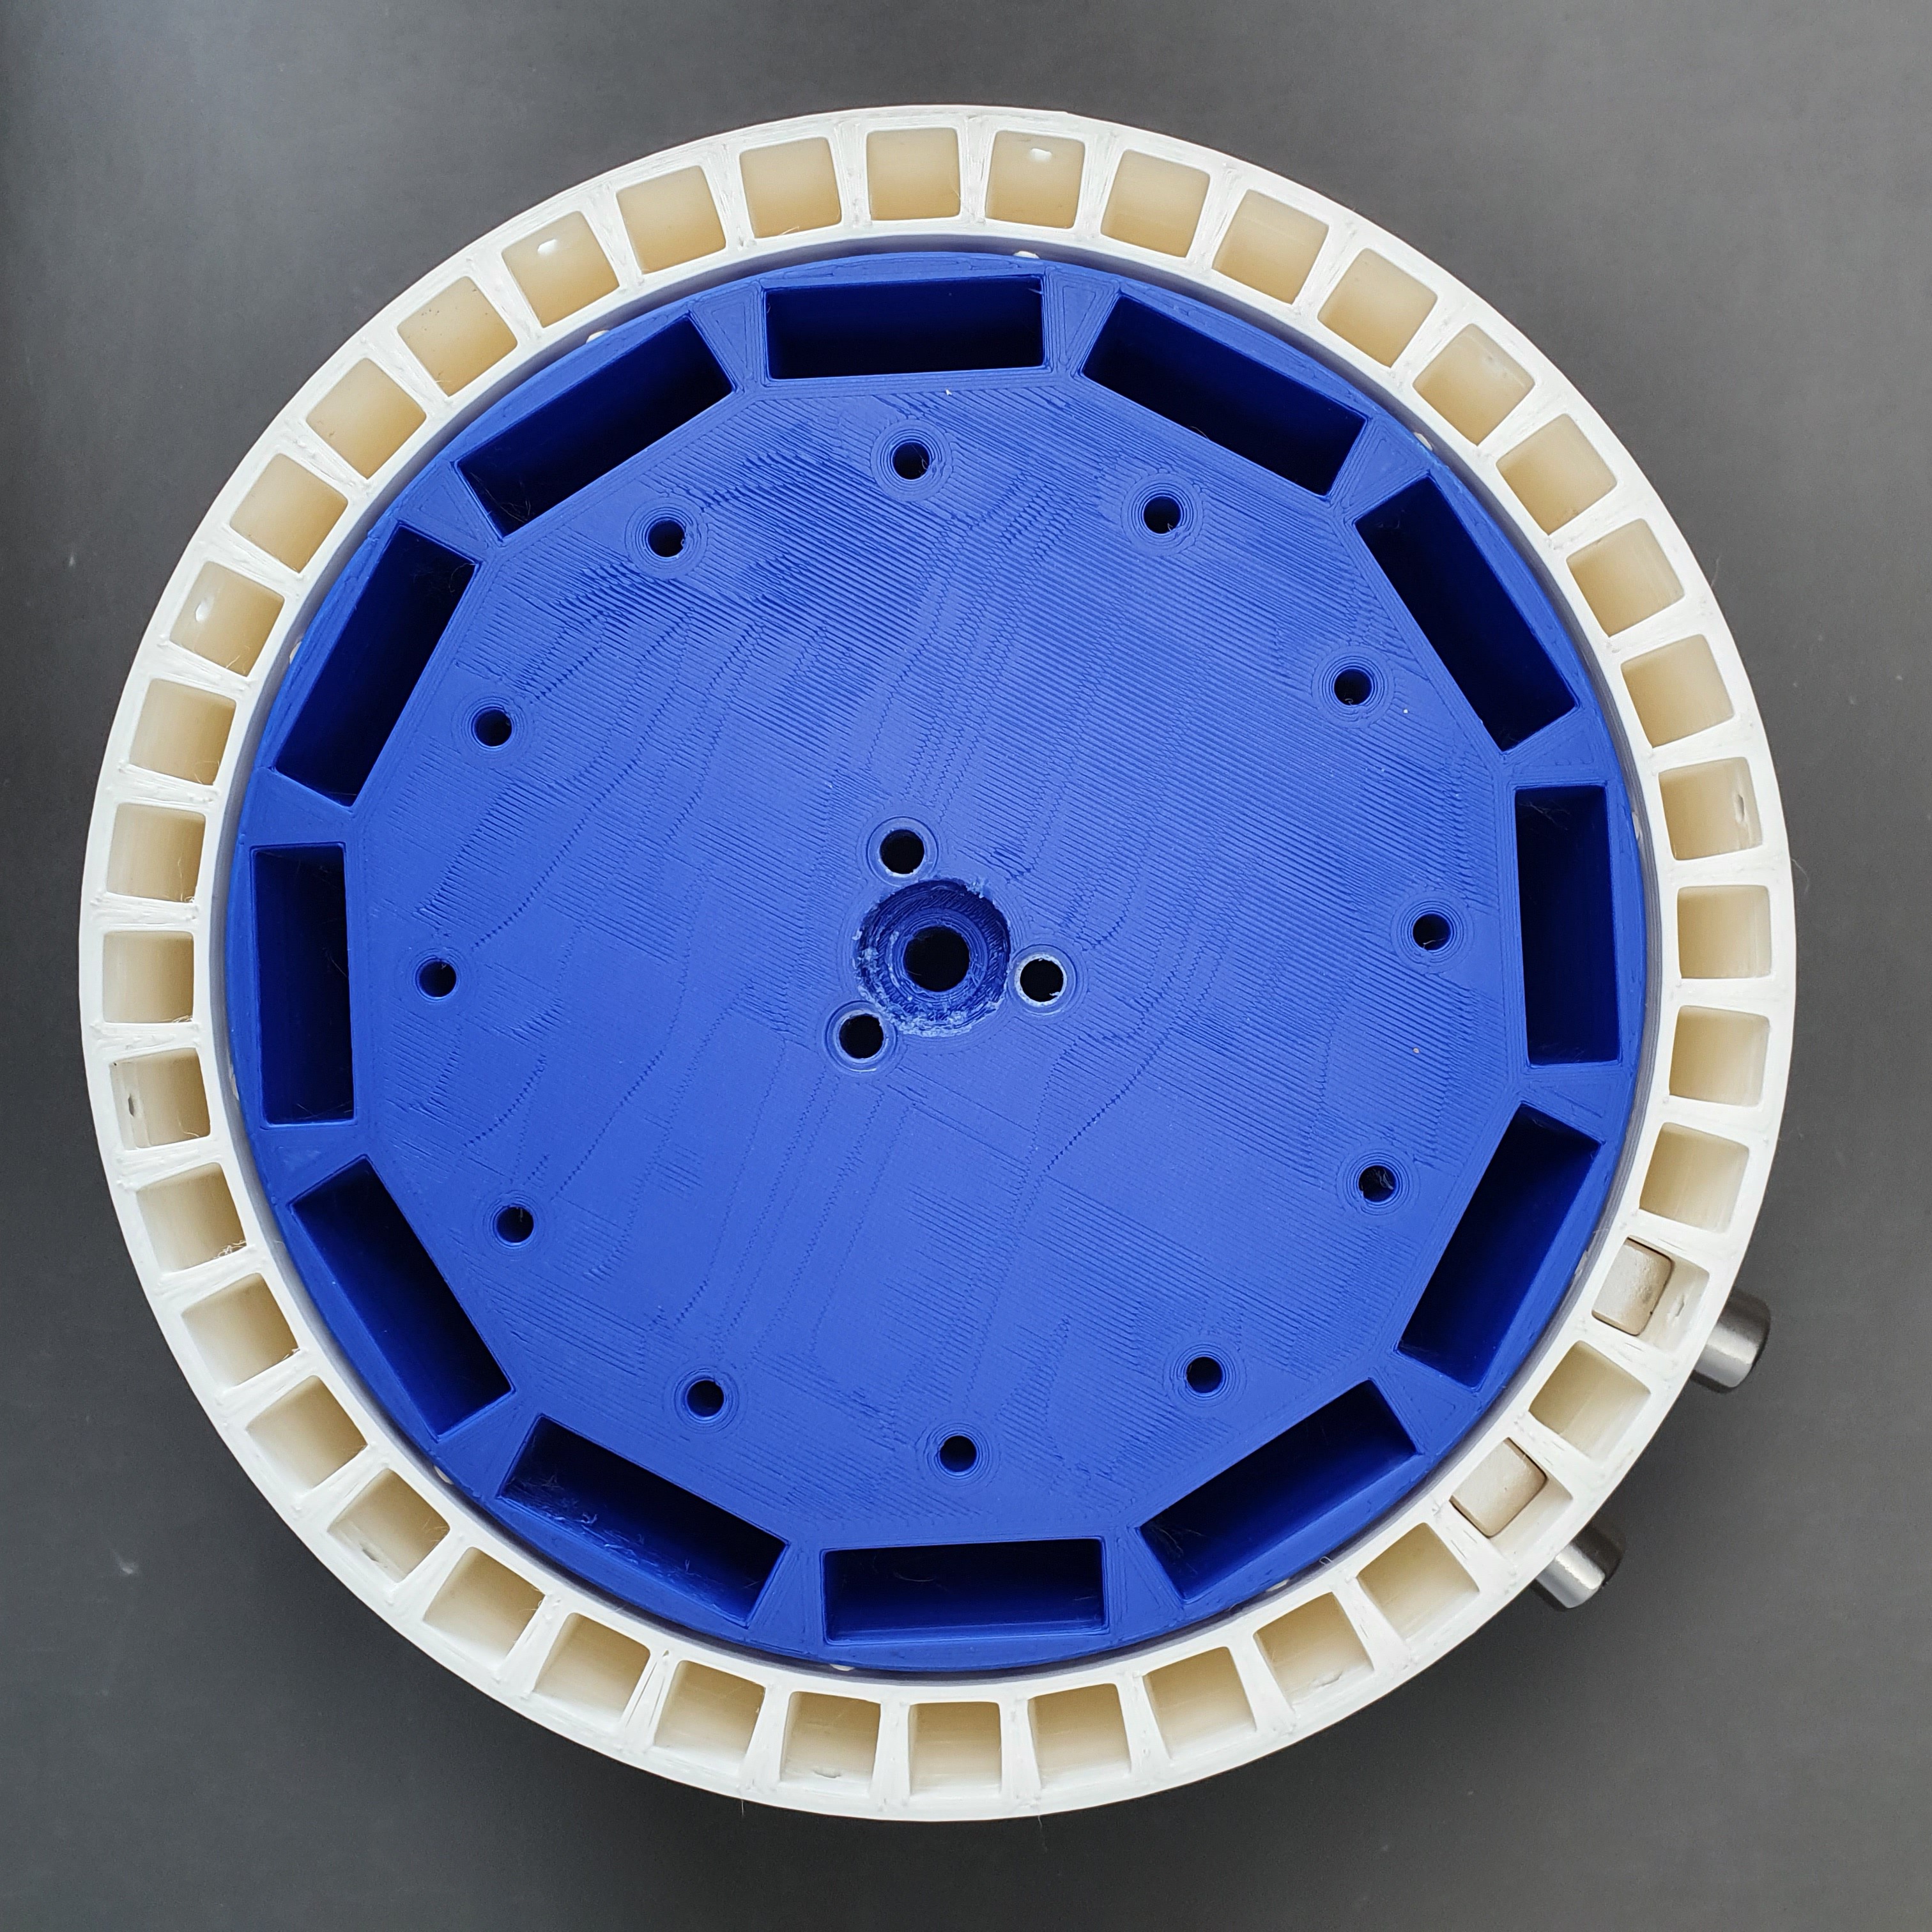
The last few days I also started the first assembly of the stator.
Actually, this was already the second version of the stator. For the first version, I had planned to insert the windings from behind into recesses in the stator. However, they could not be attached well that way. In addition, the heat dissipation would have been very poor because the coils were almost completely surrounded by the stator housing.
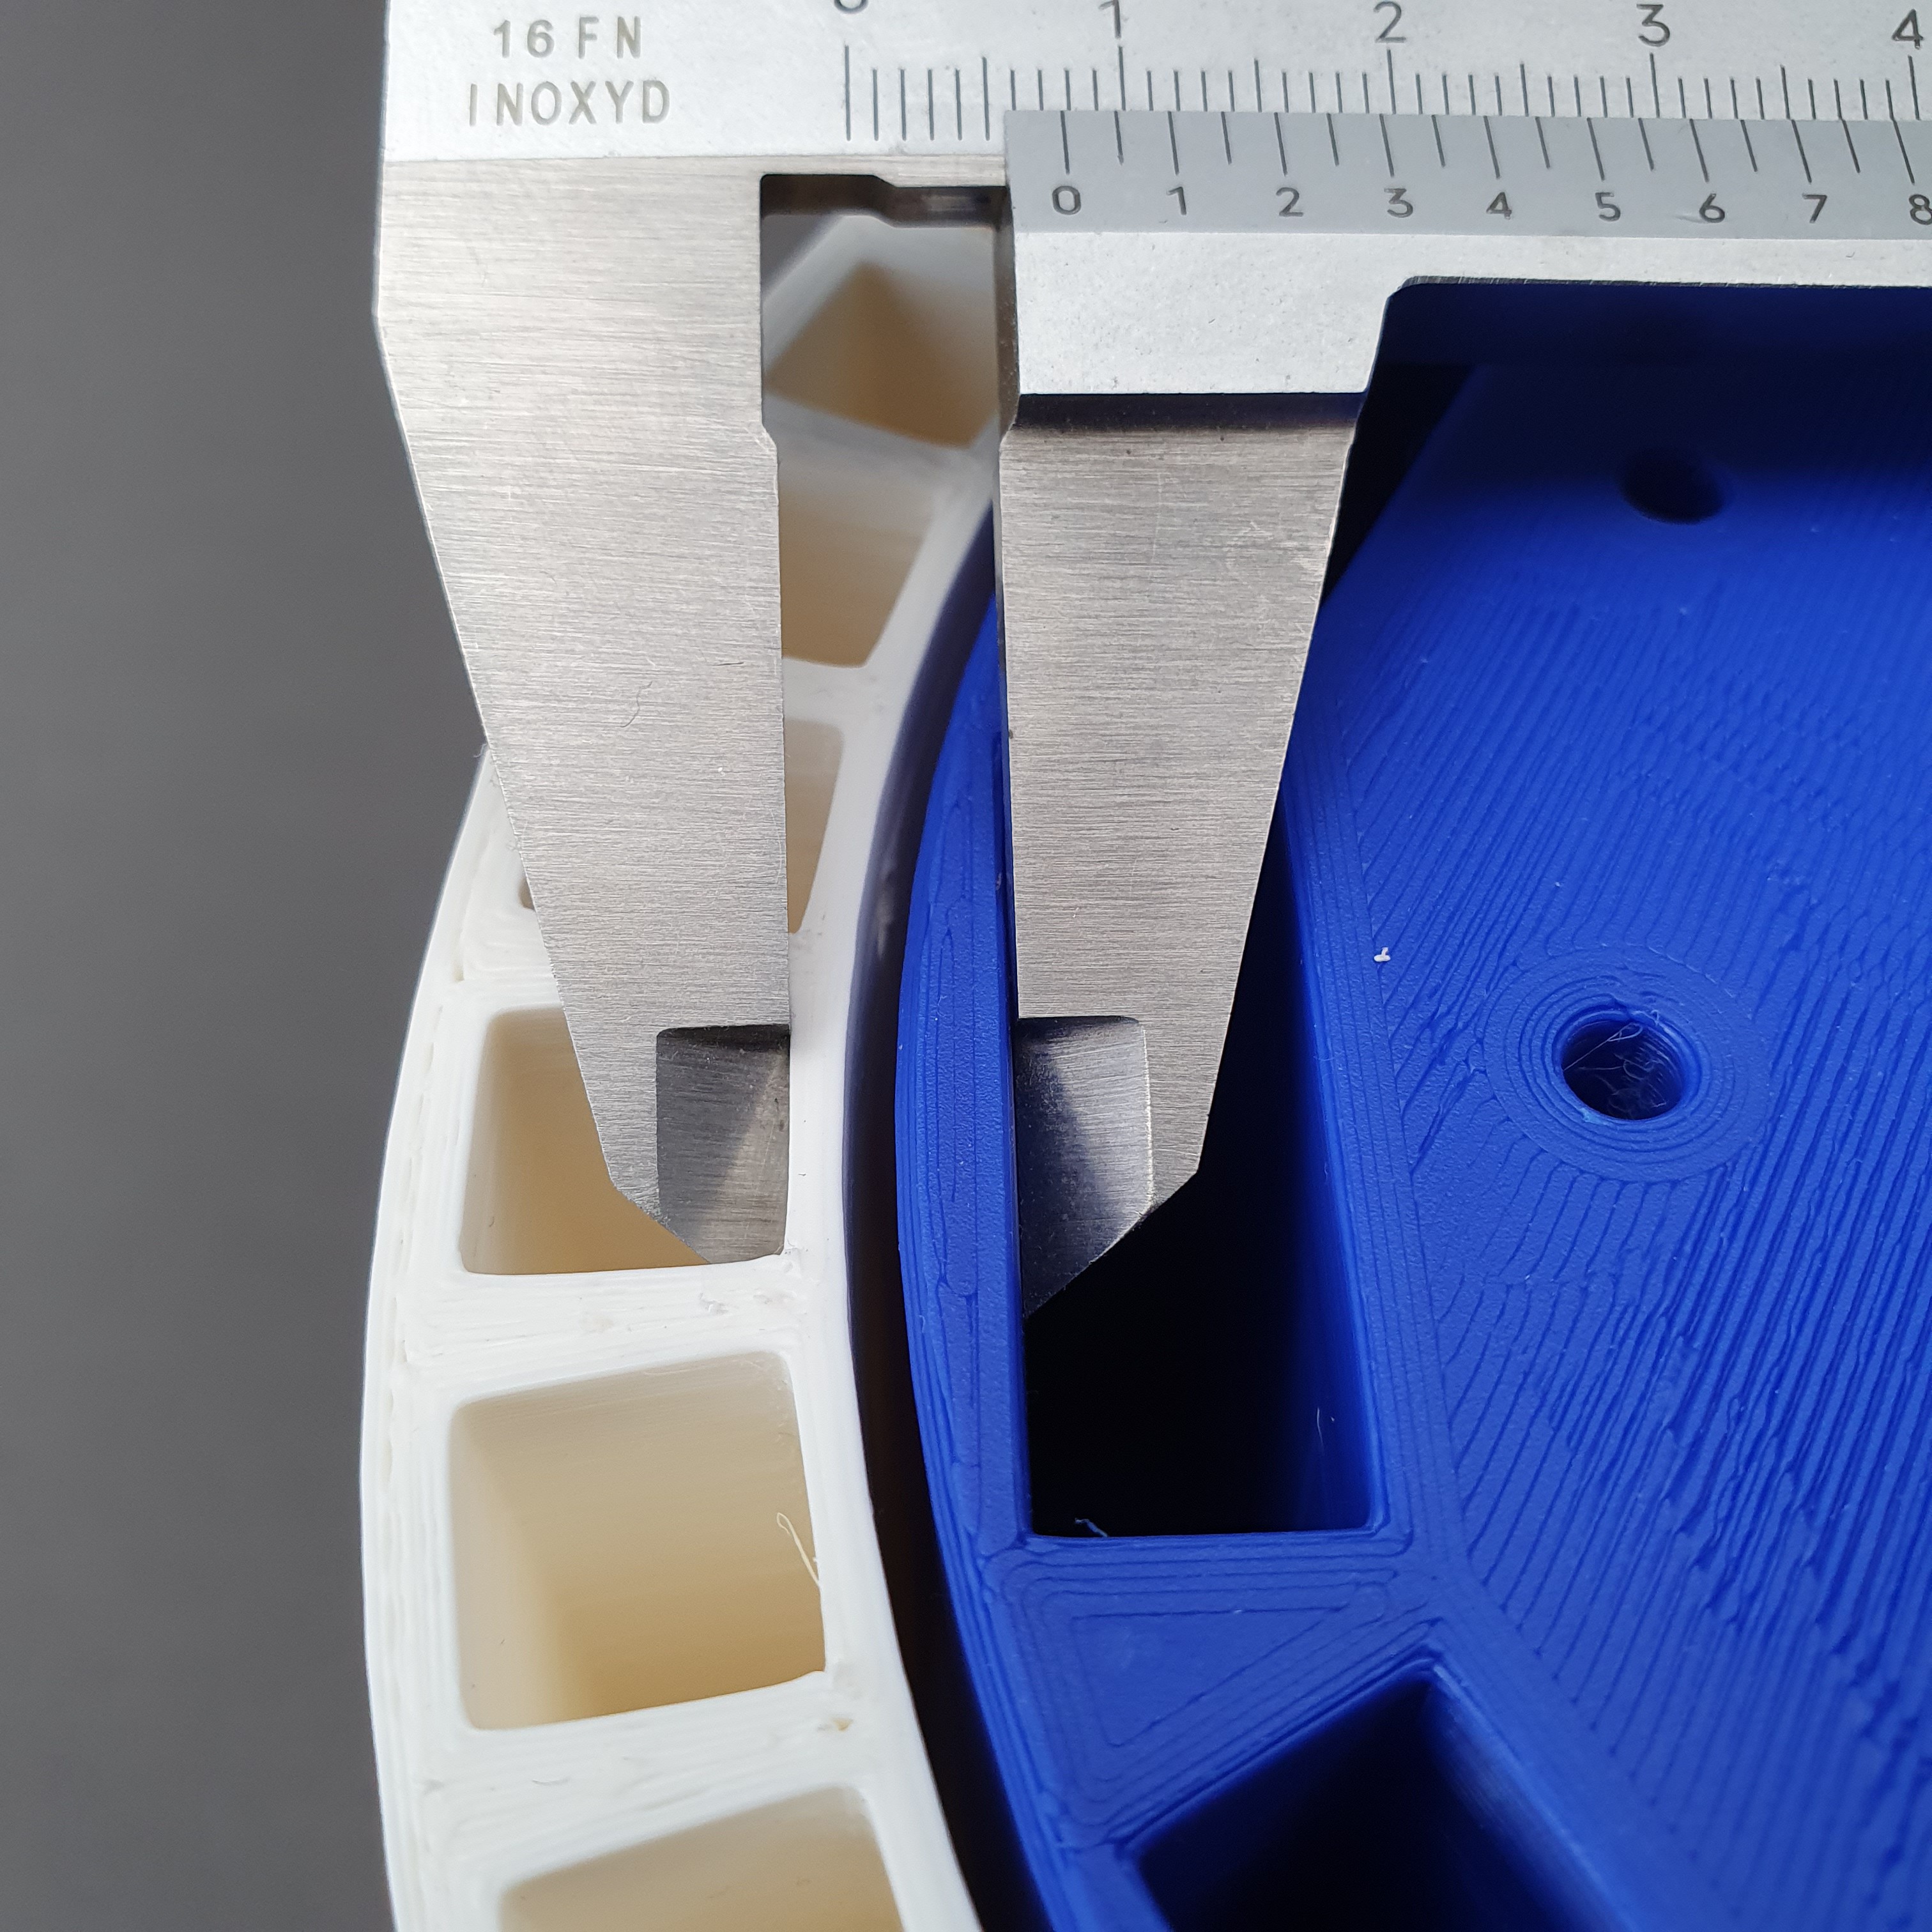
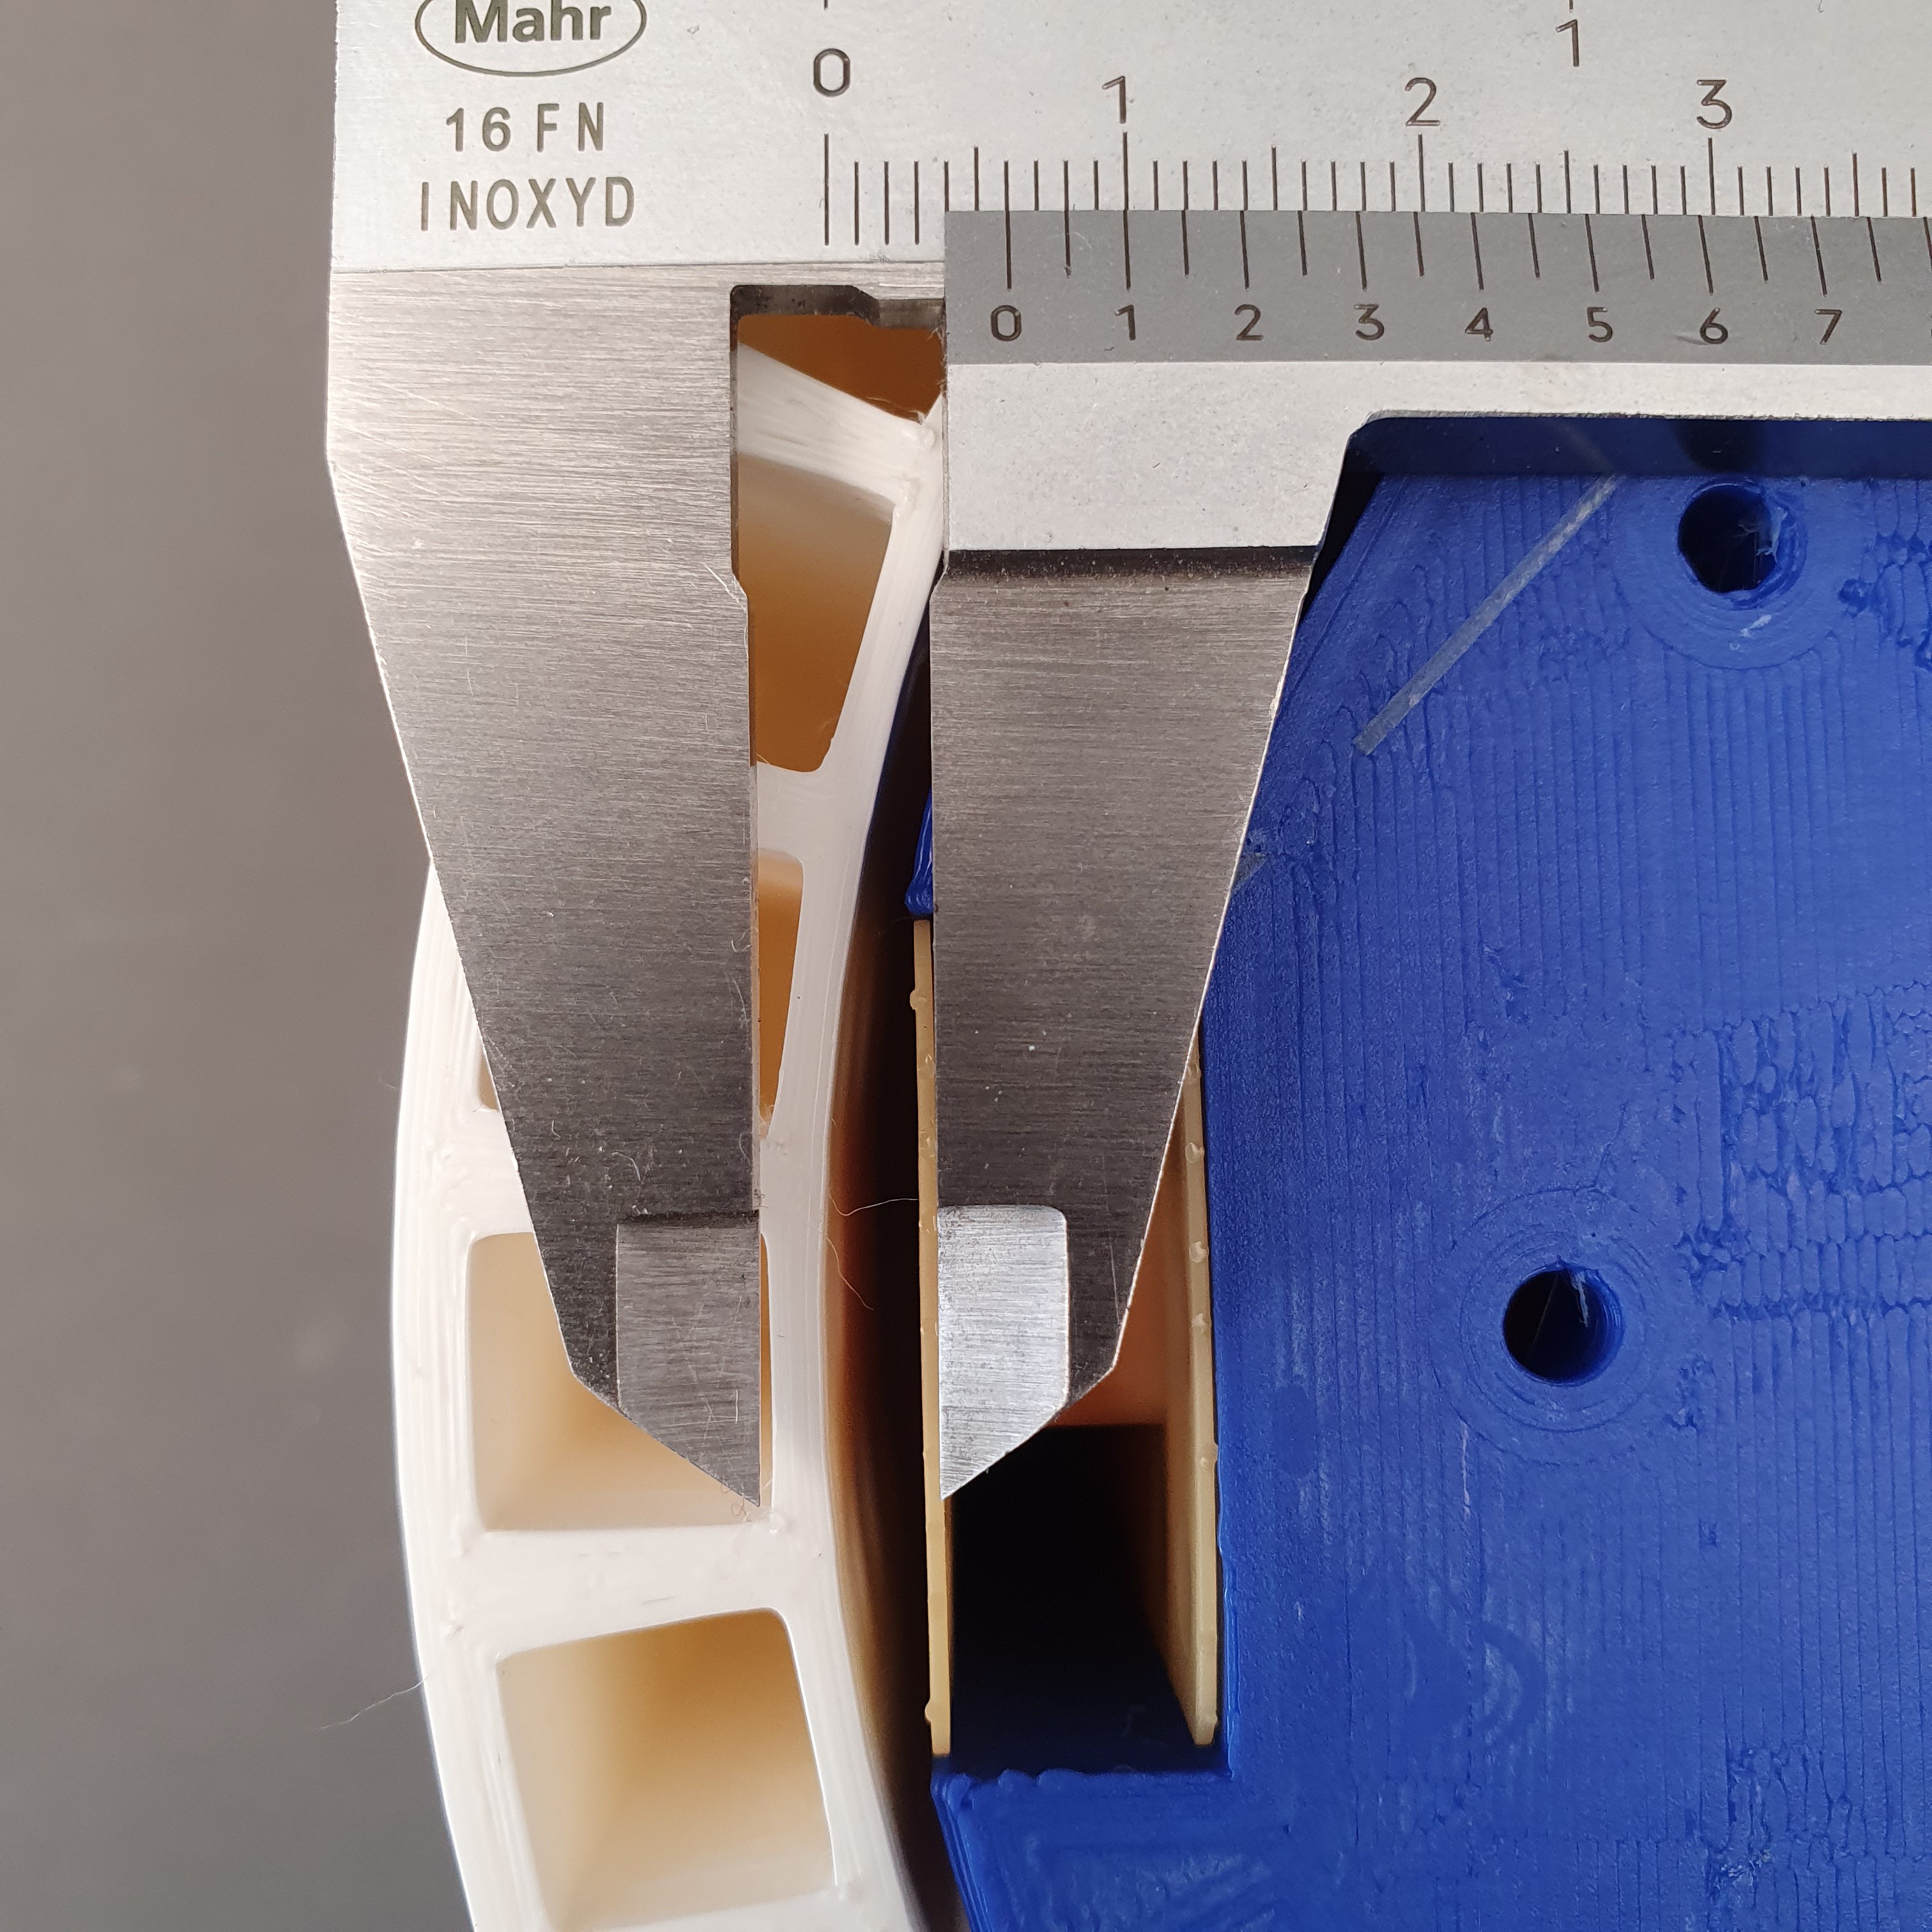
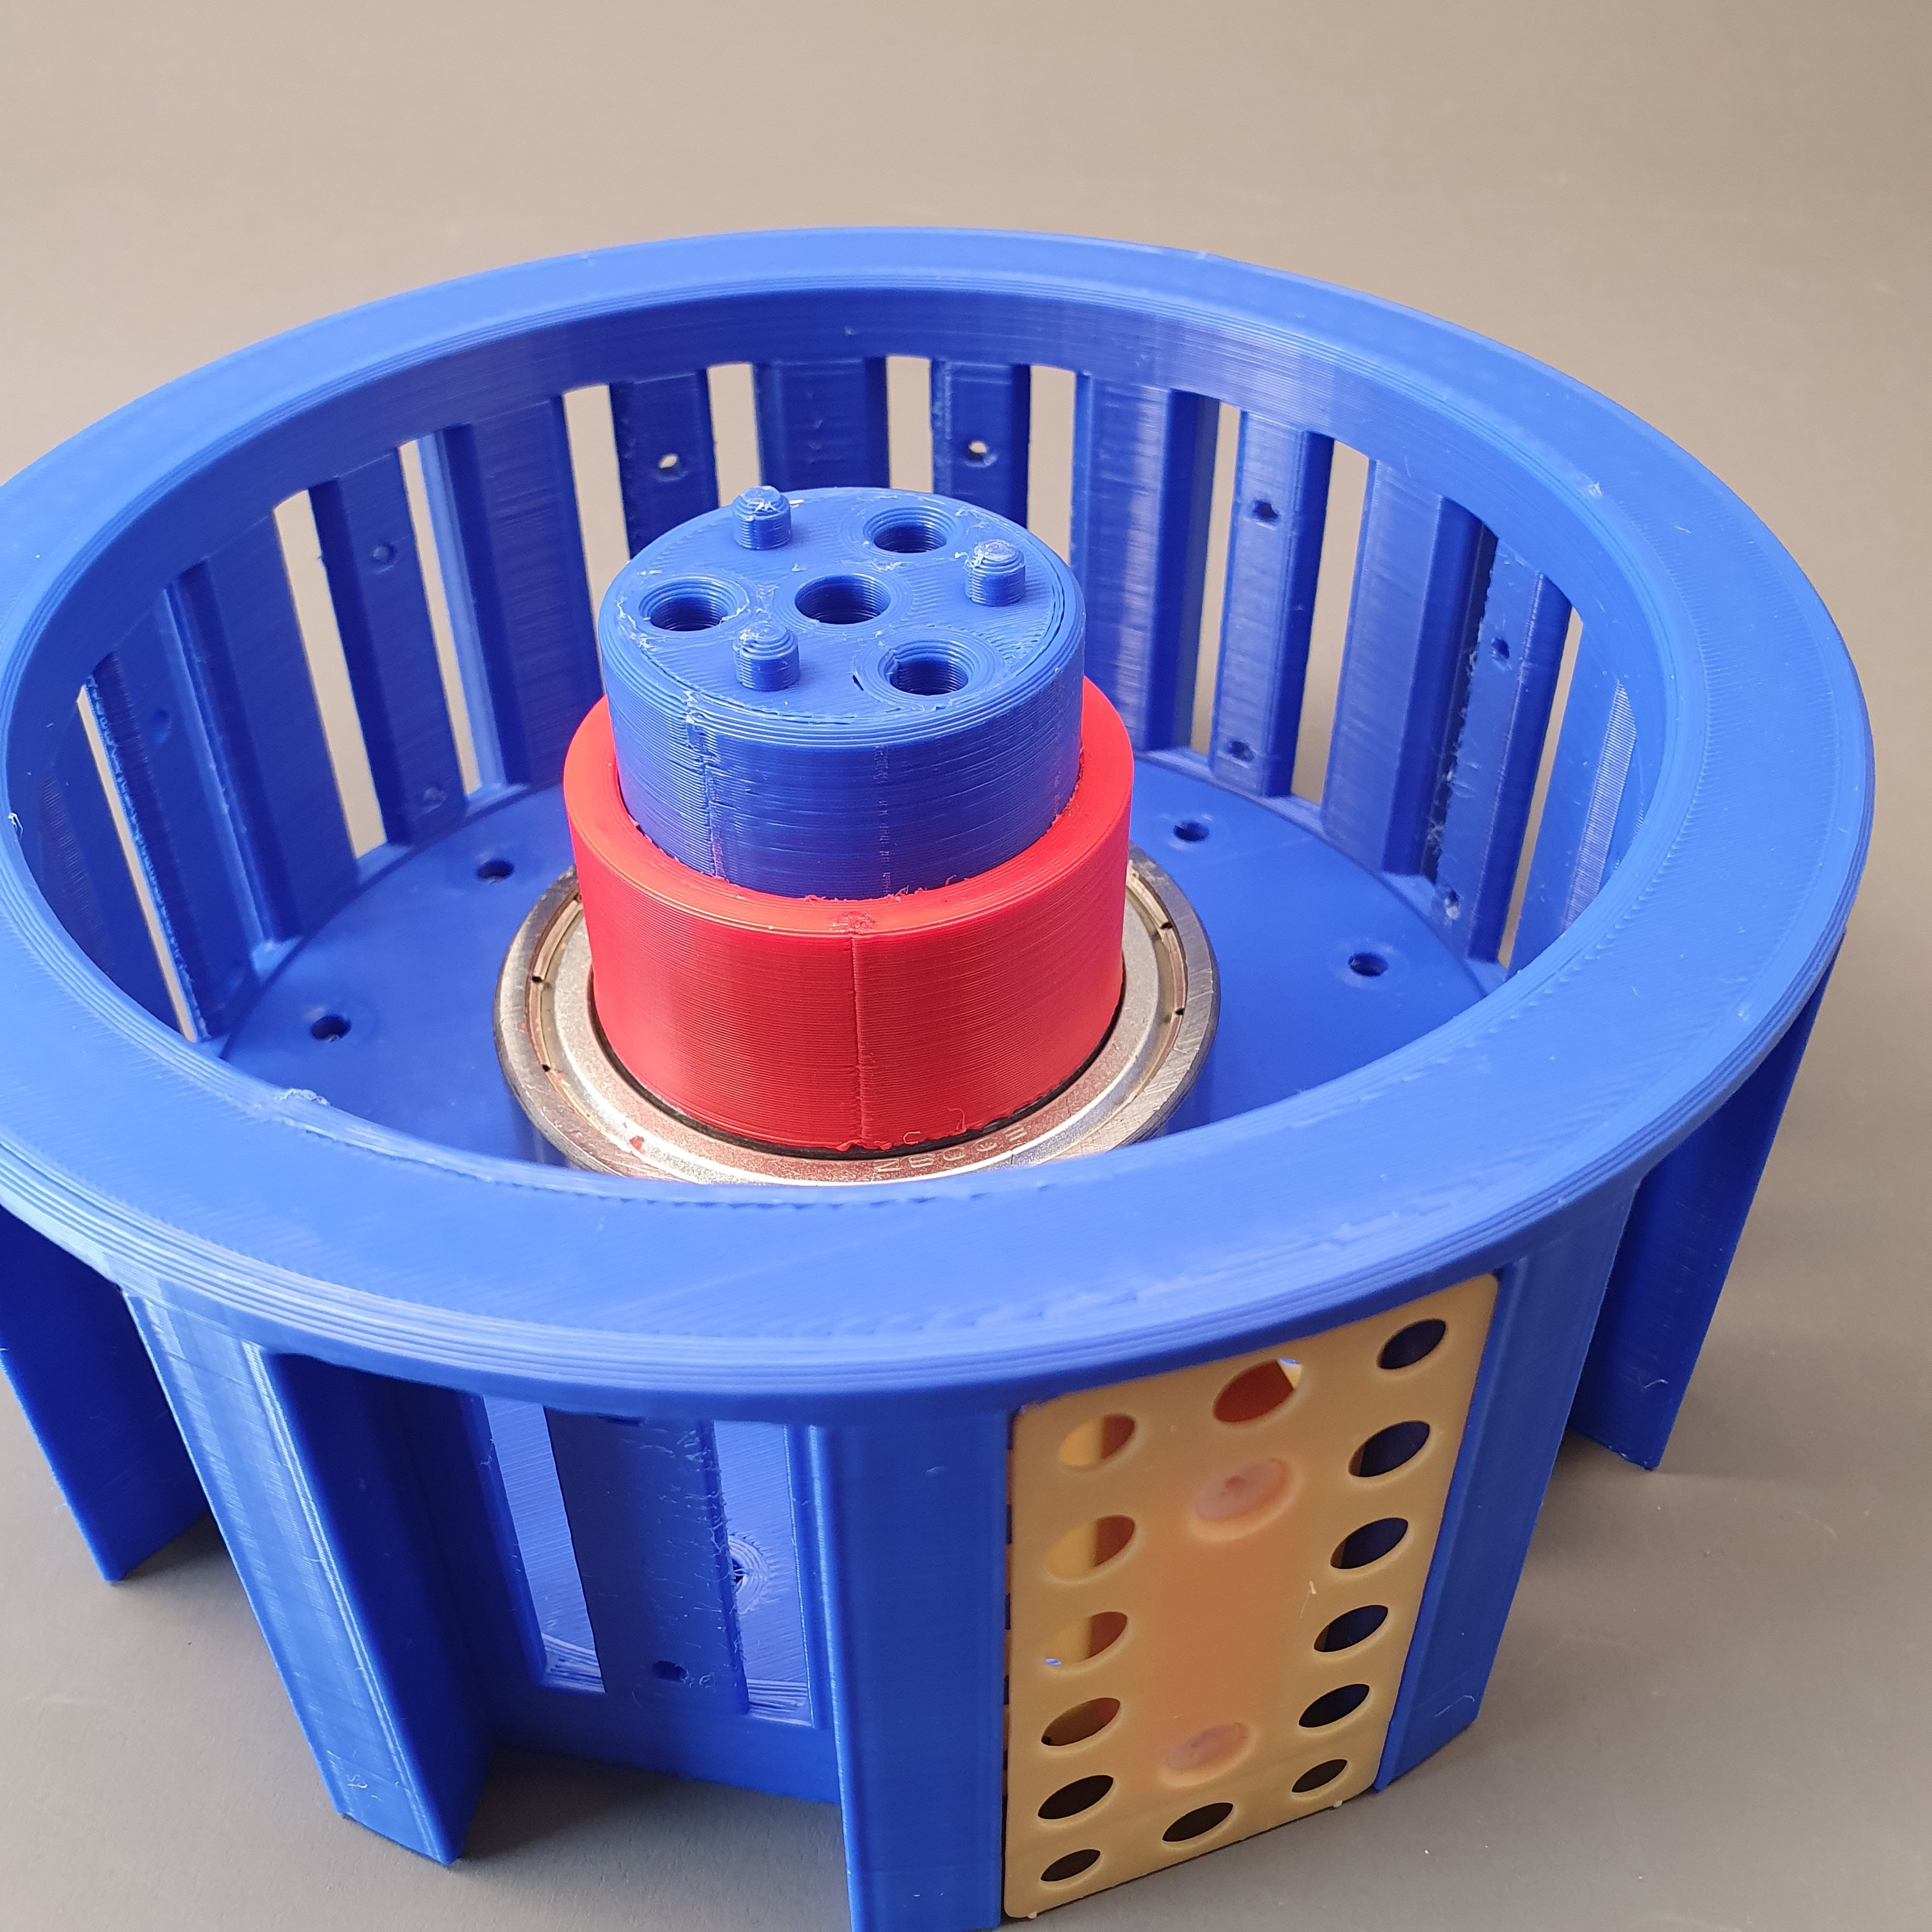
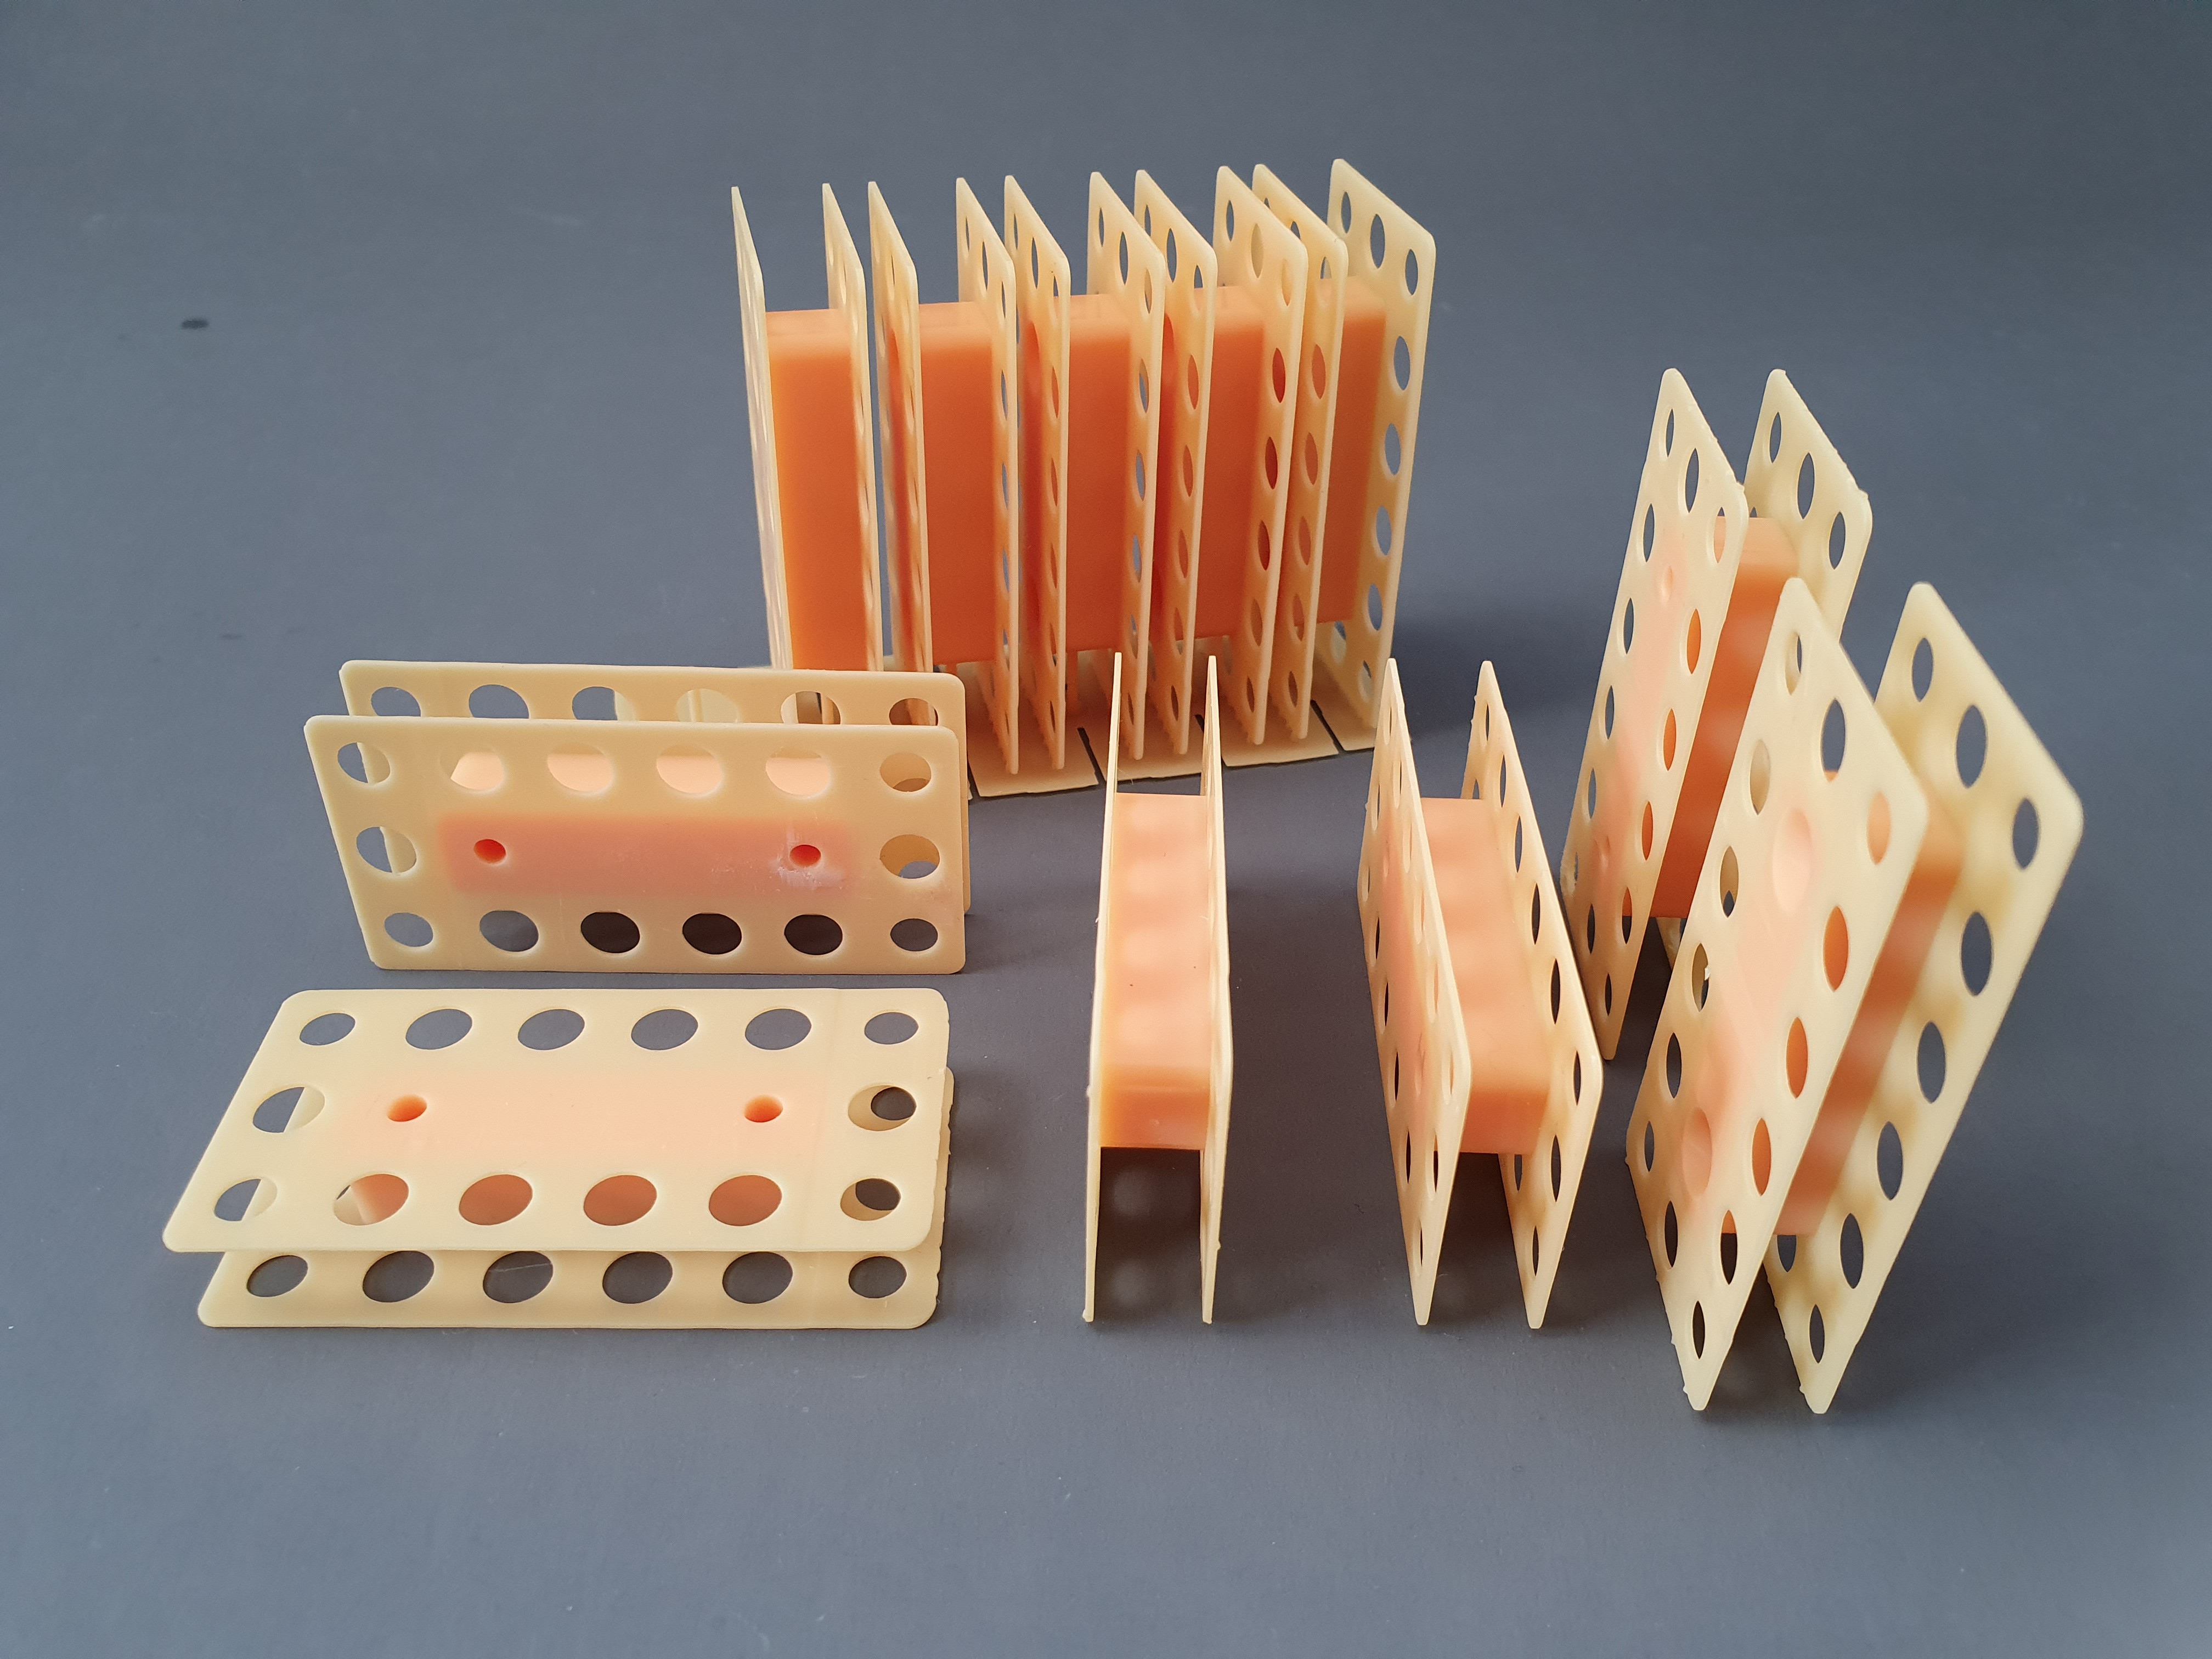
The new stator is constructed in such a way that the coils are placed in recesses from the outside and screwed together with two M3 screws. This makes the construction and the fastening even easier and the ventilation better. Additionaly this reduces the air gap between the coils and the magnets by approx. 2mm.
You can see more information, pictures and a video of the installation of a coil insert in the following section.
Discussions
Become a Hackaday.io Member
Create an account to leave a comment. Already have an account? Log In.