 colton.baldridge
After the success I had with the rev 3 large flexure, I felt as though I had reached a "good enough" point with the flexure design. It was clearly not perfect, but I felt confident I was only a few iterations away from reaching something that would be quite useable. I was also restless to move towards the mini flexure design so I could redesign the knob to feel better, and move the pitch/roll axis to within the knob. So without further ado, I present HollowKnob (rev 0):

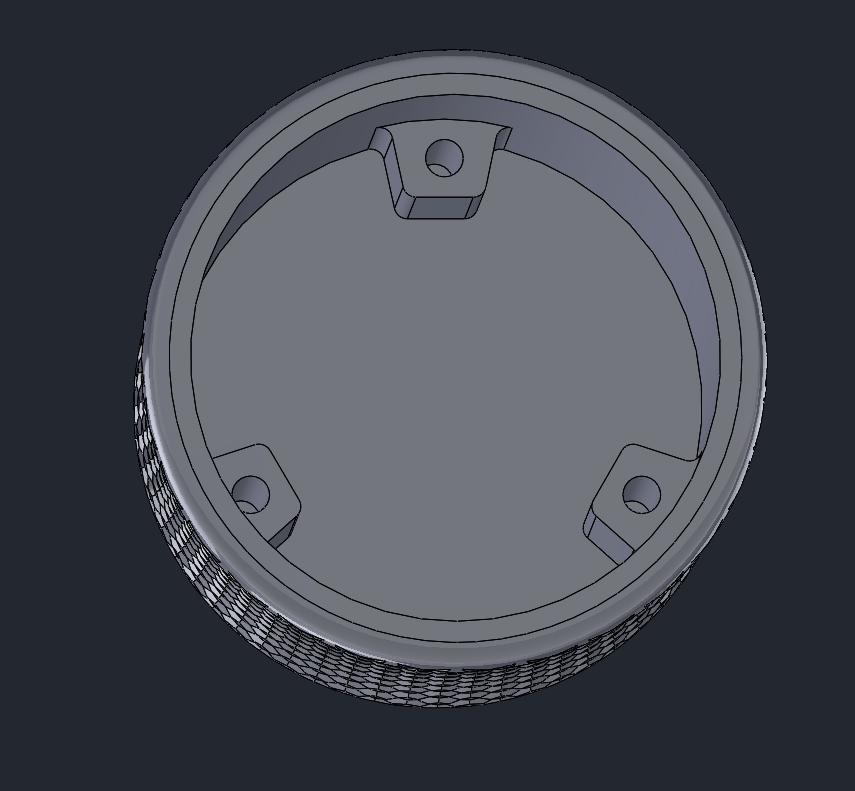
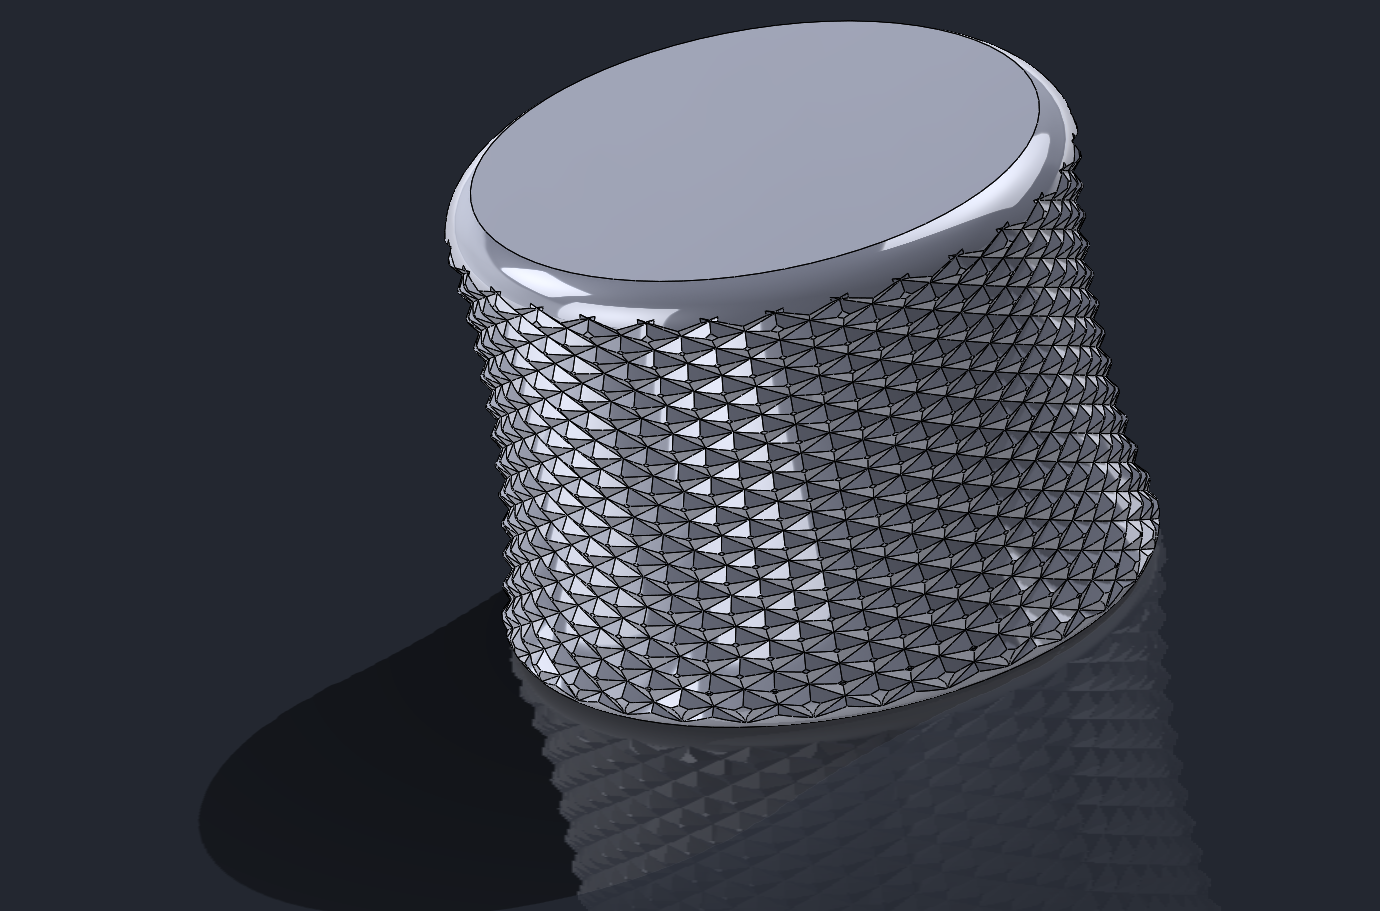
HollowKnob rev 0 features the following improvements over the original knob.
- It's hollow (duh), but as a result of this, it prints faster, uses less filament, and feels better in the hand
- It's hourglass shaped. I knew based on the name brand 3D mouse that this is something I wanted, but man, did it take a long time to figure out how to get the knurling to properly apply onto the Solidworks model
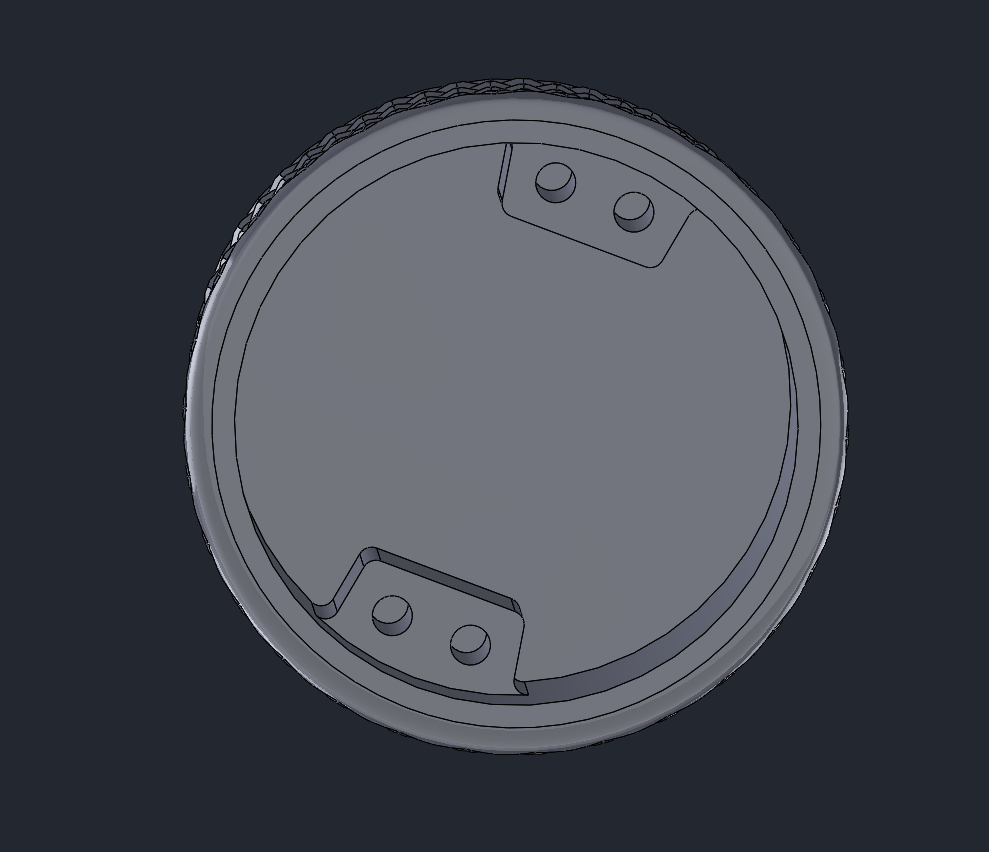
- It uses only 3 mounting points instead of 6, which is useful in terms of designing fixtures to fit inside it with wiggle room.
And with HollowKnob designed, I sent it to the printer and set to designing a flexure to fit inside. Unbeknownst to me, however, there was a devil lurking in the details. As I designed MiniFlexure rev 0, I started to realize something. The reduction in mounting points to a multiple of 3 meant I either had to design a symmetrical flexure, with each flexure getting 60deg of angular area, or go big and try an asymmetrical flexure with each one getting 120deg. I decided to go with the latter, and this meme about sums up that decision:

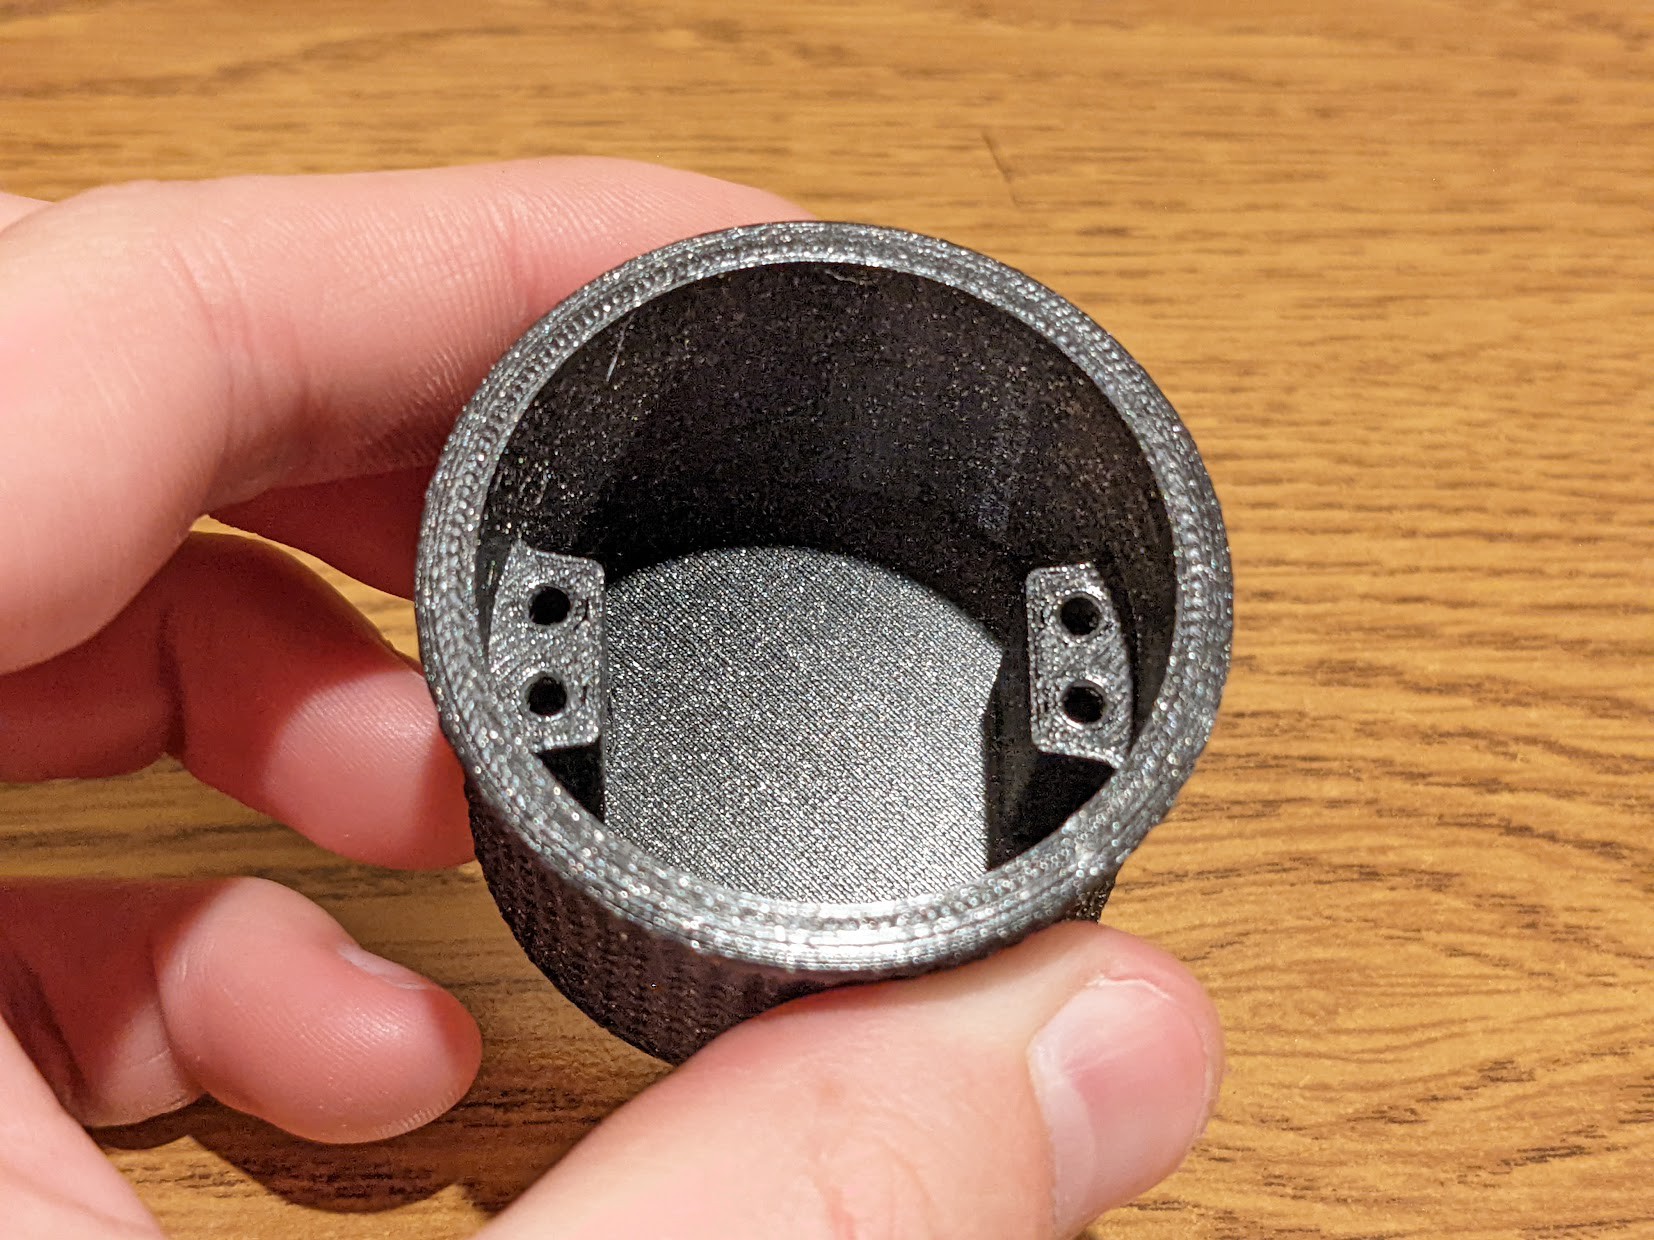
So I'm going to cut right to the chase on MiniFlexure rev0 -- it kind of sucked. I don't even have CAD screenshots because of how quickly I iterated away from it, but here's a good photo showing the design and size:
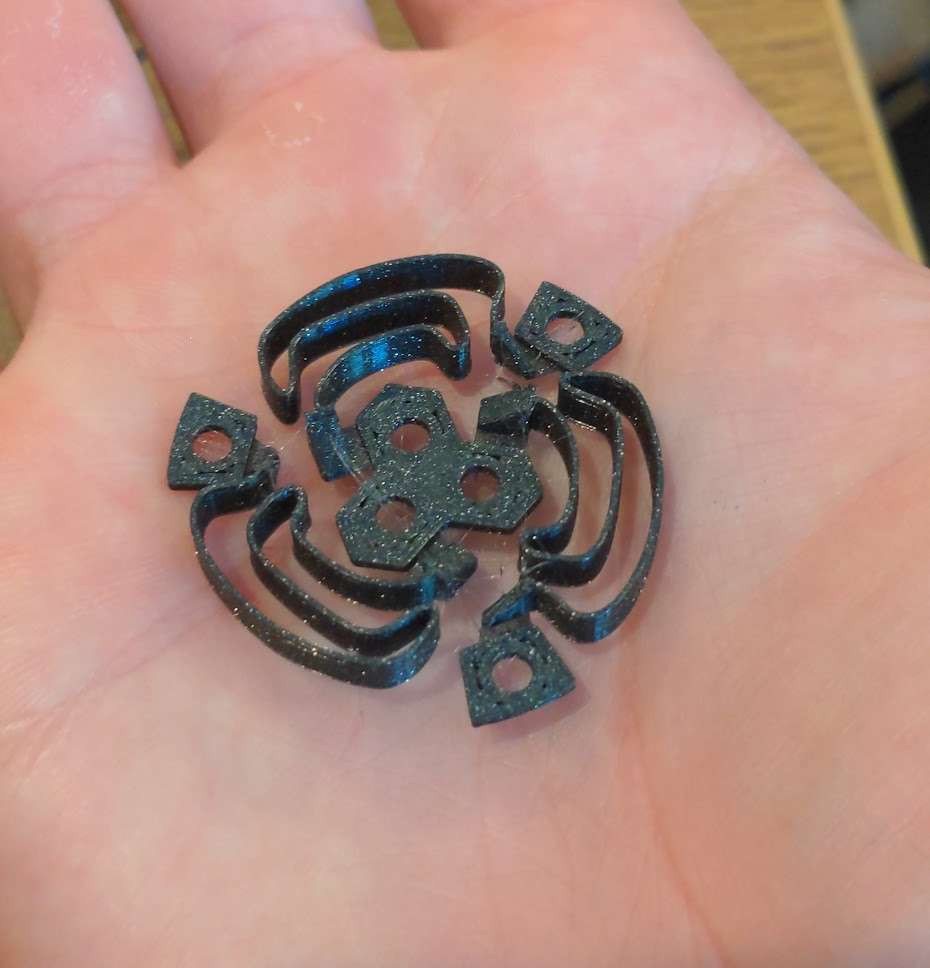
For a first guess, it wasn't that bad, but I really should've known better. As you might expect, the spiral nature of it's design means that any Z movement results in a yaw torque and vice versa, shown below (I'm not applying any z force here, just trying to yaw it):
I also got a little too carried away with making things thin. To try to increase the pitch/roll rotation, I made 0.2mm (1 layer!) think links between the screw mounts and the vertical flexure. These, of course, started to tear almost immediately. I also only made the vertical walls 0.4mm thin, which further made it too flexible. All that said, rev 0 really set me on the right course for rev 1, which turned out substantially better. First though, I needed to redesign the knob.
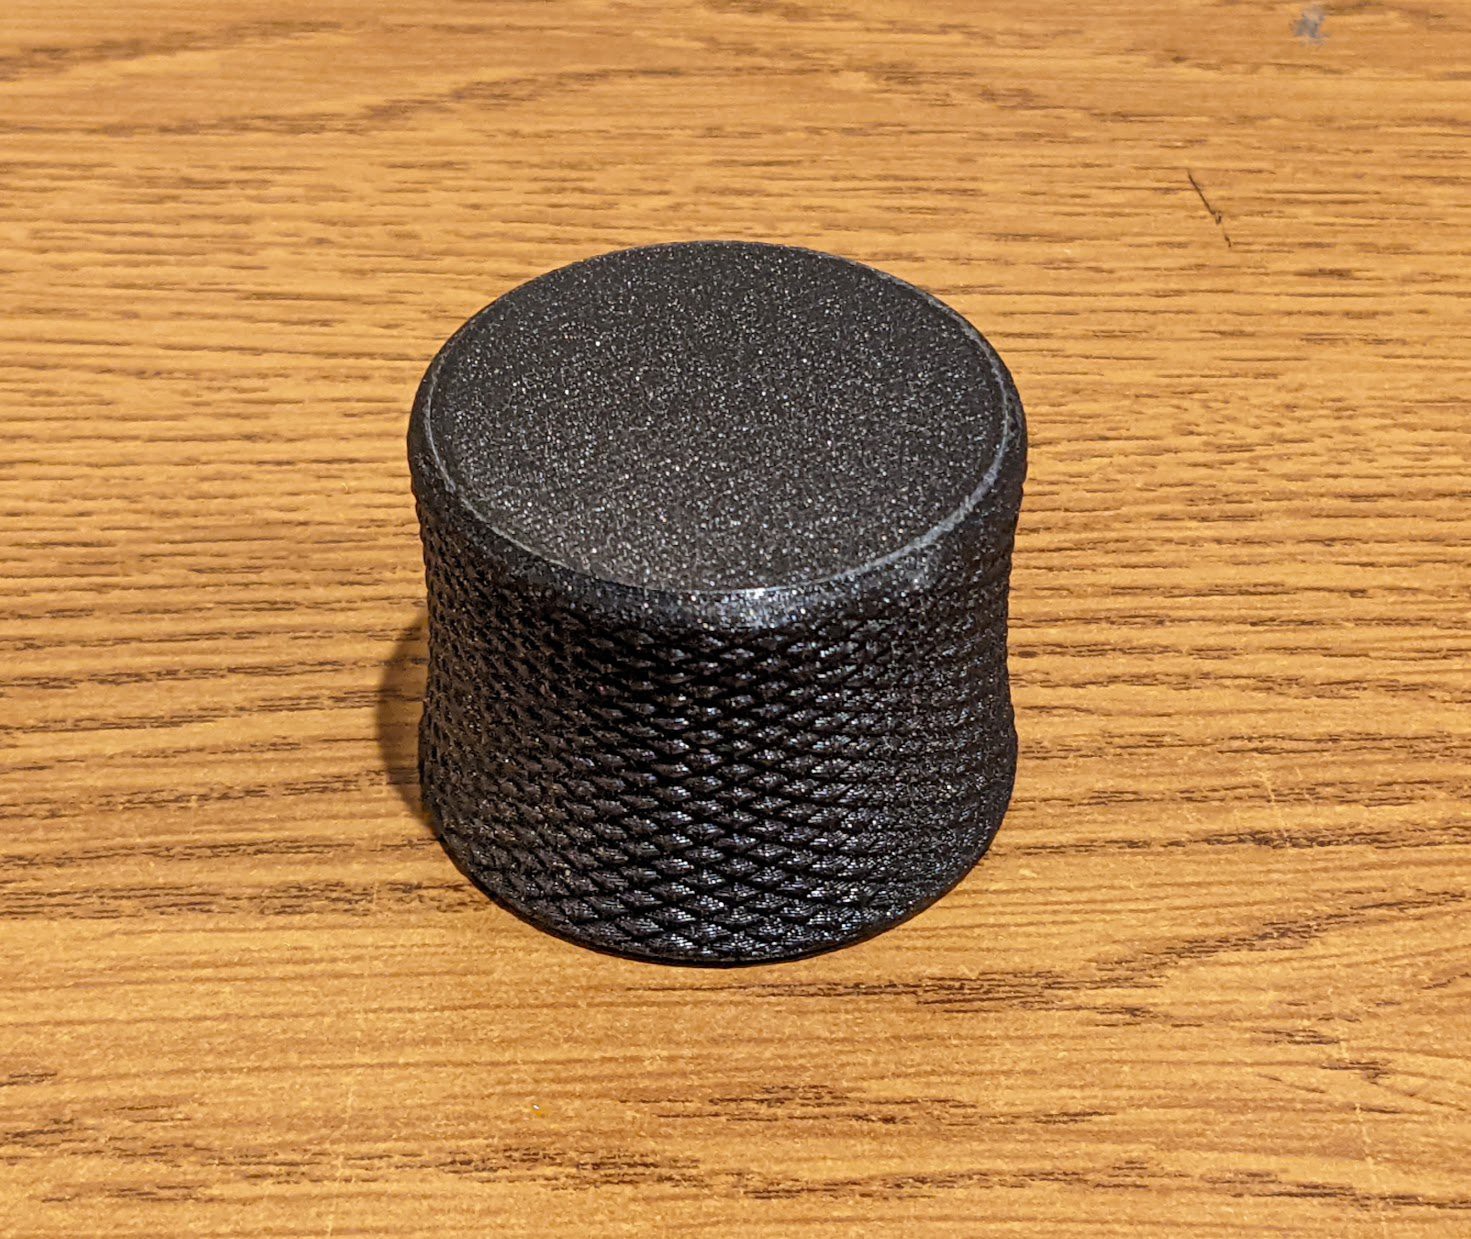
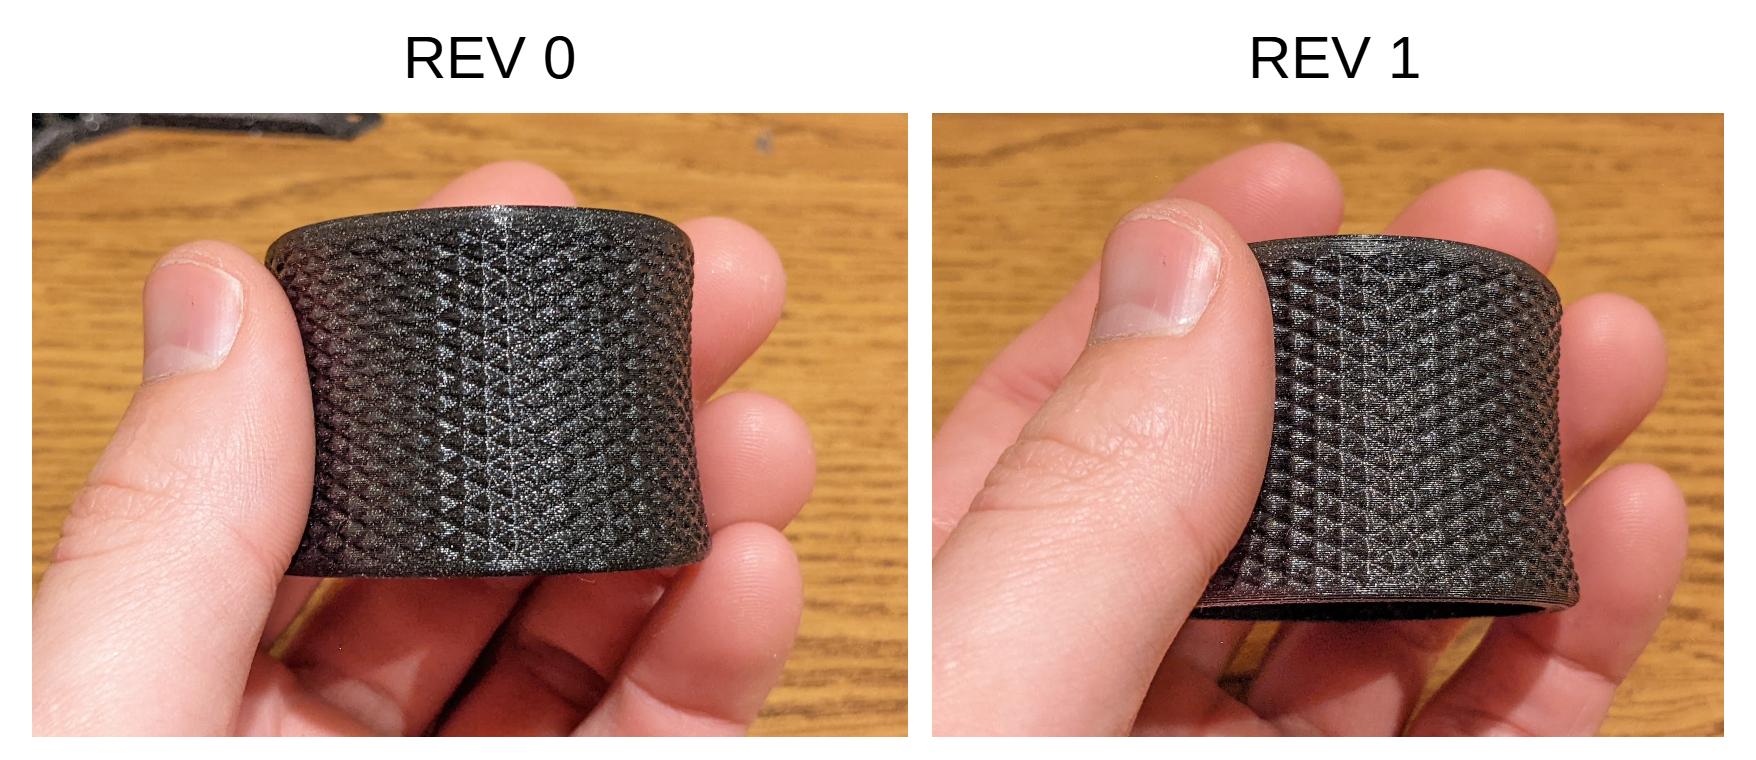
Now presenting... HollowKnob Rev 1:
It doesn't look a whole lot different on the outside, but on the inside is where the real difference is:
I decided instead to go with a more compact 4-point mounting system, that way I could design a symmetrical flexure with each part getting 90deg of the angular area. This does mean that there might be some X/Y flex asymmetry, but you'll soon see that my design mostly mitigates that. Since I was going to be reprinting the knob anyways, I also took the opportunity to make a few other tweaks, such as:
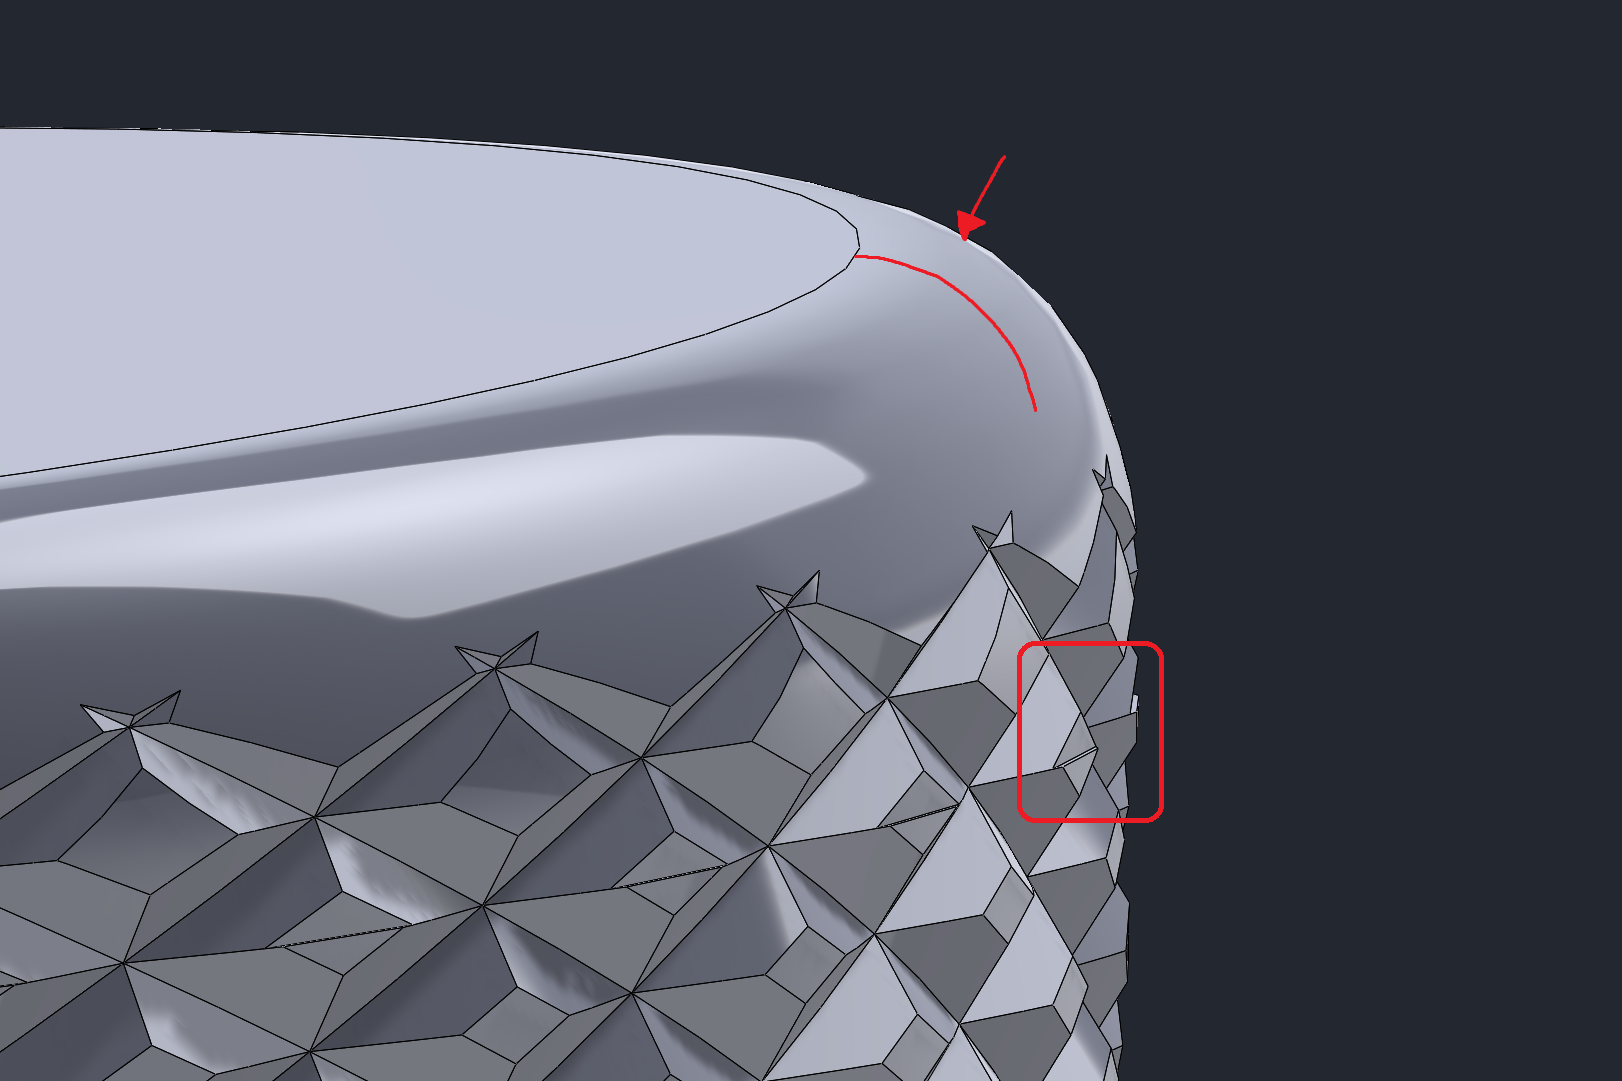
- Fixing the fillet on the top - it was cutting into the knurling, and also since I have to print from top to bottom, I made it takeoff the build platform at 45deg instead of 0deg, so my printer would have a less bad time with it
- Moving the flexure mount points down a bit, as I made the axis of rotation too high within the knob
- Sharpen the knurling for better grip
All this culminated into a substantially more useable knob that was easier to design around. In the future I may actually even go down to just 1 mounting fastener on each side (2 total) with a little extra surface area for support. That's an upgrade for another day, though.
Speaking of designing around, allow me to present in all it's serpentine glory, MiniFlexure rev 1!
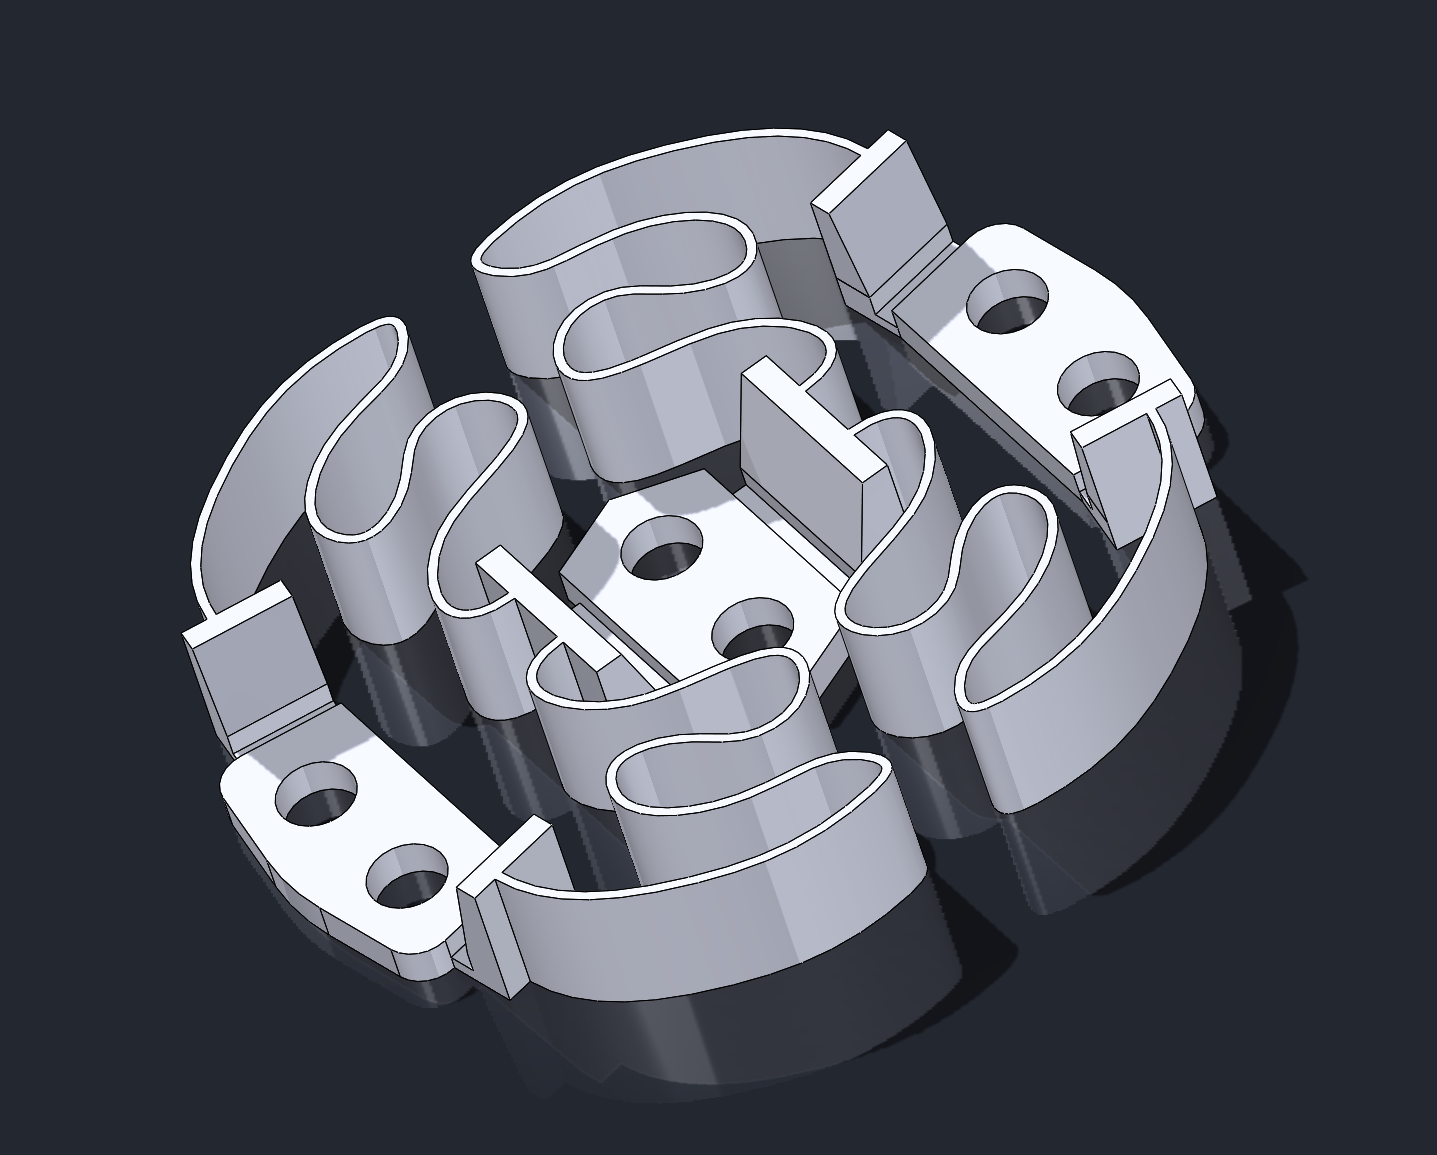
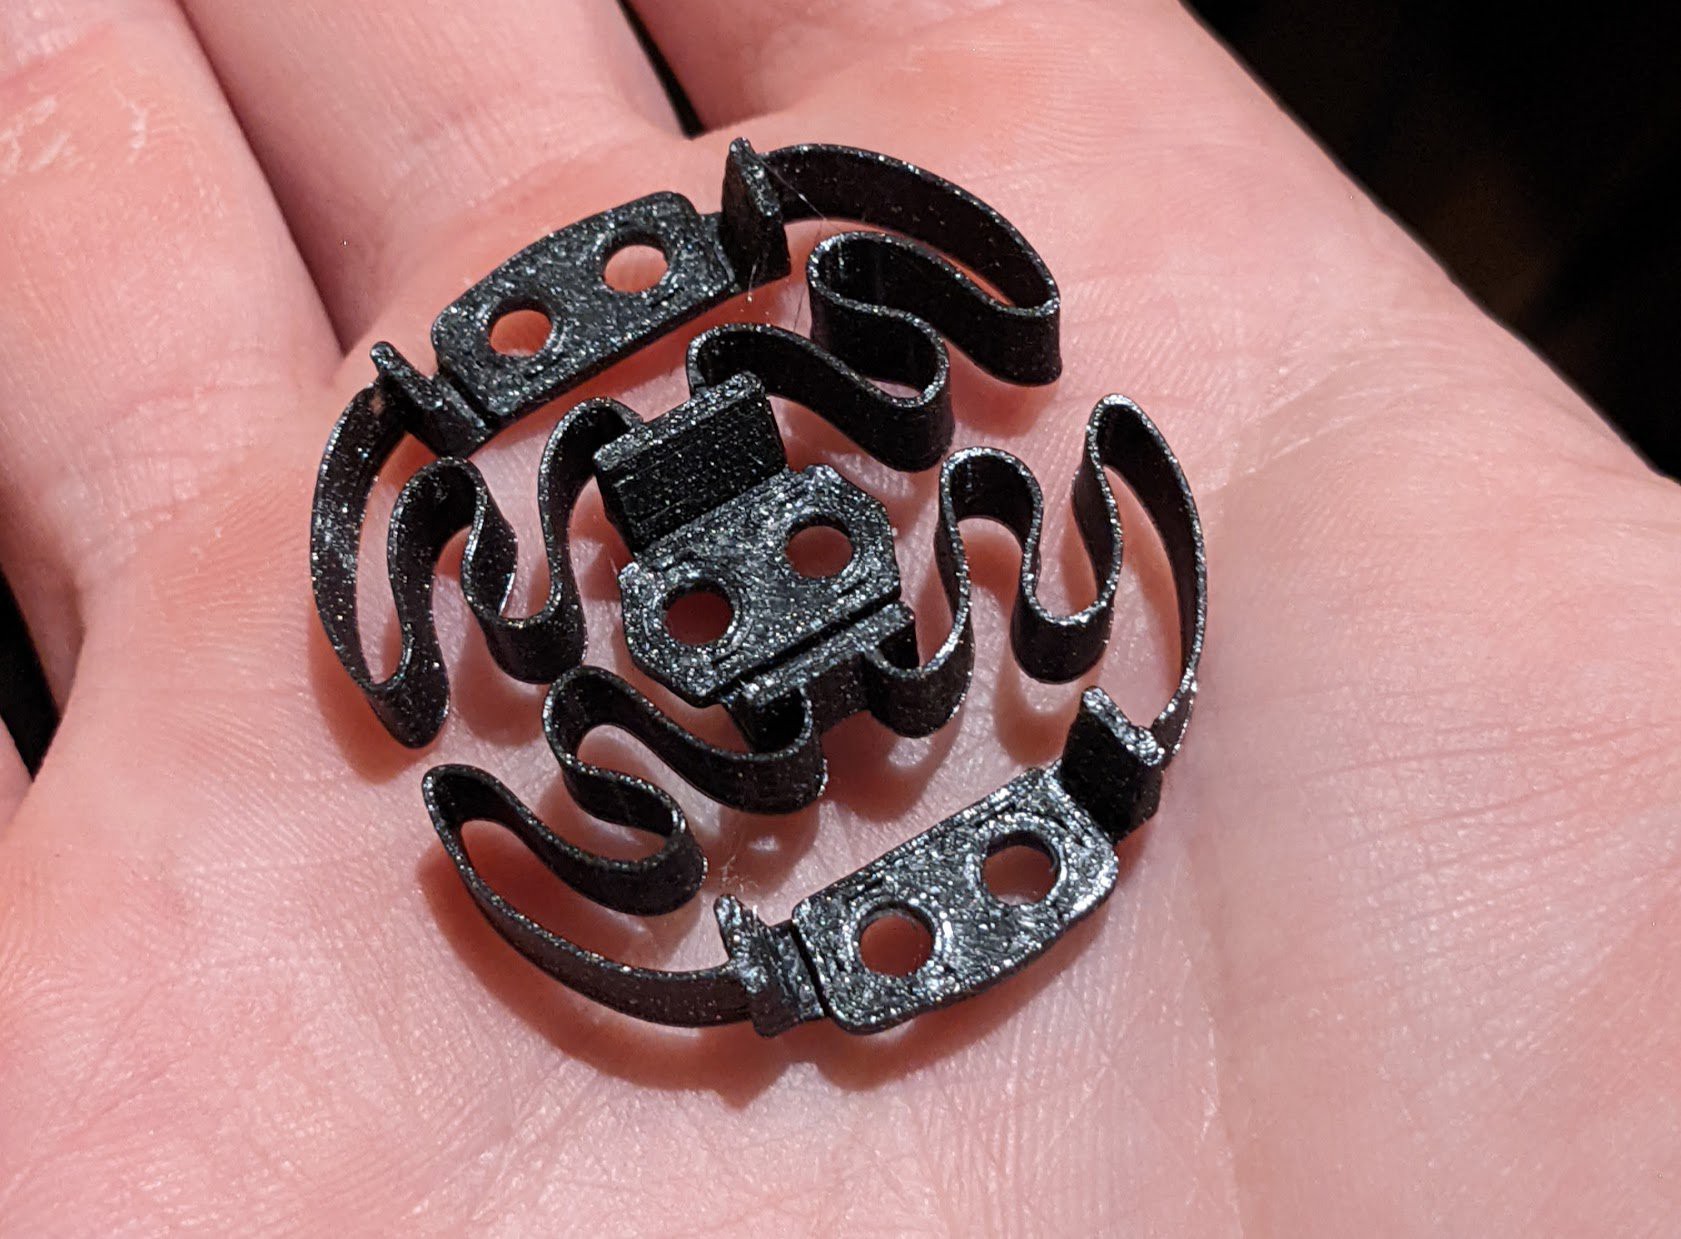
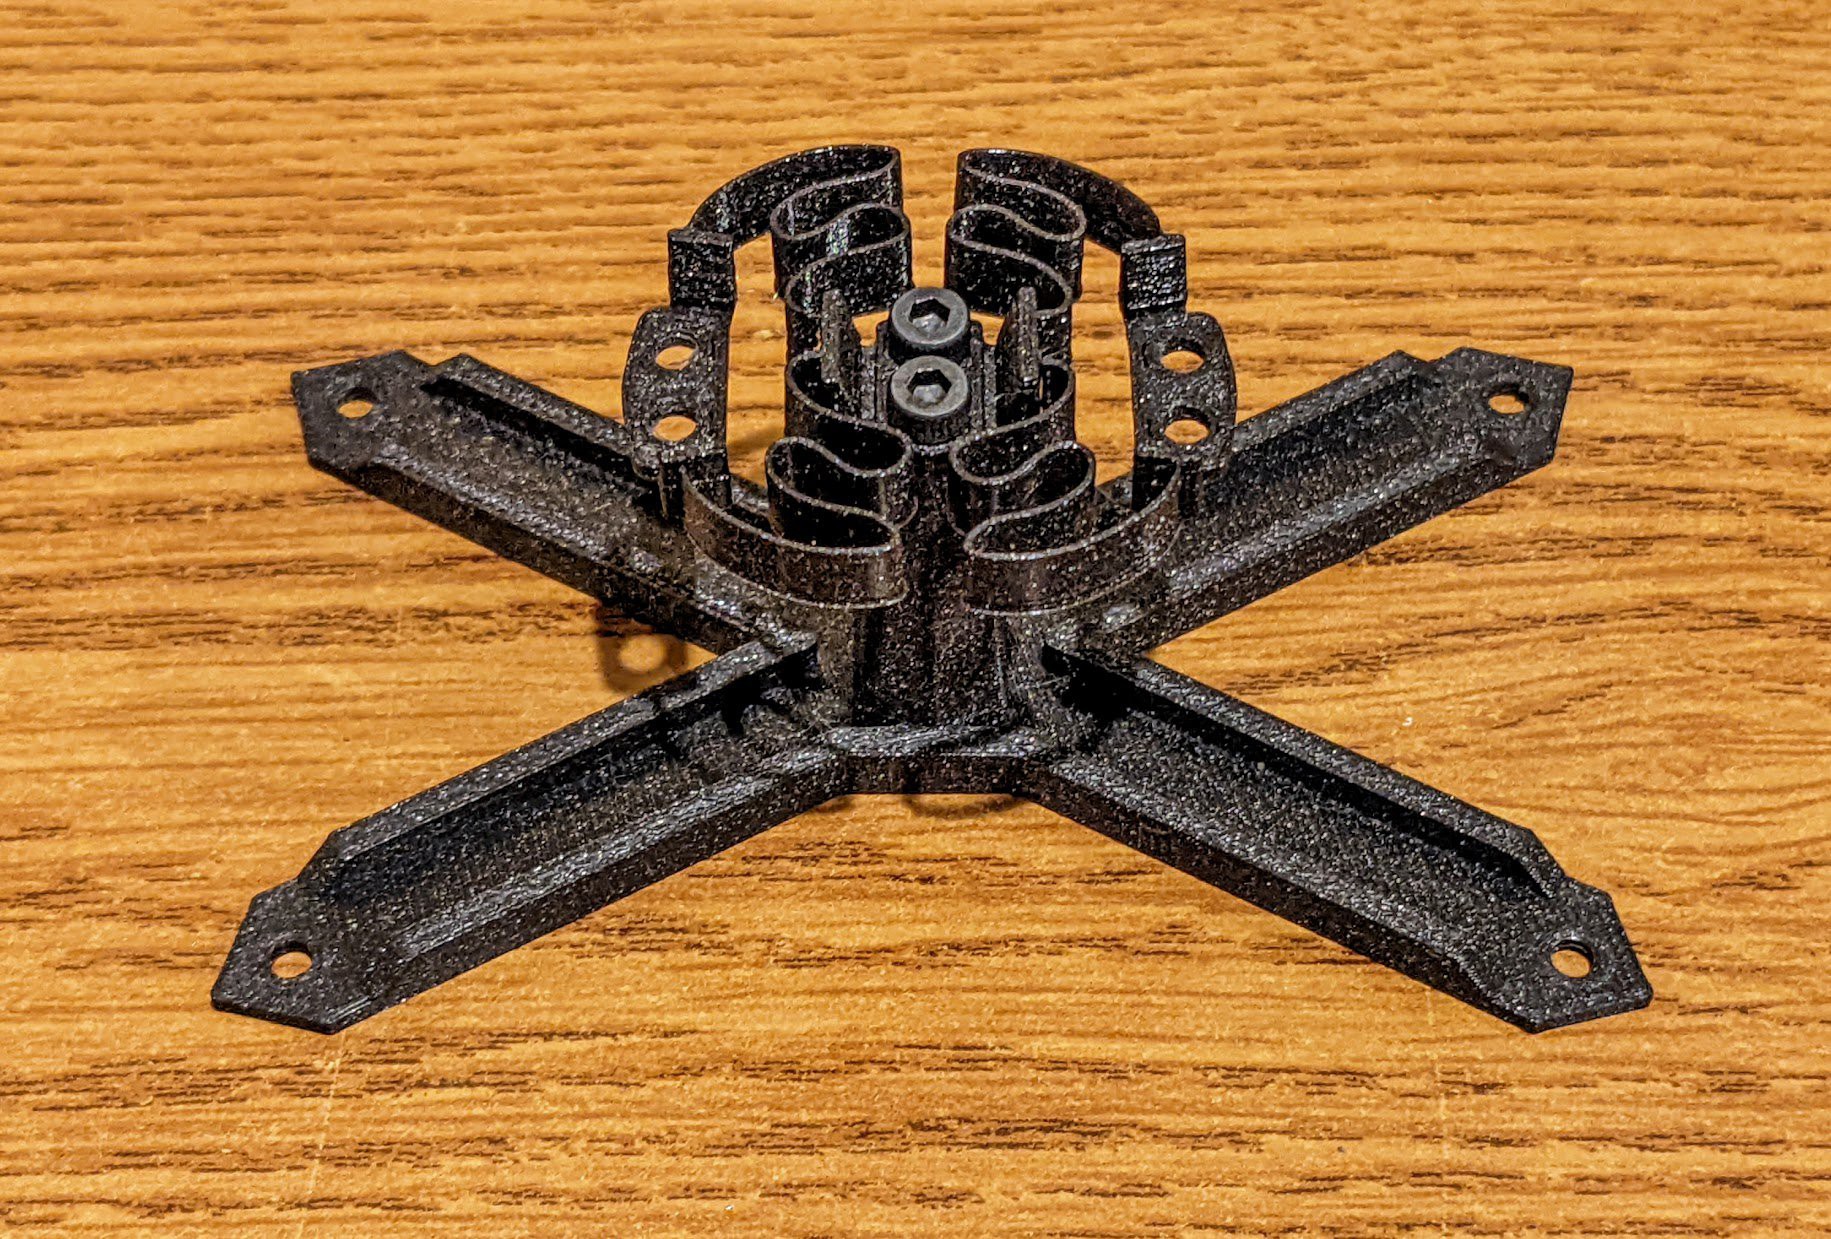
This design culminates the best of my learnings into 1 cohesive unit. It's still not perfect, but man, does it inspire confidence in this concept. It feels VERY close to the name brand (I snuck it into work today for a little side-by-side comparison, lol), and only takes about 15 minutes to print. It's a hard thing to convey in a video what the tension feels like, but hopefully the vibrations give you an idea.
My only concern with this design is durability. As it travelled with me, I managed to break 2/4 connections.
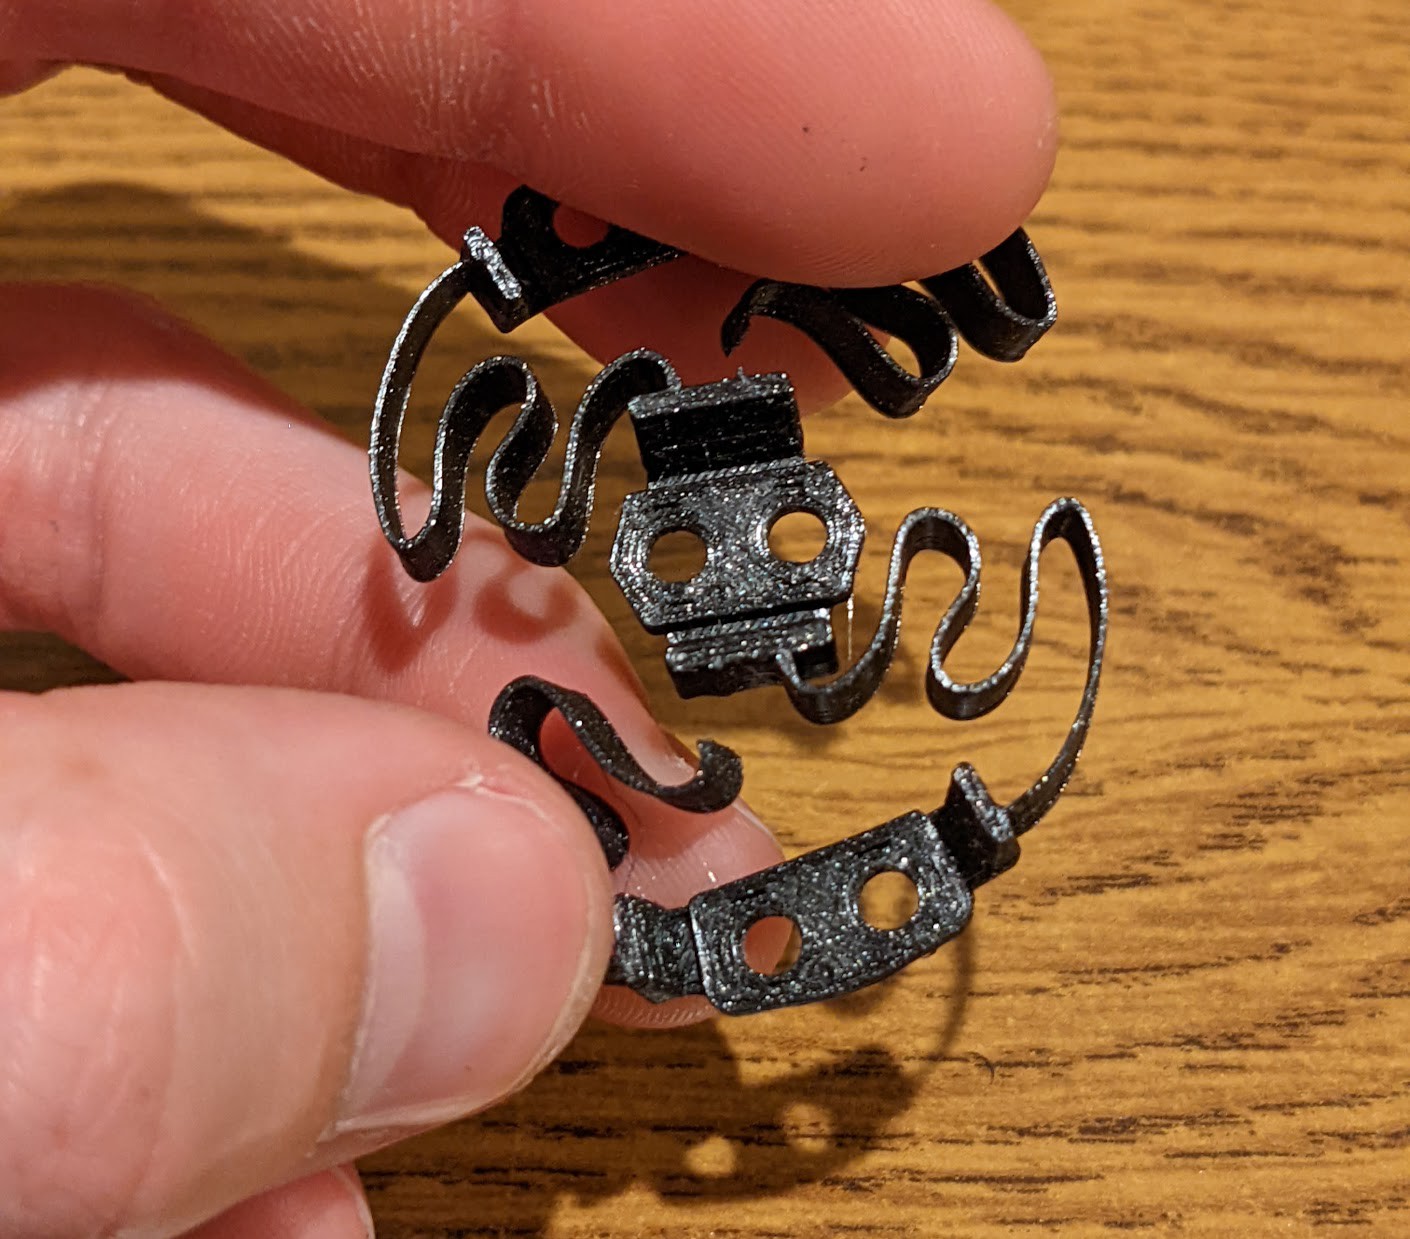
I'm not toooo concerned about this though, as I believe it to be an artifact of how PrusaSlicer attacked the problem, and believe it is something that is fixable. By viewing the gcode, its obvious that trying to create the fixture arms with no connections to the pillars would lead to this problem

So this seems to be a decent stopping point.
From here I plan to hone the rev 1 flexure design, improving durability and feel. I'm even foraying into the mystical world of simulation to see if maybe I can try different permutations of flexure thickness/height.
Until next time!
-Colton
Discussions
Become a Hackaday.io Member
Create an account to leave a comment. Already have an account? Log In.