 Alejandro Mora
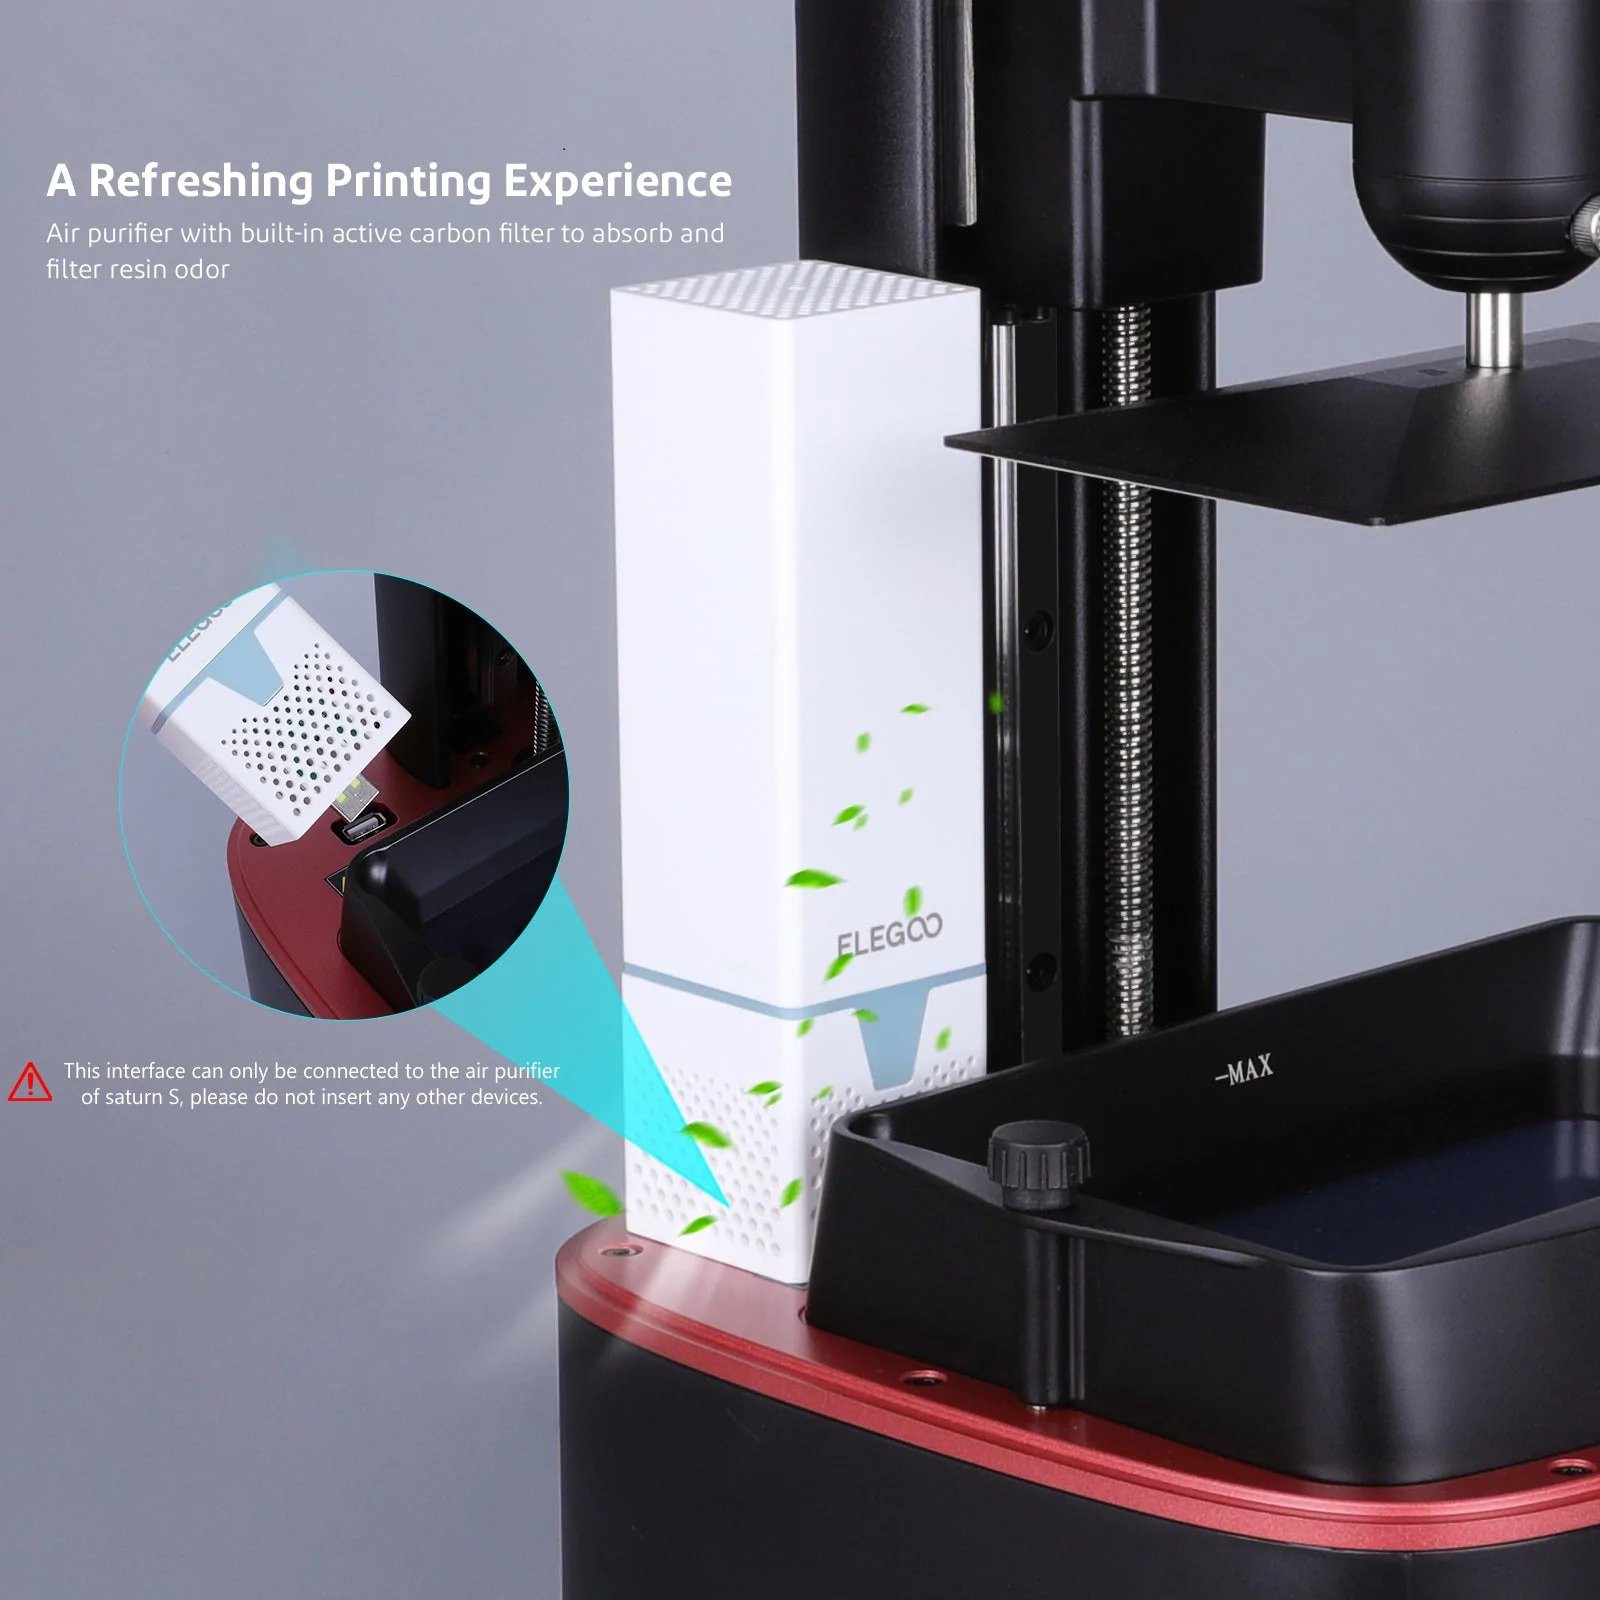
The new Pro printer comes with carbon activated filters that can remove some (all?) of the resin smell. While some people think that these filters are useless. It wouldn't be called Pro if we wouldn't at least try to replicate the same feature in our base model.
Luckily for us, the process is half done since Elegoo decided to sell these as either stand-alone filters or replacement filters for Mars Pro 3 / Saturn 2. Both products have been added to the components list for your convenience. The gist of it is that for around $20-$30 you will get 2 filters. And a couple of replacement carbon filter blocks.
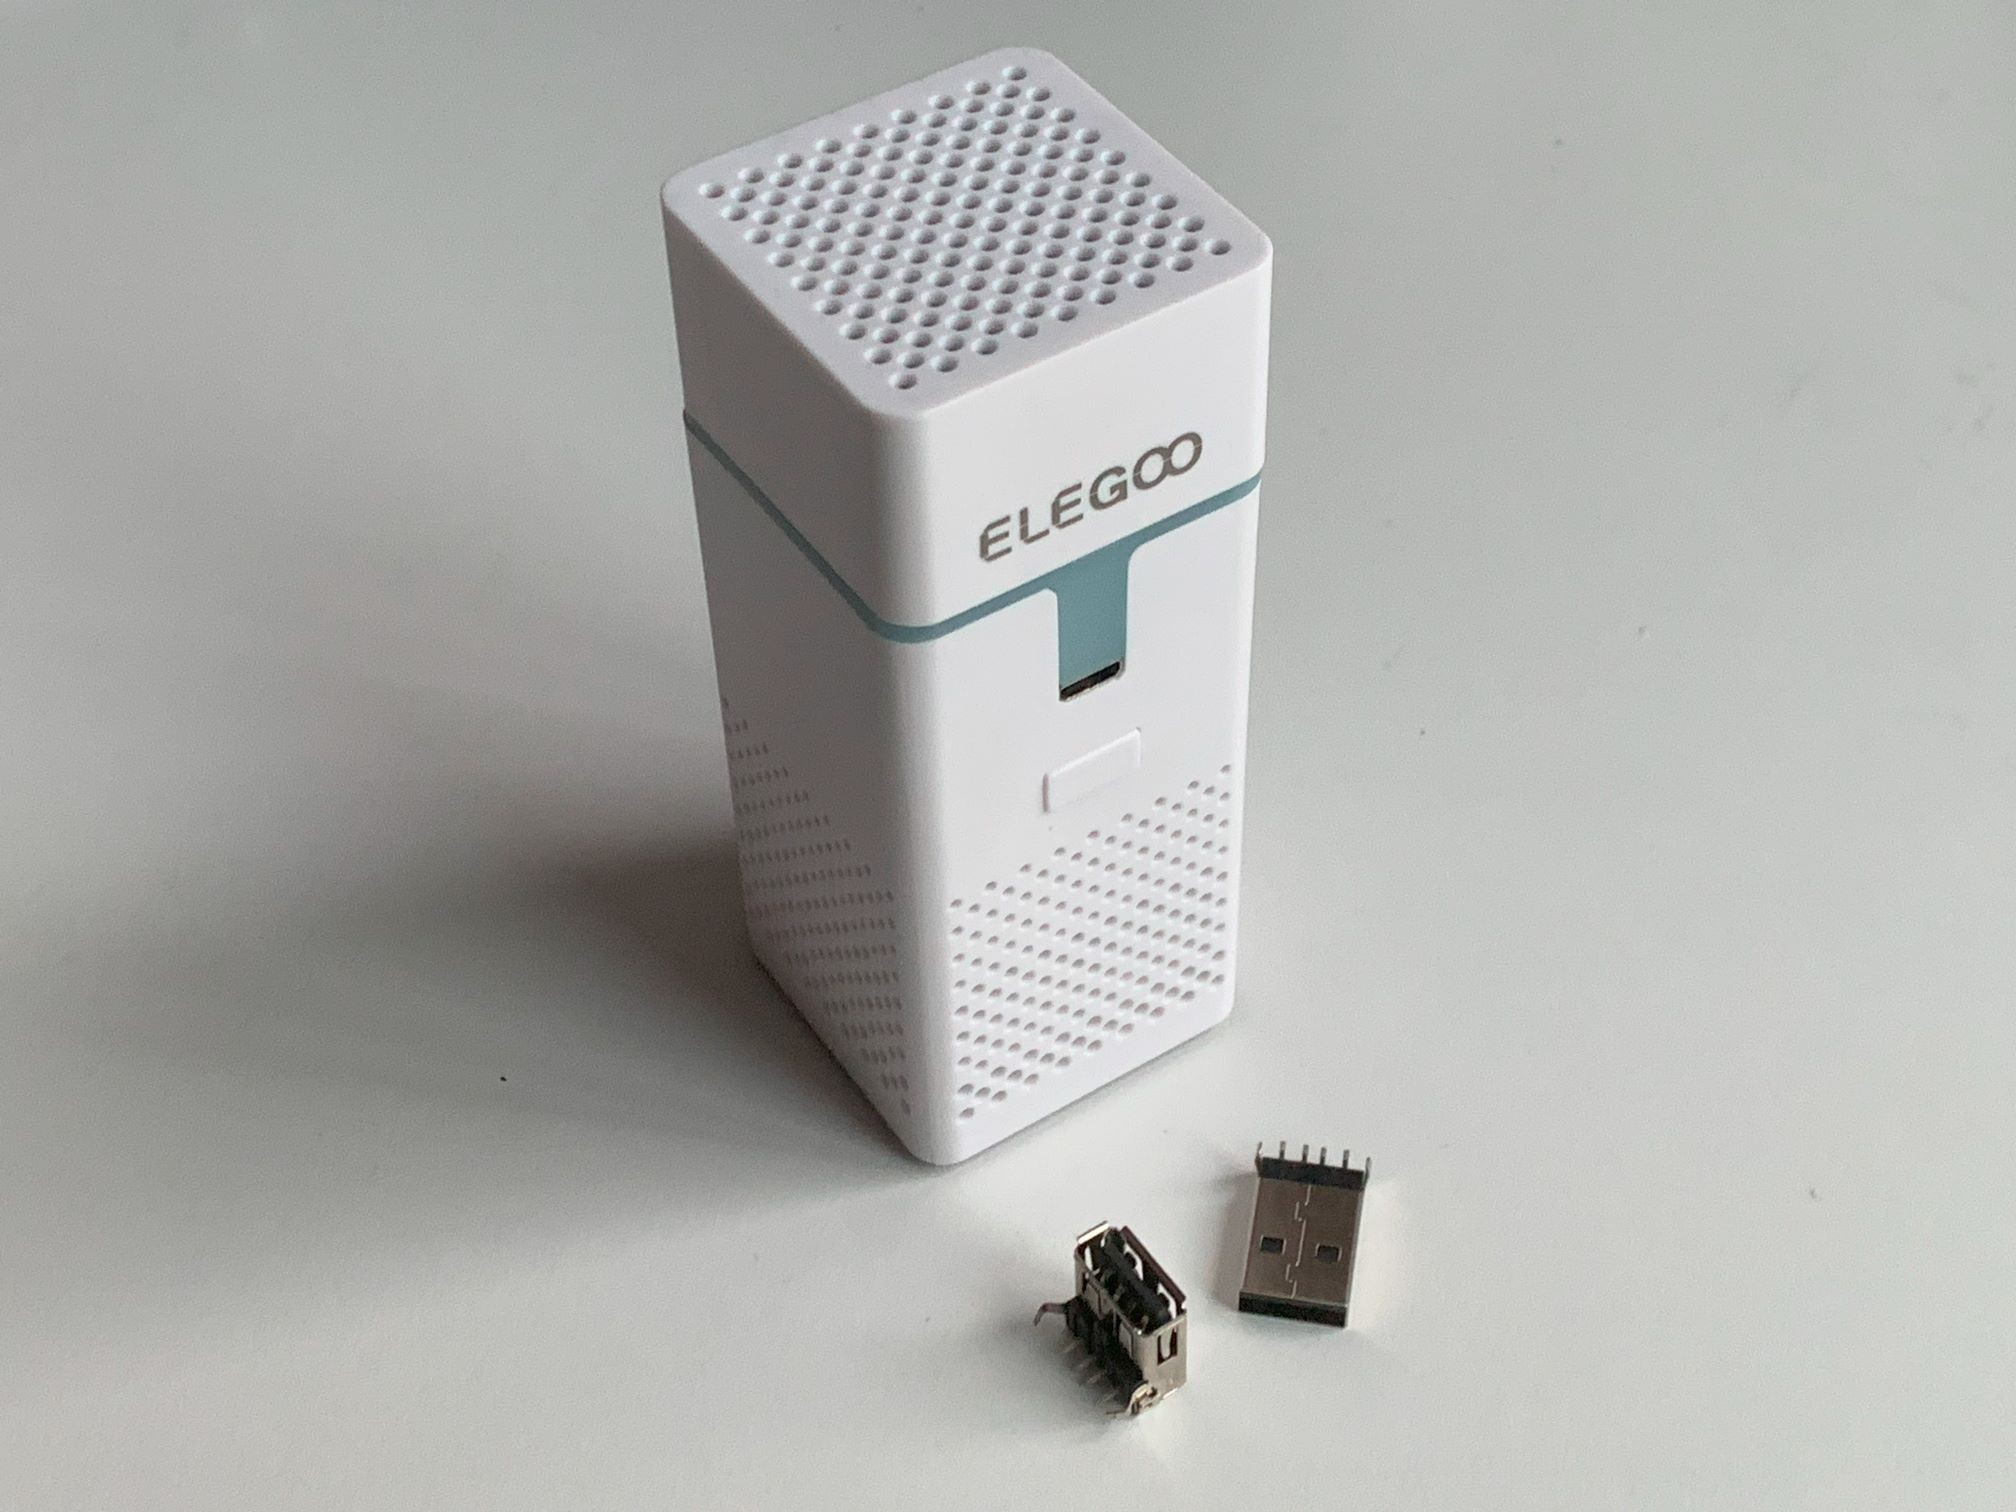
You got a few options. The first filter -and the one that I bought back then when it was the only one available- comes with a rechargeable battery and you can just prop it inside the printer's cover to do its thing while printing. And while that basically could be the easiest mod in existence. It comes with the drawback of needing to be recharged at some point. And you know how it goes. It will be drained when you need it. If I wanted 1:1 feature parity with the Mars 3 Pro. I needed to mod the filter to be powered from USB as well. I call this normal difficulty.
Fast forward a year since I did this mod, and it turns out Elegoo now sells the second filter, the same one that comes with the newer Pro printer. This version would be the one that I go with if I had to do this mod again as it simplifies this mod a lot. This version is supposed to plug in directly to a USB port on top of the printer's chassis, getting power constantly, so you don't have to worry about charging it ever again. I call this way Easy difficulty. Disclaimer: While I believe this is the way to go, since I did not buy this air filter version. I don't really know how much voltage they use. Make sure that you use the proper voltage required for it.
The DIY and last way would be to just 3D print the filter. If you have the components lying around. This device is honestly a joke at how easy it is to make. Plenty of versions made by the community out there. You can just by the carbon filter blocks and be good to go. I linked them in the components section. I call it Hard difficulty.
Either way you go, the issue here is that we need to create a way to power the filter the same way that Elegoo did. From a USB port in the top of the chassis. If you go with the "second filter" you can skip to the next section. I will go over first on modifying the "first filter" to be USB powered.
Powered Filter
Parts needed.
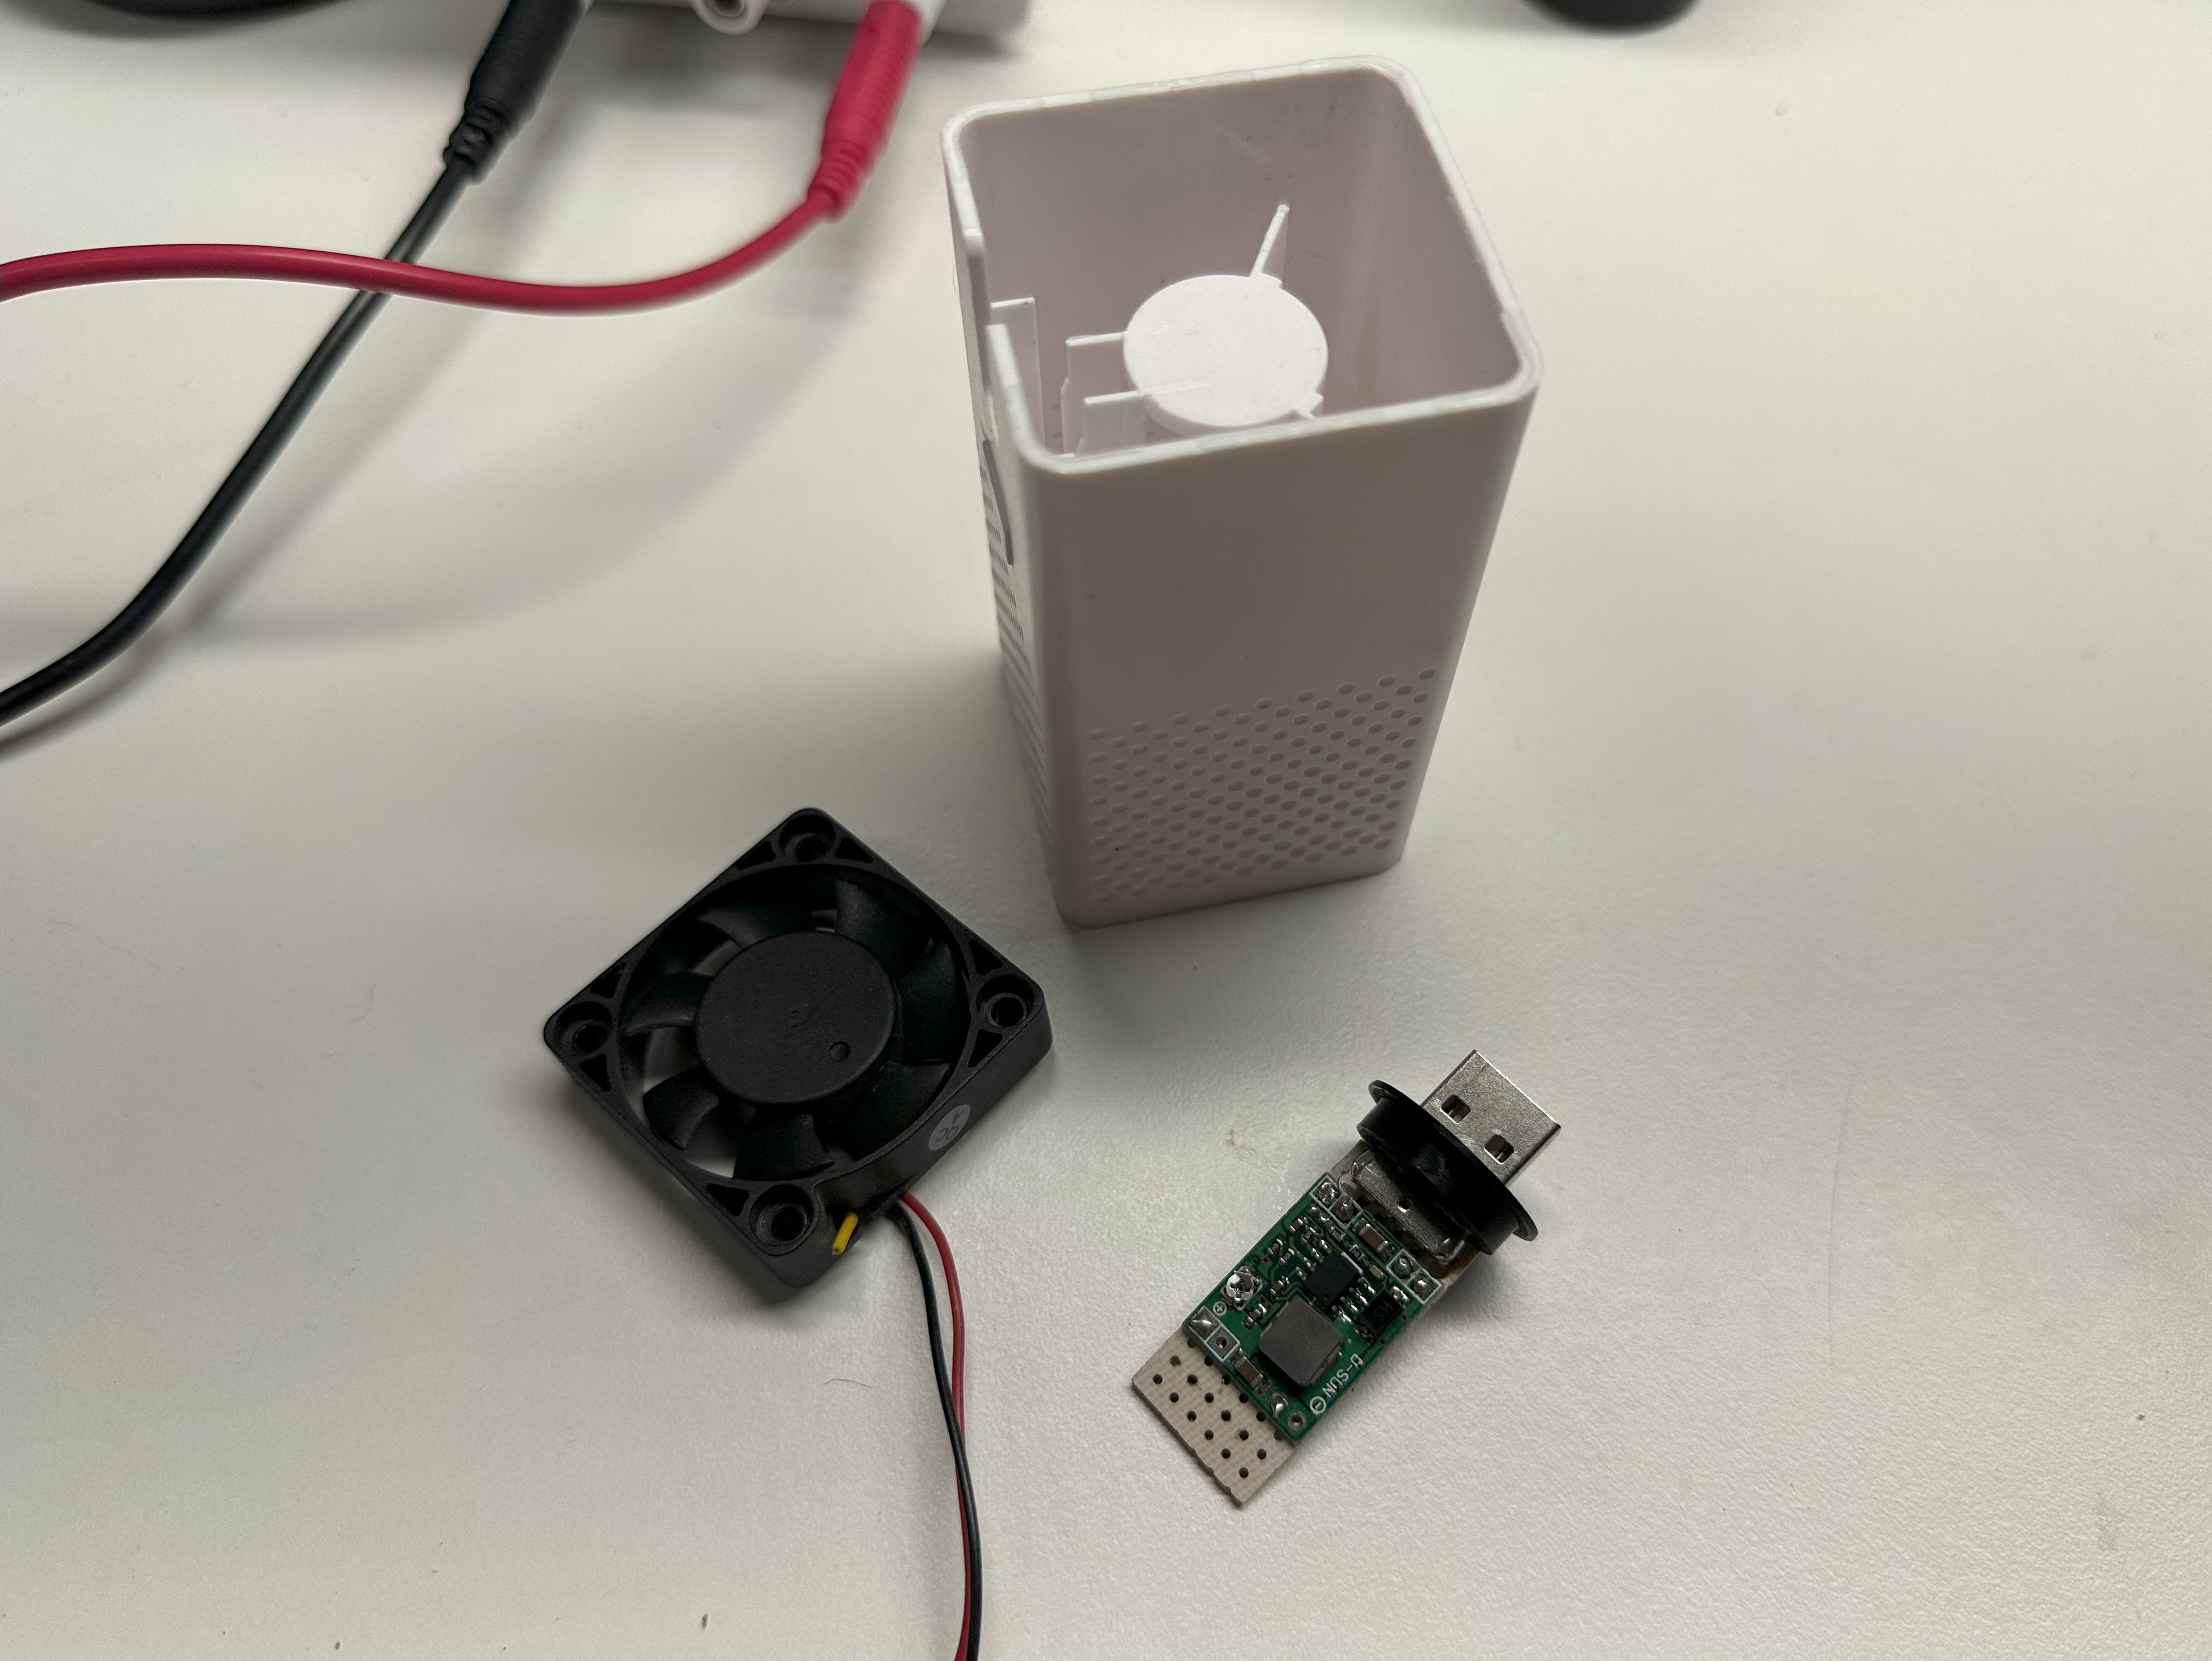
- DC-DC buck converter. (24V to 3.3V/12V)
- USB 2.0 A port
- Stock 40x40 filter fan (3.3v) or "upgrade" to a 40x40 12v fan
The gist of it is that you need to disassemble the filter, remove the battery and charging circuit and replace it with a buck converter and USB port. I created a little 3D printed adapter that holds the USB port in place that screws on the bottom of the filter. Connect everything with wire and you are done. You can upgrade the fan from 3.25v stock to 12v if you have one lying around for extra airflow? more noise? I guess. Don't forget to regulate the DC-DC converter to the appropriate voltage. Go a little less Volts if you want quieter operation.
Powered Port
Parts needed:
- Drill
- Stepped Drill bit all the way to 3/4"
- USB type B port
- Male JST 2.54mm 2-pin connector
- Elegoo Air Filter USB powered.
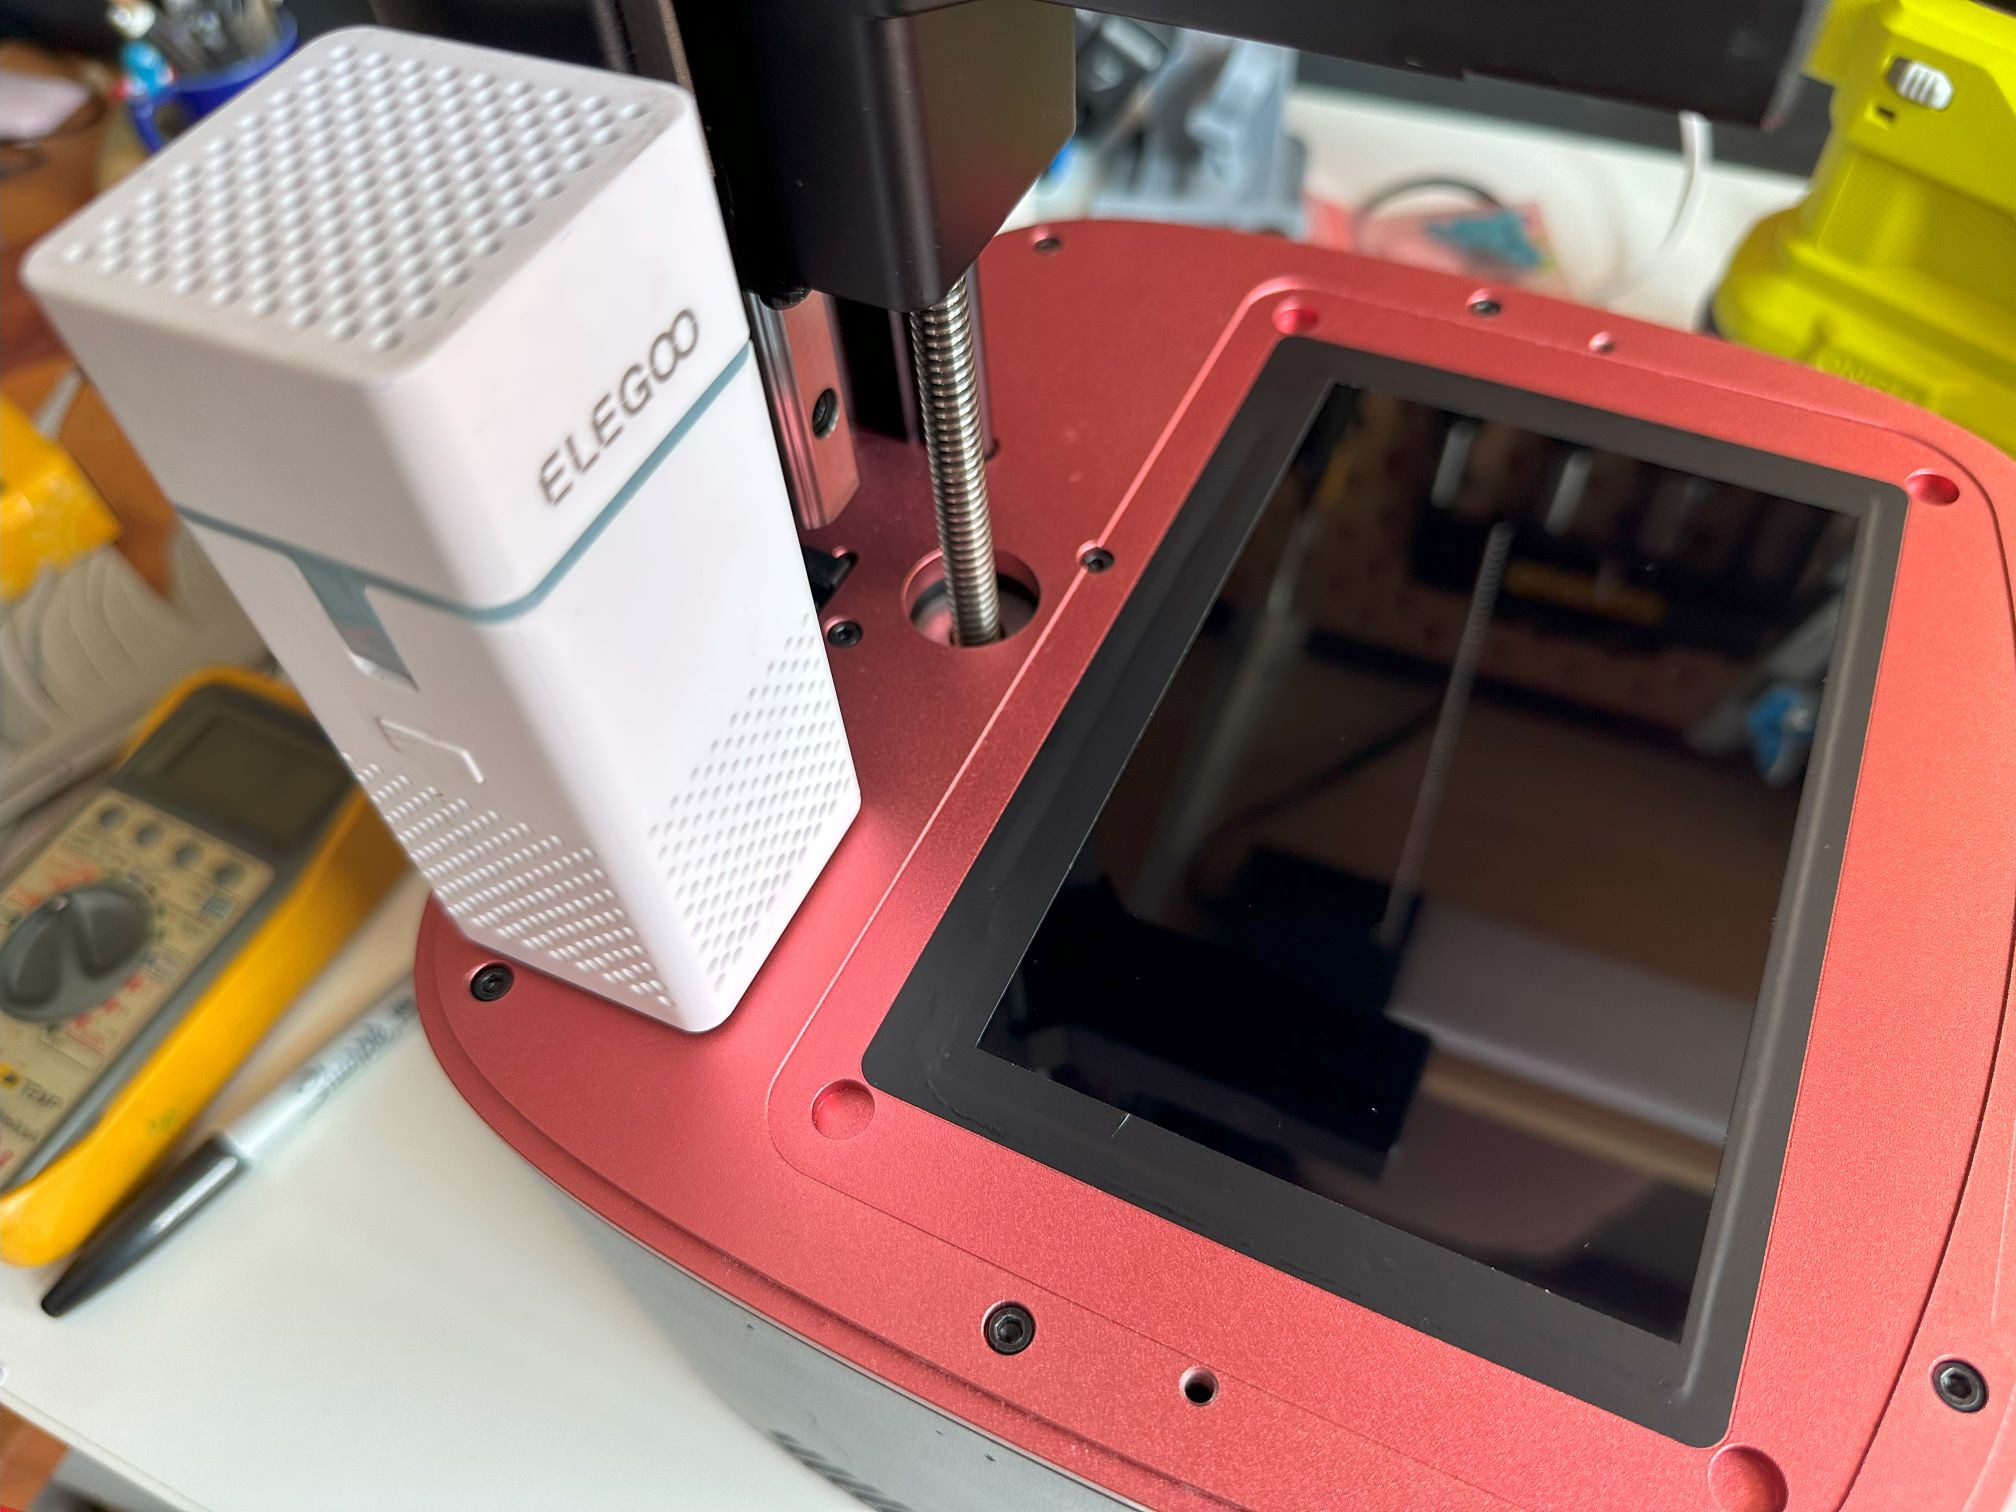
Onto the scary part. Now we need to make a hole on top of the chassis to house our USB 2.0 B port. For this part you can disassemble your printer or not. Work as you feel more comfortable. I did everything in place taking care of covering stuff to avoid accidents.
- Cover things with masking tape, protect the LCD in case something goes wrong. Open the back of the printer and cover motherboard with something to catch the shavings. Mark the general location of the filter. Make sure you account for the printer tray and the printer cover while marking the location.
![]()
- Use the step drill bit to drill a hole. I happened to have one that would go to all the way to 3/4 in. This was enough diameter to hold the USB port in place. I decided not to go all the way through the last step. That created a small "lip" inside the hole that will create a mechanical support for the USB adapter and prevent it from going all the way through in case it is pushed from the top too hard. I let the last step go into the chassis around 4mm before stopping.
![]()
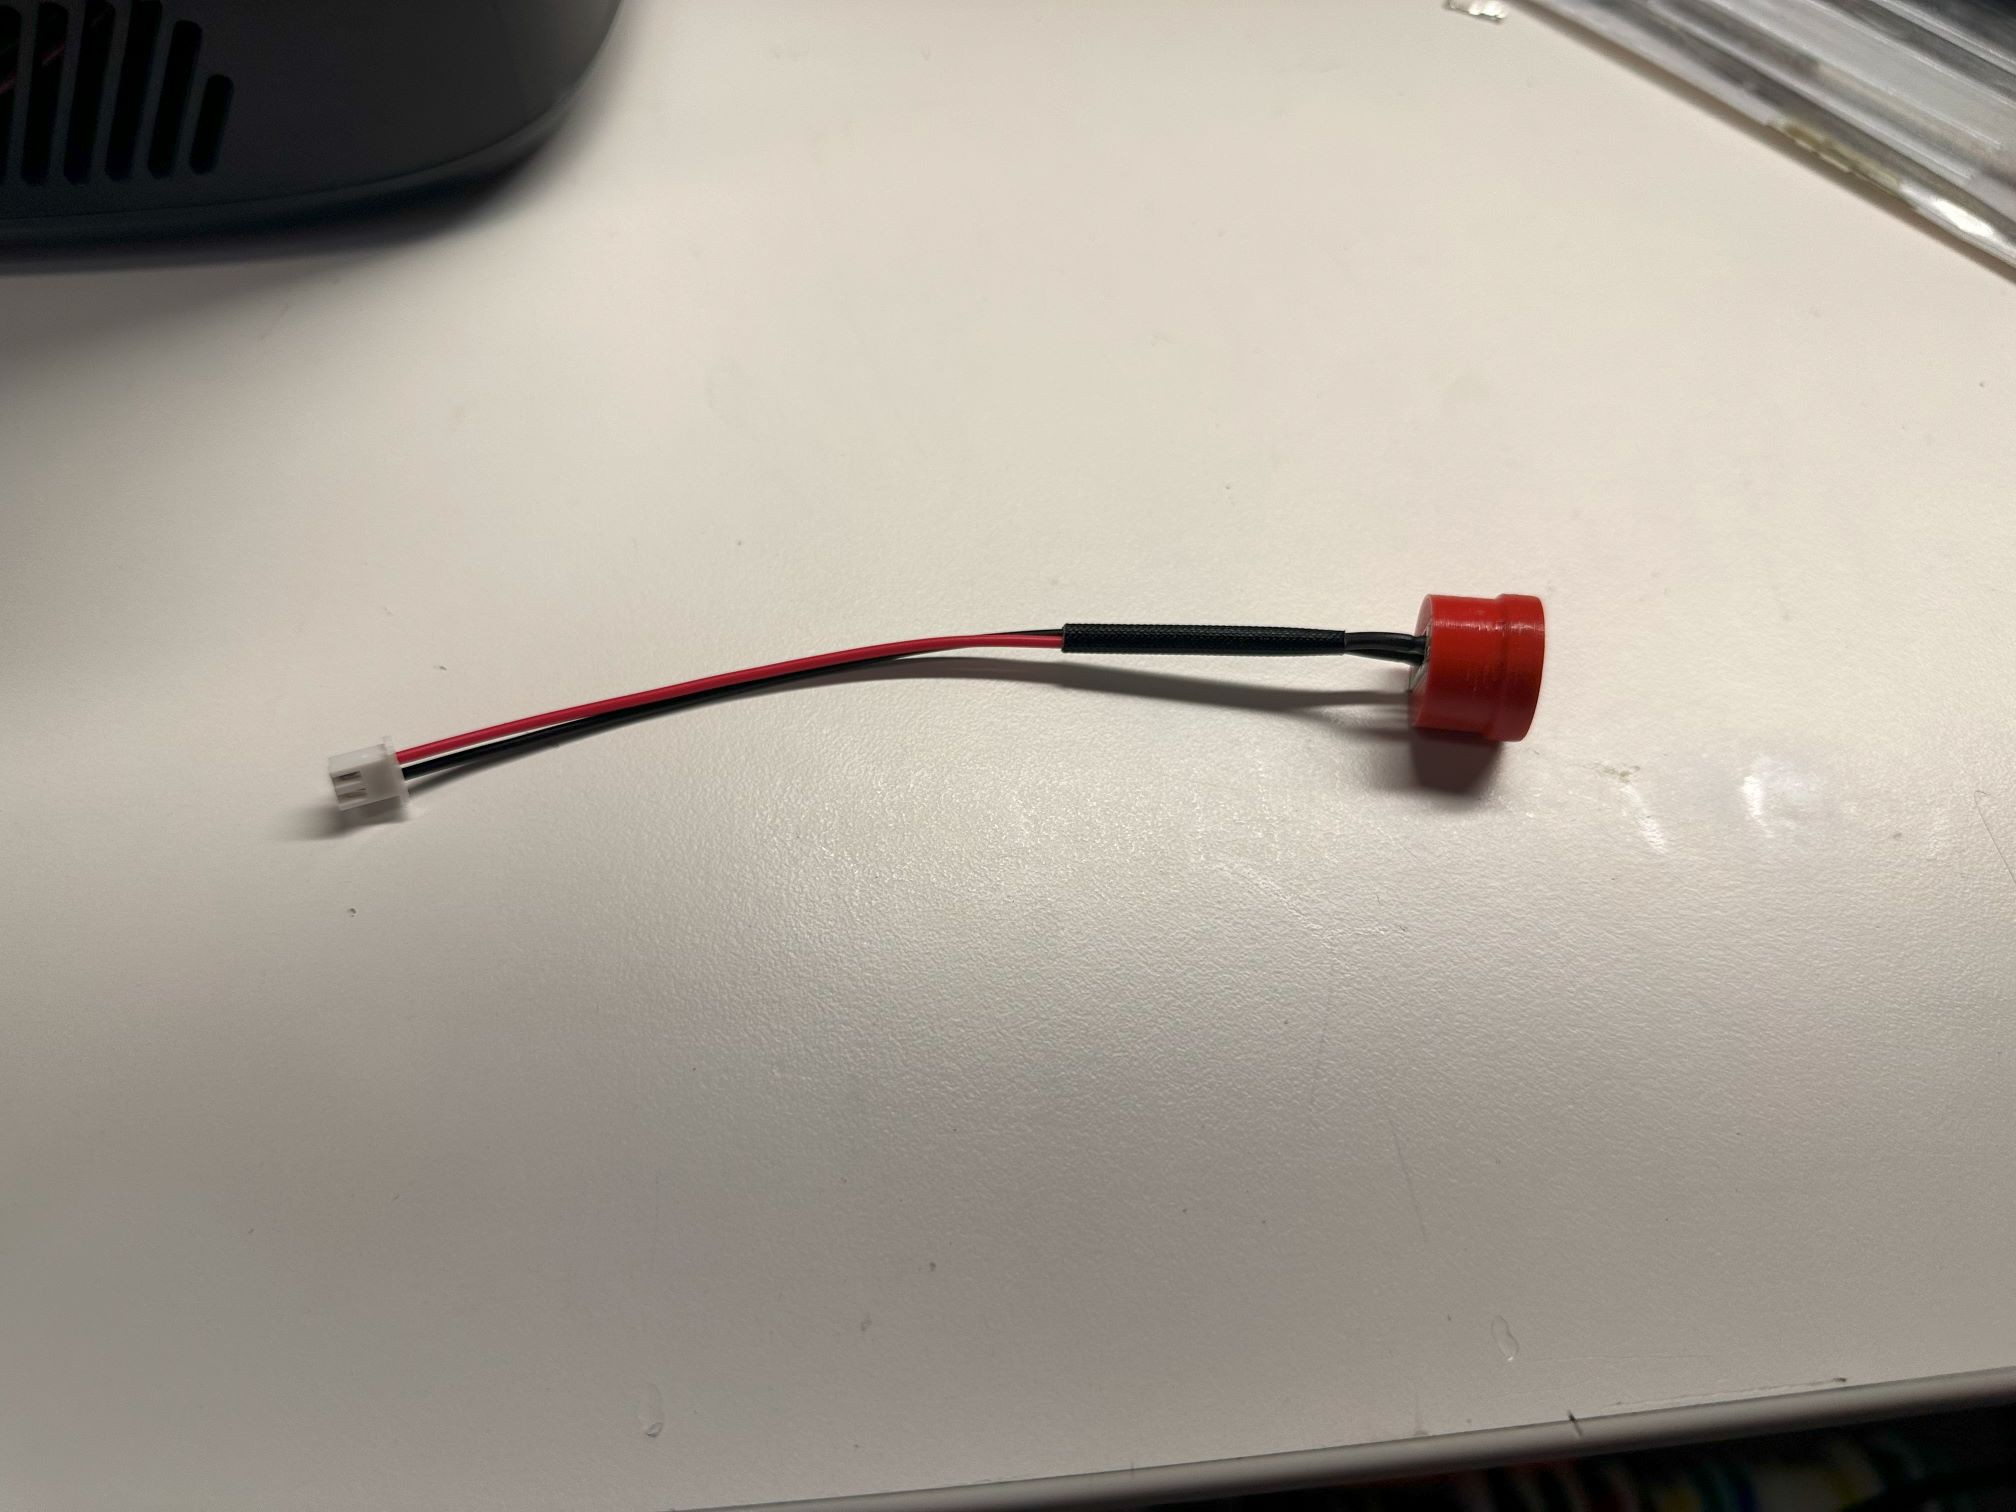
- 3D Print the adapter to hold the USB B port. Wire it with around 20 cm of wire, terminate with a 2 Pin 2.54mm JST connector.
![]()
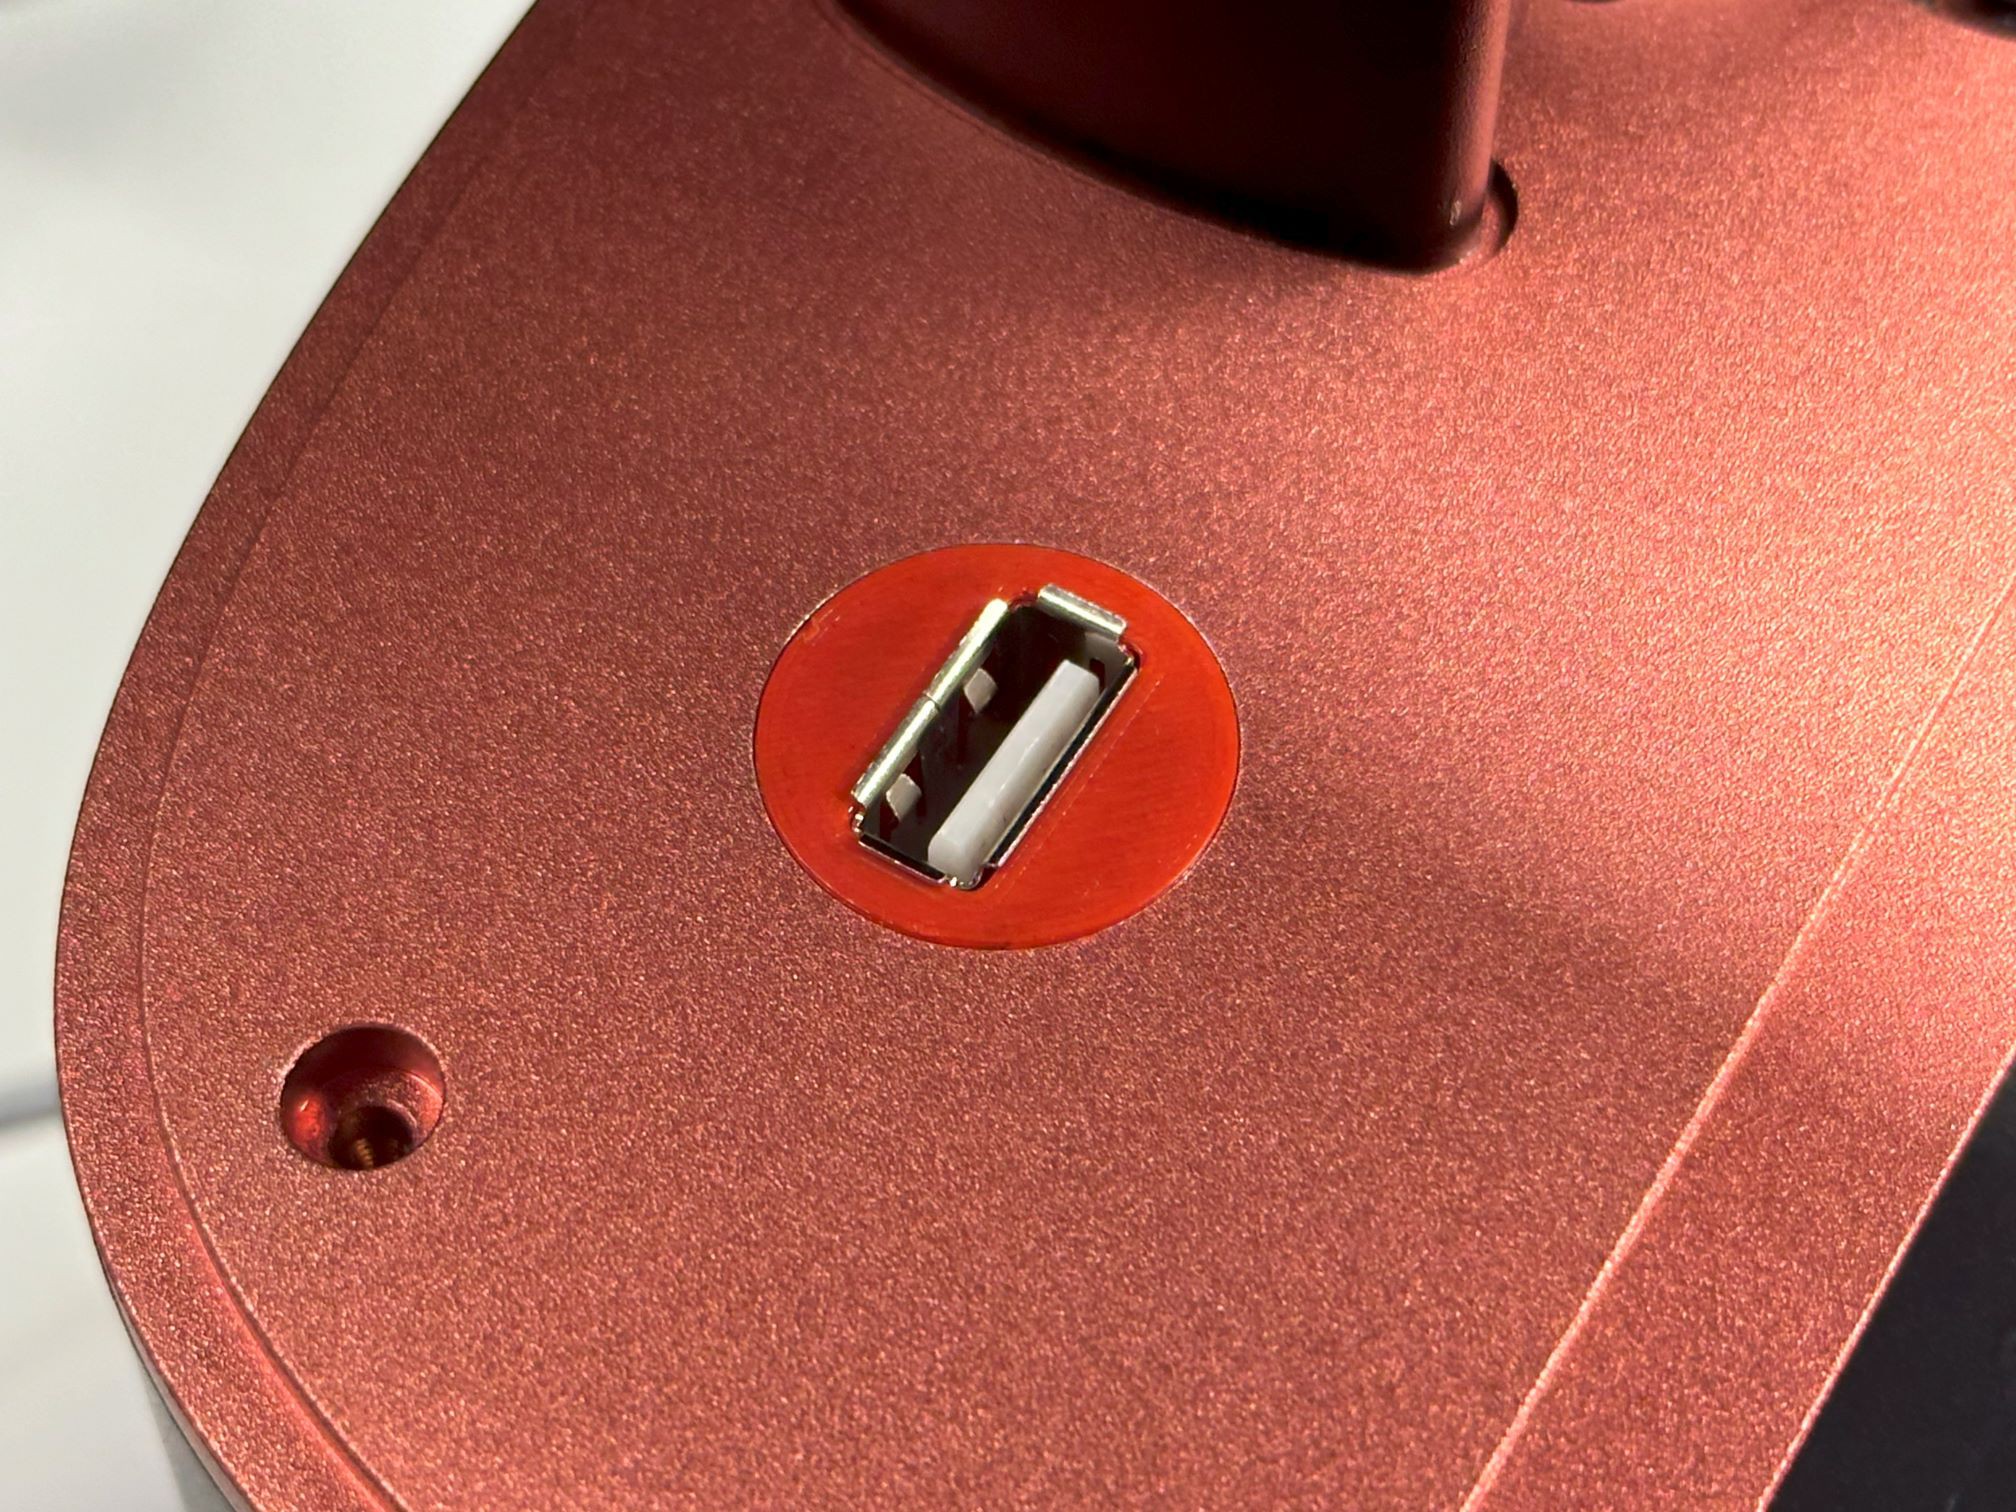
- Insert the adapter in the hole. Marvel at the power of 3D Printing. Such precision.
![]()
- Connect the adapter to the MB Fan connector in the motherboard. Set the printer settings to turn on the MB fan while printing. I go over this in more detail during my 01: Fan Service mod. This will provide 24V to the air filter every time you print something.
;【风扇1控制】
M8030    I-2
;【风扇2控制】
M8030    T-2
- Plug in your air filter and enjoy the fresh air.
![]()


Conclusion
The beauty of this mod is that it can be done as easy or as hard as you want it. Whatever you decide, you hopefully will end up with a way to avoid the unpleasant smells that resin gives off. If you want extra purifying power, just do the same mod on the other side of the printer and wire it in parallel with the first one. More filtering, more doing... That's the power of the activated charcoal. lol
Discussions
Become a Hackaday.io Member
Create an account to leave a comment. Already have an account? Log In.