Tobias
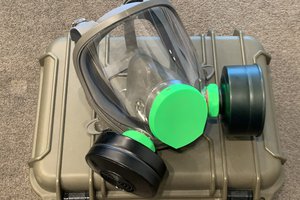
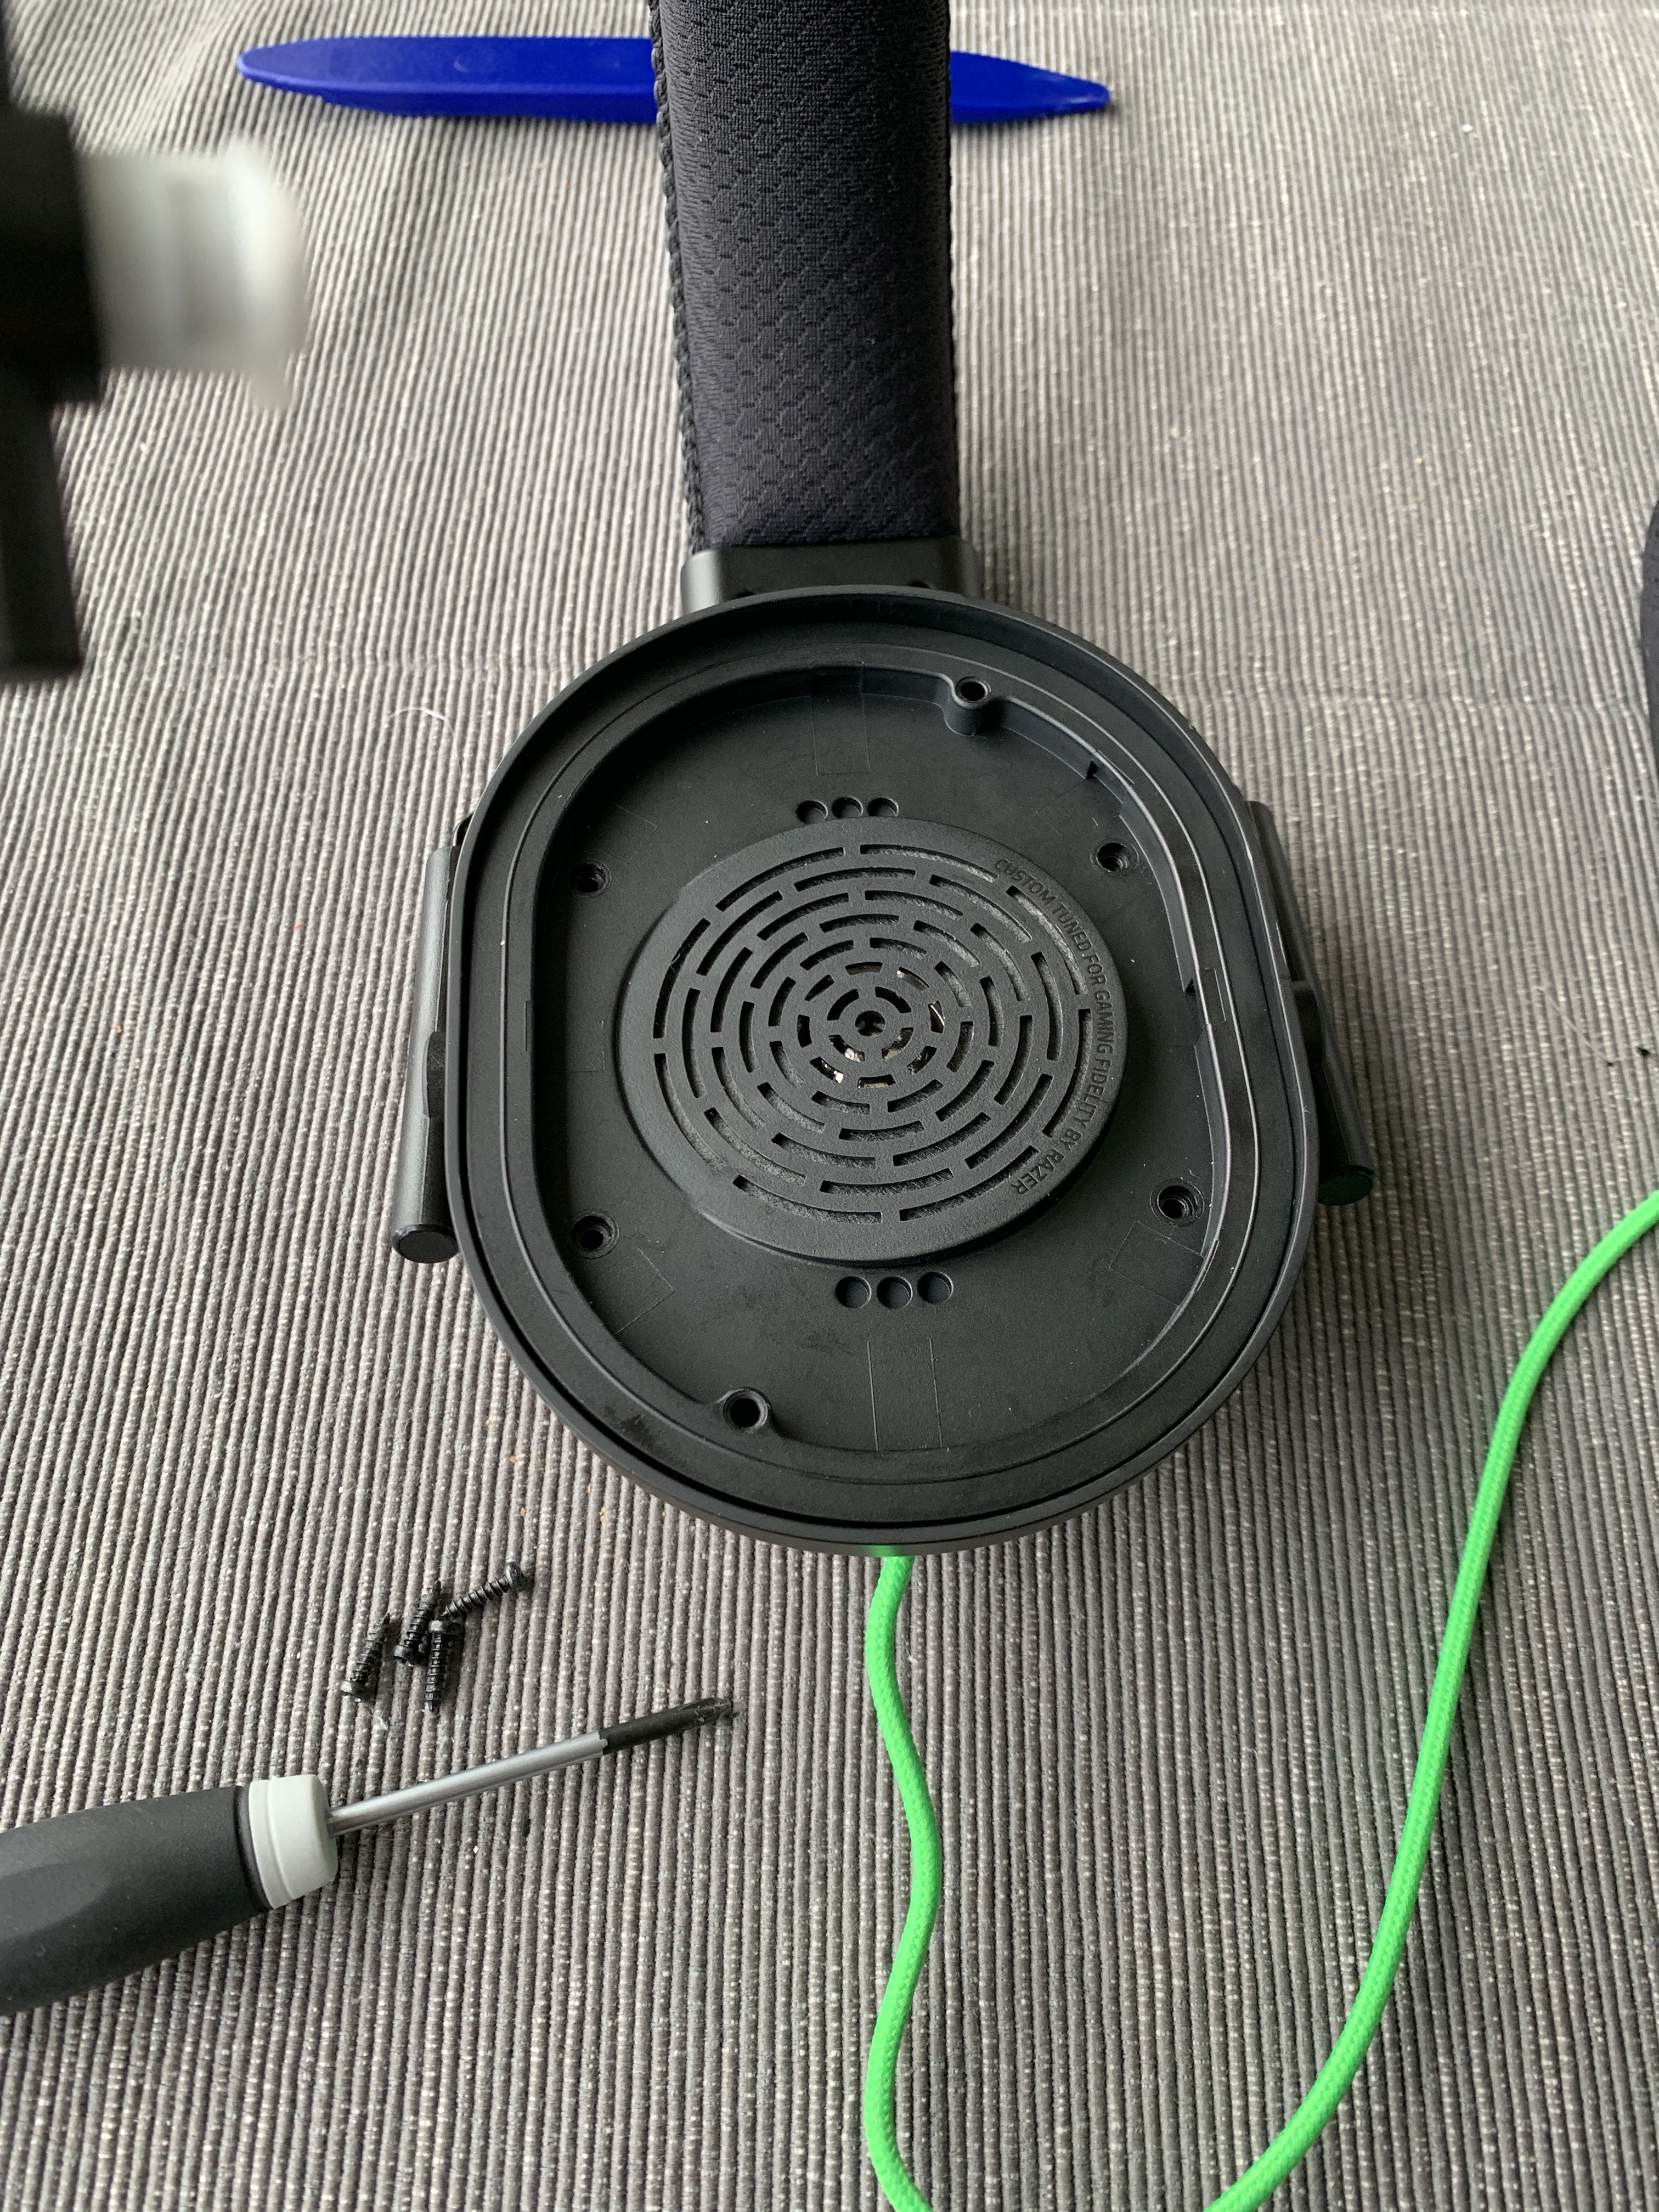
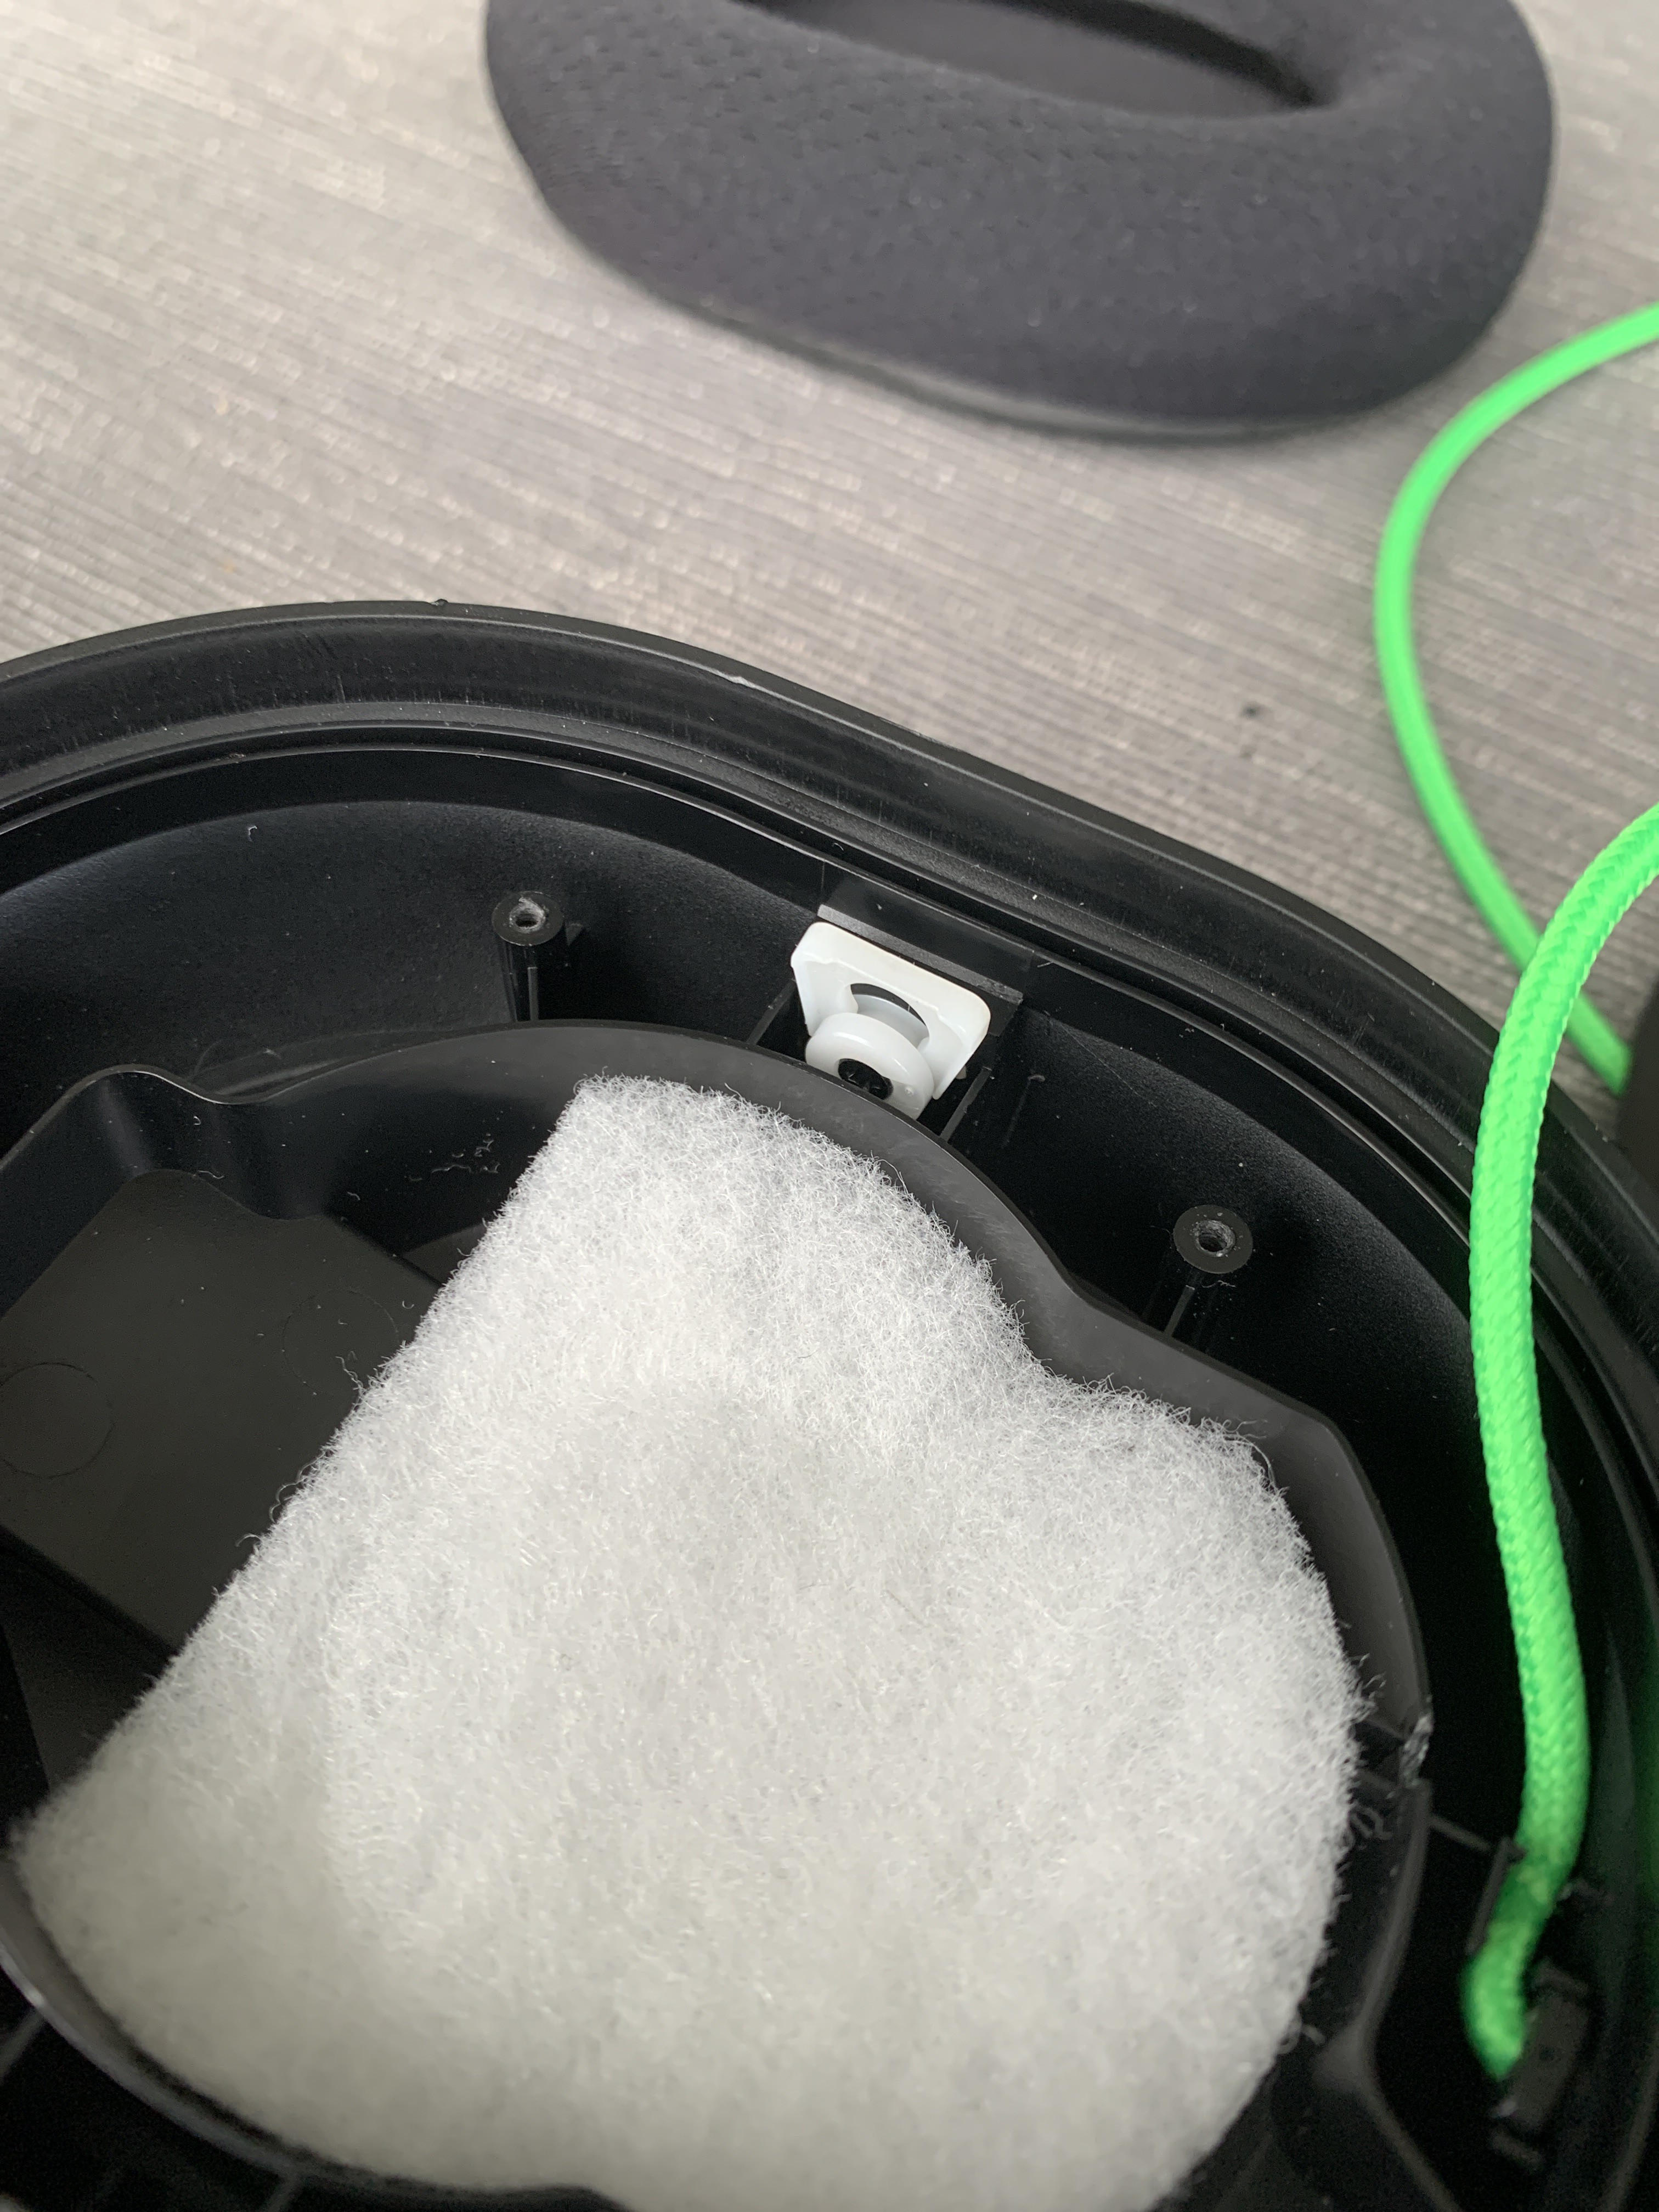
Why would we want to replace the headband on a perfectly good pair of headphones? Well, for a few reasons, first the headband is probably the most flimsy part on any pair of headphones I've ever owned... except for military and aviation headsets. So, can we fix this? When I first saw the Blacksharks it struck me that the mounting locations were very similar to that used by military-style Comtac headsets. This pattern seems to be now used by a number of military and an increasing number of civilian headphones, as well as a world of airsoft headphones. It turns out that, yes, with a bit of work this style of headband will work perfectly, giving us a headband that is incredibly durable and easily replaceable.

Image source: Aliexpress
Why else? The stock Blackshark headband doesn't fold - meaning the headphones take up a huge amount of space, a problem easily solved by the Comtac headband. Finally, it allows for a huge range of customisation and modularity - want to use a headband cover? Military and airsoft suppliers make a huge range of colours, as well as features like a d-ring to hang your headphones of a belt or bag. Want to use a behind-the-neck headband? Easy. Want to mount your headphones to a helmet? Can-do!

Image source: Aliexpress
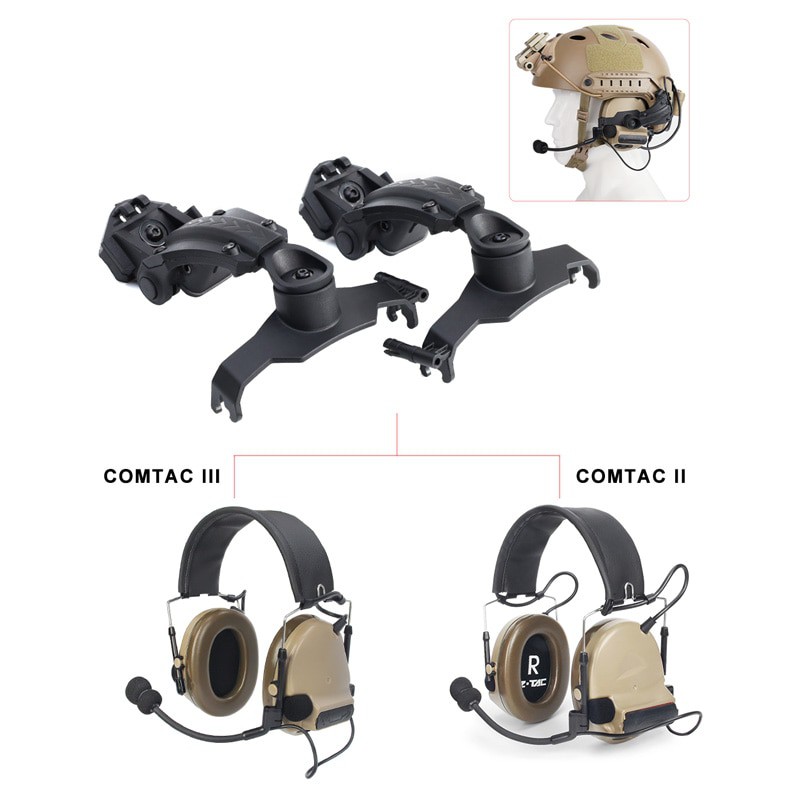
Image source: Aliexpress

 Kaspar Emanuel
 U.S. Water Rockets