 David Tucker
So we had a family weekend, my son came home from college and we went out last night and have more plans for today. However I did find an hour or so yesterday morning to sneak out and finish the crossbars for my roof rack.
I just finished the cross bars, I can optionally add these 8' 2x4's (ones temporarily a 2x3) to further add support to thinner sheet goods. That would let me add a stop to the front (and possibly back) of the extensions so the sheet goods can't slip out of there holder under heavy braking as well.
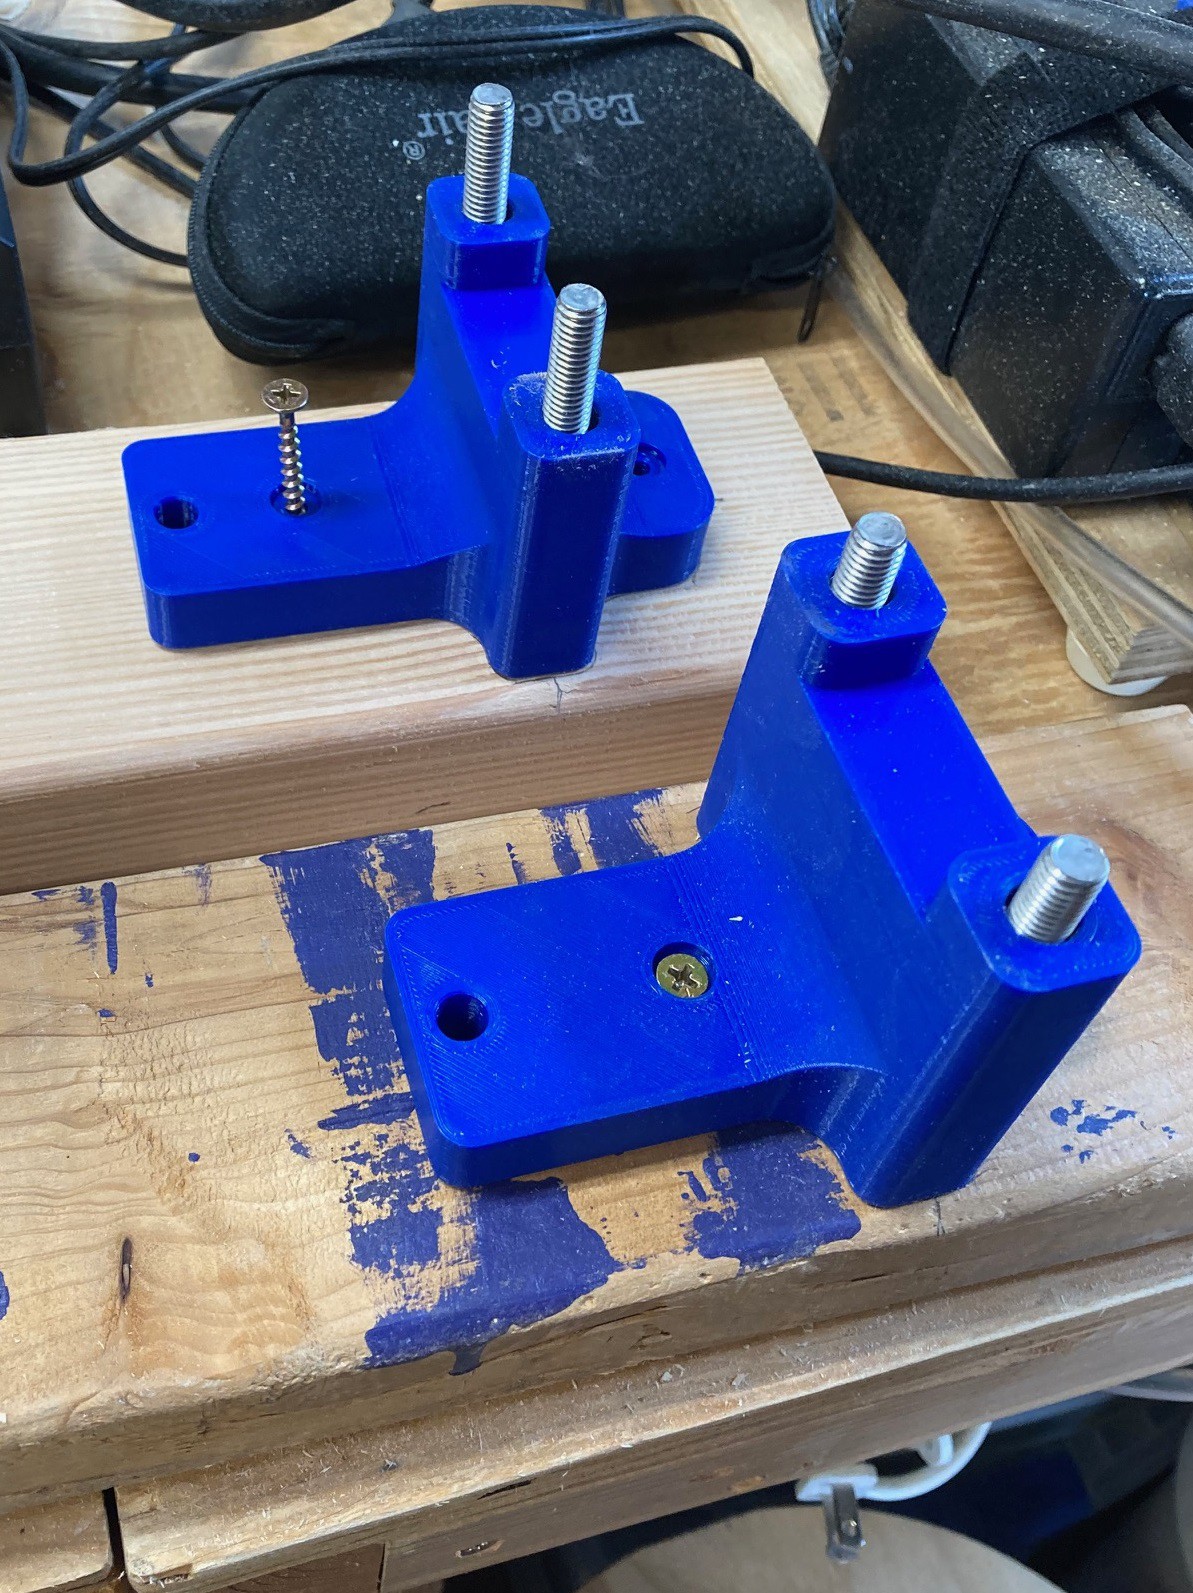
This uses 3D printed standoffs to get the crossbars high enough to clear the roof. I put a single screw into the standoff to roughly hold it in place to make assembly much easier, but it is loose enough for these pieces to move around. The holes in the roof are all askew and this allows it all to line up easier when assembling it.
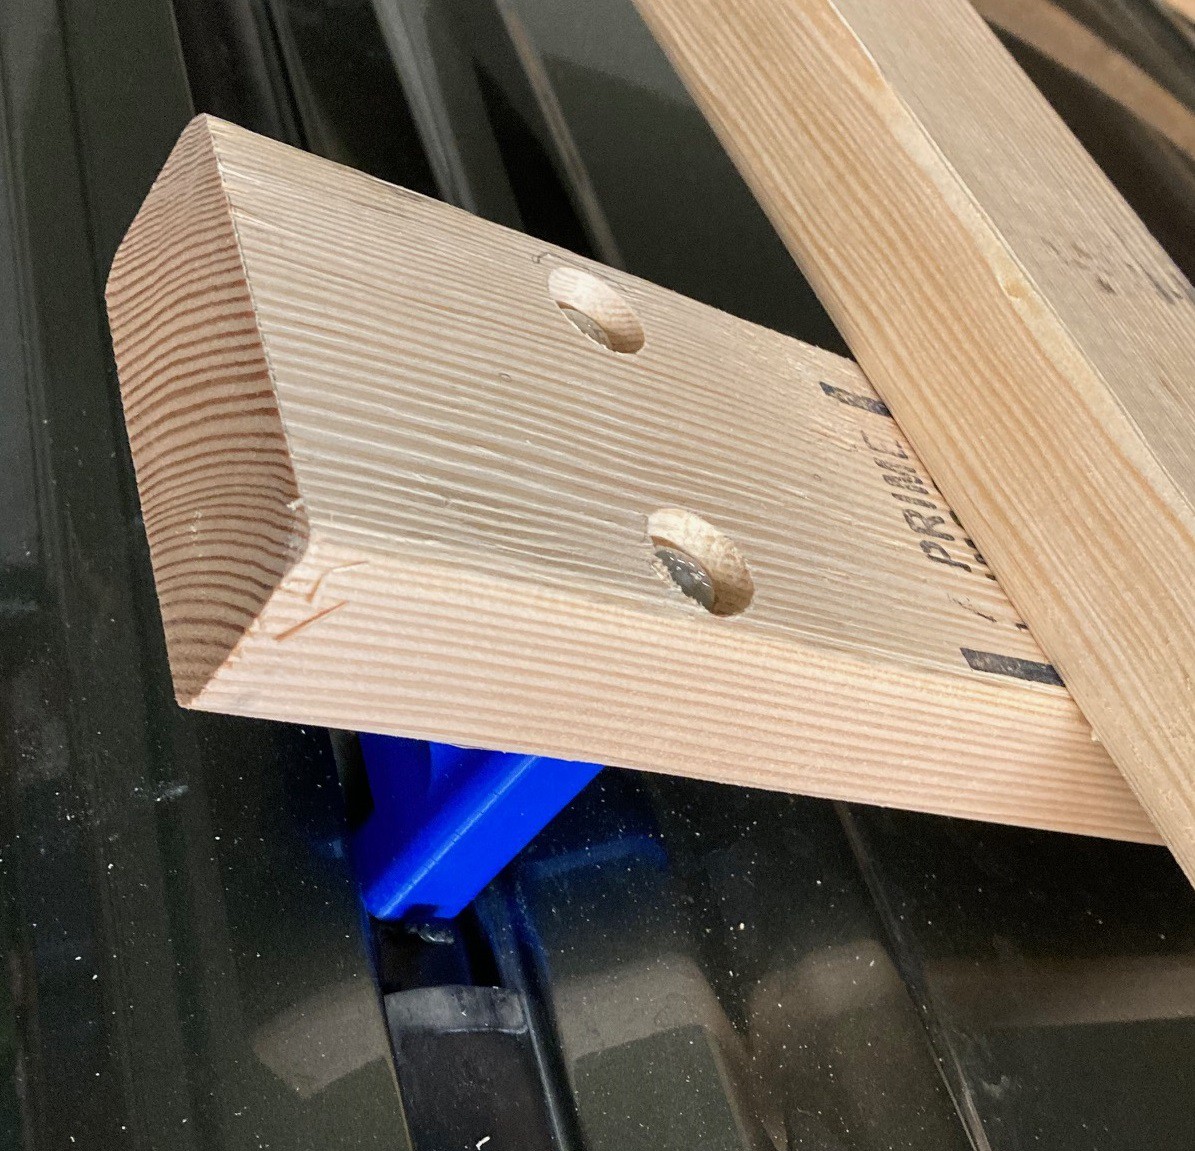
I'm using 8mm bolts countersunk into the cross bars that are 110 mm long. This bolts straight into holes in the roof. Because they pass through everything they should be able to contain the whole mechanism (for a while) if there is a catastrophic failure of any one part.
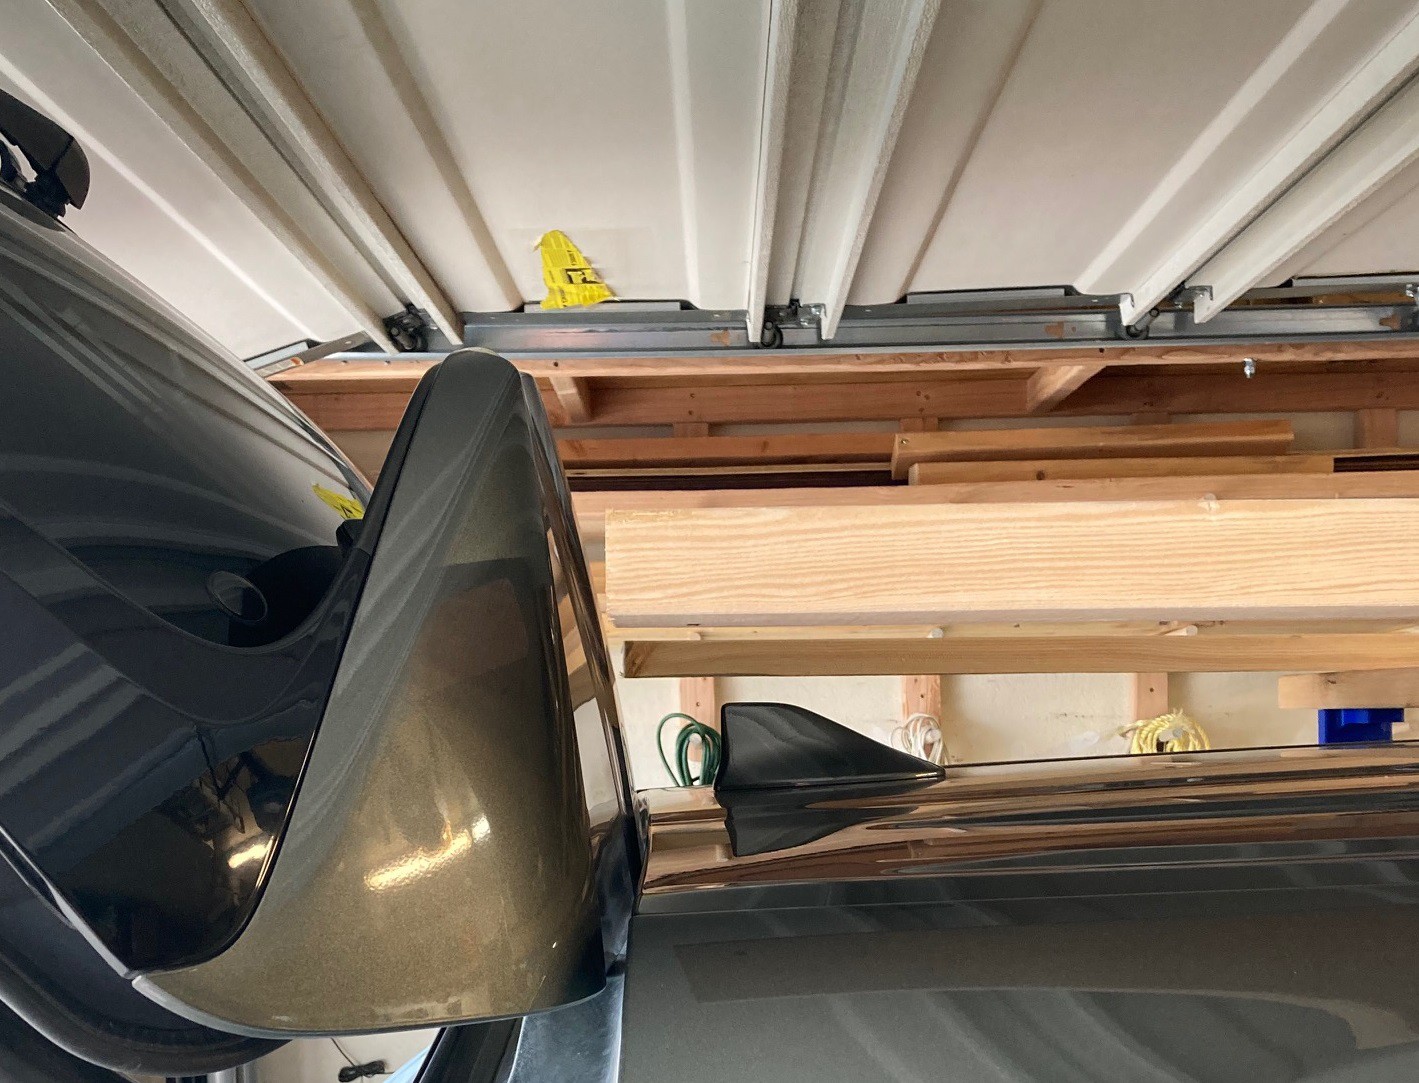

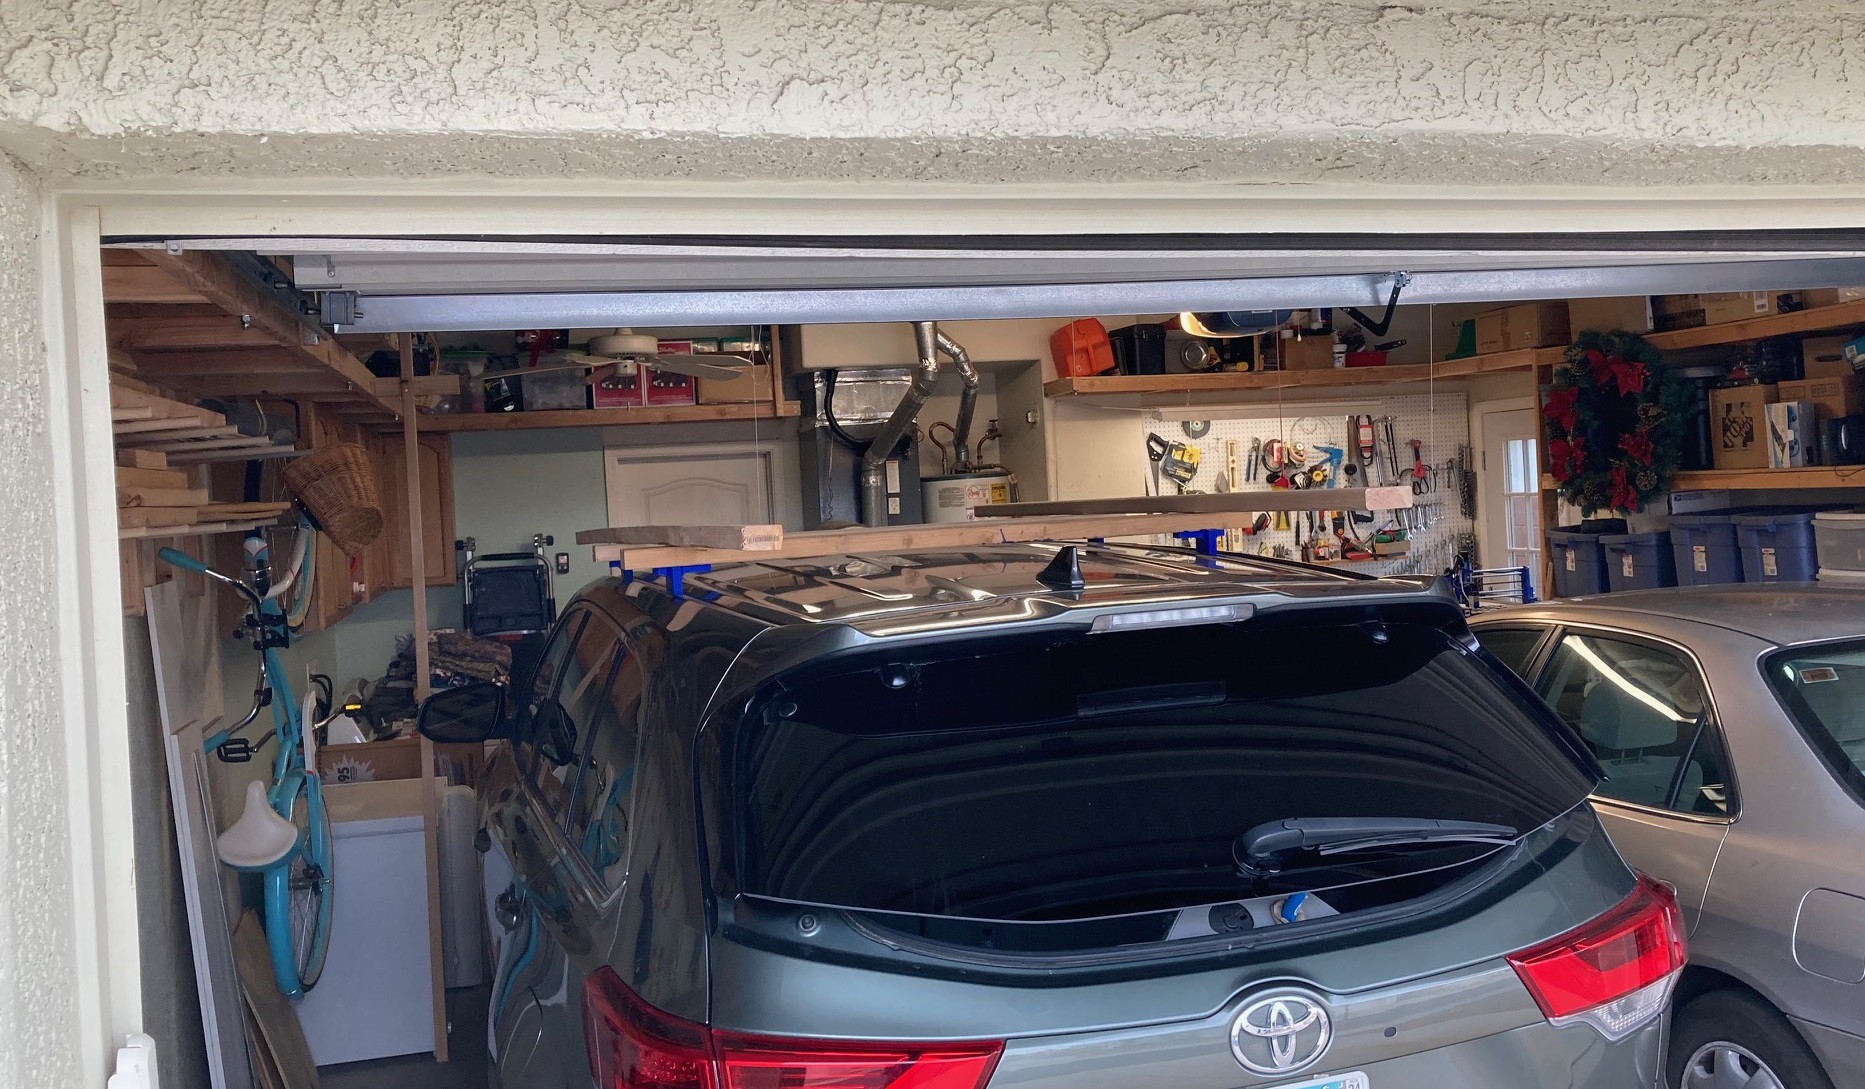
By carefully placing these extensions I can still open my rear hatch and not obstruct my view in the front. And the cross bars are 53" wide and still fit within the roof space so your not at risk of hitting your head on them when entering or exiting the car.
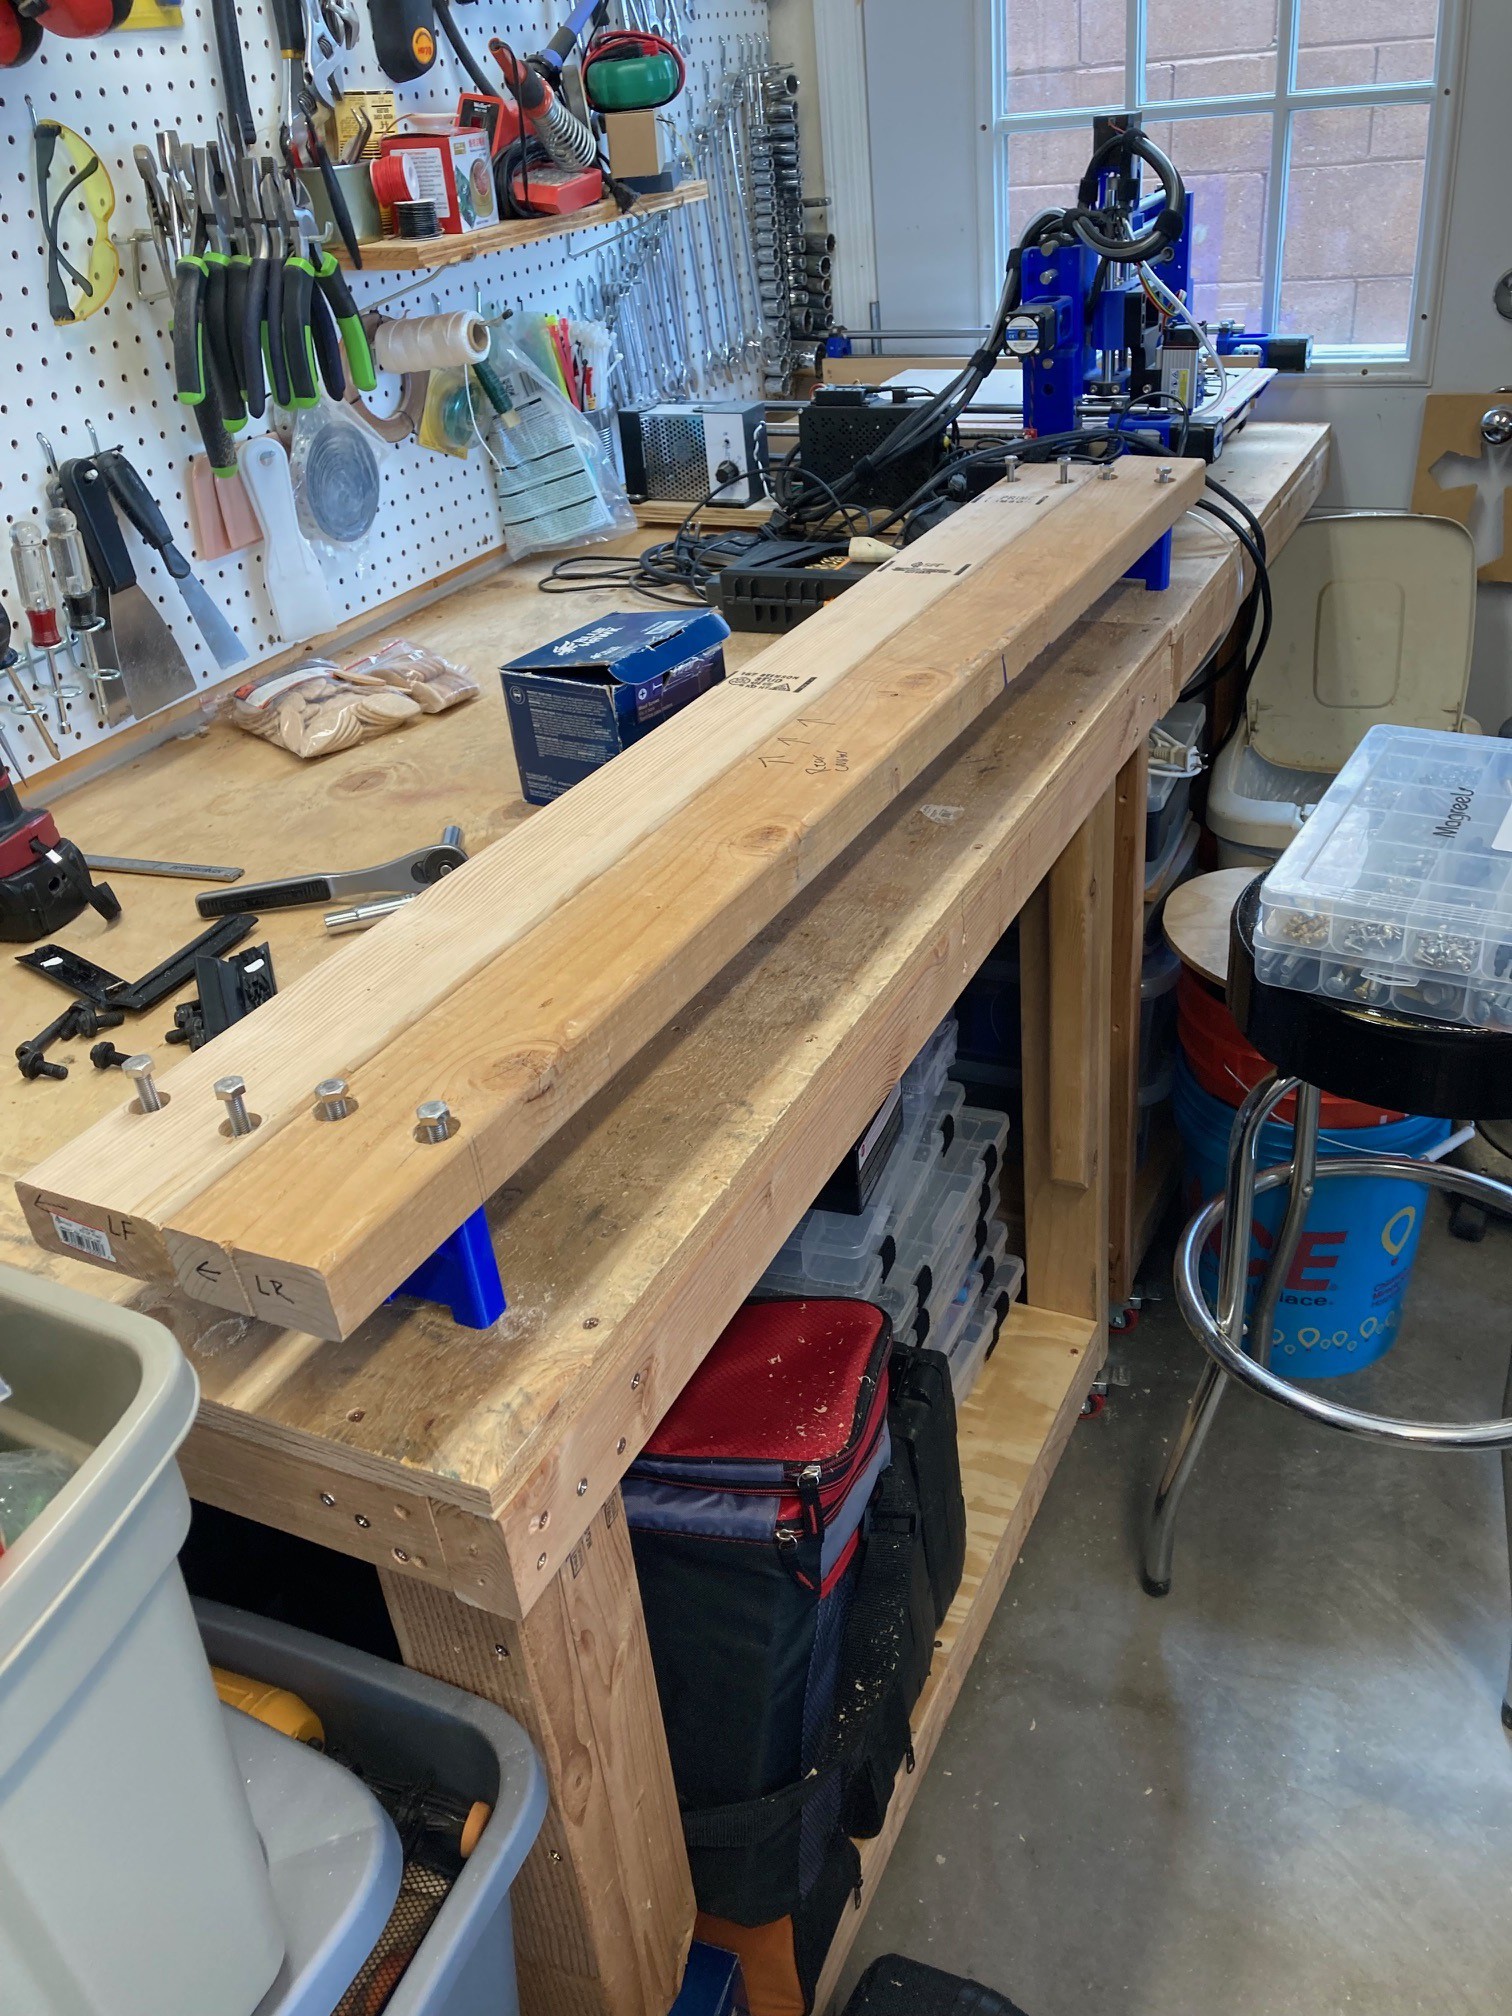
When removed from the car they don't take up much space. I can hang these on the wall without much effort. The extensions are even simpler, I'm not quite sure how I will attach them but I think I will just run a bolt through them into the crossbar so they essentially are just 2x4's with a hole in it.
I think these are a much better version of a roof rack than the commercial models, at least for carrying sheet goods. The official roof rack from Toyota cost $325 and can handle 165 lb (75kg) of load. It seems like a fine enough rack at that price, but mine cost around $15. More importantly for our uses there rack is far from flat and there is no straight forward way to mount the extensions to it directly. Amazon has much cheaper crossbars for $80-$200 but they all seem to have a fatal flaw. The crossbars are attached to the legs with set screws rather than a proper bolt through the whole mechanism like the Toyota ones. There are loads of reports on amazon of them separating at highway speeds, that is unacceptable. There are probably many other crossbars that are much flatter and have plywood storage in mind, but they will certainly cost more than the stock bars and look worse as well. So in that case my DIY bars are as good and much cheaper.
I figure these bars can hold far more weight than the roof could safely handle. I don't see why they could not hold up to 500 lb or more of weight. However I suspect that much weight on the roof would be very scary to drive around with. I'm going to try to limit myself to 2 sheets of 3/4" mdf or 3 sheets of 3/4" plywood at a time. Honestly I'm most likely to buy sheets one at a time for the small amount of work I do.
I still need to pick up some eye bolts to add to the crossbars so that I have a good place to attach my straps and I need to come up with the final position and attachment for the support extensions, then work up the nerve to try this all out. My house is only about 3 miles away from the plywood store and all the streets are 45 mph or slower so it should be safe enough, but my goal is to not make the evening news.
--
I had a bit of an epiphany on my main workbench. I have been trying to watch a bunch of videos on how to use track saws better and two ideas kept popping up. One was to have a sacrificial grove cut into the top of your main workbench for track saw cuts. By aligning future cuts on the same cut line you can make rapid cuts without needing to mess around with hanging things off the side of the table or using sacrificial pieces. This seems like a very smart idea, I think I will incorporate it into my table top.
The other idea is to have two tables at the same height that can be used when breaking down larger pieces of material, aligning the cut between the benches. I have two benches, but one of them will have my CNC on top of it. I always wanted to make a cover for the CNC so it can be properly vented and safer to run the laser without needing to wear glasses the whole time. It occurred to me that I could build a box inside the table with a rolling shelf for easy axes. That box could then be vented and provide the cover for the CNC while also leaving the table top free for work.
If it works then this is great! I don't always use the CNC so I can use the extra space it would take up for assembly or other work while still having it available anytime I need it. It would cut into storage a lot, but I think the little space I have left in the cart would nicely hold all the other accessories and filters for the CNC.
Discussions
Become a Hackaday.io Member
Create an account to leave a comment. Already have an account? Log In.