 David Tucker
I had temporarily put a piece of scrap plywood in place as a table top for my drill press. I basically never drill metal so having a nice large flat top is more important than having lots of nifty hold down clamps. I had a top from harbor freight that got the job done, but it was too small.
I decided to use a piece of 3/4" mdf as a proper top surface and keep the old scrap 3/4" plywood piece as a base for strength. This way I have a very smooth top that is also very solid. I screwed the two pieces together and trimmed them flush with my track saw, then used a palm router to make sure they were perfectly in alignment.
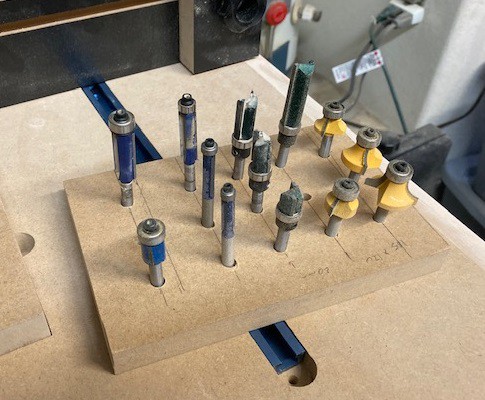
I picked up a couple of packs of cheap bits for my palm router from amazon, they seem to get the job done ok. The ones with the bearing at the tip of the cutter are much better, it is nearly impossible to mess things up with this configuration, since any tipping of the router will leave extra material rather than taking away too much. However for cutting slots you need the other style with the bearing at the base, just be very careful with them, they are much easier to mess up.

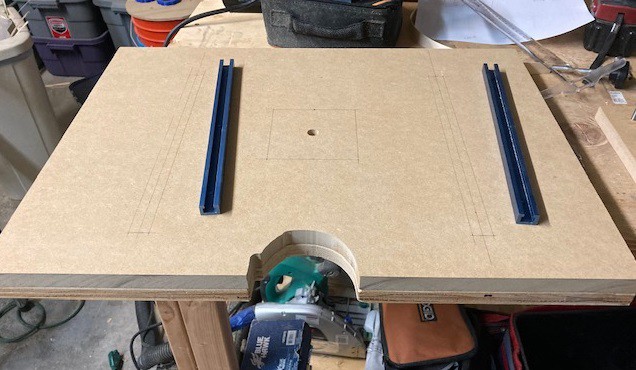
I wanted to bring the fence over from my last top, that meant cutting some slots for the aluminum profile that the fence slots into. Some scraps taped to the top worked fine for guides.
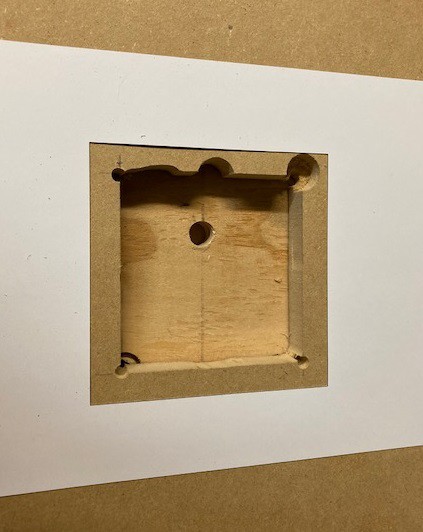
This worked great for the slots, but not as great for a pocket to put a waste board into the top. I tried to get smart and drill the corners and a tab out before hand, and it turned into a hot mess. One of the boards slipped causing issues, and the holes I drilled were not precise enough. And of course I marked one hole wrong and drilled it in the wrong spot.
No problem, I just made a new pocket that was wider than the last and started over. To make sure it was perfectly square this time, I drew a 130 mm square in Inkscape and printed it on cardstock. Then cutting the square out using a razor blade I could position it where I wanted and transfer the lines over. Finally I used my brad nailer to staple my guide boards down so nothing would shift. This time I had a perfect pocket.

Using my cross cut jig I was able to make two blanks for the hole that fit perfect. And I was able to put finger holes in the pocket by drilling a hole into a scrap piece of wood and then using my pattern bit to transfer it to the base. A bit of sanding and these inserts can be swapped out quickly and effortlessly and I can easily make more since they are exactly 130 mm square.
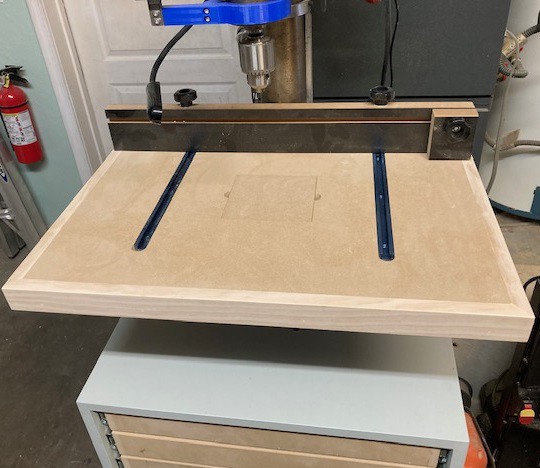
I edged the whole thing with some hard wood I glued and pinned onto the base. This should help further protect the MDF while still maintaining a very flat edge.
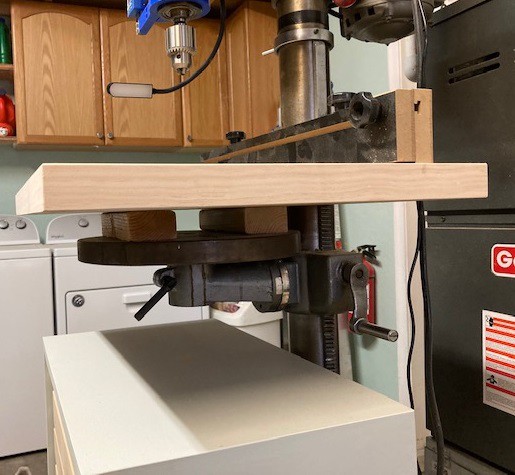
The underside of the table is very flat and open as well, so I can easily get clamps in there. The standoffs help me get some clearance around the crank that lifts the table up so I'm not bashing my knuckles. It also allowed me to extend the table top backwards around the post so drilling odd shaped pieces gives more support.

This is just a test fit of everything, but at the back I will have some extra room that I need to find a use for. The fence is removable because there are small holes drilled in front of the t-track that let it come out of the slots. That further increases my depth of drilling. And I did not quite have enough material to fully edge band the back of the table, but you don't notice it and it should not cause too much trouble. I have everything lacquered up and drying right now. Hopefully tomorrow I can get it all together.

I picked up a drill DRO and a light on a magnetic base to finish the whole thing off. I 3D printed a clamp for the DRO, since the one it came with was a bit wobbly. This seems to be working great, and it is more convenient to us than a stop. I still have my stop, if I need it, but most of the time just looking at the dro is enough to get the hole depths correct. The DRO is a bit fussy, needing to be very well aligned to run smoothly, but in the end we got it running well.
Discussions
Become a Hackaday.io Member
Create an account to leave a comment. Already have an account? Log In.