To understand how acoustic levitation works, you first need to know a little about gravity, air and sound. First, gravity is a force that causes objects to attract one another. An enormous object, like the Earth, easily attracts objects that are close to it, like apples hanging from trees. Scientists haven't decided exactly what causes this attraction, but they believe it exists everywhere in the universe.
Second, the air is a fluid that behaves essentially the same way liquids do. Like liquids, air is made of microscopic particles that move in relation to one another. Air also moves like water does -- in fact, some aerodynamic tests take place underwater instead of in the air. The particles in gasses, like the ones that make up air, are simply farther apart and move faster than the particles in liquids.

In contrast to magnetic levitation, the ultrasound method does not require a control loop to stabilize the hovering object. Using acoustic levitation, the object simply lodges itself into one of the nodes of a standing acoustic wave. And you can make multiple items hover on top of one another simultaneously, evenly spaced apart!
In our 2/18 issue of Make: German edition, we published two alternative approaches to ultrasonic levitation devices, one of them based on a transducer taken from a gutted ultrasonic cleaner.This project is based on ultrasonic transducers of the kind used in distance sensors such as the HC-SR04 module, which can be sourced from eBay for less than $2
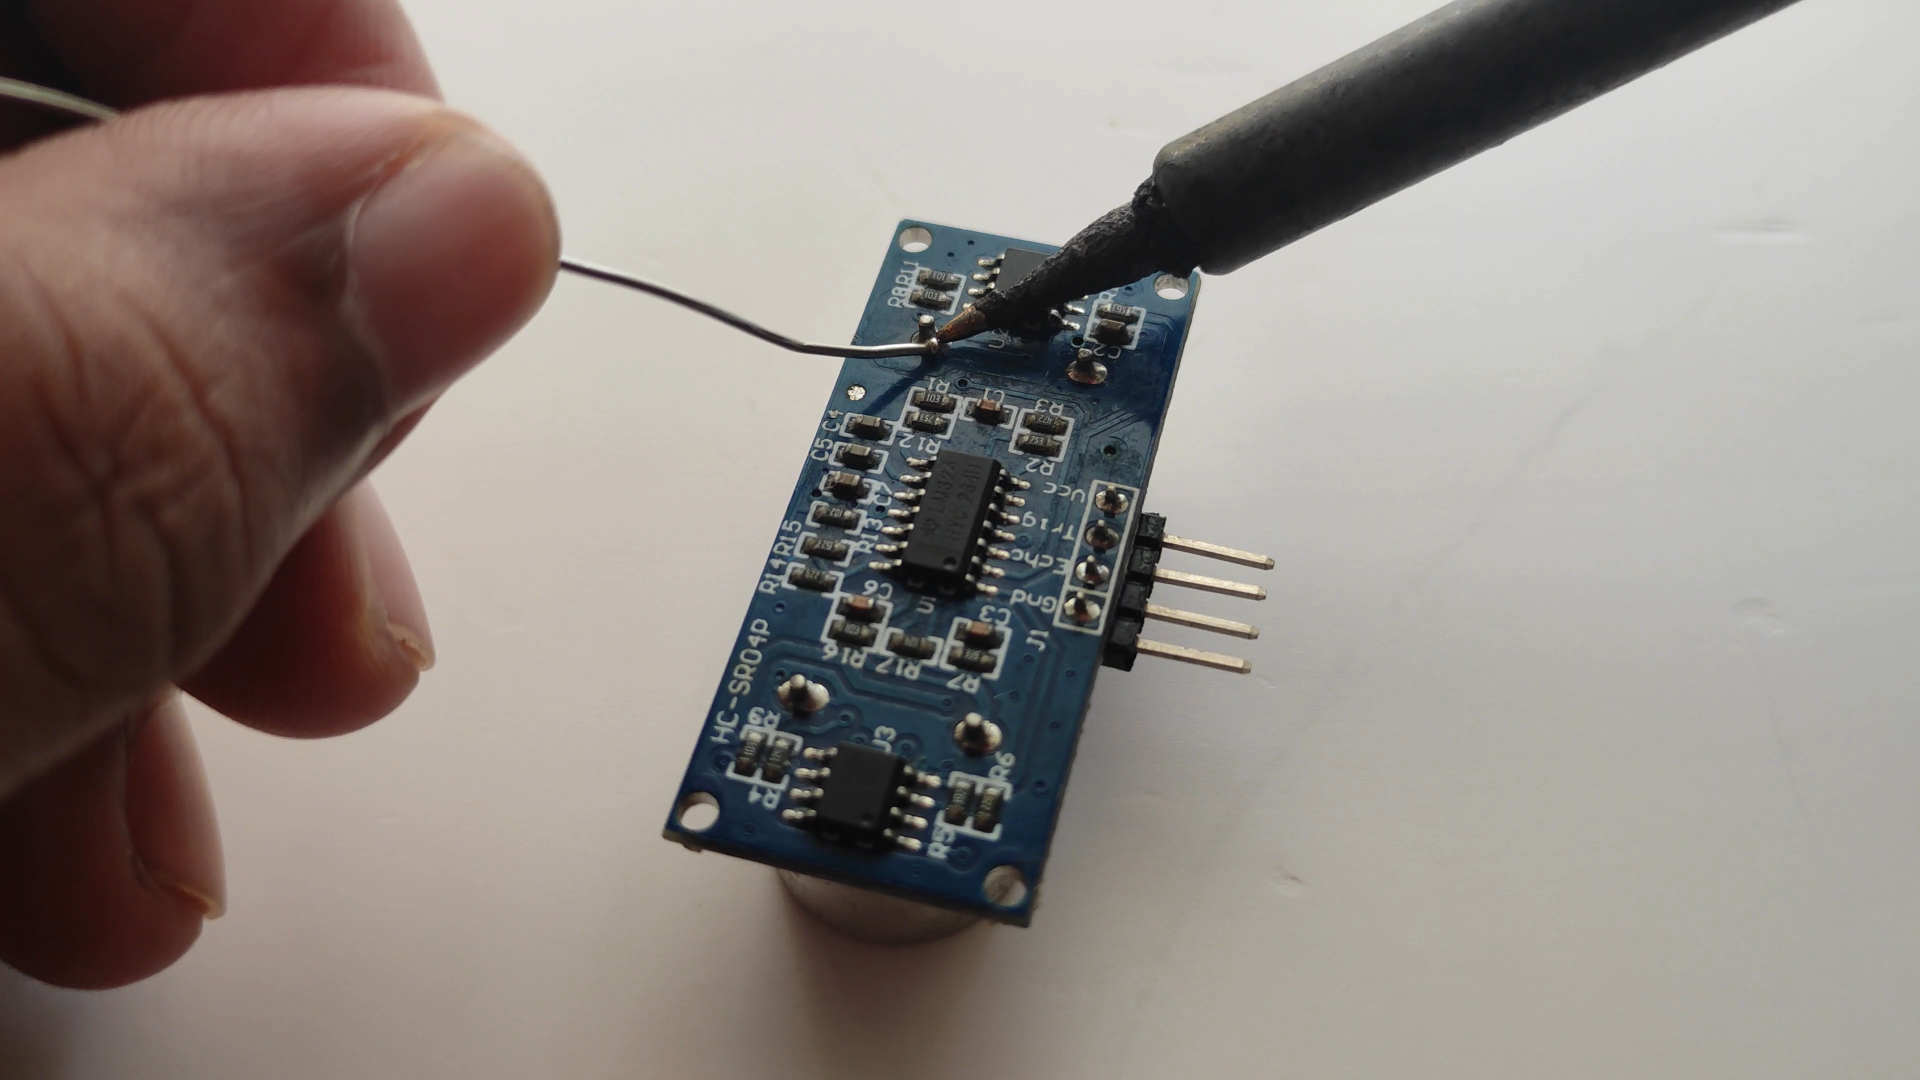
These modules contain one transducer operating as a transmitter (T), and another serving as a receiver (R). In principle, the T transducer is the better pick for use as an actual transmitter, so we bought two sensors and pulled the T transducers off each of them. (In a pinch, you could buy just one sensor — the R transducer also transmits well Desolder both transmitter transducers. While you’re at it, disassemble one of the receiver transducers. Please don’t throw away the small, wire screen from the receiver— it turns out to be unexpectedly useful.
The transducers are designed to operate at 40kHz, the frequency at which they work most efficiently. That signal will be generated by your Arduino Nano.

Third, the sound is a vibration that travels through a medium, like a gas, a liquid or a solid object. if you strike a bell, the bell vibrates in the air. As one side of the bell moves out, it pushes the air molecules next to it, increasing the pressure in that region of the air. This area of higher pressure is a compression. As the side of the bell moves back in, it pulls the molecules apart, creating a lower-pressure region called a rarefaction. Without this movement of molecules, the sound could not travel, which is why there is no sound in a vacuum.
acoustic levitator
A basic acoustic levitator has two main parts -- a transducer, which is a vibrating surface that makes the sound, and a reflector. Often, the transducer and reflector have concave surfaces to help focus the sound. A sound wave travels away from the transducer and bounces off the reflector. Three basic properties of this travelling, reflecting wave help it to suspend objects in midair.
when a sound wave reflects off of a surface, the interaction between its compressions and rarefactions causes interference. Compressions that meet other compressions amplify one another, and compressions that meet rarefactions balance one another out. Sometimes, reflection and interference can combine to create a standing wave. Standing waves appear to shift back and forth or vibrate in segments rather than travel from place to place. This illusion of stillness is what gives standing waves their name.Standing sound waves have defined nodes, or areas of minimum pressure, and antinodes, or areas of maximum pressure. A standing wave's nodes are at the reason of acoustic levitation.

By placing a reflector the right distance away from a transducer, the acoustic levitator creates a standing wave. When the orientation of the wave is parallel to the pull of gravity, portions of the standing wave have a constant downward pressure and others have constant upward pressure. The nodes have very little pressure.

the working principle of the circuit is very simple. The main component of this project is an Arduino, L298 motor driving IC, and ultrasonic transducer collected from the ultrasonic sensor module HCSR04. Generally, the ultrasonic sensor transmits an acoustic wave of a frequency signal between 25khz to 50 kHz, and in this project, we are using HCSR04 ultrasonic transducer. This ultrasonic waves makes the standing waves with nodes and antinodes.
this ultrasonic transducer’s working frequency is 40 kHz. So, the purpose of using Arduino and this small piece of code is to generate a 40KHz high-frequency oscillation signal for my ultrasonic sensor or transducer and this pulse is applied to the input of duel motor driver IC L293D (from Arduino A0 & A1 pins) to drive the ultrasonic transducer. Finally, we apply this high-frequency 40KHz oscillation signal along with driving voltage through driving IC (typically 7.4v) on the ultrasonic transducer. As a result of which ultrasonic transducer produces acoustic sound waves. We placed two transducers face to face in the opposite direction in such a manner that some space is left between them.

Making the Transducer
First we need to desolder the transmitter and receiver from ultrasonic module. Also remove the protective cover then connect long wires to it. Then place the transmitter and receiver one over the other remember, the position of ultrasonic transducers is very important. They should face each other in the opposite direction which is very important and they should be in the same line so that ultrasonic sound waves can travel and intersect each other in opposite directions. For this i used foam sheet ,nuts and bots