 Jeremy
To keep cost and weight down, it's essential to make the floor as compact as possible. However, LED diffusion is in direct competition with this goal.
The surface of the dance floor will be 1/4" semi-opaque white acrylic. If the LEDs are right up against the bottom of the acrylic, the dance floor will be pretty thin, but very little diffusion will occur, and you'll see each LED as an RGB dot. So the LEDs will need to be at an undefined distance from the acrylic to optimize diffusion but reduce unnecessary height.
To determine this distance, I 3D printed a jig and designed a PCB with an addressable LED grid that I could use to light different patterns.
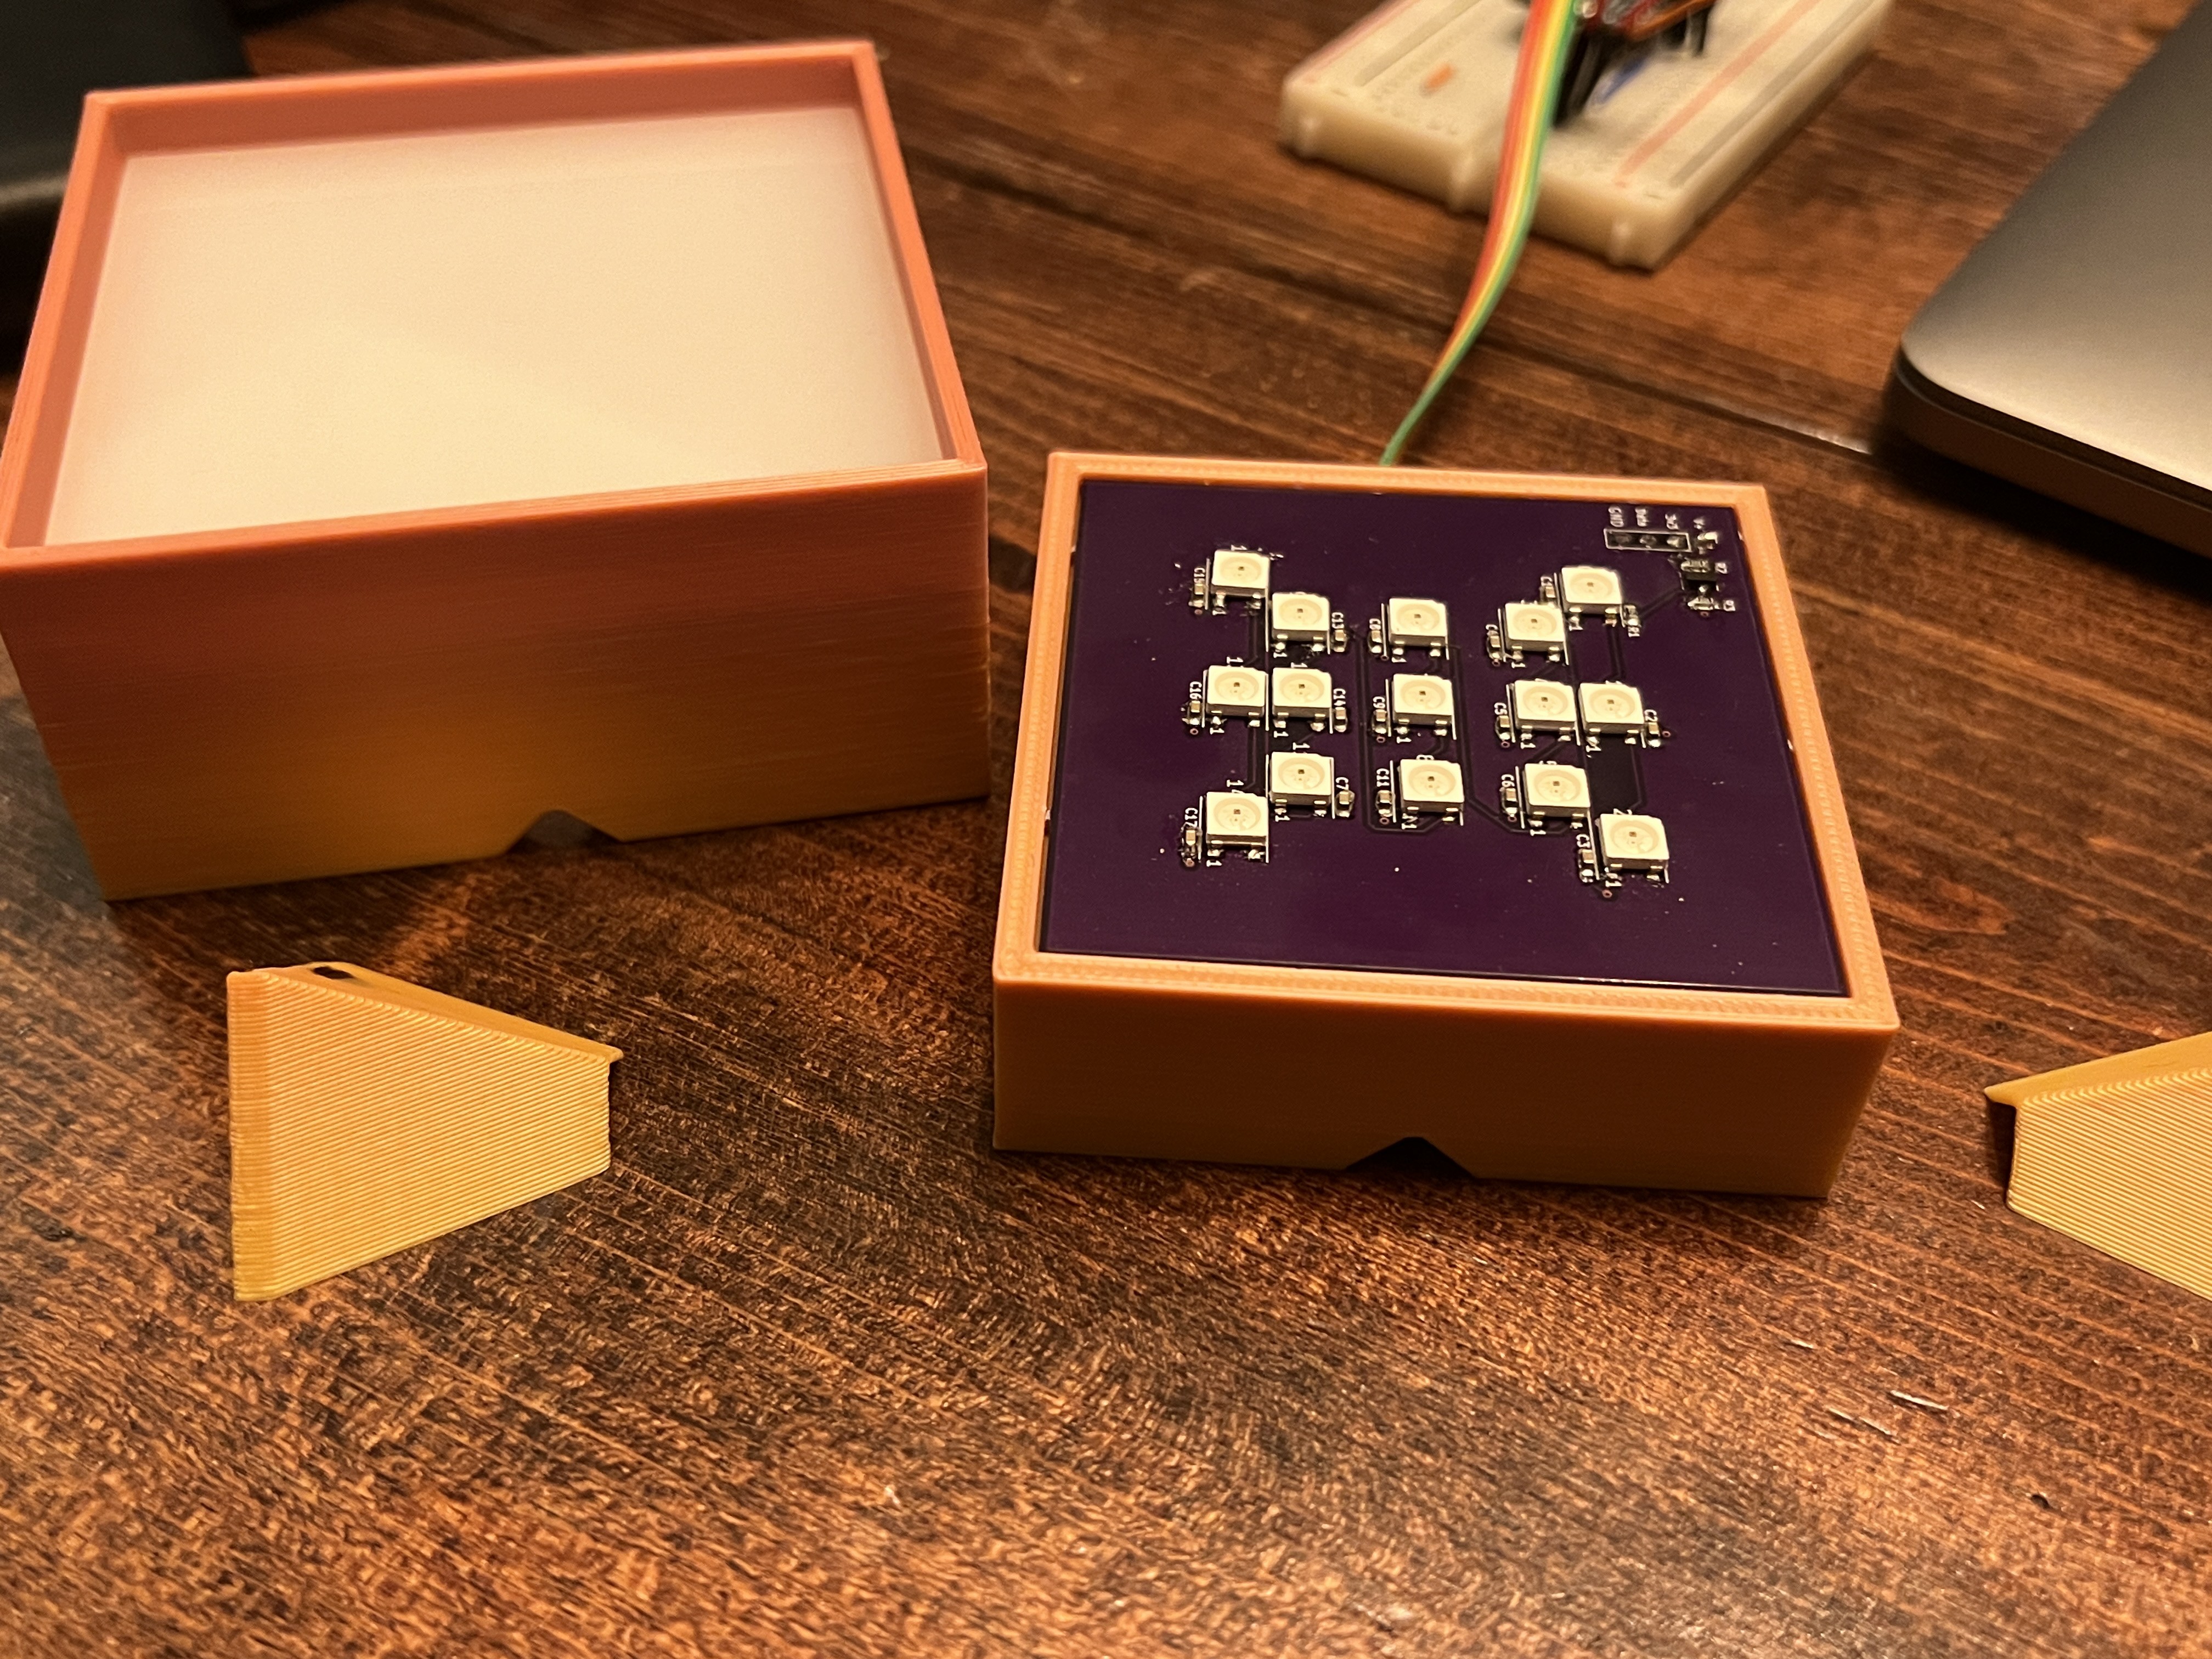
This was driven by a Thunderpack compact microcontroller.
Setting distance
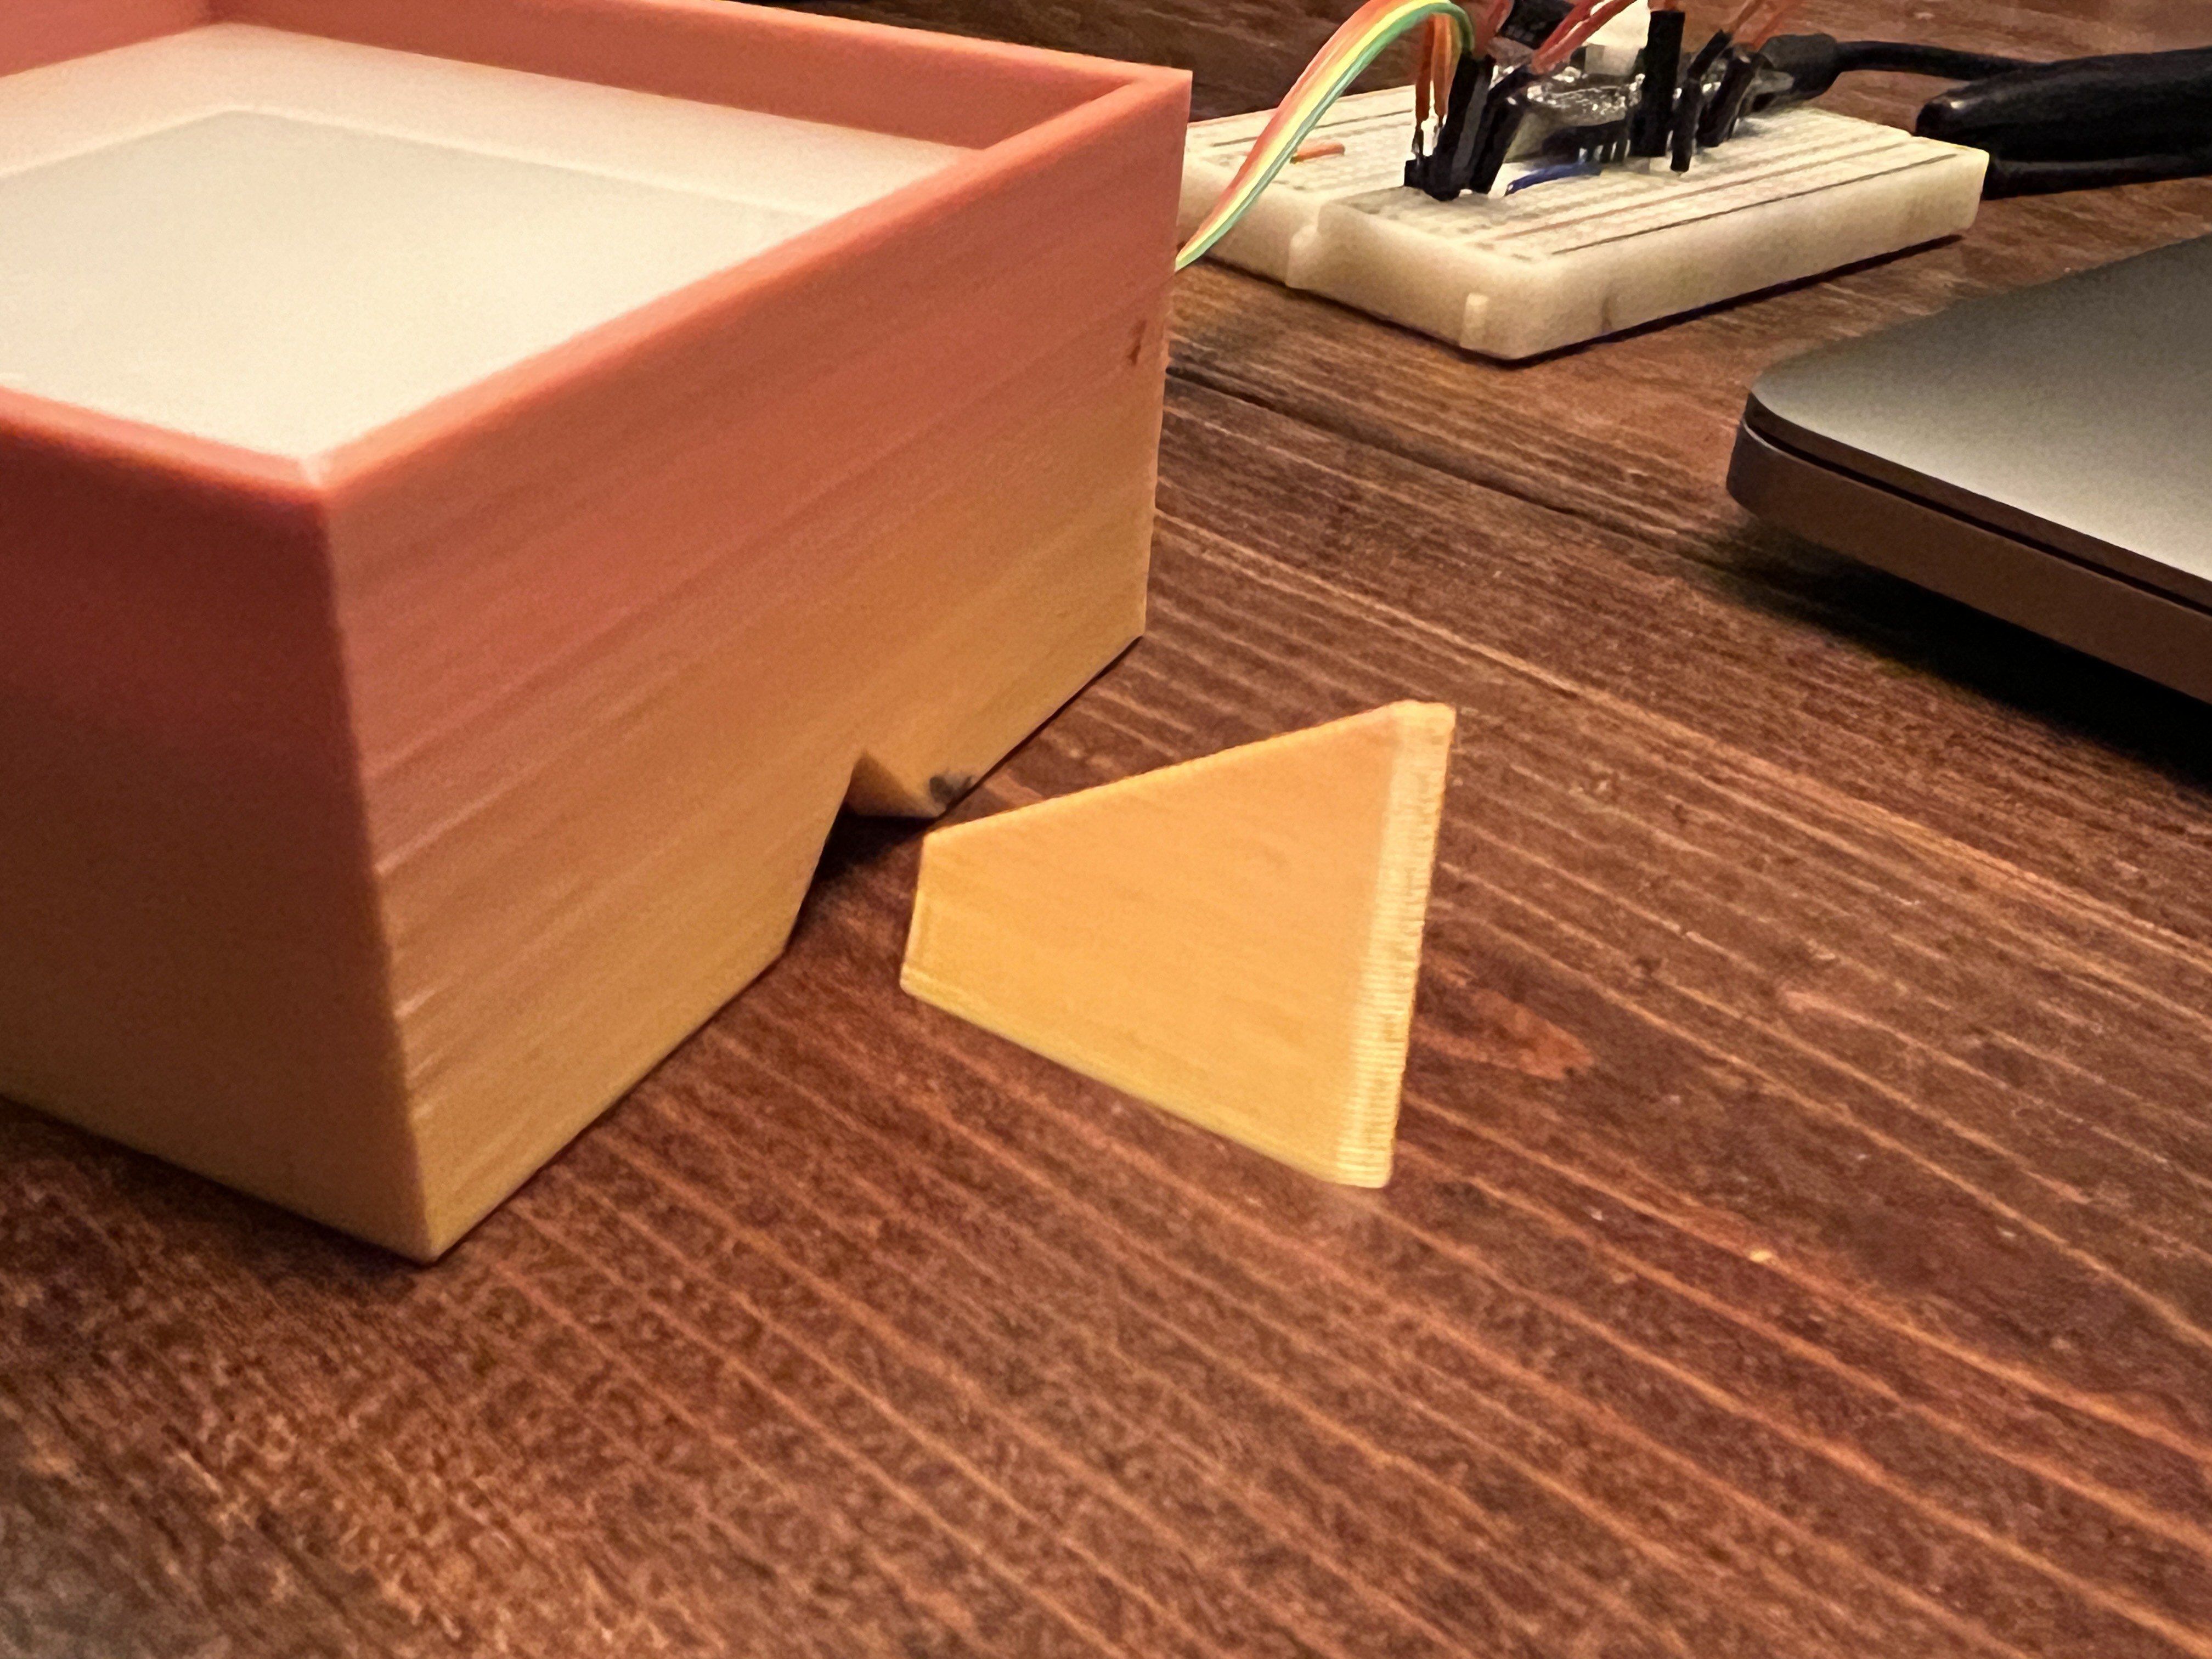
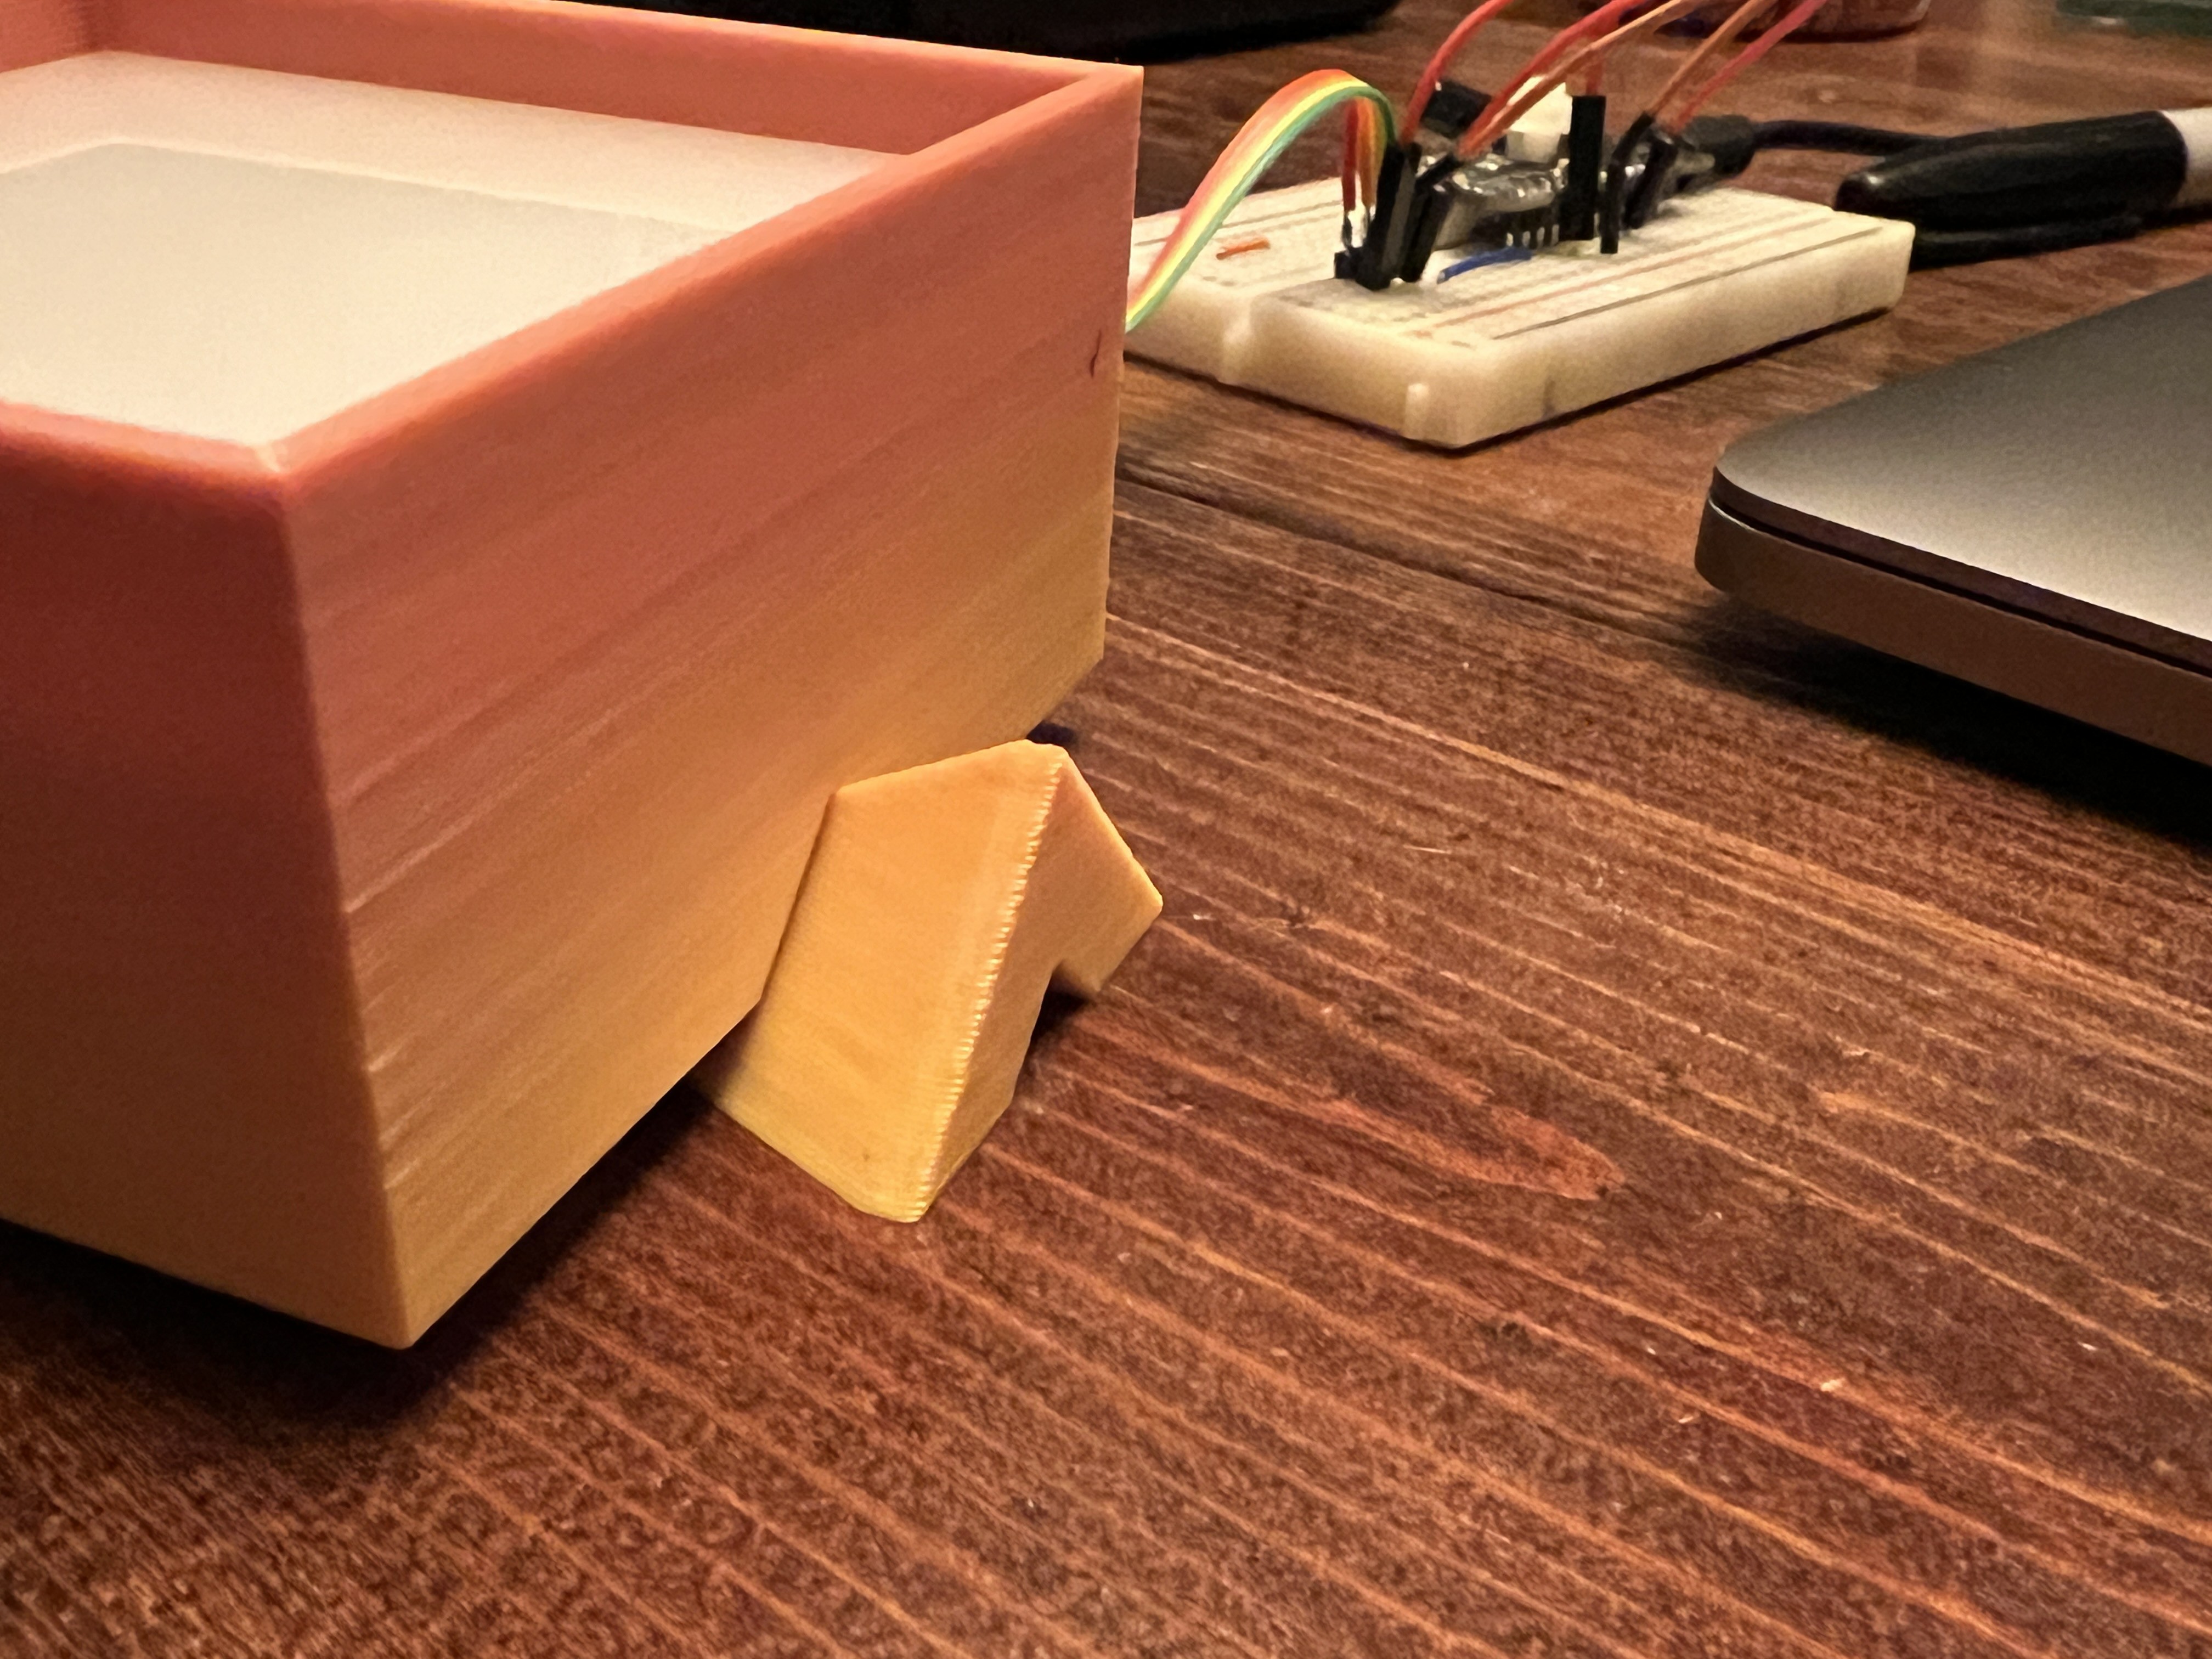
The box with the acrylic fit over the PCB, and the half-pyramid pieces slid in either side to raise or lower the acrylic.
LED Patterns
Here are the LED & color patterns I was testing. The brightness is kept at 50% for each color -- if I optimized for 100%, the diffusion would look pretty bad at anything less than full brightness.
Diffusion in action
The video doesn't do it justice, but you can see how the diffusion changes as the height changes.
Results
After several rounds of testing and two different LED grids, I found that the outer square pattern at a distance of 1/2" (13mm) from the acrylic provides the best overall diffusion. This put's each floor tile at about 1" thick (1/4" acrylic + 1/2" diffusion gap + 1/4" floor tile base).
For comparison, this is a pretty big improvement over the original dance floor which was 4" thick.
Discussions
Become a Hackaday.io Member
Create an account to leave a comment. Already have an account? Log In.