 leumasyerrp
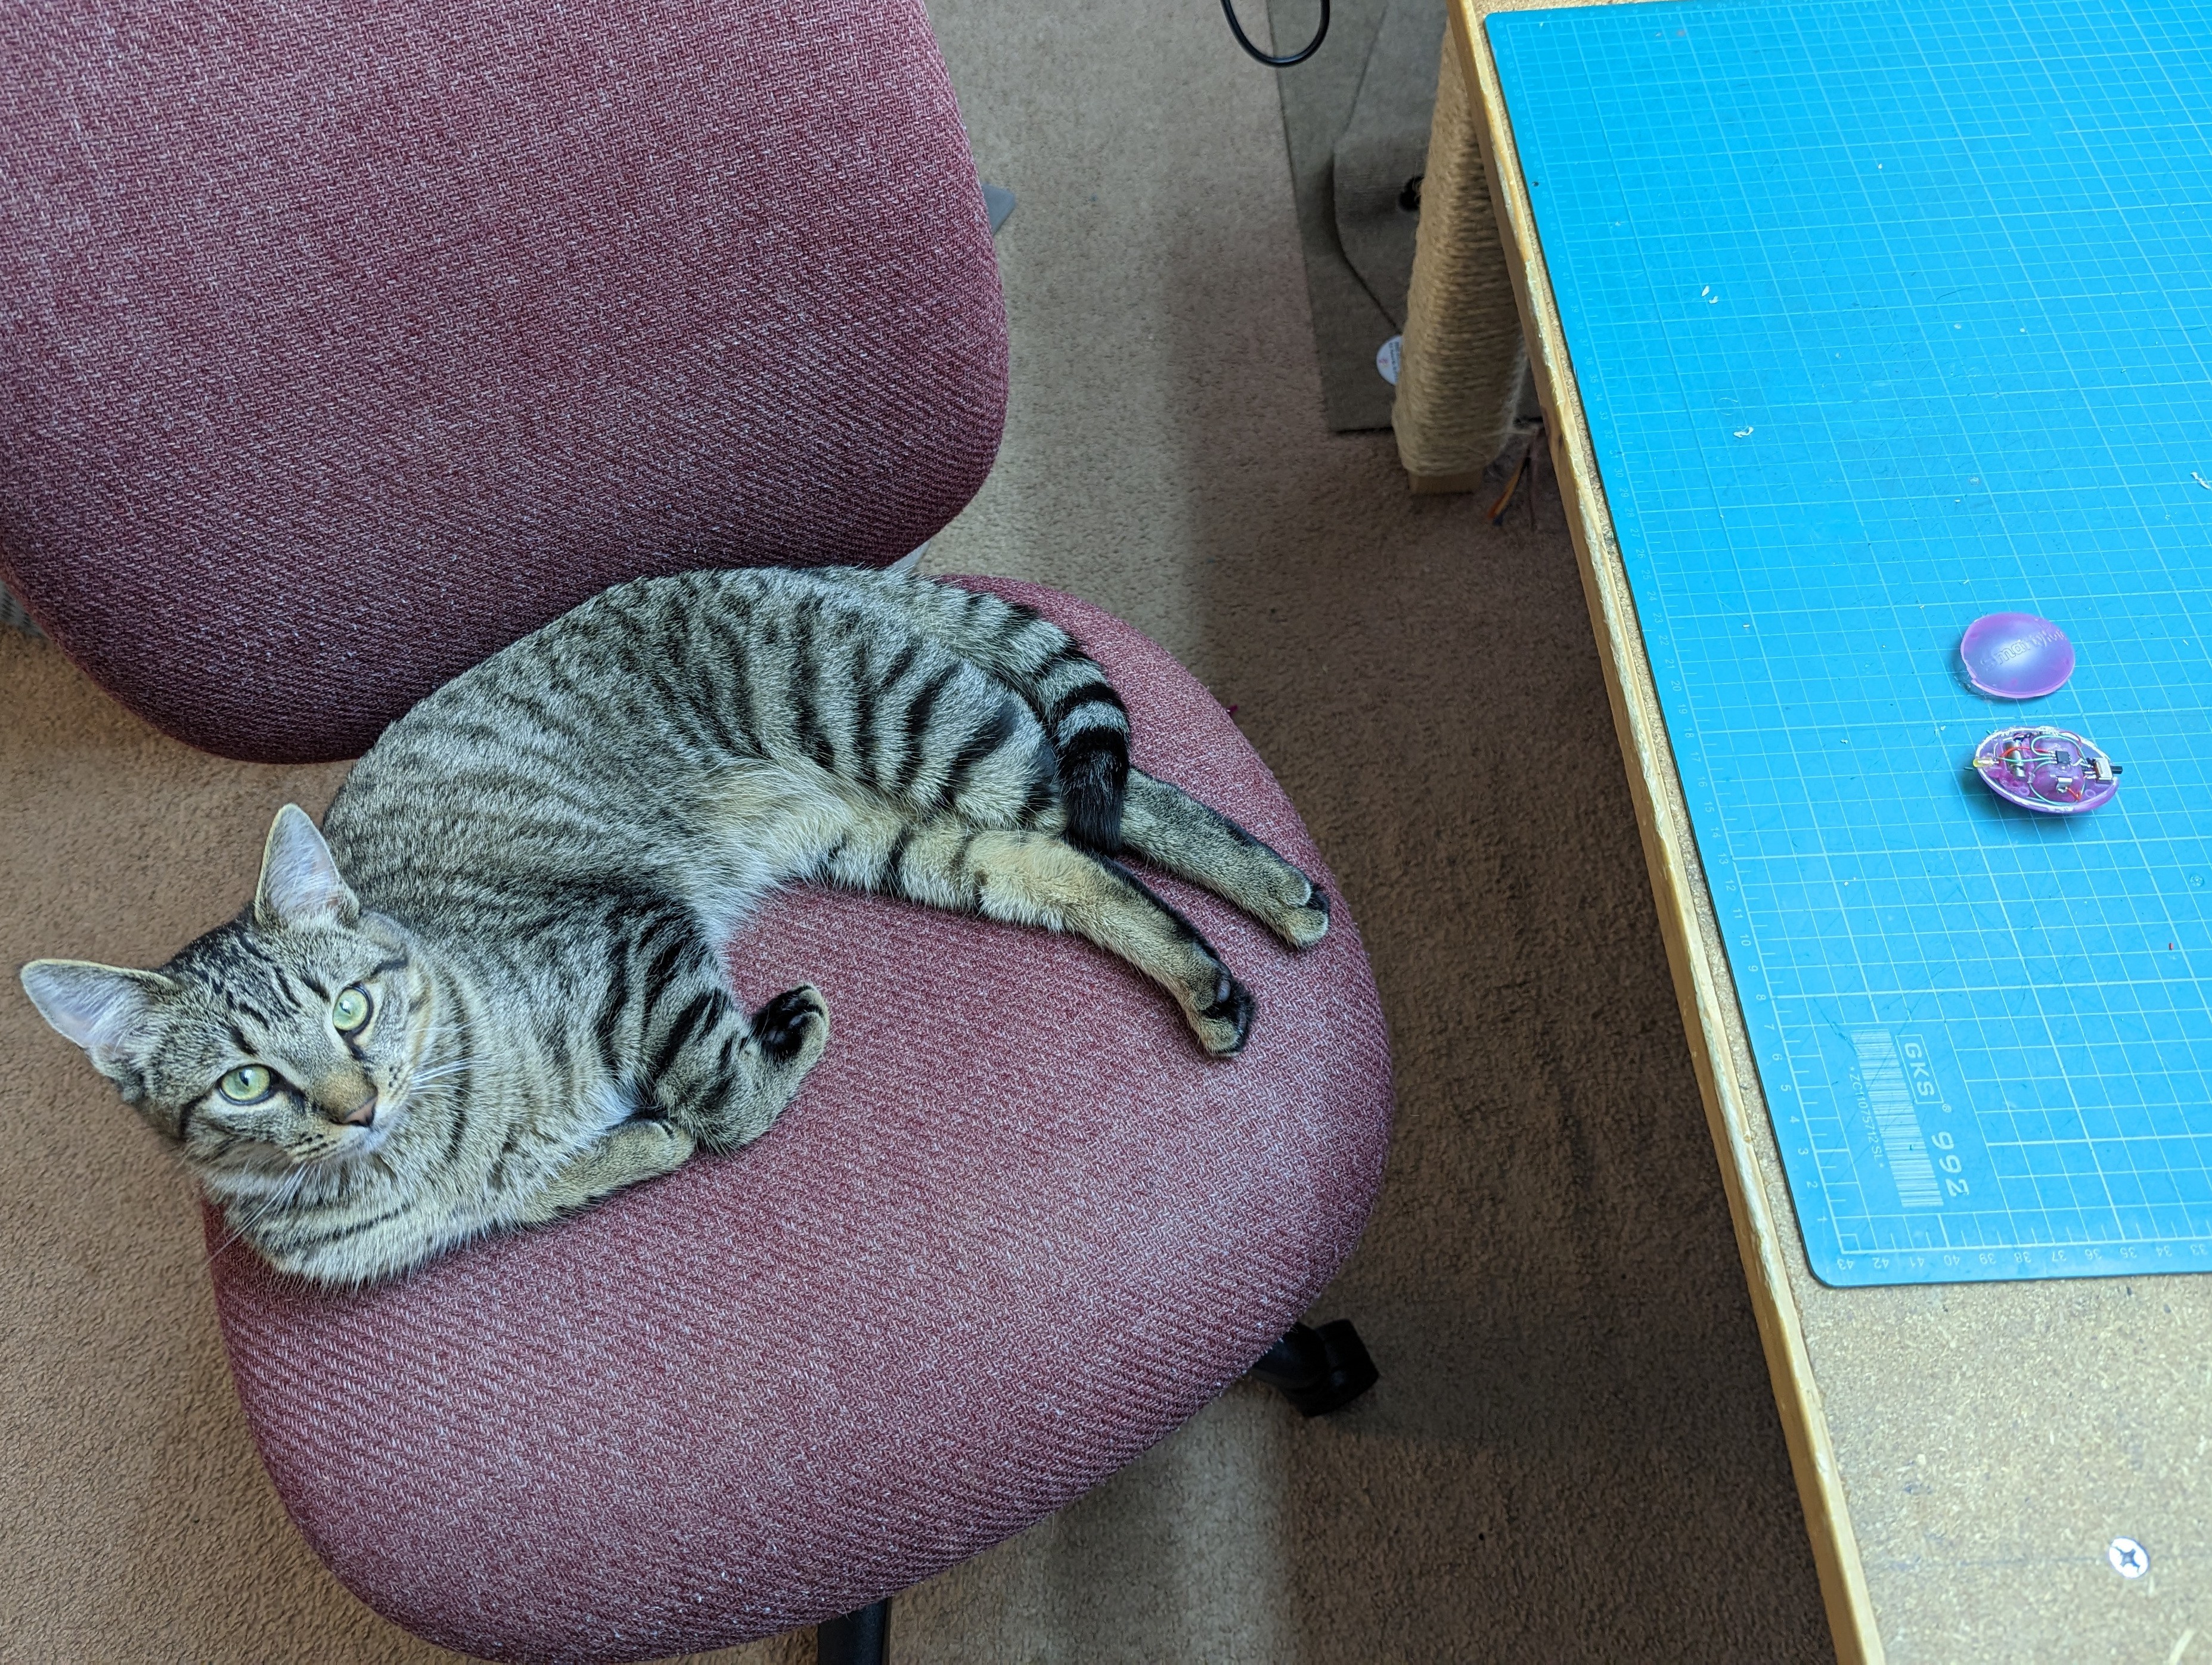
I was able with a little coaxing to stuff all the electronics back into the toy and reassemble it. With some help from my lab assistant in the photo below, assembly took about 1.5 hours.
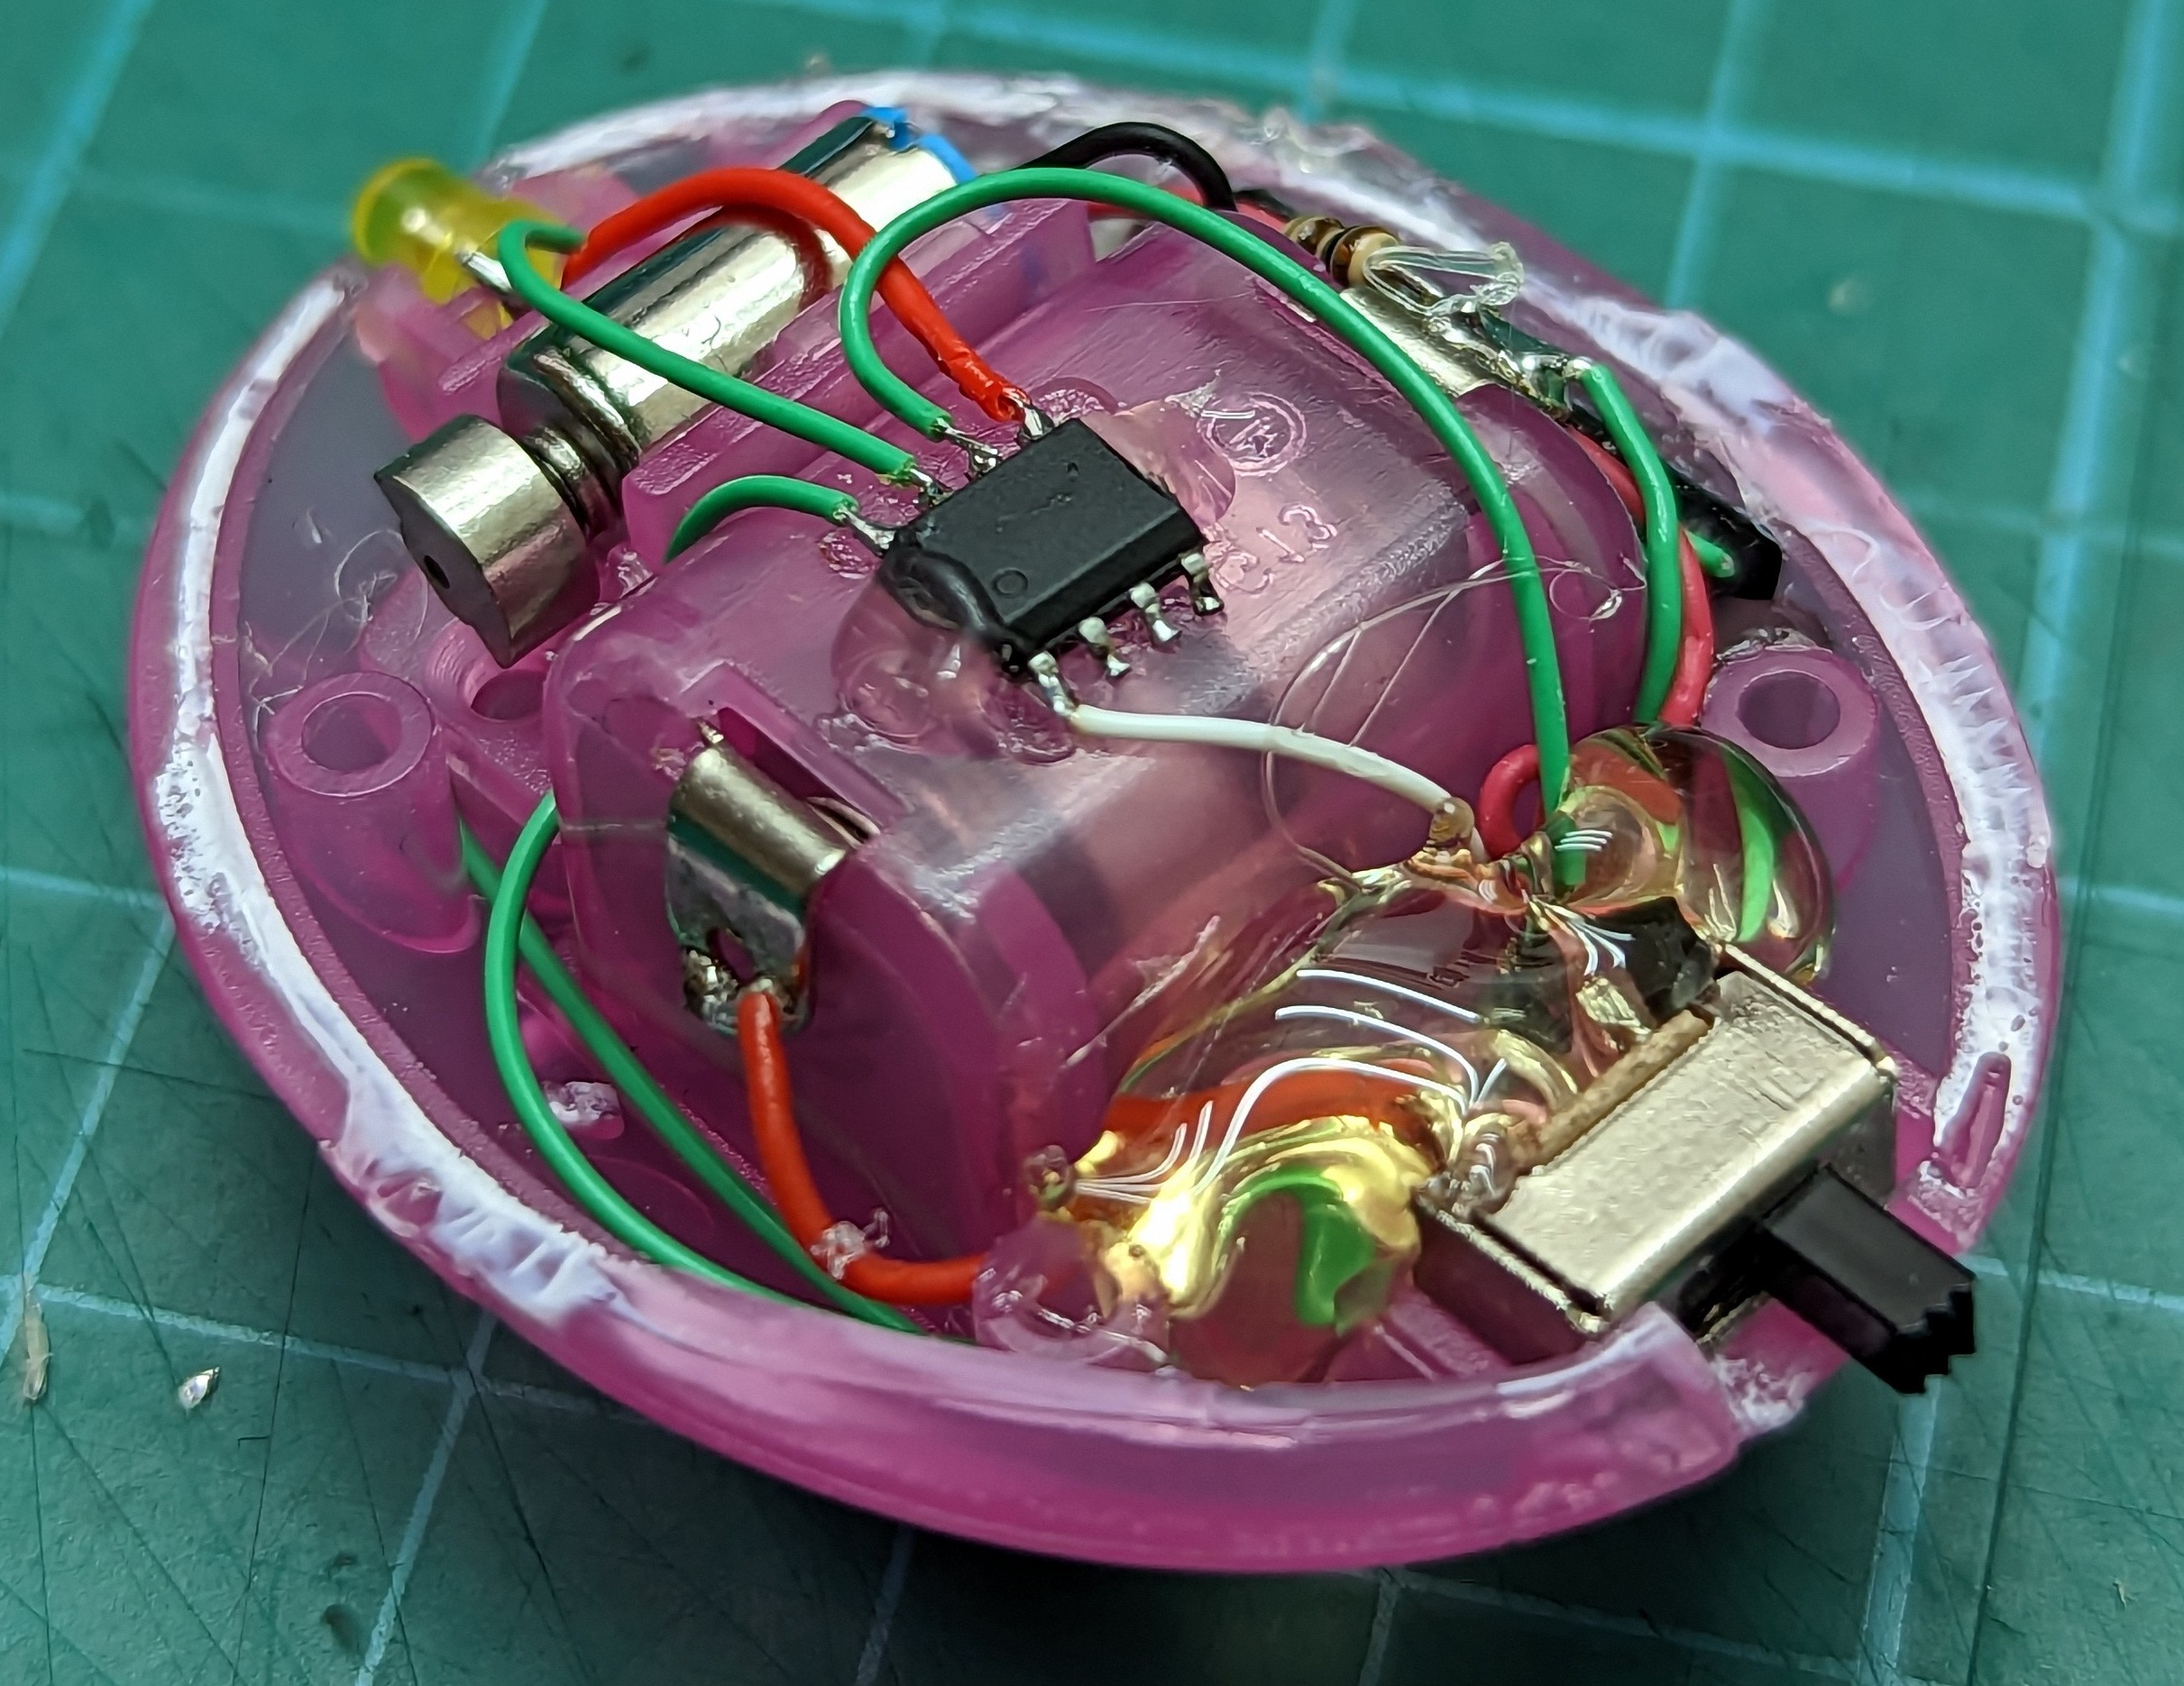
I started assembly by placing the vibration switch first since it was the largest of the new components. I trimmed some of the plastic supports and glued it into place on the side under the negative battery terminal. Then I soldered the input protection MOSFET to the power switch utilizing the unused 3rd pin on the switch to make a positive power rail. The PFS154-S08 was glued to the top of the battery compartment. The final component to place was the MOSFET for the motor which I also soldered to the 3rd pin on the power switch.
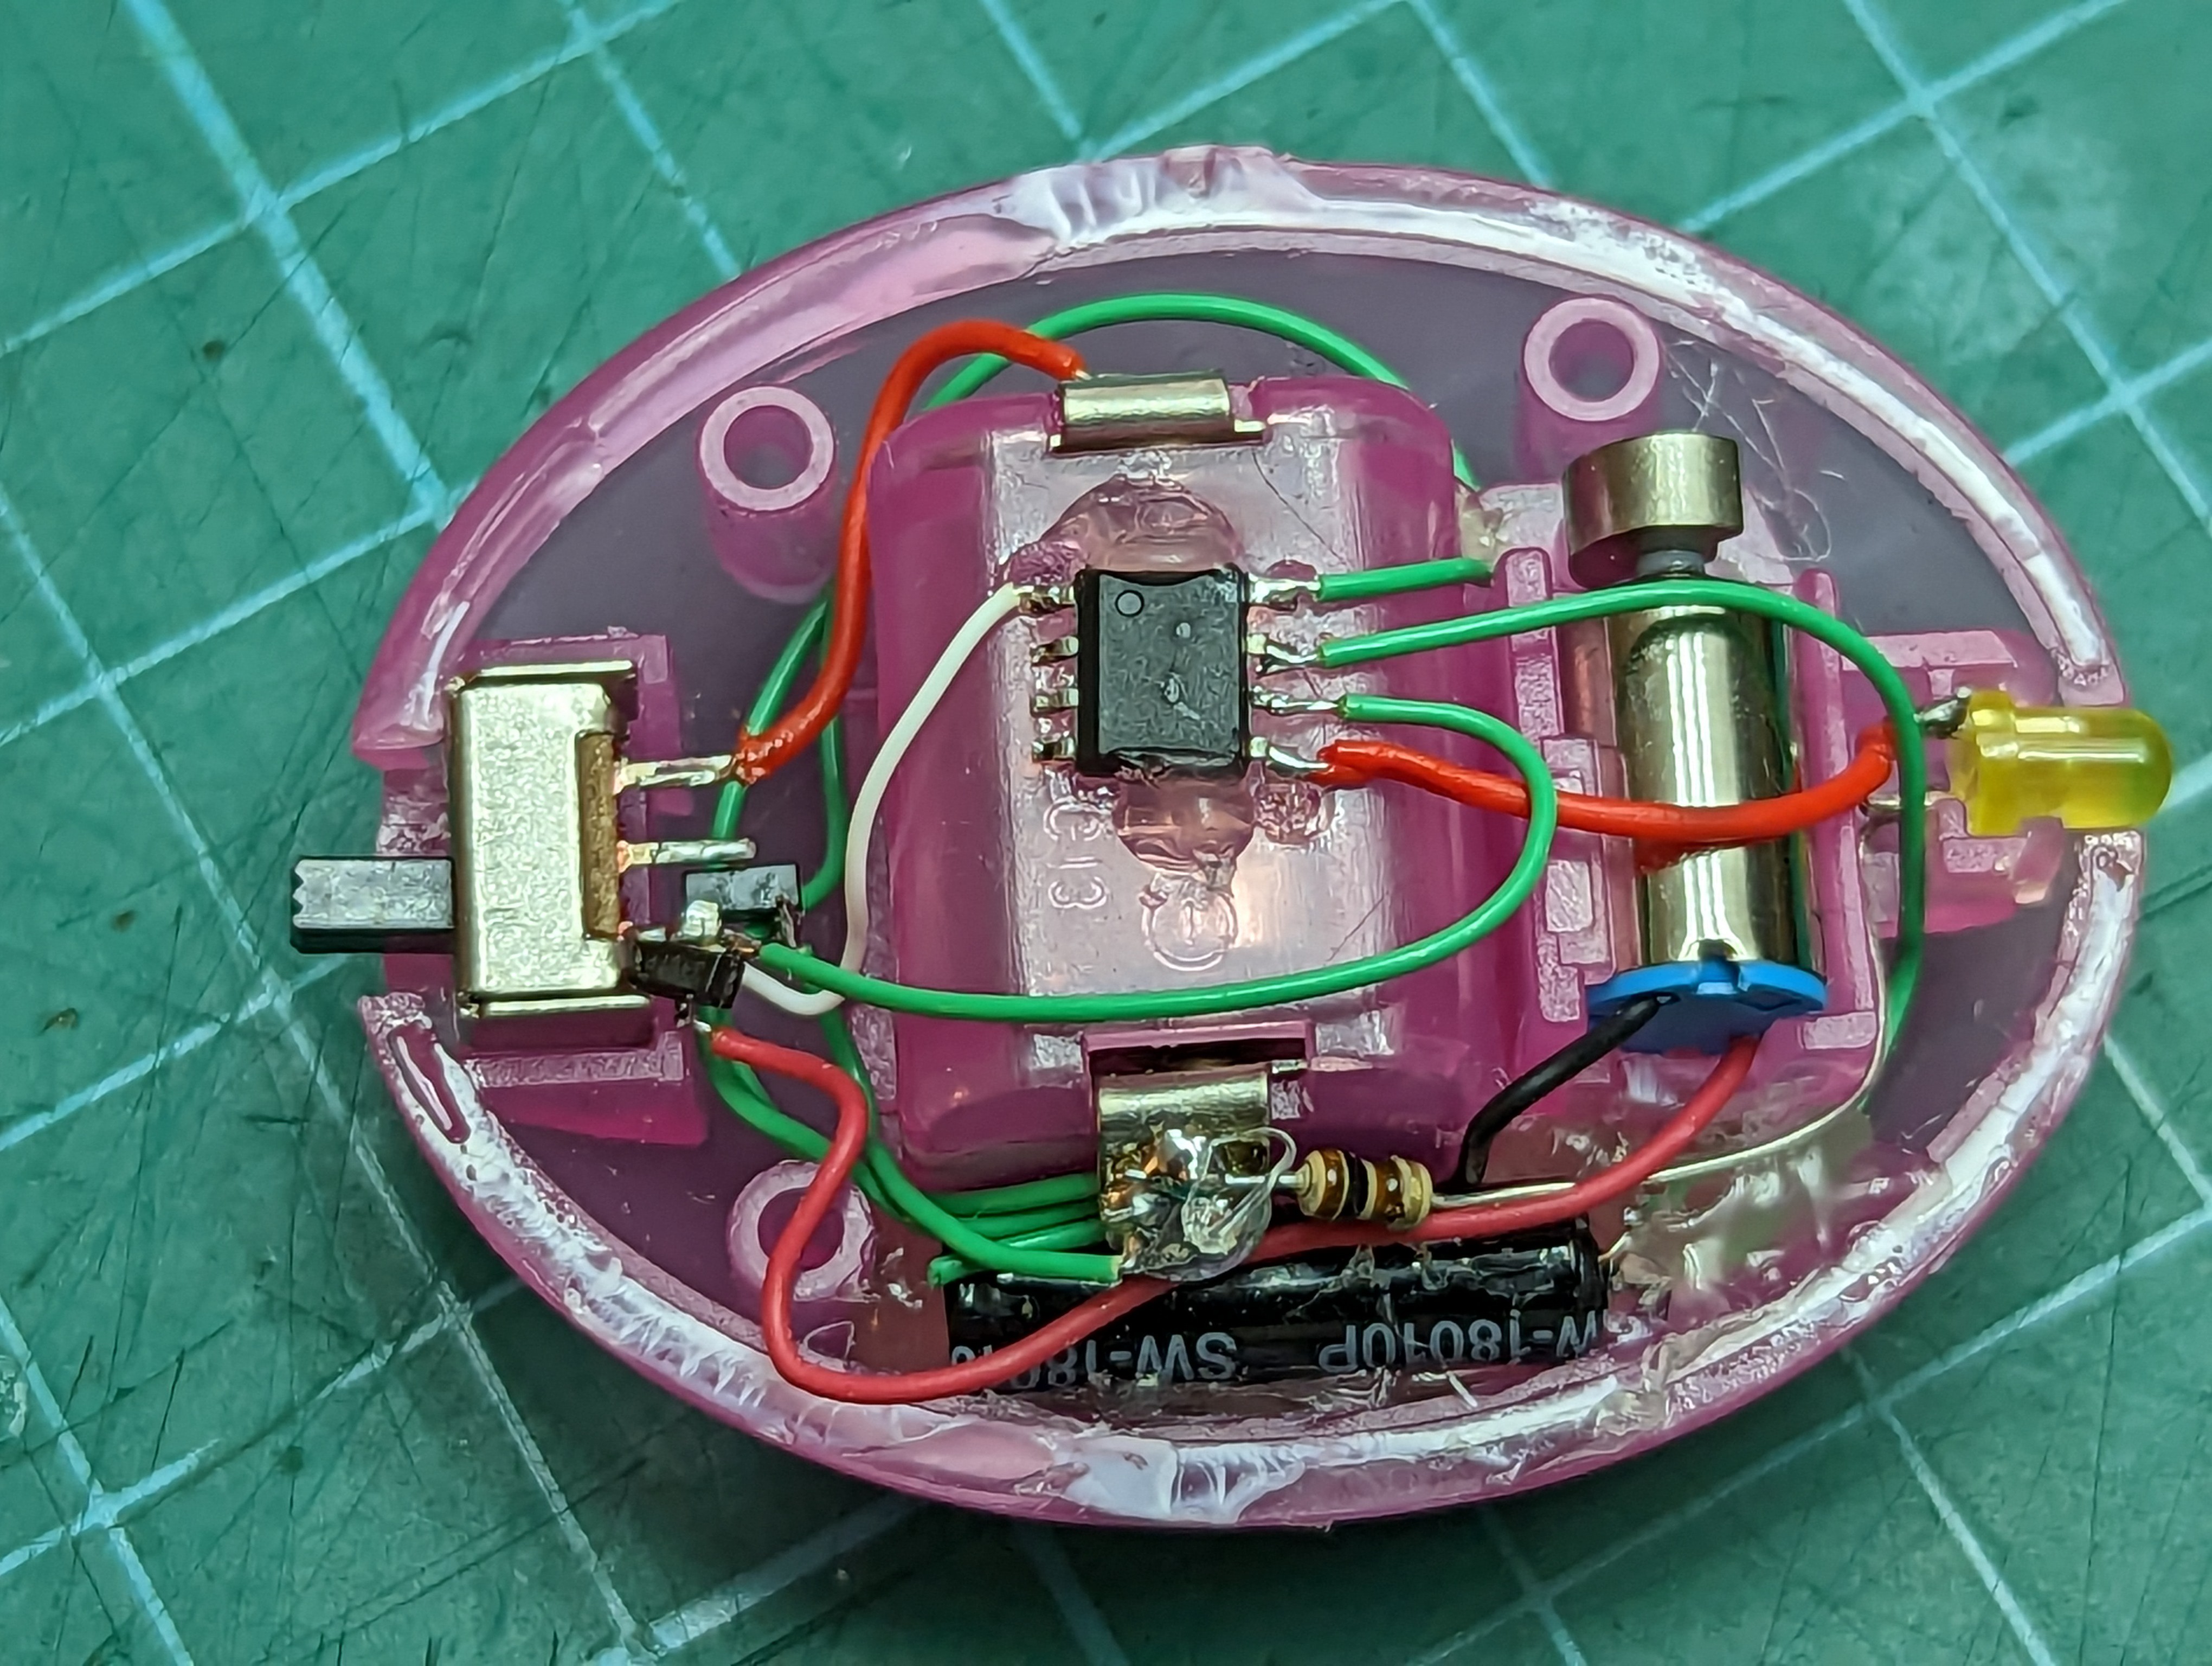
With everything wired up I tested the toy to make sure it would work and then filled in some of the areas with hot glue to reduce the chance of connections working loose.
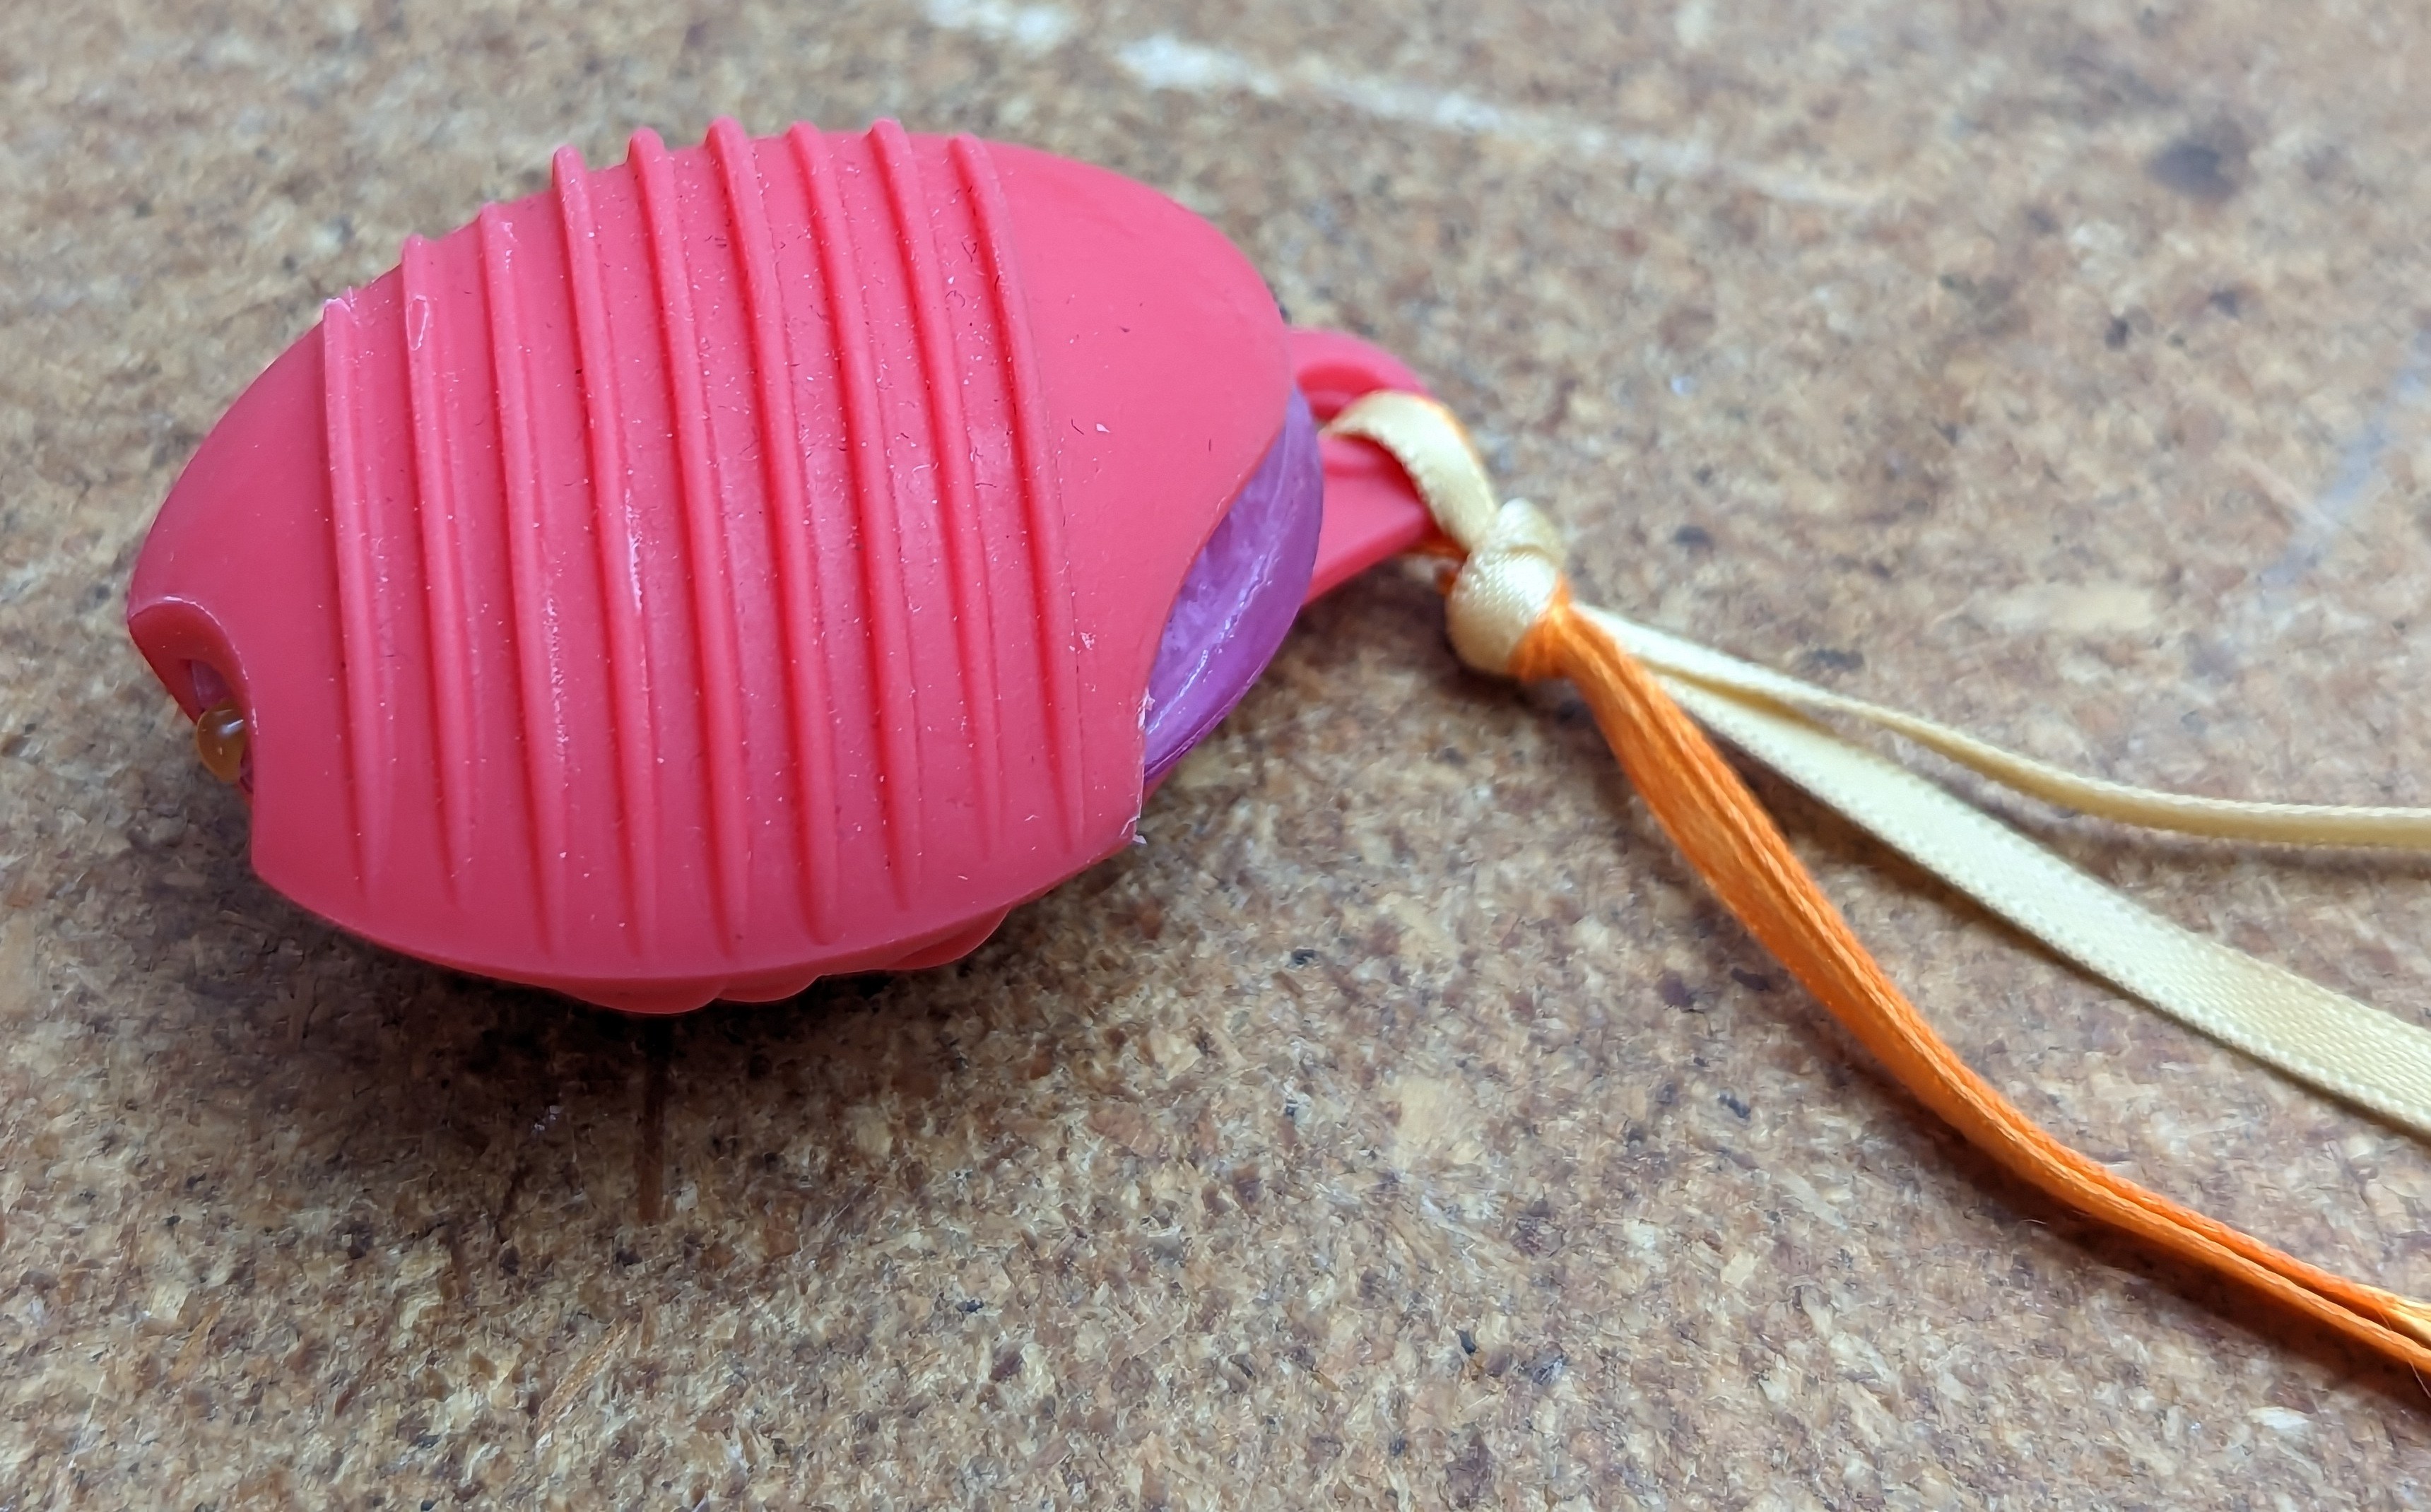
The final step was to test fit the cover and then after confirming everything would fit I applied super glue to the seam to seal up the electronics.
Now for some play testing and obligatory cat video.
Discussions
Become a Hackaday.io Member
Create an account to leave a comment. Already have an account? Log In.