 Nguyen Vincent
As this was the first iteration of the board, I wanted to keep the costs down as much as possible. My choice of parts made it very expensive to have a one-off assembled by a PCB manufacturer. Fortunately, I have built previously a DIY reflow oven based off the Controleo 3 reflow oven controller. This oven is quite small, which means that it cannot fit a normal TKL sized keyboard, but is perfect for split keyboards :). If you are based in Europe however, it's quite of a pain to build, as there aren't many high-power, small, quartz heater based toasters. Actually, I needed to buy 2 ovens (and burnt one in the process) so I could transfer some of the quartz heaters for larger heating capacity.
You can see in the oven some of the alignment PCBs that I've ordered along with the first iteration of the board. They are useful not only to fix the board in place when aligning the stencil, but also to reduce thermal mass inside the oven during reflow.
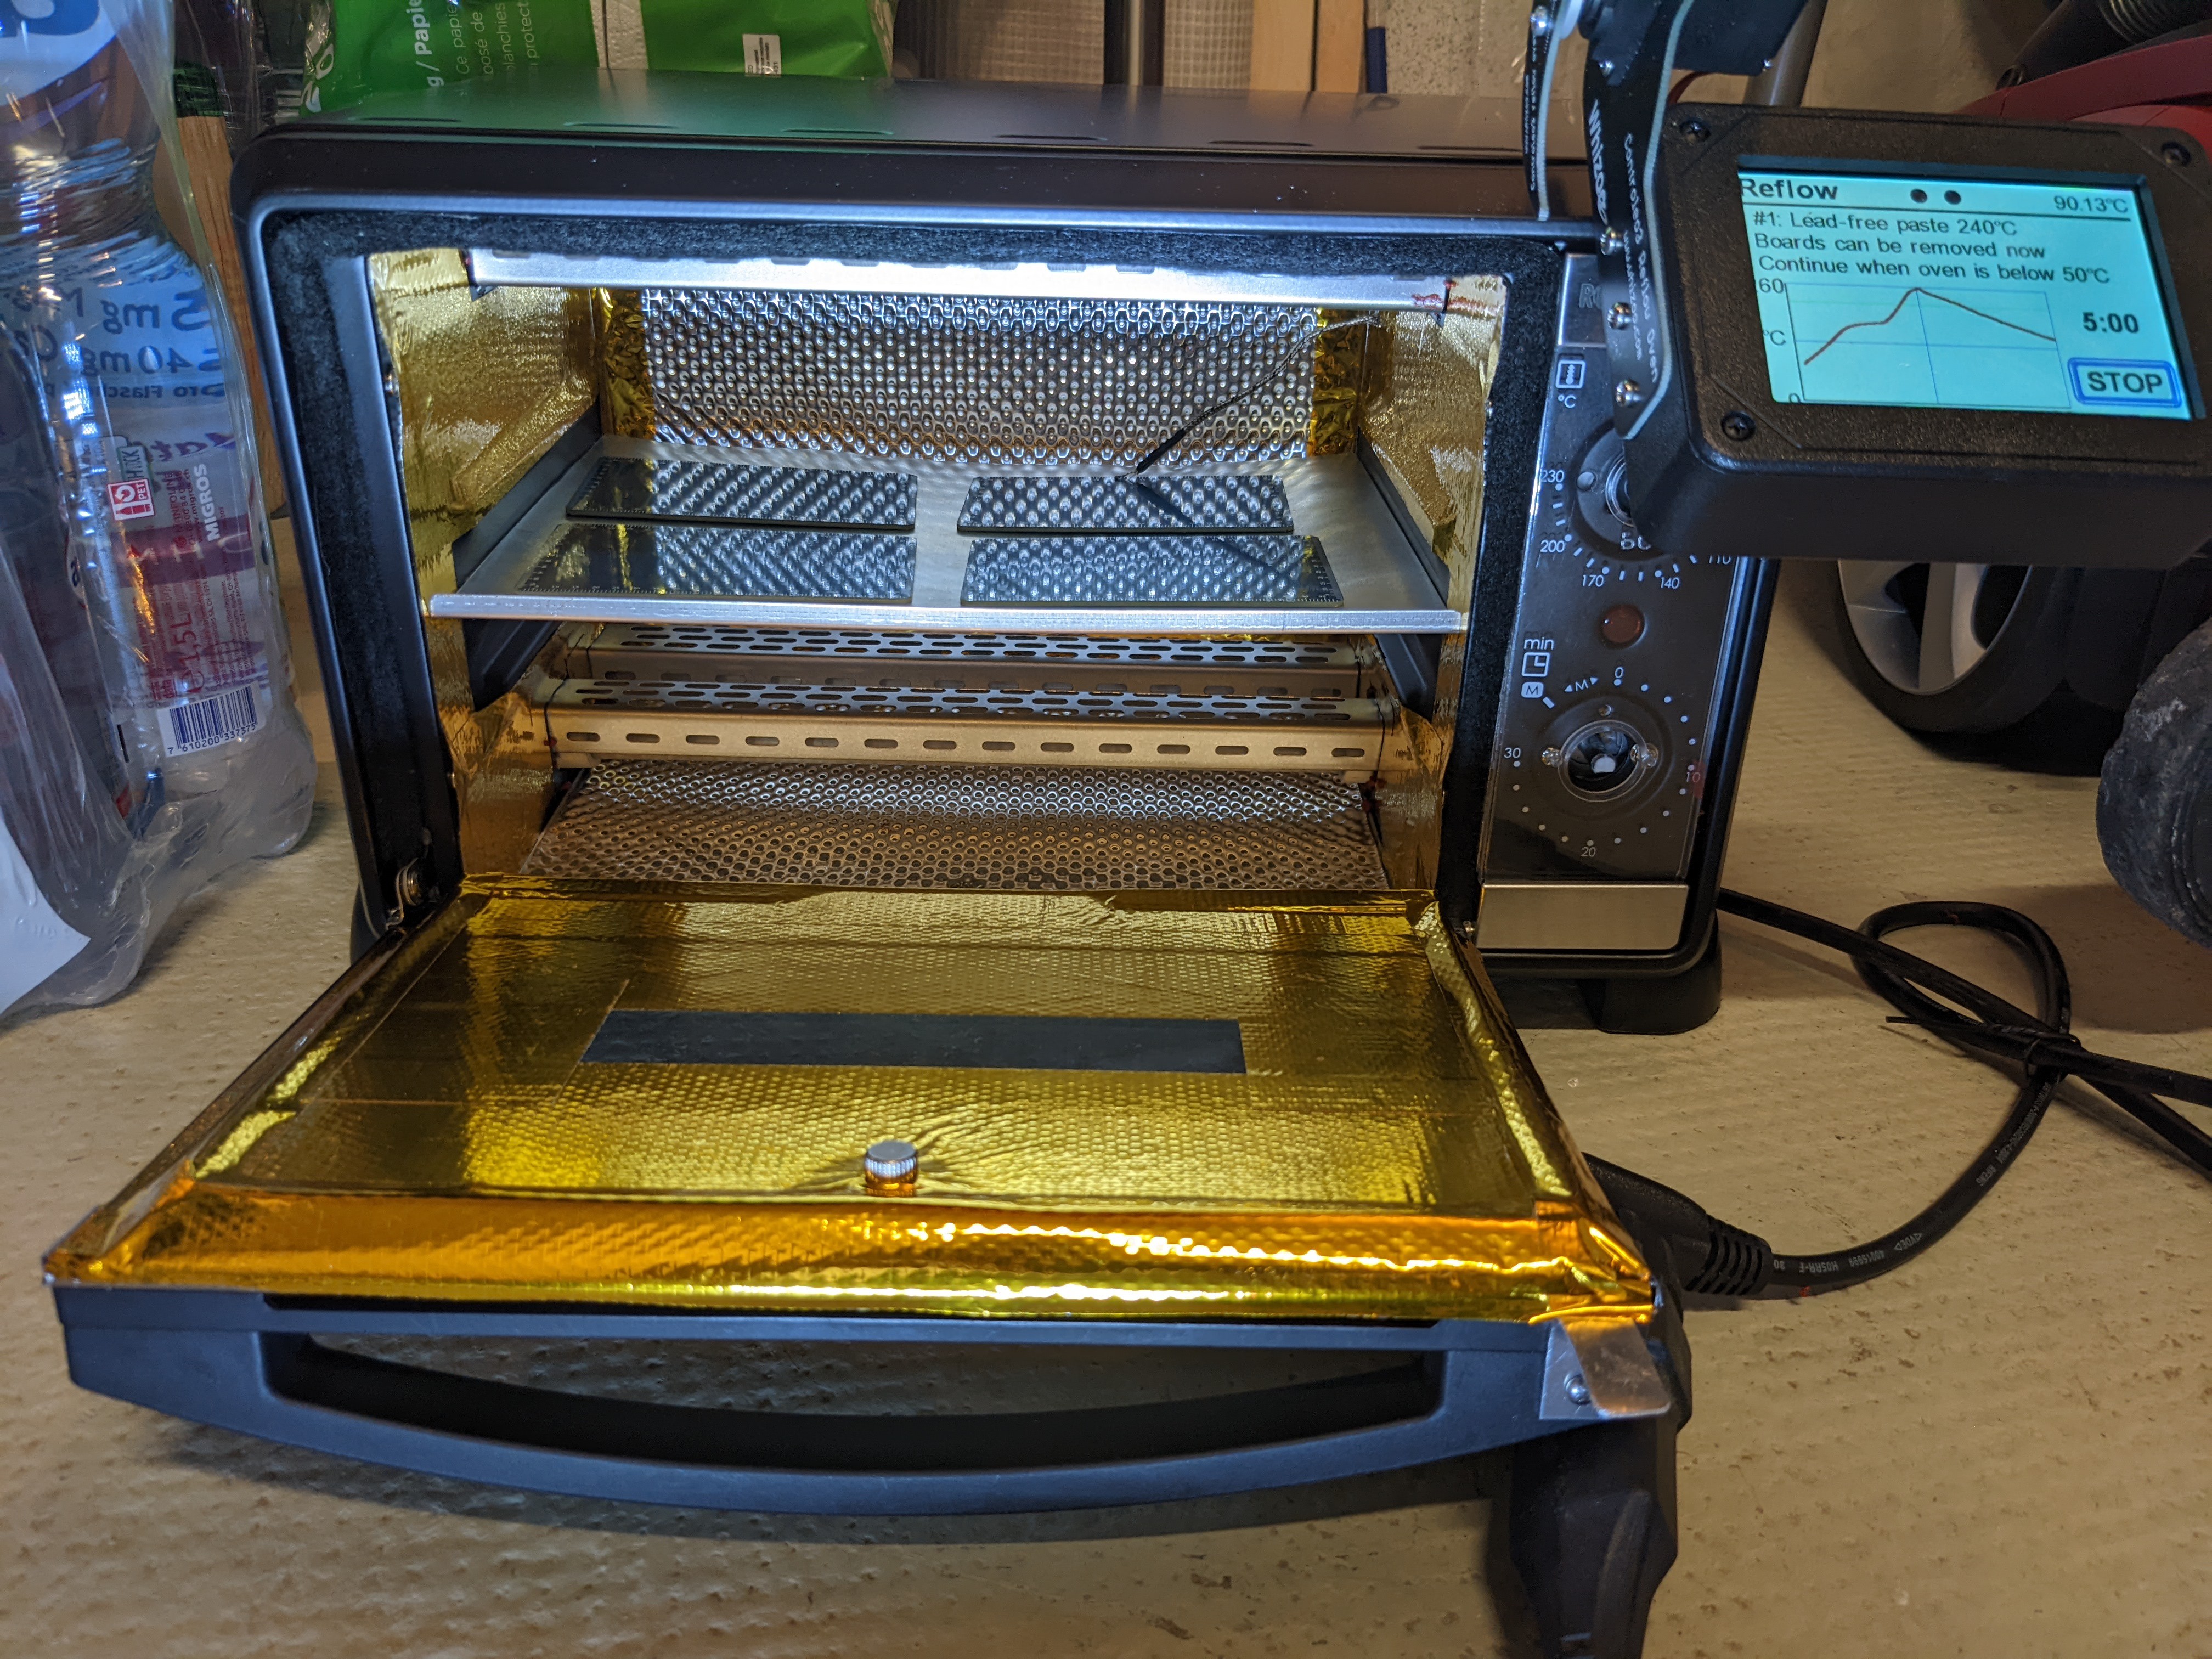
I actually first tested the oven with the external connector boards, with different pastes to see how it affected the result:
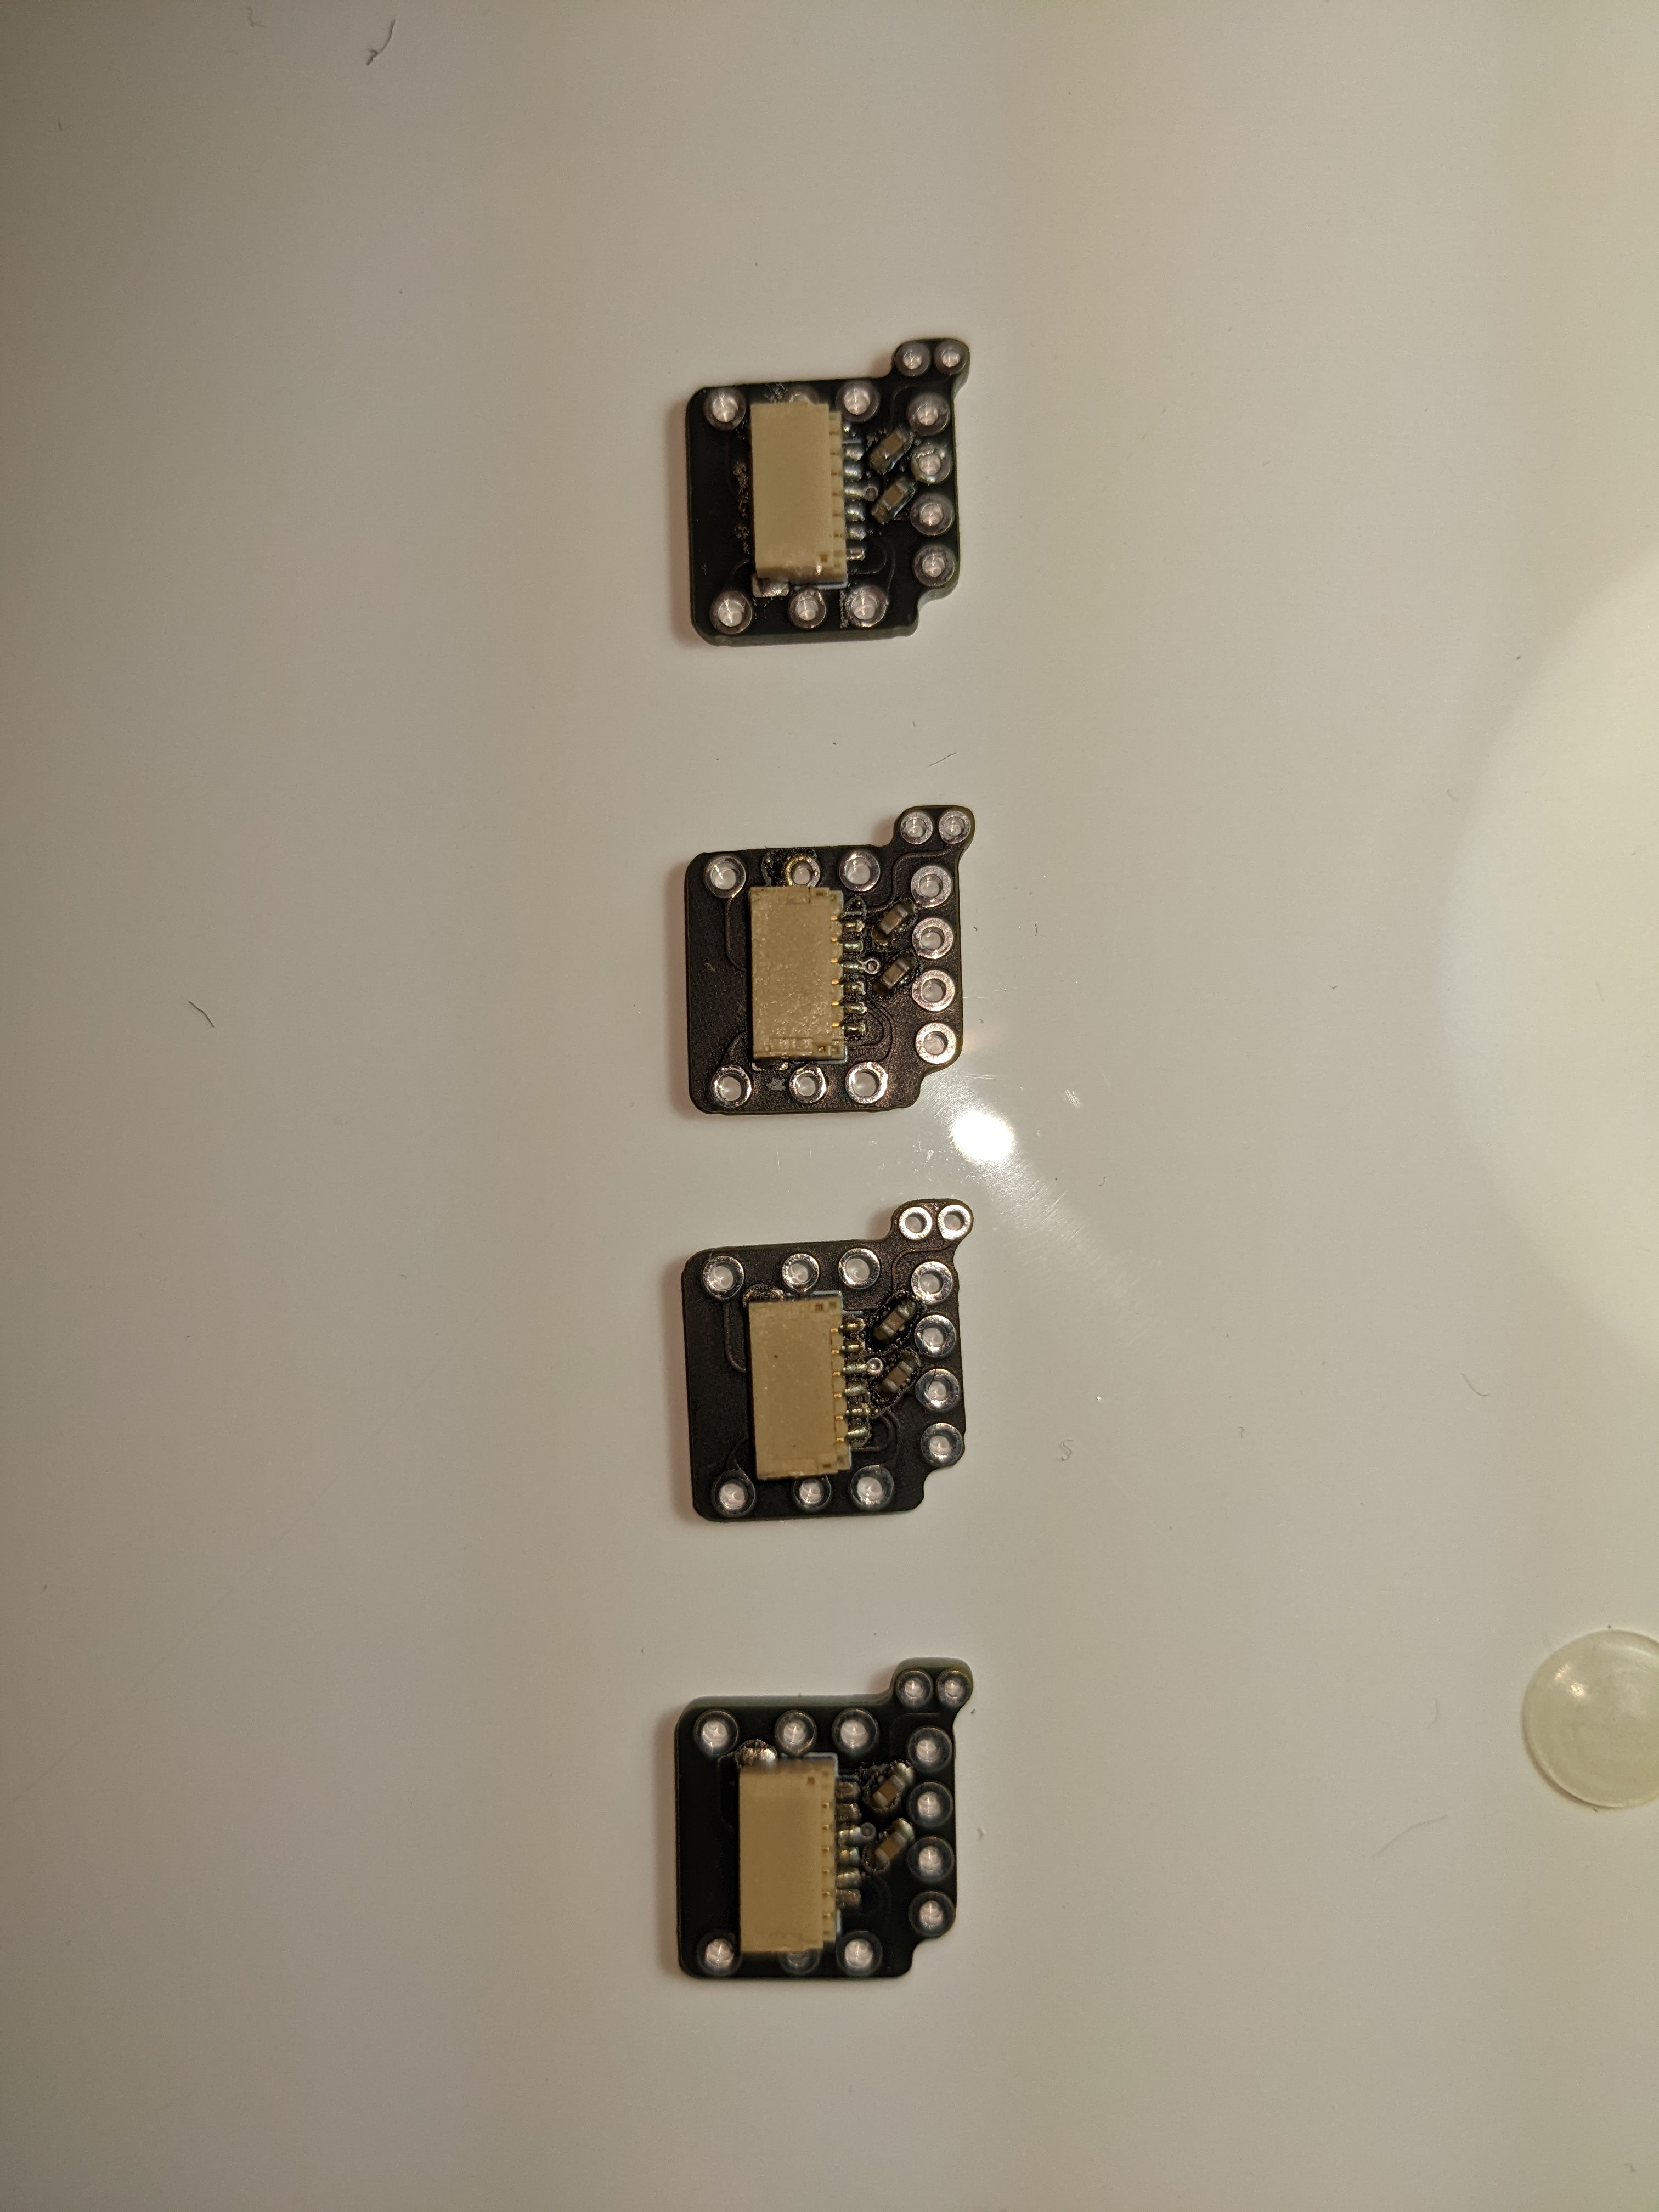
The top one uses lead-free solder paste in a jar, whereas the bottom ones use solder in a syringe. It is clear that the one in a jar gives better results, maybe because I mixed it for a few minutes before applying.
For all PCBs I used JLCPCB as it offered high quality PCBs for half the price of other competitors such as AISLER or PCBWay. This first iteration has a HASL surface finish to reduce cost as it was just to test the overall function. The stencils were ordered with electropolish finish, which reduces failure when applying solder paste by a lot (which is especially important for the nRF52 module, as all of the pads are at the bottom, and very small).
For this iteration, only the left half of the keyboard was assembled (in the picture the PCB is upside down).
Before reflow:
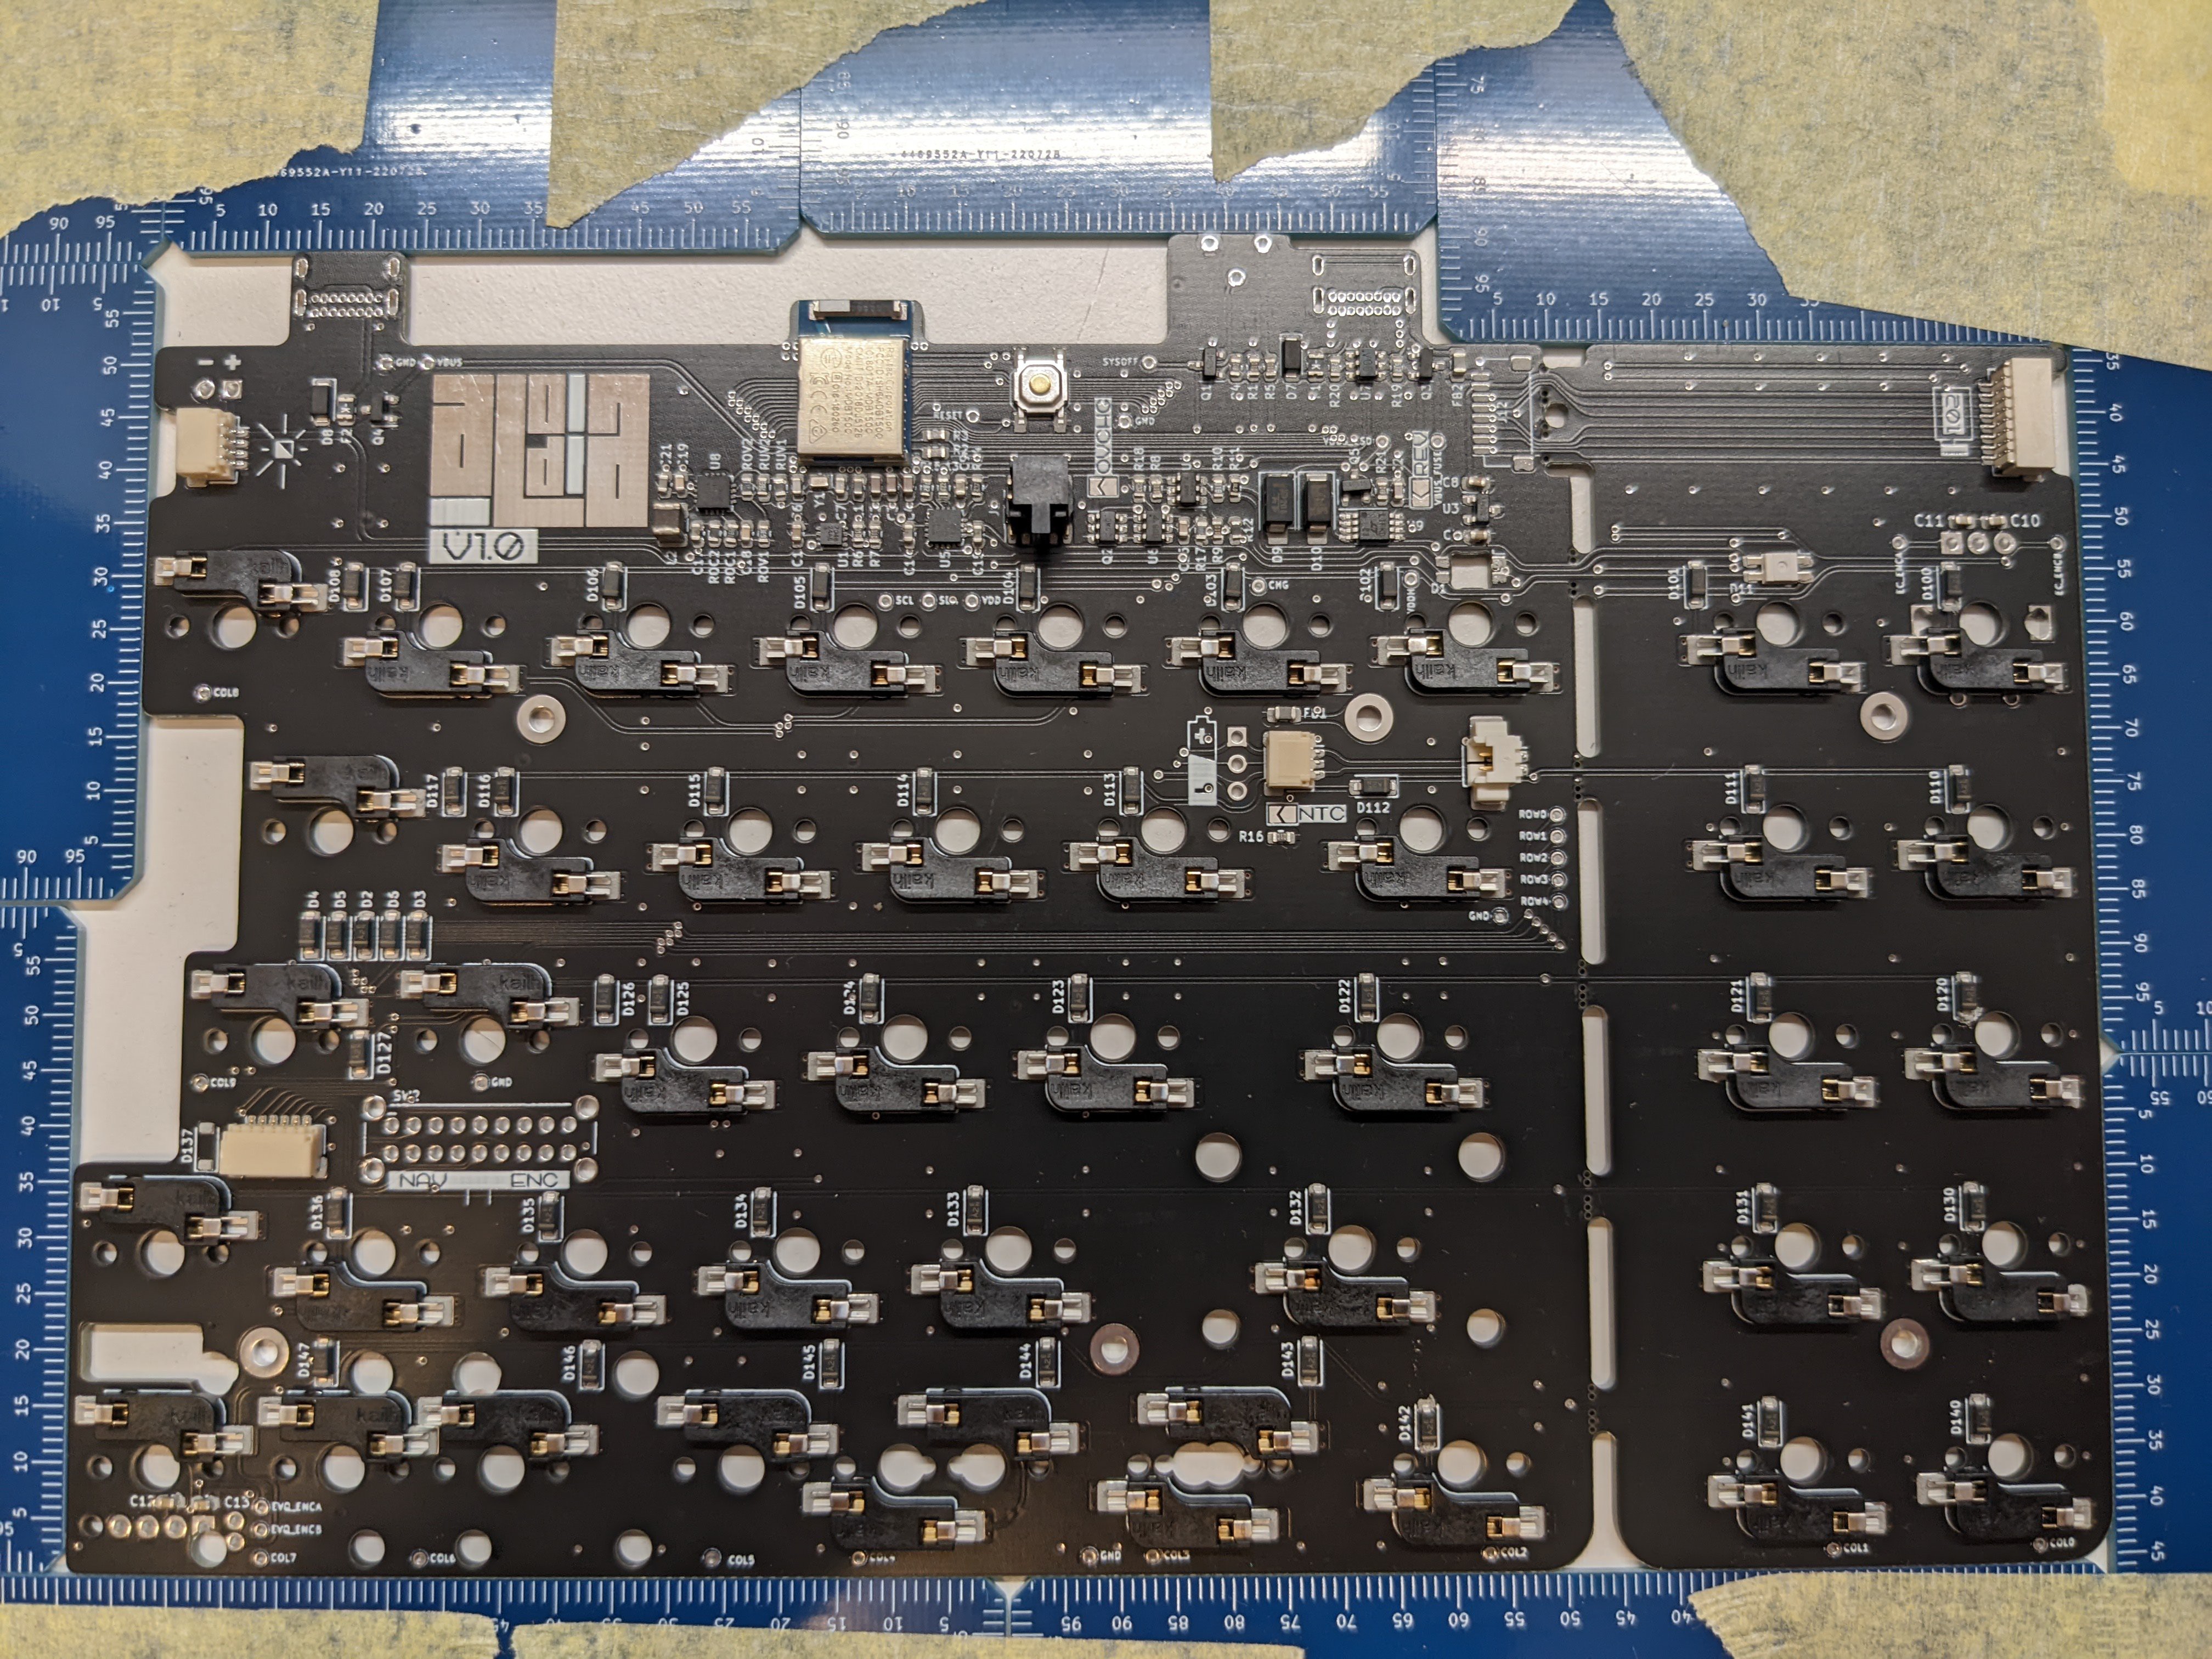
After reflow:
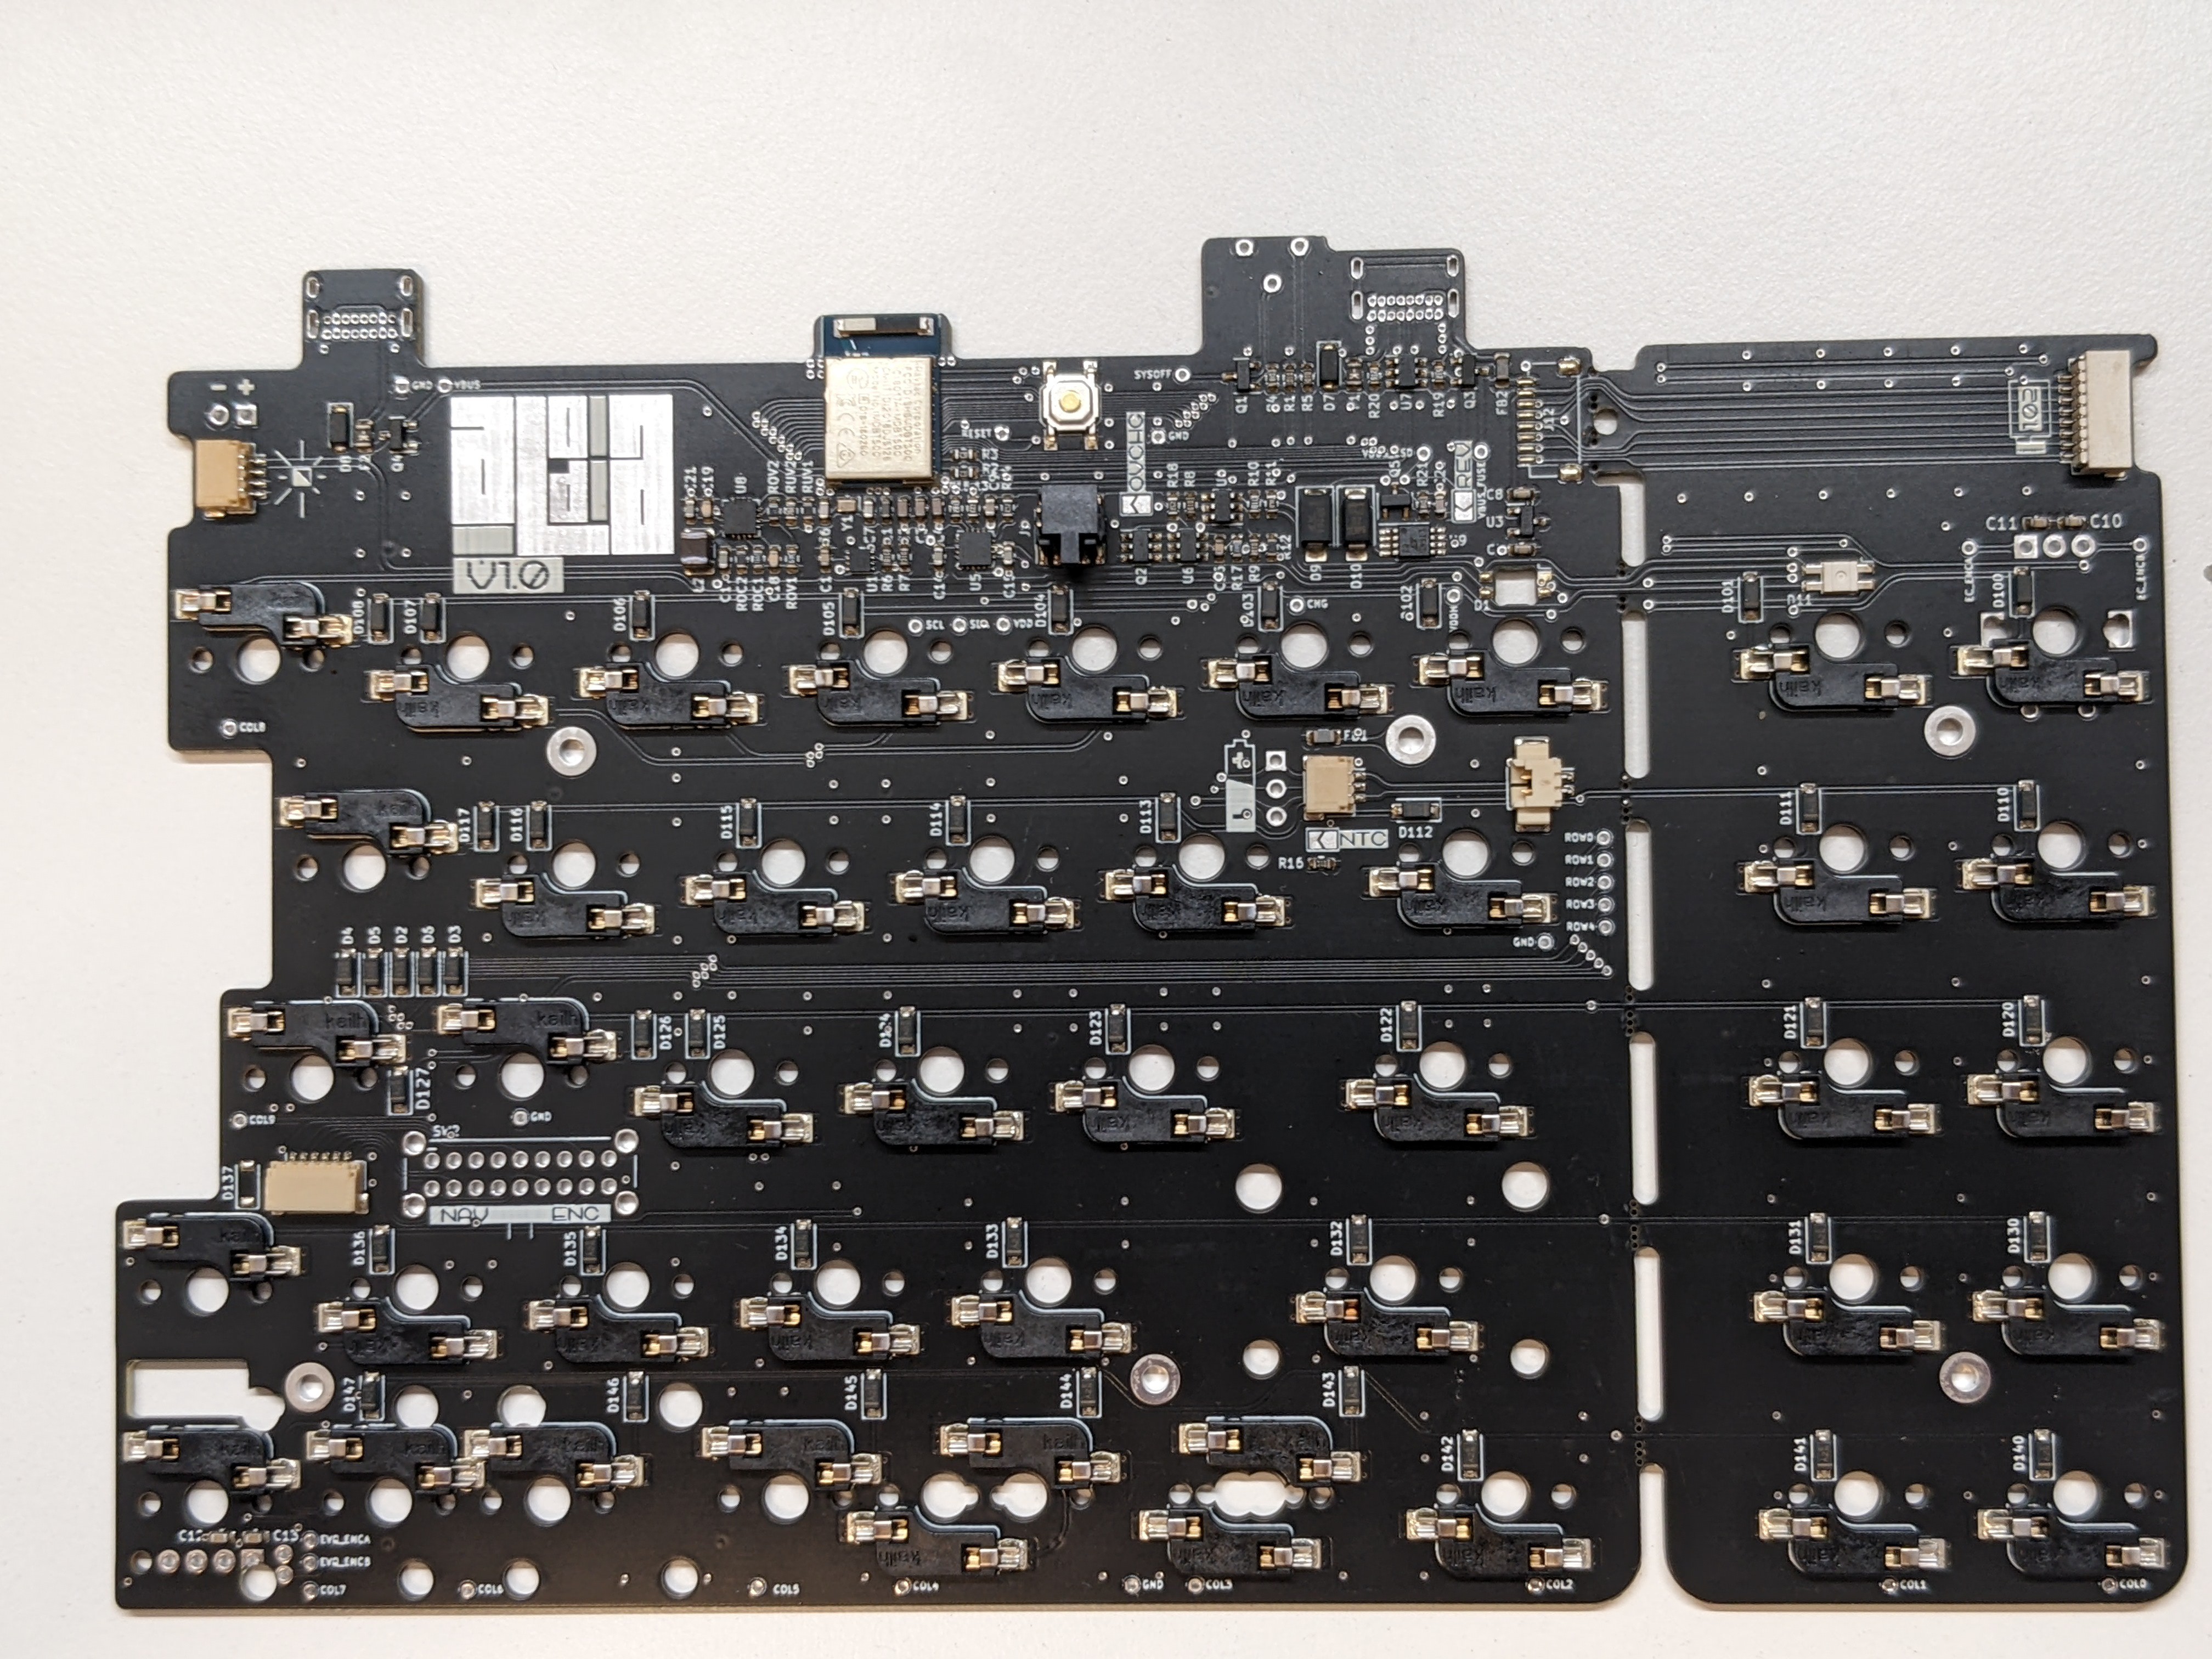
Inspecting the PCB (sorry for the messy desk ^^'):
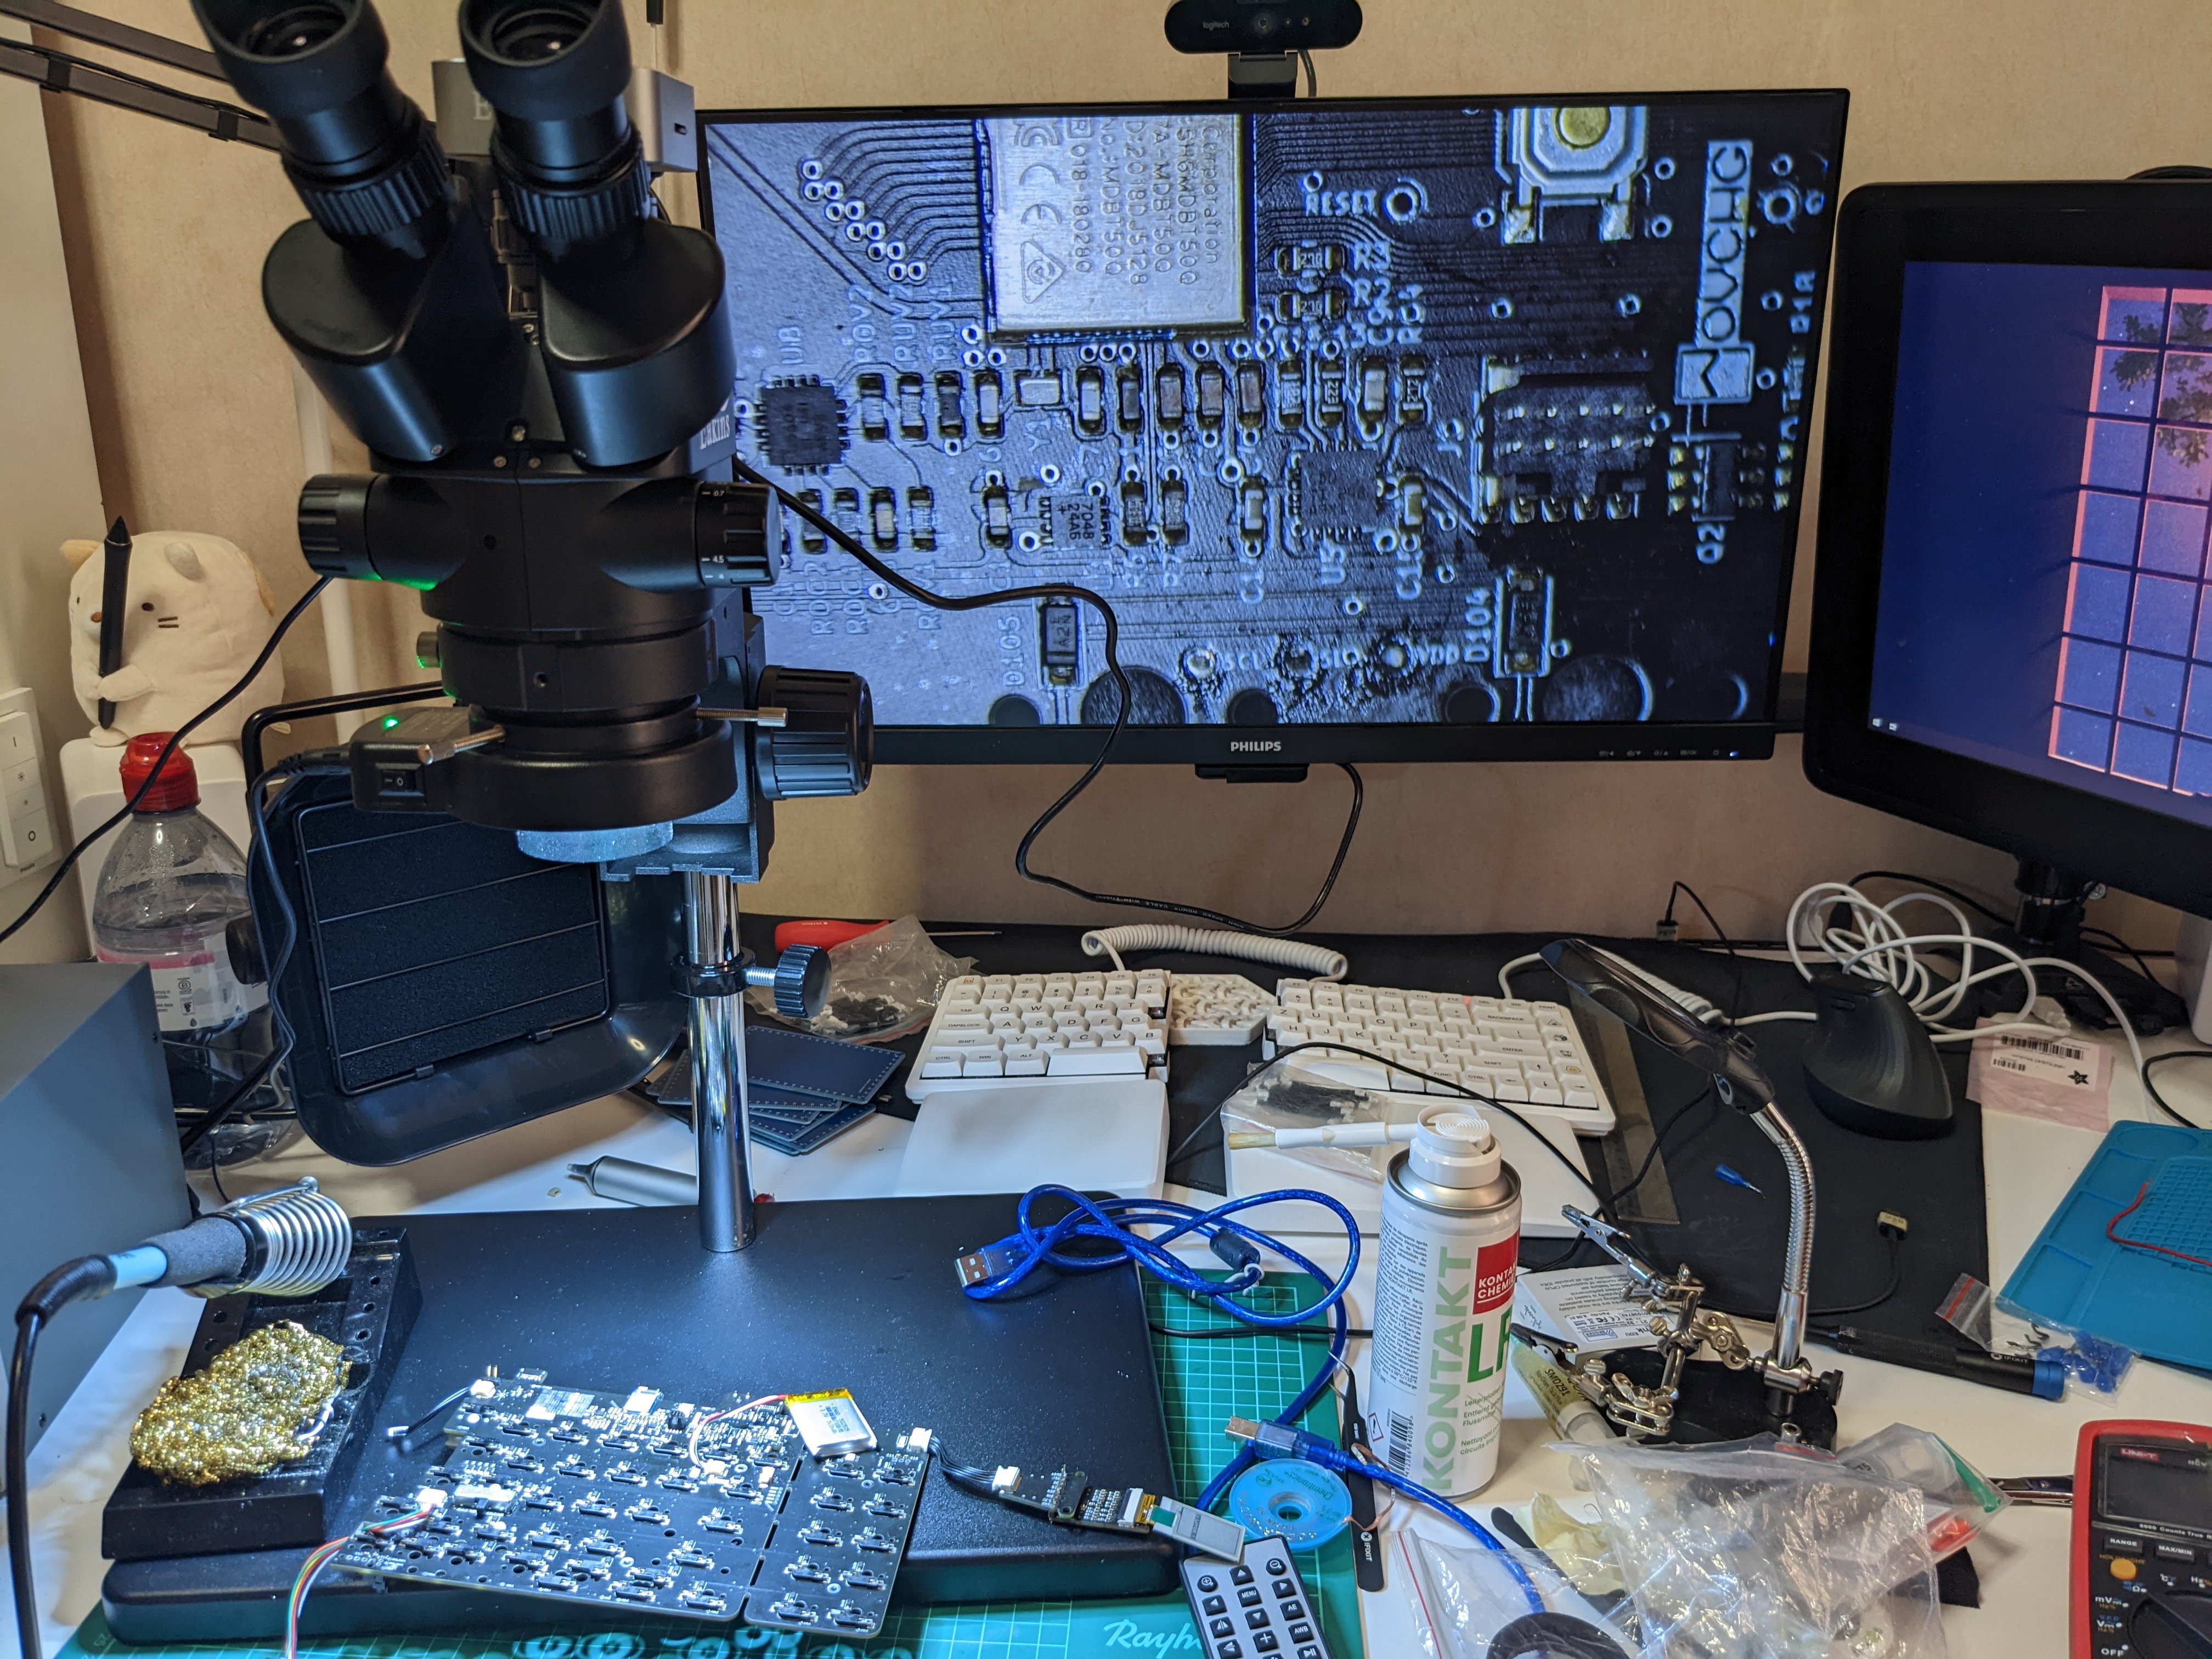
The components were placed with foot pedal operated vacuum tweezers (Quick 381A). I can't recommend it enough if you often do SMT soldering.
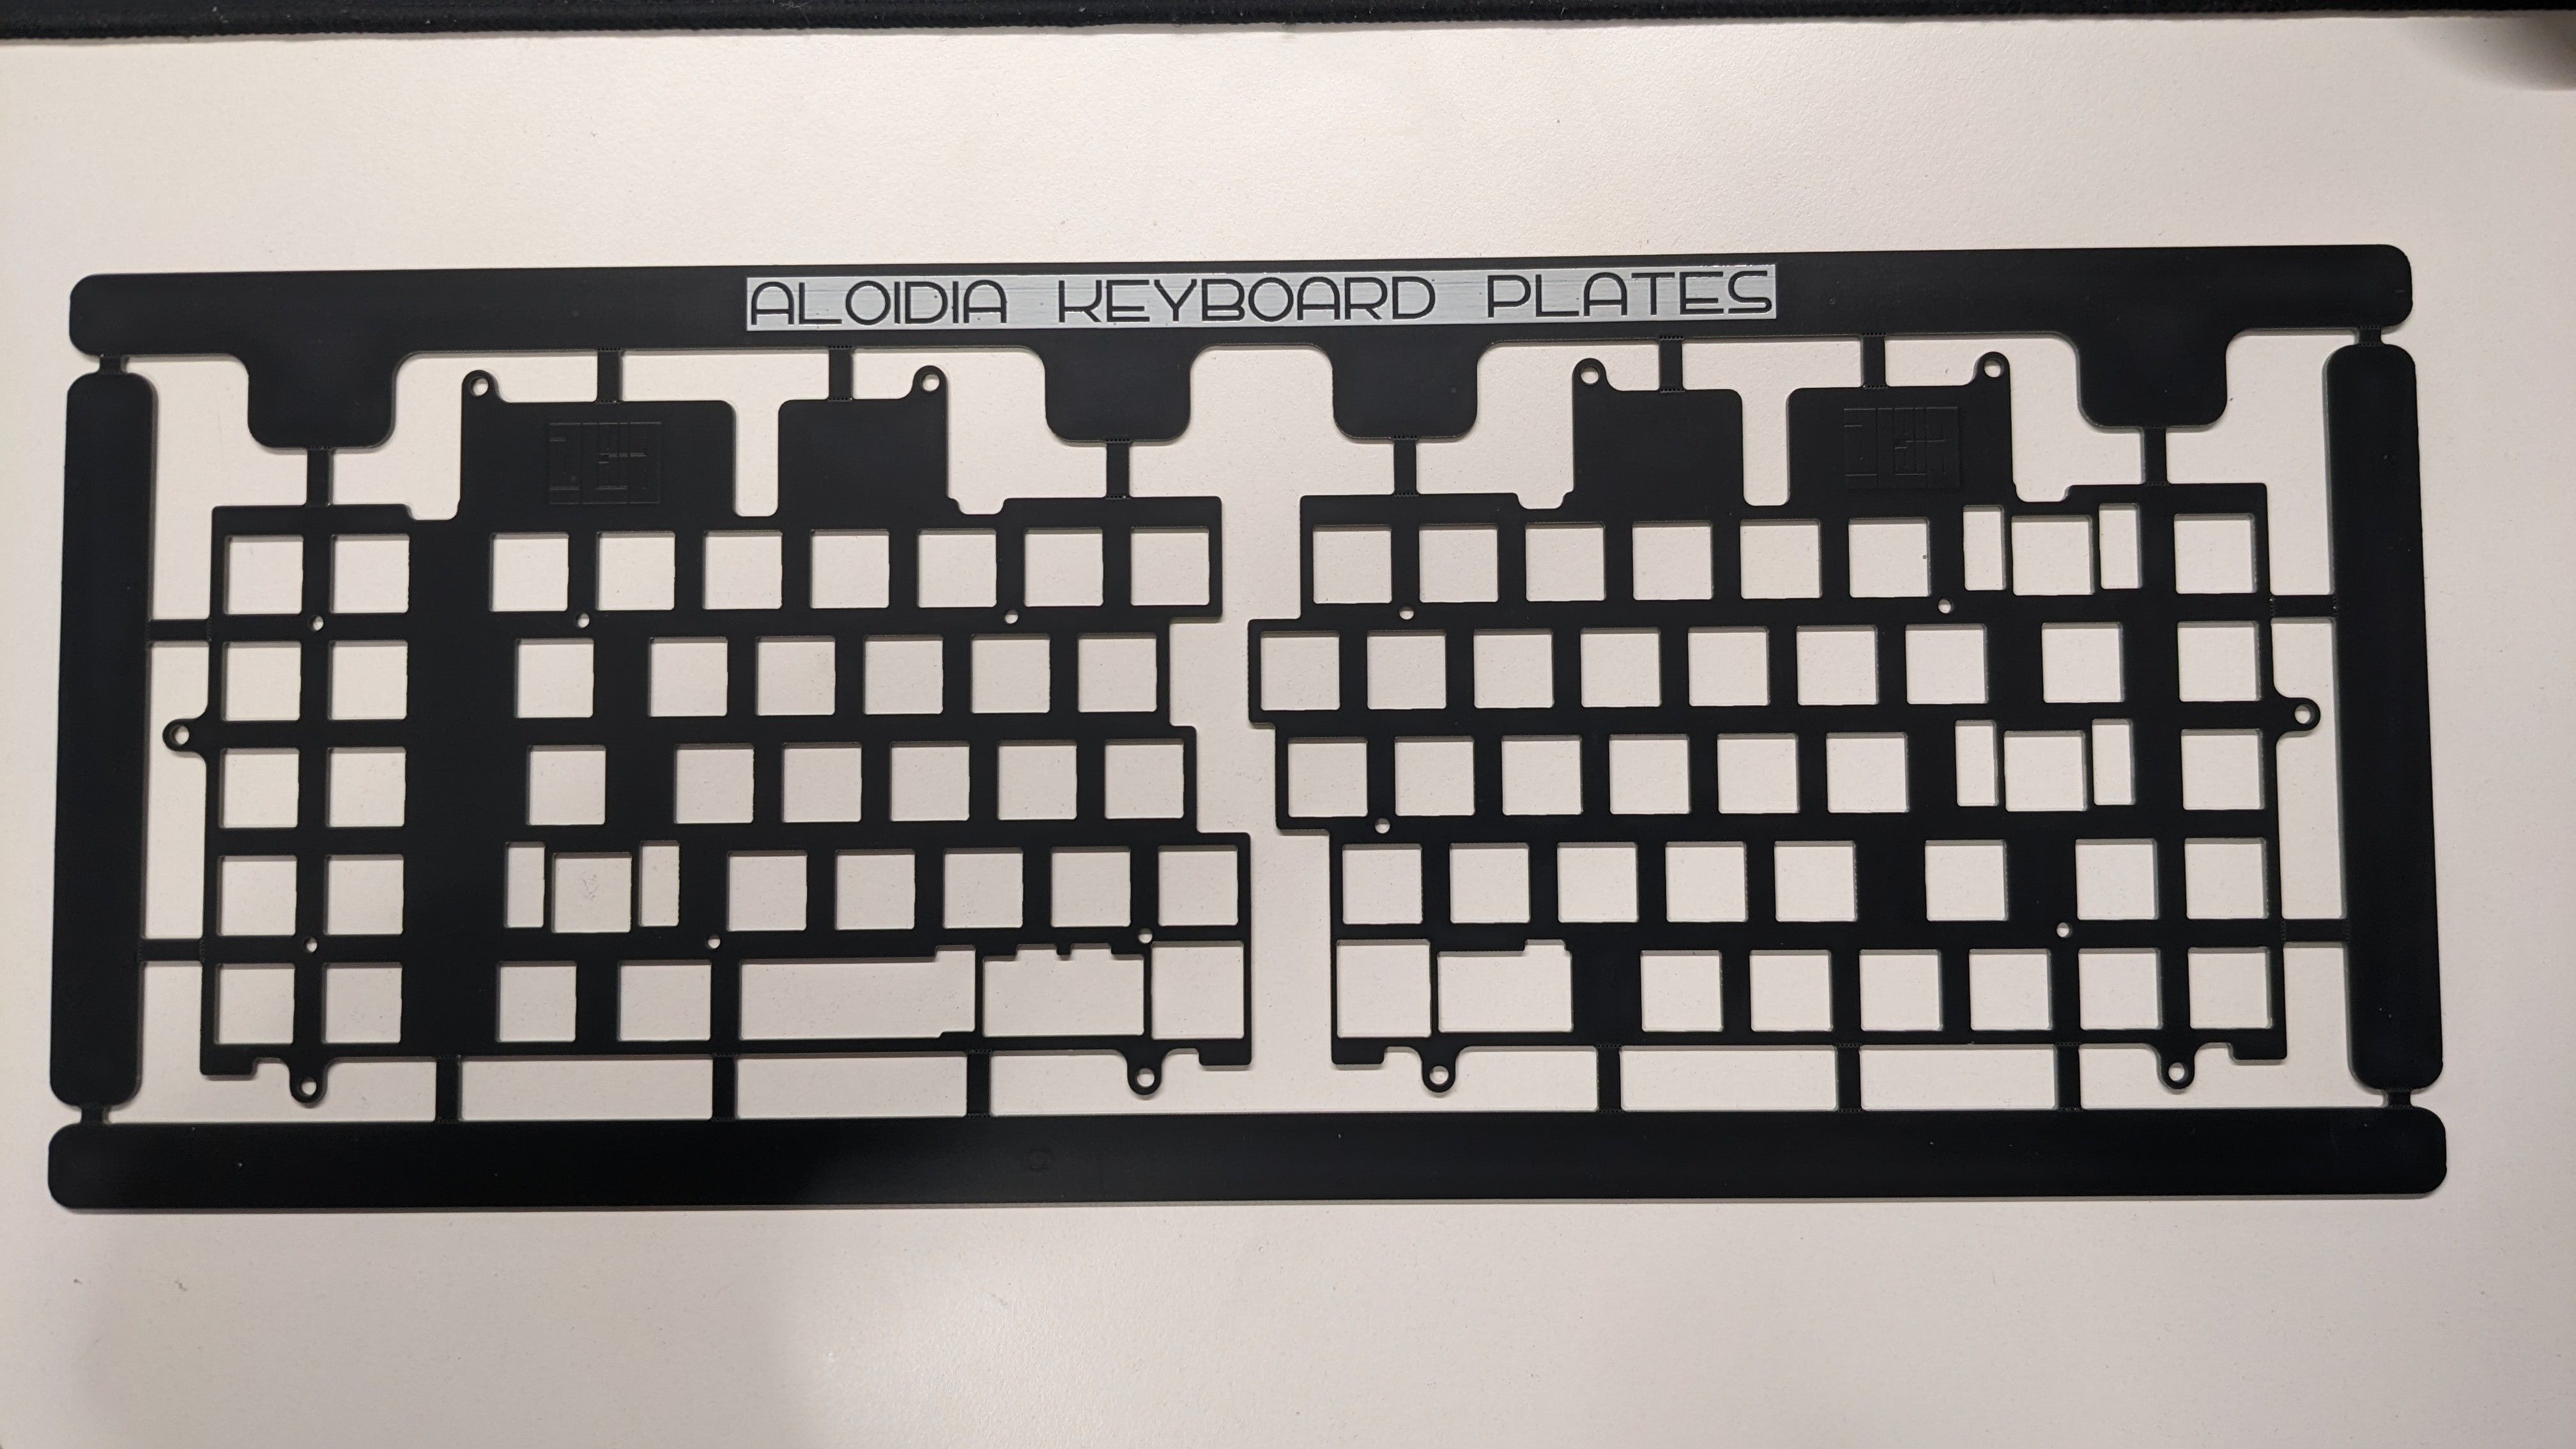
A very neat trick when designing keyboard is that the plate can also be ordered with the PCB (FR4 plate). After designing part of the case, the plate outline can be converted to dxf format and imported in PCBNew. For this project, I've designed plates with custom cutouts and a small tented copper text with the keyboard logo
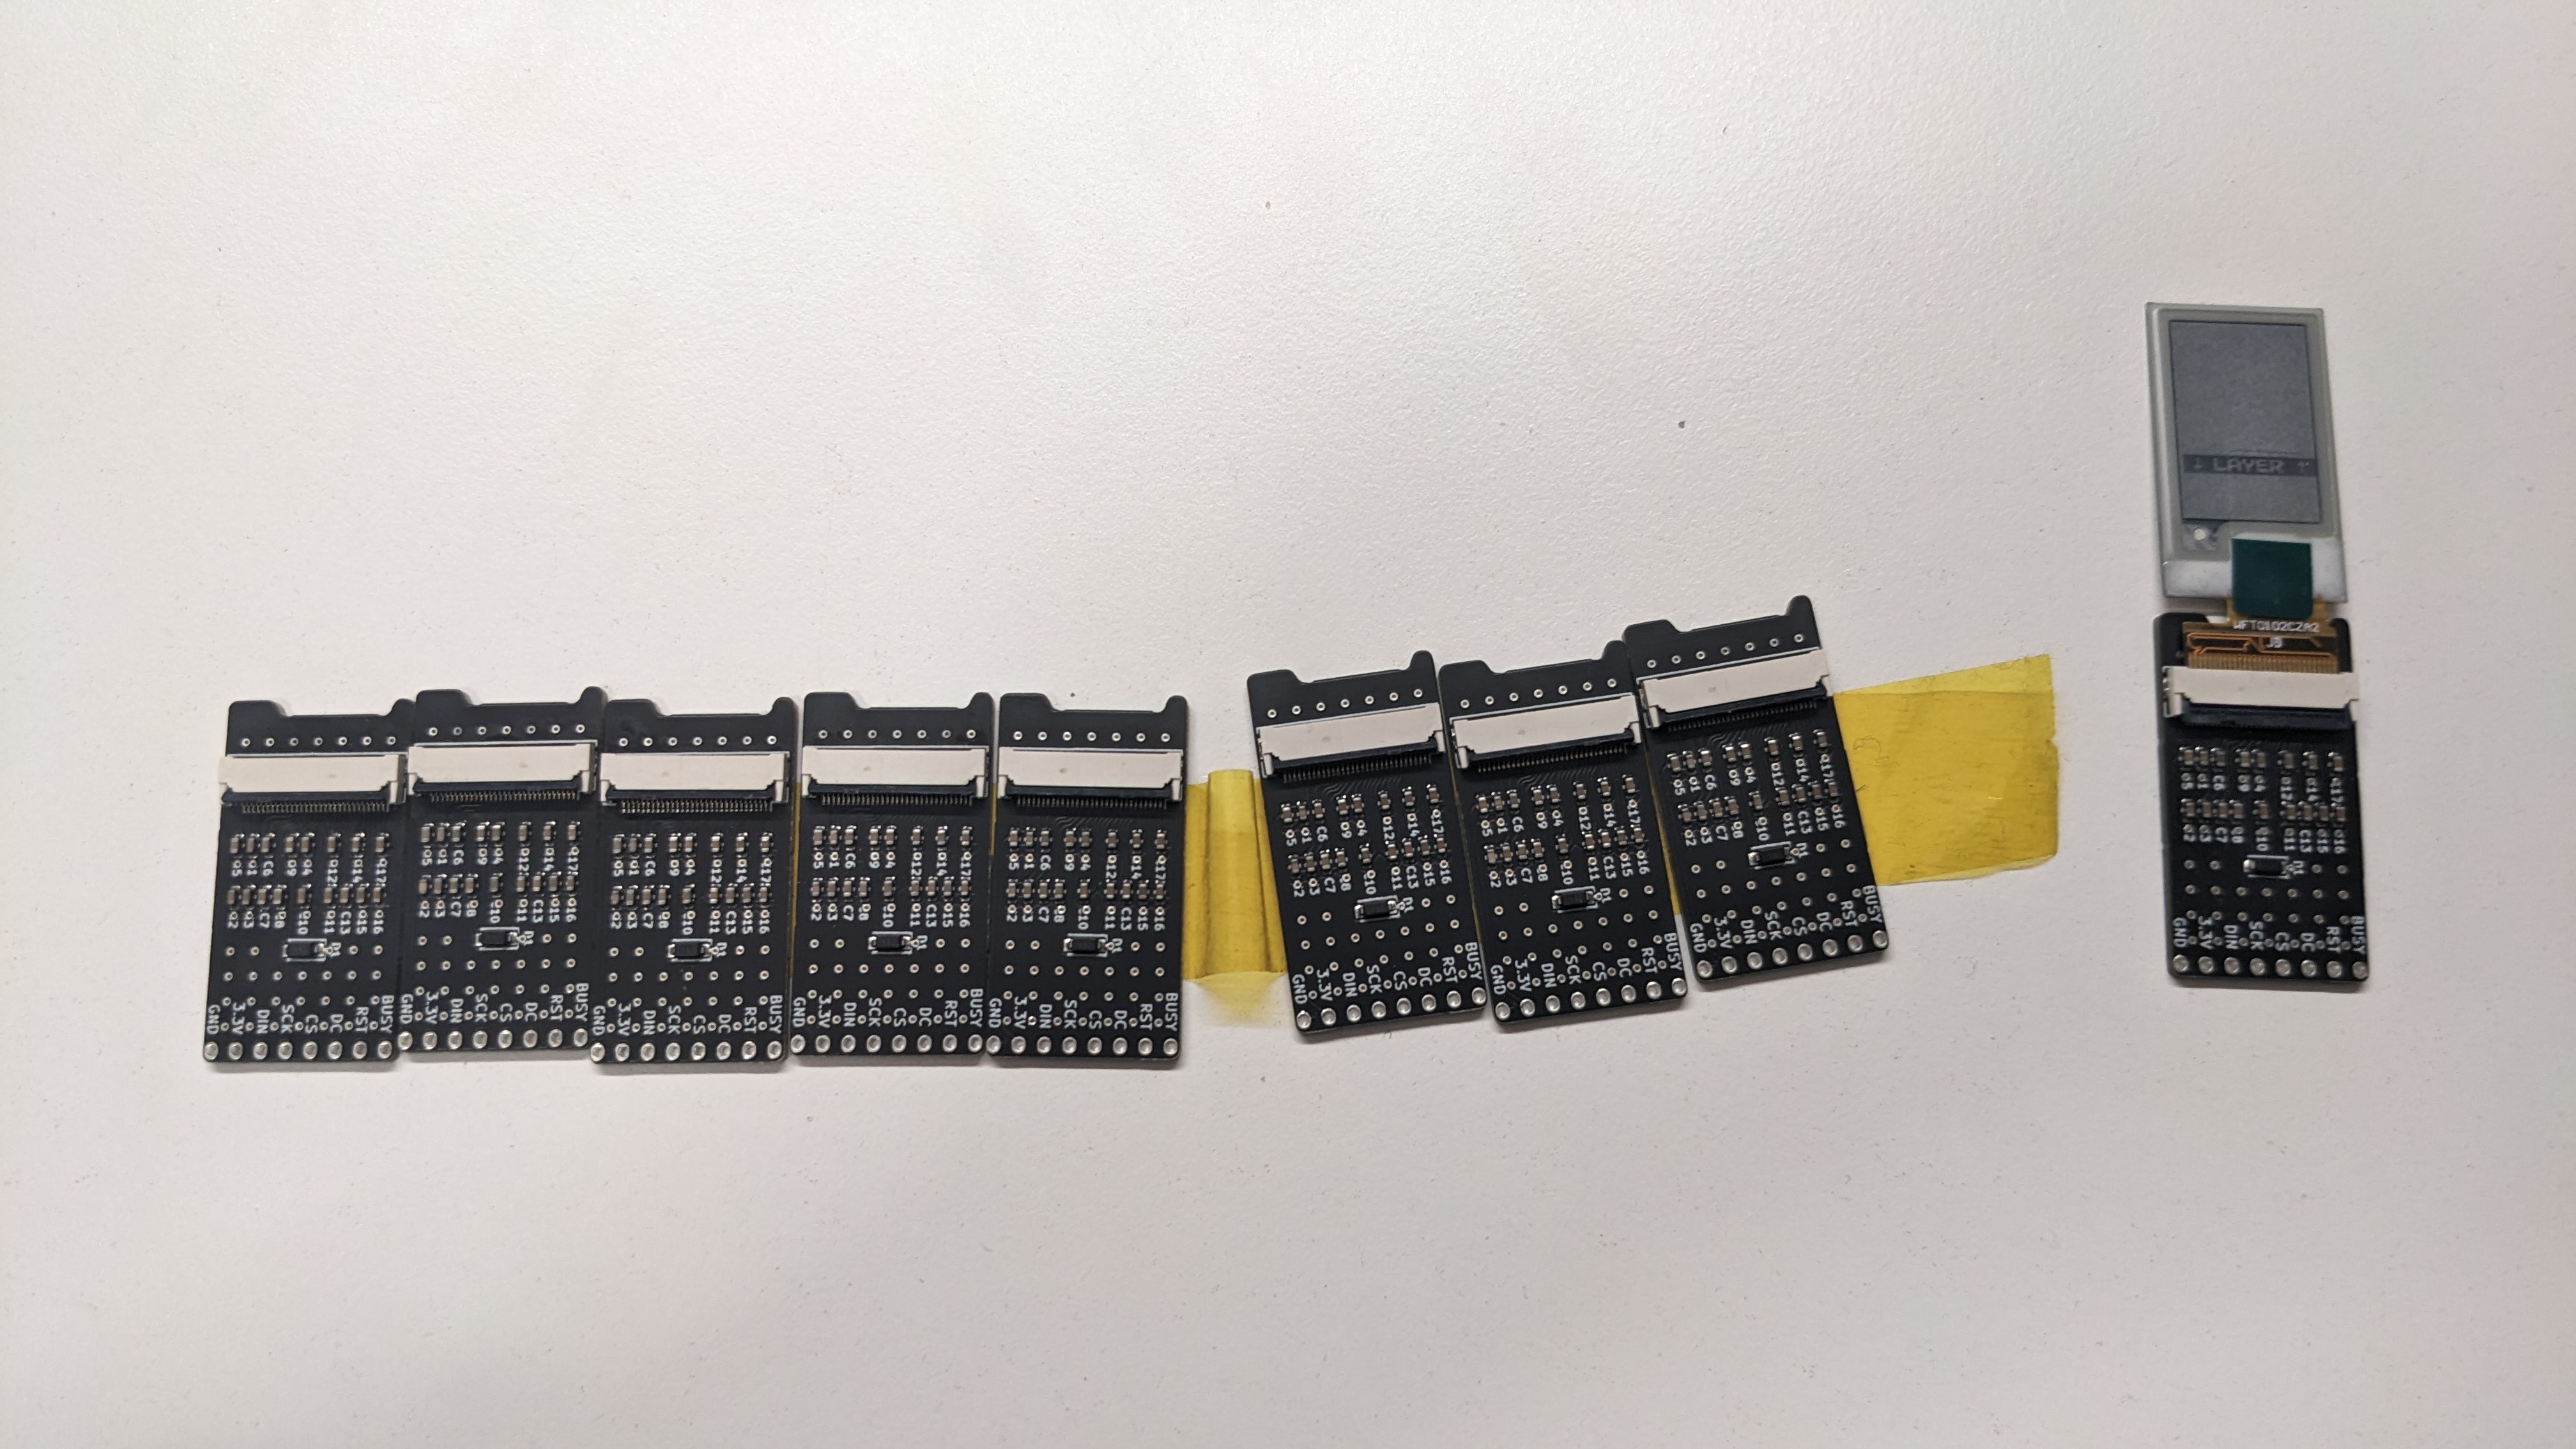
For the e-paper display, I had the PCBs assembled by JLCPCB, as the components that I wanted were only available on LCSC. Being in Europe, shipping components from LCSC was more expensive than just having it assembled.
Discussions
Become a Hackaday.io Member
Create an account to leave a comment. Already have an account? Log In.