 thpoll
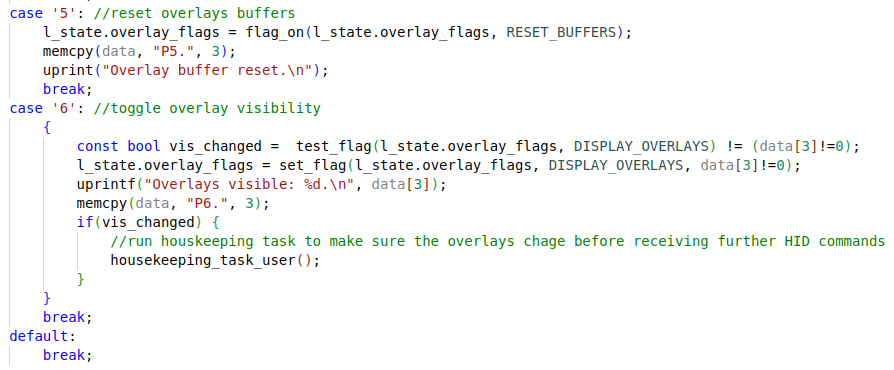
To communicate with the PolyKybd, I can depend on QMK to give me HID messages, the so-called reports. All I have to do is to add the raw_hid_receive callback:
void raw_hid_receive(uint8_t *data, uint8_t length)
Even though the callback provides a length parameter, all reports have a fixed size of 32 bytes. For larger packages, you must slice your data on the host side and transfer it in junks.
I started my protocol with a single identifier byte 'P' (because why not) followed by the actual command.
For instance, P0 means: send your identification. P1 means: Send me your currently active language. The PolyKybd answers with "P0.PolyKybd Split72" or with "P1.EN". The dot after the command character means that the command has been understood (the first 2 bytes are always echoed). In contrast, the keyboard replies with "P1!" if there is a problem providing the requested data. Simple :)
However, when supporting VIA (eg. to configure the keyboard layout via the web-browser), I have to stick to the VIA convention. Here, the first byte is already the command and there are 3 different kinds of custom commands (instead of a 'P'):
id_custom_set_value = 0x07
id_custom_get_value = 0x08
id_custom_save = 0x09
If the host sends any of these 3 reserved commands VIA will not do anything, but pass on the data to the via_custom_value_command_kb callback:
void via_custom_value_command_kb(uint8_t *data, uint8_t length)
So my solution is to accept either the 'P' or 0x09 (in case of VIA) and the rest can stay as it is (I’m not supporting the 2 other custom command bytes as they are meaningless for now).
So what are the other commands next to P0 and P1?
P2:
Send a list of supported languages, which is a comma-separated list that might span over multiple reports:
P2.EN,DE,FR,ES,...
P3:
Change the language - followed by a byte with the language to use (the index refers to the order as the languages were reported with P2)
P4:
Send a key overlay - followed by a byte for the keycode (so the key mapping) and another one for the modifier key (is this overlay active with Ctrl or Alt?) Since multiple reports ( 15 ) are needed for a single overlay (72x40px), there is one more byte indicating which of the 15 segments is currently sent.
P5:
Reset the overlay buffer (in fact just the usage buffer).
P6:
Followed by a byte to enable (anything != 0) or disable ( == 0) the overlays (whatever is in the current overlay buffer).
That's it for now, but I will need more commands soon.
Refactoring
As I had to transfer the overlays also to the other side, I decided to refactor the communication code. It was already hard to maintain.
It grew complex since I had issues with some of the synchronized data having toggled bits. So I added here and there mechanisms to double-check. It was never bullet-proof and once in a while, some of the displays didn't turn off (plus other small issues).
At some point, I added a crc32 checksum to my custom messages and was surprised to see that there were failures.
First I suspected the cable but it could be also related to the PCB layout. Or could it be something else?
It took me ages to realize that also QMK split communication uses a checksum (crc8). But I'm not sure if that is done on all data packages. I also suspect that crc8 is not enough for longer messages. While I never saw wrong keys reported from the slave side, I could see the wrong layer information for a fracture of a second on the slave side.
When finally refactoring, I got rid of my extra checks and just added a crc32 to every message sent. In case of an error, I just send it again. Layer information, modifiers etc. are now transferred with my own messages (and the QMK split transport for those is disabled).
With that change, I couldn't see any issues like the ones I had before. Even after setting the transfer speed to 2 times faster, everything works fine.
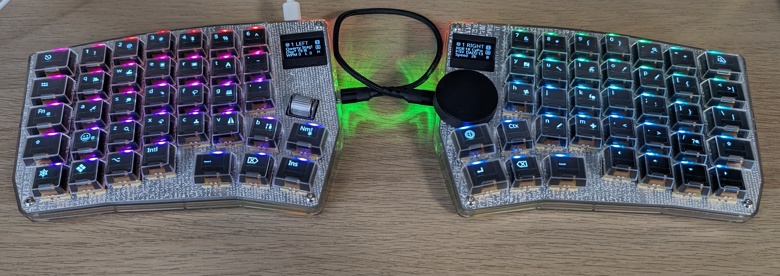
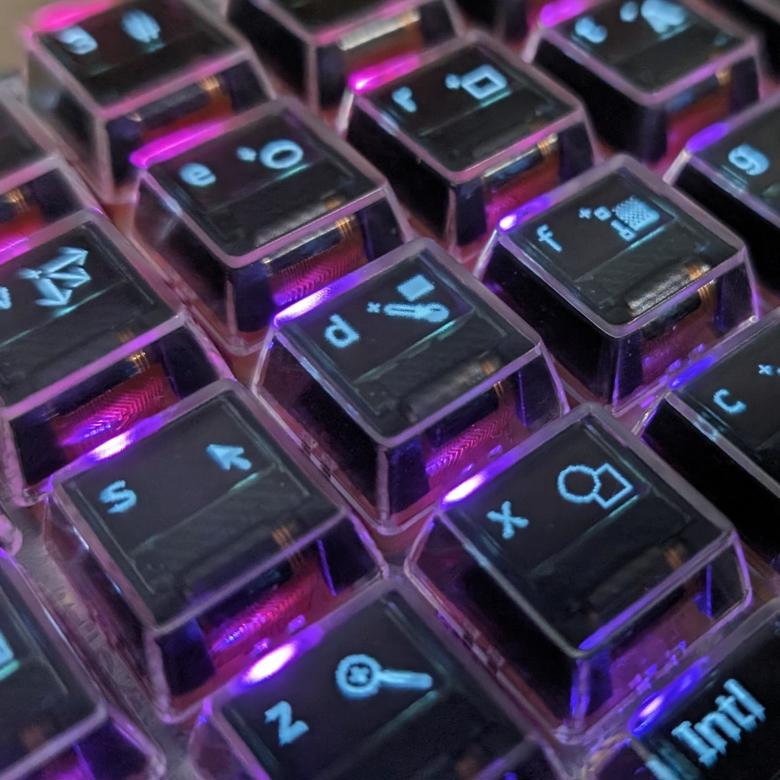
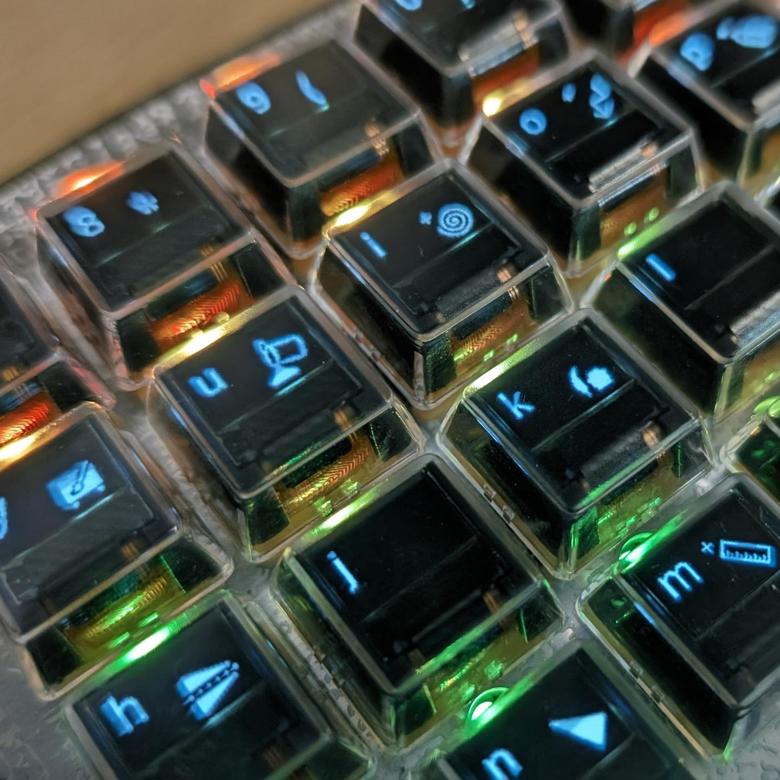
Now adding a piece of code for transferring the overlays to the other side was rather straightforward. And here the result:
I have not yet added the code to respect the modifiers for these overlays, but that will be the next thing to do.
Hopefully, you liked this update!
Don't forget to sign up at the Crowd supply pre-launch page: https://www.crowdsupply.com/polykybd/polykybd
Best Thomas
Discussions
Become a Hackaday.io Member
Create an account to leave a comment. Already have an account? Log In.