 Arya
AryaI don't yet have a testing stand for testing components that might give trouble. So, when I assemble a ZeroPhone to be sent out, I just put it in my pocket for a day, doing whatever I usually do - going to places with a bicycle, sitting at the desk writing something, doing things at the hackerspace etc - the batteries are good for at least 20h of testing or so. If the phone reboots even once, shuts down, has some kind of other glitch, I know it's faulty, so I know it should be debugged.
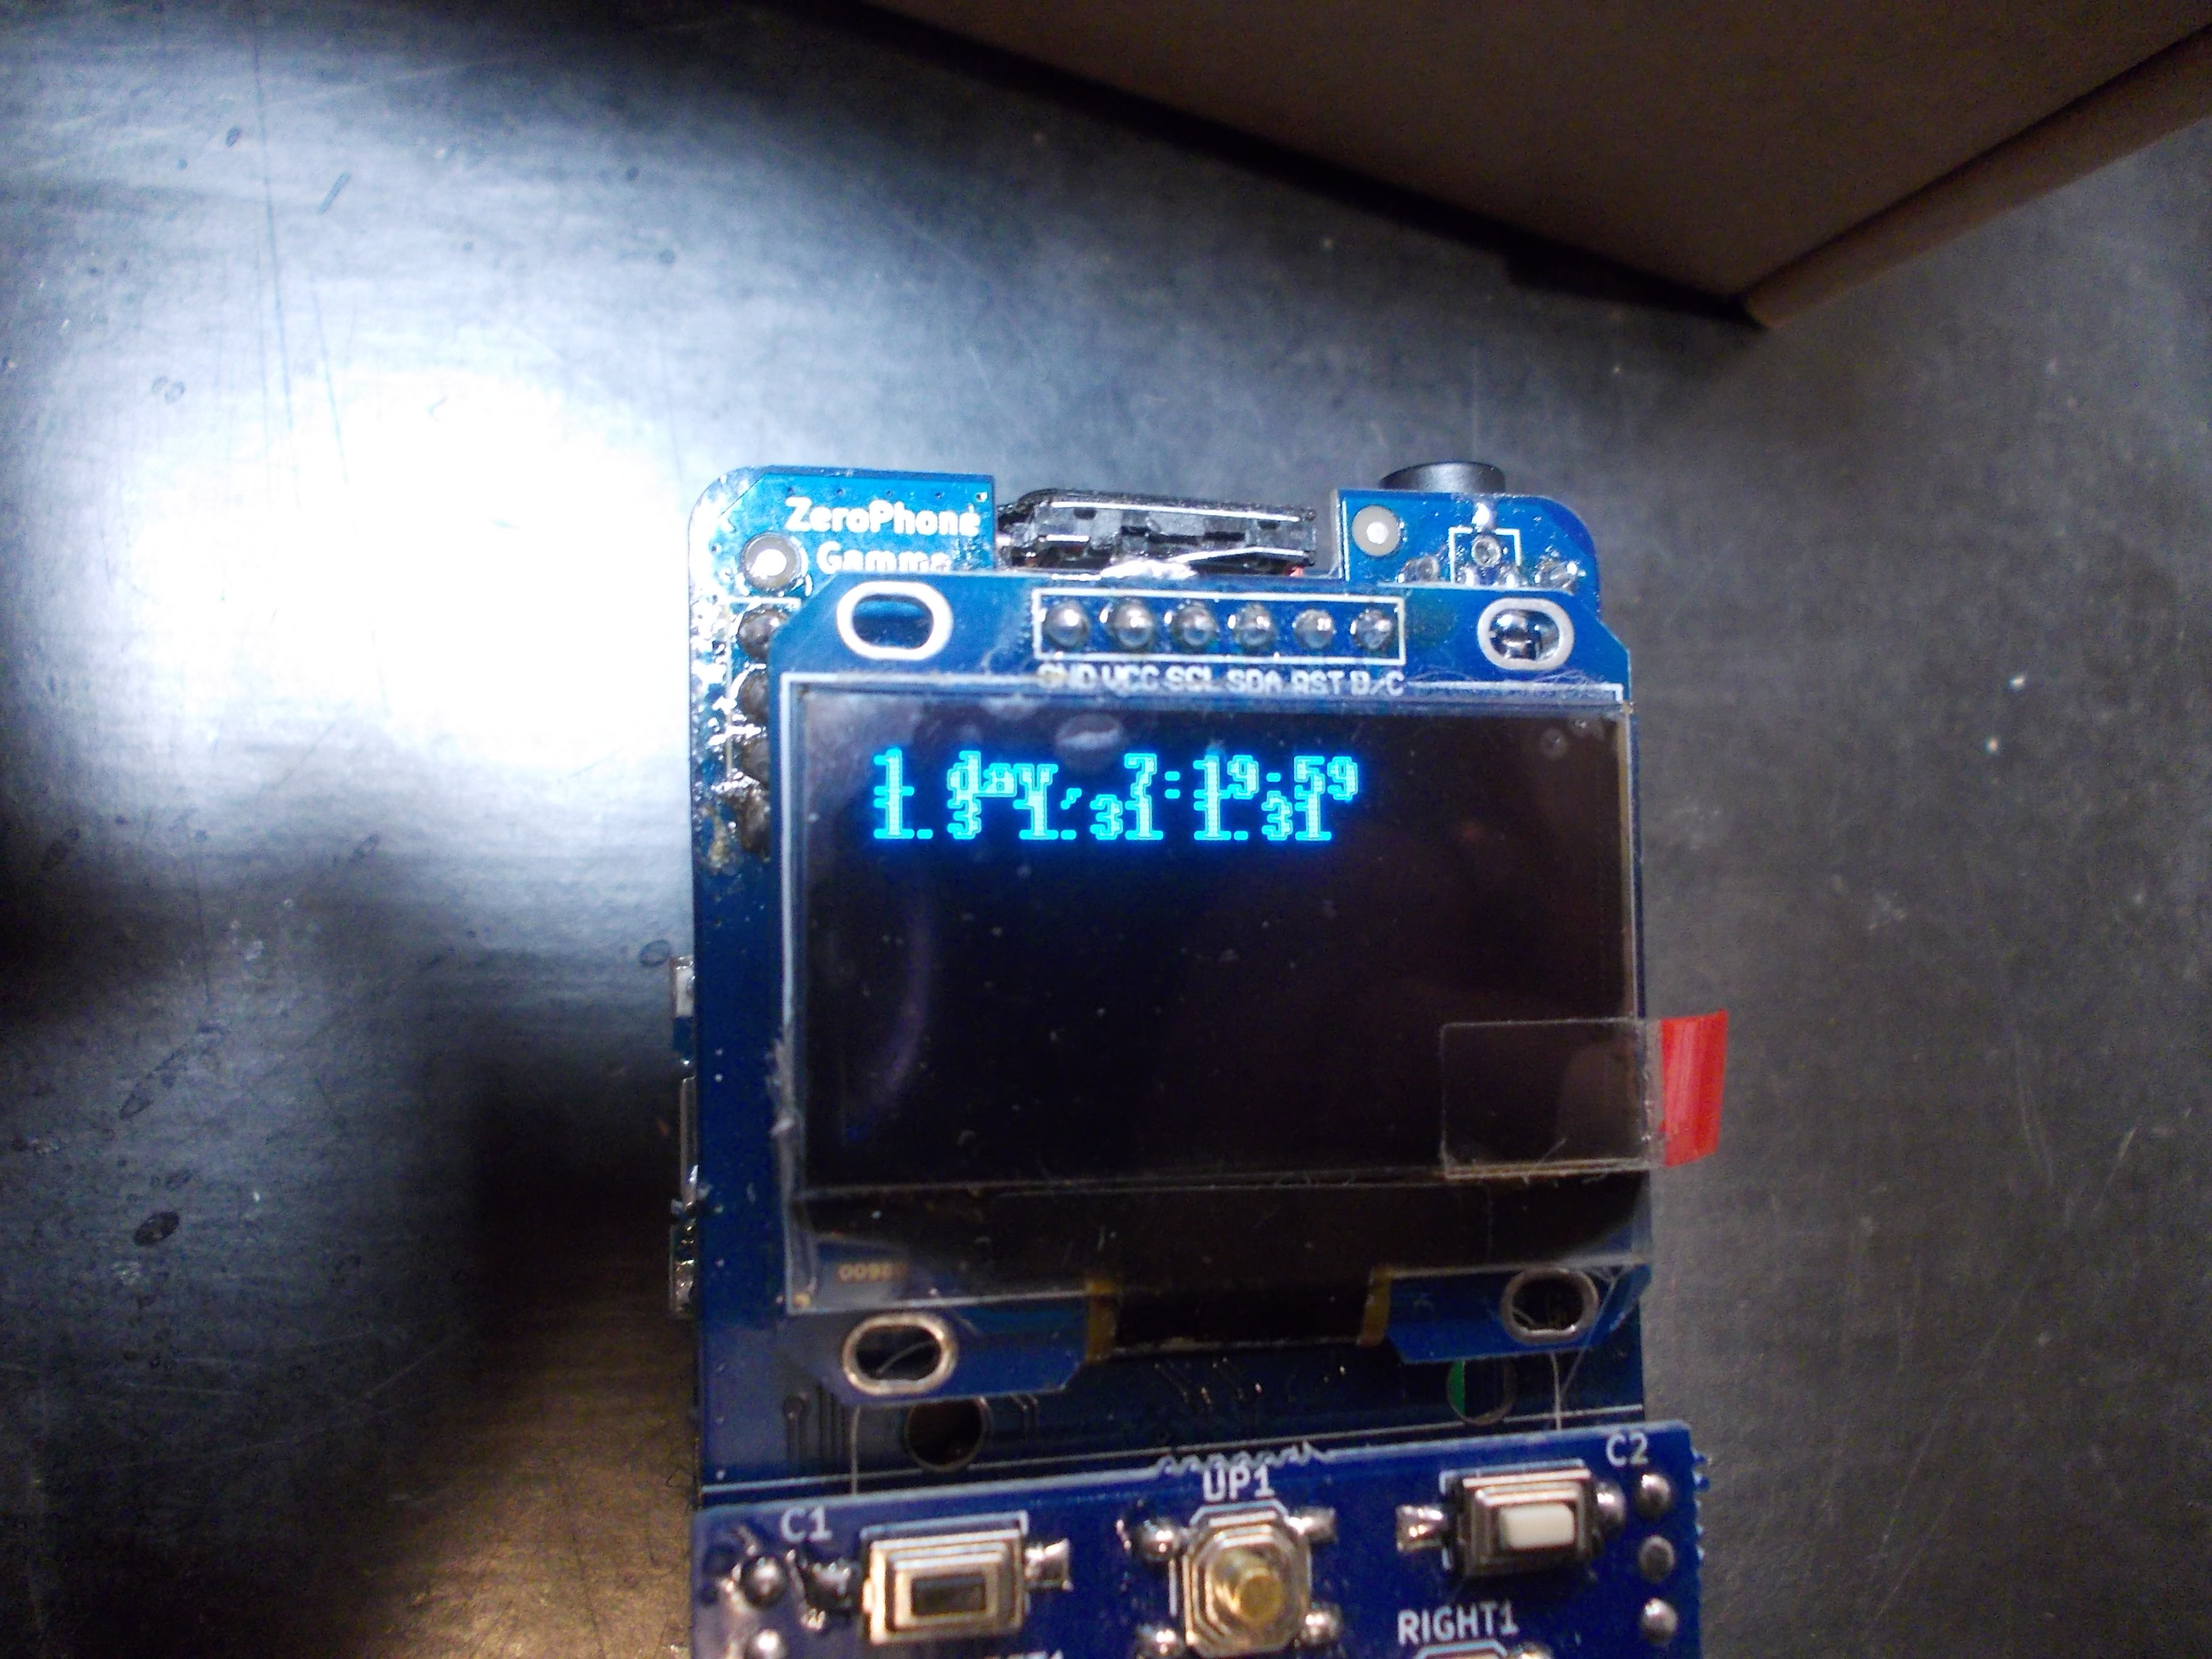
Uptime of a phone that passed testing
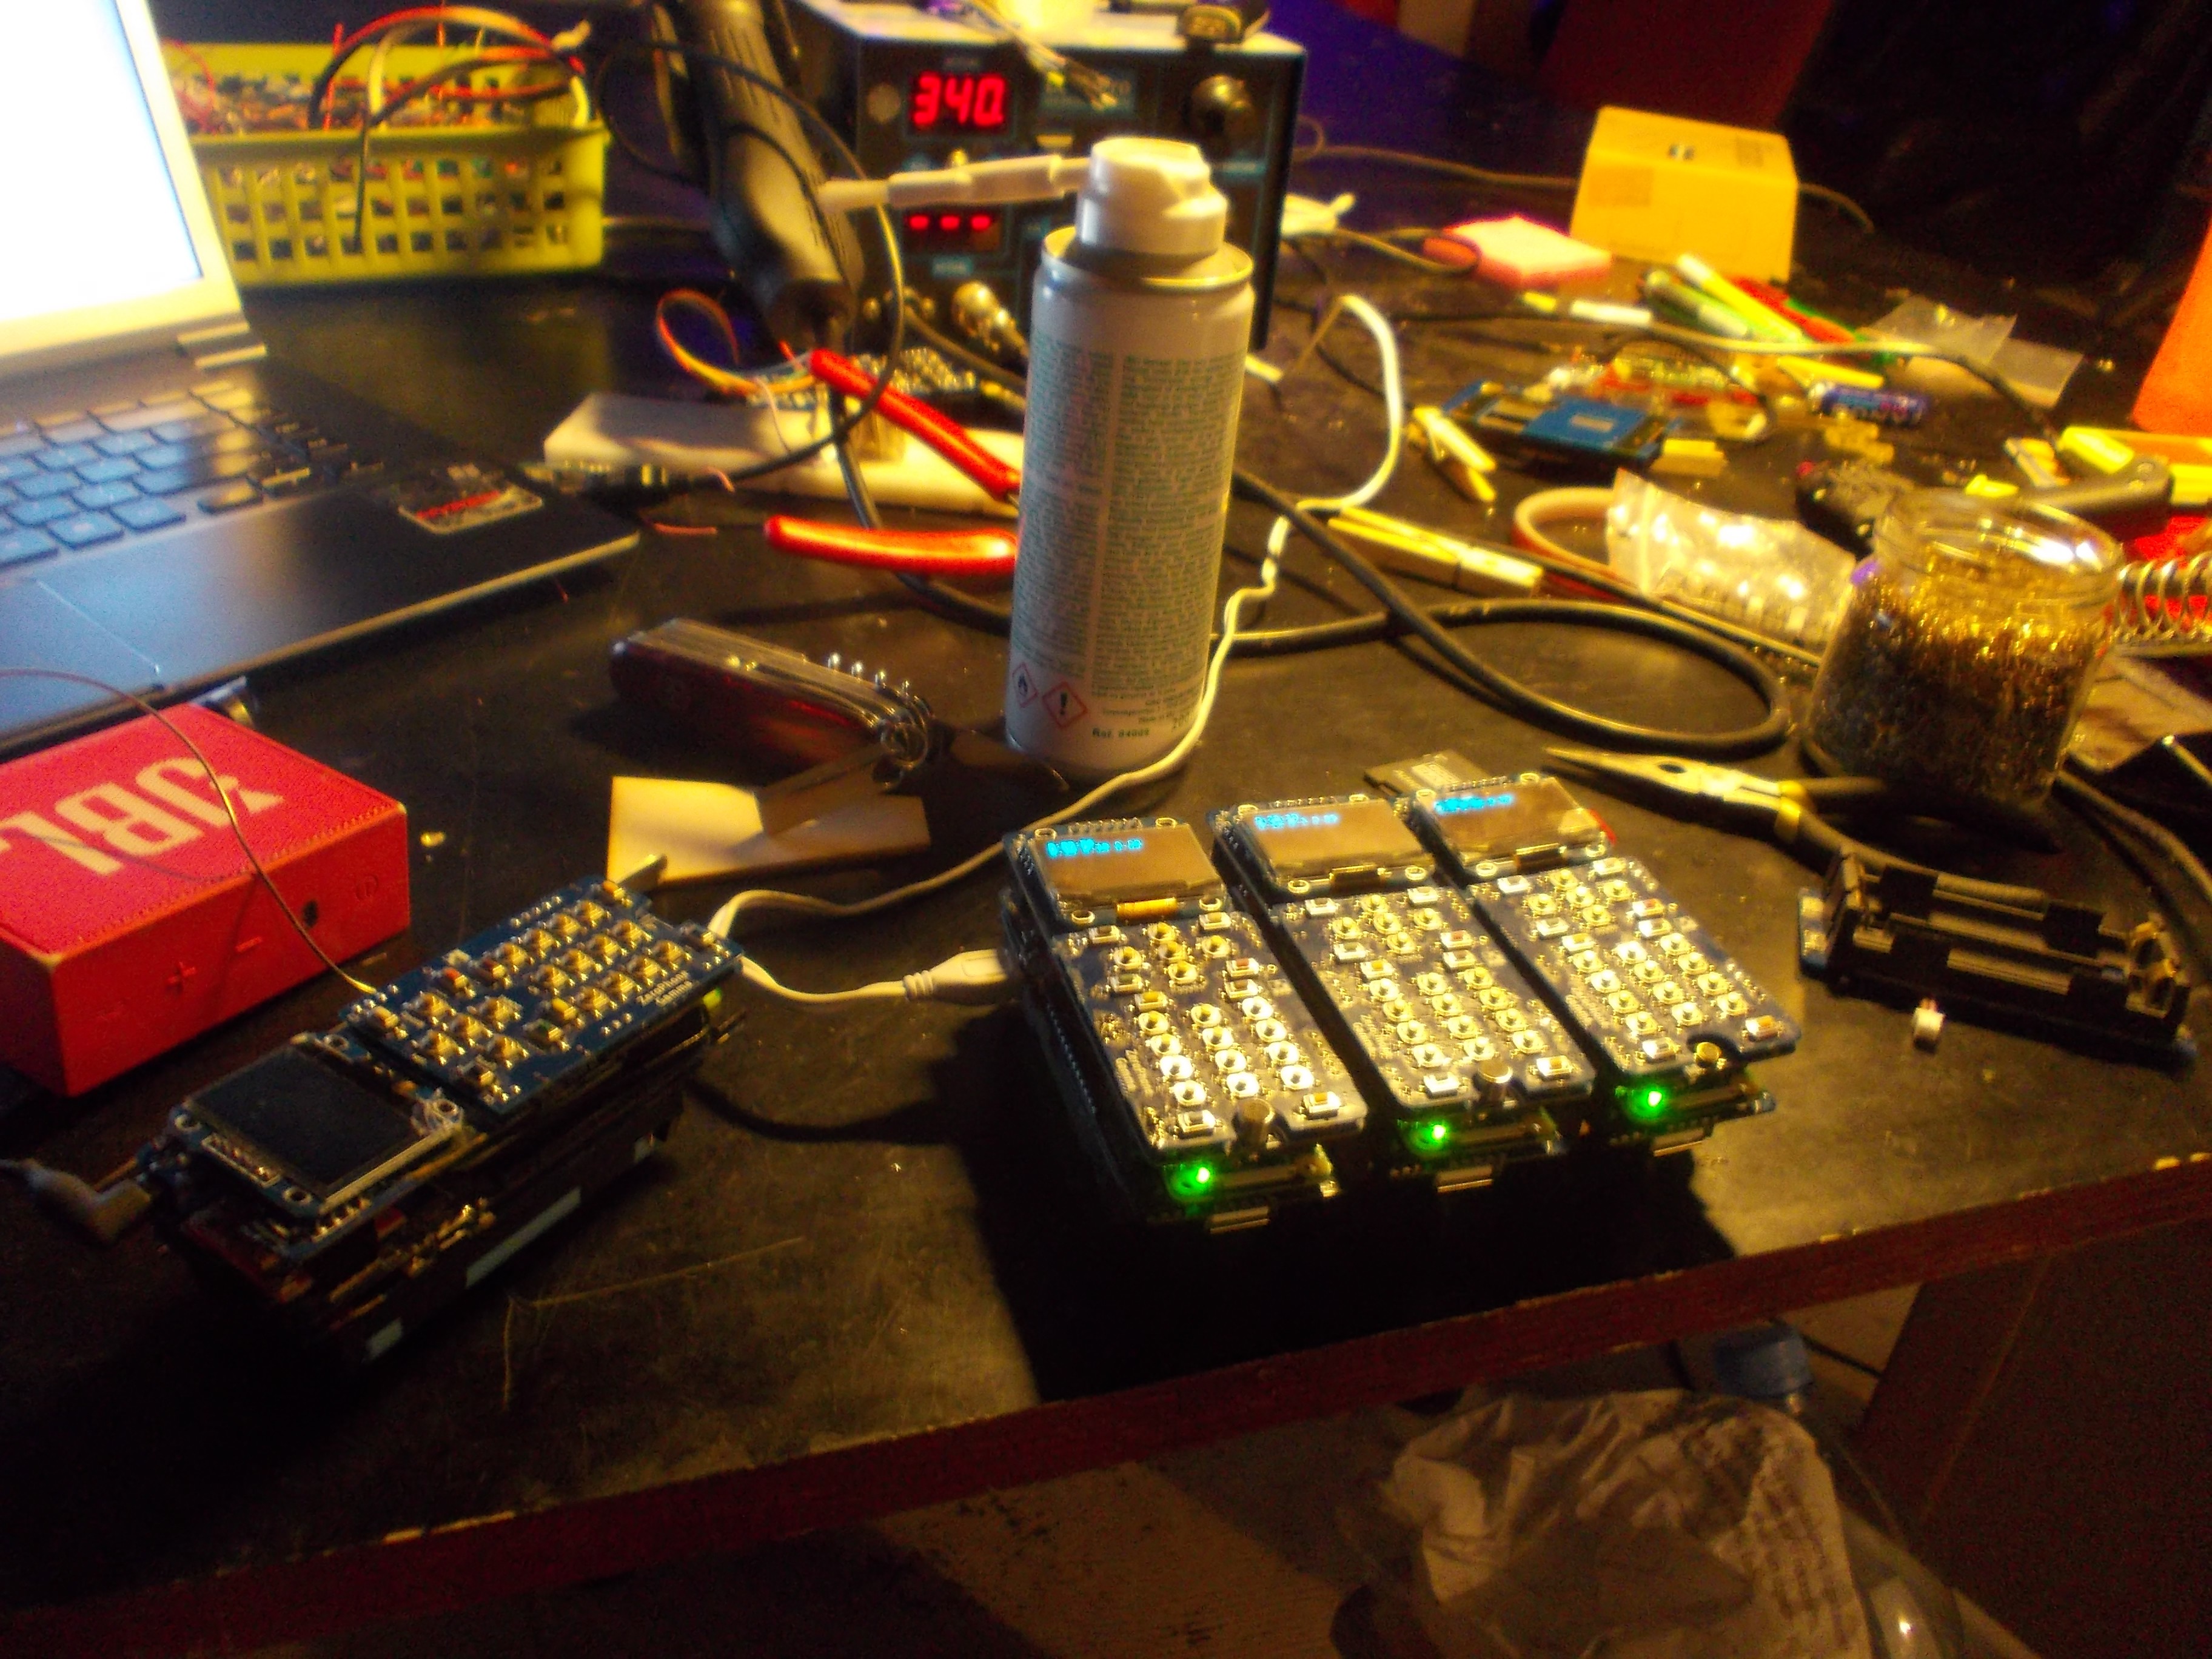
Two of these phones are going to pass testing - one is going to suffer the "reboot when disconnecting charger" problem
So, with this small batch of 3 phones, I actually assembled two back boards that'd show the same problem - phone rebooting when the charger would be connected/disconnected. I still haven't understood the problem, and since this has to be done ASAP, I just assembled new back boards. So, now I have three back boards that need to be fixed - on one more, the Pi Zero just doesn't boot for some reason.
Of course, piling up broken boards, leaving them to be debugged later on, is not a viable strategy. So, what is it that I need?
- A testing stand for displays. Even though the LCD troubles are over - I've found the company that manufactures the right kind of displays and they're willing to supply them - I still would like to make sure that the breakouts work, especially if I'll assemble some modded breakouts (nothing unrealistic, since I've already designed replacement 1.3" OLED breakout boards). There could easily be some computer-vision-assisted testing, too, I think.
- A testing jig for protection circuit boards. I've found at least one that was faulty - it's now waiting for me to do some detective work on it. The problem with it is that it'd just shut out randomly, as if an overcurrent condition occured. So, the idea is: test the board with a varying voltage on the battery input and see if it shuts out under fault conditions and doesn't when everything's alright - then probably slap a small "QC" sticker on it or something =)
- A testing jig for 5V DC-DCs. I've had only one fail on me so far out of ~25 I worked with, but that's still a chance I wouldn't like to take.
- A testing jig for Pi Zeros. While it's even more unlikely for those to fail, since they're simple in assembly and are very unlikely to use low-quality parts, it's good to be able to rule out that possibility when something doesn't work, since it's really hard to desolder a Pi Zero from the back board when something goes awry. Also, it's likely going to be the simplest to test, since Pi Zeros seem well-designed from that standpoint - I can connect an SD card using pogo-pins, through testpoints at the bottom, and see if there's UART output, and that's pretty much going to do =)
- A testing stand for assembled front boards. Those might have ATMega problems, or front-to-keypad board soldering problems - right now, I think I'm going to remove the source for most of them by changing the way I'm assembling the boards, but it's going to be important to make sure that a front board doesn't need its solder joints re-soldered by the user.
- A testing stand for back boards, without the Pi Zero. It's important to know that the front board is OK before the Pi Zero is soldered to it. For example, there are 3 voltages on the board - LiIon voltage, 5V and 3.3V. Does any of them short into another? If it does, it's potentially destructive, and if a Pi Zero is already soldered to the board when the fault is discovered, it's going to be difficult to recover the board and refurbish it. On a Zero-less back board, I could easily test the power parts, the MCP23017, the RGB LED and, maybe, something else.
Also, one more thing is that all those testing jigs should be repeatable - so that, if somebody wants to assemble ZeroPhones and sell them, they can spend less time on testing. I could even assemble, say, 10pcs of each testing jig and sell them on Tindie - so that people won't have to source all the different pogo-pins I'll likely be using =)
On low-volume assembly, testing all the parts is something that can be easily automated. What about higher volumes? That's where it gets more important, and tricky. My best guess is that improving the supply chain will do the most - for example, it seems to have helped with displays. Other than that, some kind of "flying jig with pogopins" might do the job - but might as well not work with some more complicated boards. I know who I should ask about this, but I'm not sure I'll be getting satisfactory answers.
So, that's on testing. What about optimization for manufacturing? The thing is - during crowdfunding, I plan to provide ZeroPhone kits, with as much as possible pre-assembled, and a small batch of fully-assembled phones, with the latter being, certainly, the most popular items of the campaign. The more I can optimize for manufacturing, though, the more pre-assembled phones I can sell - and that will directly translate into success of the project. So, that's a subject I'm still thinking on, and asking for advice - I'll make a blog post once I know enough about it, too =)
Discussions
Become a Hackaday.io Member
Create an account to leave a comment. Already have an account? Log In.