 Mike Rigsby
So many choices--which wheels to actually use?
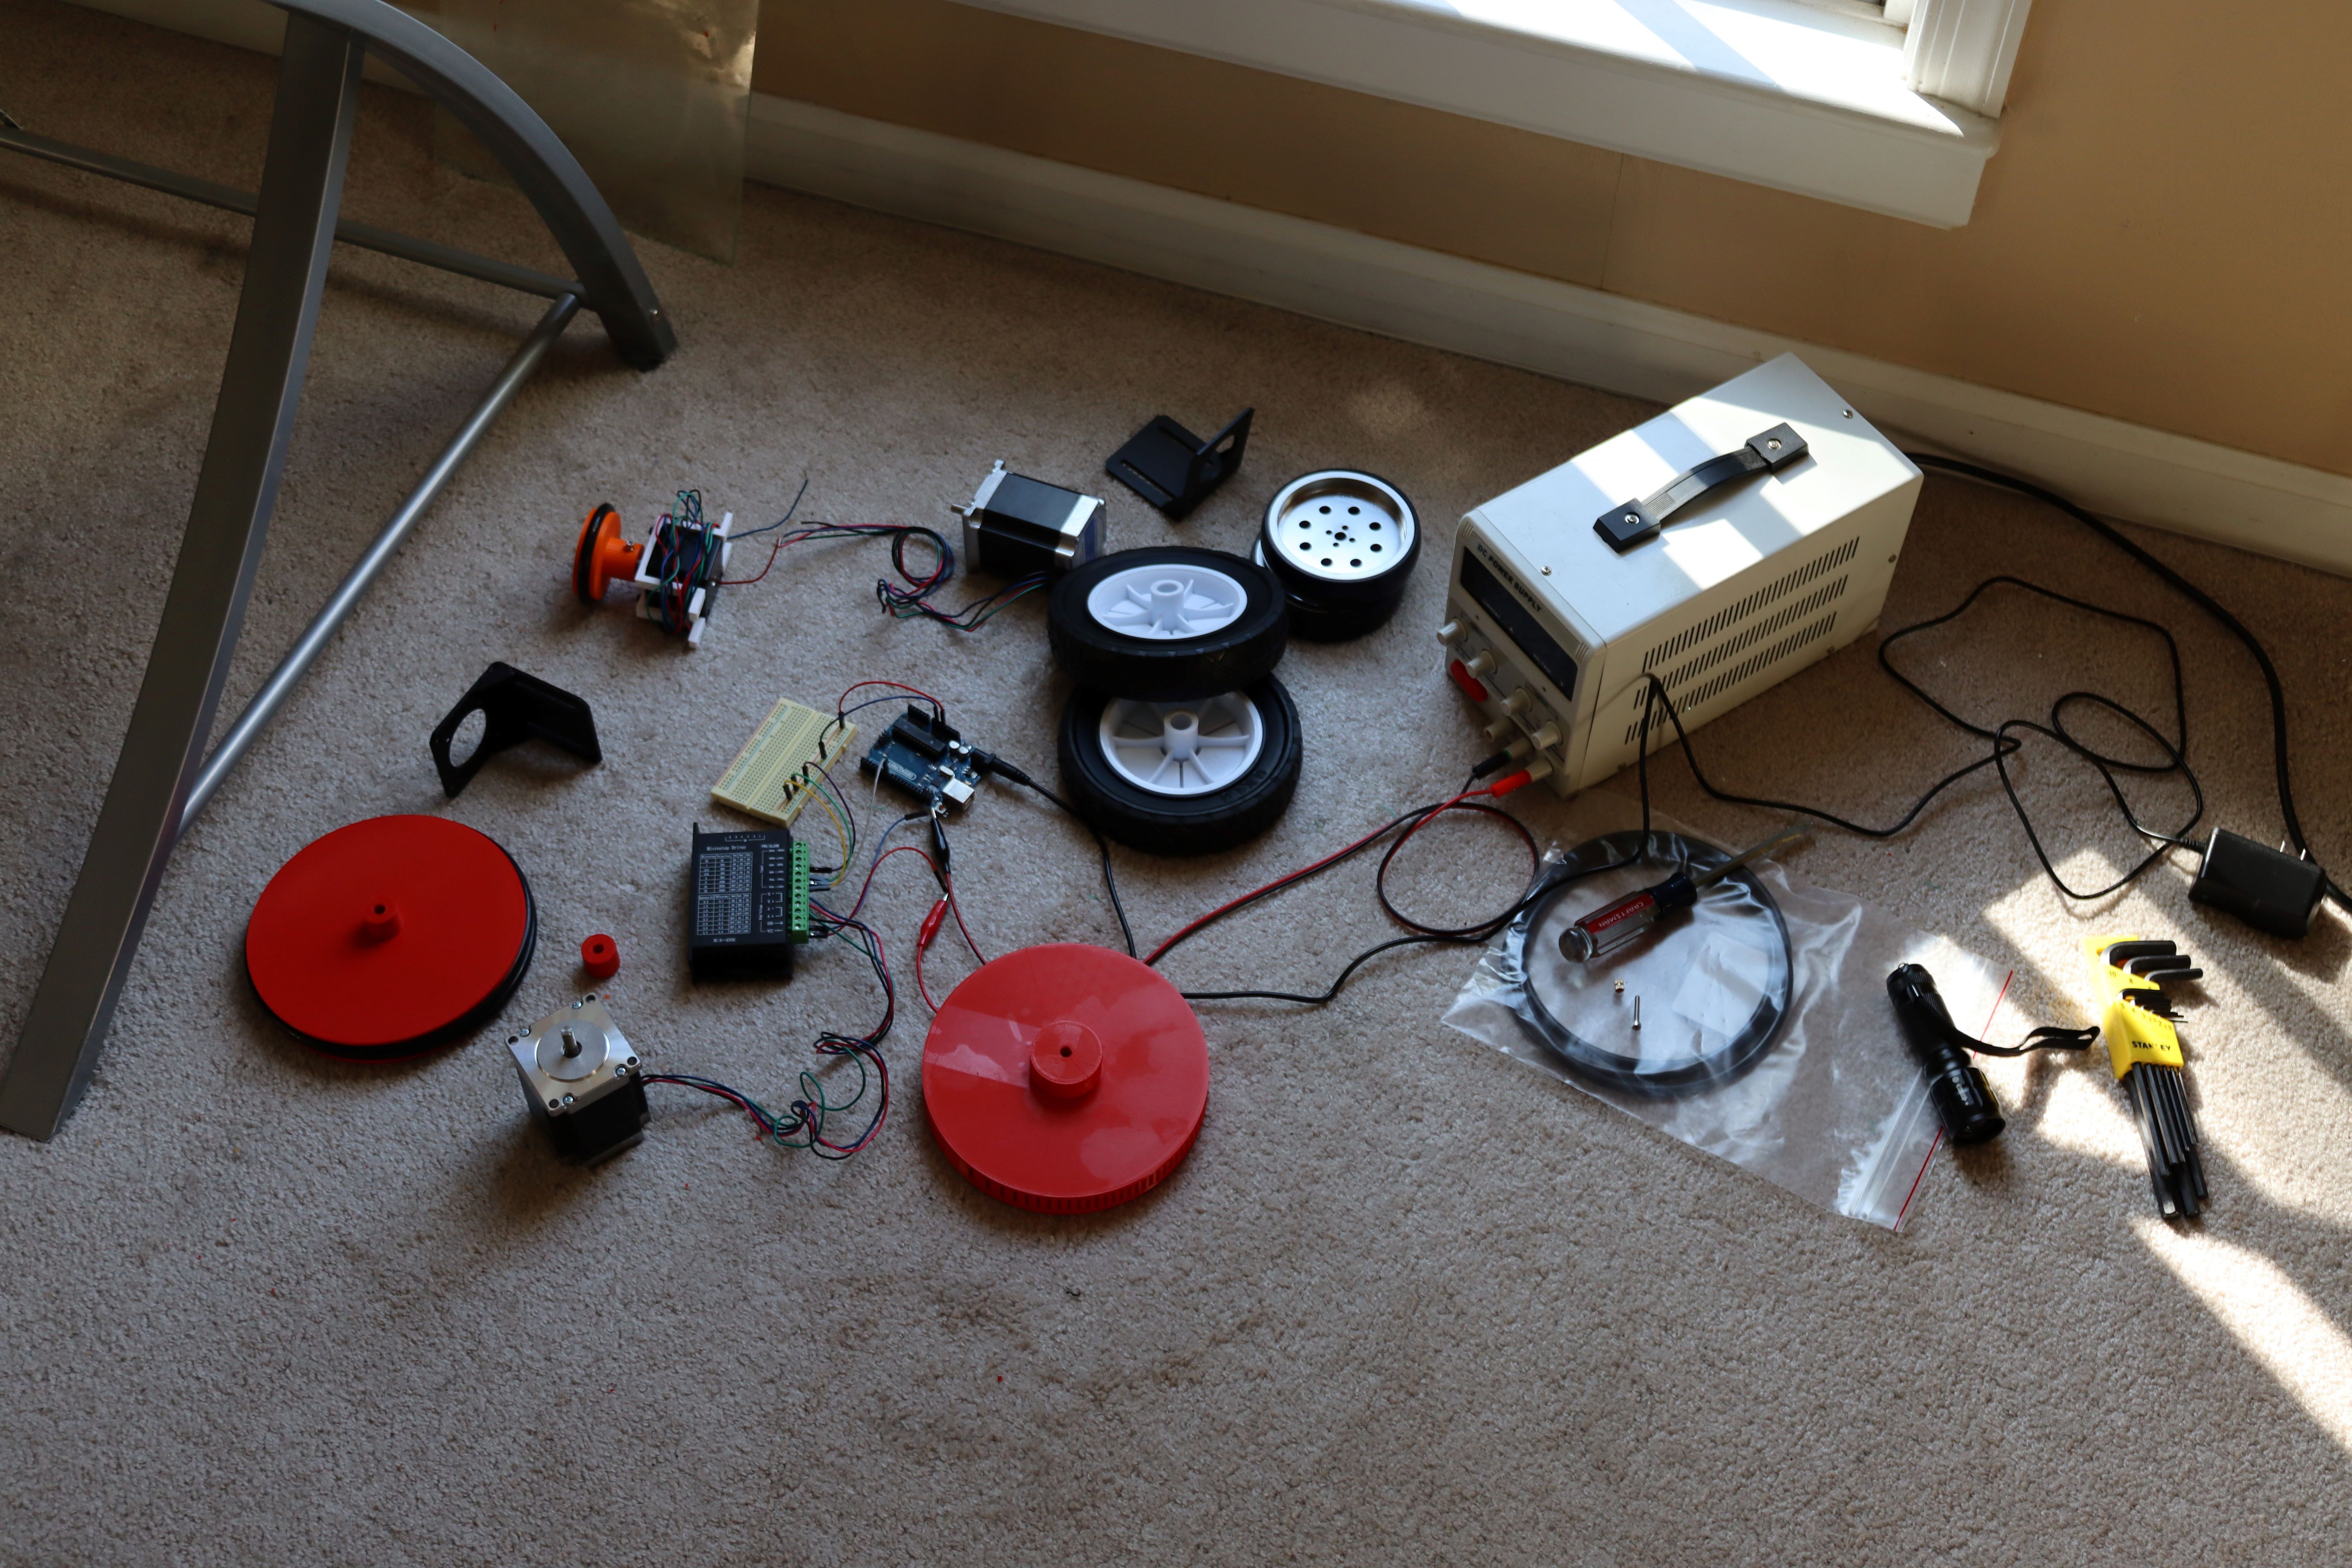
What size should the robot be? The Heathkit Hero robots (sold in the 1980's--I never had one of these) were 20 to 40 pounds; 40 pounds for the one with an arm. Astro, which can carry some load, weighs 20 pounds.
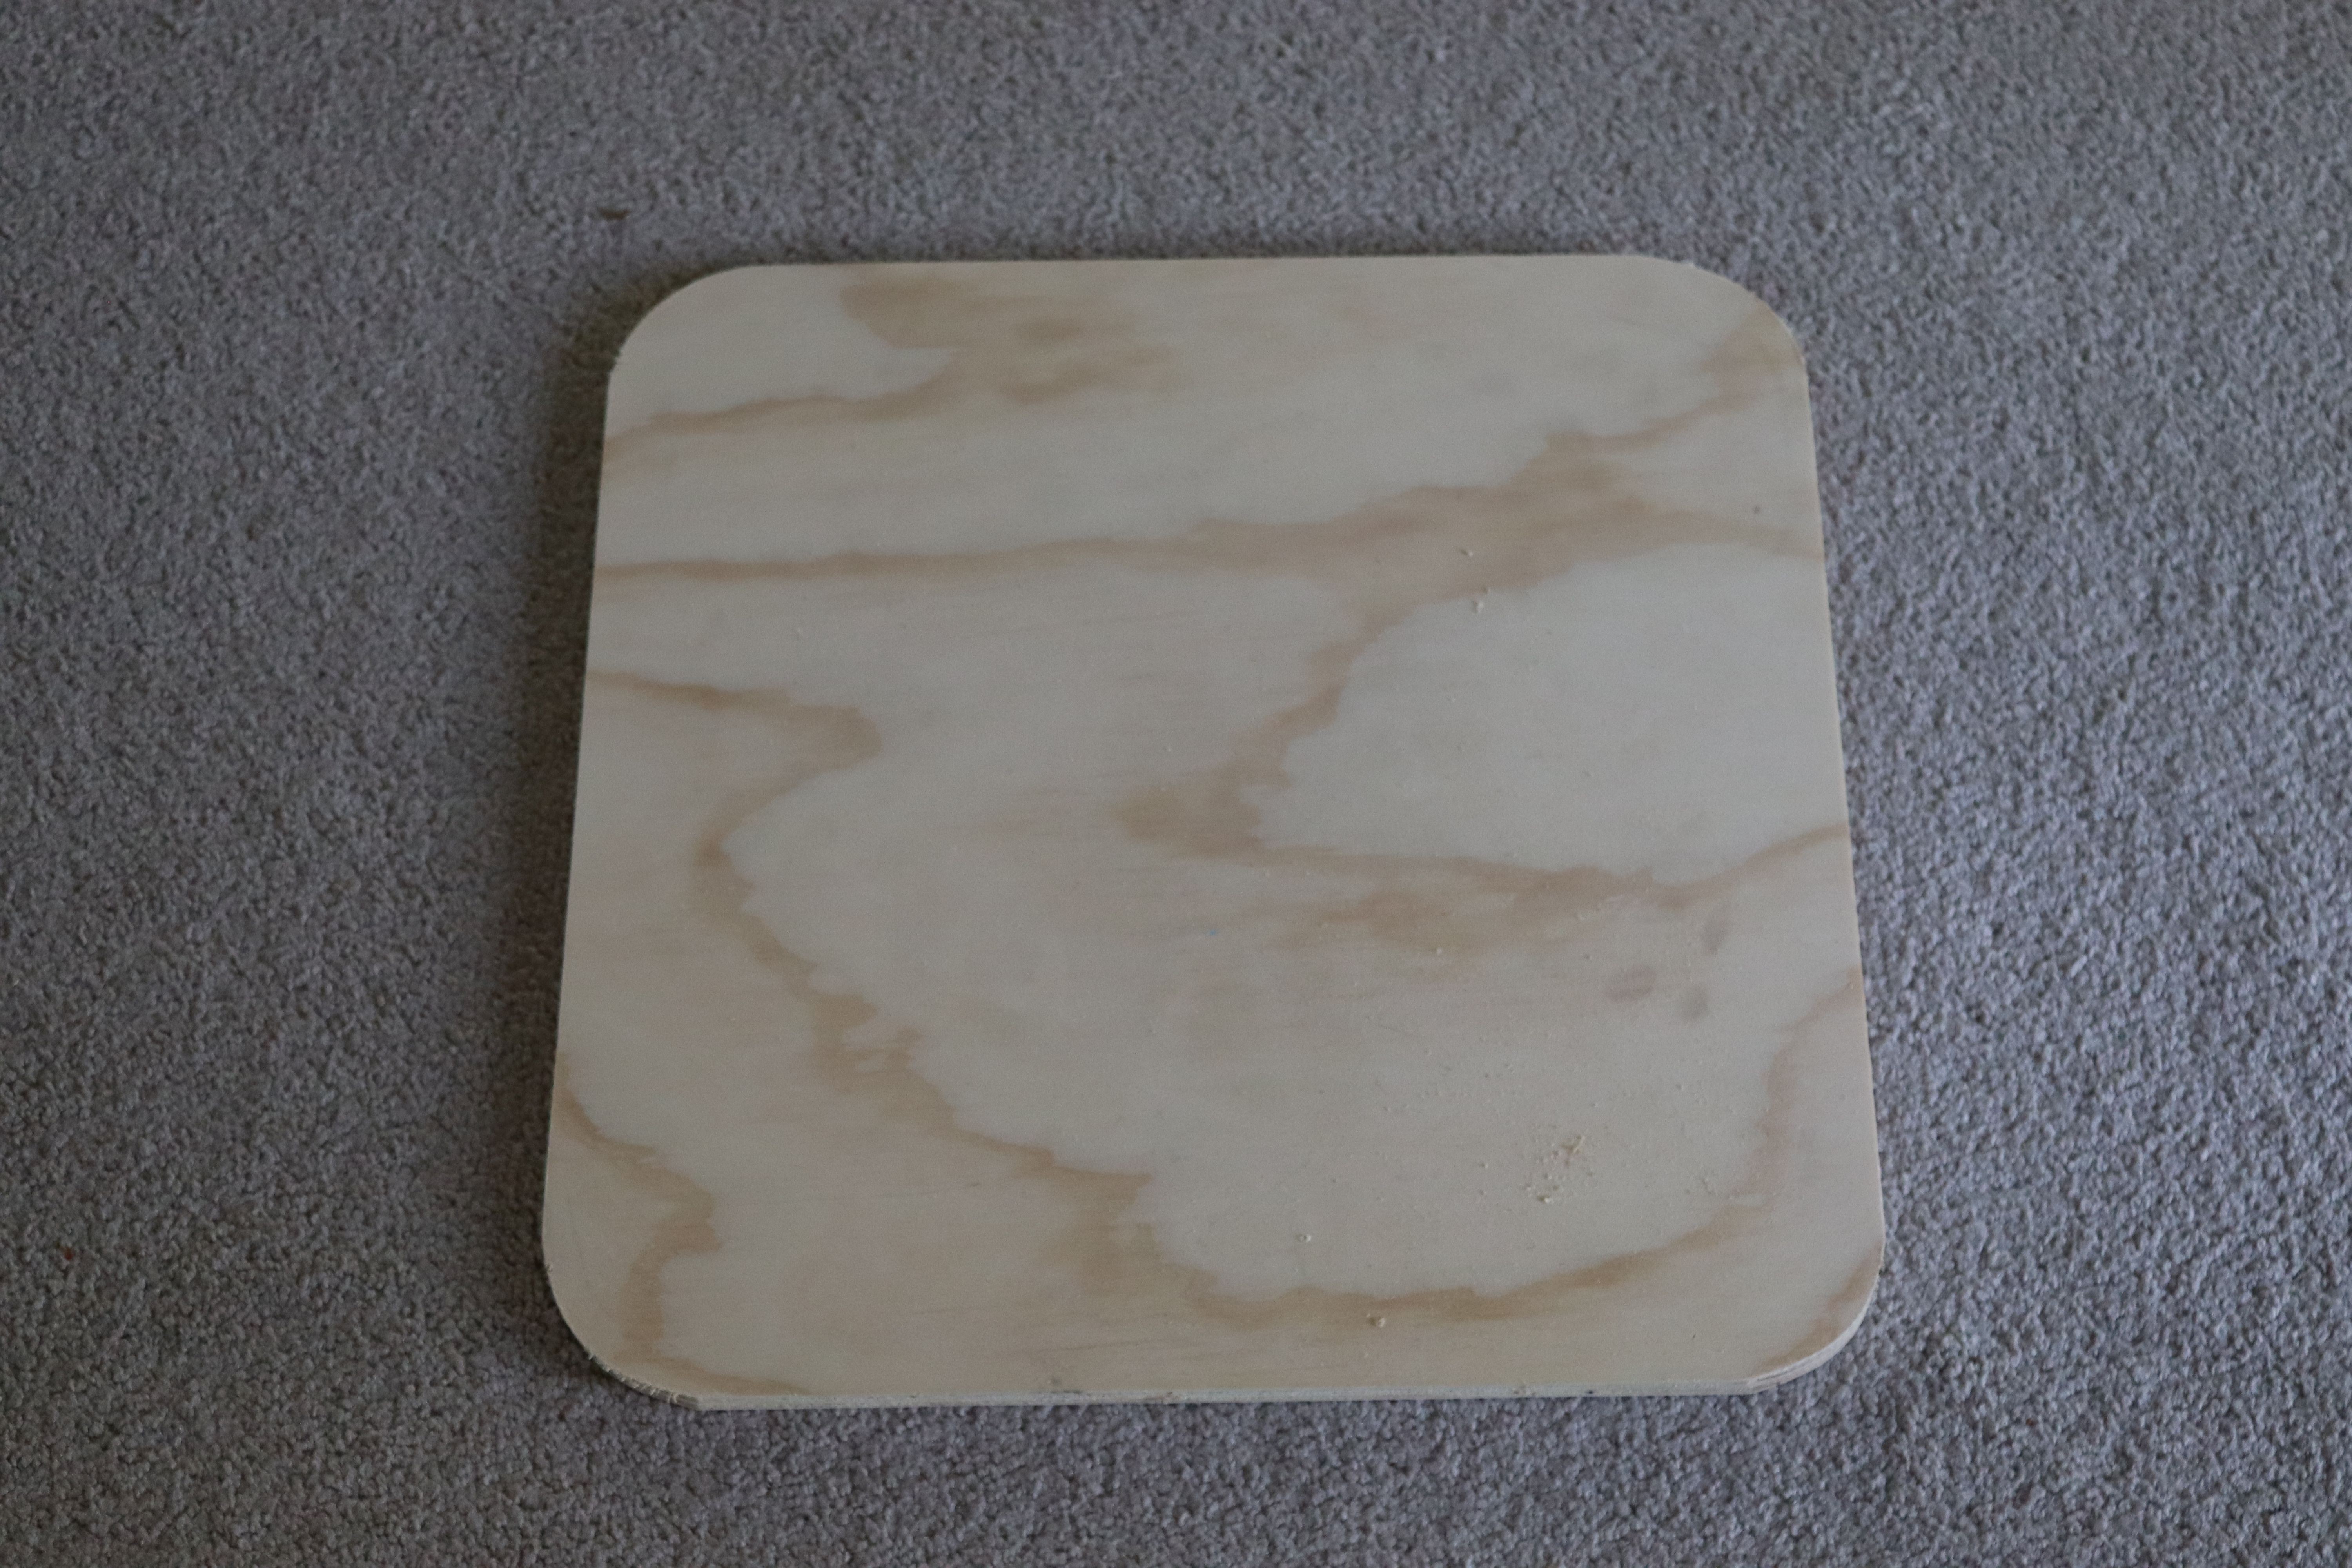
I cut an 18" square piece of 1/2" thick plywood for the floor. I used a quart size paint can for a template to round the corners.
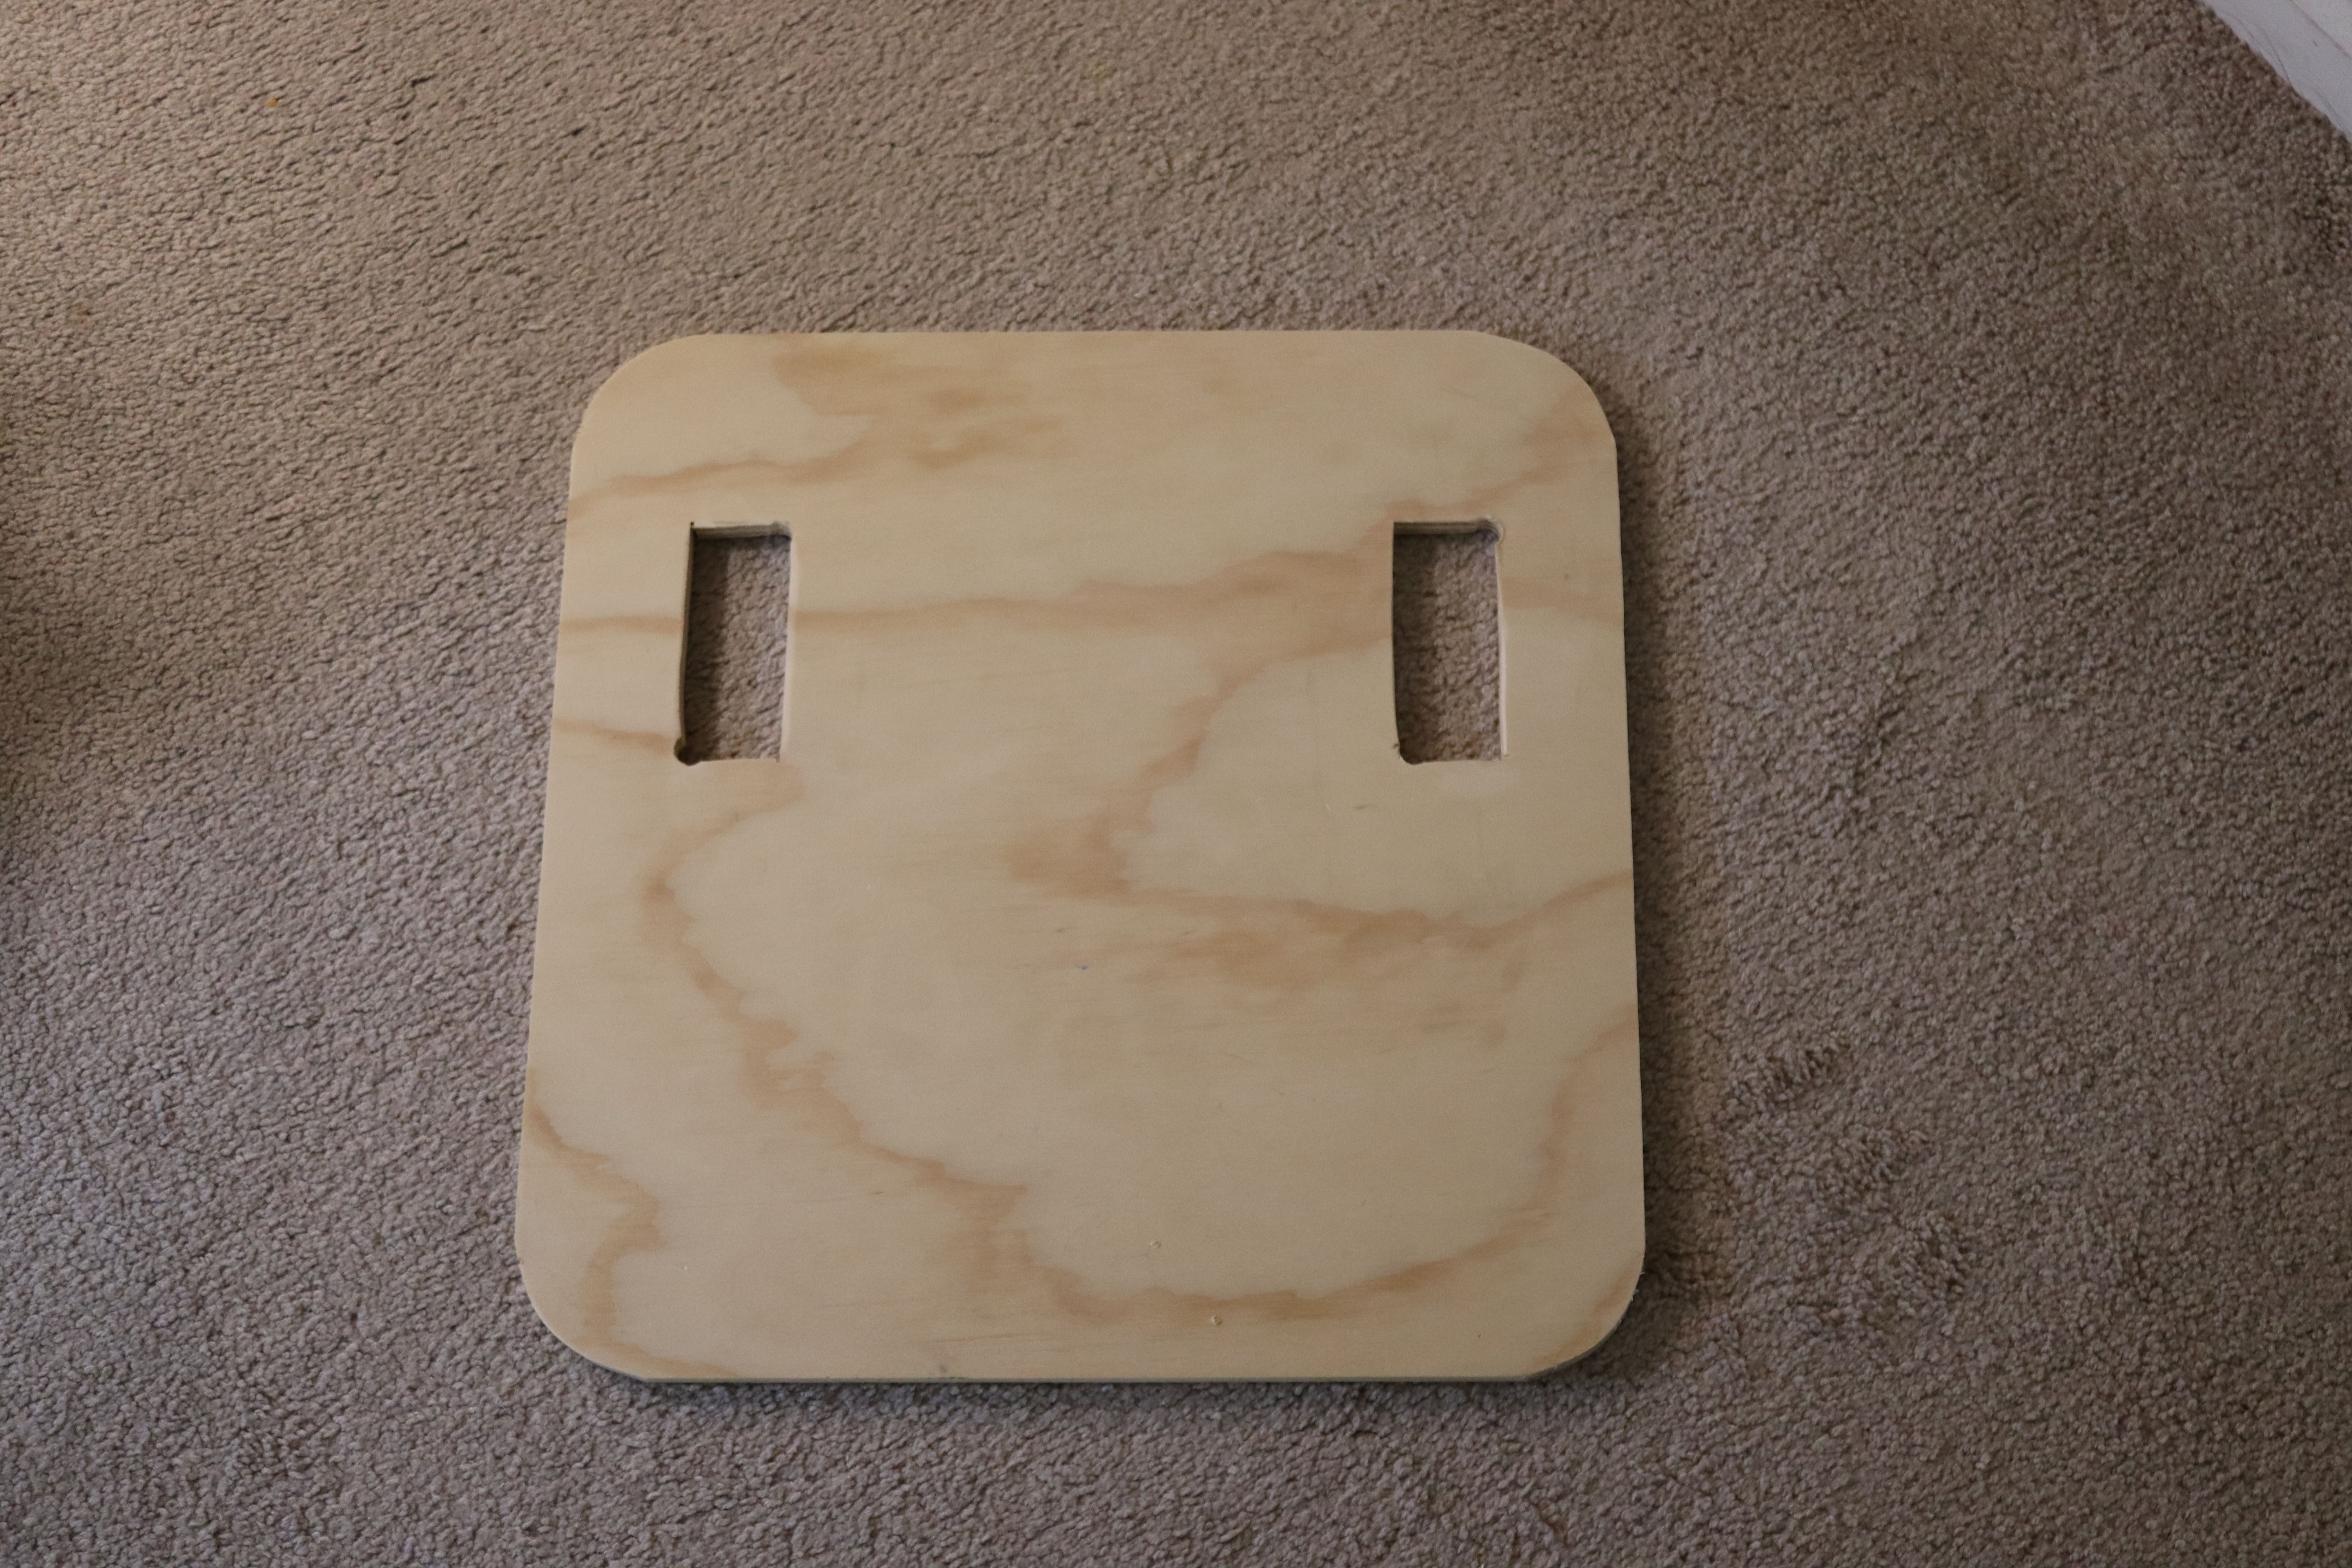
Next, I cut slots to allow a bit of room for wheels.
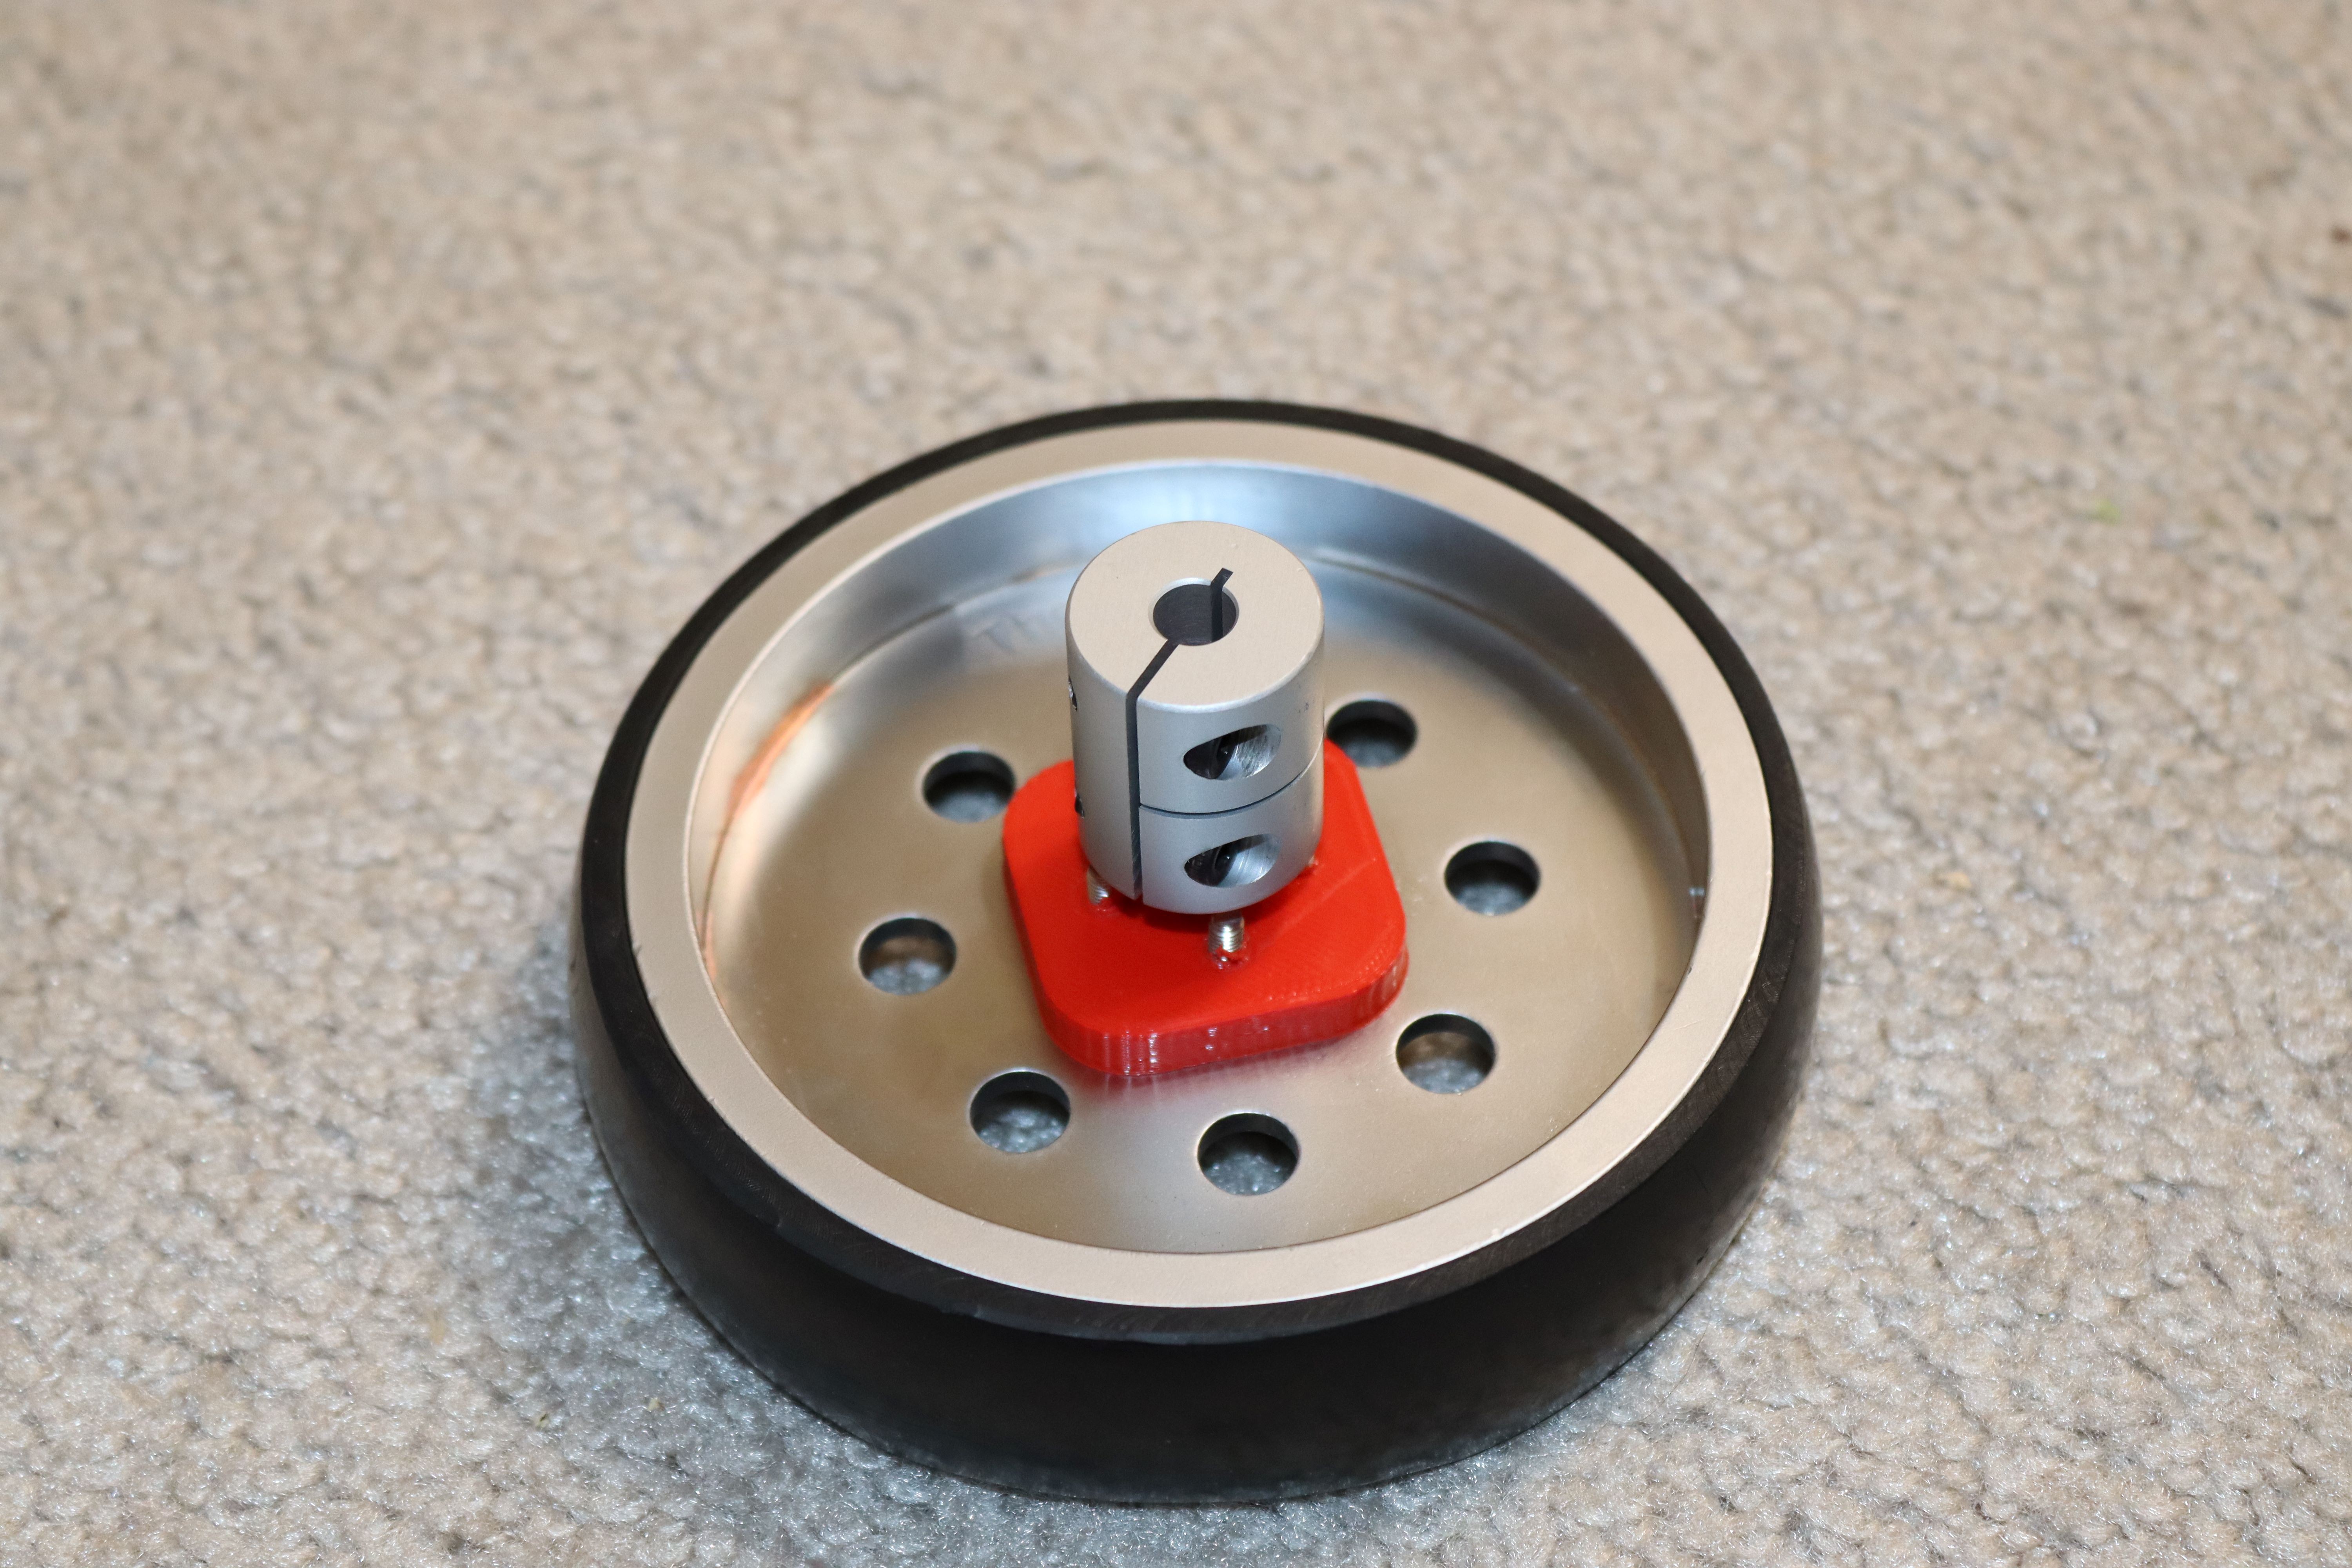
I 3d printed a wheel connector/shaft and secured it to the wheel using 3mm screws.


I attached an 8 mm to 6.35 mm shaft coupler (8 mm end) to the 3d printed shaft.
I bolted NEMA 23 brackets to the base.

Next, I mounted a motor and wheel.

This was followed by the second wheel.
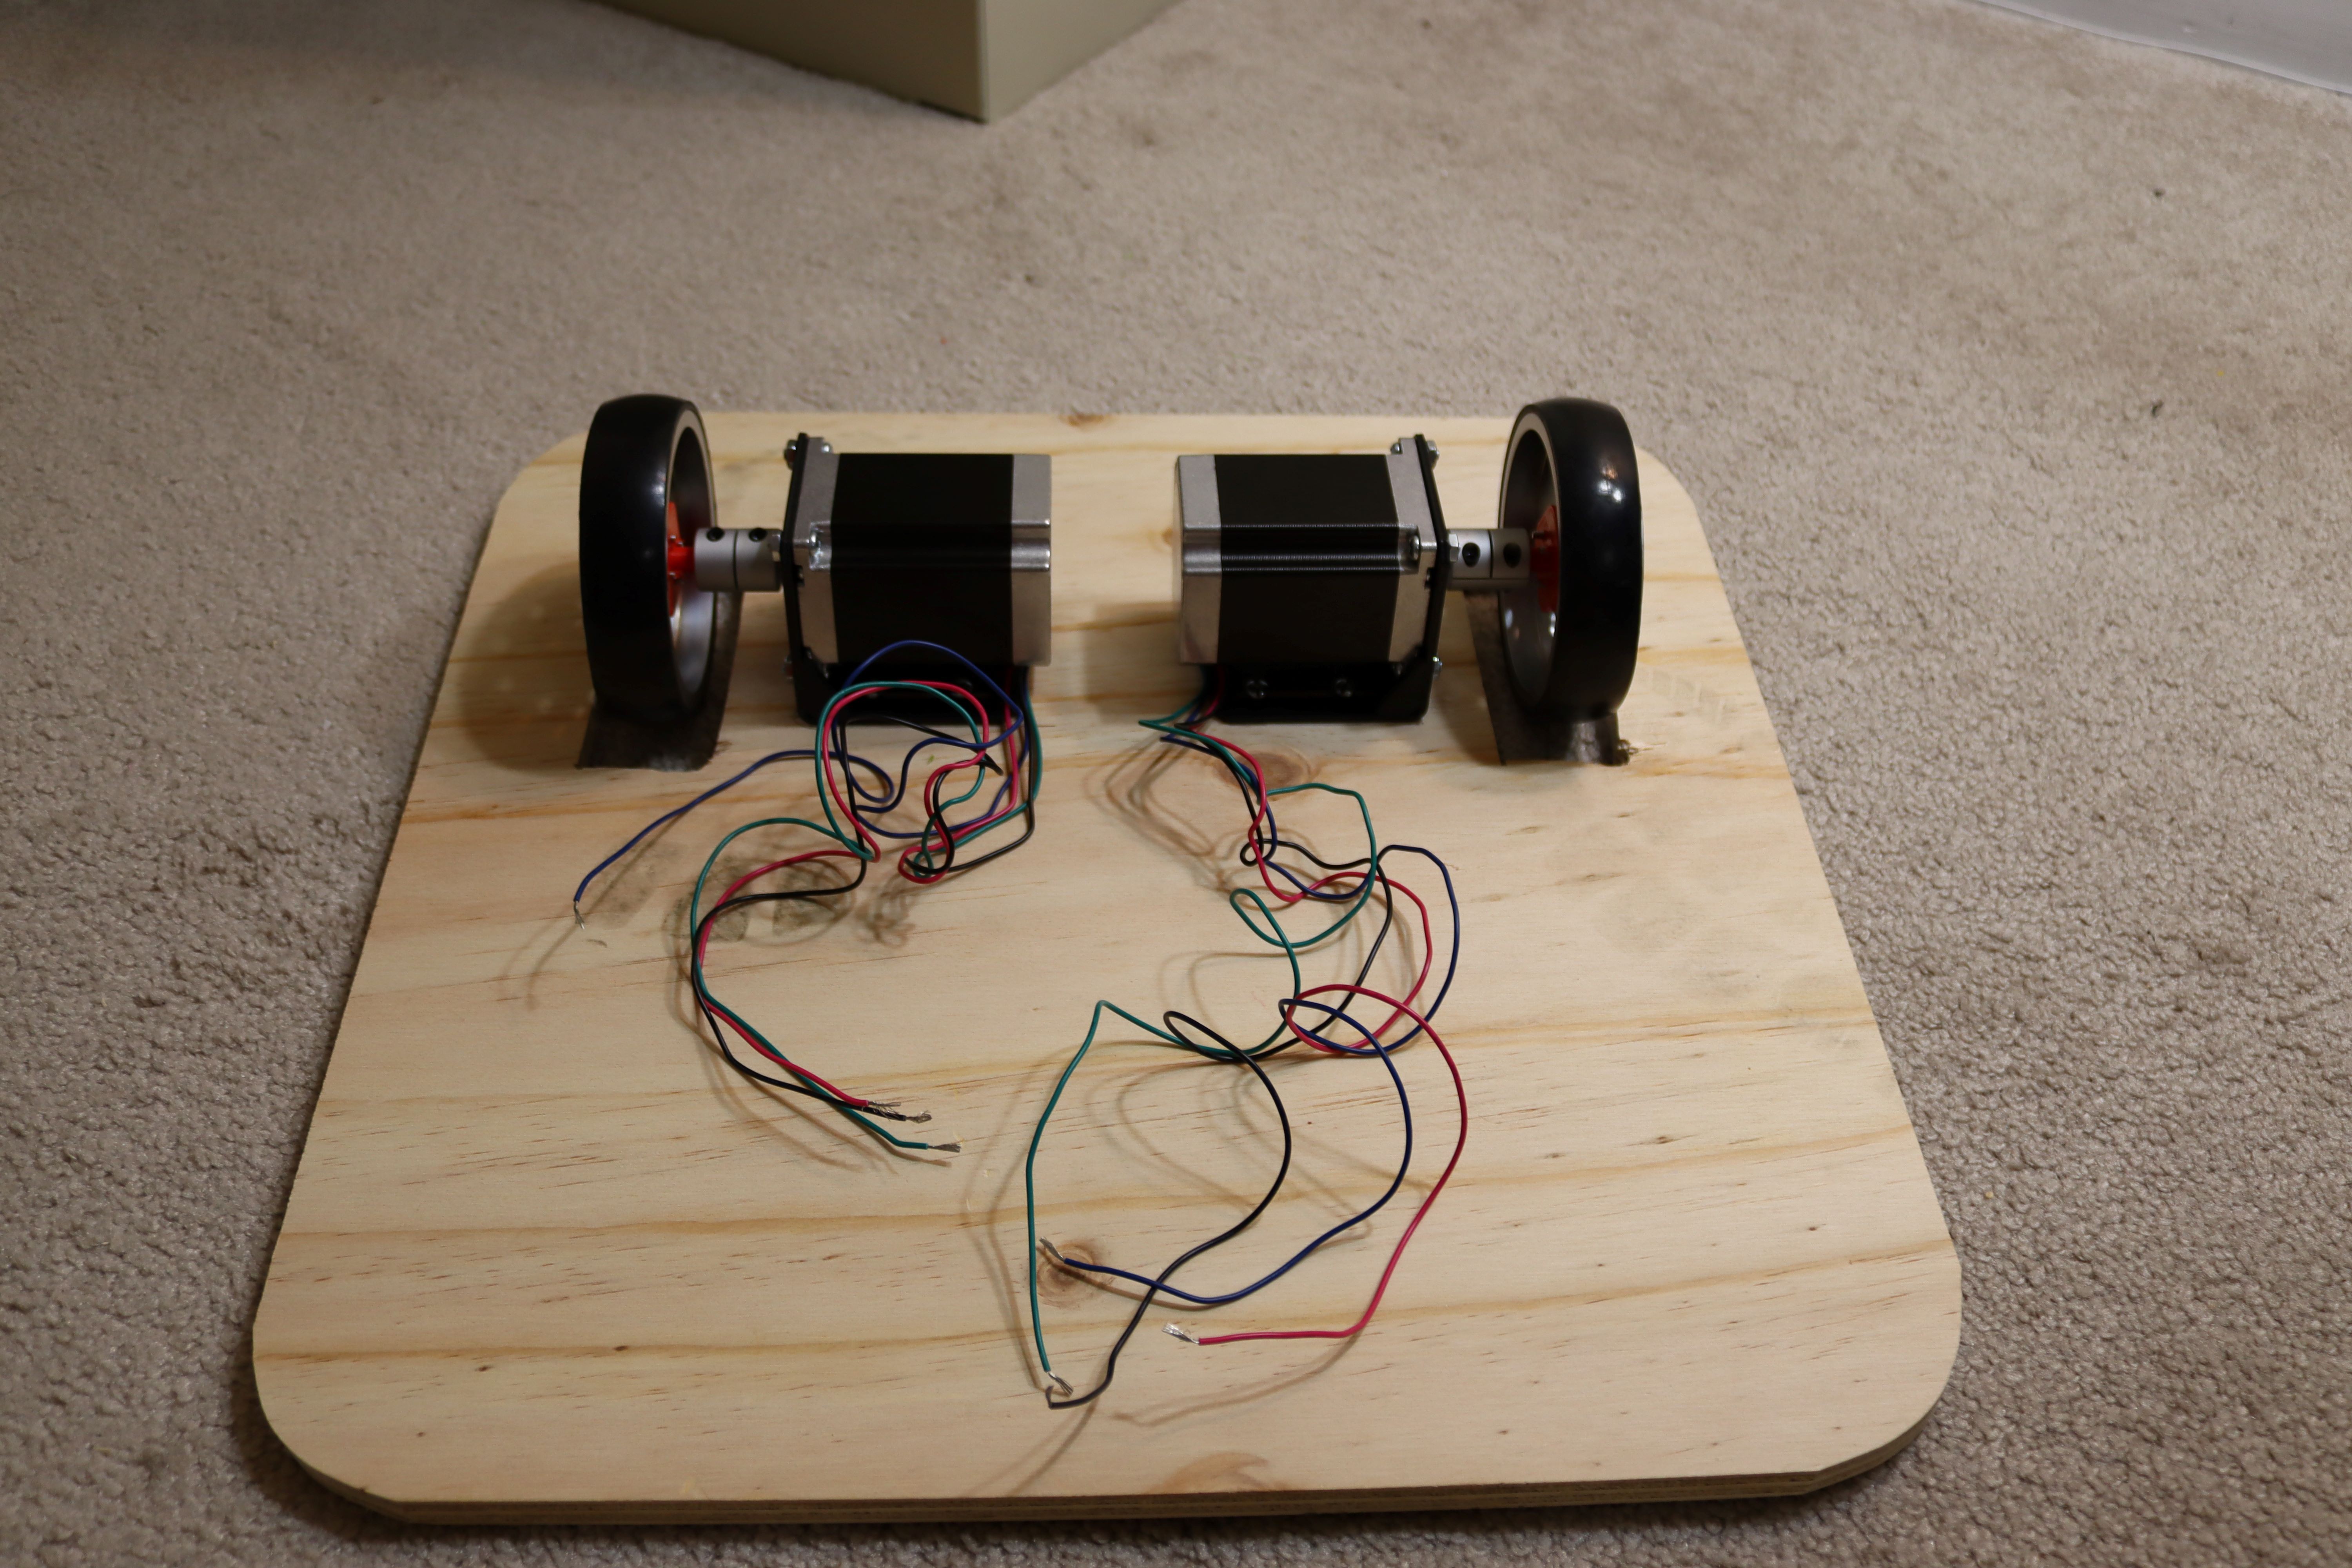
Next, I drilled a 1/2" hole through the plywood and inserted the motor wires.

Next, I added a 1" caster wheel to a 3d printed extender, then attached this to the rear of the platform.

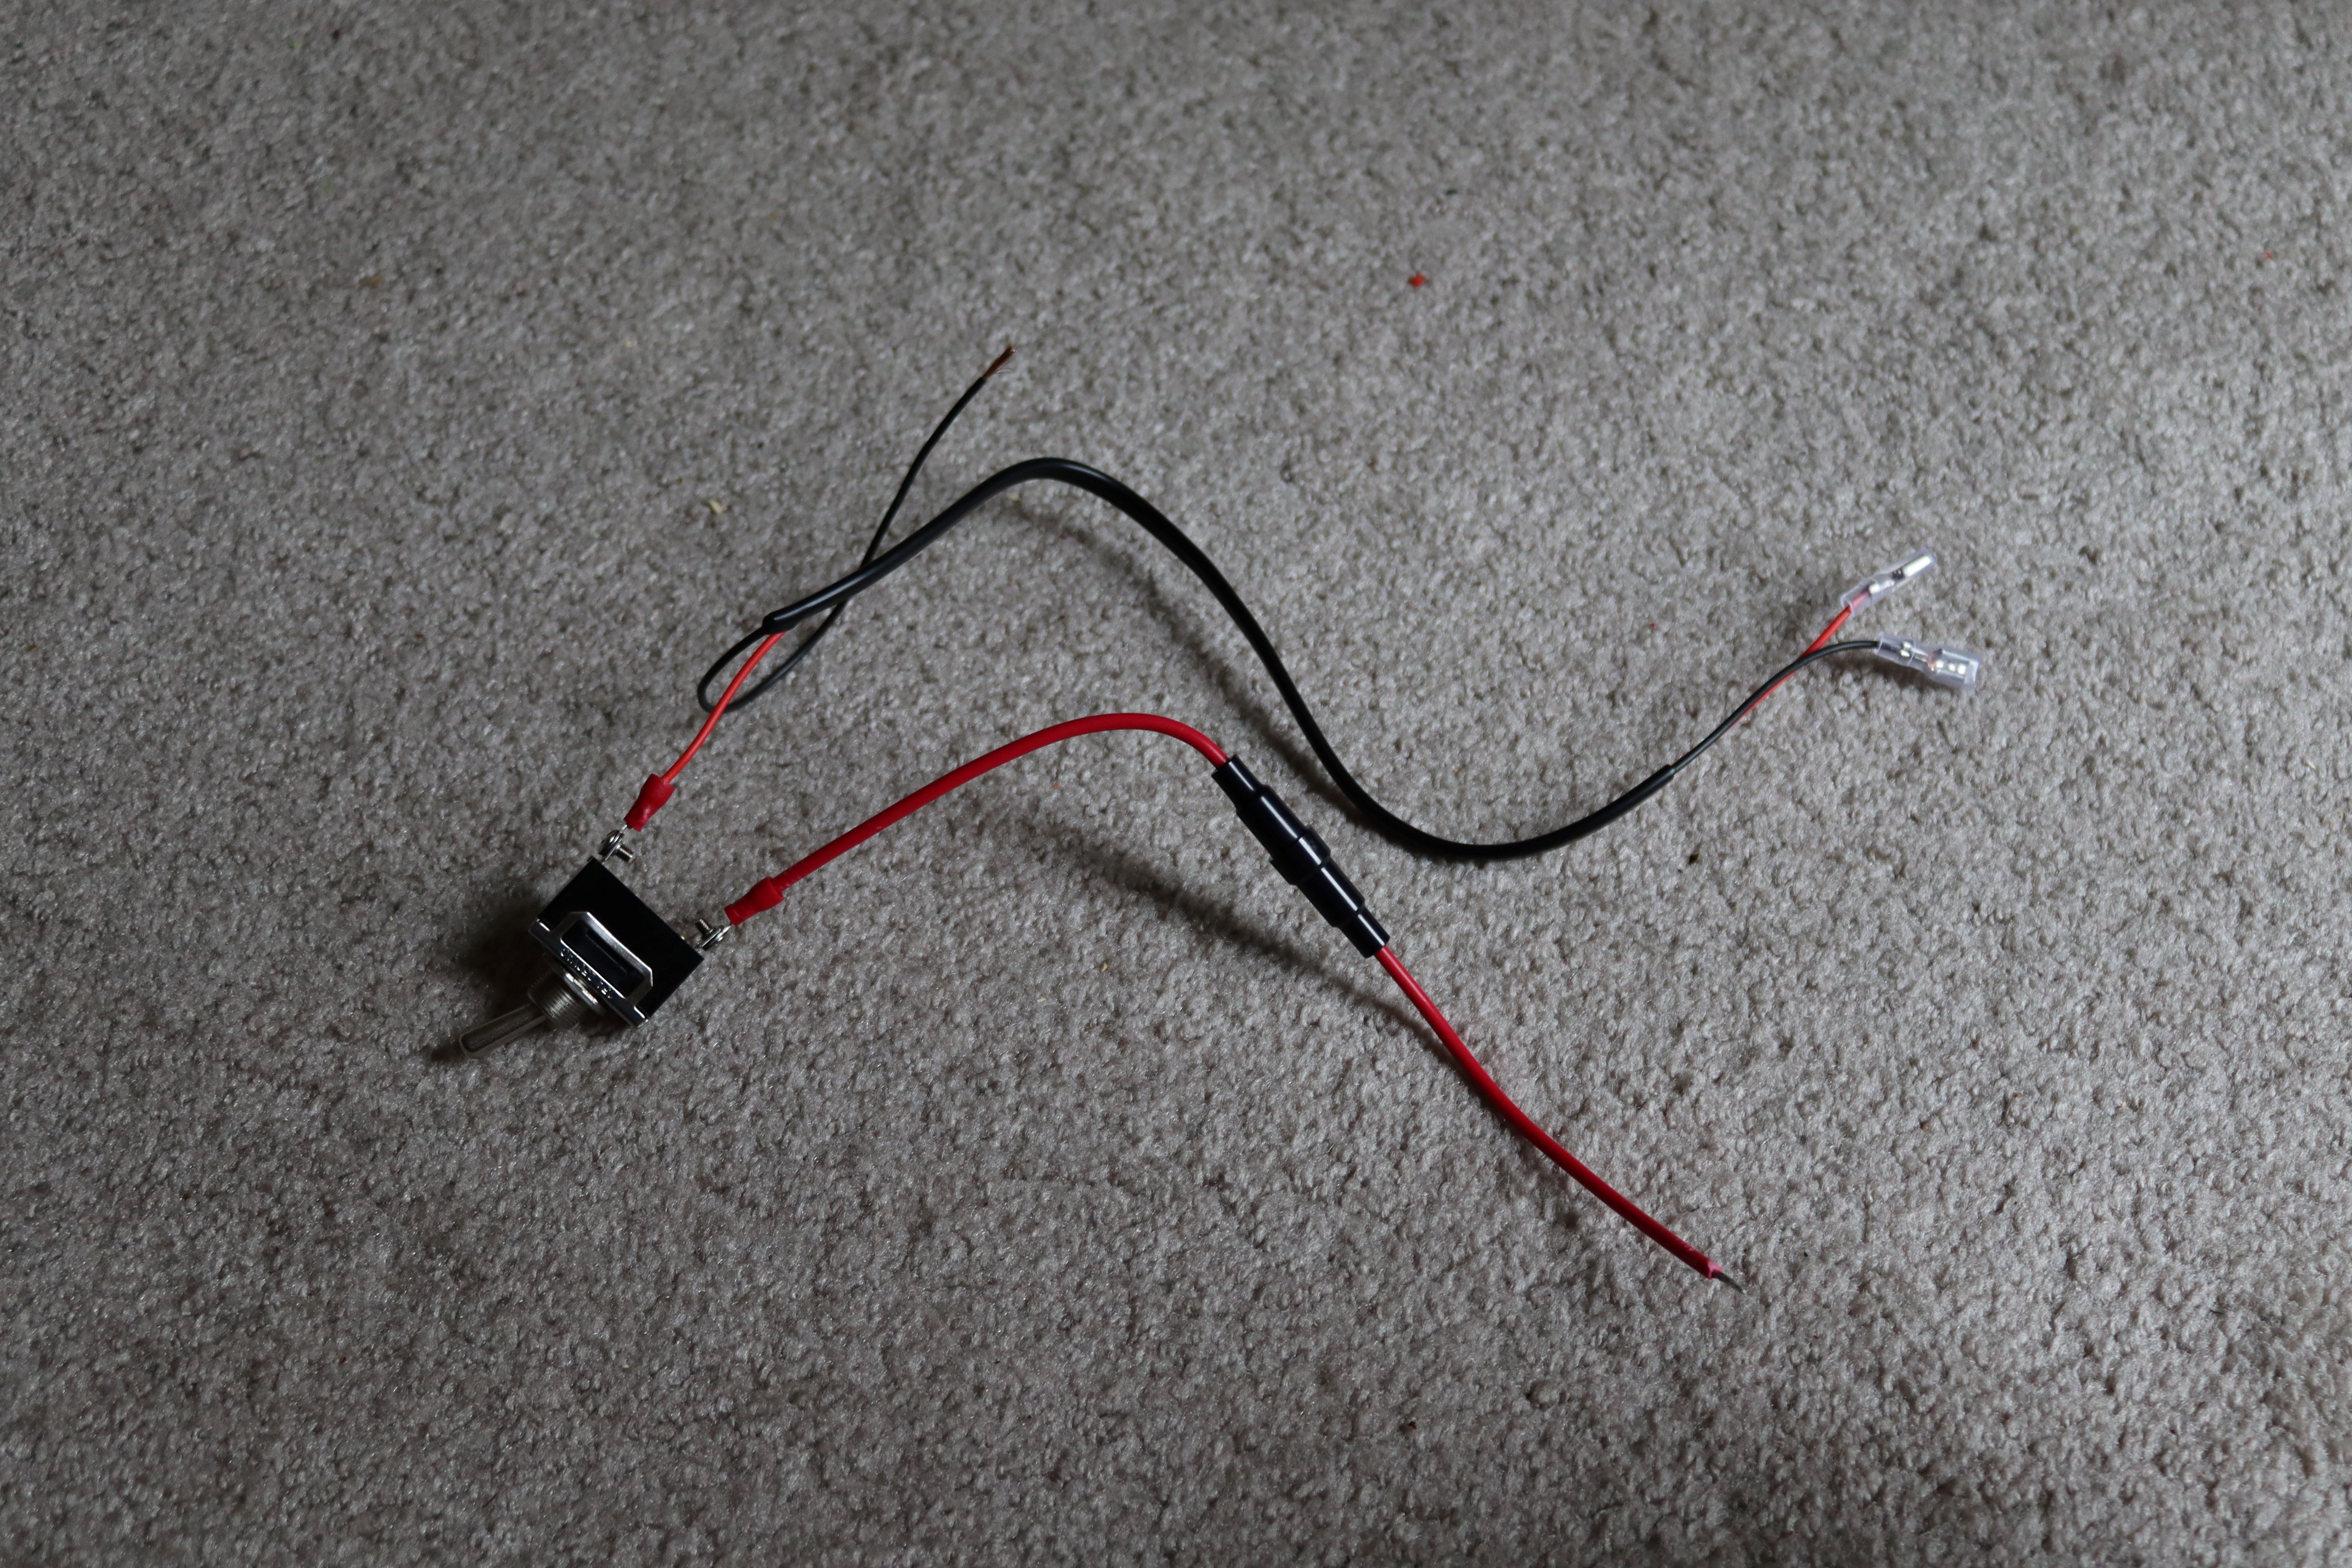
I added a 5 amp fuse and battery connectors to a toggle switch (on/off).
I mounted the 3d printed switch holder to the platform.
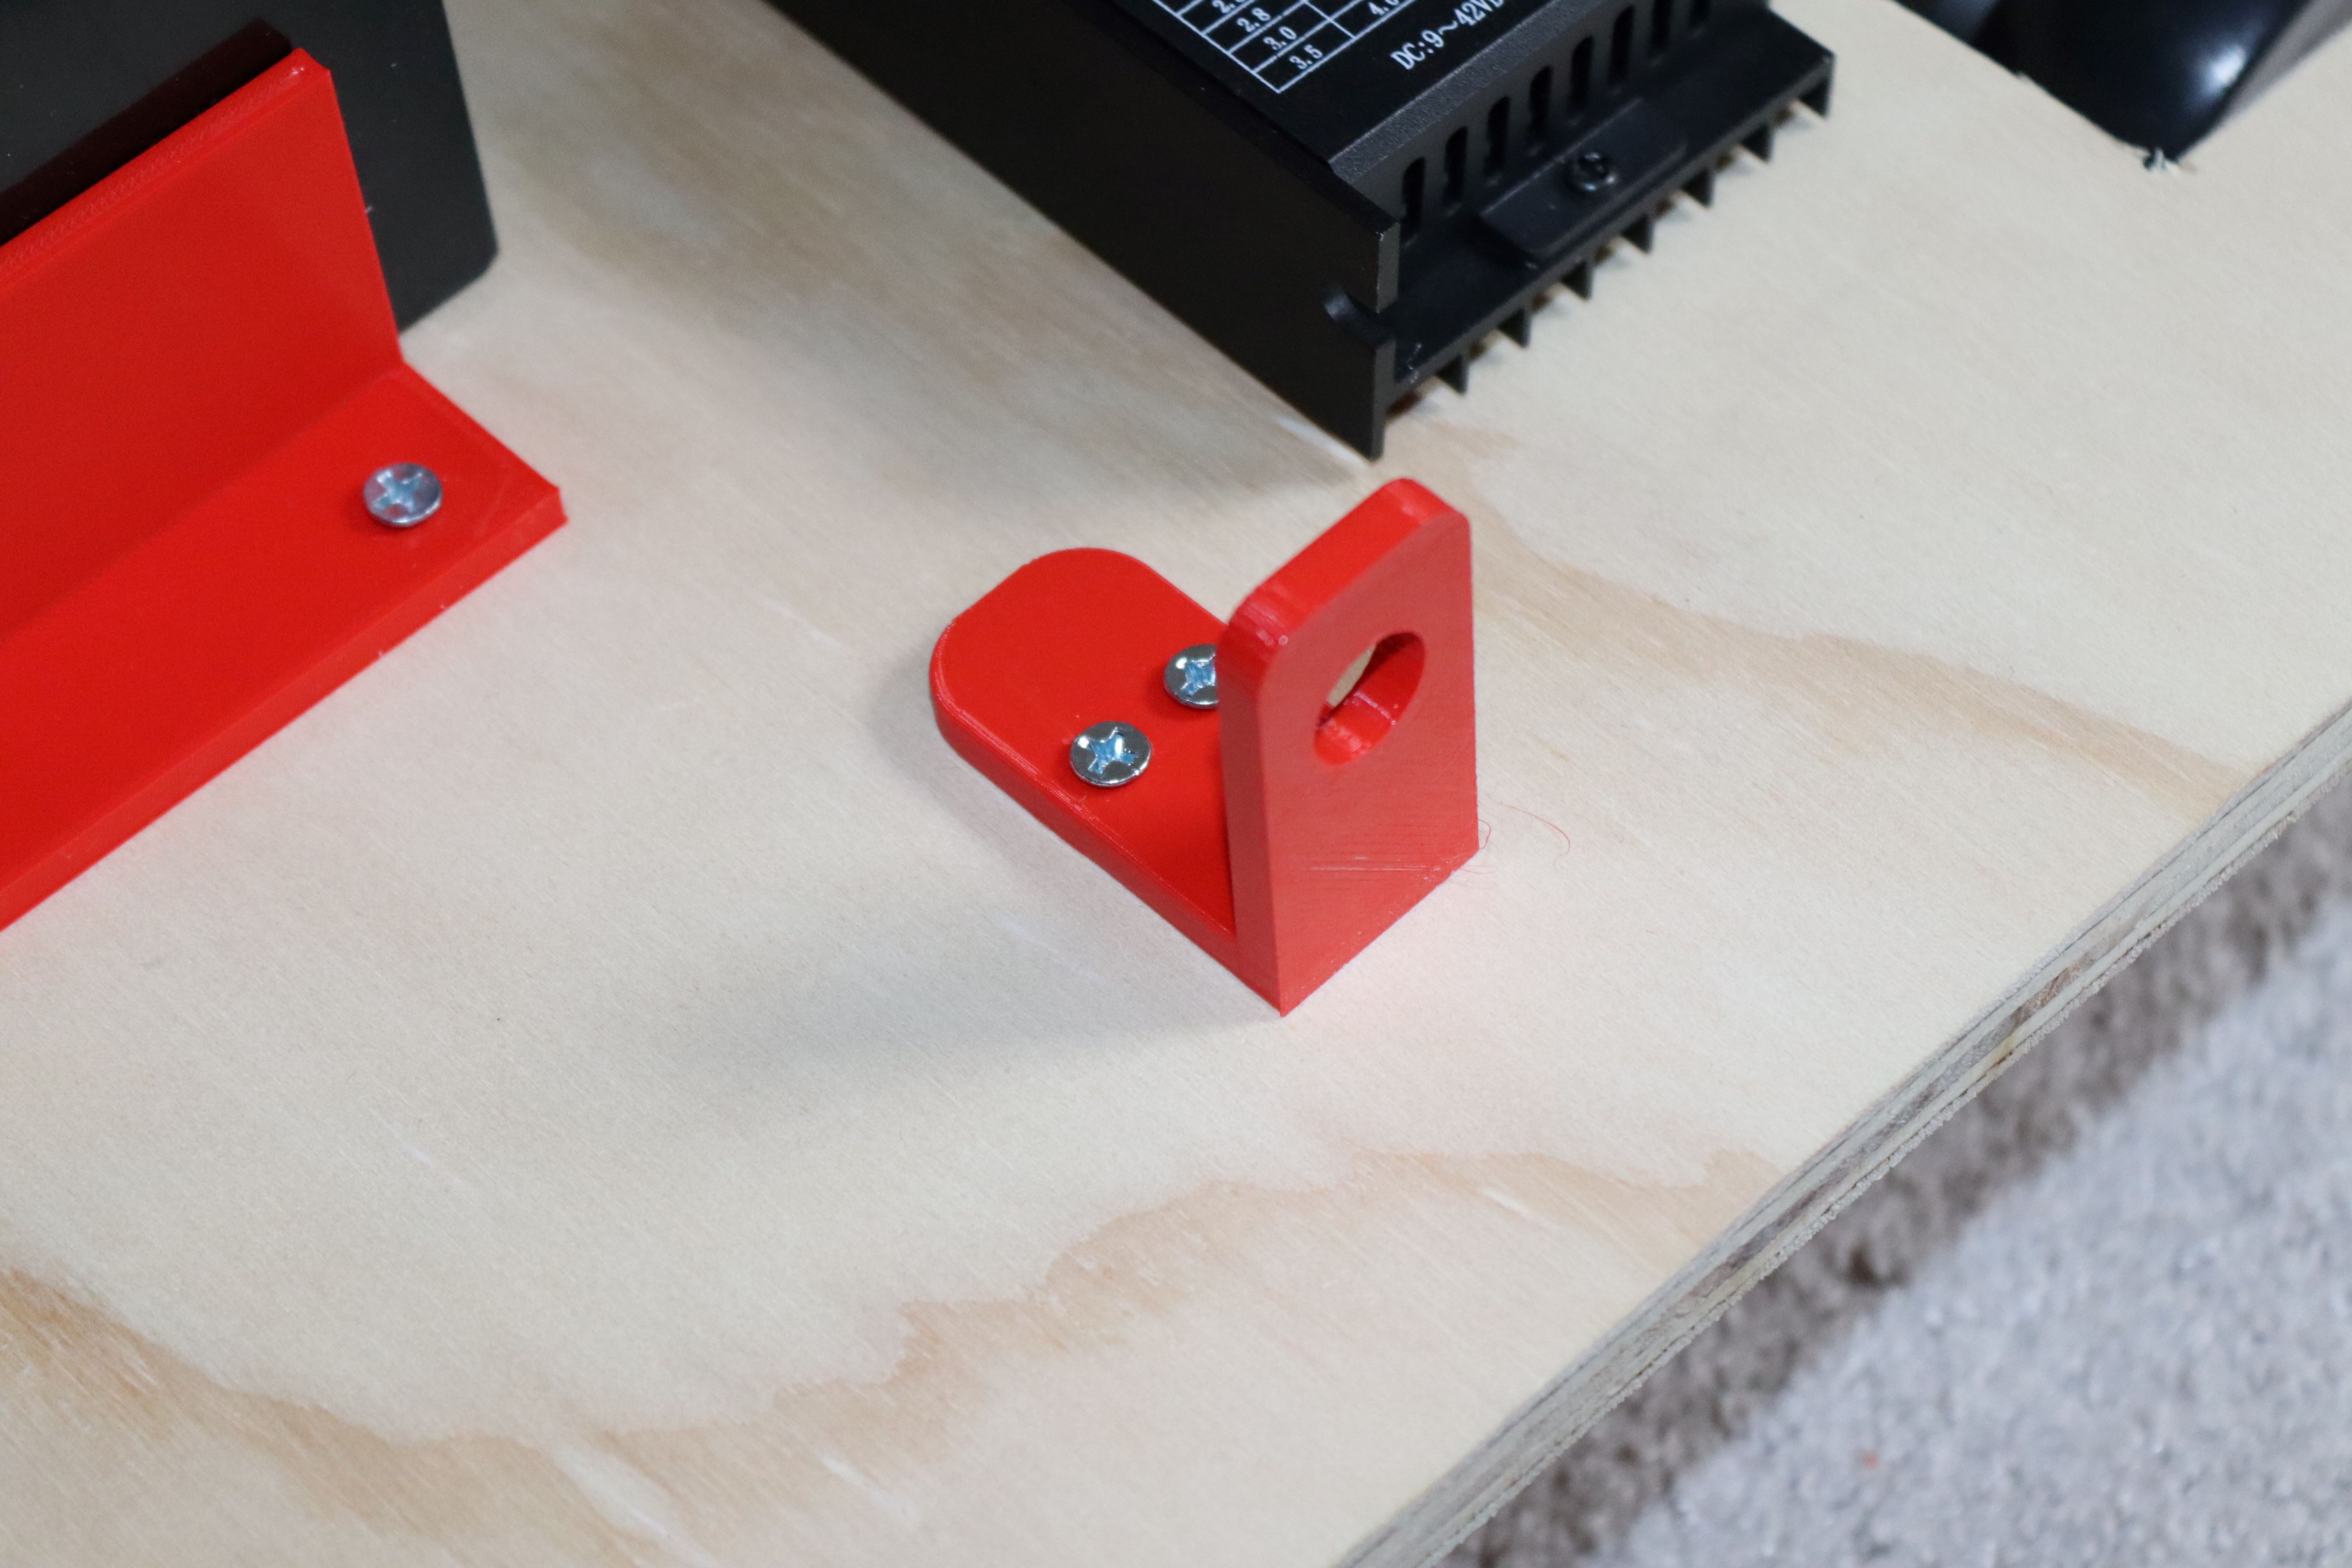
Next, I installed the switch.

This was followed by attaching the Arduino and driver boards to the plywood using Velcro. The battery was secured using 3d printed corners.
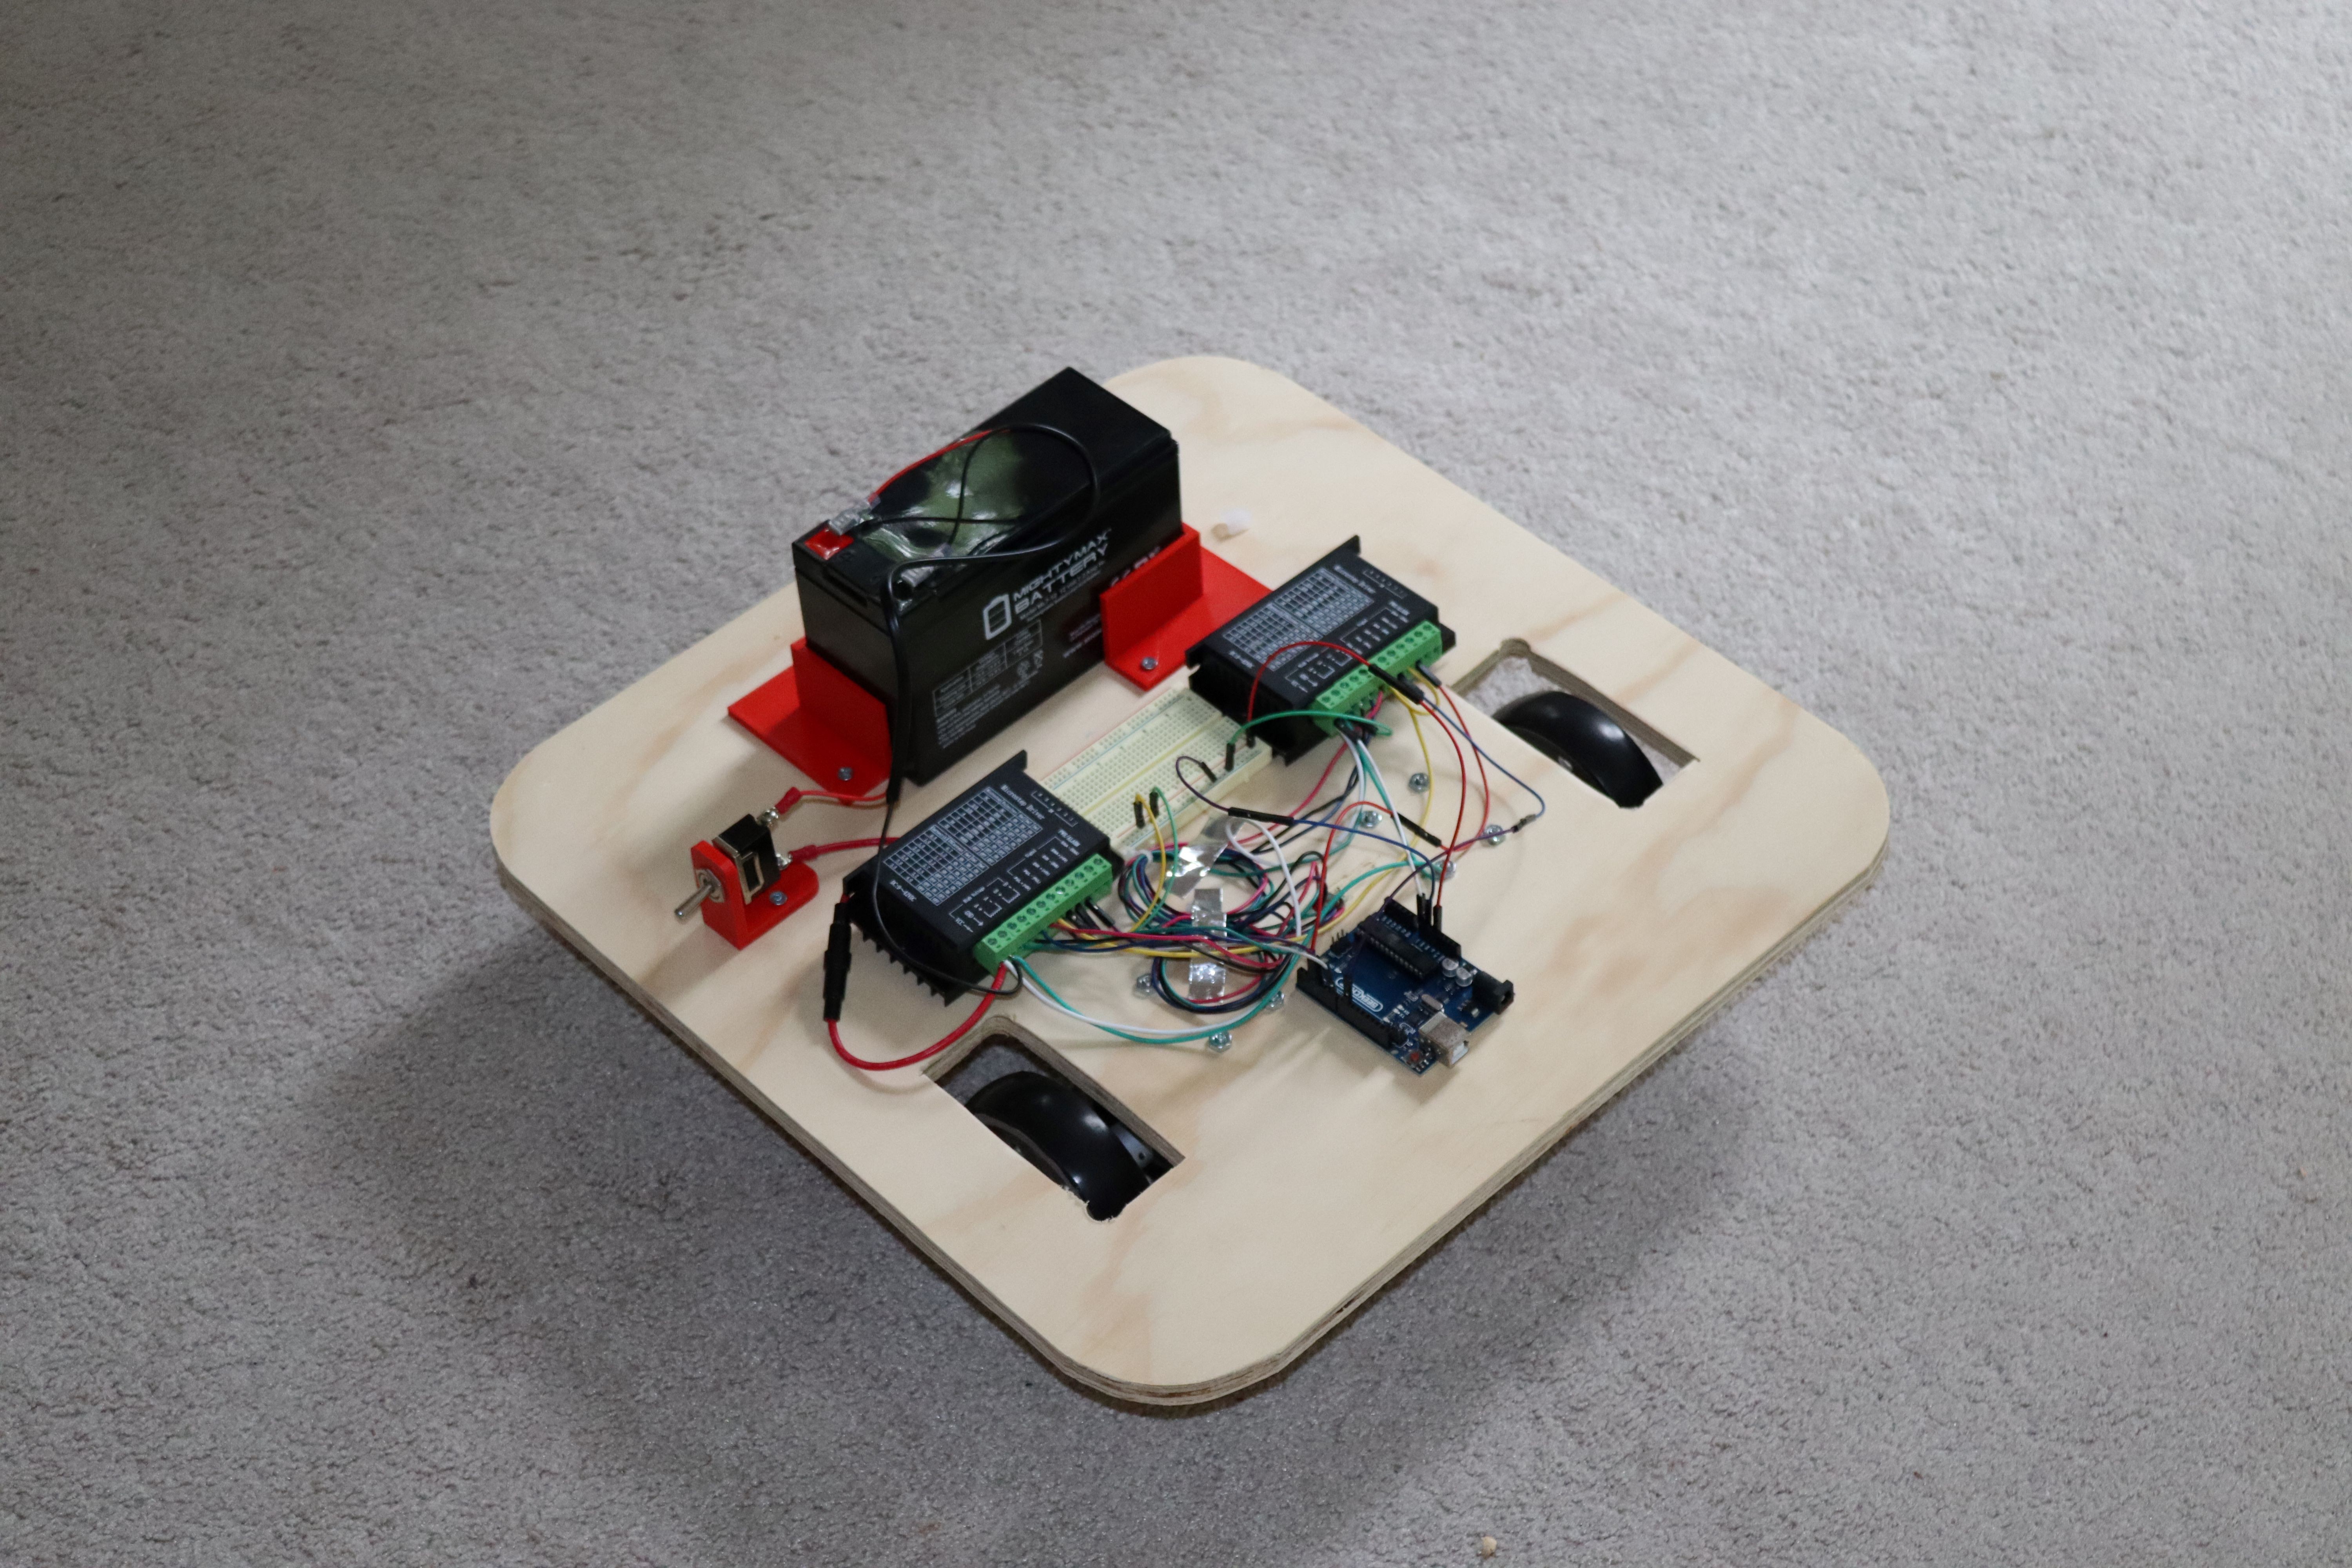
Control of the stepper motors is done through stepper motor drivers (less than ten dollars each).
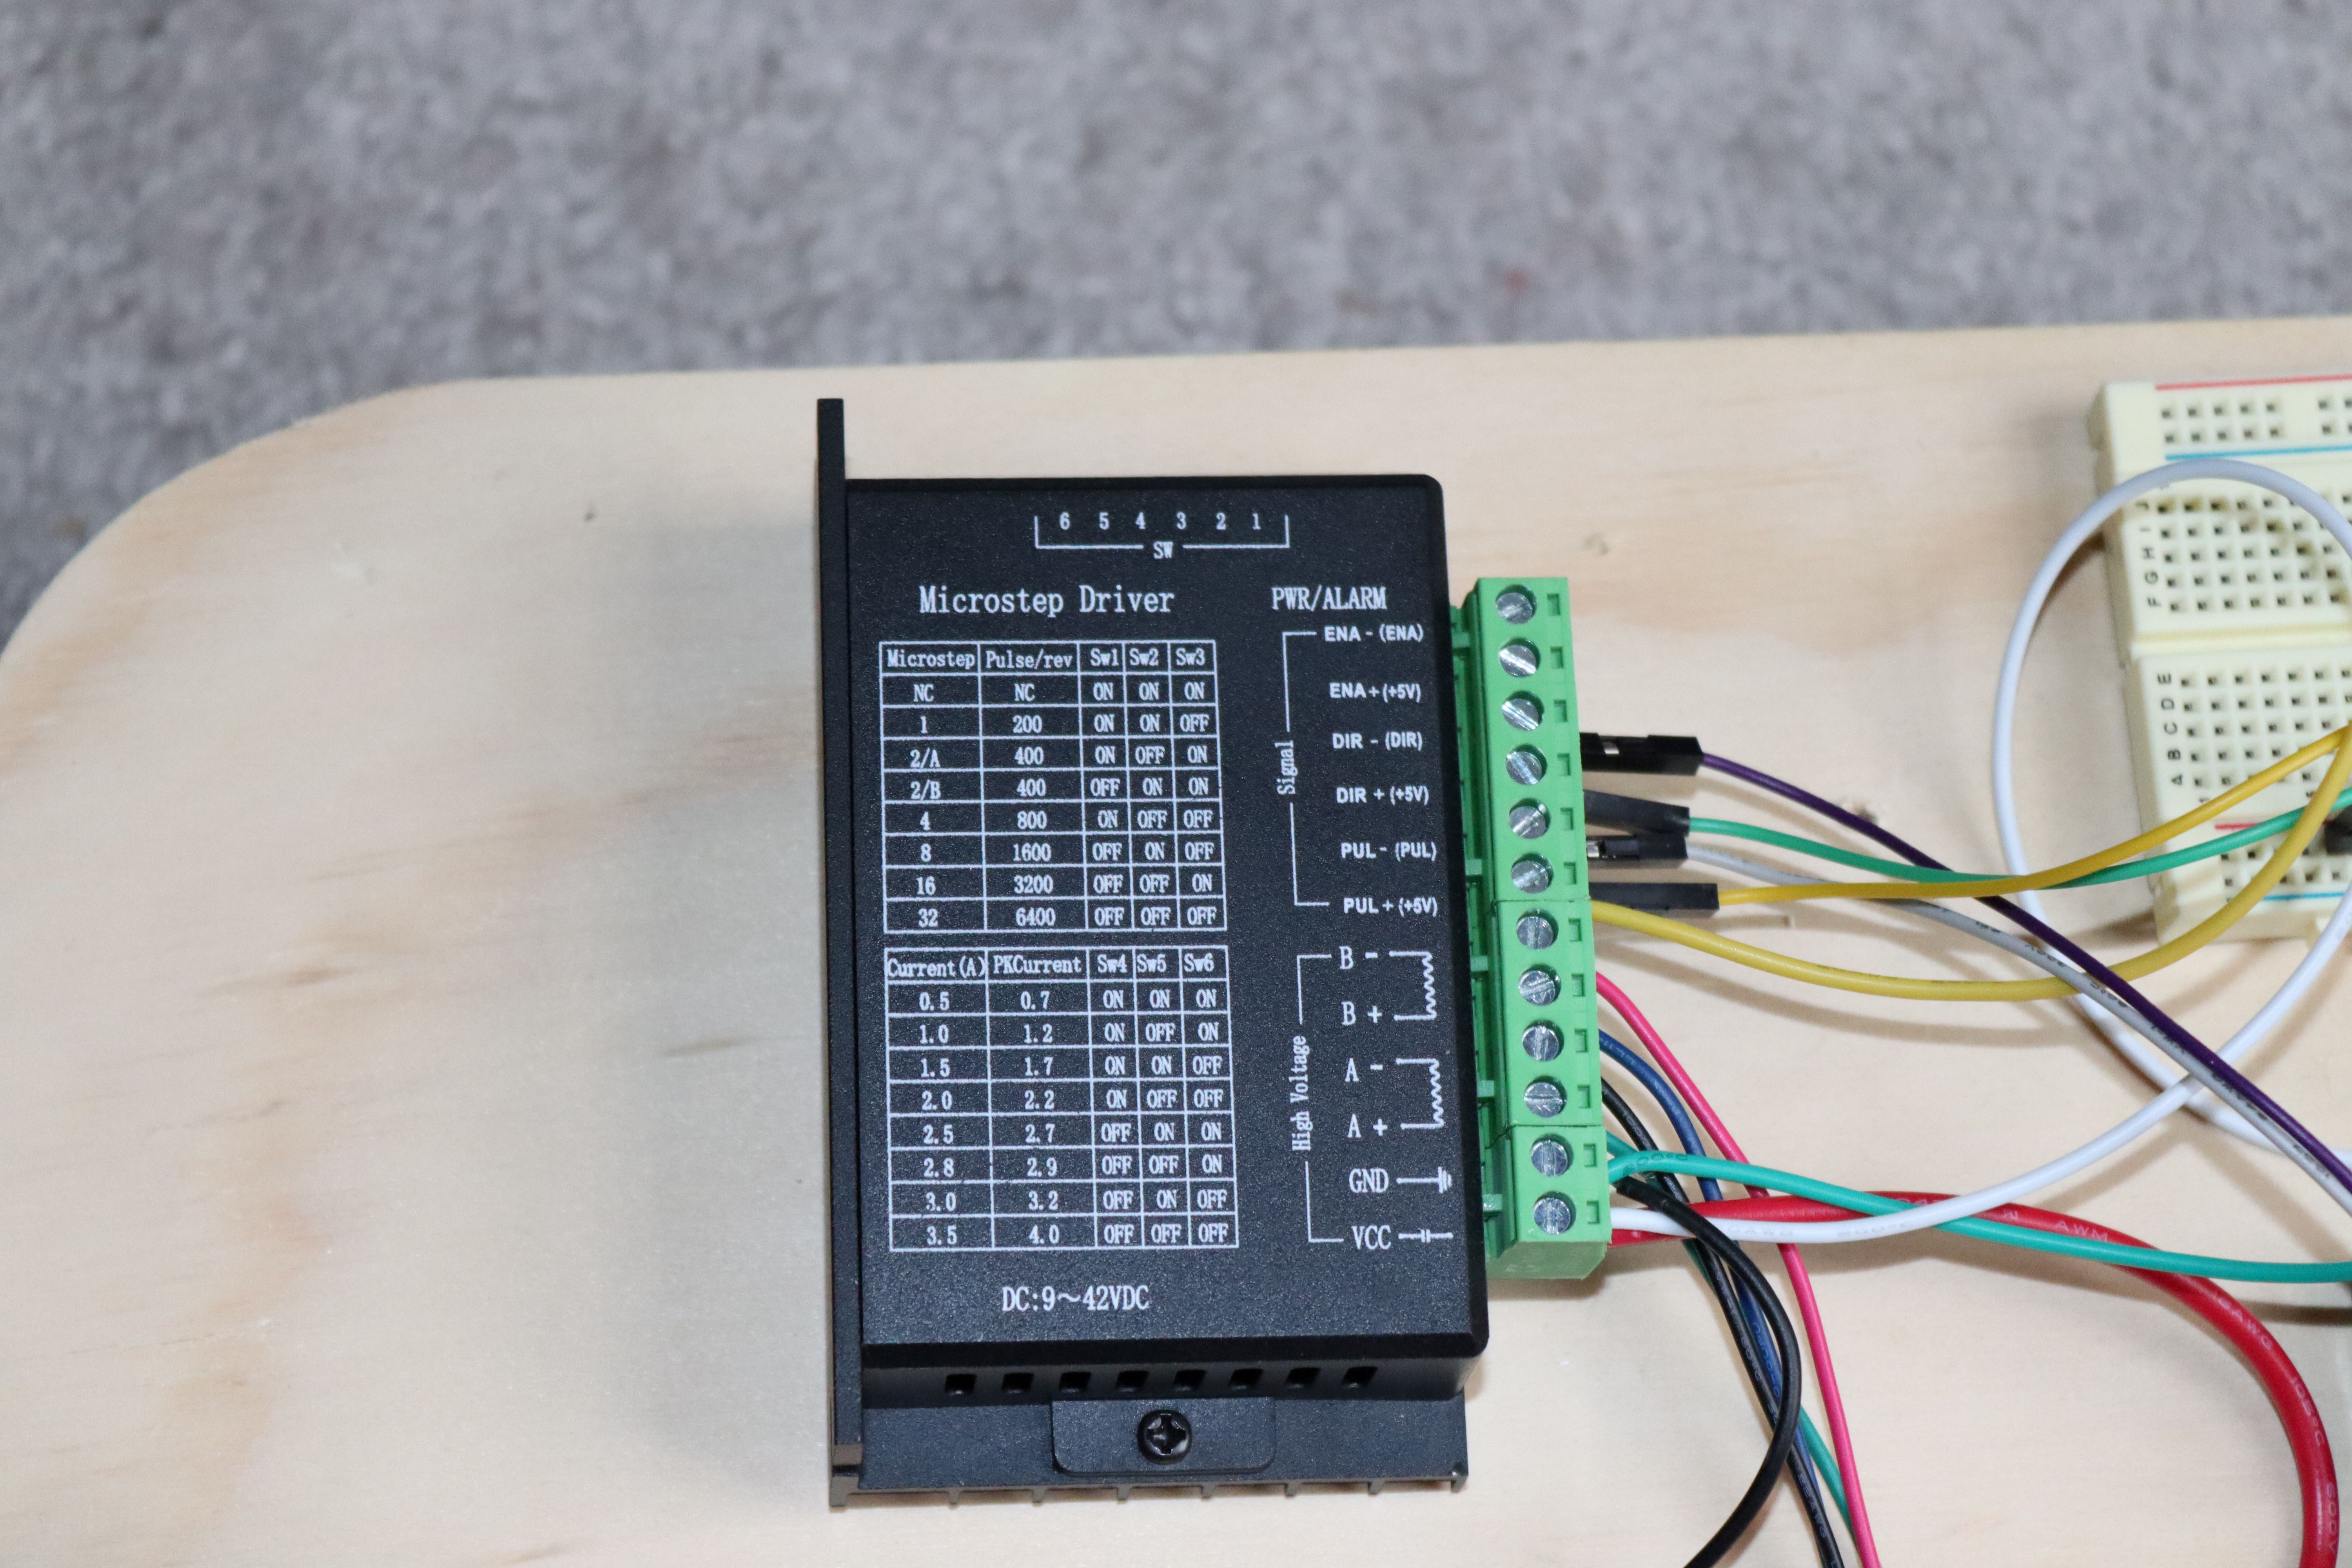
These drivers require 12 volt power. The four stepper motor wires are connected to the A and B terminals. Positive 5 volts (from the Arduino) is connected to the plus terminals of the "signal" input. Note that this does not use ground as common.
The Arduino must provide a pulse (this controls the motor speed--shorter the pulse, faster the speed). The Arduino must also supply a high or low signal for motor direction. Last, but not absolutely required, is the enable signal. If you do nothing, the stepper motor will draw current and stay "locked" in the position where it last received a pulse. If enable is activated, the motor will not draw current and will freely turn.
Discussions
Become a Hackaday.io Member
Create an account to leave a comment. Already have an account? Log In.