 Guillermo Perez Guillen
In this post I will show you the first approaching to Edge Impulse to implement it in my project. Edge Impulse provides the ultimate development experience for ML on embedded devices for sensors, audio, and computer vision, at scale. It enables the deployment of highly-optimized ML on hardware ranging from MCUs to CPUs and custom AI accelerators.

All Edge Impulse developed algorithms are licensed under Apache 2.0, without royalties. This means that you completely own your algorithms, and no royalties exist when it comes to deploying them. For Developer Community, I opened Free account for individual developers which is used to deploy innovative ML on any edge device. Project main features: 20 min per job, and 4GB or 4 hours of data per project. Here you can open the account: https://www.edgeimpulse.com/
Once we enter the account, I have created the "bee-or-spider" project which will help me to detect a bee or a spider, we simply click on the "Create new project" icon as shown below.
Adding Devices
In the "Devices" tab I have connected the Arduino Nicla Vision board as shown below.

Arduino CLI Installation
How to connect the device? I followed the steps indicated in the official documentation at this link: Arduino Nicla Vision
I installed Edge Impulse CLI Windows version. All the steps to install Edge Impulse CLI you can find here: Edge Impulse CLI
Another option to Install Arduino CLI with pre-built binaries: Arduino CLI
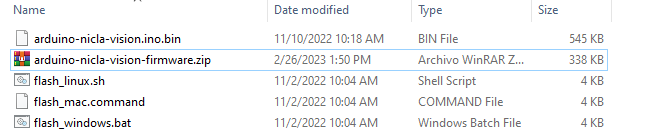
Here I show you the downloaded files:
Open command prompt and run "flash_windows.bat".
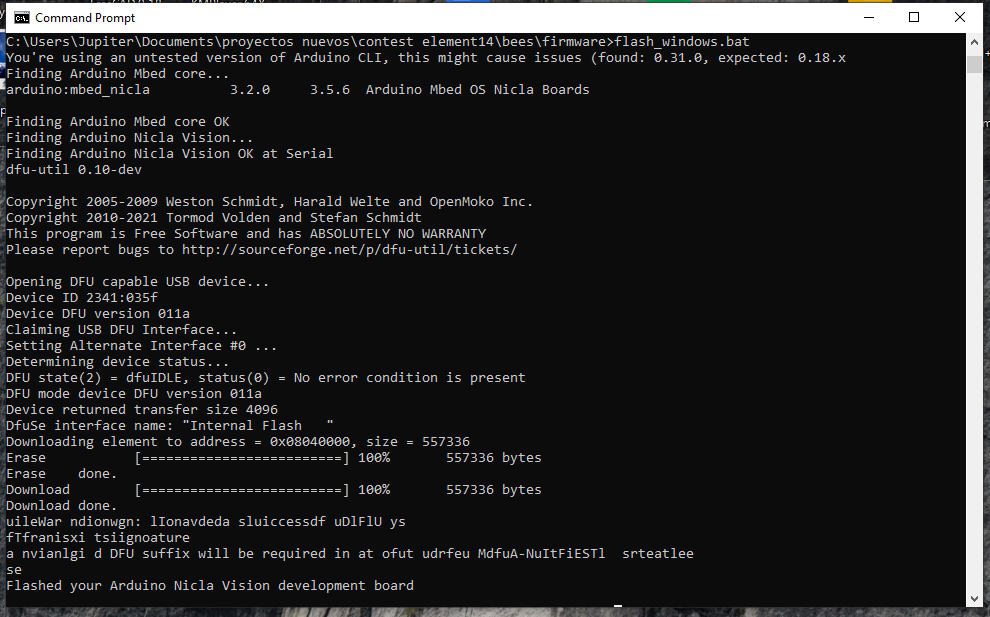
We can check the installation by running: "arduino-cli" as shown below

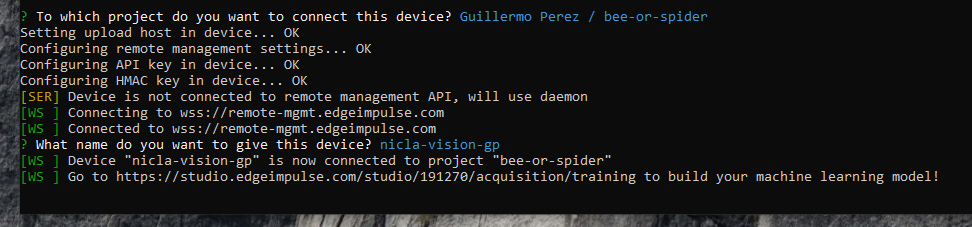
Once the Arduino CLI is installed, you can connect to edge impulse with the command edge-impulse-daemon. I type my username and password, and once the Nicla Vision device is connected I choose the "bee-or-spider" project.

Finally, the system asks me what name I want to give to the connected device? I wrote "nicla-vision-gp"

Now the device is ready to use the Arduino CLI.
Data Acquisition
A good training model with Machine Learning needs a lot of images, hundreds or maybe thousands of photos. In addition, the images must be different, and its not possible to put repeated images. I got a lot of dataset bee and spider images on the kaggle website
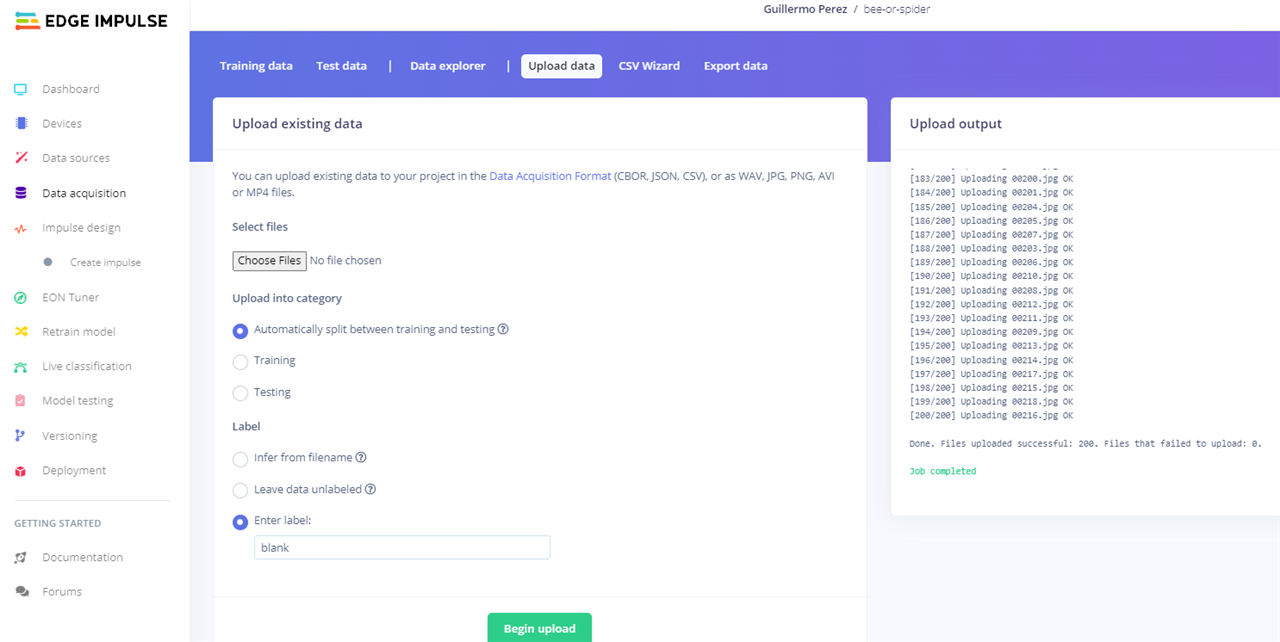
There are two ways to upload images to the project created in Edge Impulse, the first is using the tab tool: Upload data - Upload existing data
The other method is to use OpenMV with the tab: Tools - Dataset Editor - Export - Login to Edge Impulse Account and Upload to Project

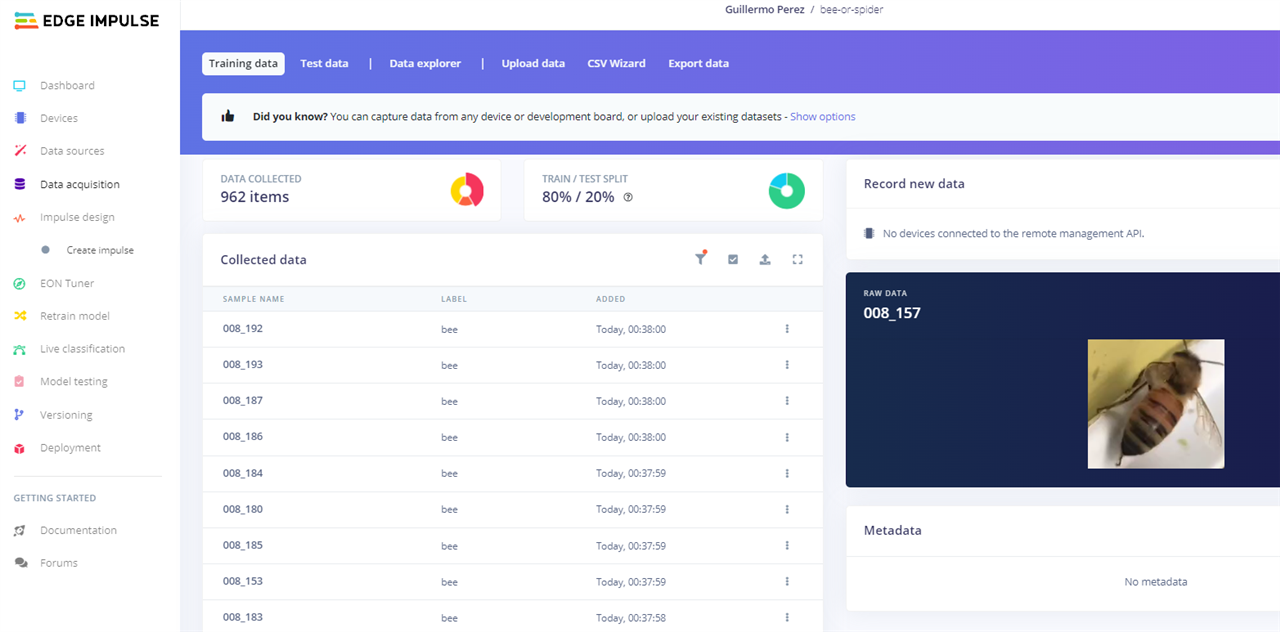
Here I show you the image class called: bee
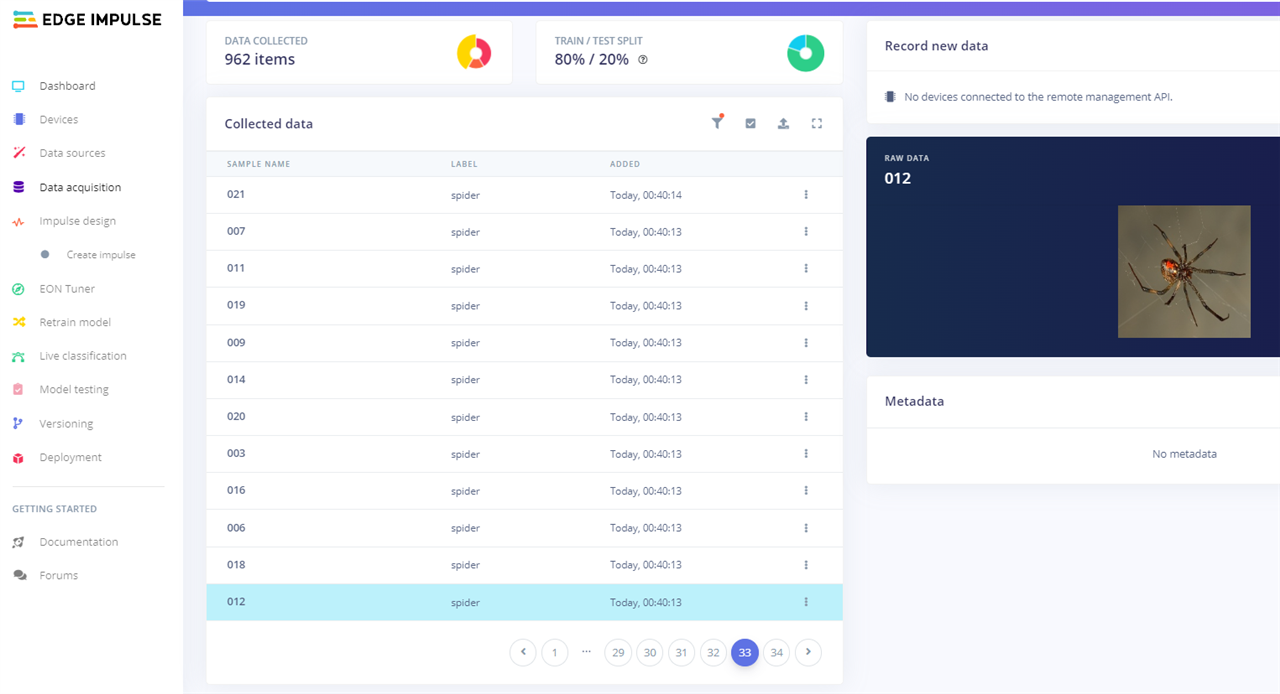
Now, the image class called: spider
And finally the image class called: blank, which helps us to identify any object that is not a bee or a spider.
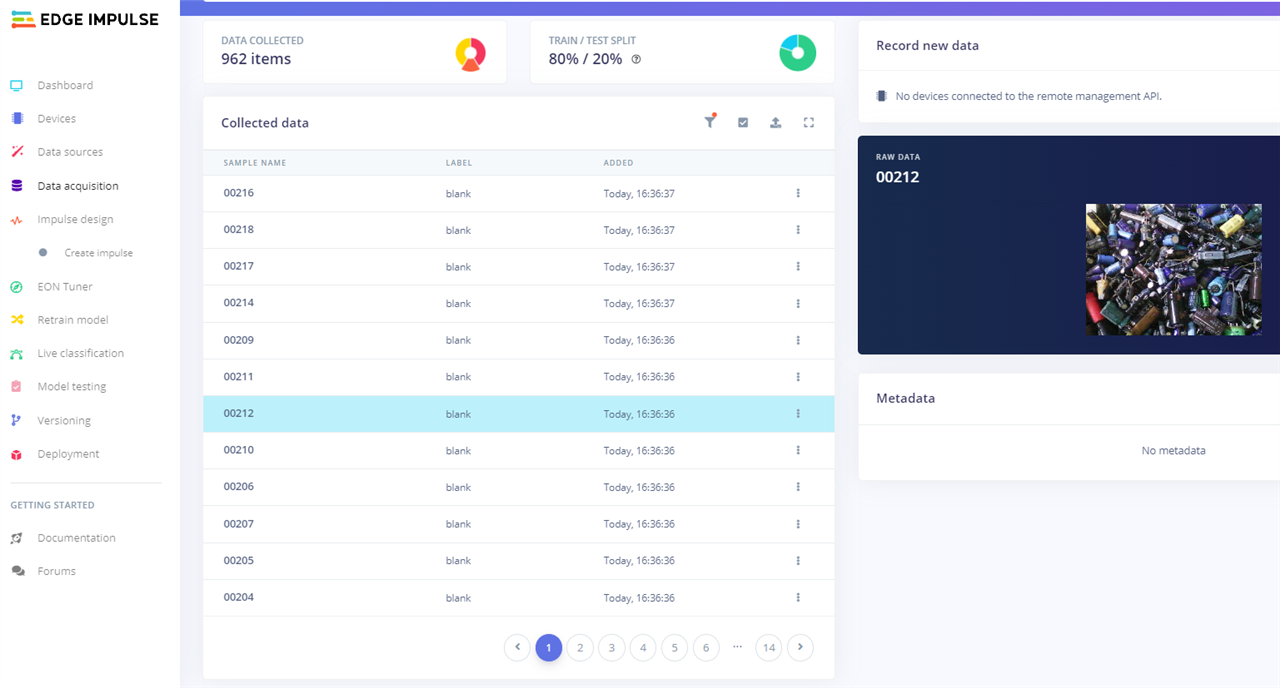
In total I uploaded 1200 images as follows: 500 images of the bee class, 500 images of the spider class, and 200 images of the blank class.
For the system to generate a good model, it is necessary to use 80% of the images as training and 20% as test.
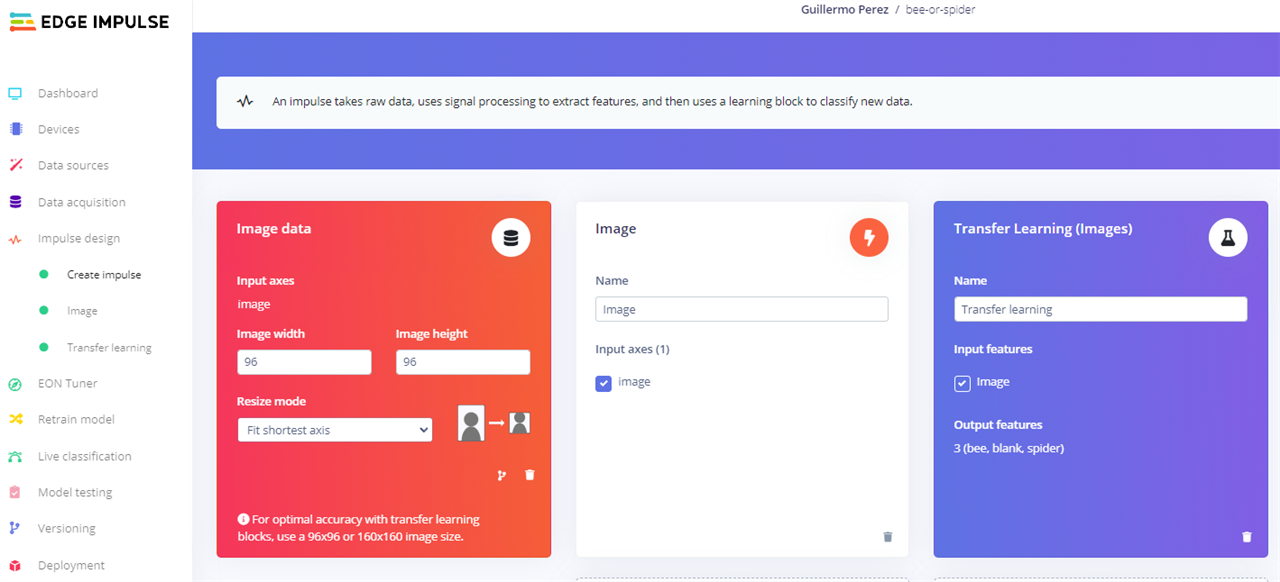
Impulse Design - Create Impulse
In the "Impulse design" tab, we open the "Create Impulse" section. We leave the default values of the Image data resource of 92x96 pixels. Add the resources "Image" and "Transfer Learning (Images)" as shown below. Finally click on the "Save Impulse" button
Create Impulse - Image
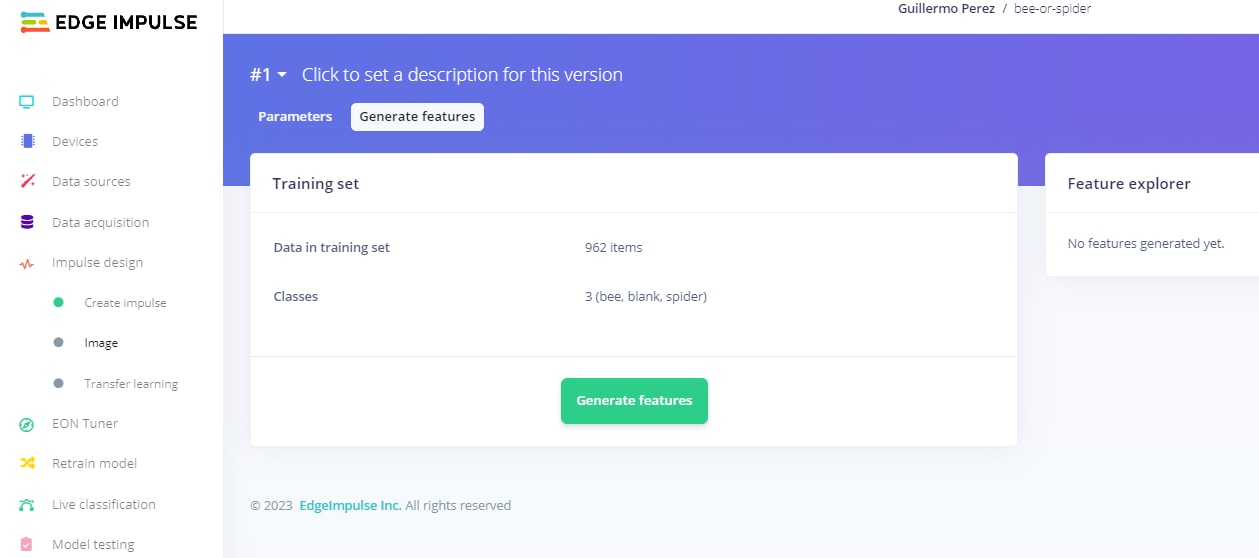
Now we open the "Image" section to verify the images of the classes and click on the upper section "Generate features"

Click on the "Generate features" button
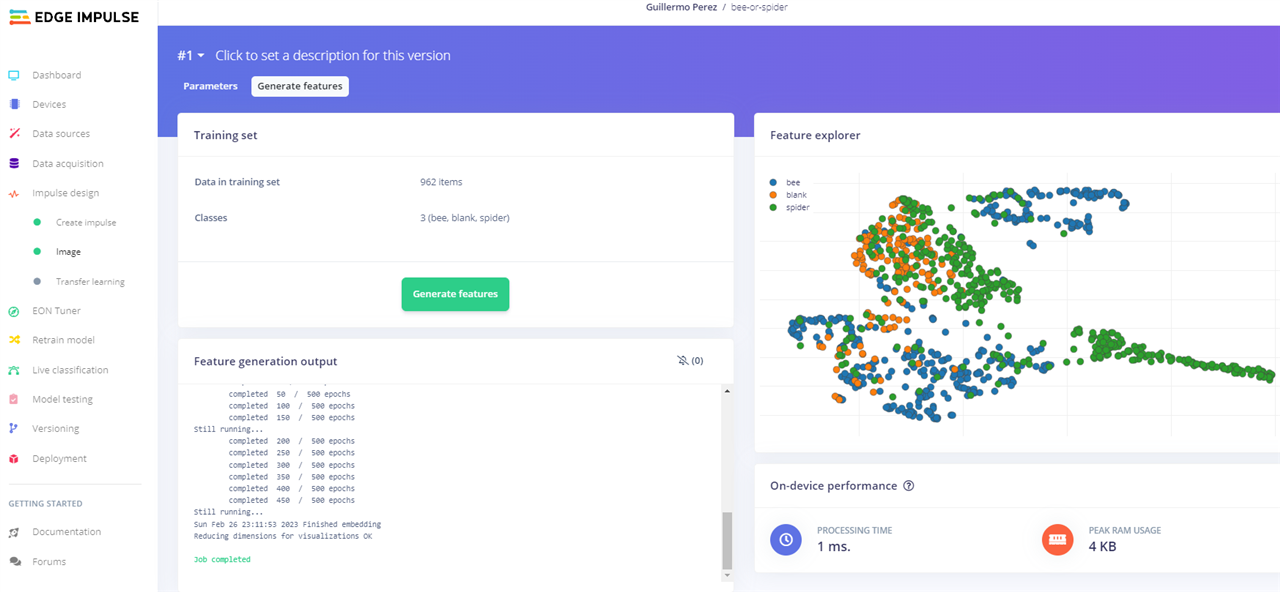
After a few minutes the next features are generated.
Impulse design - Transfer learning
Now we open the "Transfer learning" section and leave the default values.
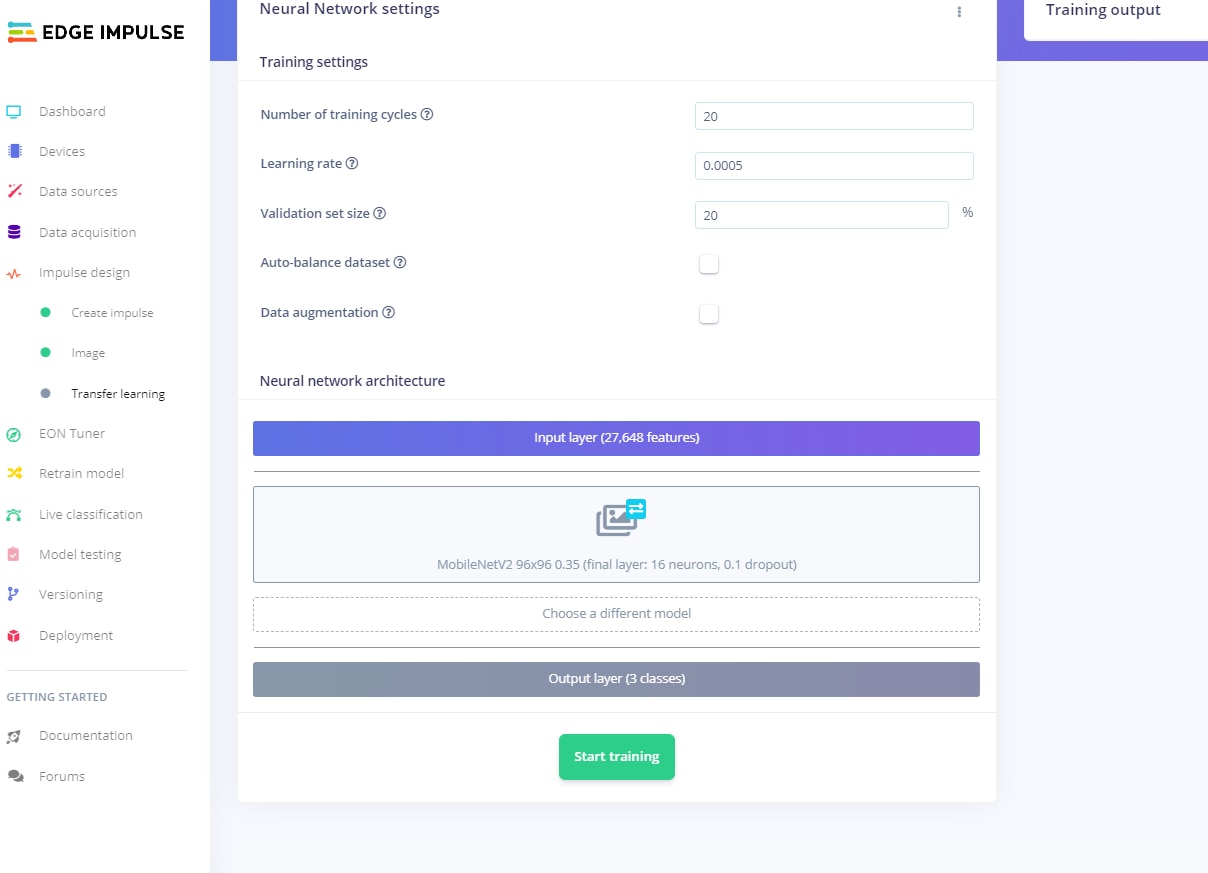
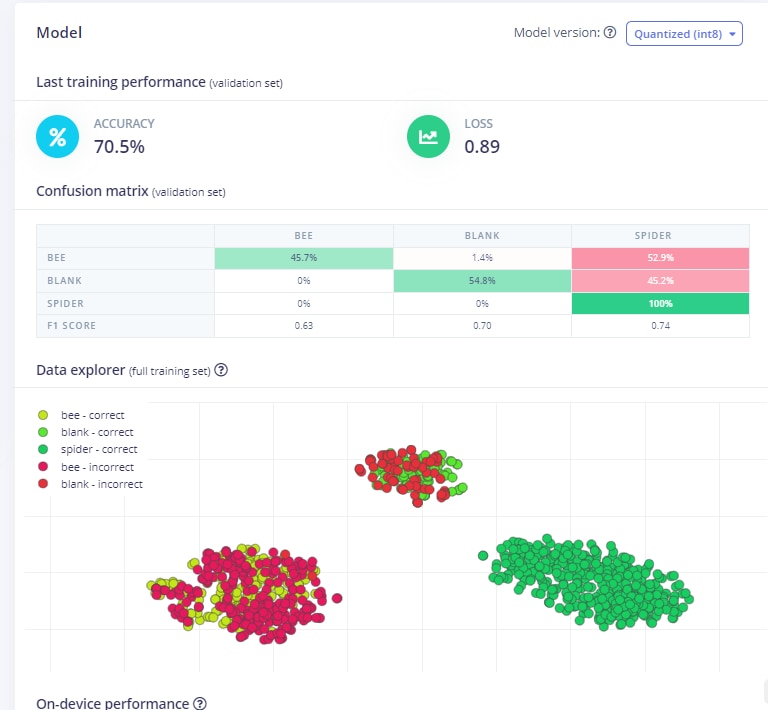
Click on the "Start training" button and after a few minutes the following training model is generated.
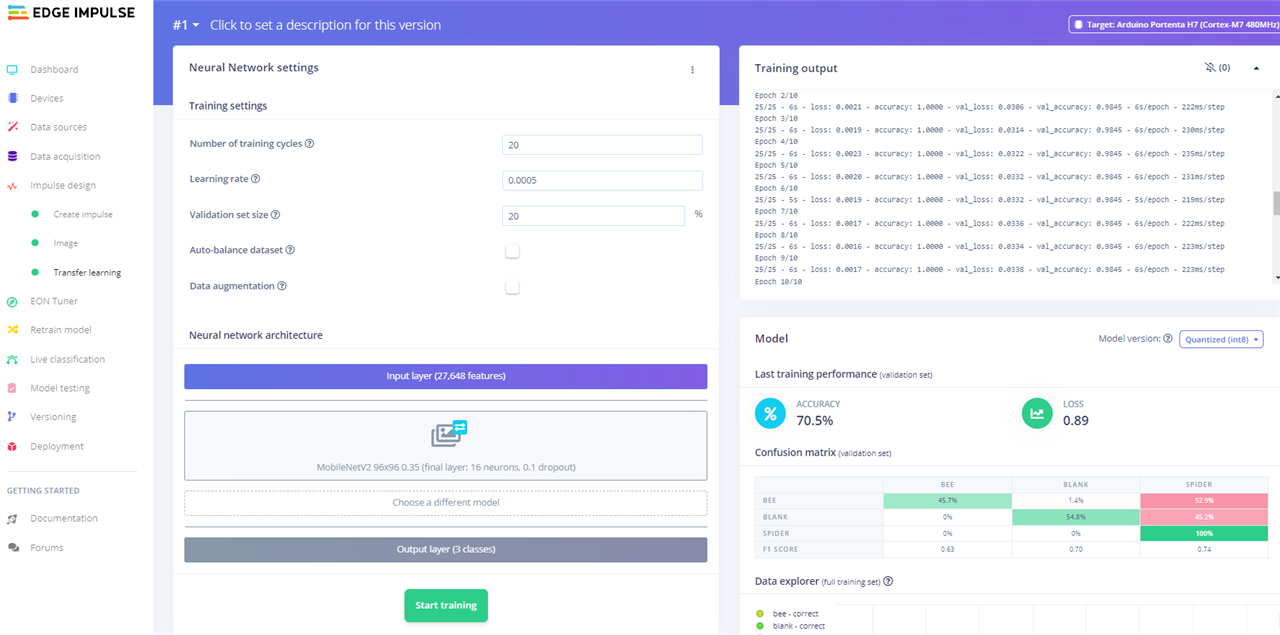
As we can see there is a precision of 70.5% and a loss value of 0.89. This means that its an average model, that is to say that its not good but its not bad either, so it needs changes to improve the model, and I will make these changes later. In the confusion matrix describes the performance of the classification model, and I can figure out where changes need to be made to improve the model.
Deployment
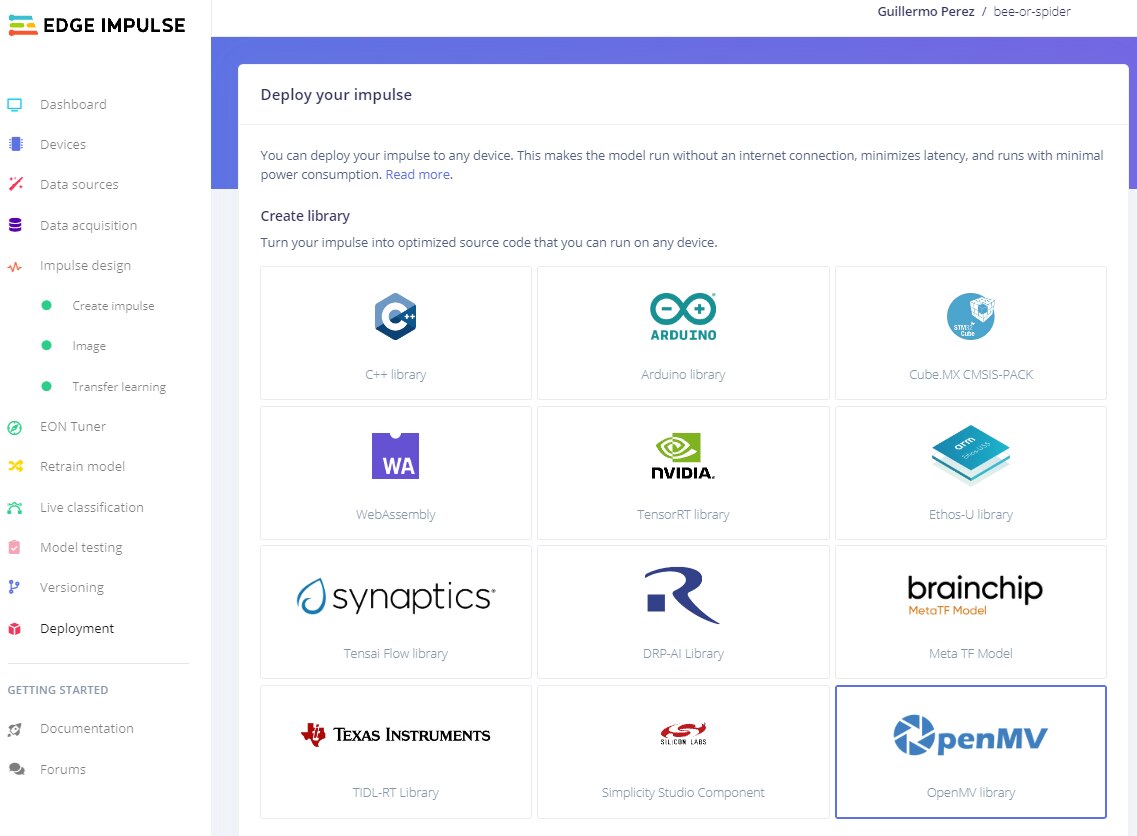
Finally we go to the "Deployment" tab. Here I select to create the "OpenMV" library and click on the "Build" button.
After a few minutes, the library is successfully generated and the next message opens:
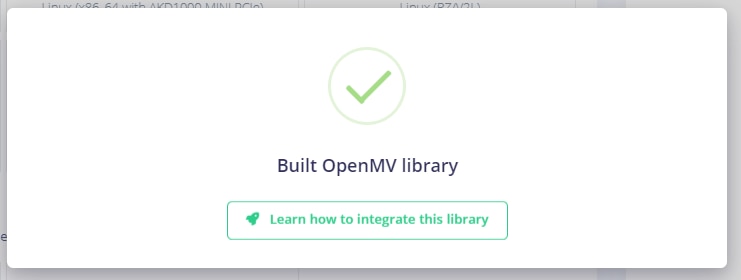
The library is automatically downloaded to our PC computer (ei-bee-or-spider-openmv-v1.zip).
Discussions
Become a Hackaday.io Member
Create an account to leave a comment. Already have an account? Log In.