 kelvinA
Power
I started today by using my FysetC ceramic screwdriver to turn the voltage of my adjustable power supply down to 24.2V and then installing into the system.
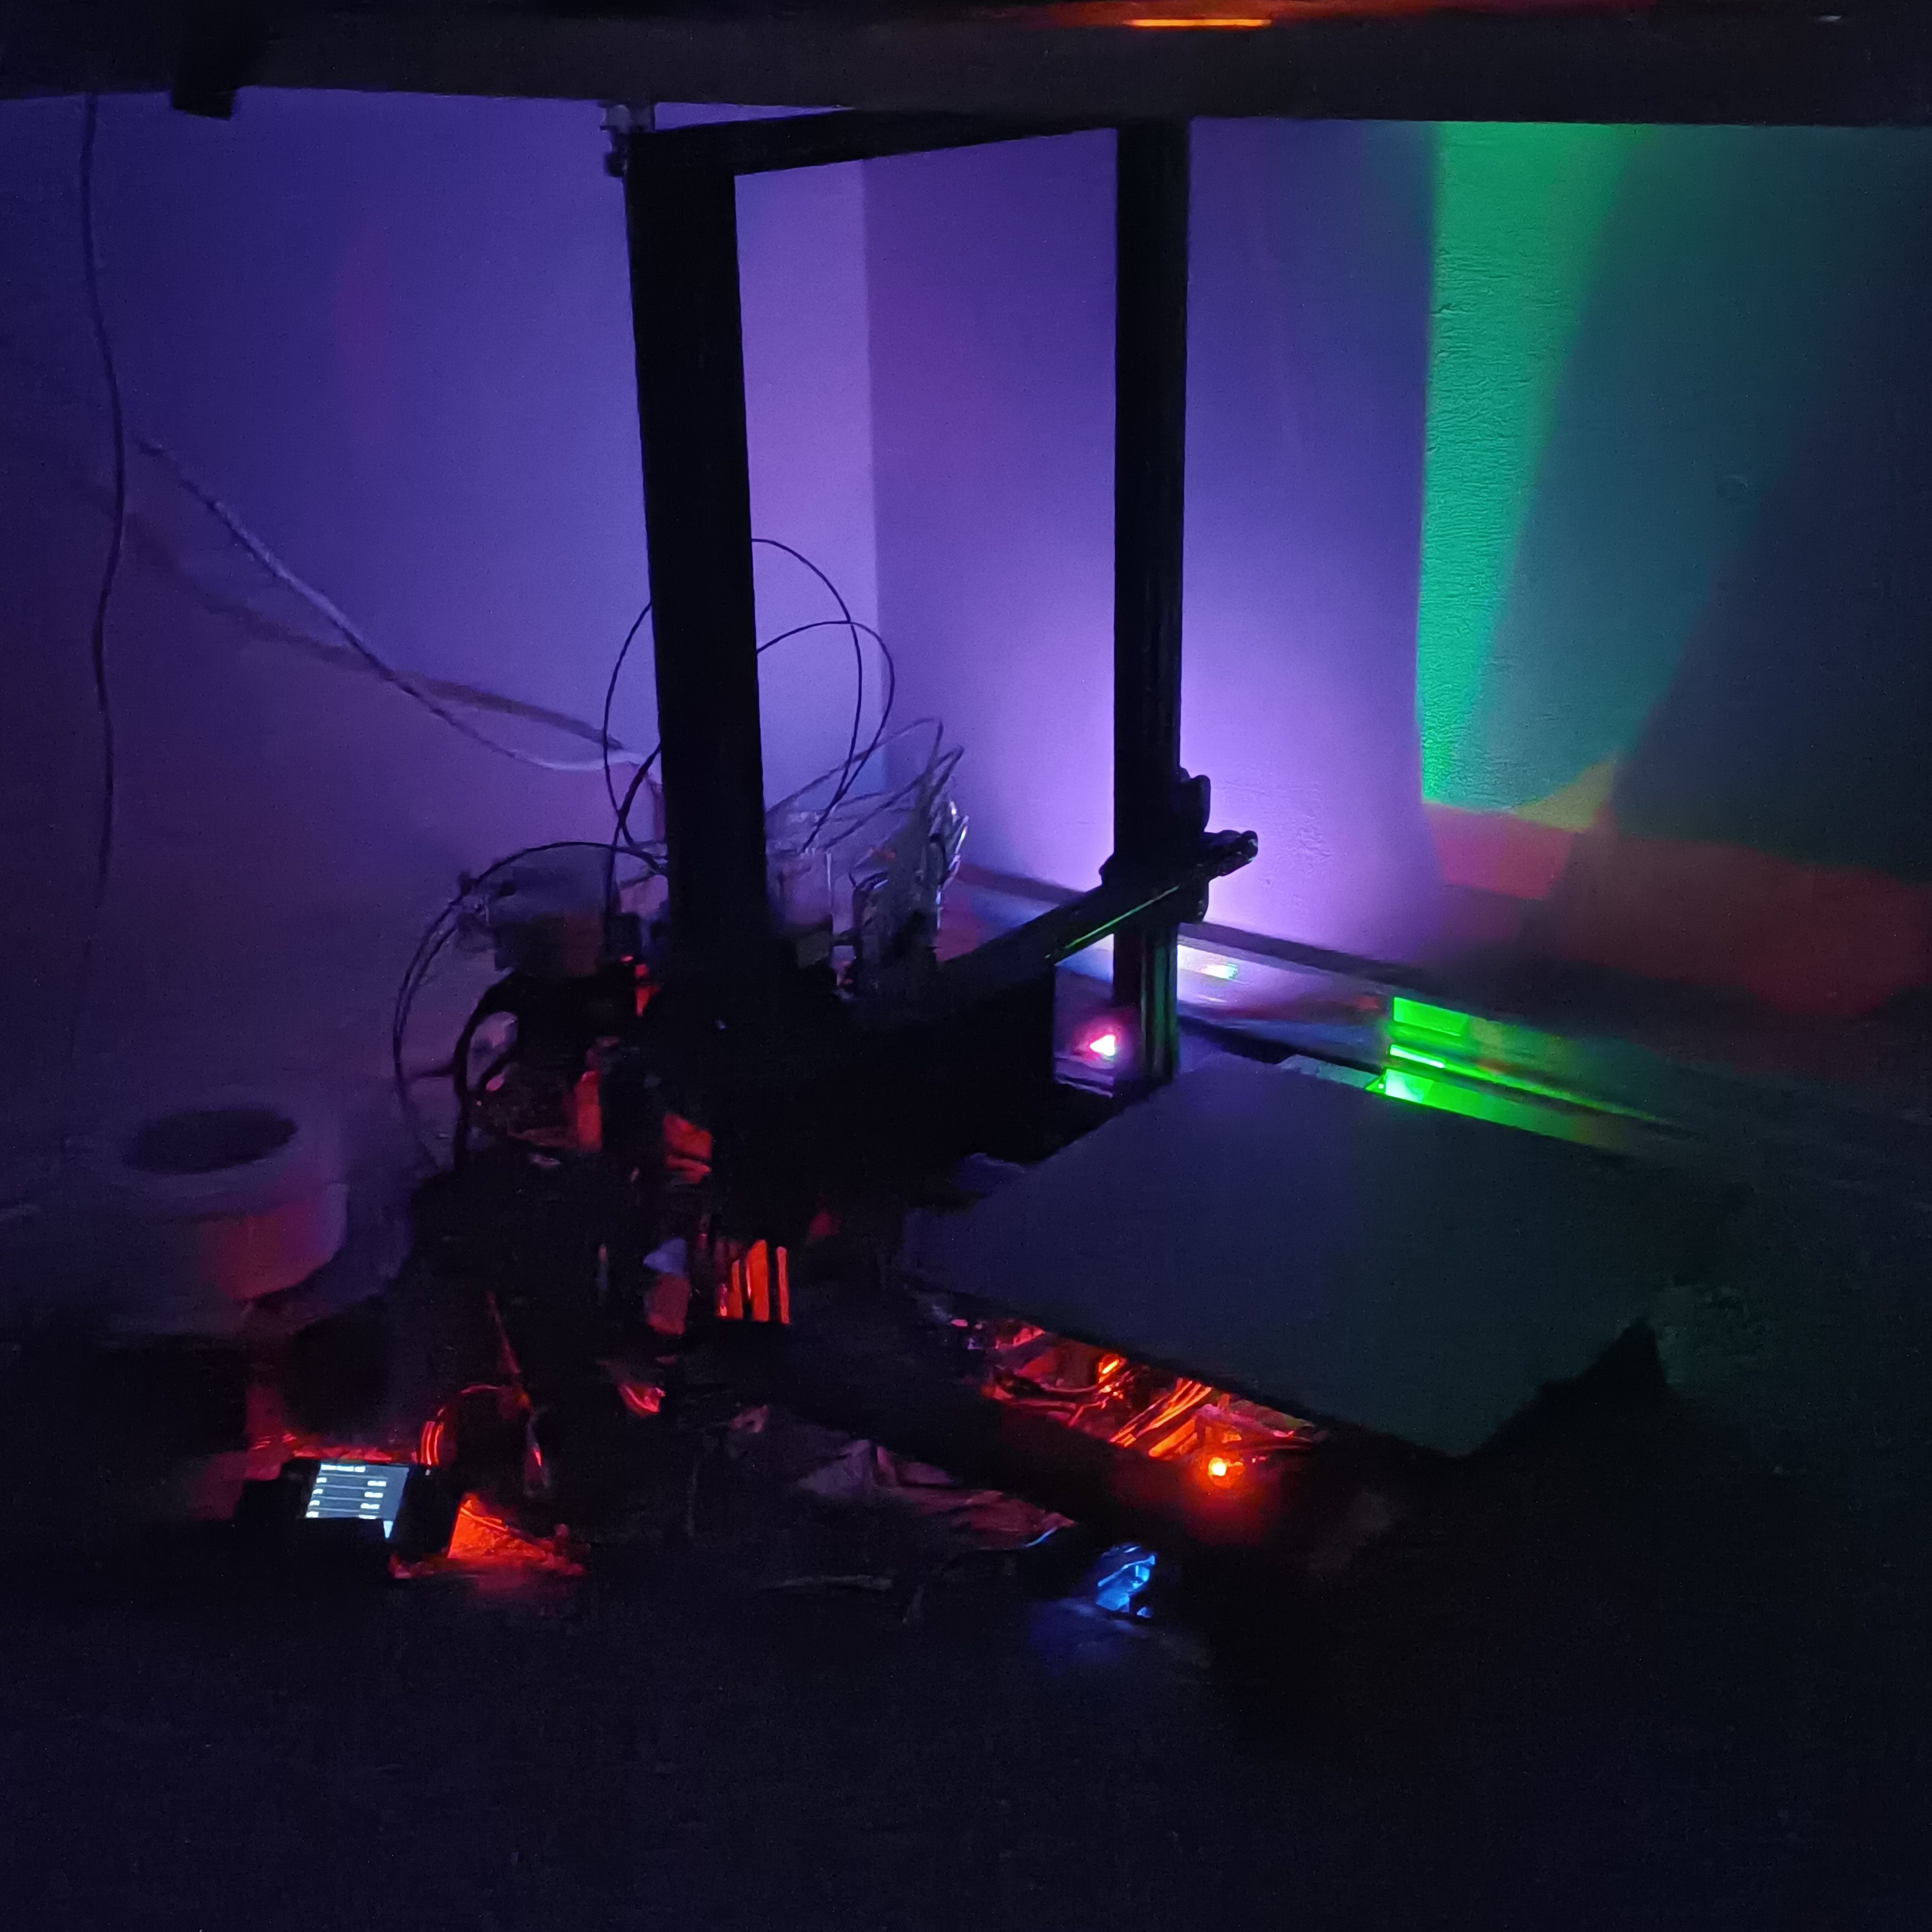
Unfortunately, the current display cannot be trusted, as it only displays 0.00 unless there is a heating load applied, and even then, it only showed a peak of 7.5A that drops to 5.6A during main heating. Heating the c8or was about 3A, which equates to 72W or half of what it should be drawing. Activated motors don't seem to move the needle at all.
The power supply otherwise seems fine, keeping a solid 24.0 - 24.3V under all loads.
Coaxial8or Priming
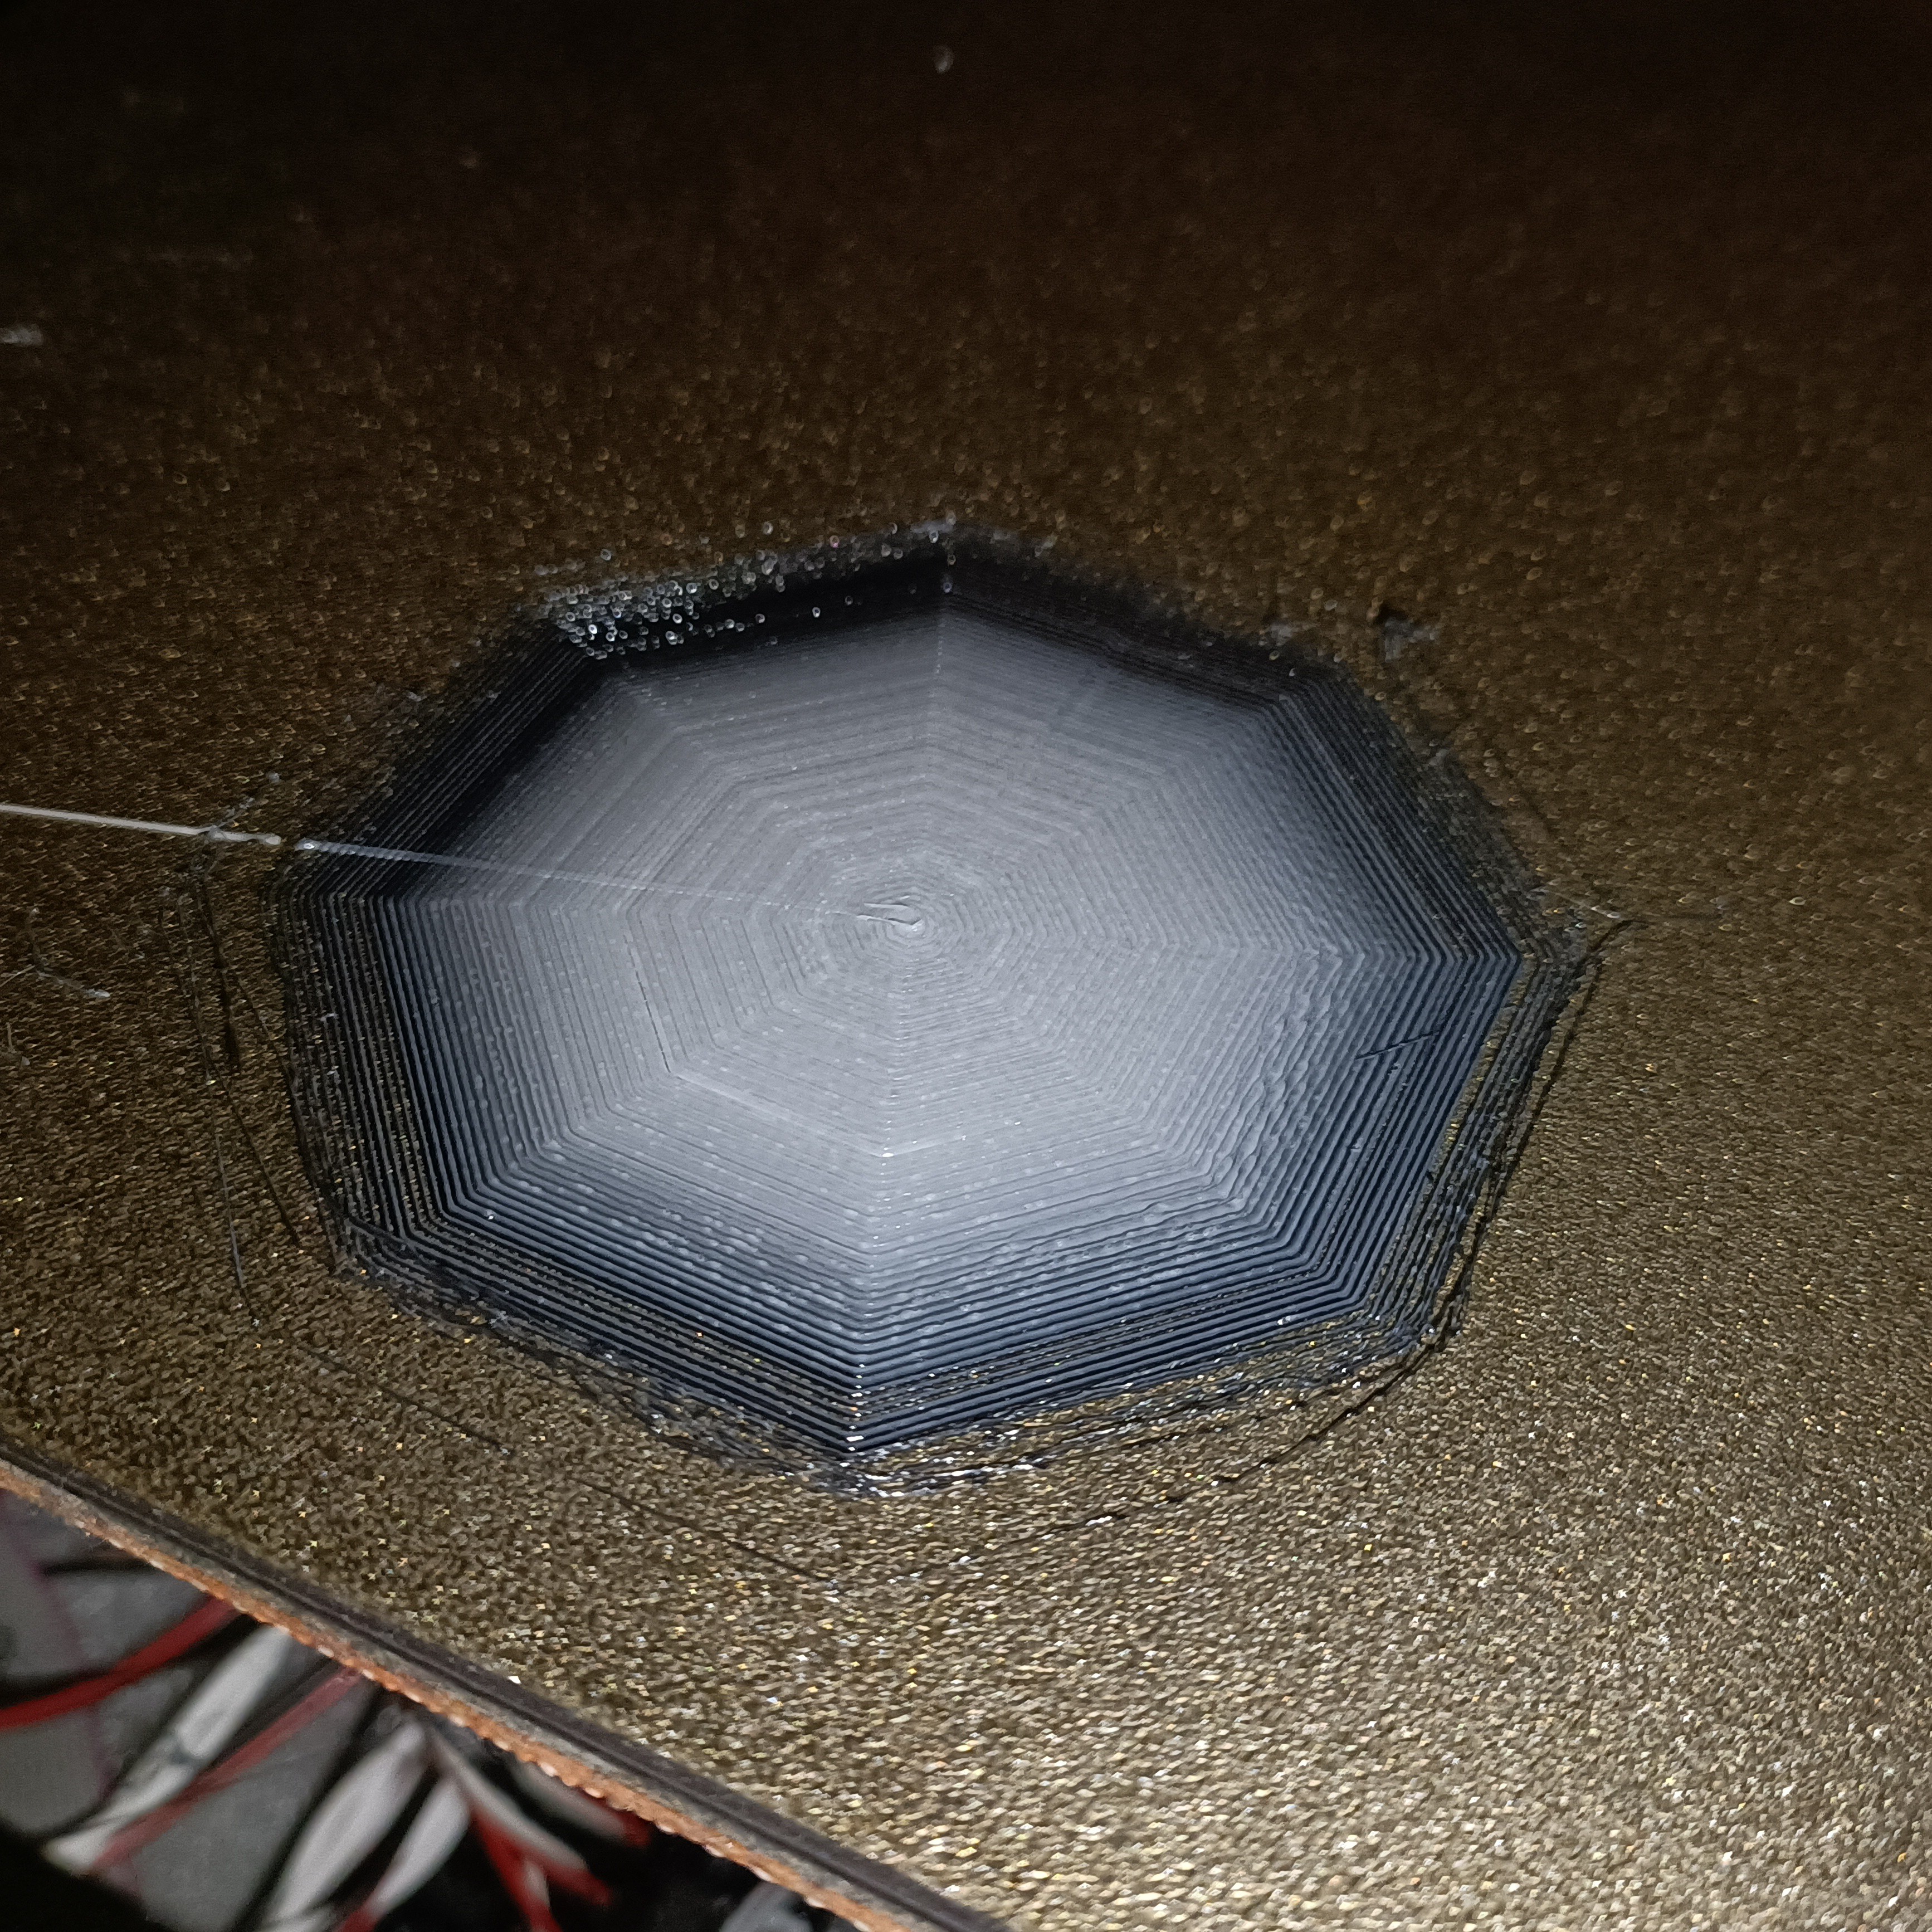
I wanted to do a flow calibration, but I wasn't getting much extrusion so I thought that I'd print a flat octogon to make sure the internal cavities of the heatblock are filled. I used E0 for this, which has white installed.
Clip for M592 Testing
The night before, I had found out about M592, a feature implemented into Marlin to account for the reduced amount of material fed into the hotend at higher extruder speeds. This is because M593 is ZV input shaping. M493 Fixed Time Motion has more algorithms, but does not support a mixing extruder.
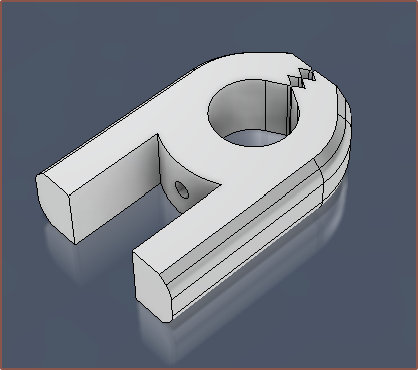
I had an idea that I could use a clip of some sort to place on the filament and then move it so that it's 50mm away from the extruder entrance and then extrude to get the values I needed, and I wondered where I was going to get such a clip. Then I remembered that this is what 3D printers are for, so I modelled one in Fusion.
Printing
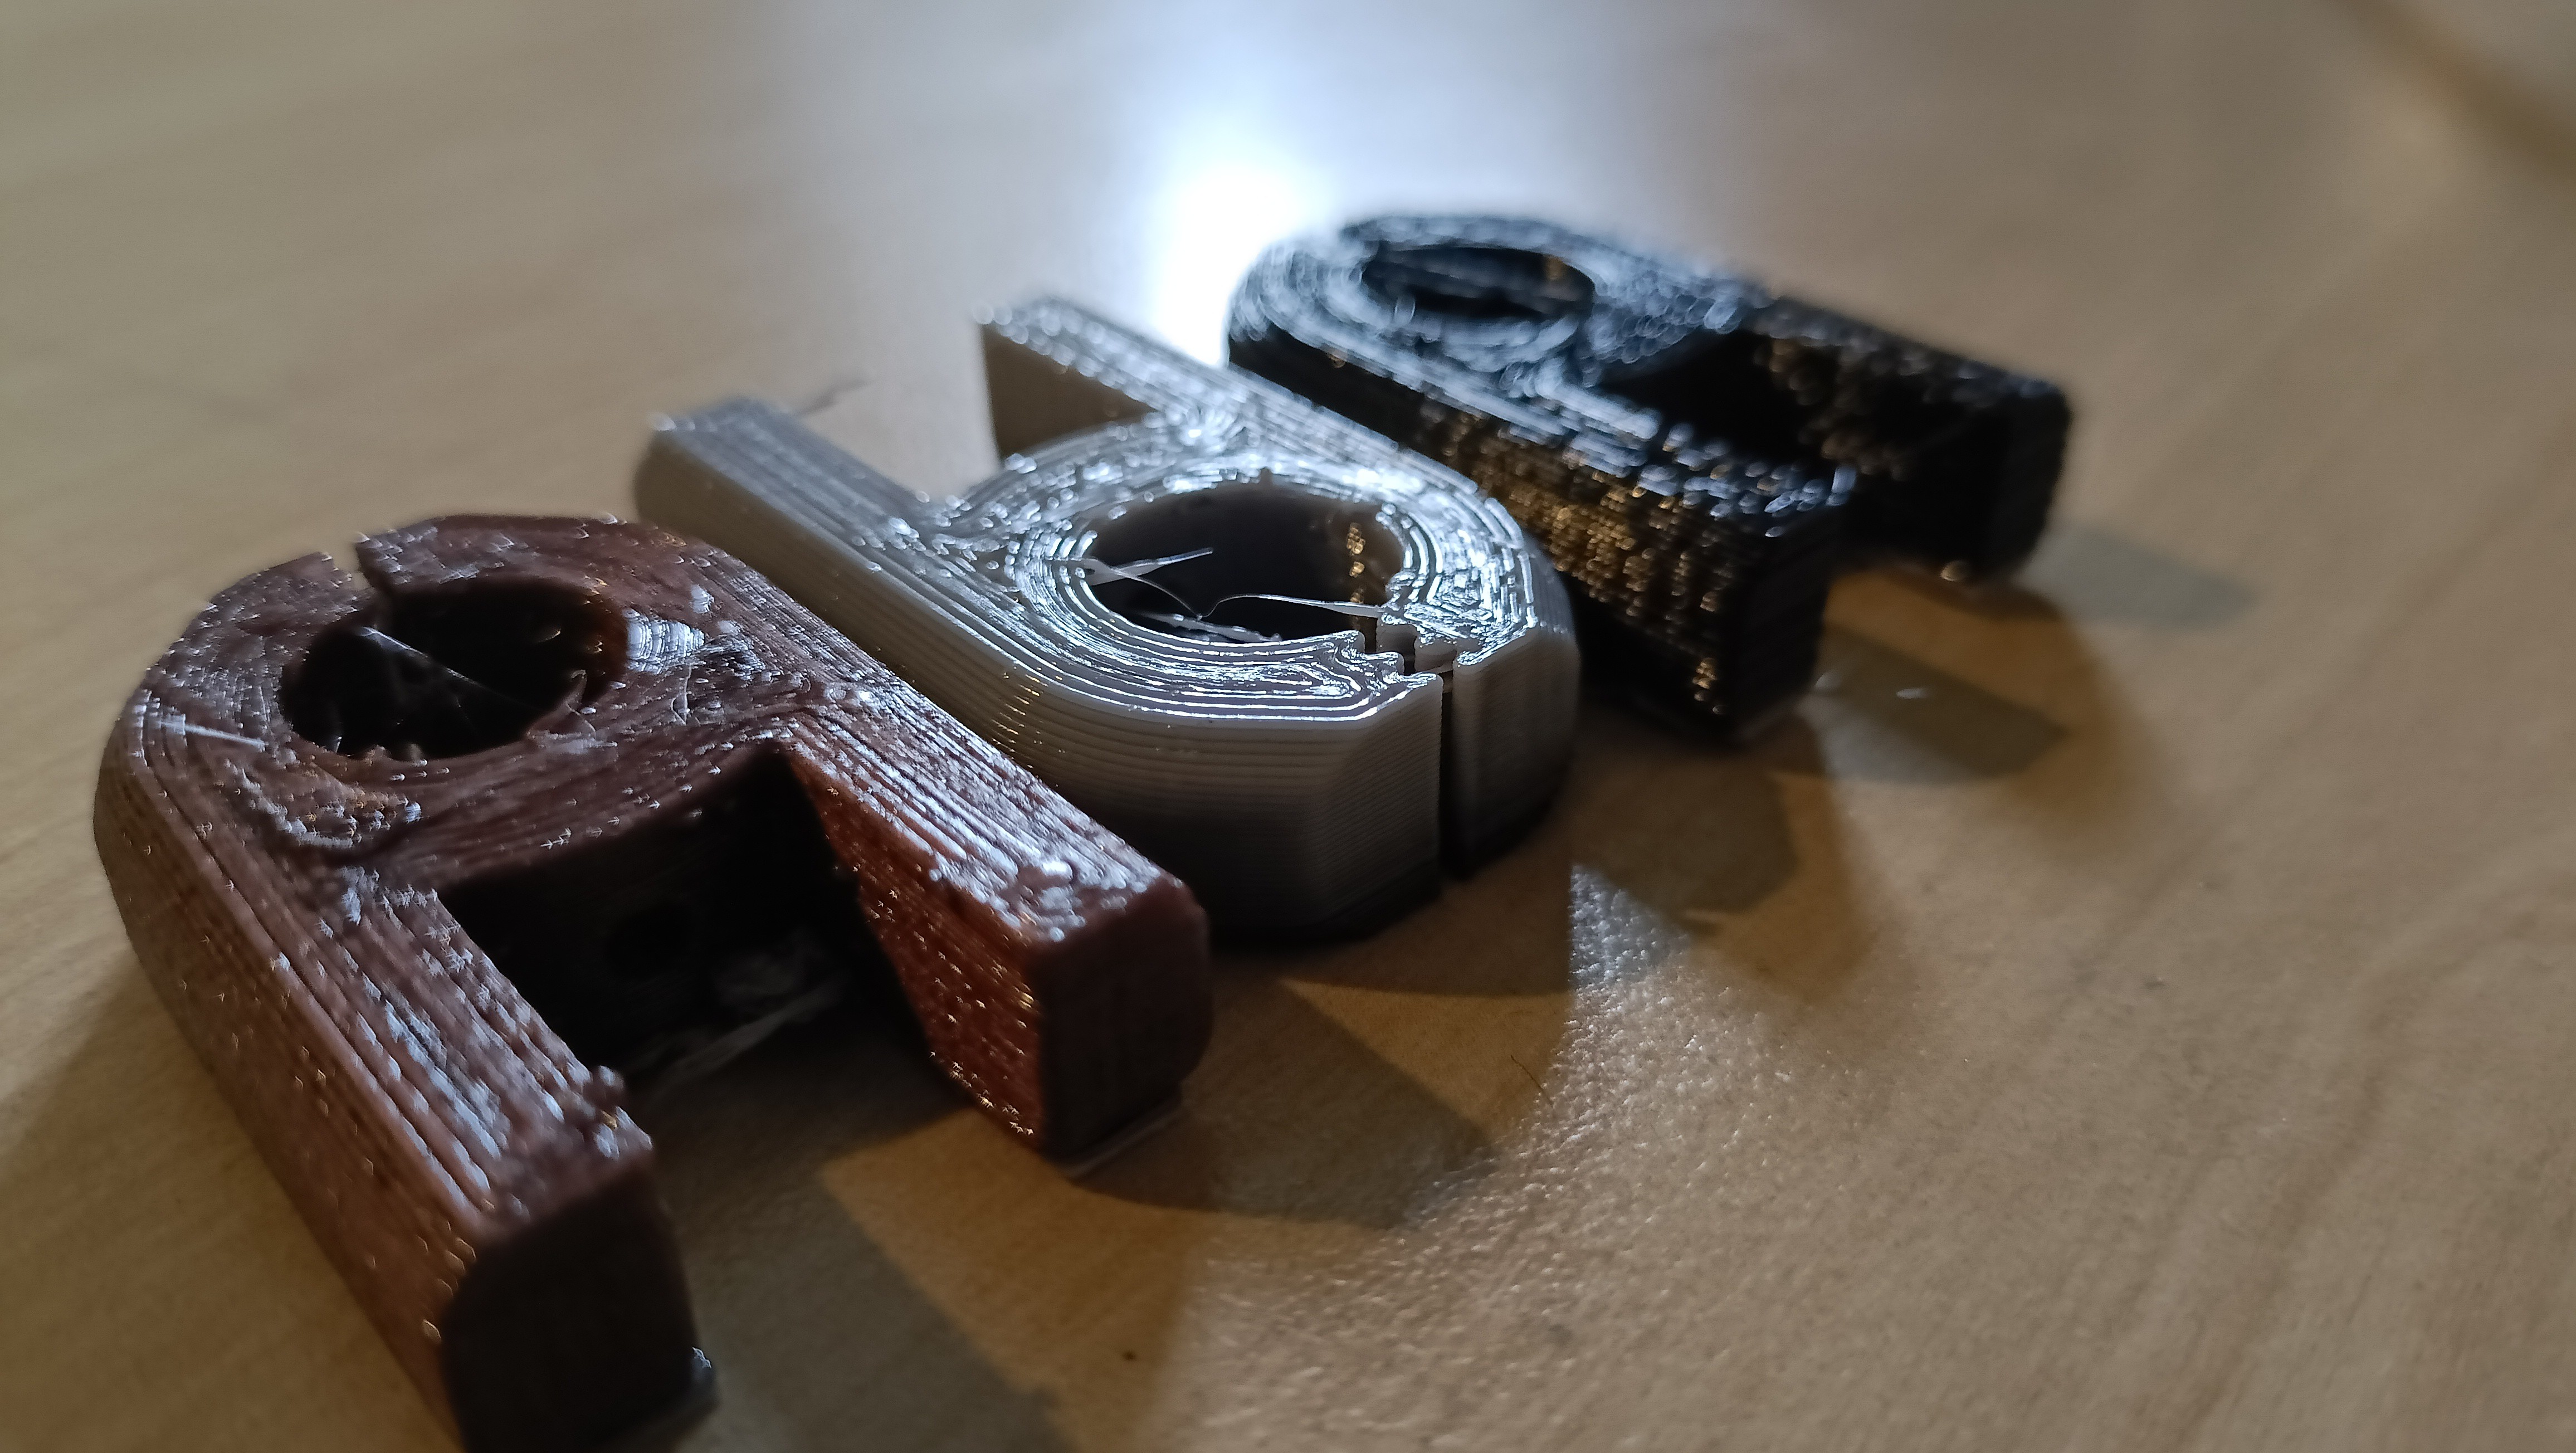
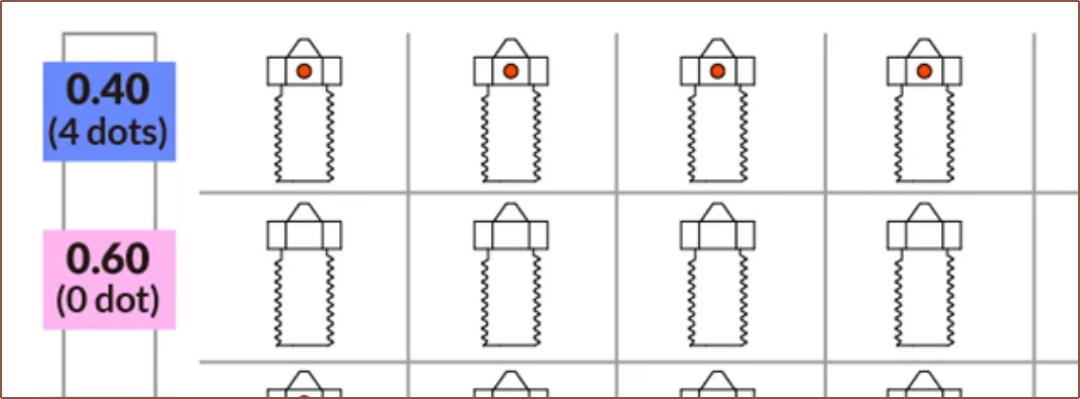
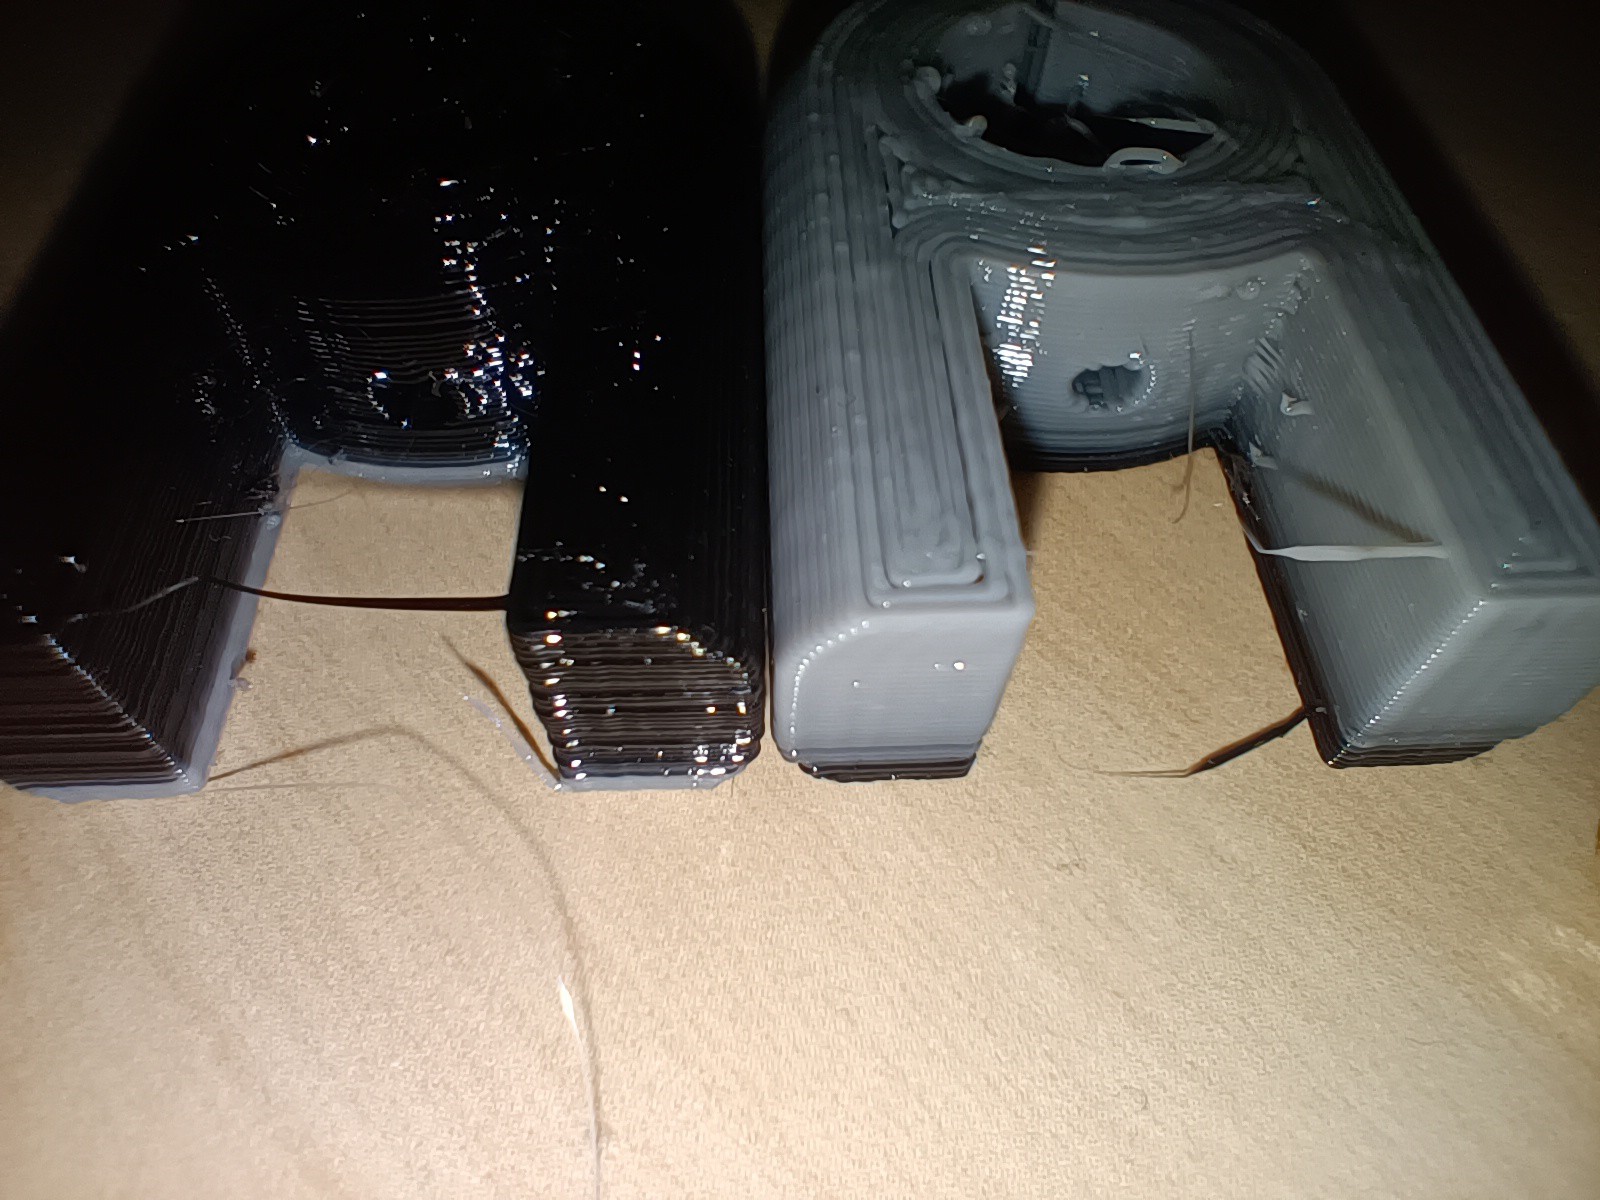
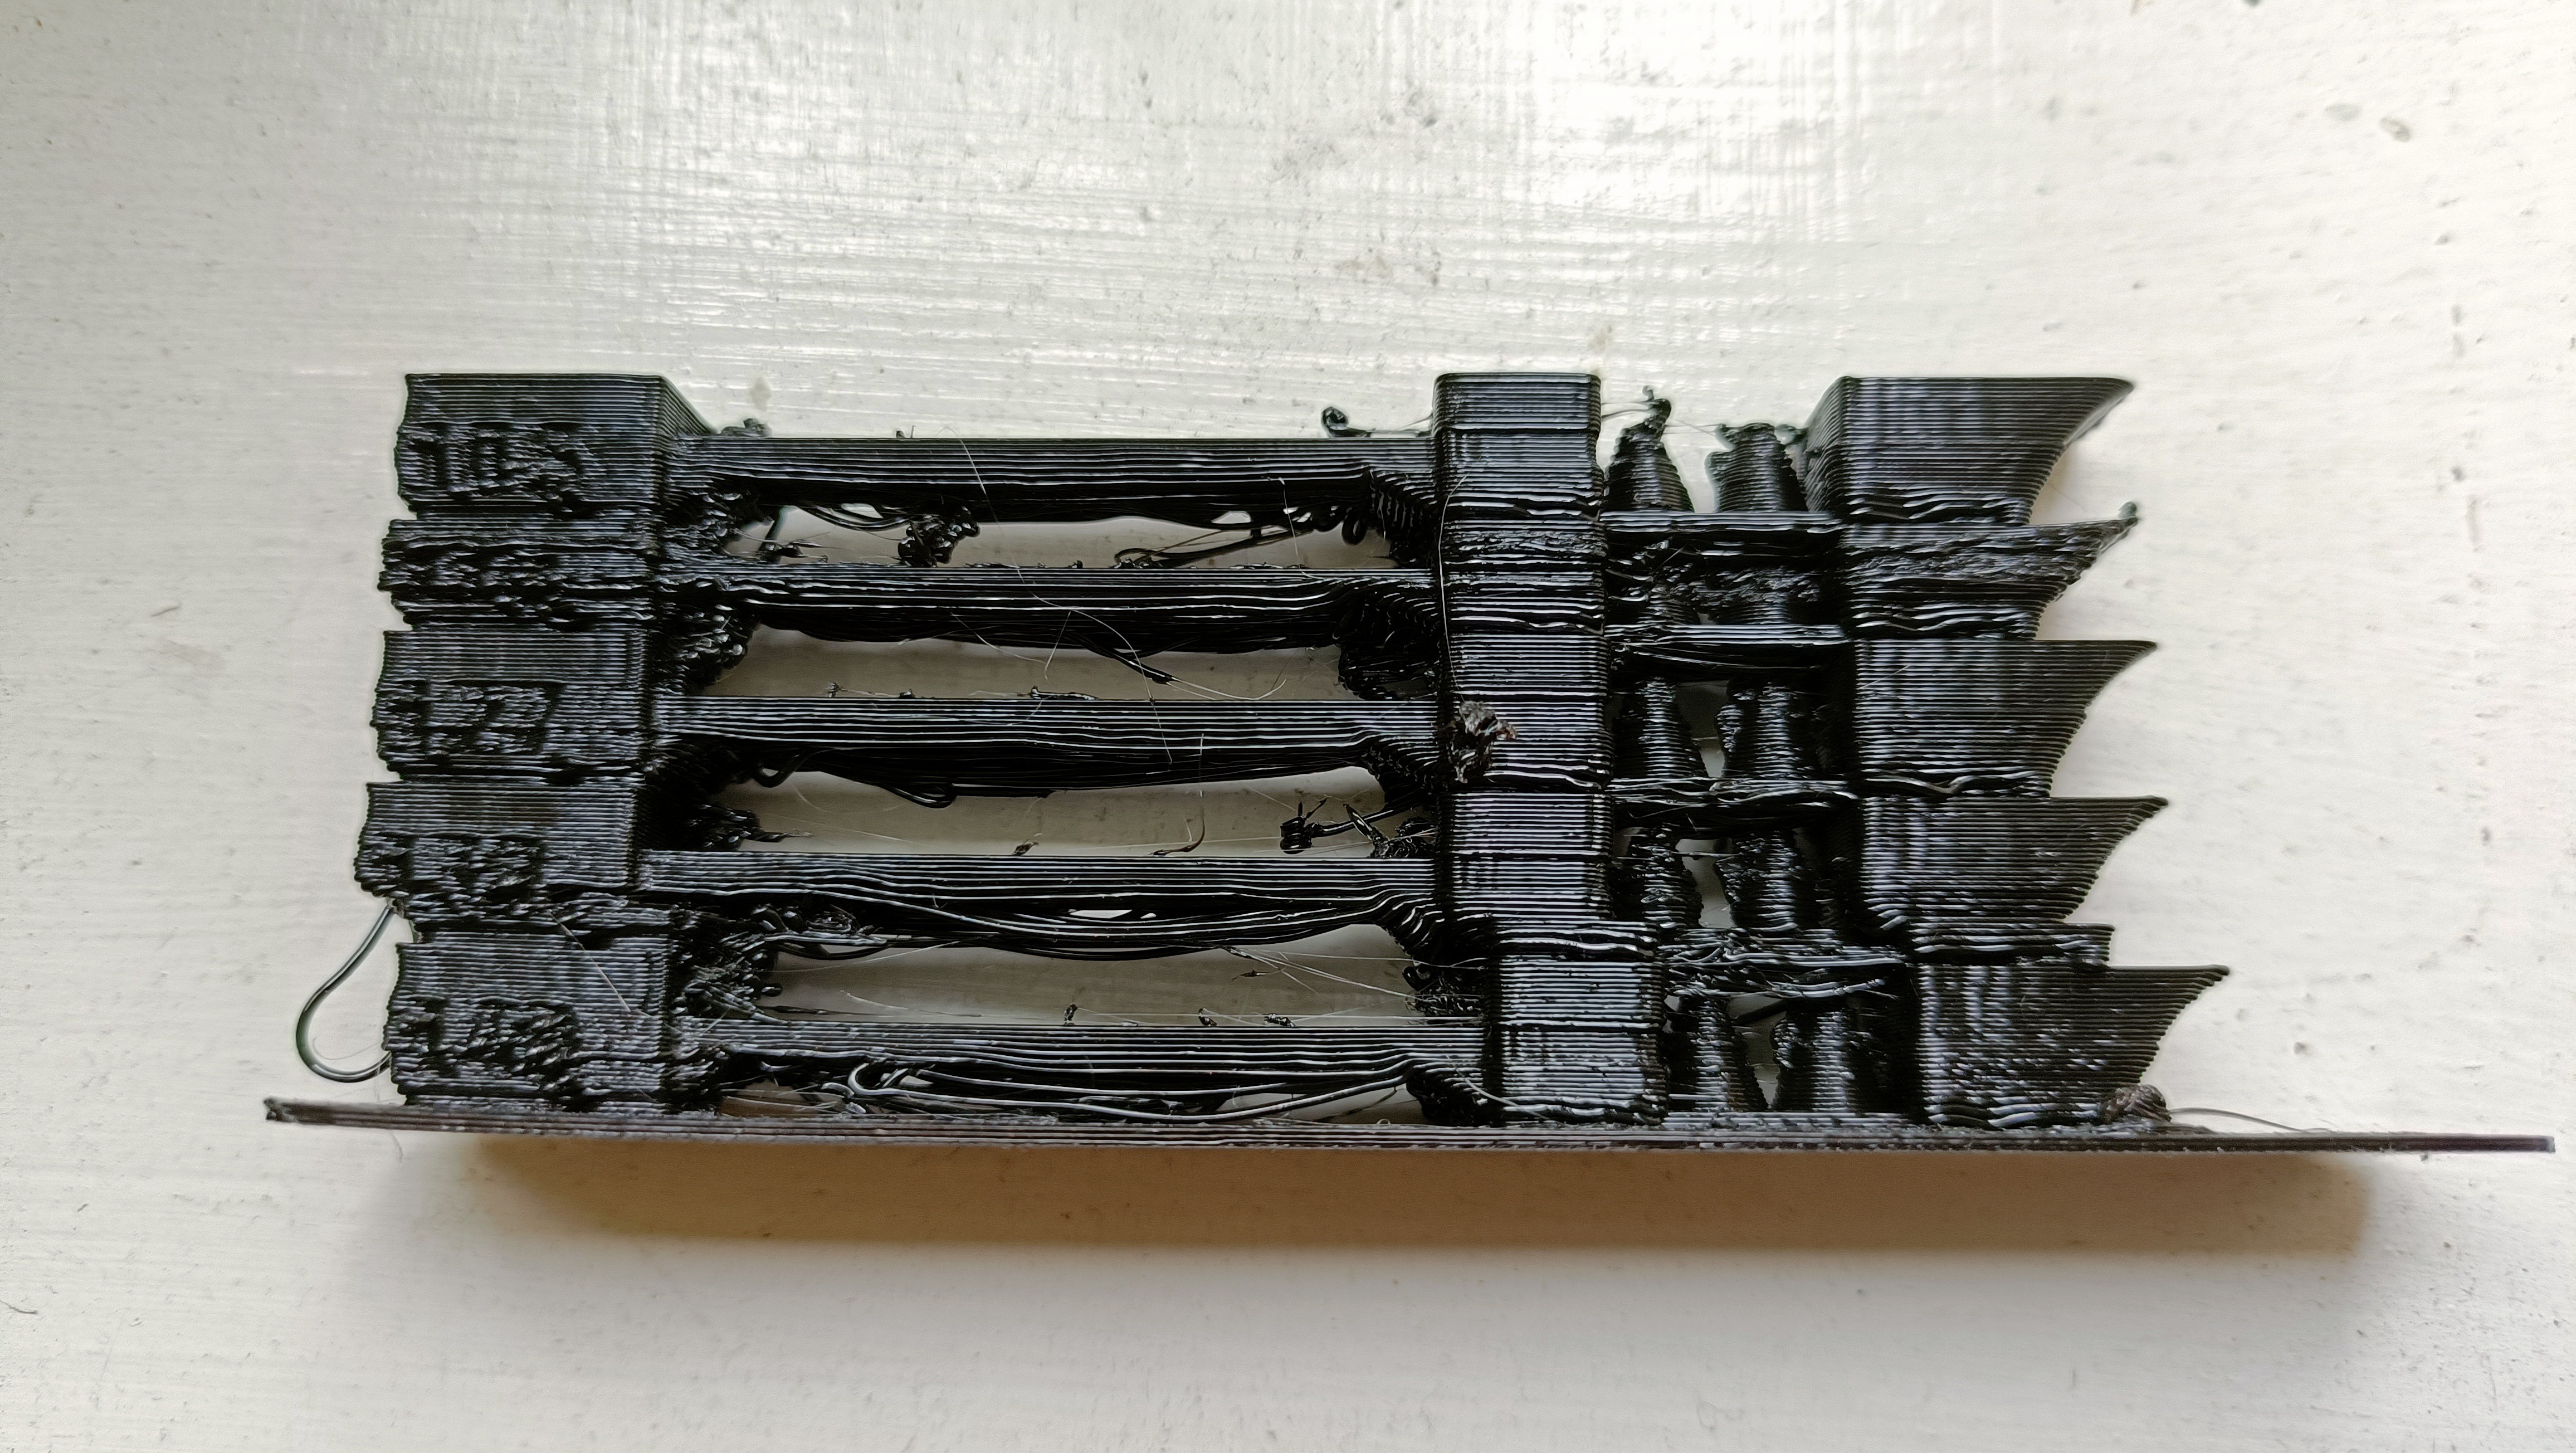
I decided that I was going to print the clip as a test print, and do so in black to see the time for a colour transition. I was getting extruder skipped steps, but the print did complete. From the whispy ooze, I measured 0.43mm and suspected that the volcano nozzle installed wasn't my go-to 0.6mm nozzle, but instead 0.4mm. Thus, I started a print in white with 0.4mm settings and confirmed my suspicions during the print.
 This is when I decided to look for leaks. I peeked through the grill and the back of the cover and saw no leaks peeking out anywhere. The mysterious synthetic odour I forgot to mention in the previous log was also much lower to the point where I forgot about it; I assume it's just like getting any new appliance and heating it up for the first time. I was also able to loosen the nozzle when cold, which is another good sign that there are no leaks. Lastly, the face at which the coaxial8or meets the nozzle still looks clean, so I assume that the leaking issue has been sufficiently addressed.
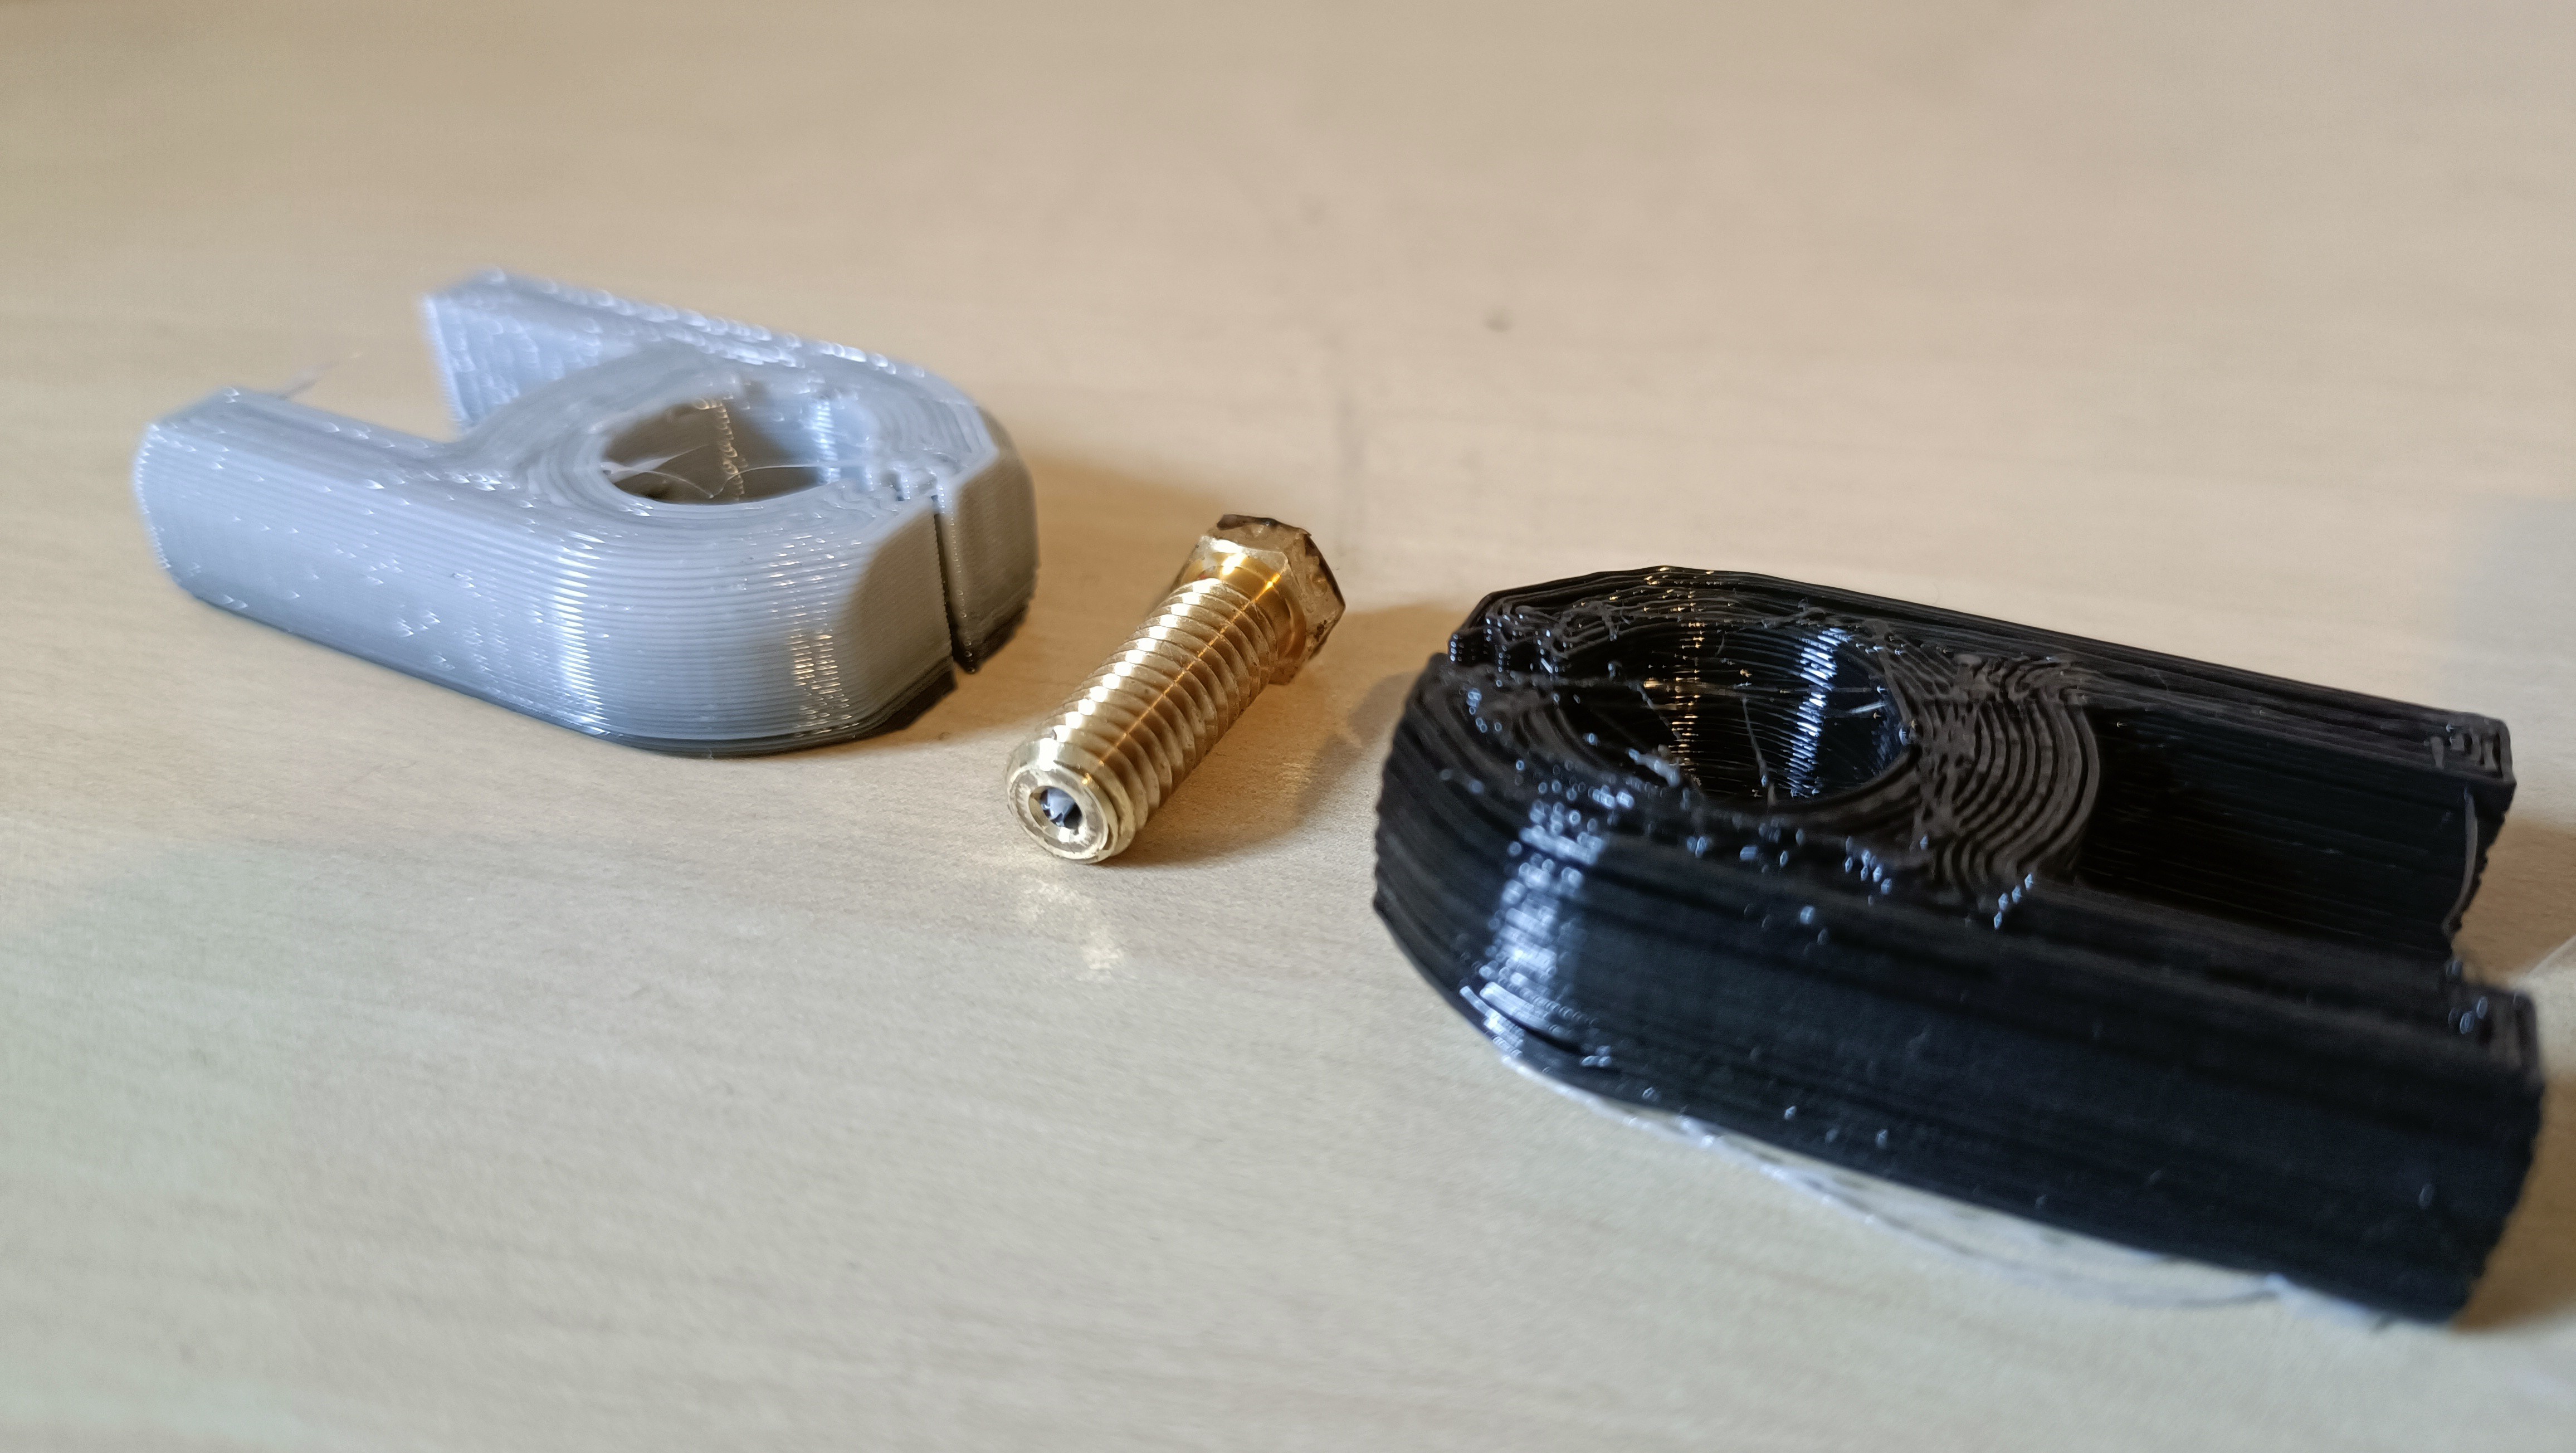
I moved on to a 3rd material: Copper PETG. I bought it around this time in 2018 and this is the first print I've ever done using it because of it's unweildly 30cm diameter spool (filament spools are usually 21cm). Since I'm only doing short test prints and dont have any spool holders, I've just had the filament on the floor and I spin out some slack length. I also decided to switch to my plated nozzle that I planned to install in the CR600S sometime in late 2019, and can confirm that I can do a 1-handed nozzle change.
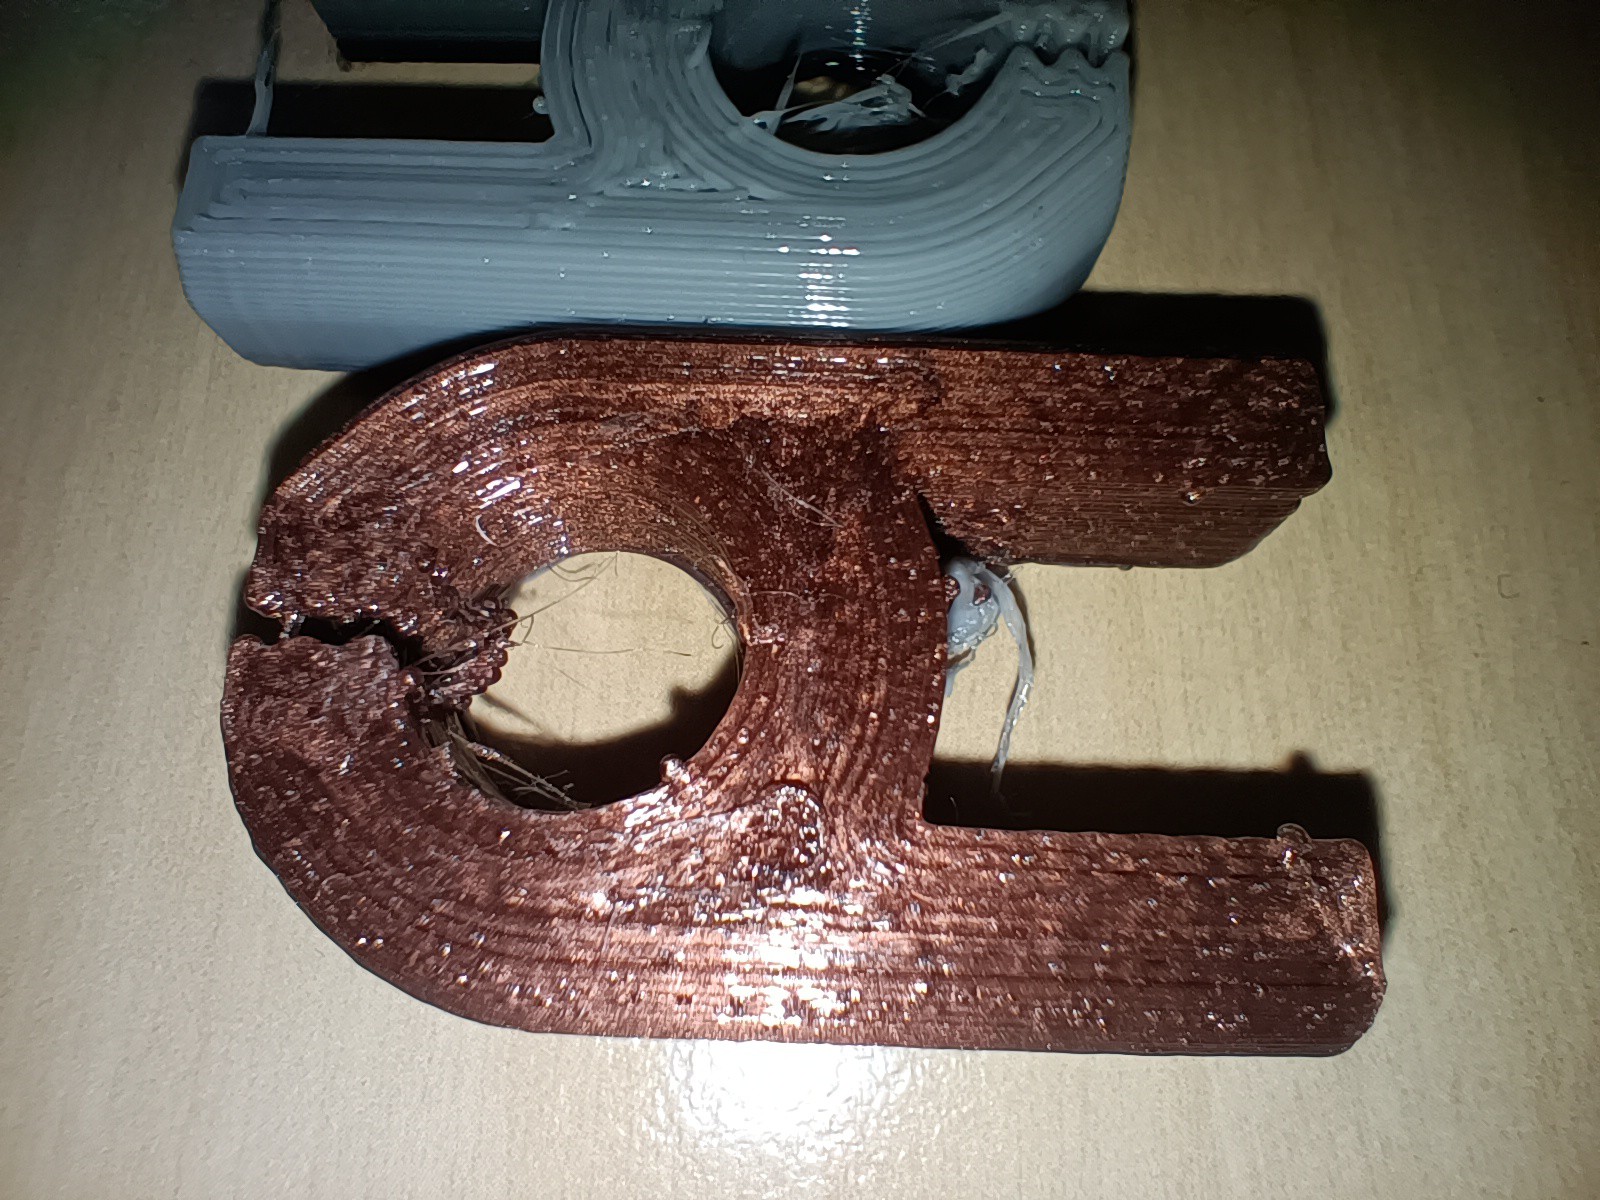
The material actually looks very nice -- much nicer than implied on the spool -- but I can't tell if it's wet or if that bumpy sparkle look is the intended look. The purge transition went light-grey, black, copper after perhaps 5 layers. I believe I started with the c8or at 218C but dropped it to 212C when it seemed that the extruders could handle it.
To my delight, the print actually does work for its intended purpose -- I thought PETG would be too slippery but decided to give it a go anyway.
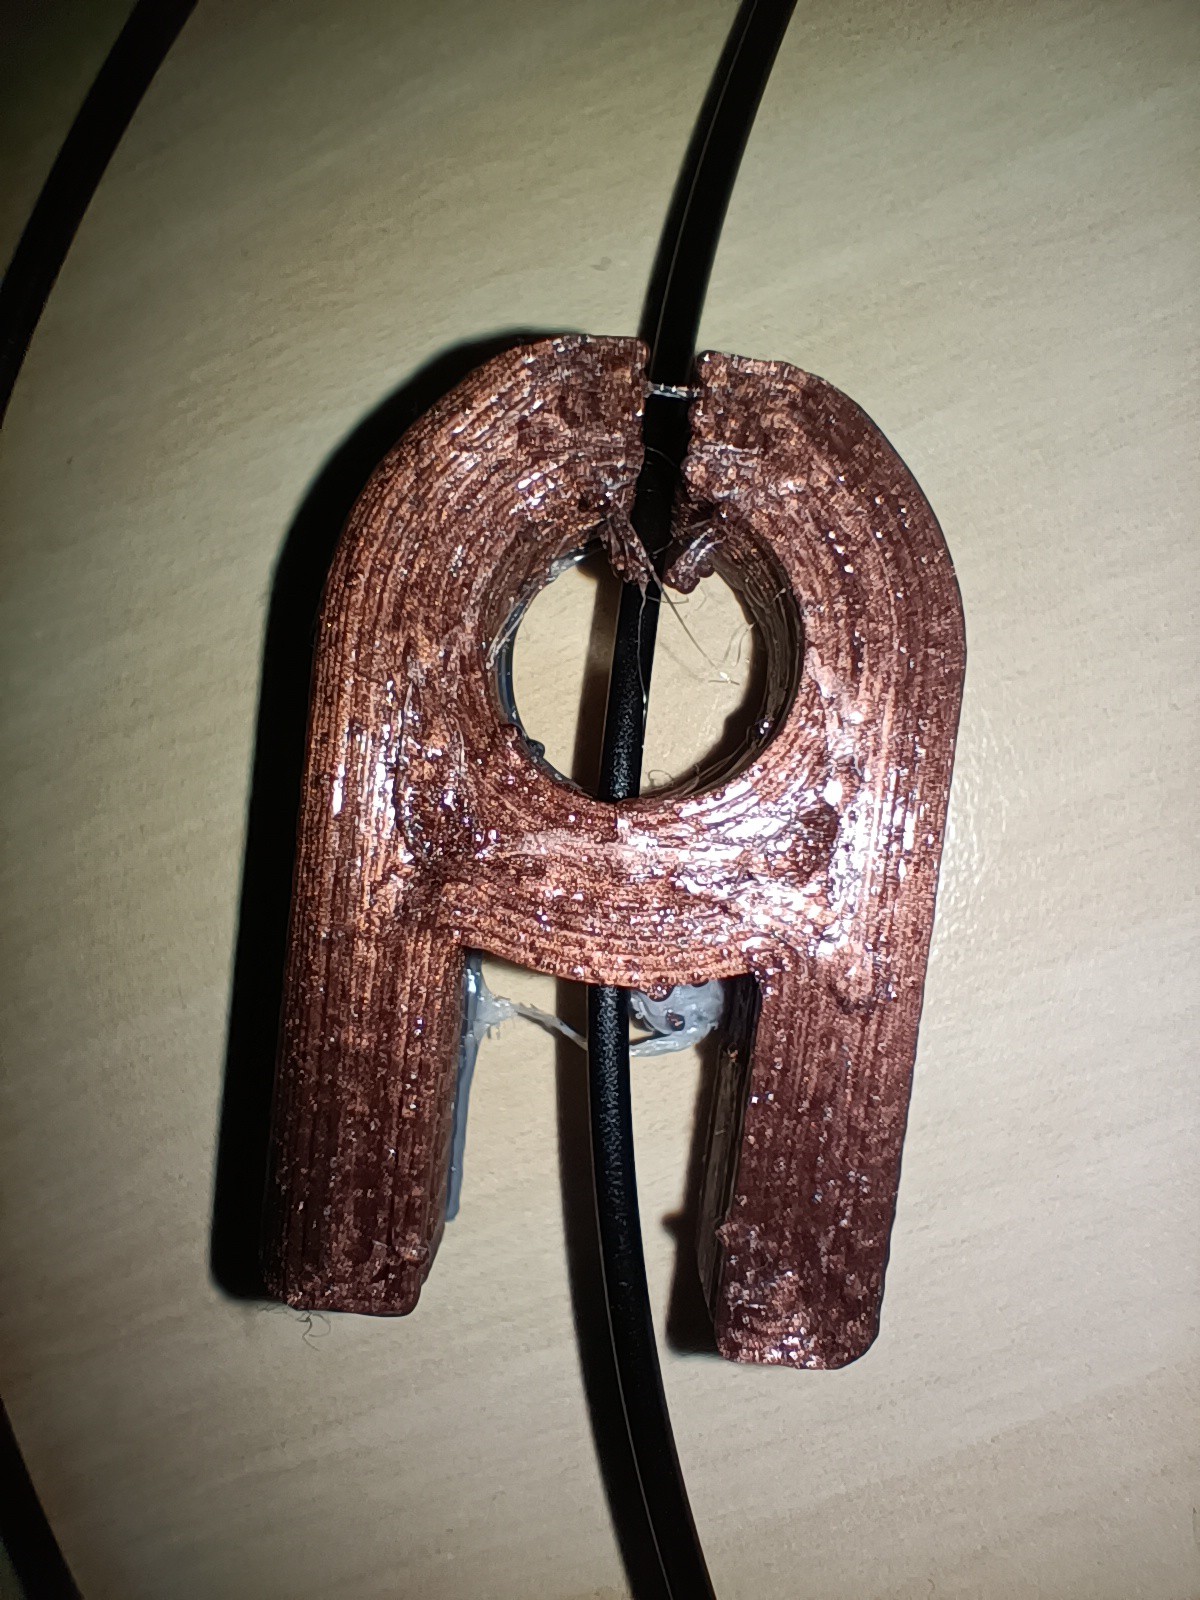
I'm also getting surprisingly good dimensional accuracy for my first test prints. Both the white and copper prints measure 11.99 in the spacing that is supposed to be 12.00mm, as well as 7.05mm for the arms that should be 7.00mm. The inner circle is 6.92mm and the thickness between the inside and outside is 6.88mm when it should both be 7.00mm. I think I can say that I've found the perfect E-steps/mm number of 1675 for 64 microstepping (which translates to 209.375 for the 8 microstep mode I've configured the CR600S for).
Conclusions and Future Work
Speaking of copper, I've just had a look to see if the CHC Pro wire is touching (and melting on) the c8or and the heatblock is looking like it's been lightly seasoned with copper, interestingly enough:
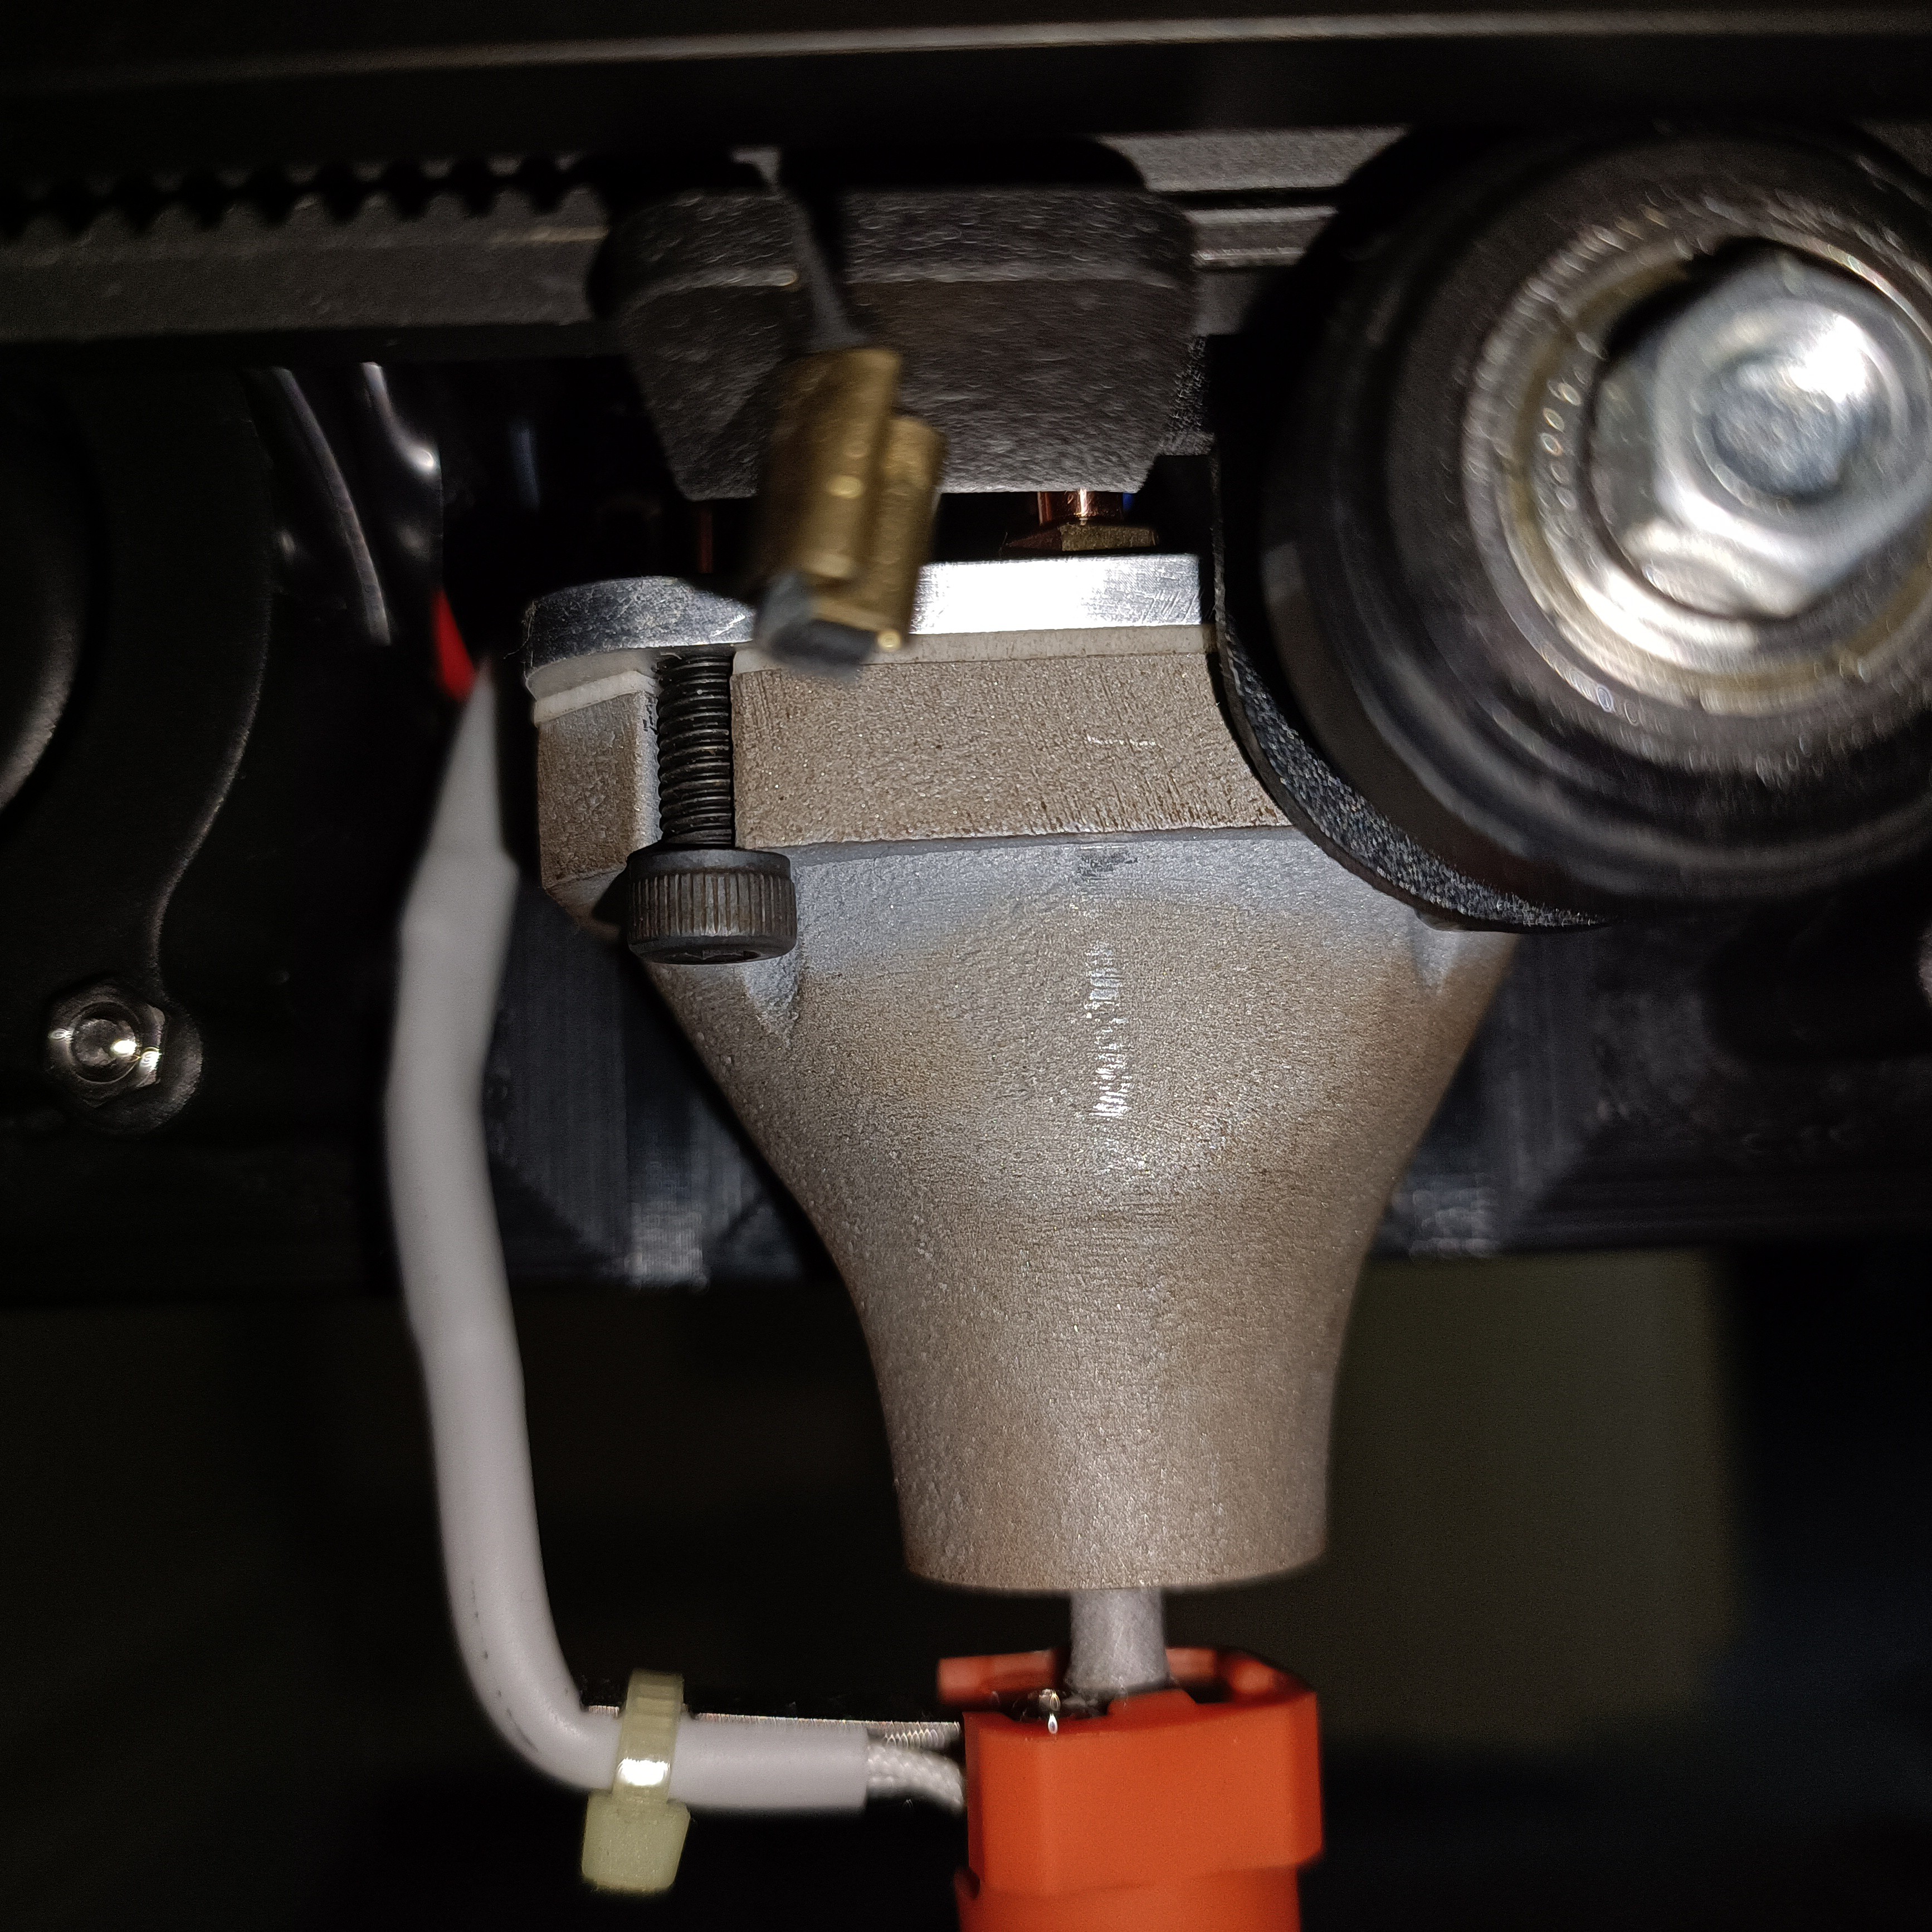
It does seem that the M2s could be removed from the updated design and favouring the CHC-style hotends.
I'm looking into running a temperature tower tomorrow and hopefully I can move towards getting 2 or more colours in the same print.
For some reason, the PSU is fluctuating between 23.8 - 24.2V periodically and the system is just sitting idle.
I wasn't able to repeat the cold-remove nozzle with the plated one, implying that the seal wasn't as good as the first time. I heated it to 100C just to tighten the nozzle more and it turned by a few degrees. Heated to 150C and didn't move so I assume 100C is good enough.
So far, it's been shown that 37.5% of the hotend can flow, at least. For dimond nozzle users, this would be 100%, and through reading some of the posts of people that have them, leaking was still a large issue. I think the PTFE gasket is a good solution as it better ensures a seal than getting the end of a tube flat and flush, and provides a nylock-nut / Loctite effect for the heatsinks. I feel like it also allows a higher tolerance to thread tightness variability.
This trial was also to test to see if I could print in one colour and then switch to another colour and not have a clog, and this initial testing shows that there is potential. PLA would be the real test for this, though.
[April 4] I've tested flow in another 3 inputs, and I'm not liking how the flow seems best when the Coaxial8or approaches regular PETG printing temperatures. The best result on the temperature tower I've printed today was 224C for both the heatblock and nozzle,
Part of the reason I decided to use a PTFE gasket was because I didn't expect to need to go over 200C, but that doesn't seem to be the case and I'm not liking the idea of potential offgassing that PTFE might do over 200C with such a relatively large amount in contact with the heatblock. I've heard from @heinz that Cetus used a copper gasket in their Cetus2 hotend, so I might look into that.
Initial stringing so far seems expectable for PETG through a 0.6mm nozzle:

I feel that the main issue to addresss is why the extrusion force feels so high. It might have something to do with the standard bowden tubes as there's a notable amount of springiness to the input channels when the hotend is cool. At the same time, even in channel 7 (E6), my white PETG is only a light grey.
Discussions
Become a Hackaday.io Member
Create an account to leave a comment. Already have an account? Log In.