 Sagar 001
In this tutorial, we are interfacing the fingerprint sensor with Arduino. Let’s explore the working of R307 fingerprint sensor. Here I will show you how to enroll the fingerprint inside the Flash of sensor and finally we will match the fingerprints using a separate program and try to glow the onboard Led. These are two simple programs that can be modified for different purposes in future.
Here we are using Arduino UNO for interfacing, and we can use the UART (Serial communication port) because sensor support this interface. UART is the same port which is used to program the Arduino. There is only one serial communication bus (8-bit), to get the data readings on serial monitor and to interface the sensor in parallel Arduino UNO supports a software serial function.
For any prototype project you can use Custom PCB Service, JLCPCB just launched the RF PCB and Flex PCB in very low prices, get you hand on best prototyping service in affordable price.
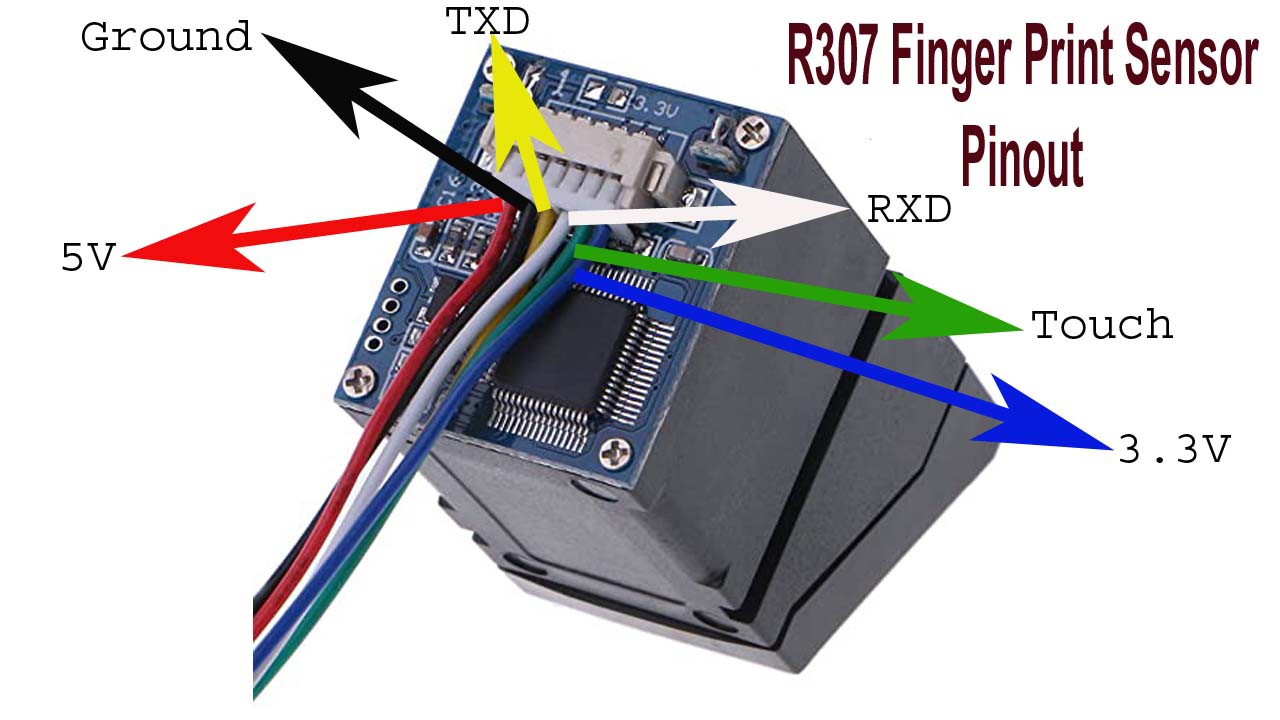
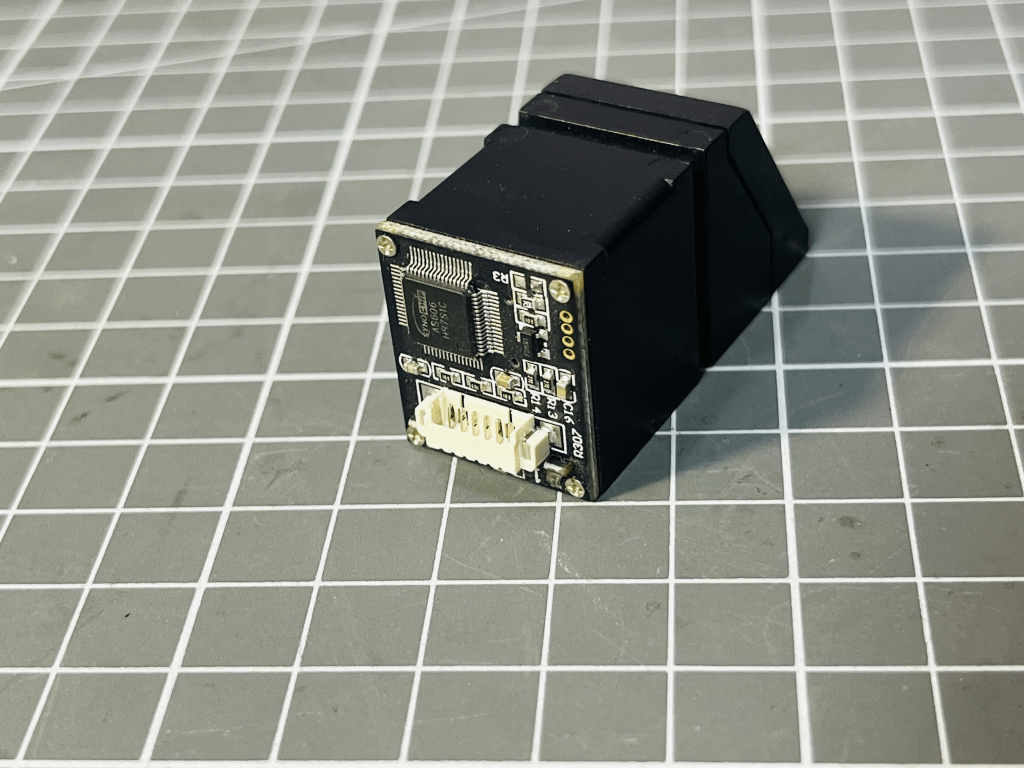
R307 fingerprint module:
R307 Fingerprint Module consists of optical fingerprint sensor, high-speed DSP processor, high-performance fingerprint alignment algorithm, high-capacity FLASH chips and other hardware and software composition, stable performance, simple structure, with fingerprint entry, image processing, fingerprint matching, search and template storage and other functions.
R307 is a finger print sensor module with TTL UART interface. The user can store the finger print data in the module and can configure it in 1:1 or 1: N mode for identifying the person. The FP module can directly interface with 3v and 5v Microcontroller. A logic level converter (like MAX232) is required for interfacing with PC.
Features:-
- Supply voltage: DC 4.2 ~ 6.0V
- Supply current: Working current: 50mA (typical) Peak current: 80mA
- Fingerprint image input time: <0.3 seconds
- Matching method: Comparison method (1: 1)
- Search method (1: N)
- Storage capacity: 127 pieces
- Communication baud rate (UART): (9600xN) bps, default: 57600bps
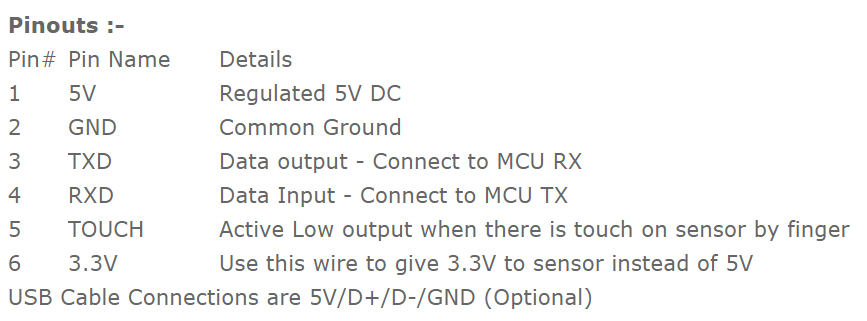
The R307 fingerprint module has two interface TTL UART and USB2.0, USB2.0 interface can be connected to the computer; RS232 interface is a TTL level, the default baud rate is 57600, can be changed, refer to a communication protocol; can And microcontroller, such as ARM, DSP and other serial devices with a connection, 3.3V and 5V microcontroller can be connected directly.
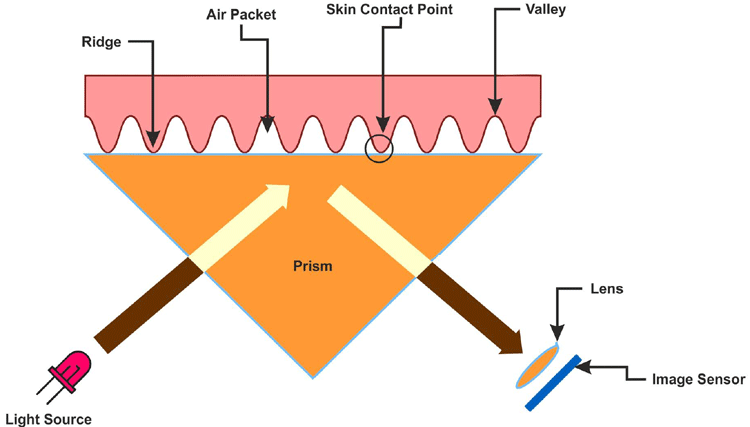
Operation Principle:
Fingerprint processing includes two parts: fingerprint enrollment and fingerprint matching (the matching can be 1:1 or 1:N). When enrolling, user needs to enter the finger two times. The system will process the two-time finger images, generate a template of the finger based on processing results and store the template. When matching, user enters the finger through optical sensor and system will generate a template of the finger and compare it with templates of the finger library.
For 1:1 matching, system will compare the live finger with specific template designated in the Module; for 1:N matching, or searching, system will search the whole finger library for the matching finger. In both circumstances, system will return the matching result, success or failure.
Interfacing with Arduino (Circuit diagram):
Fingerprint sensor support two logic 3.3 and 5volt which can be set by the onboard fingerprint sensor jumper. We are using the sensor with Arduino uno which works on logic 5v.
Enrollment the fingerprints:
The sensor has a syntax to store the data, which is initialized by AT commands through serial monitor. For ease whole the code is written in C language and performs the same action but for this you need Adafruit fingerprint sensor library.
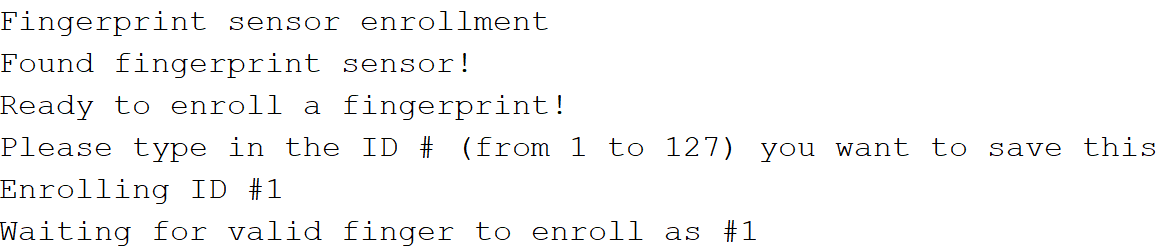
To enroll the fingerprints connect the sensor to Arduino and upload the enrollment code choosing the right COM port. Then go to the serial monitor and check the sensor detection and working. Now to enroll the finger data choose the location by sending 1-127 numbers on the serial monitor. Then follow the instructions as displayed...
Read more »