 Ahron Wayne
Yay!
Since the last post:
The shutter has been made less crappy using a dedicated BLDC driver for motors with hall effect sensors. It's not set up right still, but the shutter is moving slowly enough to do real exposures of about a second long.
So let's do a scan!
First we have to choose our protocol, where we define the exact parameters for the scan. Since we're sticking with 4x4 binning (or pixel ganging), we don't need that many projections or exposure time or averaging, which is perfect for us. For my initial testing, I'm using a voltage of 60 kv and a current of '30' uamps, which actually leads to about 16-20 microamps. And I'm placing the object at such a position to get a voxel size of about 50 microns. Lastly, I am, for instance, taking 200 projections --- a rule of thumb is 1 projection for each pixel in x/y the object crosses while rotating, but in practice you can still get a lot of info from less than that. The scan lasts about 7 minutes.
As an aside, the program is really annoying in that it won't let you run unless the X-rays have been warmed up in the last 15 minutes (to a higher voltage than I actually want to run which I don't think helps the tube). So I hack it to run anyway by just changing the system time to when it was last warmed up according to it. Yolo.
And to my surprise, you hit that "scan" button and it just starts going. I was worried that the the motors would be asynchronized with the shutter, but for once it seems like something with the shutter works correctly.
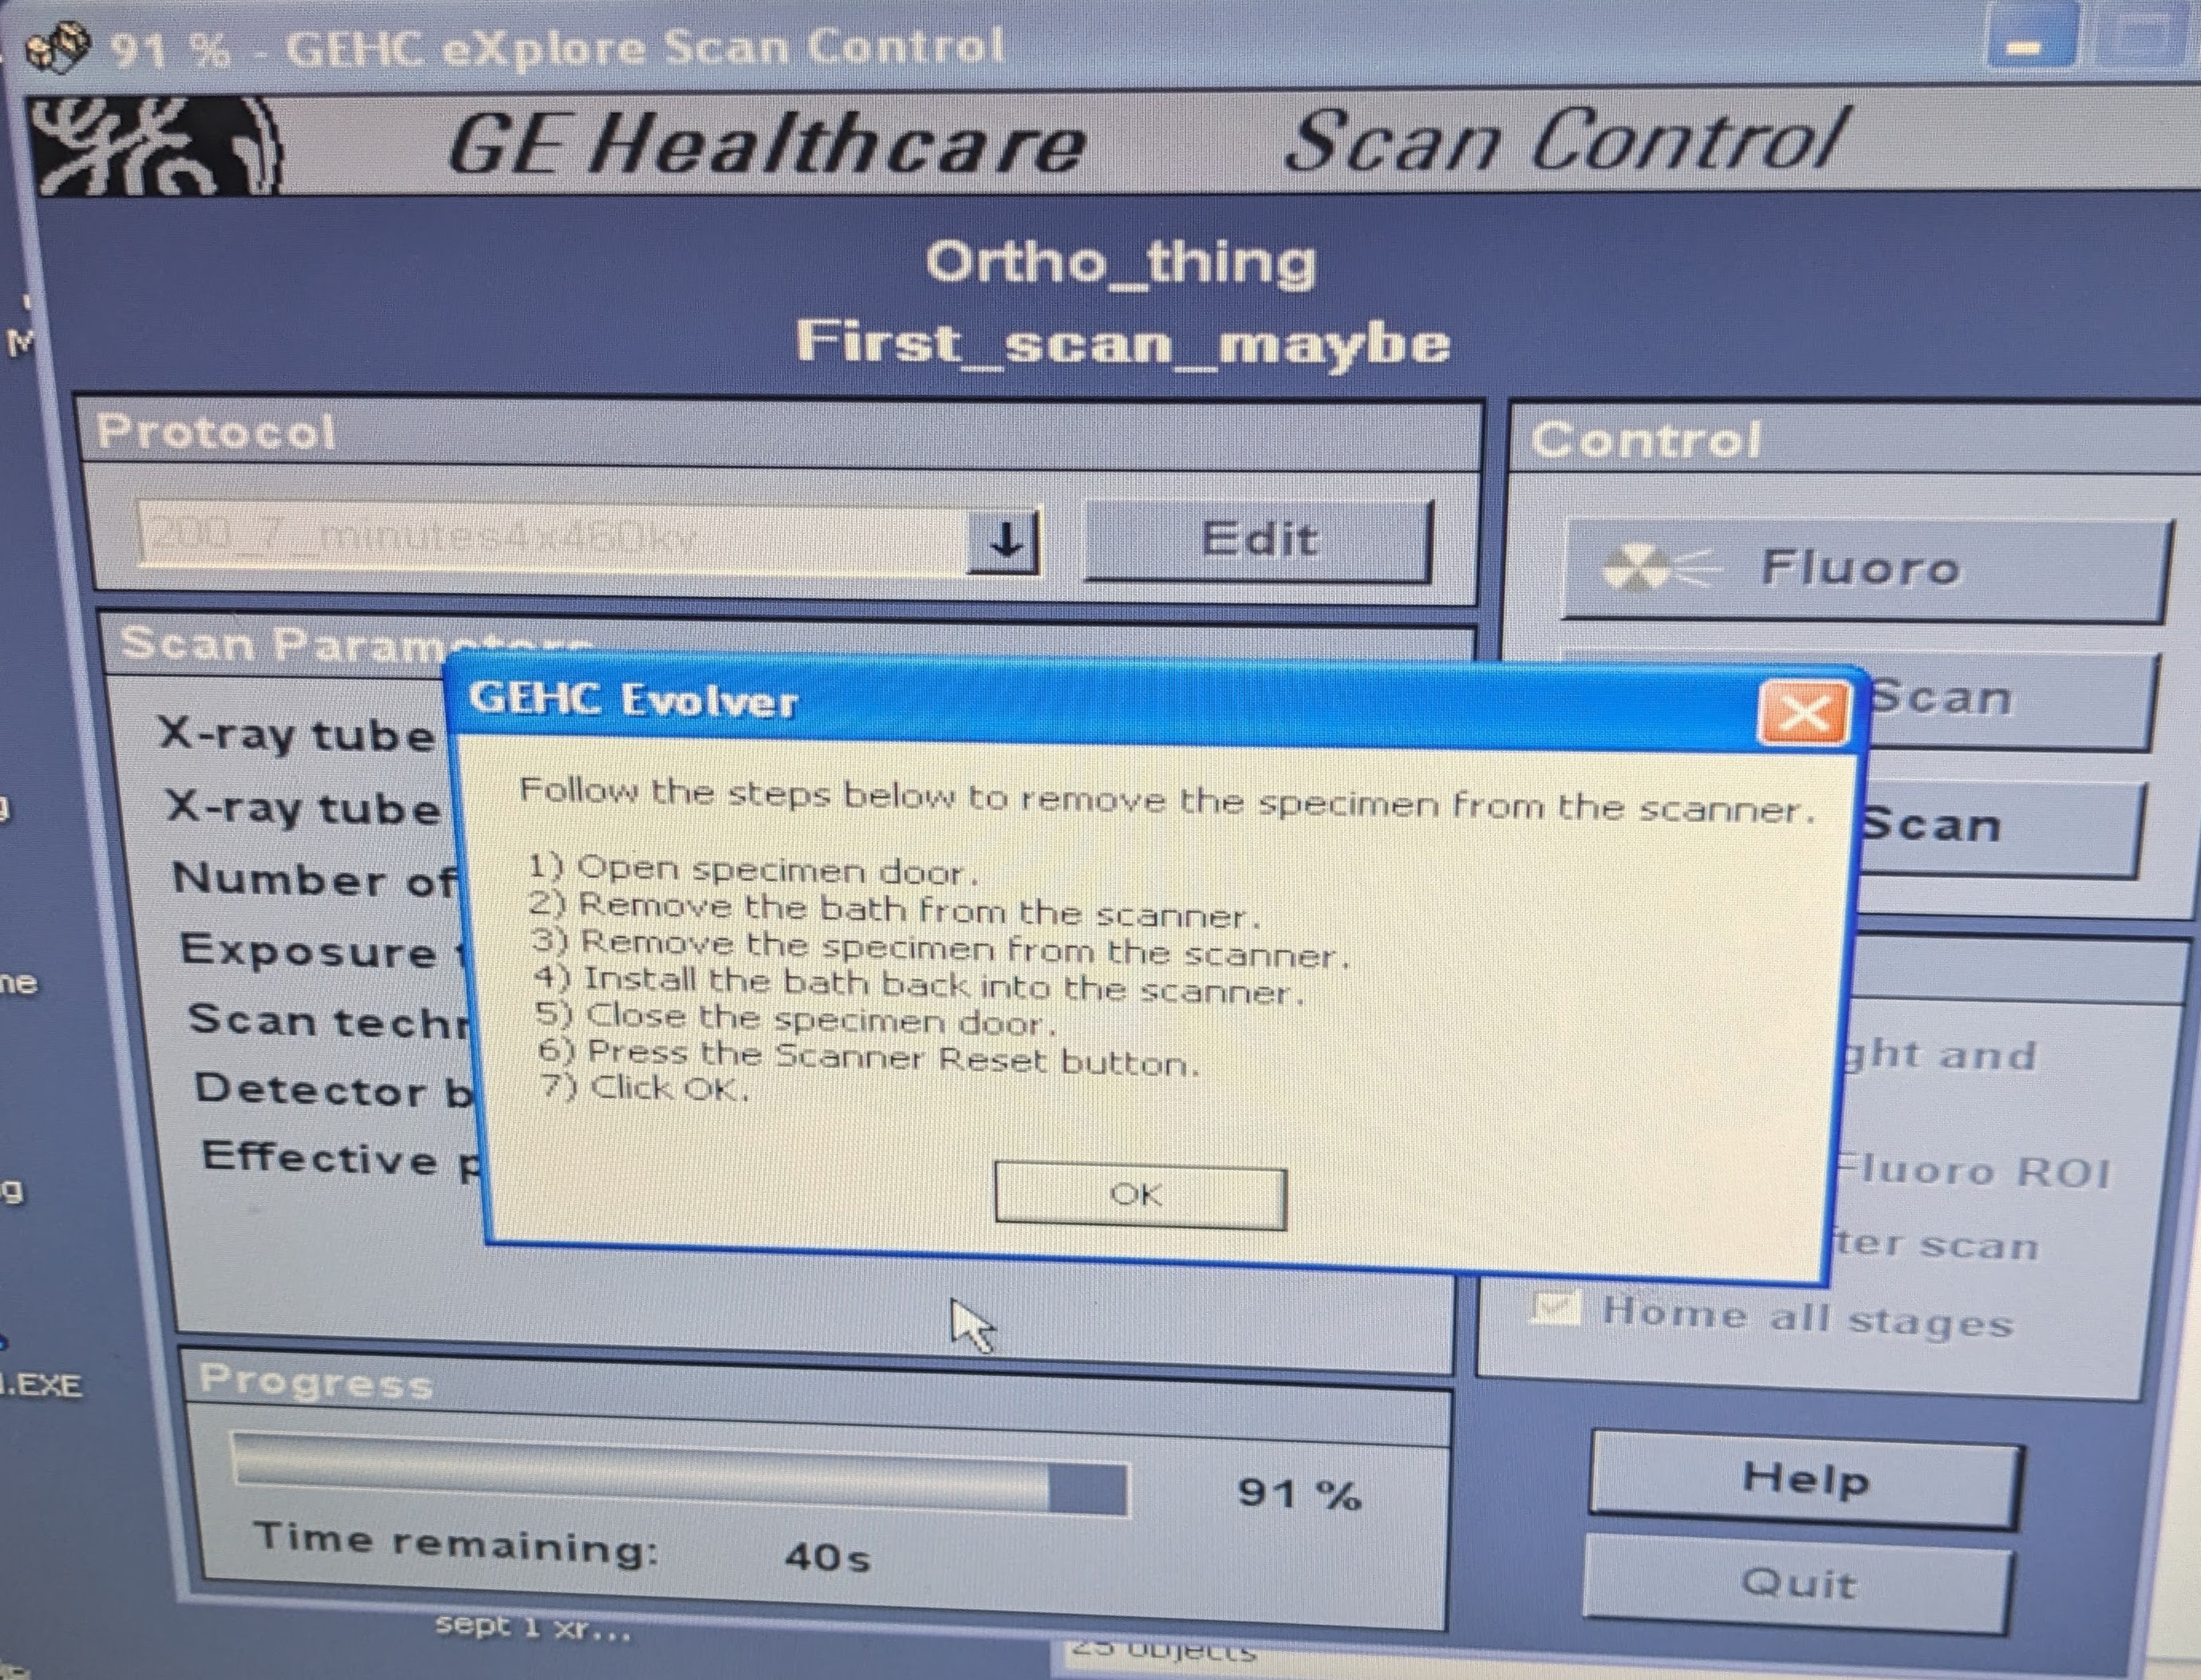
After the scan is done, it turns off the x-rays automatically (we'll see what I can do about that) and then prompts you to remove the sample for taking bright and dark field images. These are images with nothing in the way and can be used to mitigate various things like, a damaged scintillator or dead pixels.
Goodbye, peeling scintillator!
This is a huge boost to quality just with that offset difference. Like an image processing miracle in my opinion.
Now, after my first scan was run, I hit "recon" and nothing happened. Used to bugs and happy with the progress I had made I went home and came back the next day to sort it out. Found that there's some kind of reconstruction server as well as a command line utility; after a restart, both work, with the command line utility being more ancient and robust but slower.
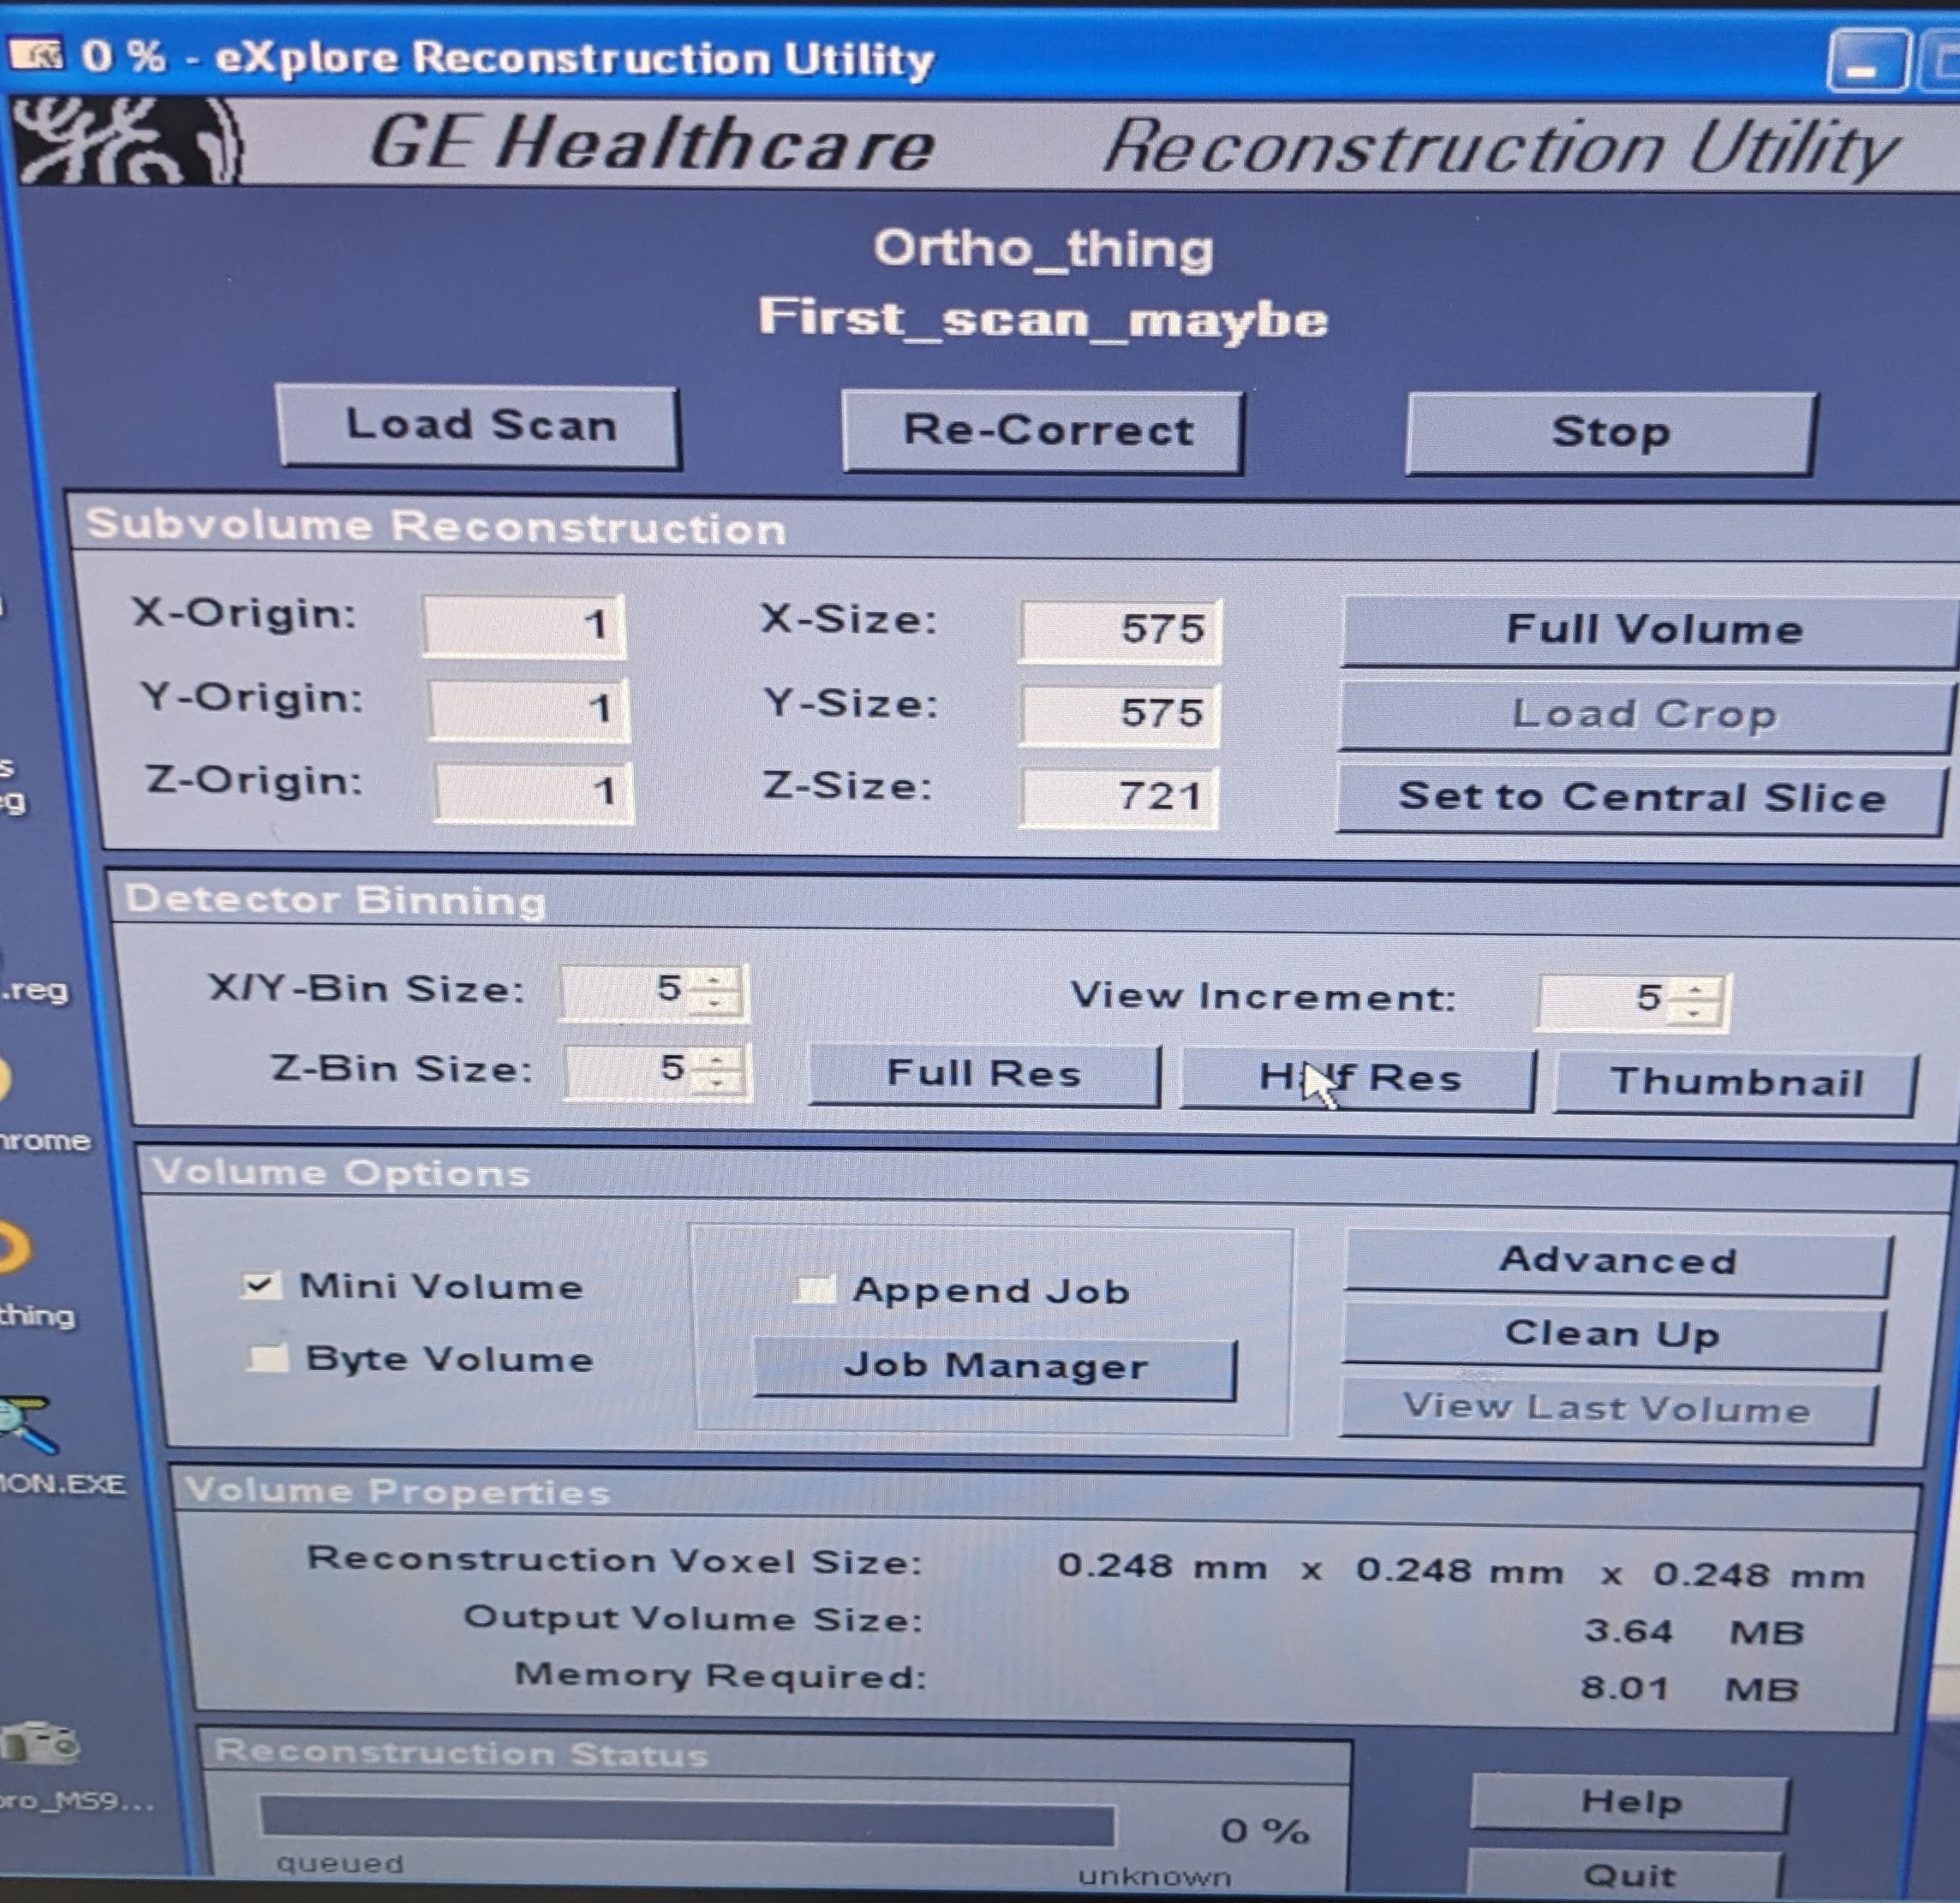
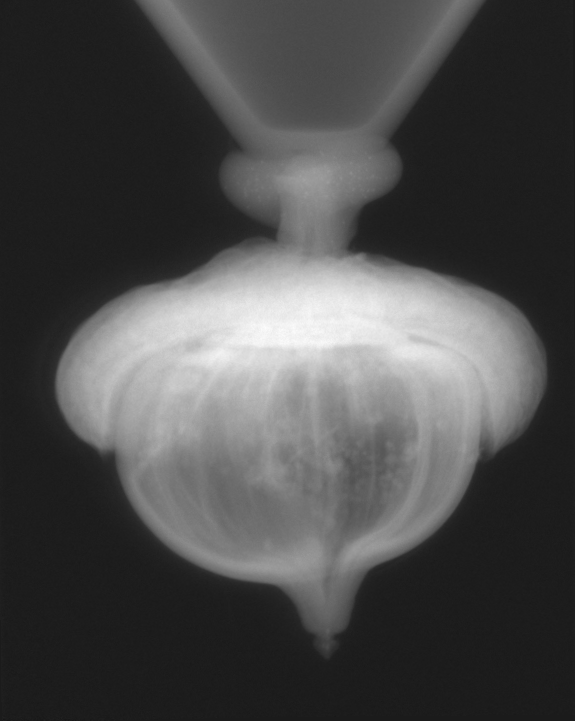
And finally... after hitting recon. It does some filtered back projection and, ta-daaaaah, we have our reconstructed scans.
And then there's the 3D scanning aspect of 3D, computed tomography, where in the simplest form you just pick a greyscale value threshold that forms a surface and which can be exported as an STL.
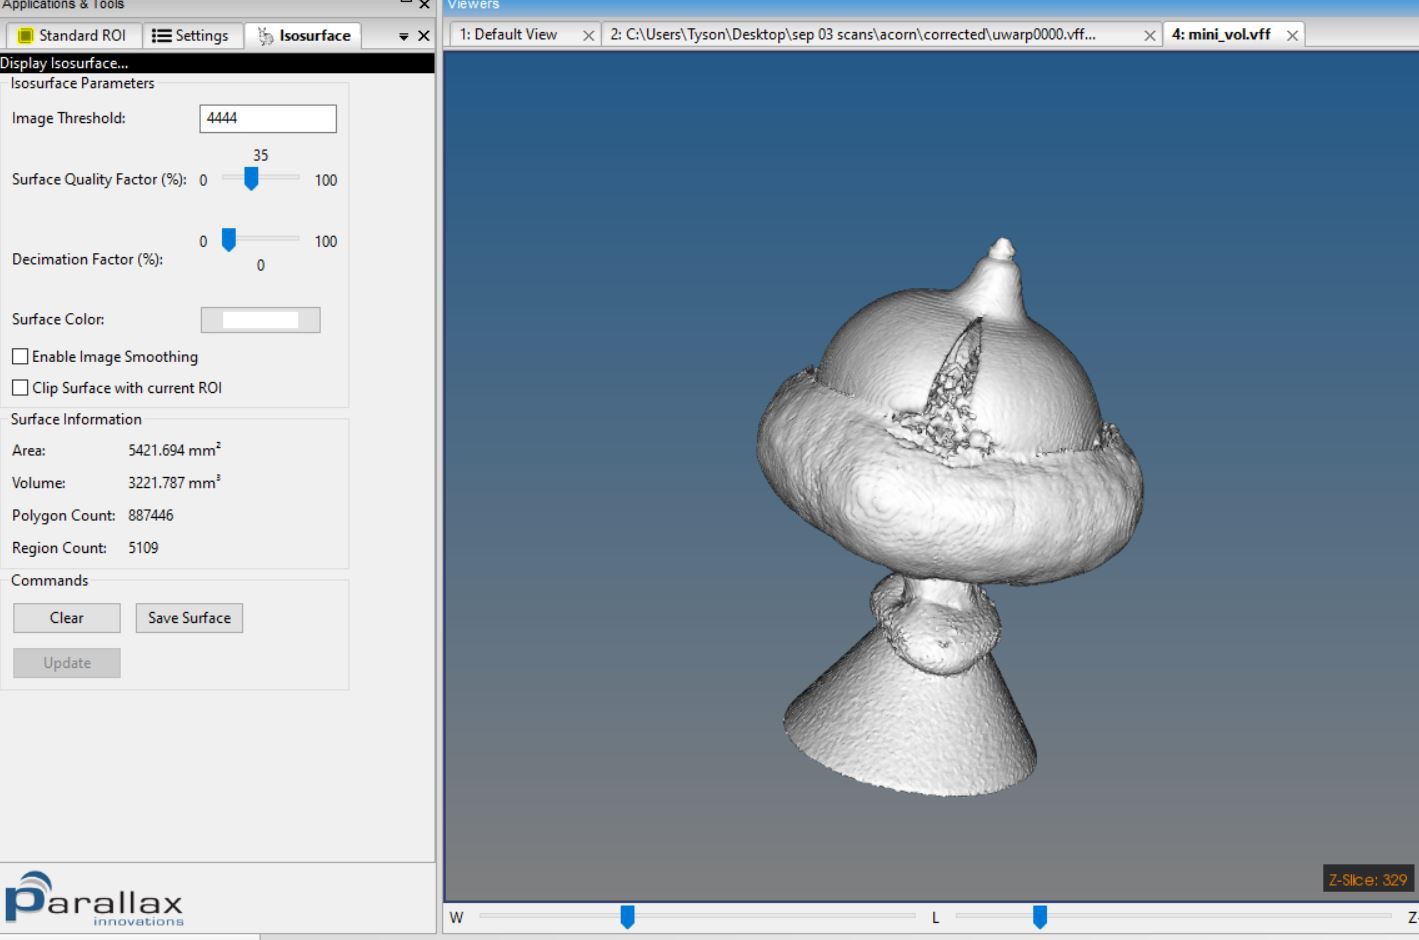
This is just one example, but it exemplifies the kinds of scans we'll be able to do with the machine.
So there you have it! Exactly three months from picking up the machines to getting one working! Let's see how much we can improve it, now.
Discussions
Become a Hackaday.io Member
Create an account to leave a comment. Already have an account? Log In.