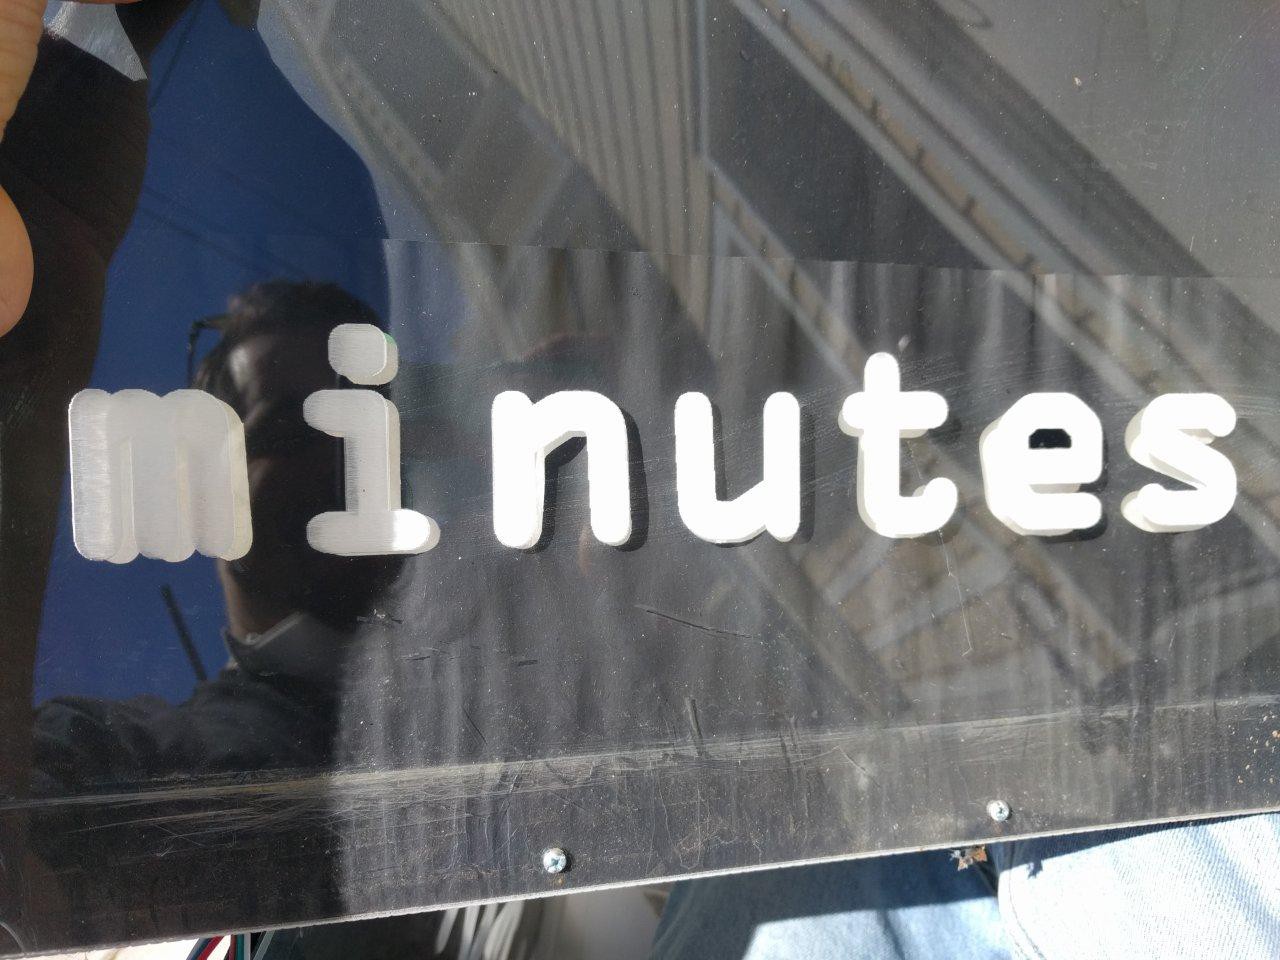
 CriptasticHacker
--Black out paper around lettering--
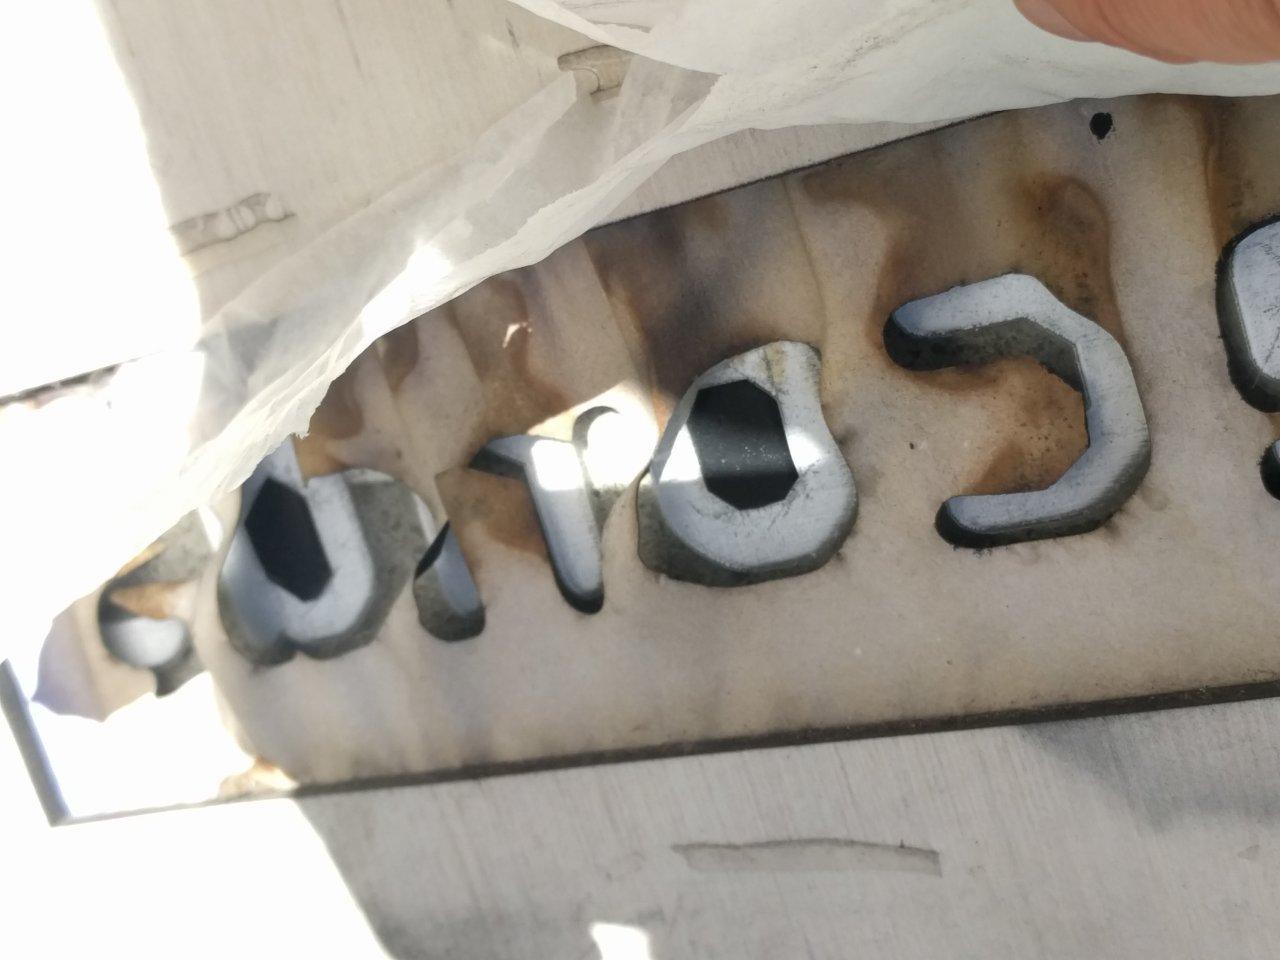
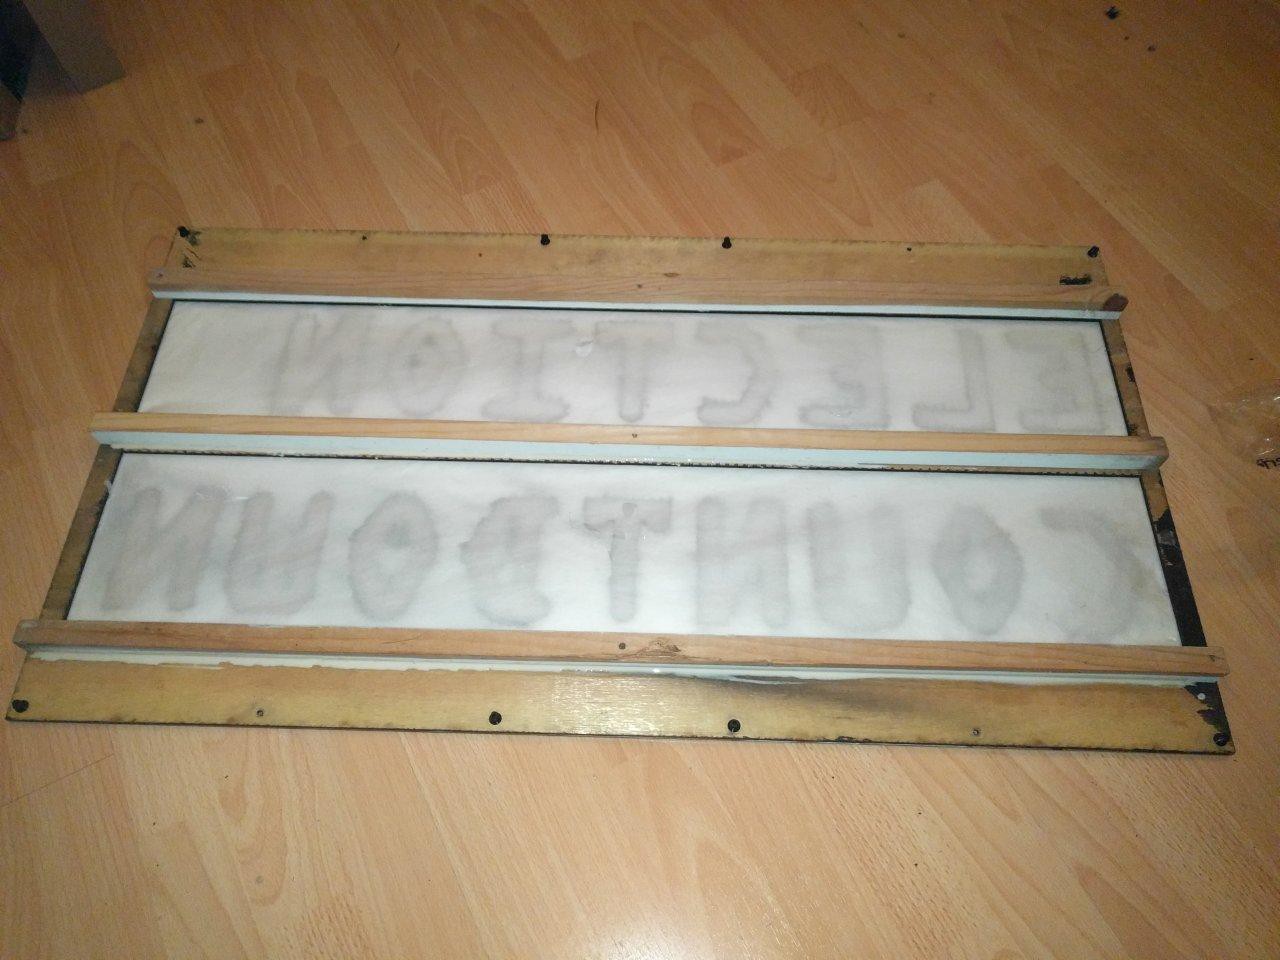
While waiting for the boards to come in, I did some clean up on the panels themselves. Some of them had significant water damage, particularly the "seconds" panel.
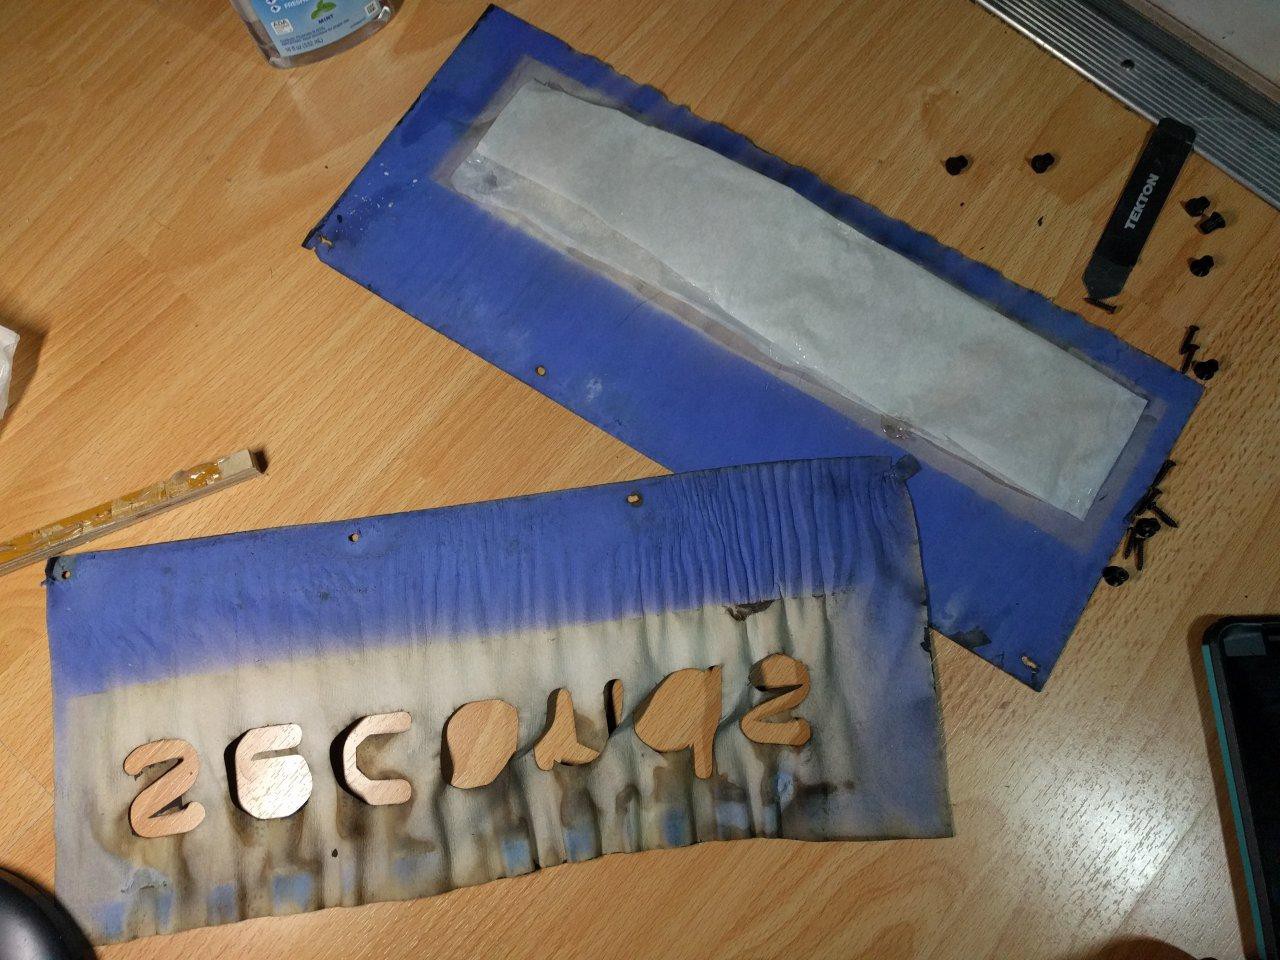
Normally I would have replaced the lettering entirely, but the person I was working on this for wanted it quick and didn't mind reusing the old water damaged paper. This saved me a trip to the makerspace to use their laser cutter.
I steam ironed it flat, by spraying it with water and then using a household clothes iron. This took a few passes and was a bit of a pain.
Before:

After:
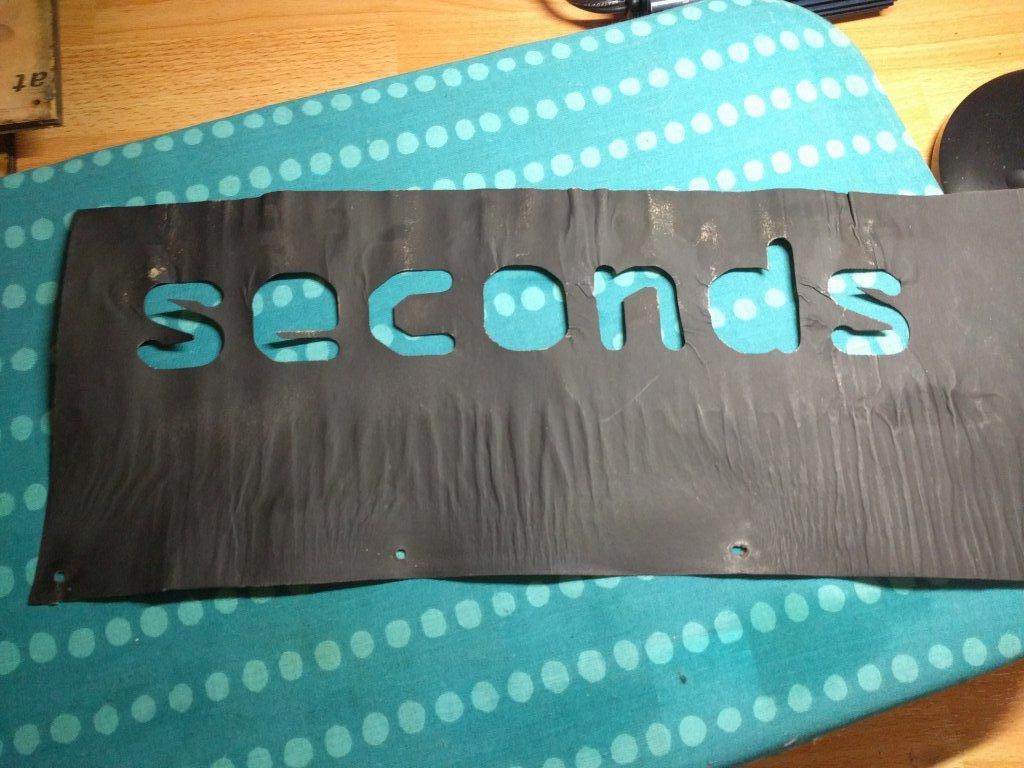
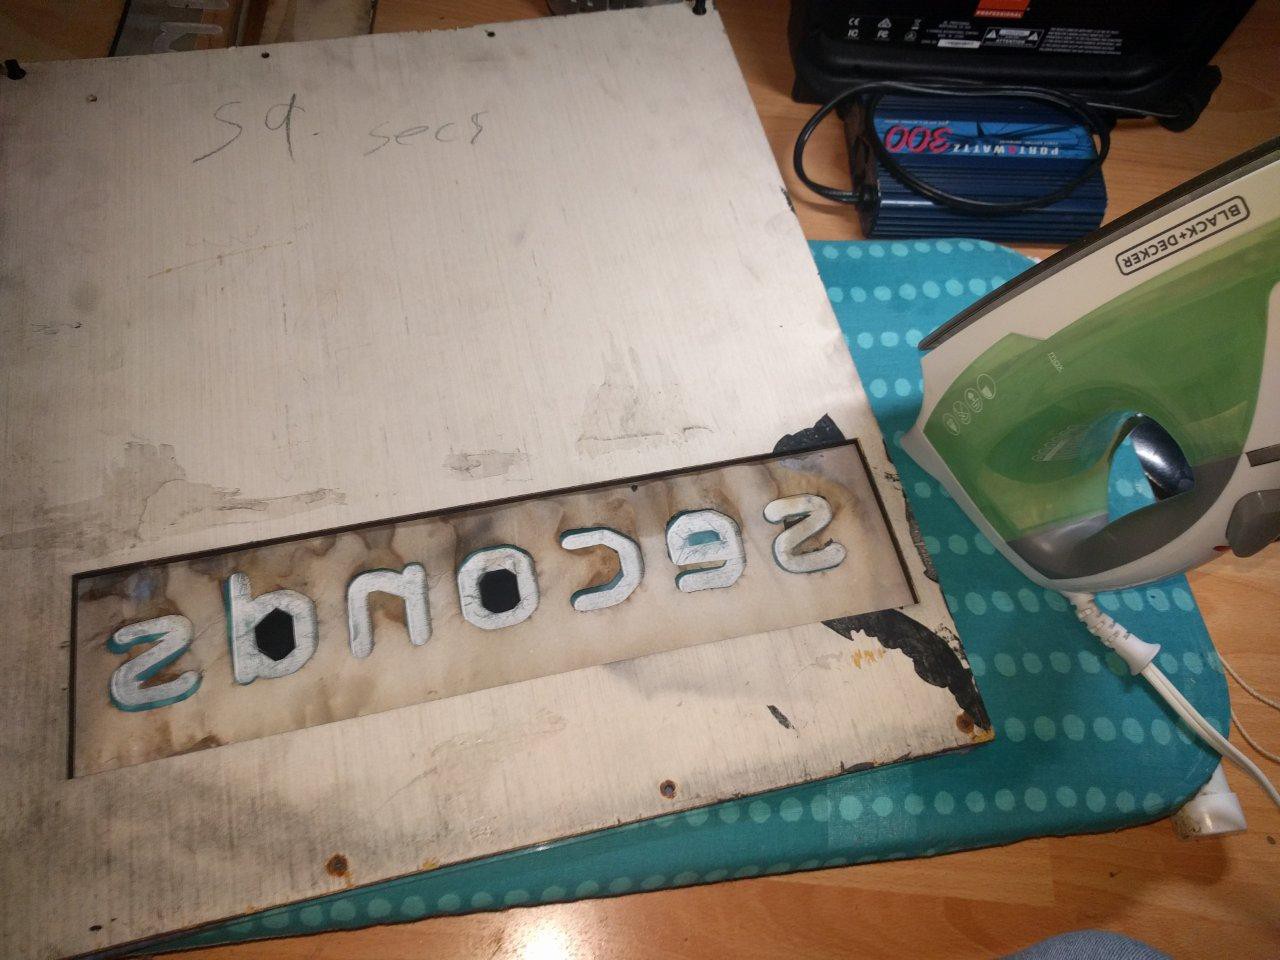
Spray painting the black out paper once again, since the water damage messed up the opacity:

Touch ups with black acrylic paint on places like the holes in the letters:

--Upgrading the light diffusion--
The original diffusion used laser cut paper:
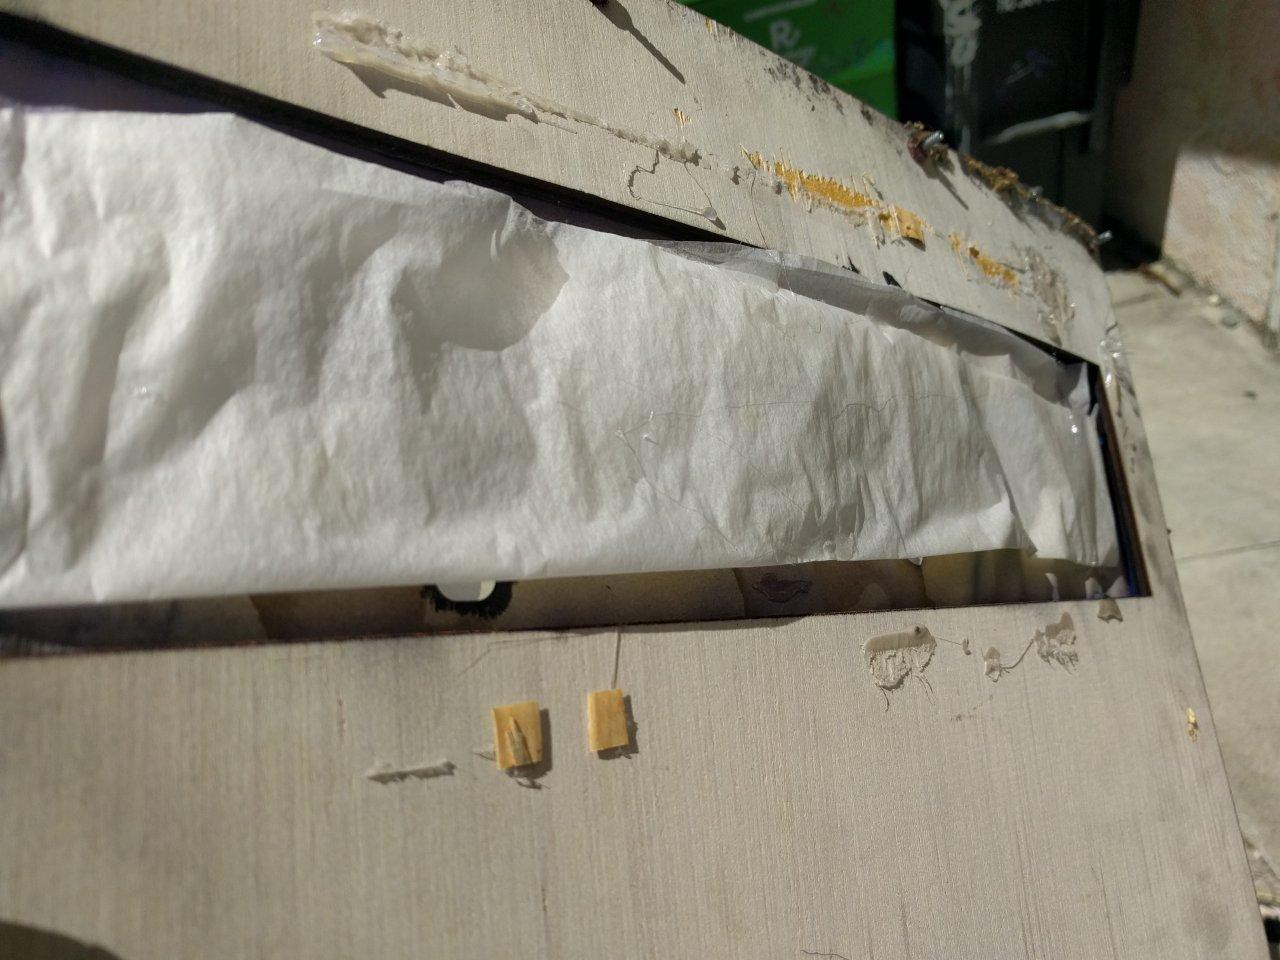
So much of this stuff was ripped and damaged by rain, it needed to be replaced. Additionally, I wanted something more weather-proof as well as more consistent illumination results.
I decided to replace it all with the most diffused 3mm acrylc material available from TAP Plastics:
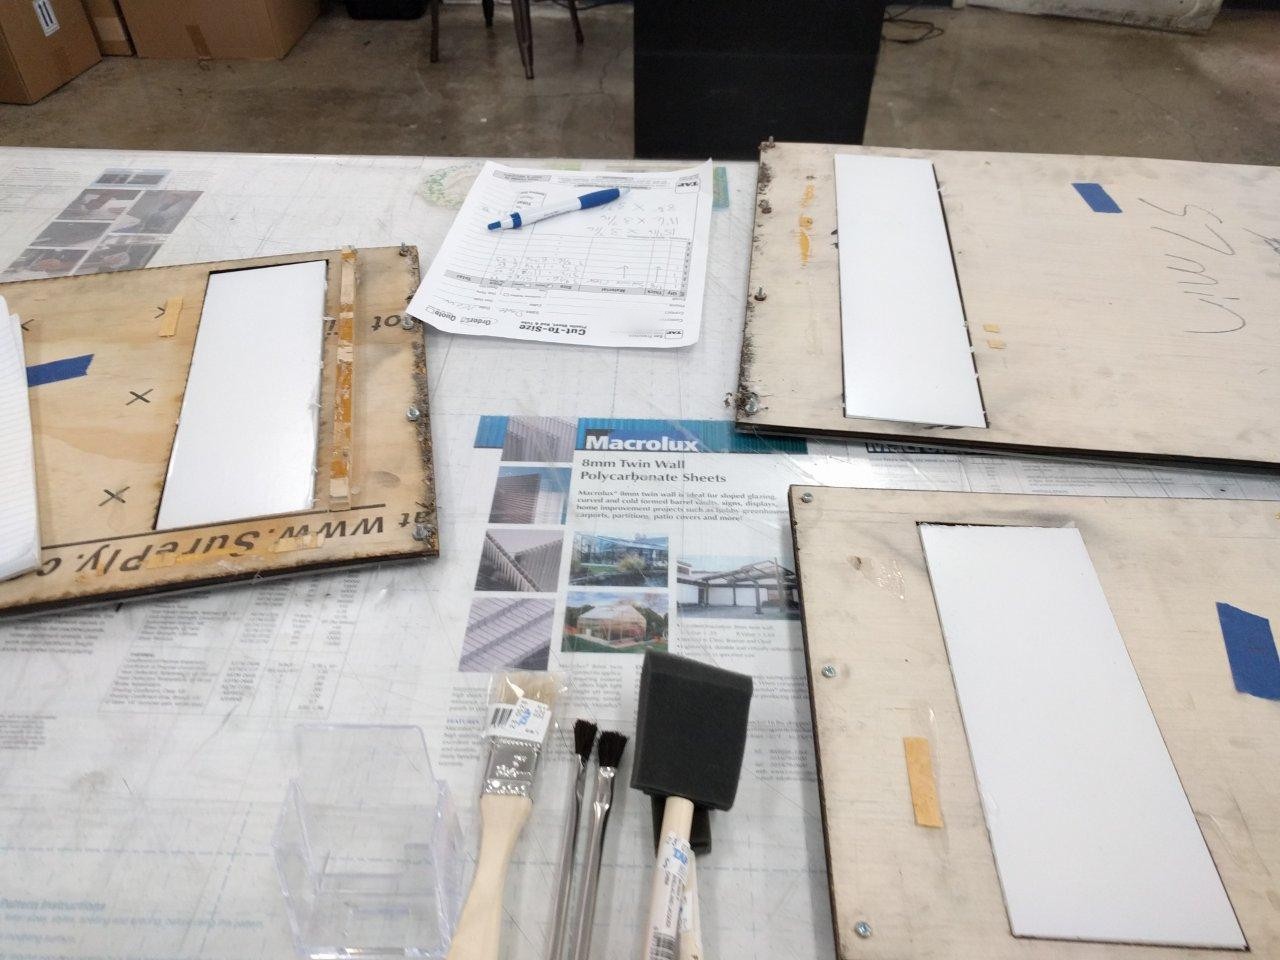
People at the store were super nice and cut the pieces to size at no extra charge :) They don't have a laser cutter, either! It's all done by hand with table saws.
I 3D printed spacer/holders to keep the new acrylic pieces firmly in place

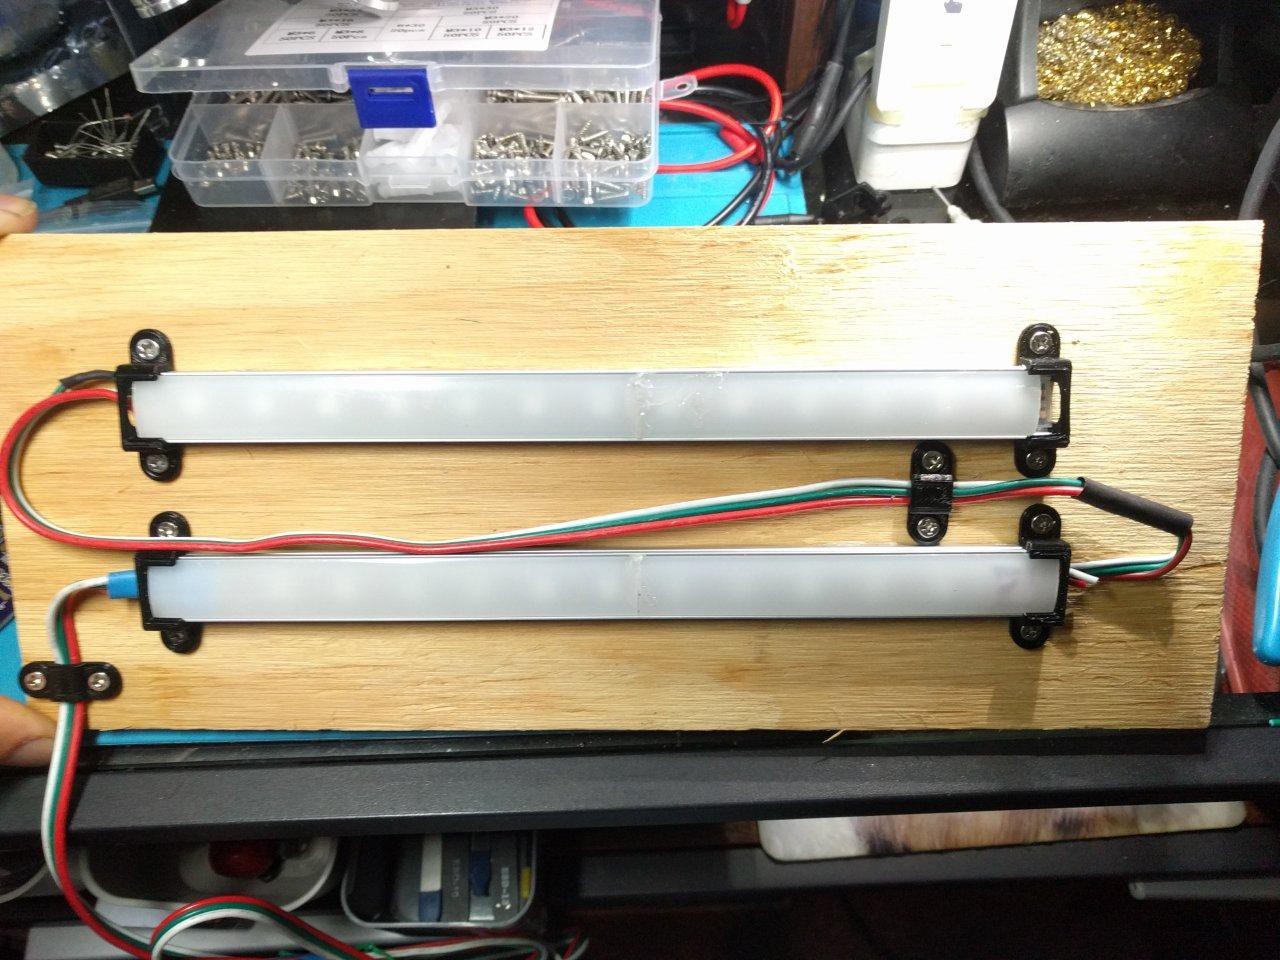
--Replacing LED Panel Wood Mounts--
I also replaced all the wood on the panels since the originals were a total mess on janky hand cut sharp aluminum sheets. I knew I would need 3D printed parts to properly hold the LEDs in place, and that the aluminum would also be a real pain to drill into. So good ol lumber to the rescue :)
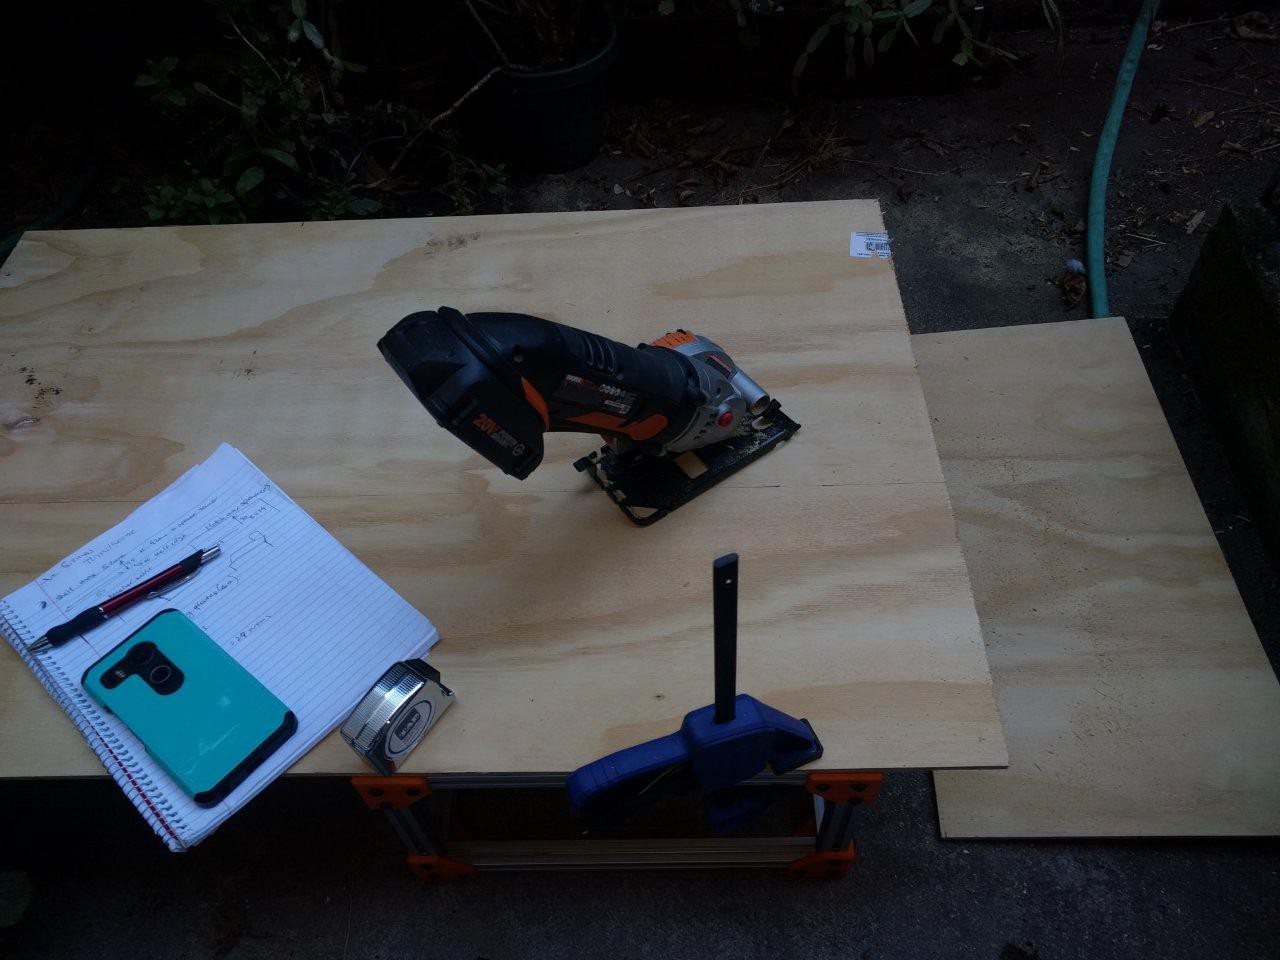
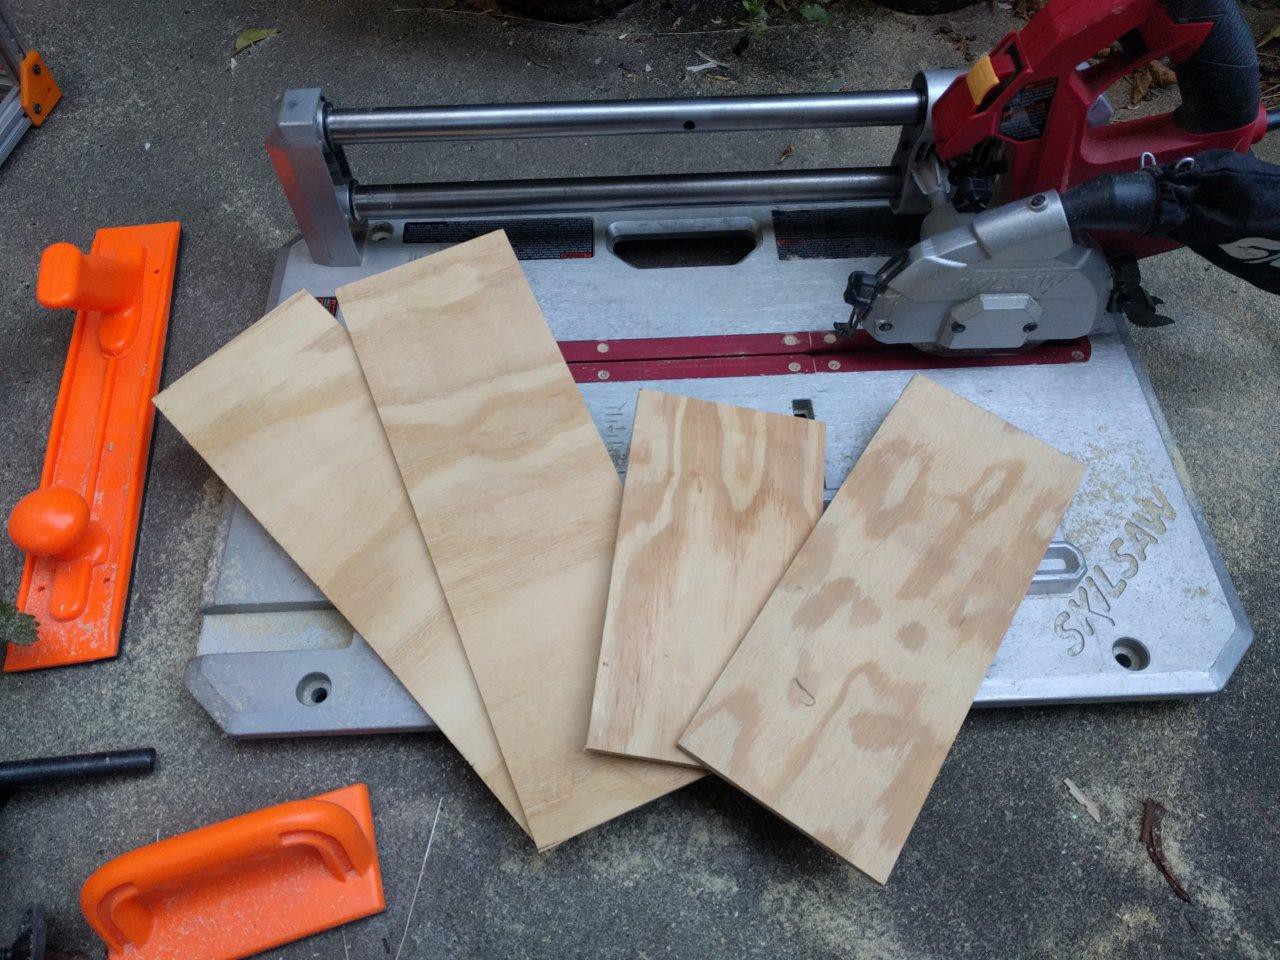
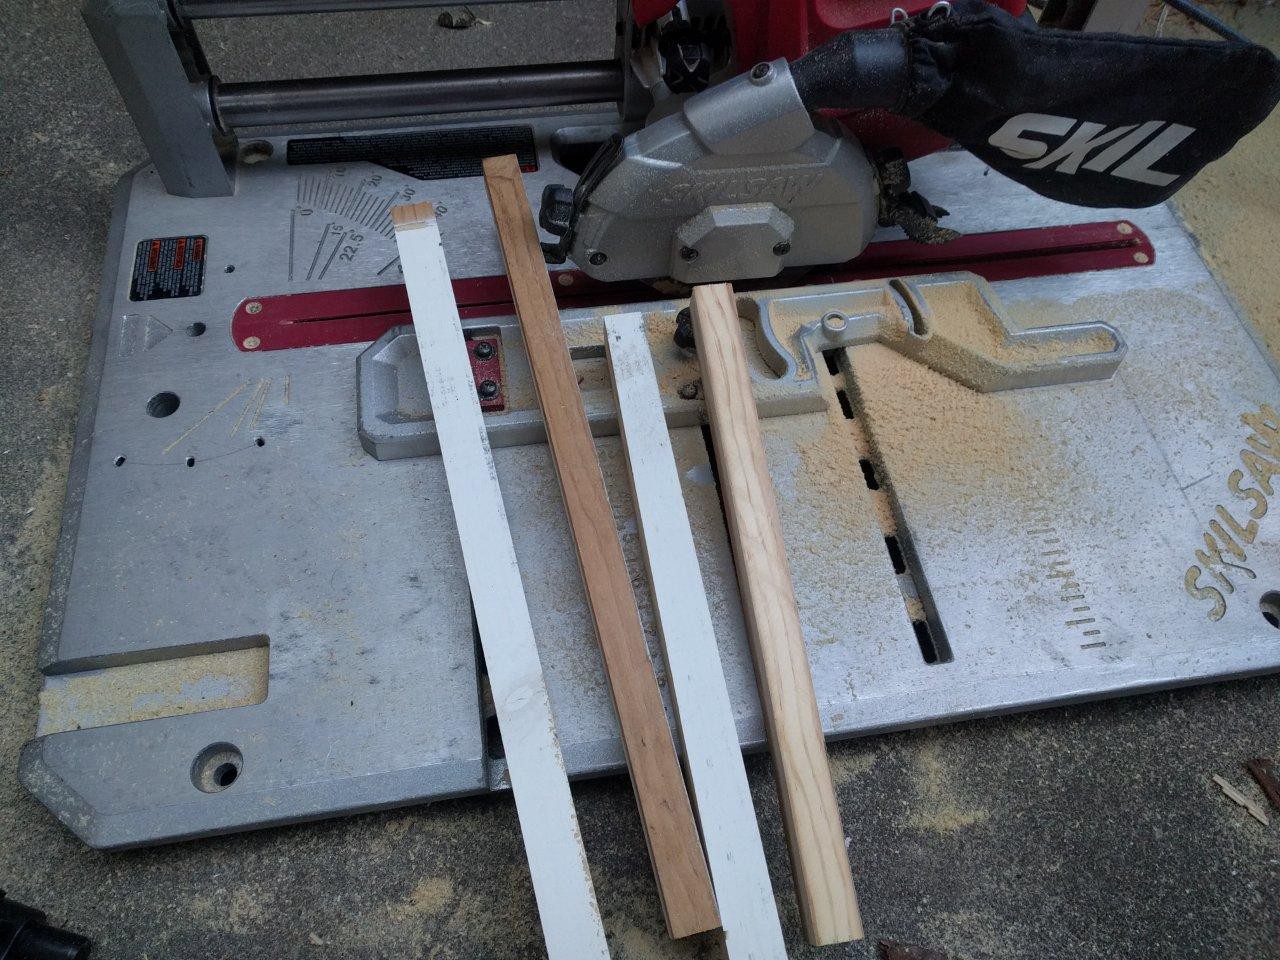
I hand cut all the wood with this awesome Skil flooring saw I have. It's terrifically safe since the blade is not exposed like a standard miter or table saw. However, some of the longer rip cuts needed a portable saw, so I used my Worx one for that, going very s l o w l y (it was also clamped to a metal frame for safety and support).
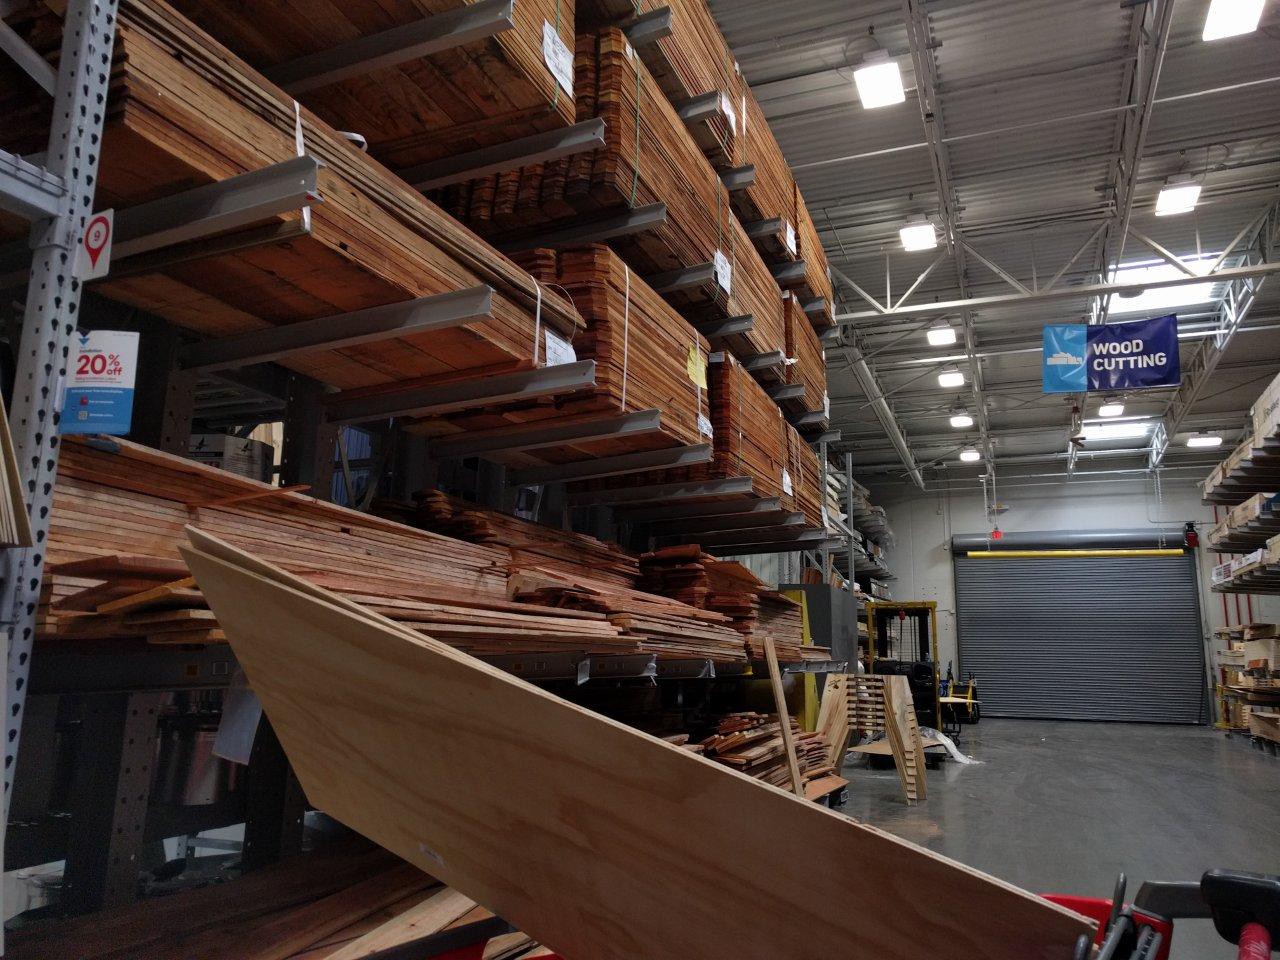
I opted for this cheapo plywood stuff from Home Despot. It's meh quality, and in hindsight I should have gotten something a bit better. I found out that it can warp with moisture, but this might be hard to avoid with any wood, given how thin it is. The panels have enough reinforcement though that I think it will be OK.
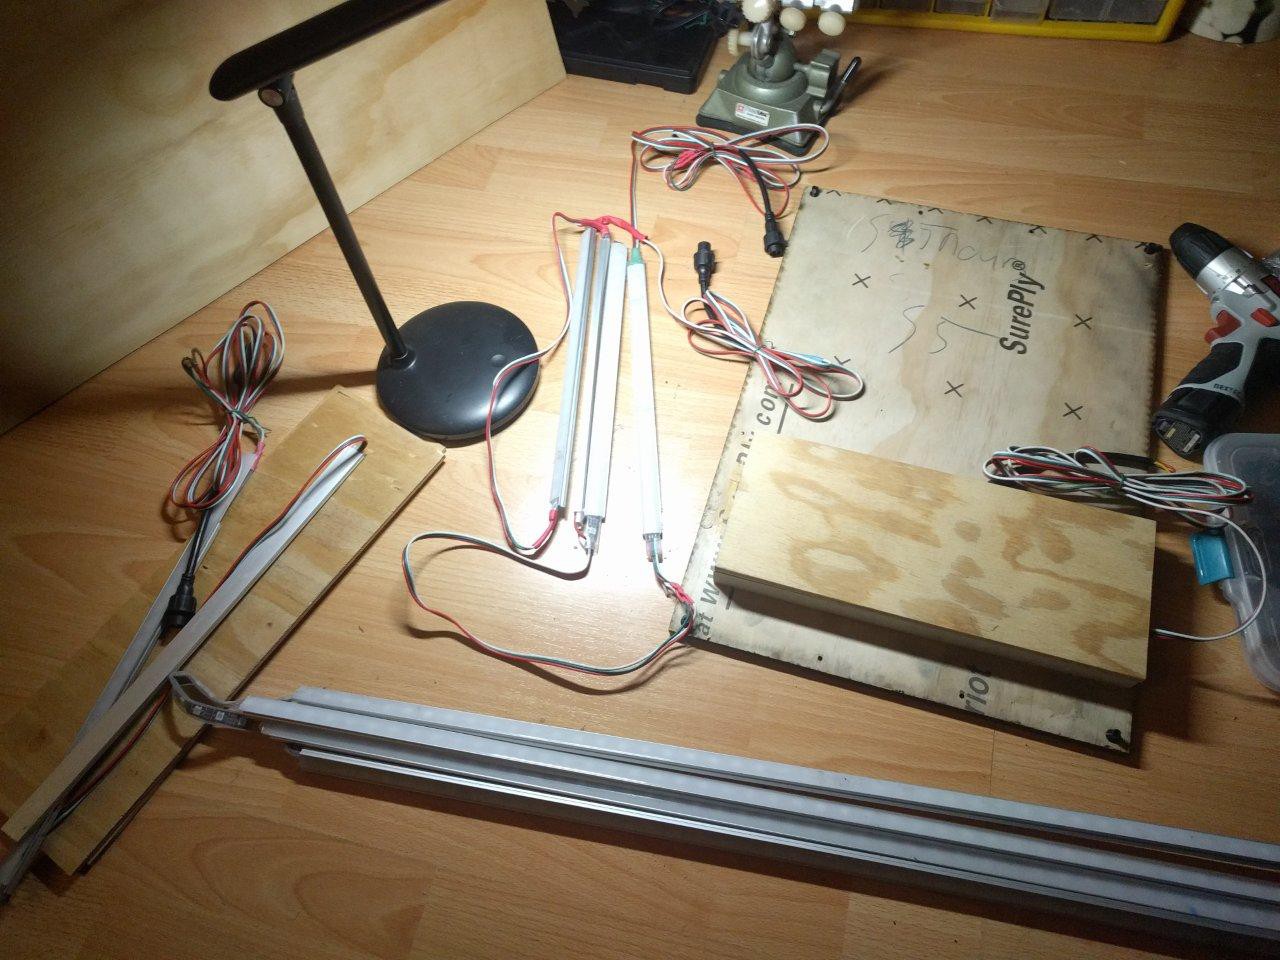
The original aluminum backing had the LED strips hot glued on (!) No wonder they were falling off...with dodgy wire repairs and cables everywhere. At least I organized the cables before transport (and this pic):

All this was replaced with a proper cut-to-size and elevated (for better diffusion) wood backing and 3D printed LED bracket holders. I also used the 3D printed wire clamps I designed to provide much needed strain relief. Then I cut wood spacers using nice scrapwood from a shelf I took out of my closet (dont tell my landlord! :P).
It was the perfect size. Plus, I love to recycle when possible. I reinforced the spacers and did a first pass with wood glue, before tapping and drilling it all together with proper hardware. Note the absence of hot glue! :P


Discussions
Become a Hackaday.io Member
Create an account to leave a comment. Already have an account? Log In.