 Ruth Grace Wong
The programming cable
Following installation prep, the first thing I wanted to do was make sure that I could access the programming cable even after the sign was installed, so I could update the code without having to take everything apart. This was a struggle:
First, I tried to thread it through the wall. At the time, I had a USB micro to USB A cable, and the USB A cable was not big enough to fit through the hole in the wall.
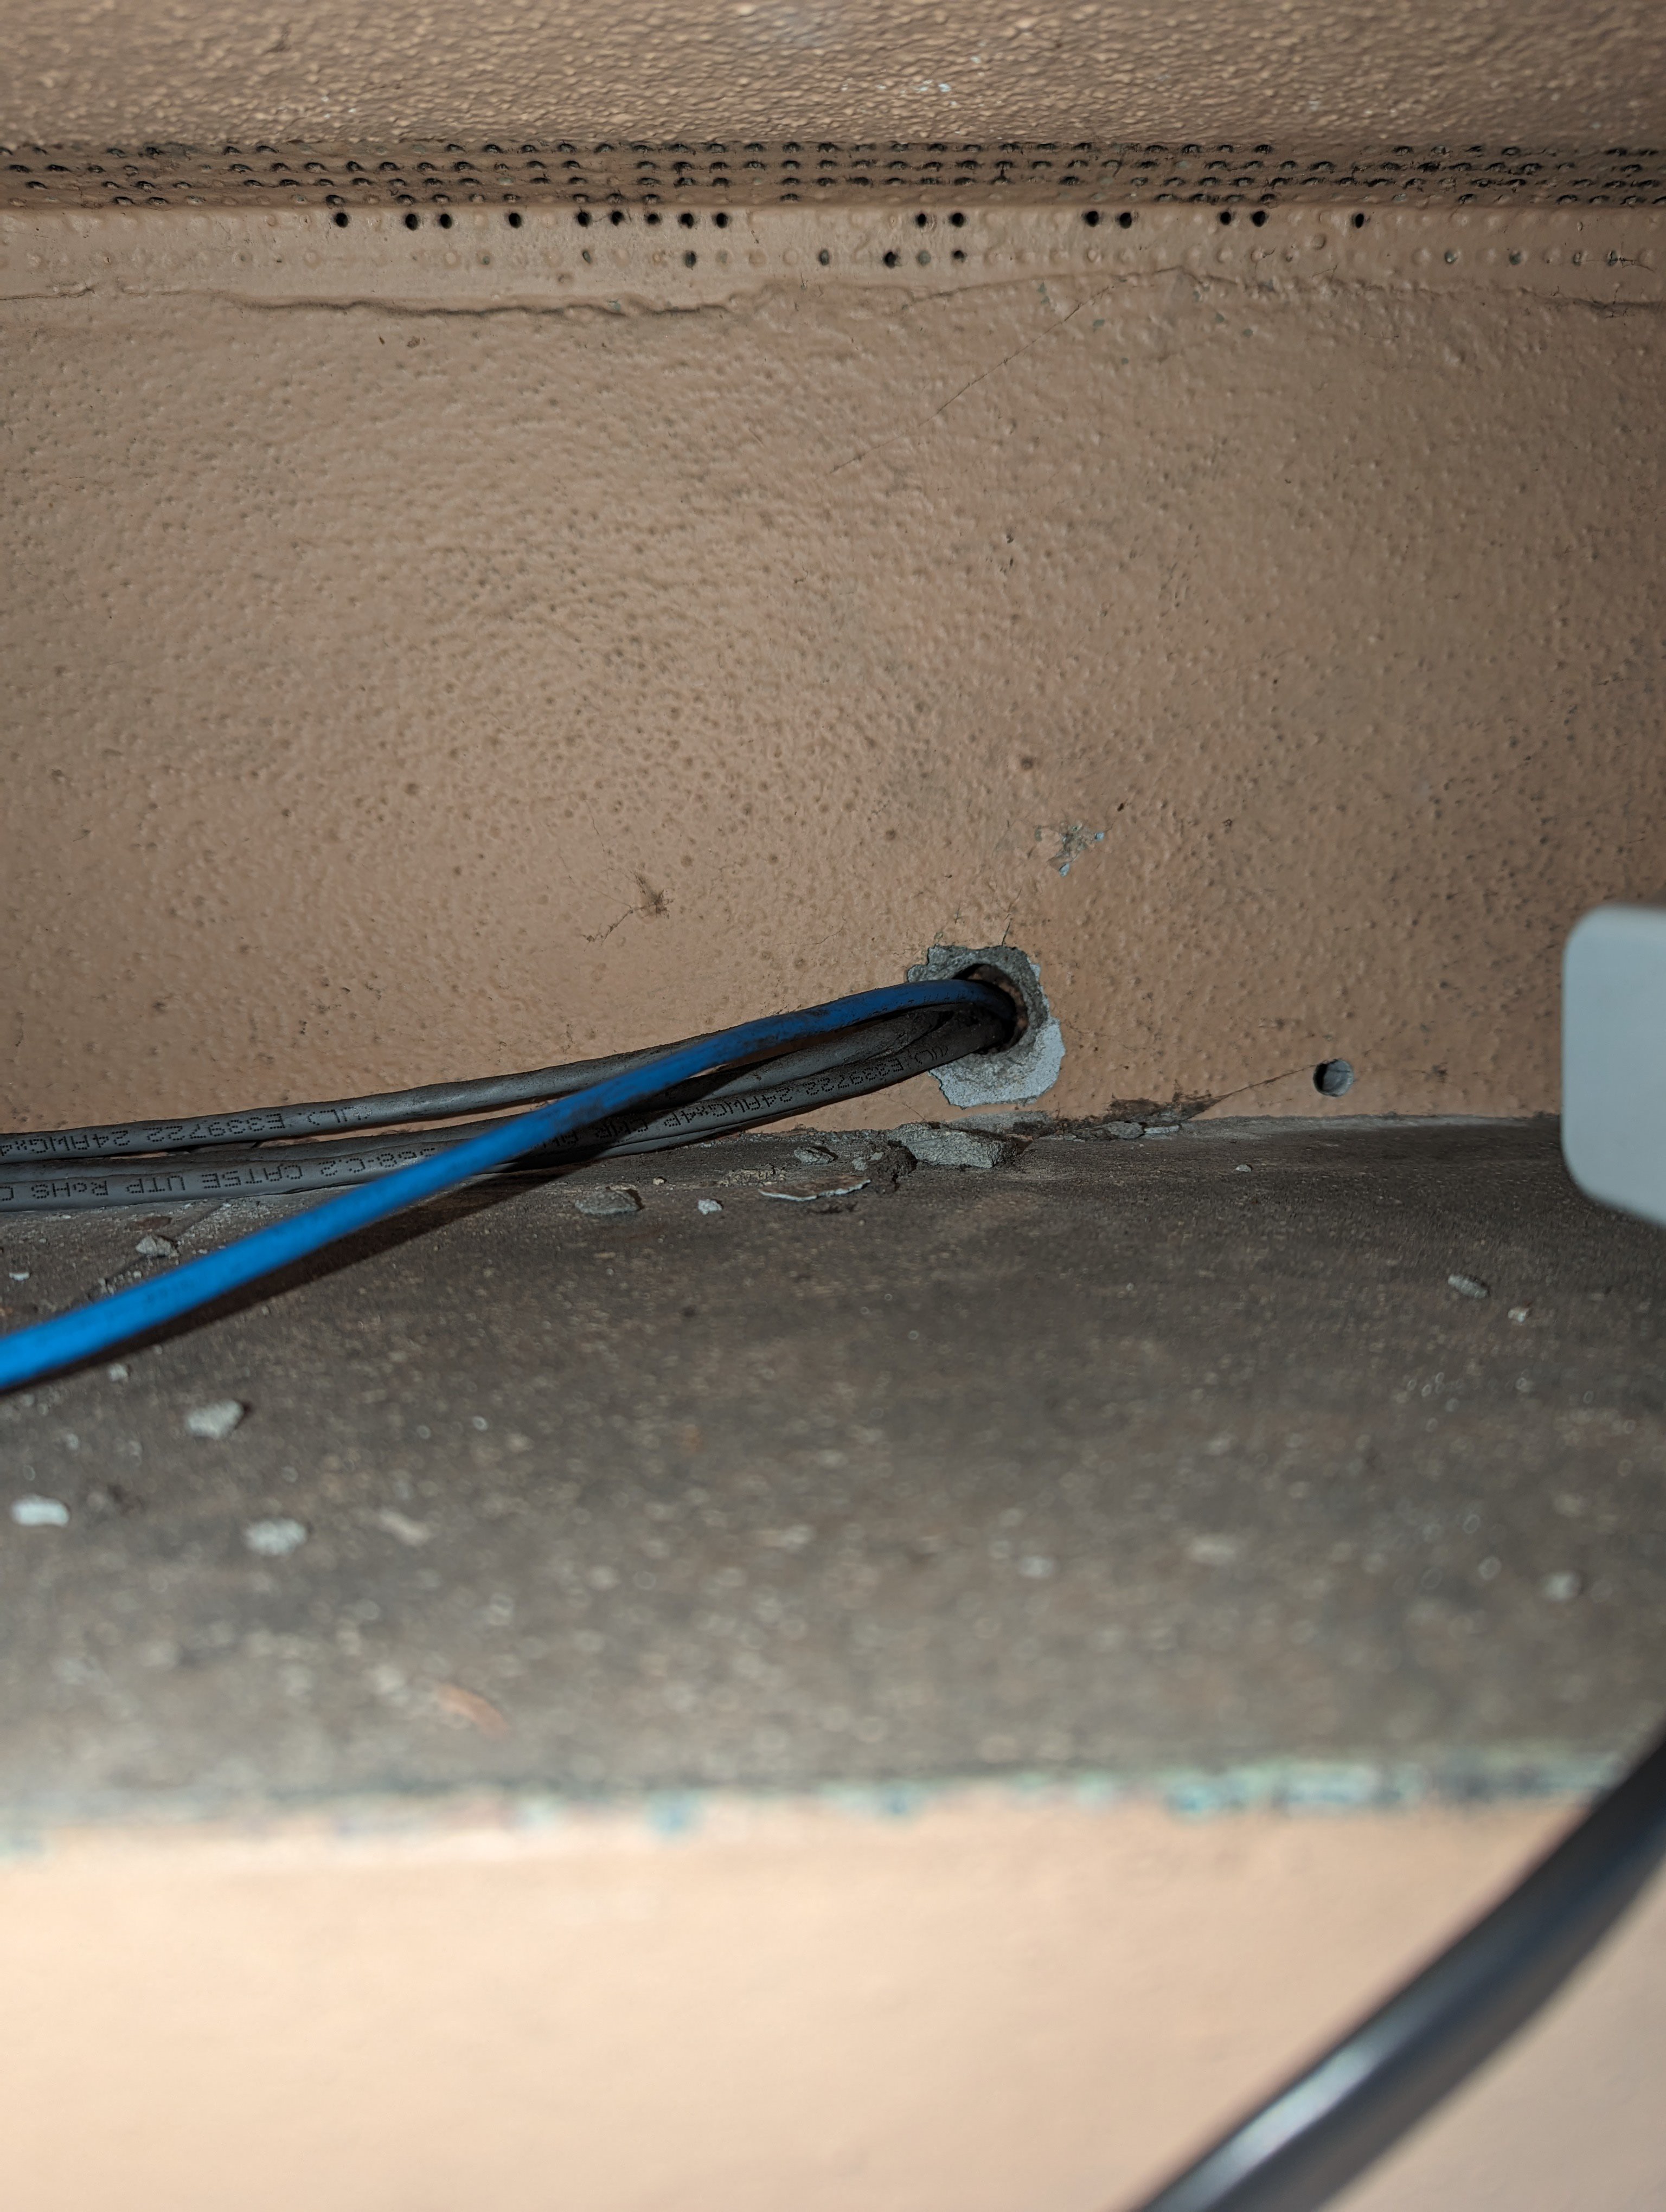
So i got a USB micro to USB C cable, which i was able to get into this side of the wall

only to find that I couldn't get it through the other side of the wall. I made the hole in the wall a little bigger (fortunately this was easy since it was just drywall) only to find that INSIDE the wall there was a piece of wood with a small hole that all the wires came through, and I could not reach inside to make THAT hole bigger. (the hole with the wires coming out is above the light)

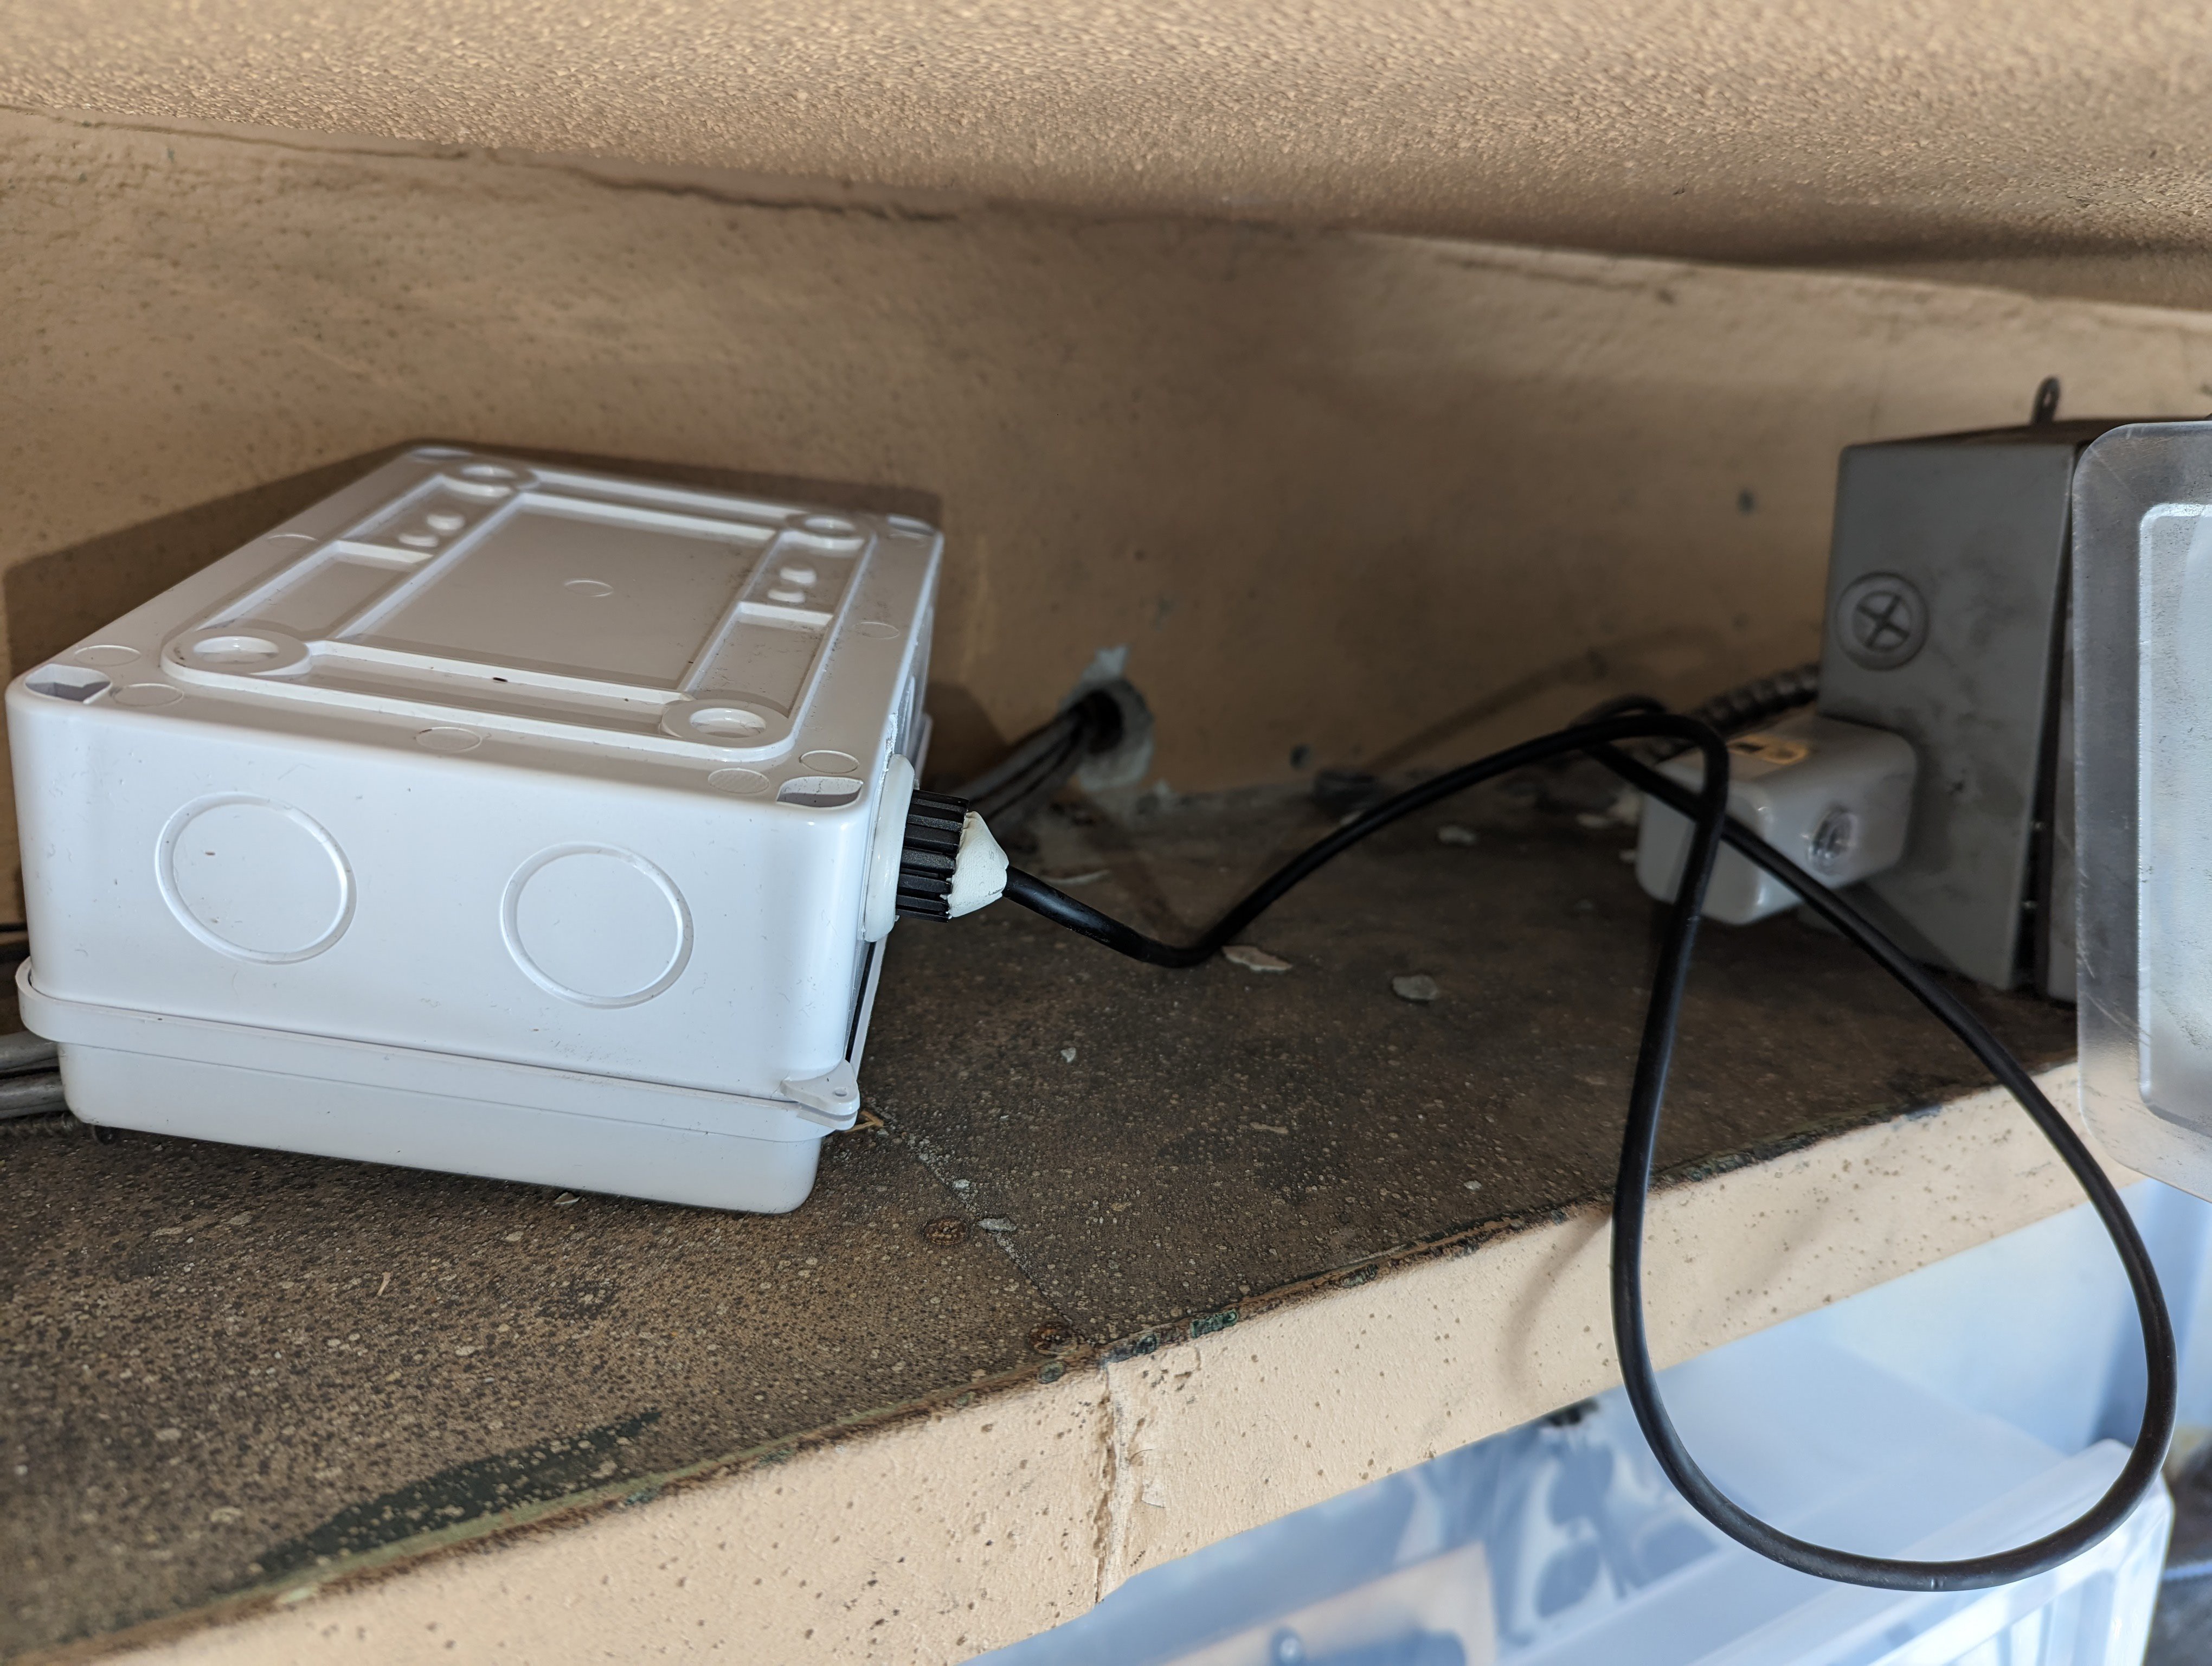
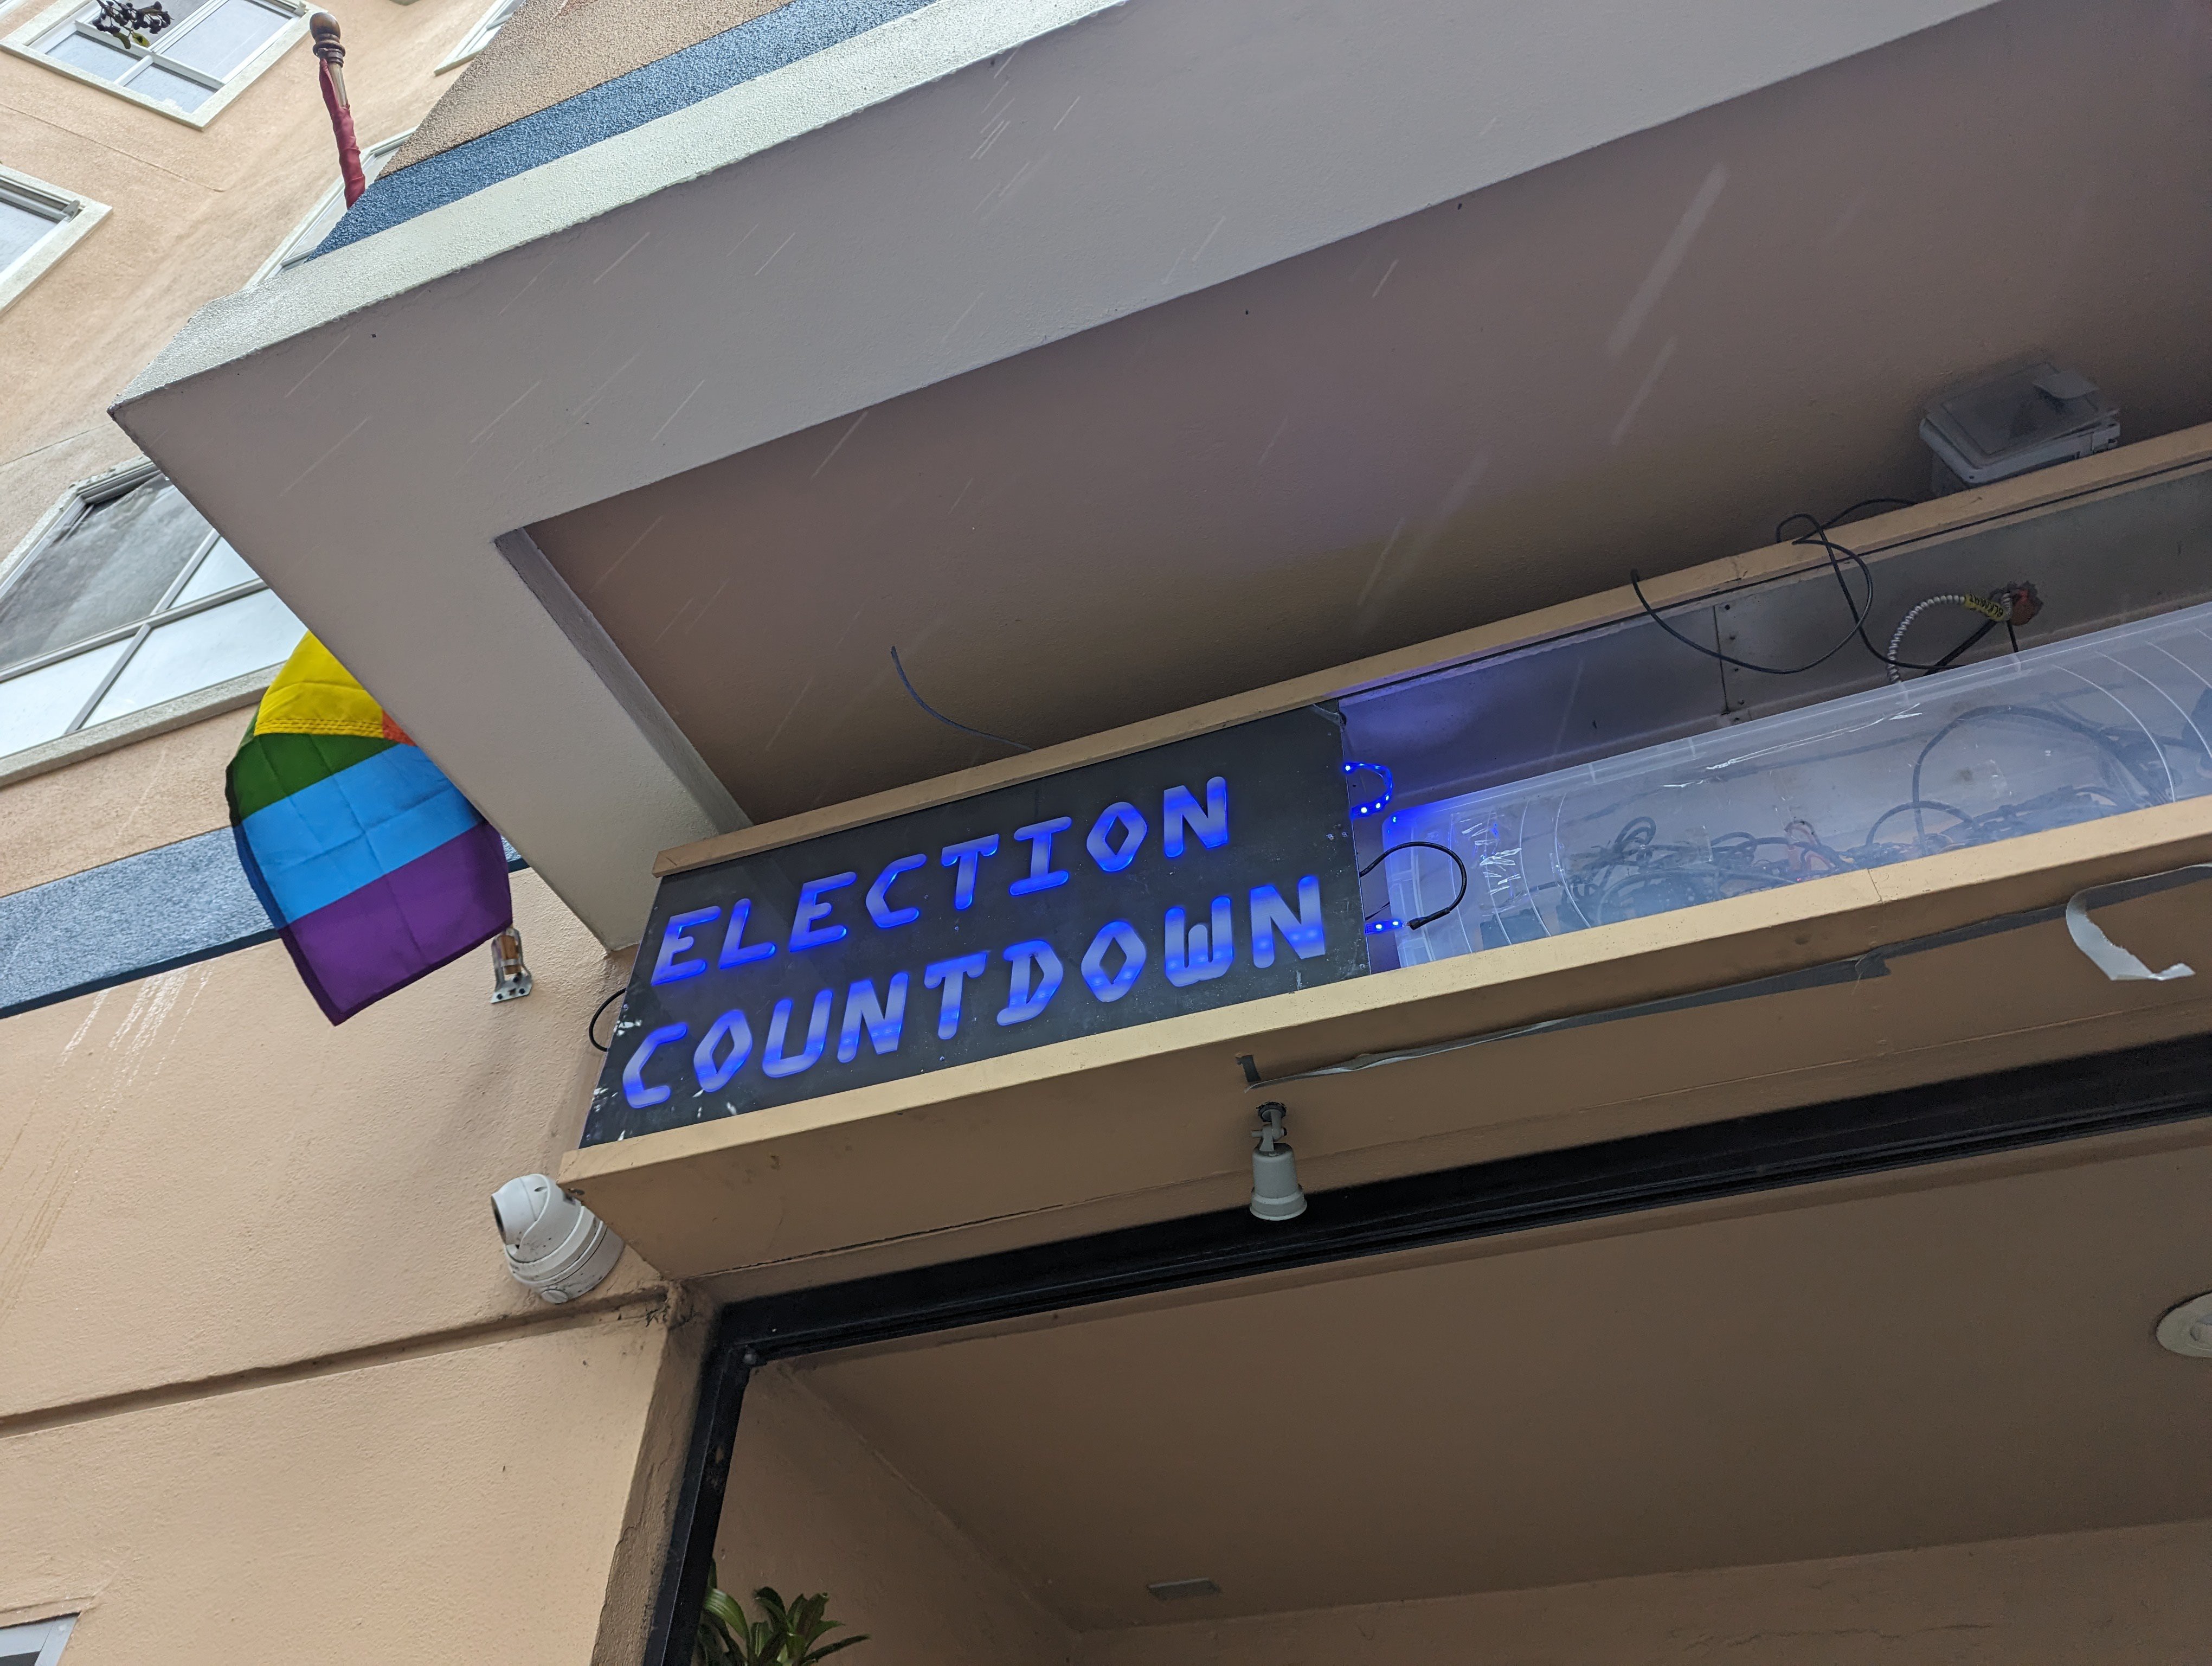
So I gave up and used a waterproof housing to put the cable in that sits on top of the bracket for the sign. I used Sugru to seal the part where the wire comes out of the bracket, and where the wire comes out of the waterproof housing.
Worst fears confirmed - the panel doesn't fit D:
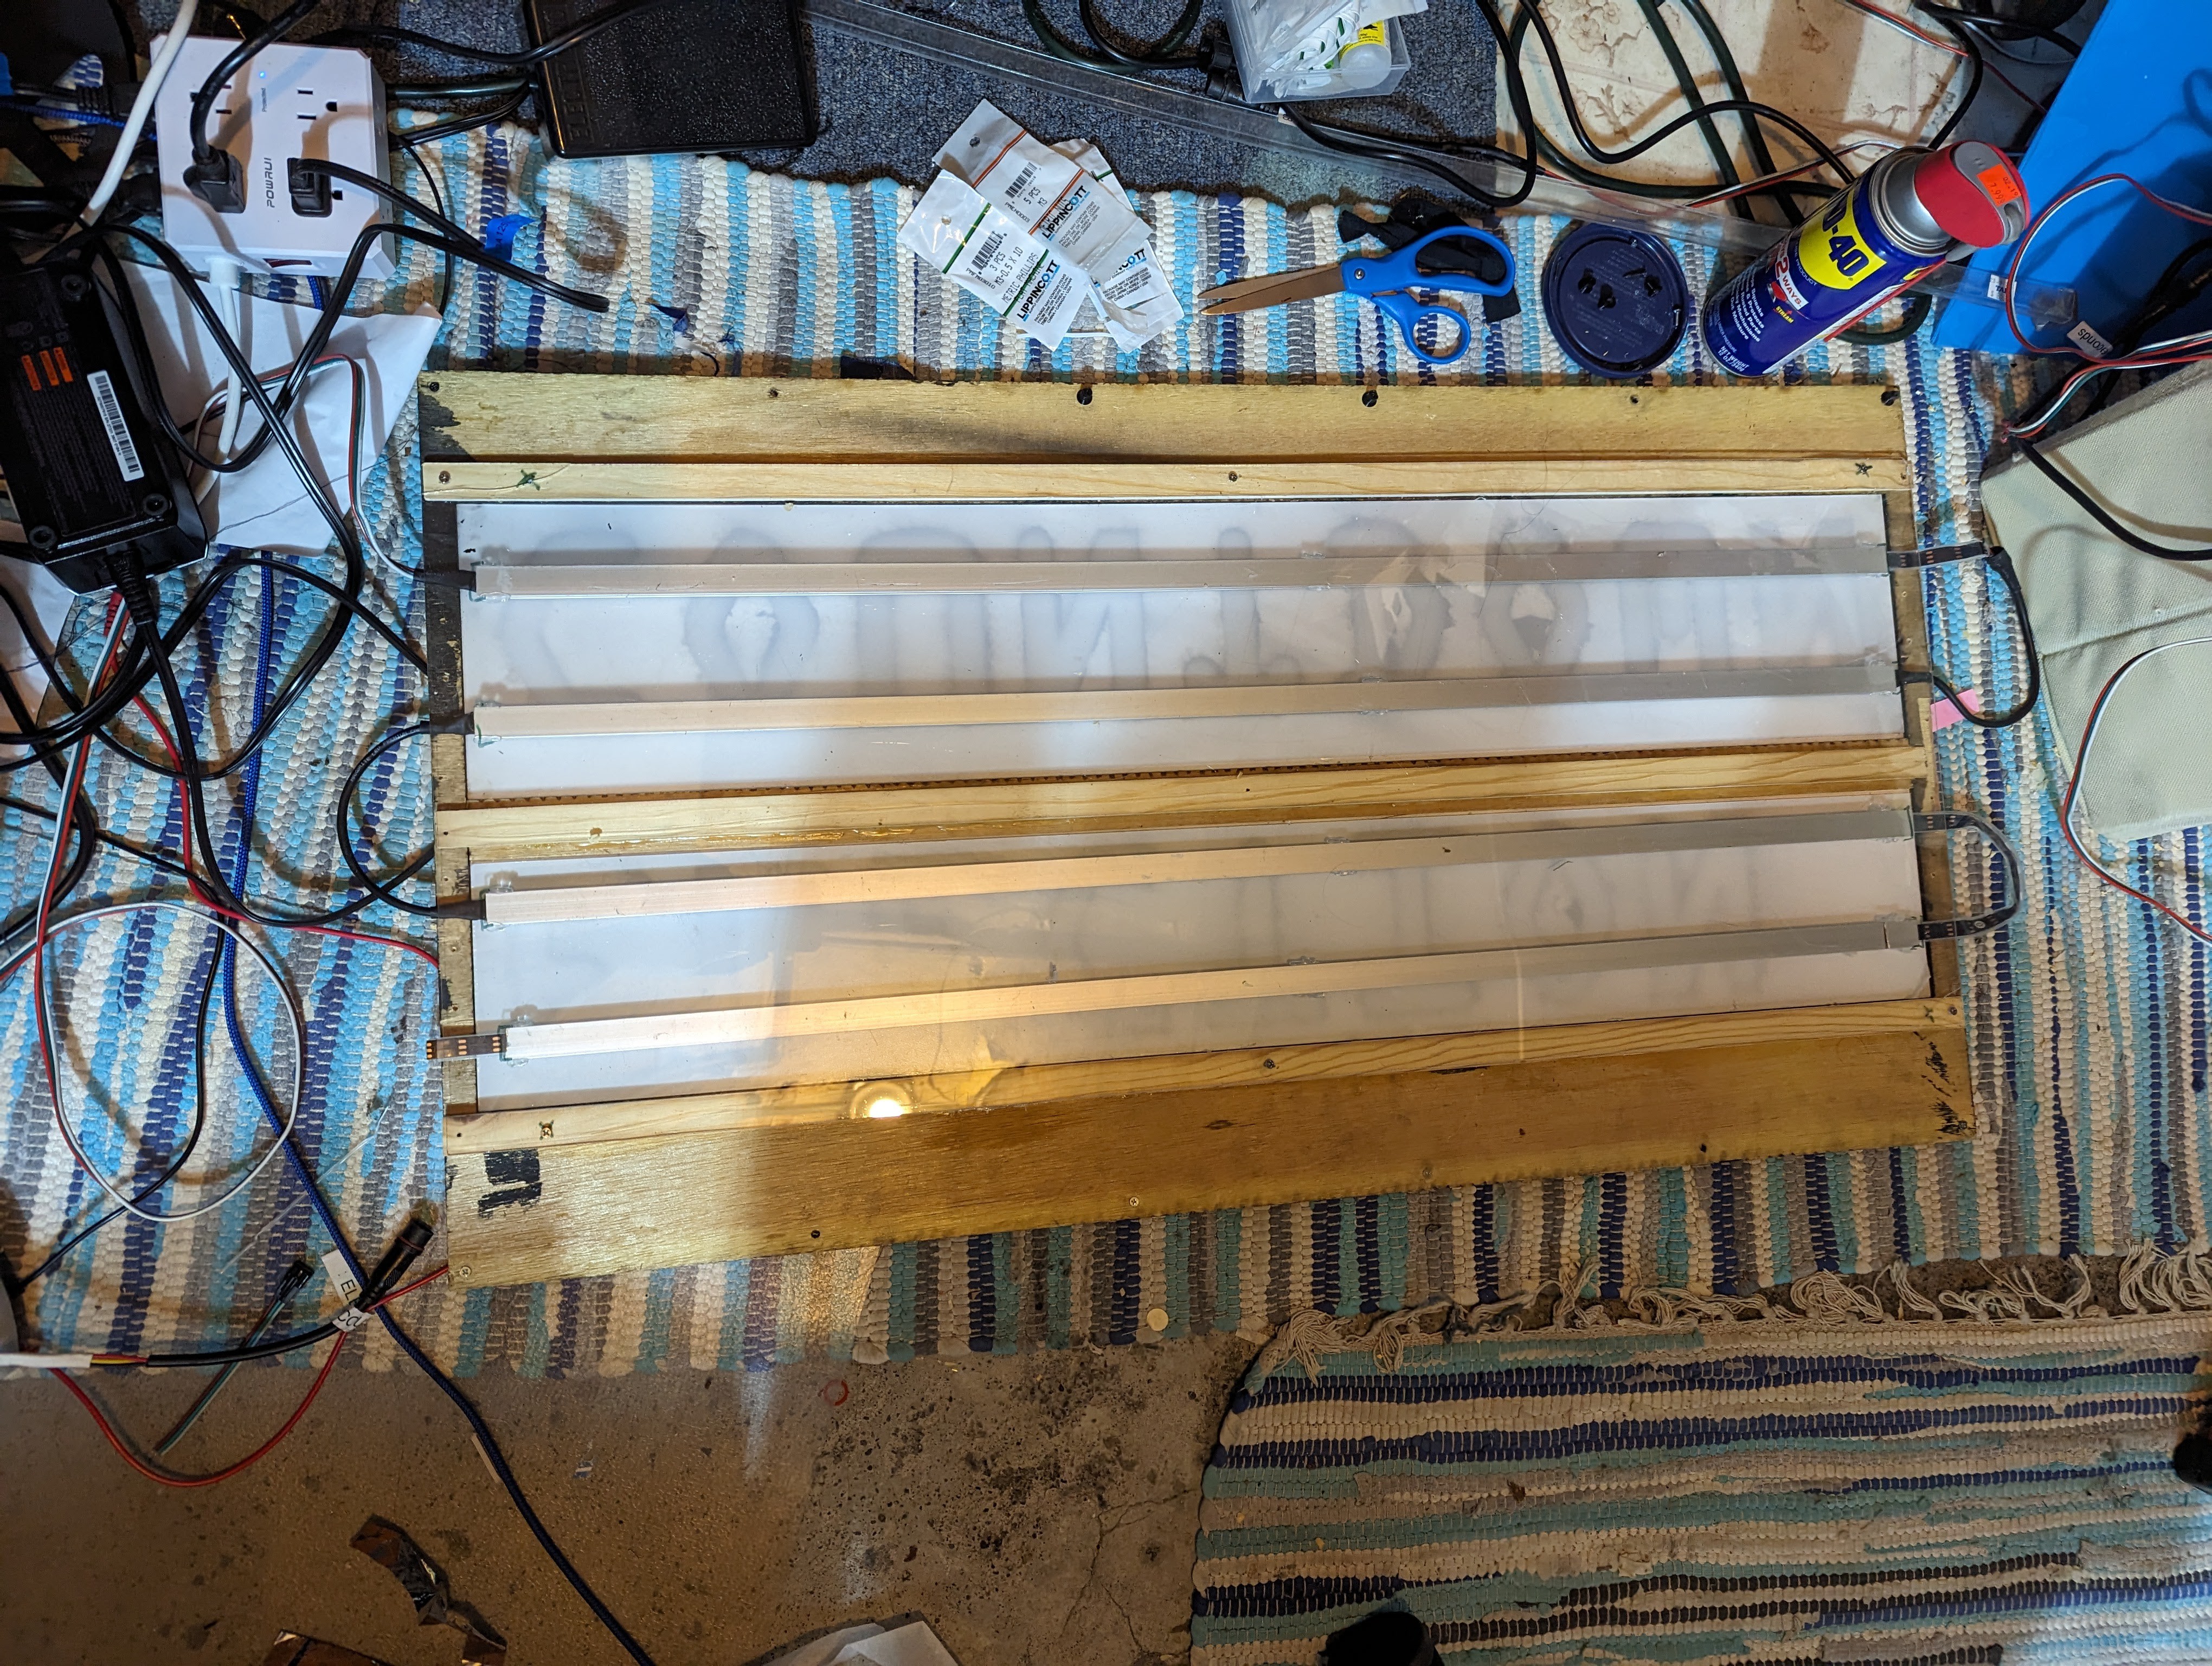
We had made the panel thicker to improve the LED diffusion, thinking that the panels were installed by being horizontally inserted into the bracket and then tilted up until they were vertical.
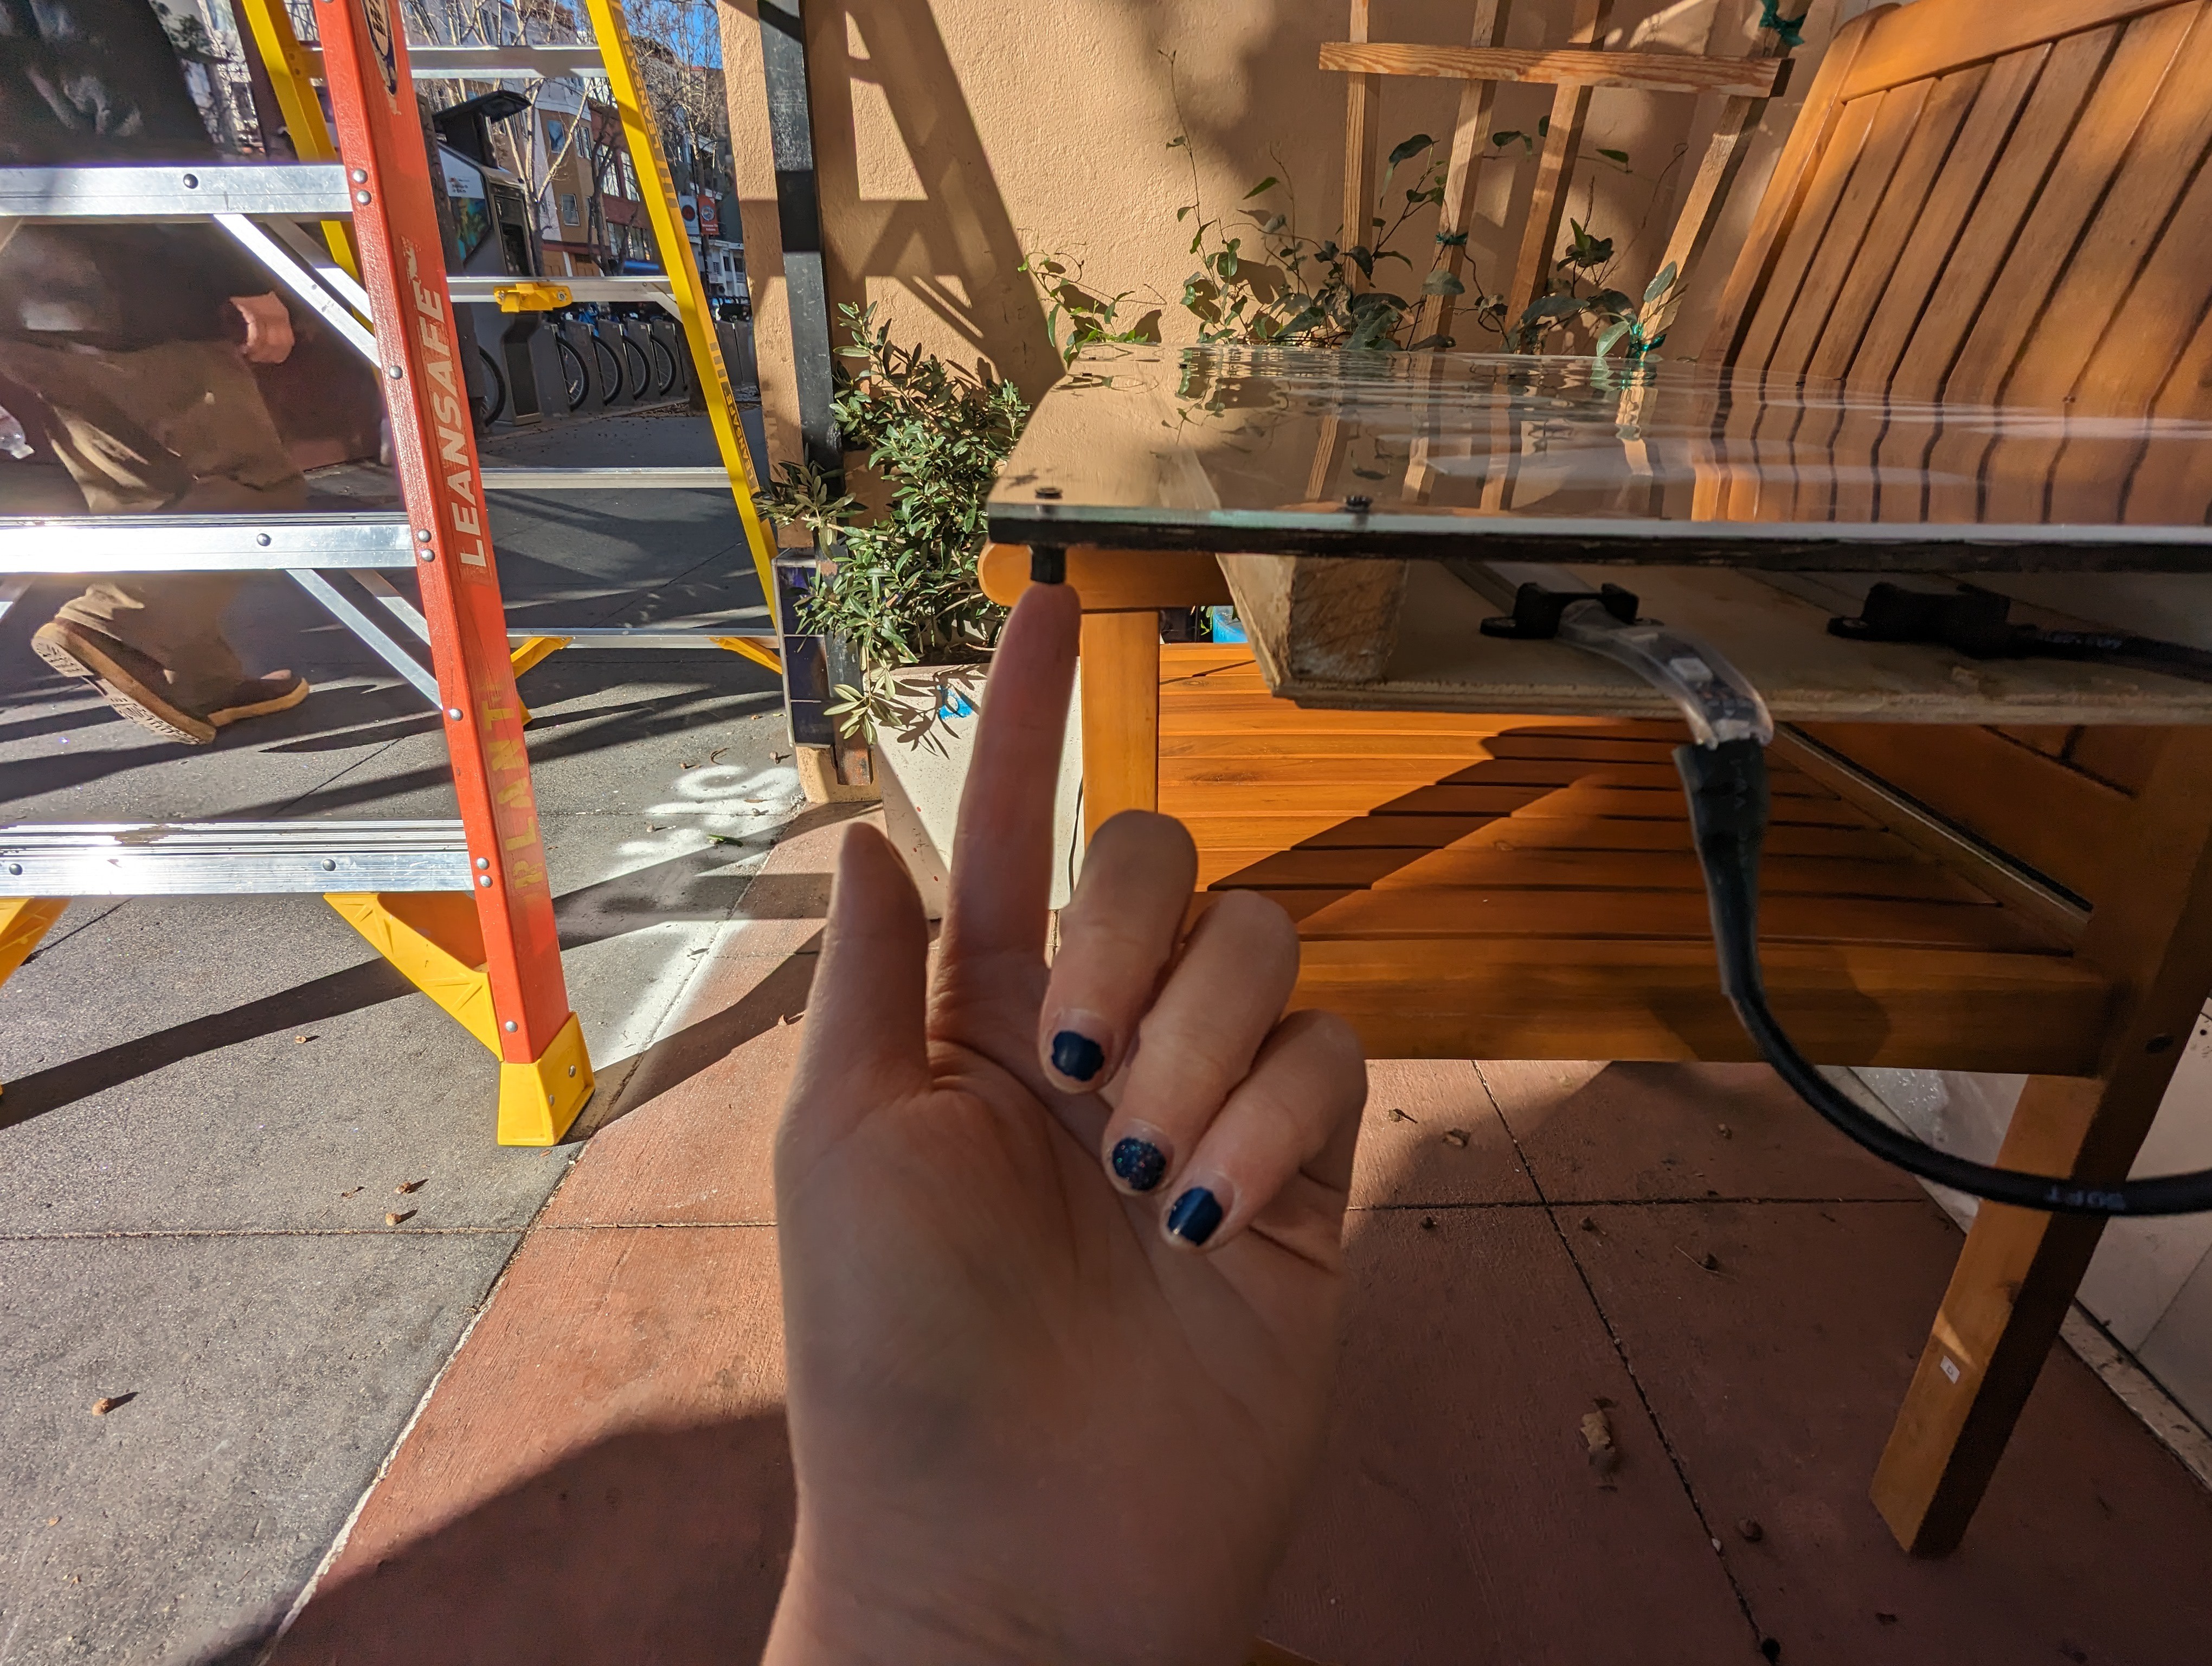
But the panels were actually installed in these channels on the bracket, and now they were too thick to be inserted in the side opening.
So for the time being, I installed the power board inside a tupperware, and put outdoor putty under the lid to make sure it stayed closed. Here's a video of it before I taped the bottom of the blackout cover down with duct tape.
Making the panels thinner
Luckily I was able to find a friend with his own woodshop including tan ELECTRIC hand planer to shave the wooden spacers on the panels down (thereby making the diffusion of the LEDs terrible, but -- done is better than perfect!)
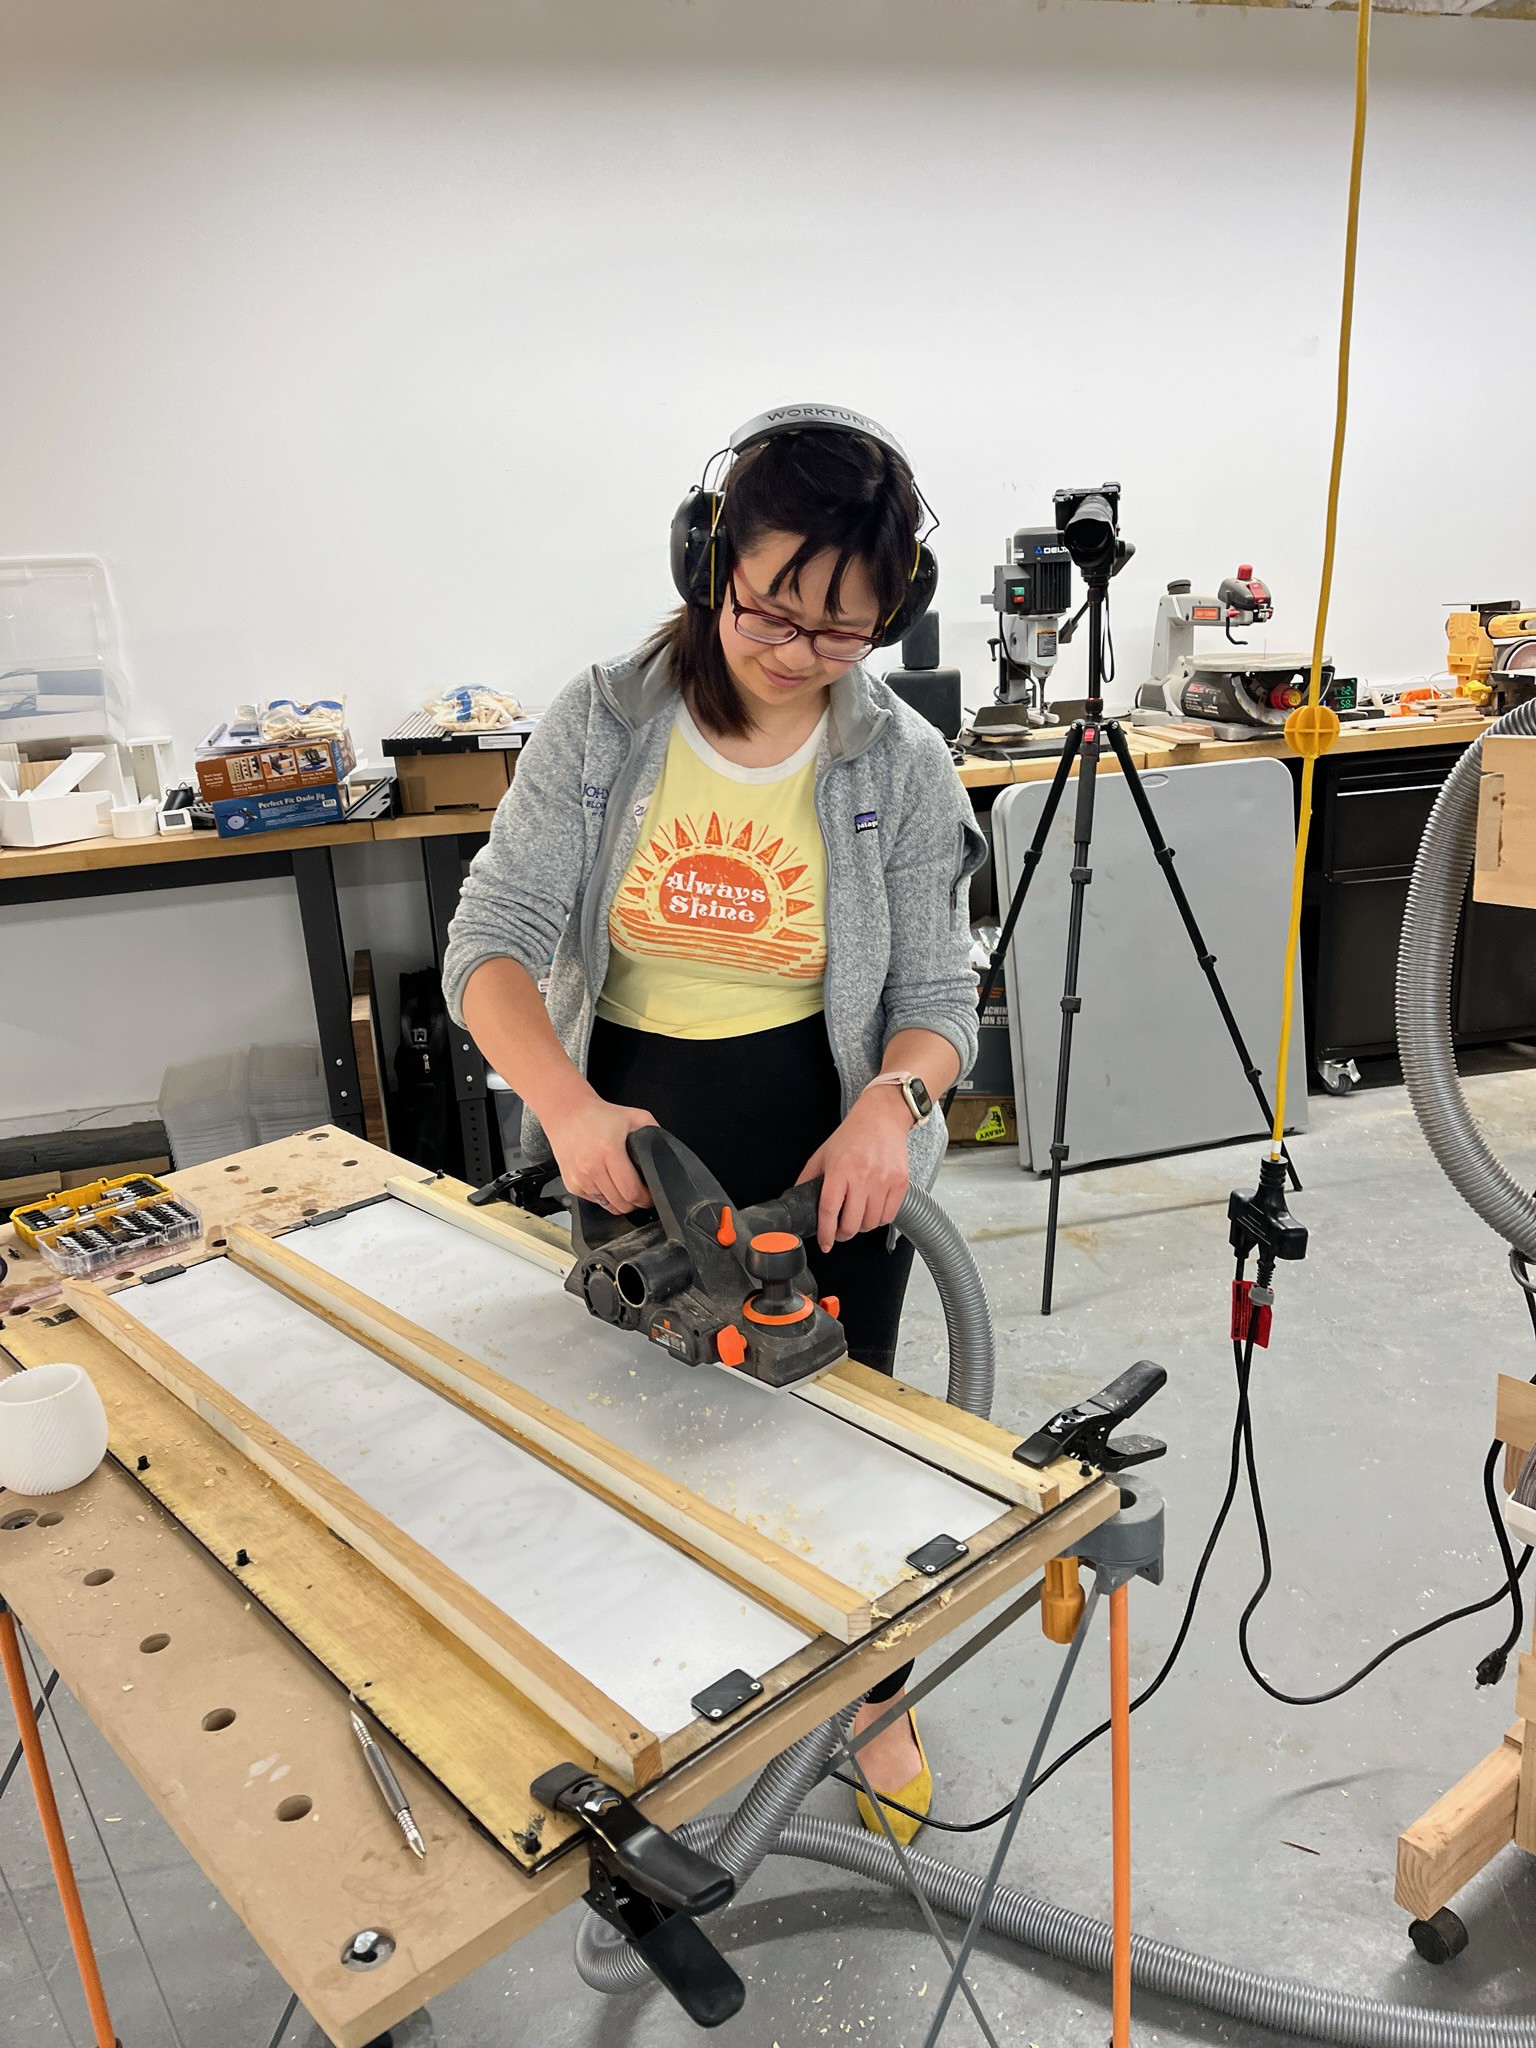
In addition to that, I had to replace the wood backing with thinner acrylic, and also reverse the direction of the bolts on the panels for them to fit.
 I did up one panel first and tested to make sure it fit, before following the same procedure with the rest of the panels
Discussions
Become a Hackaday.io Member
Create an account to leave a comment. Already have an account? Log In.