 Tom Farnell
Introduction:
Imagine a world where circuits can be formed using a gel that behaves like a liquid wire, effortlessly adapting to any shape or contour. That’s what we are going to attempt in this project. By mixing a saltwater solution with xanthan gum, a thickening agent, and leveraging low-trigger relays, this project showcases a very different way to control electronic devices. The conductive gel wire offers remarkable flexibility, enabling the creation of circuits that conform to unconventional designs.
Making and Testing:
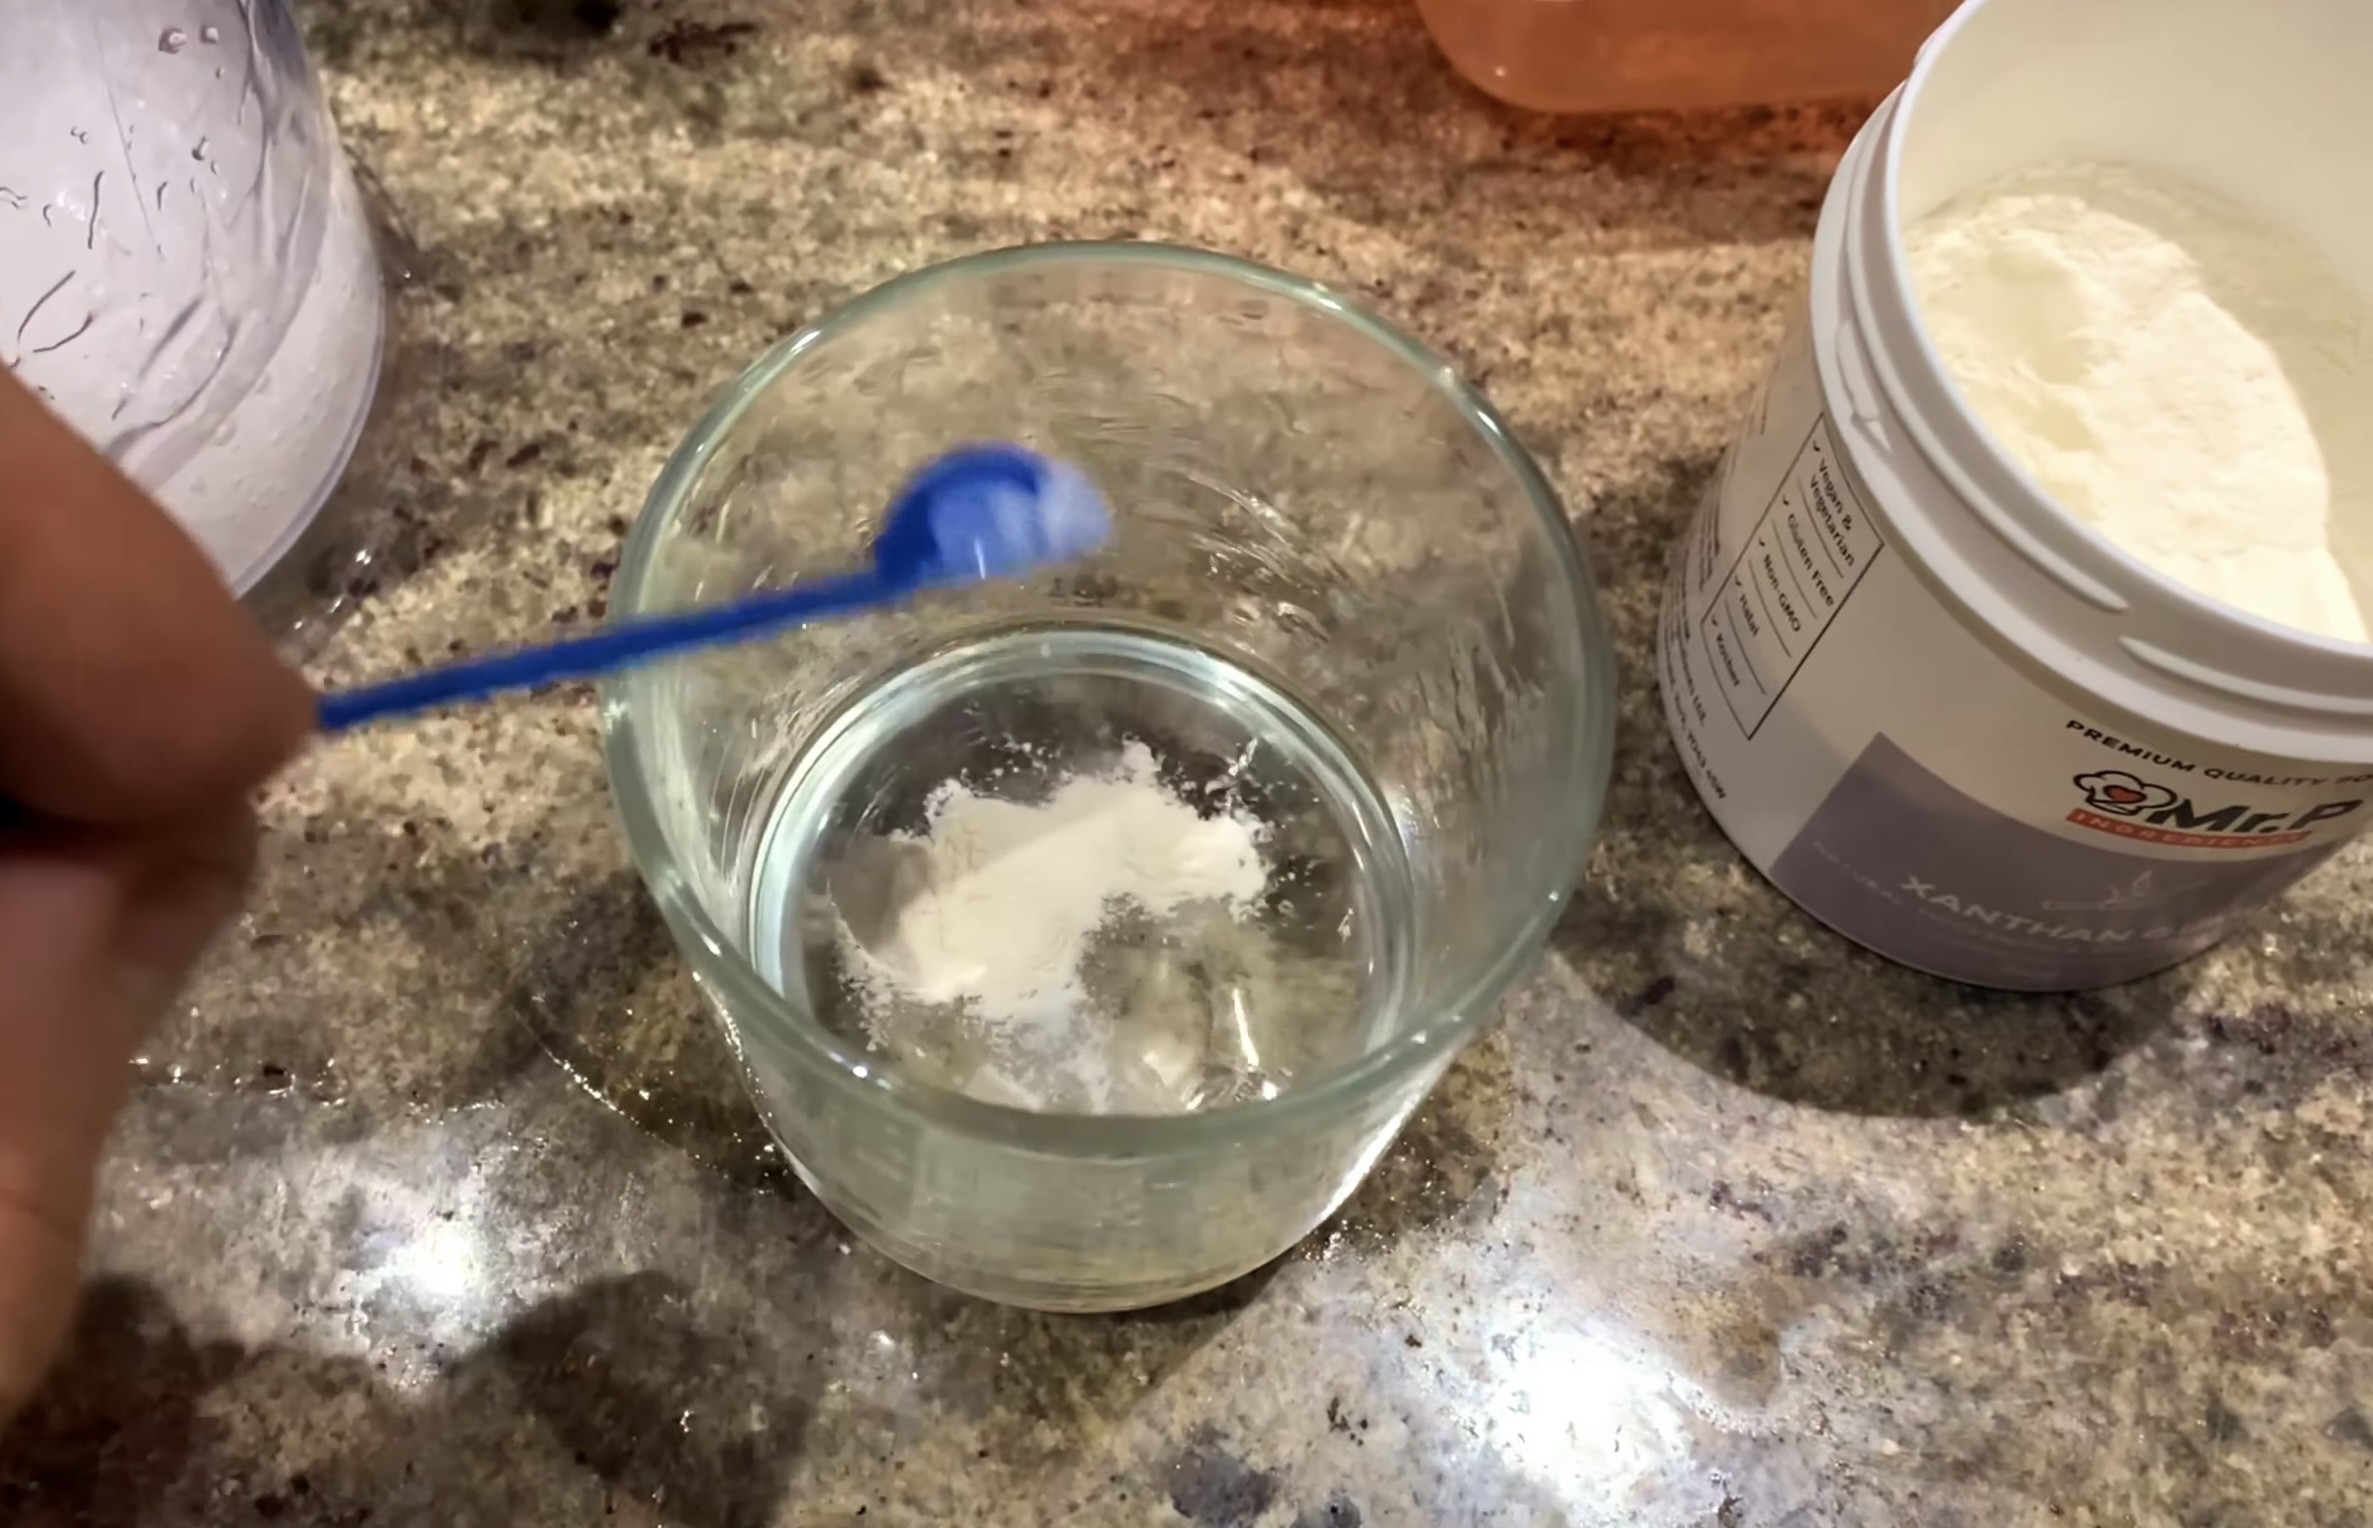
1. Create the Conductive Gel:
a. Dissolve salt in hot water to create a saturated salt solution.
b. Add xanthan gum powder and blend it into a thick gel.
c. Optional: Use a vacuum chamber to remove bubbles from the gel.
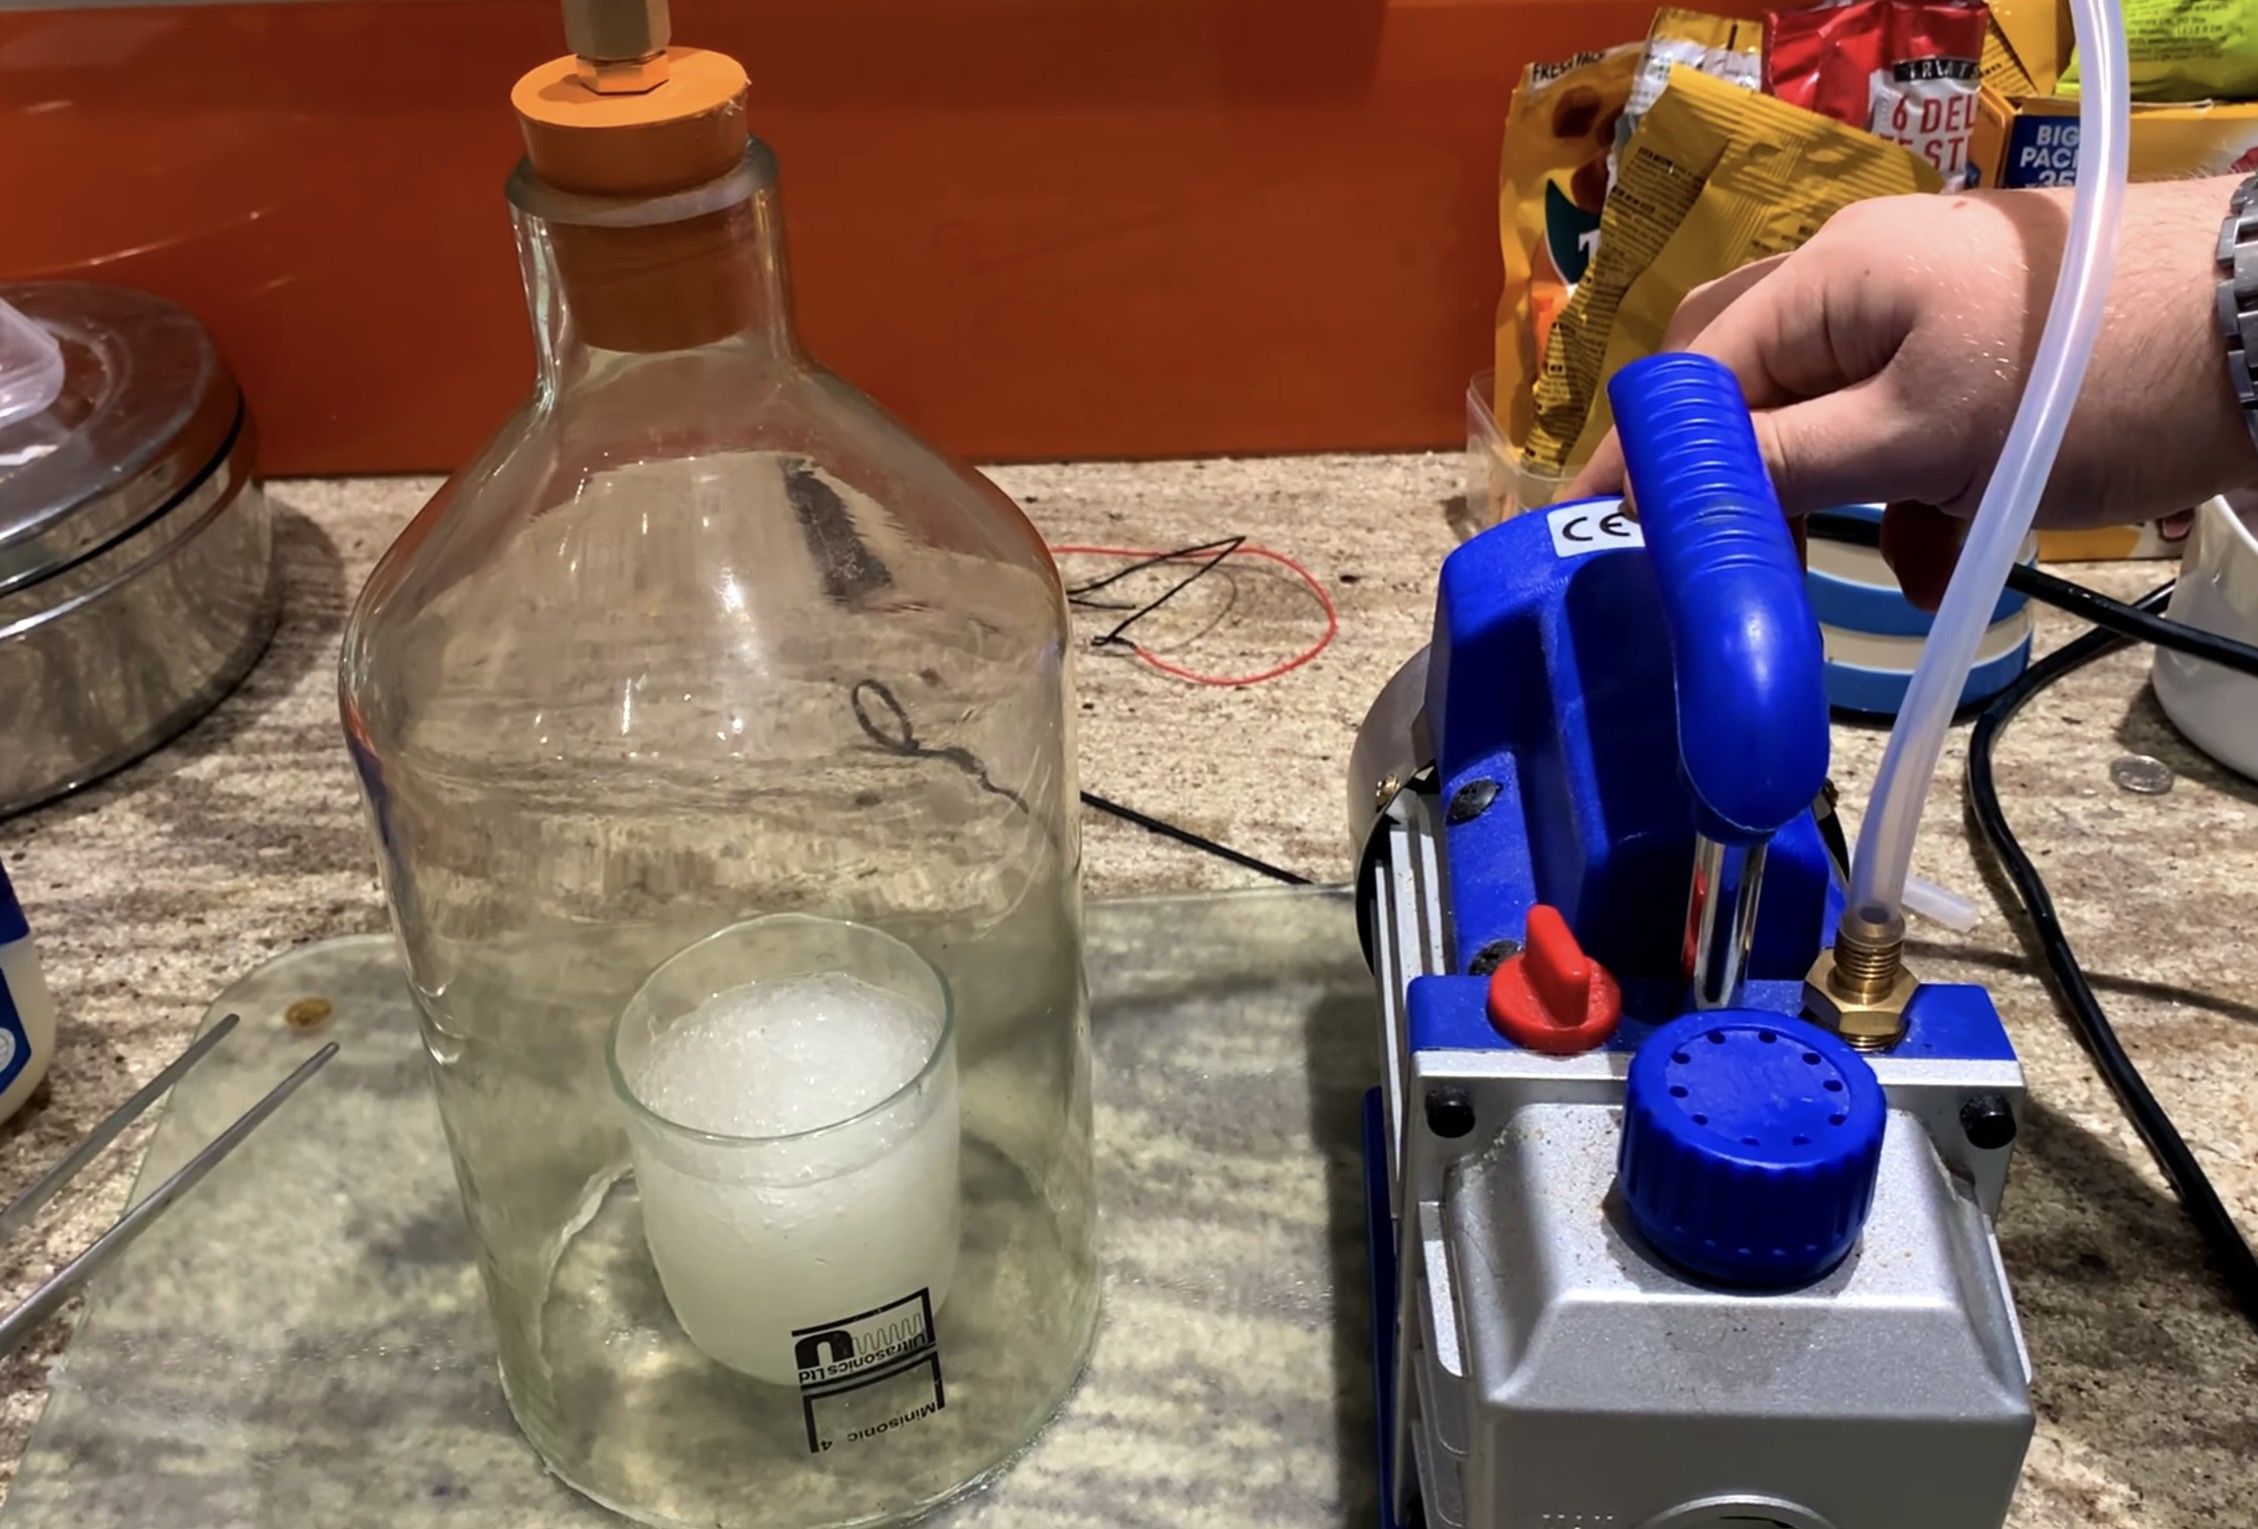
d. Allow the gel to settle overnight to release any remaining bubbles.
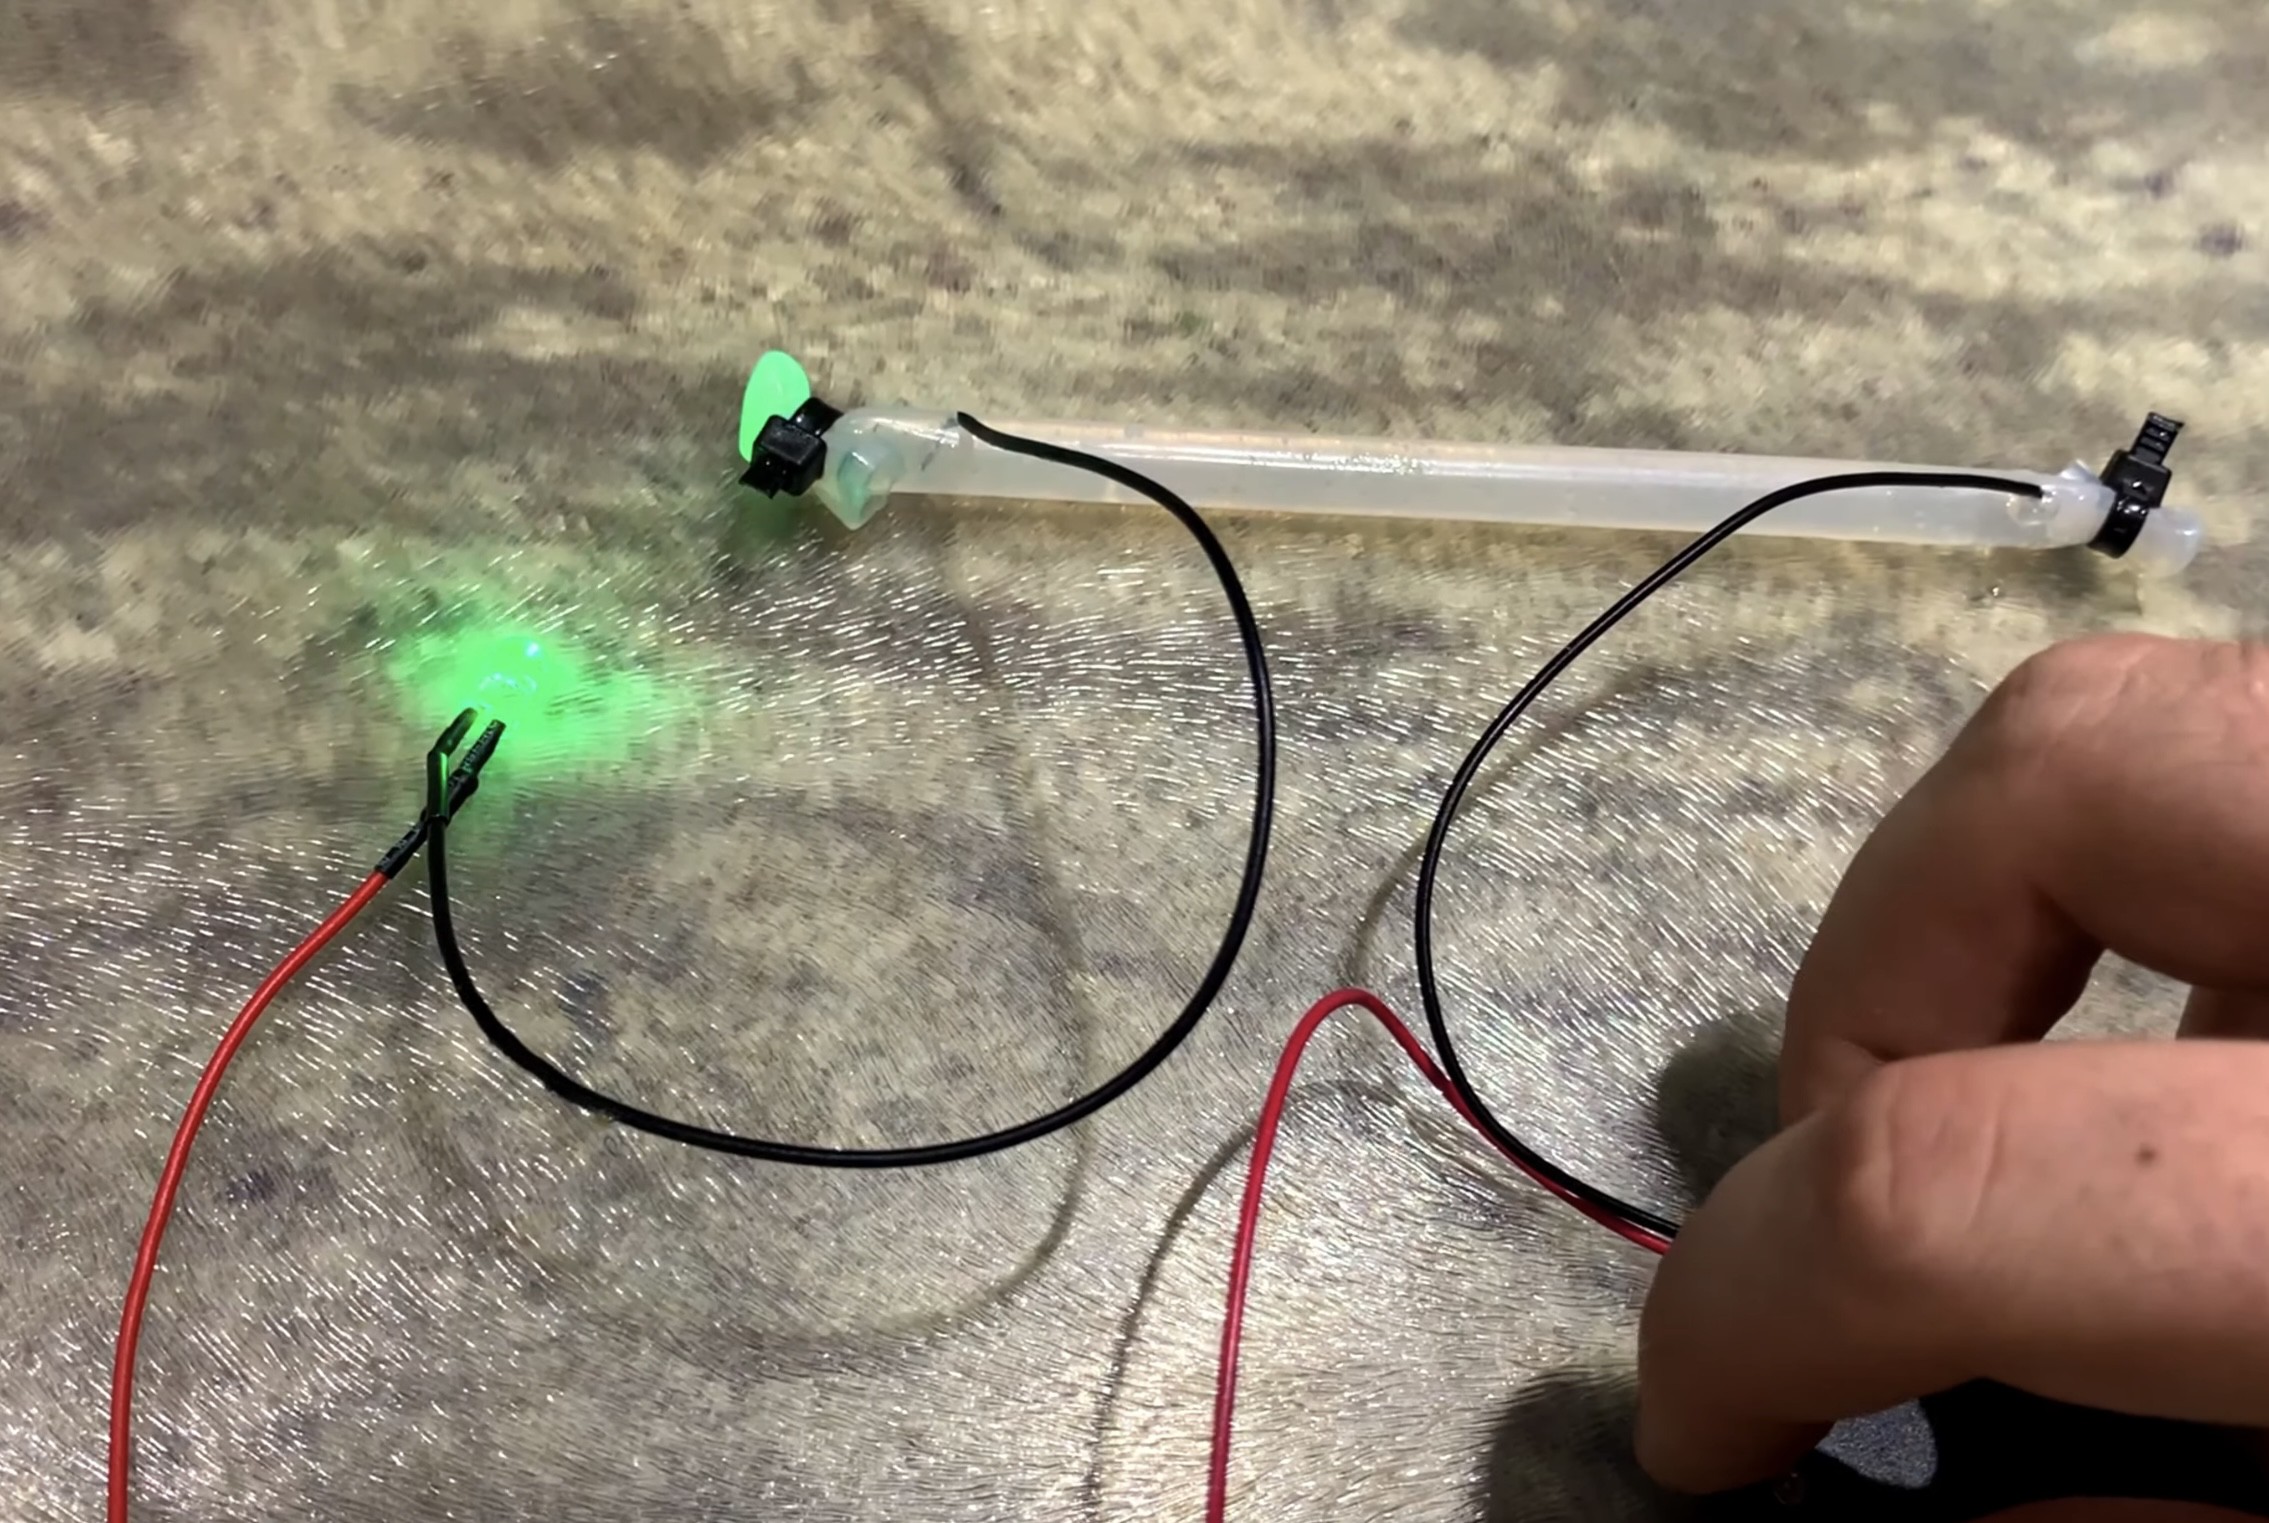
2. Test LED Lighting:
a. Attempt to light a 3V flashing LED through the conductive gel. (Doesn't work)
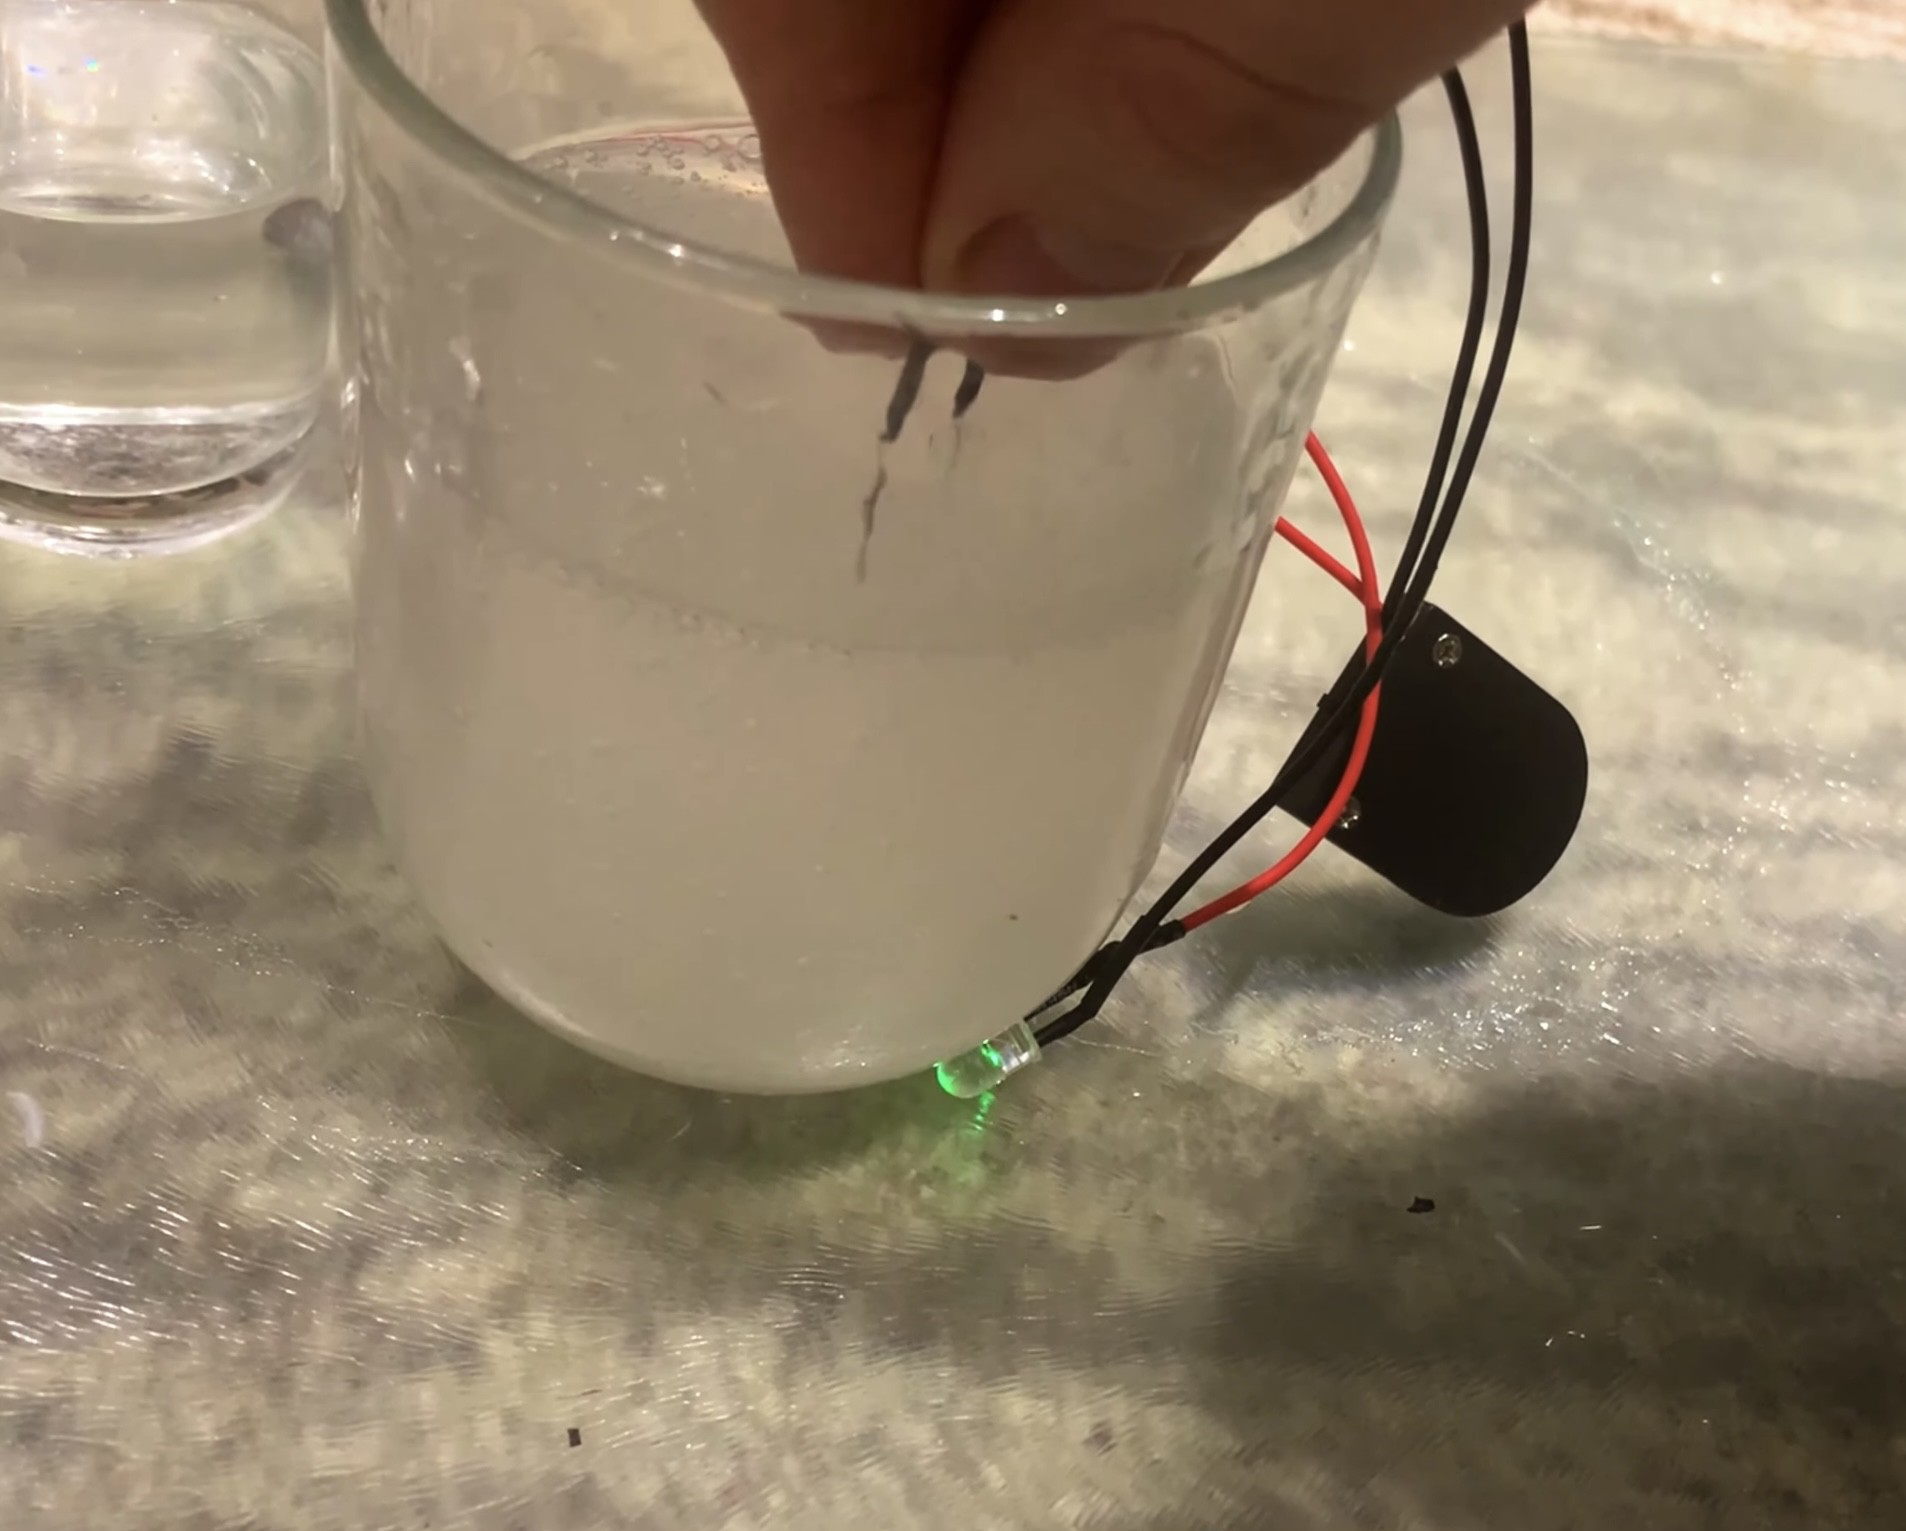
b. Double voltage to overcome gel resistance.
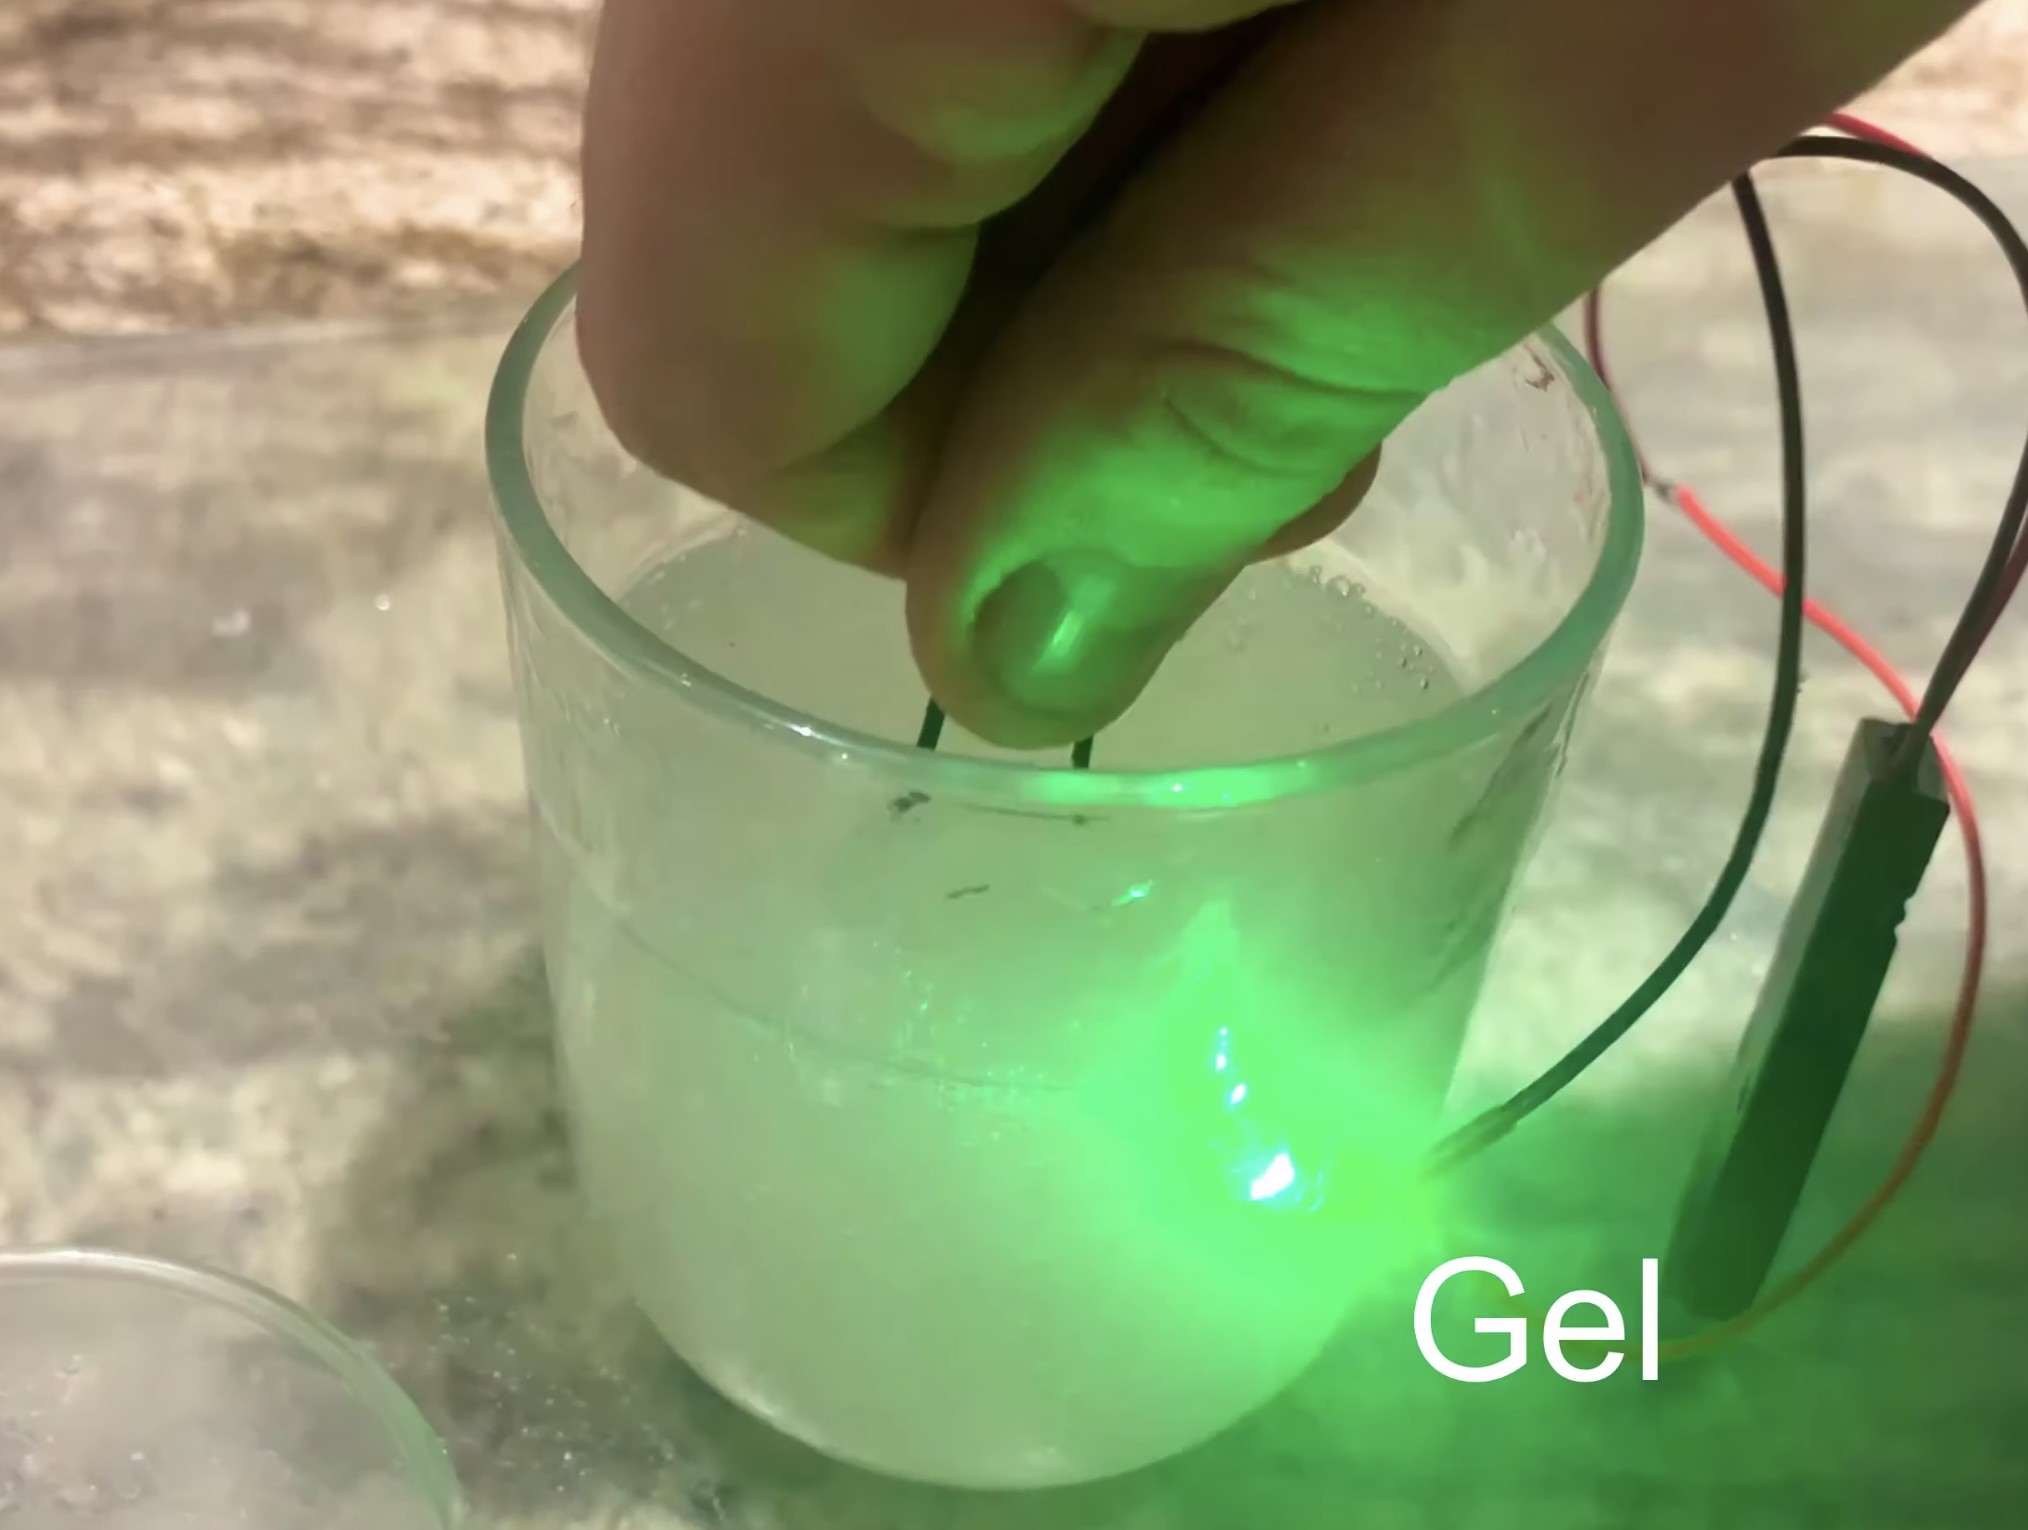
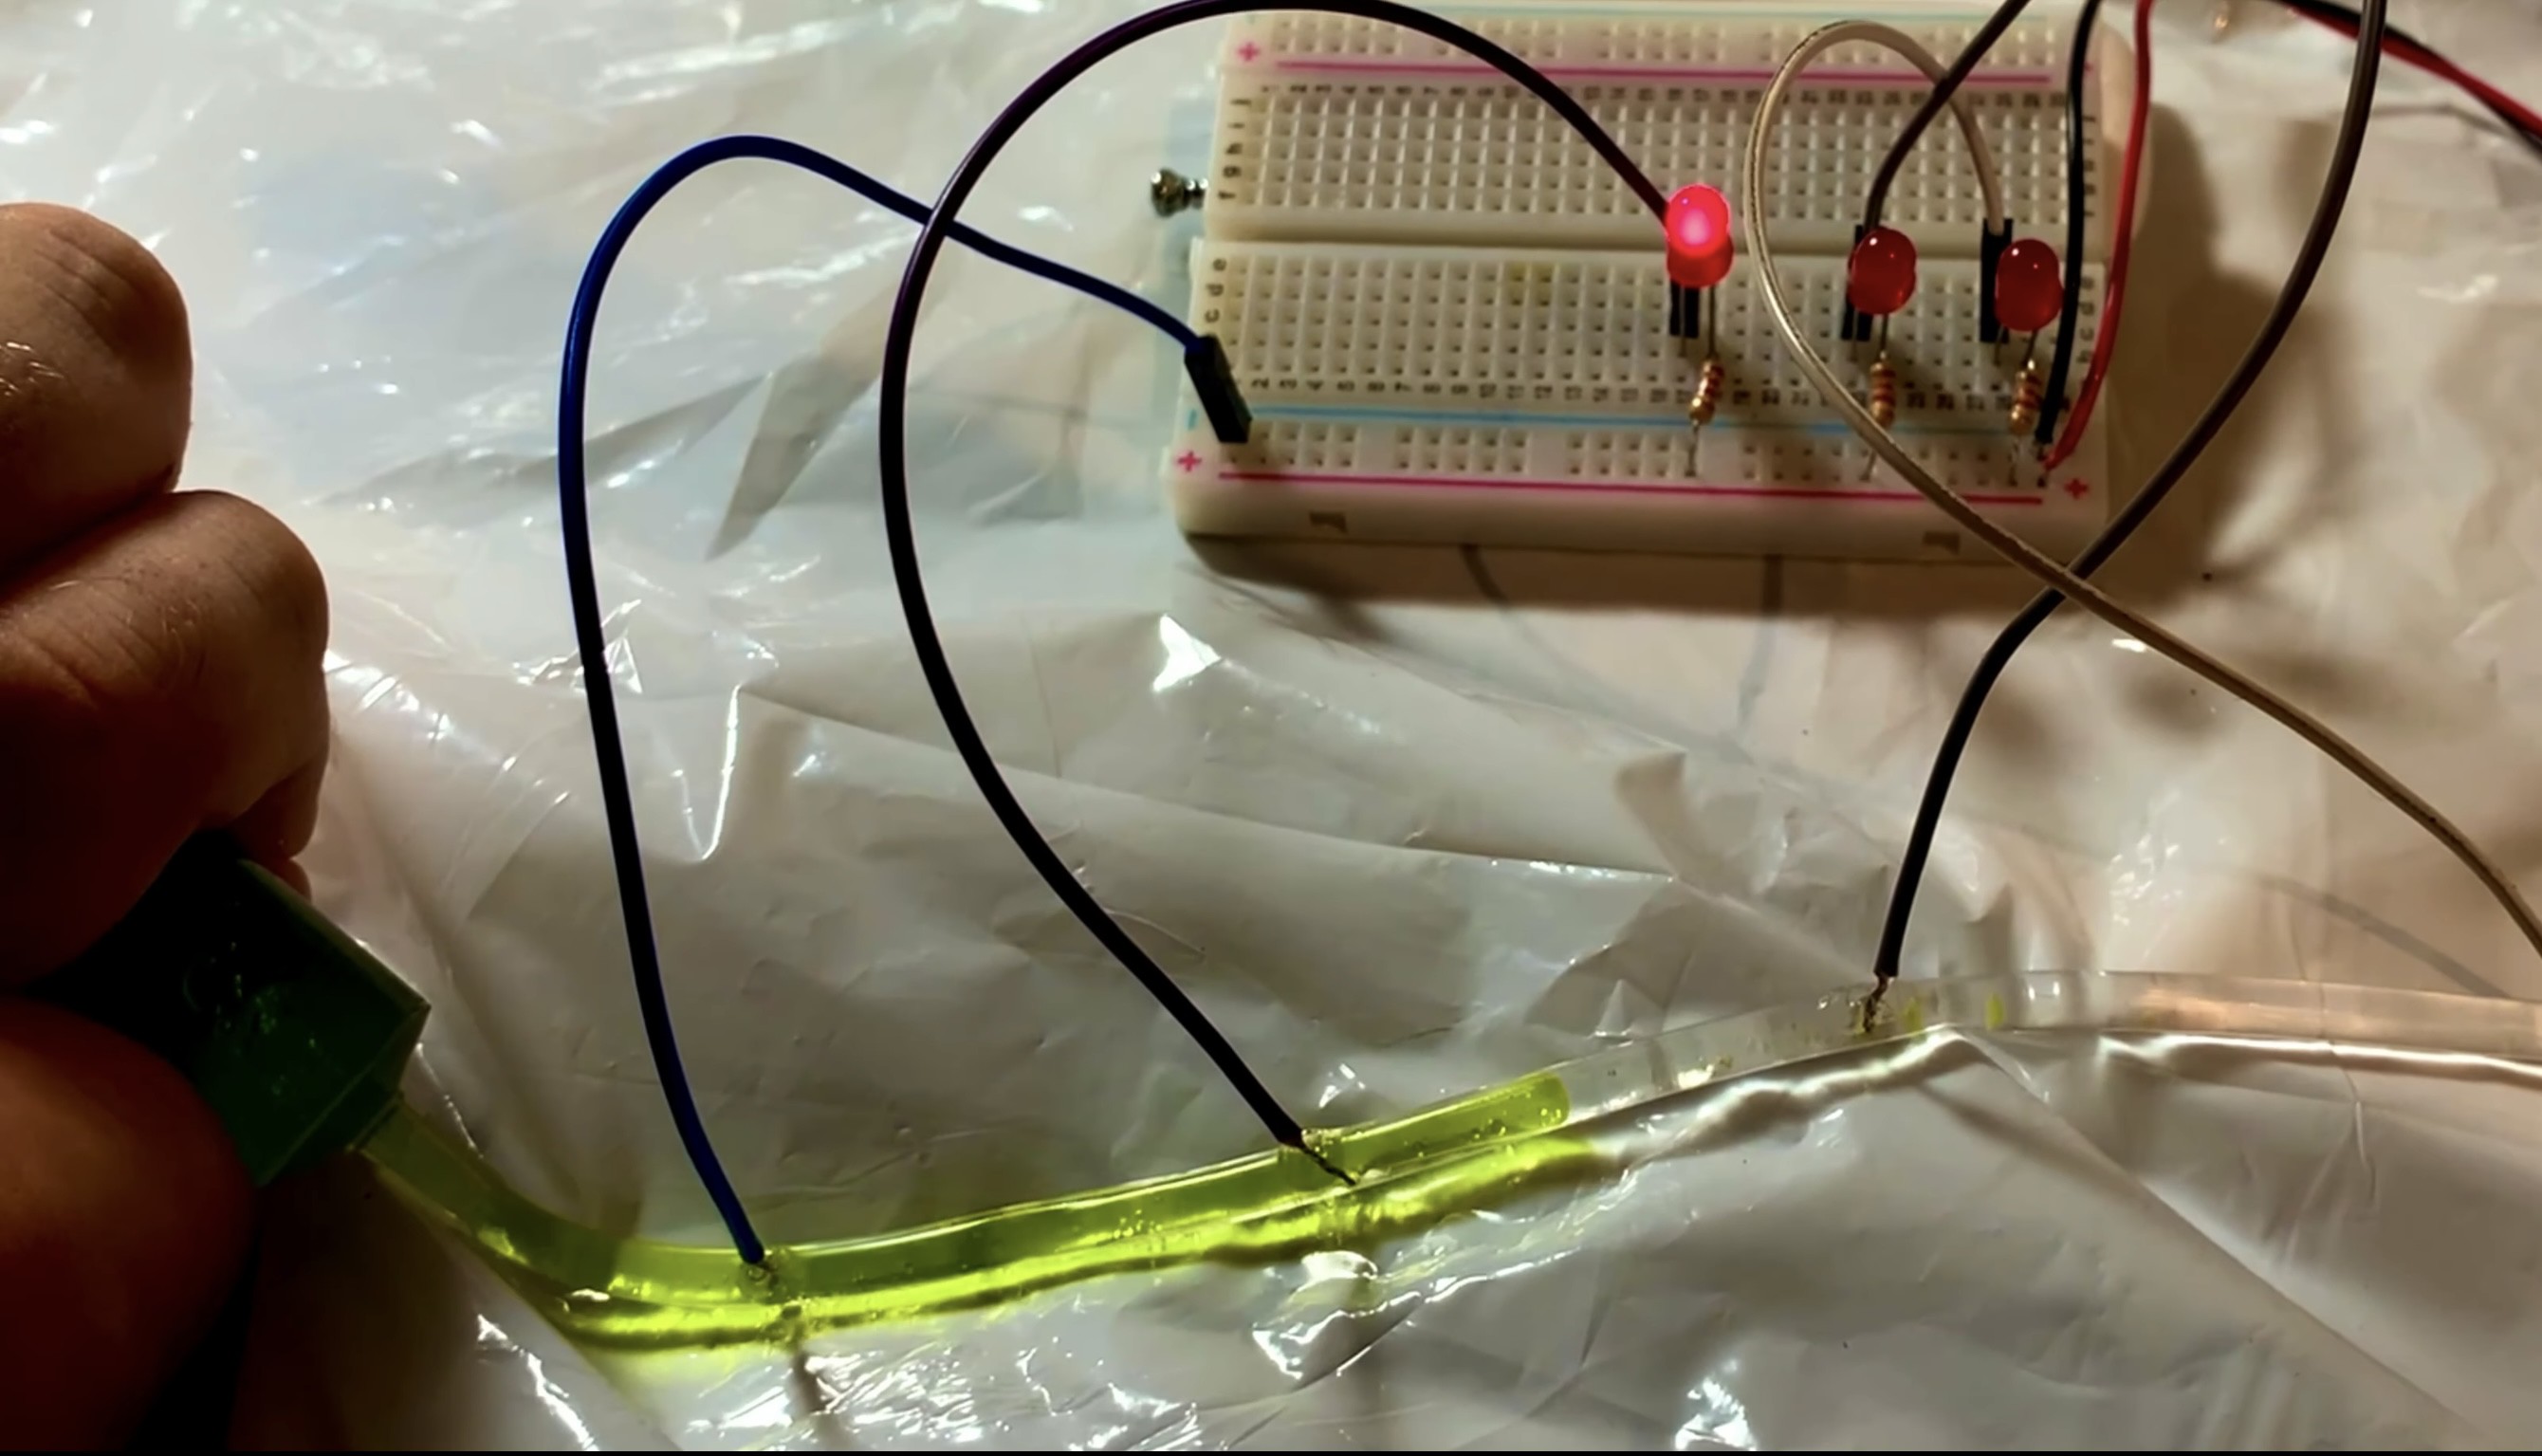
3. Implement Conductive Gel Circuit:
a. Fill a tube with the conductive gel and integrate it into a simple LED circuit.
4. Overcoming Resistance:
a. Address the voltage drop issue by introducing low-trigger relays.
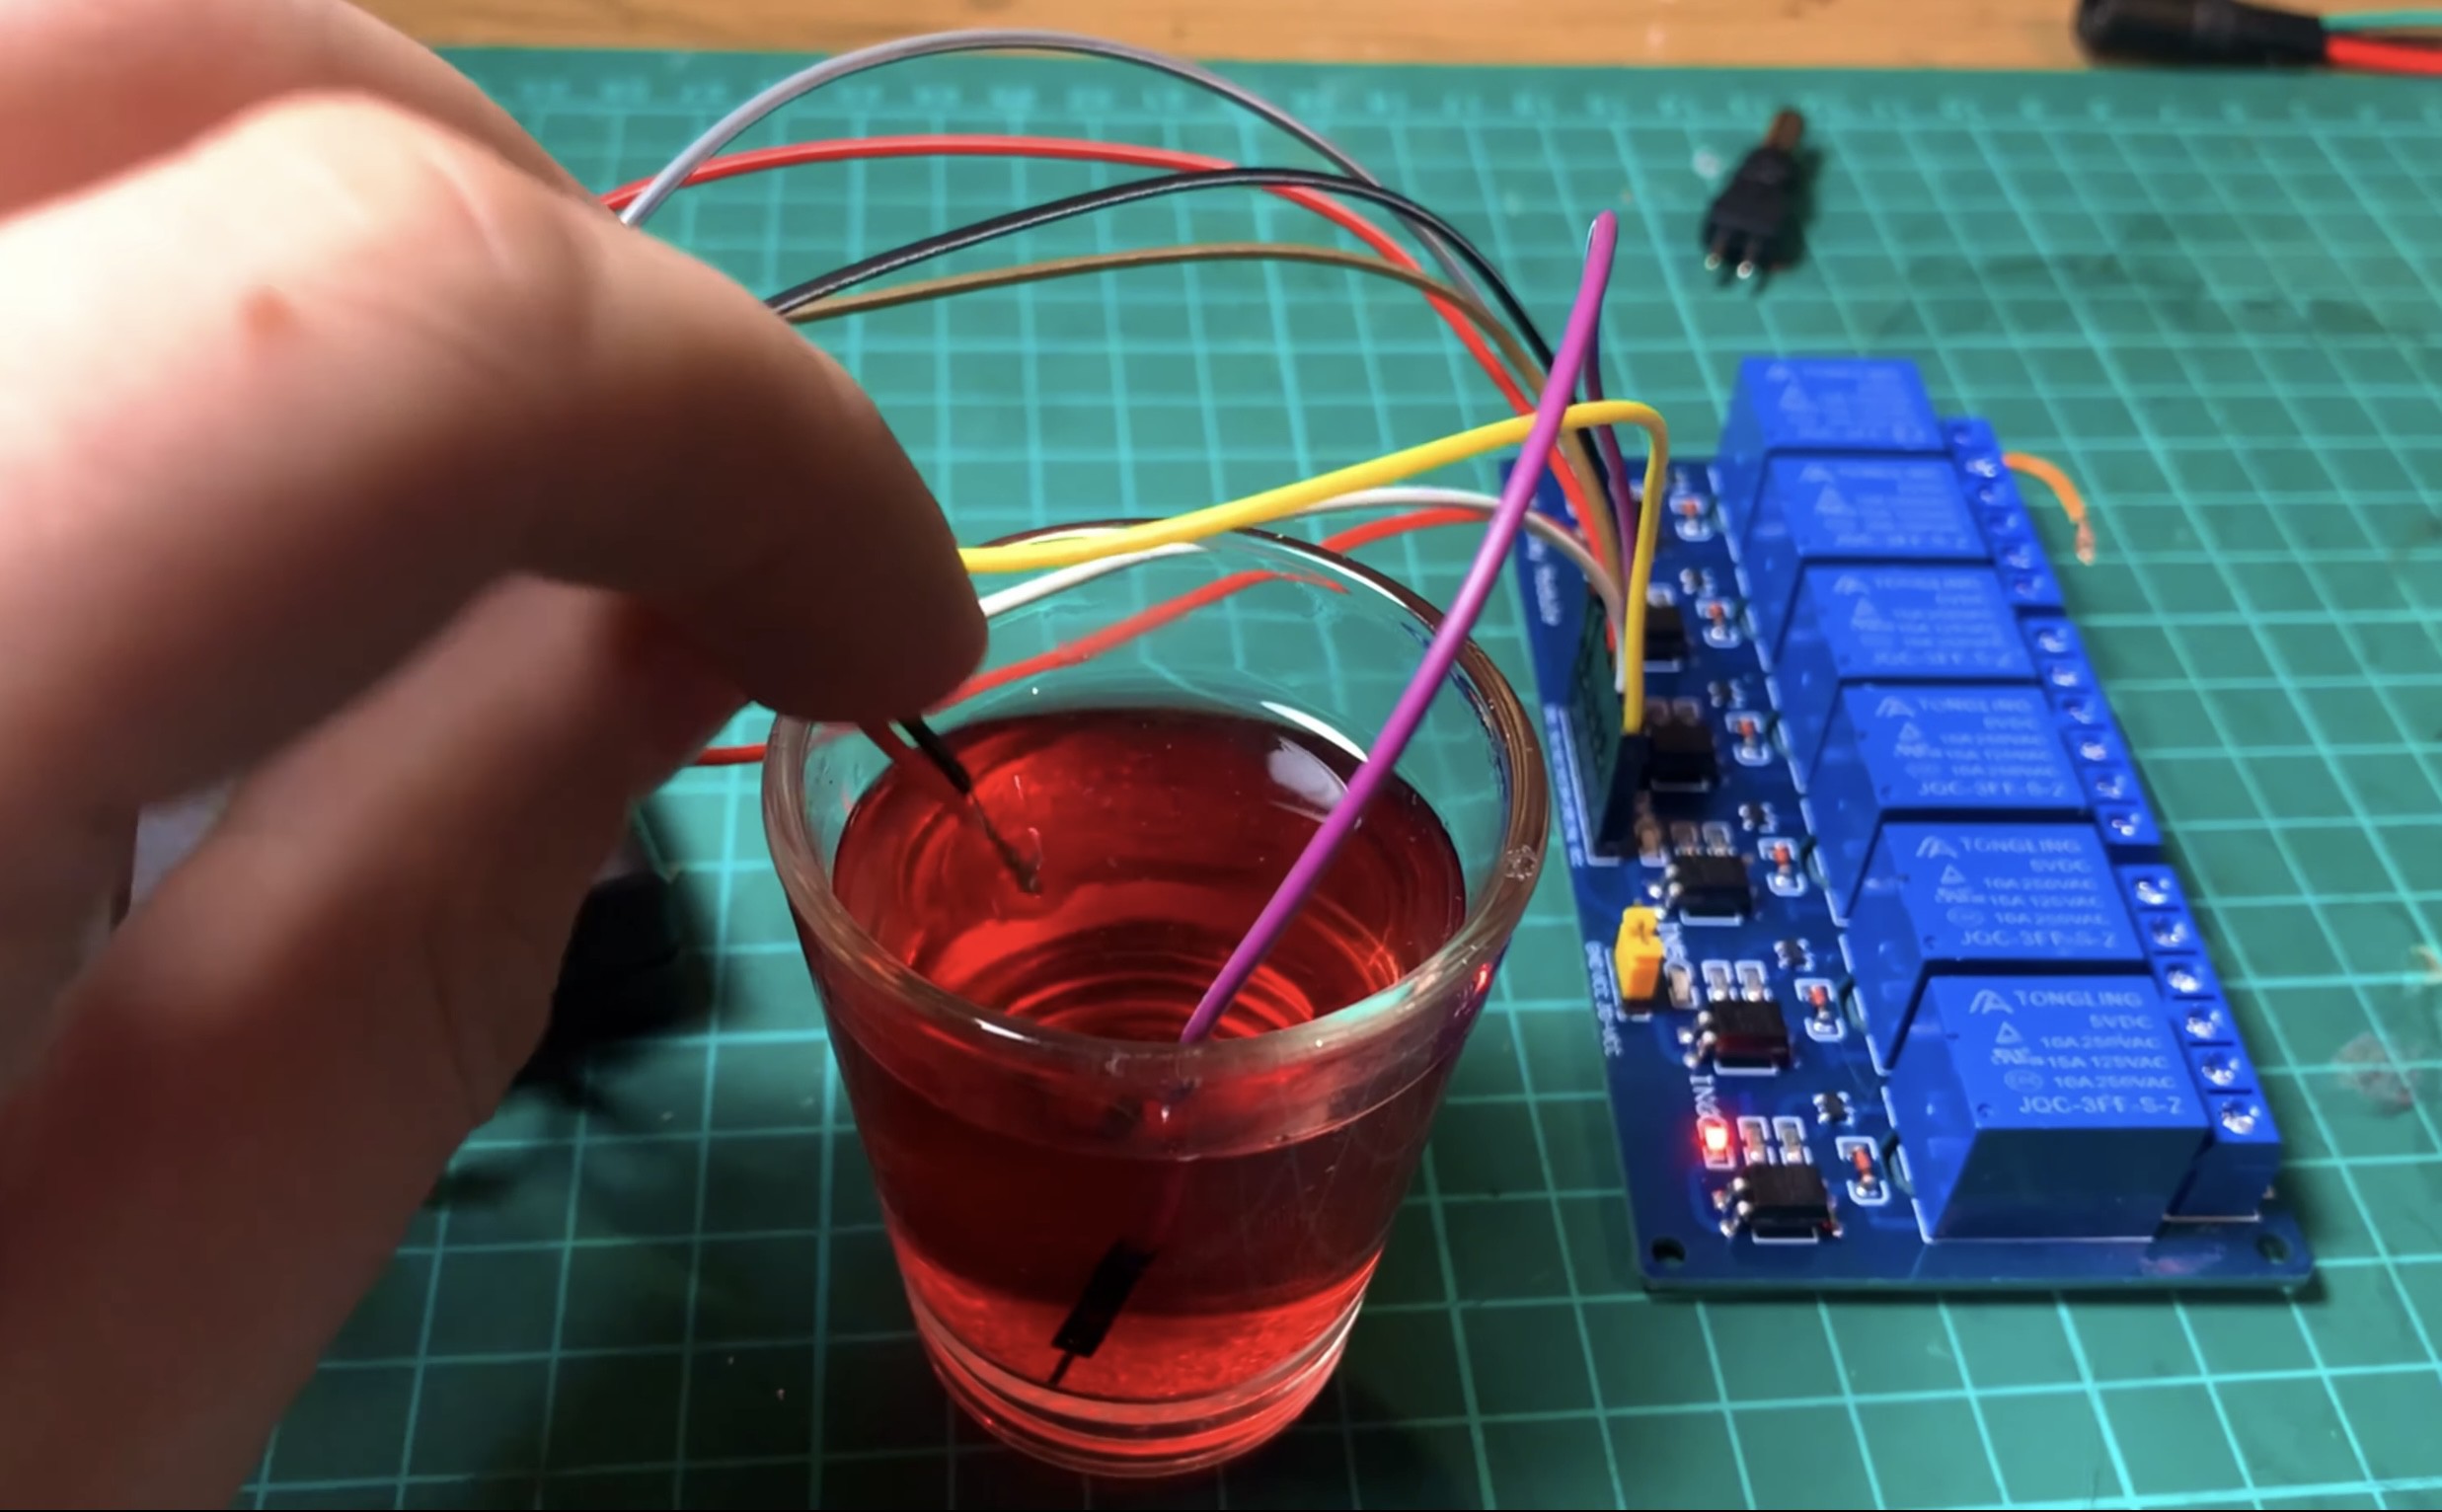
b. Create a circuit that allows longer tube lengths without increasing resistance.
c. Use the relays to control individual connections for specific electronic components.
5. Construct Nixie Tube Display:
a. Understand the working principles of a Nixie tube and its voltage requirements.
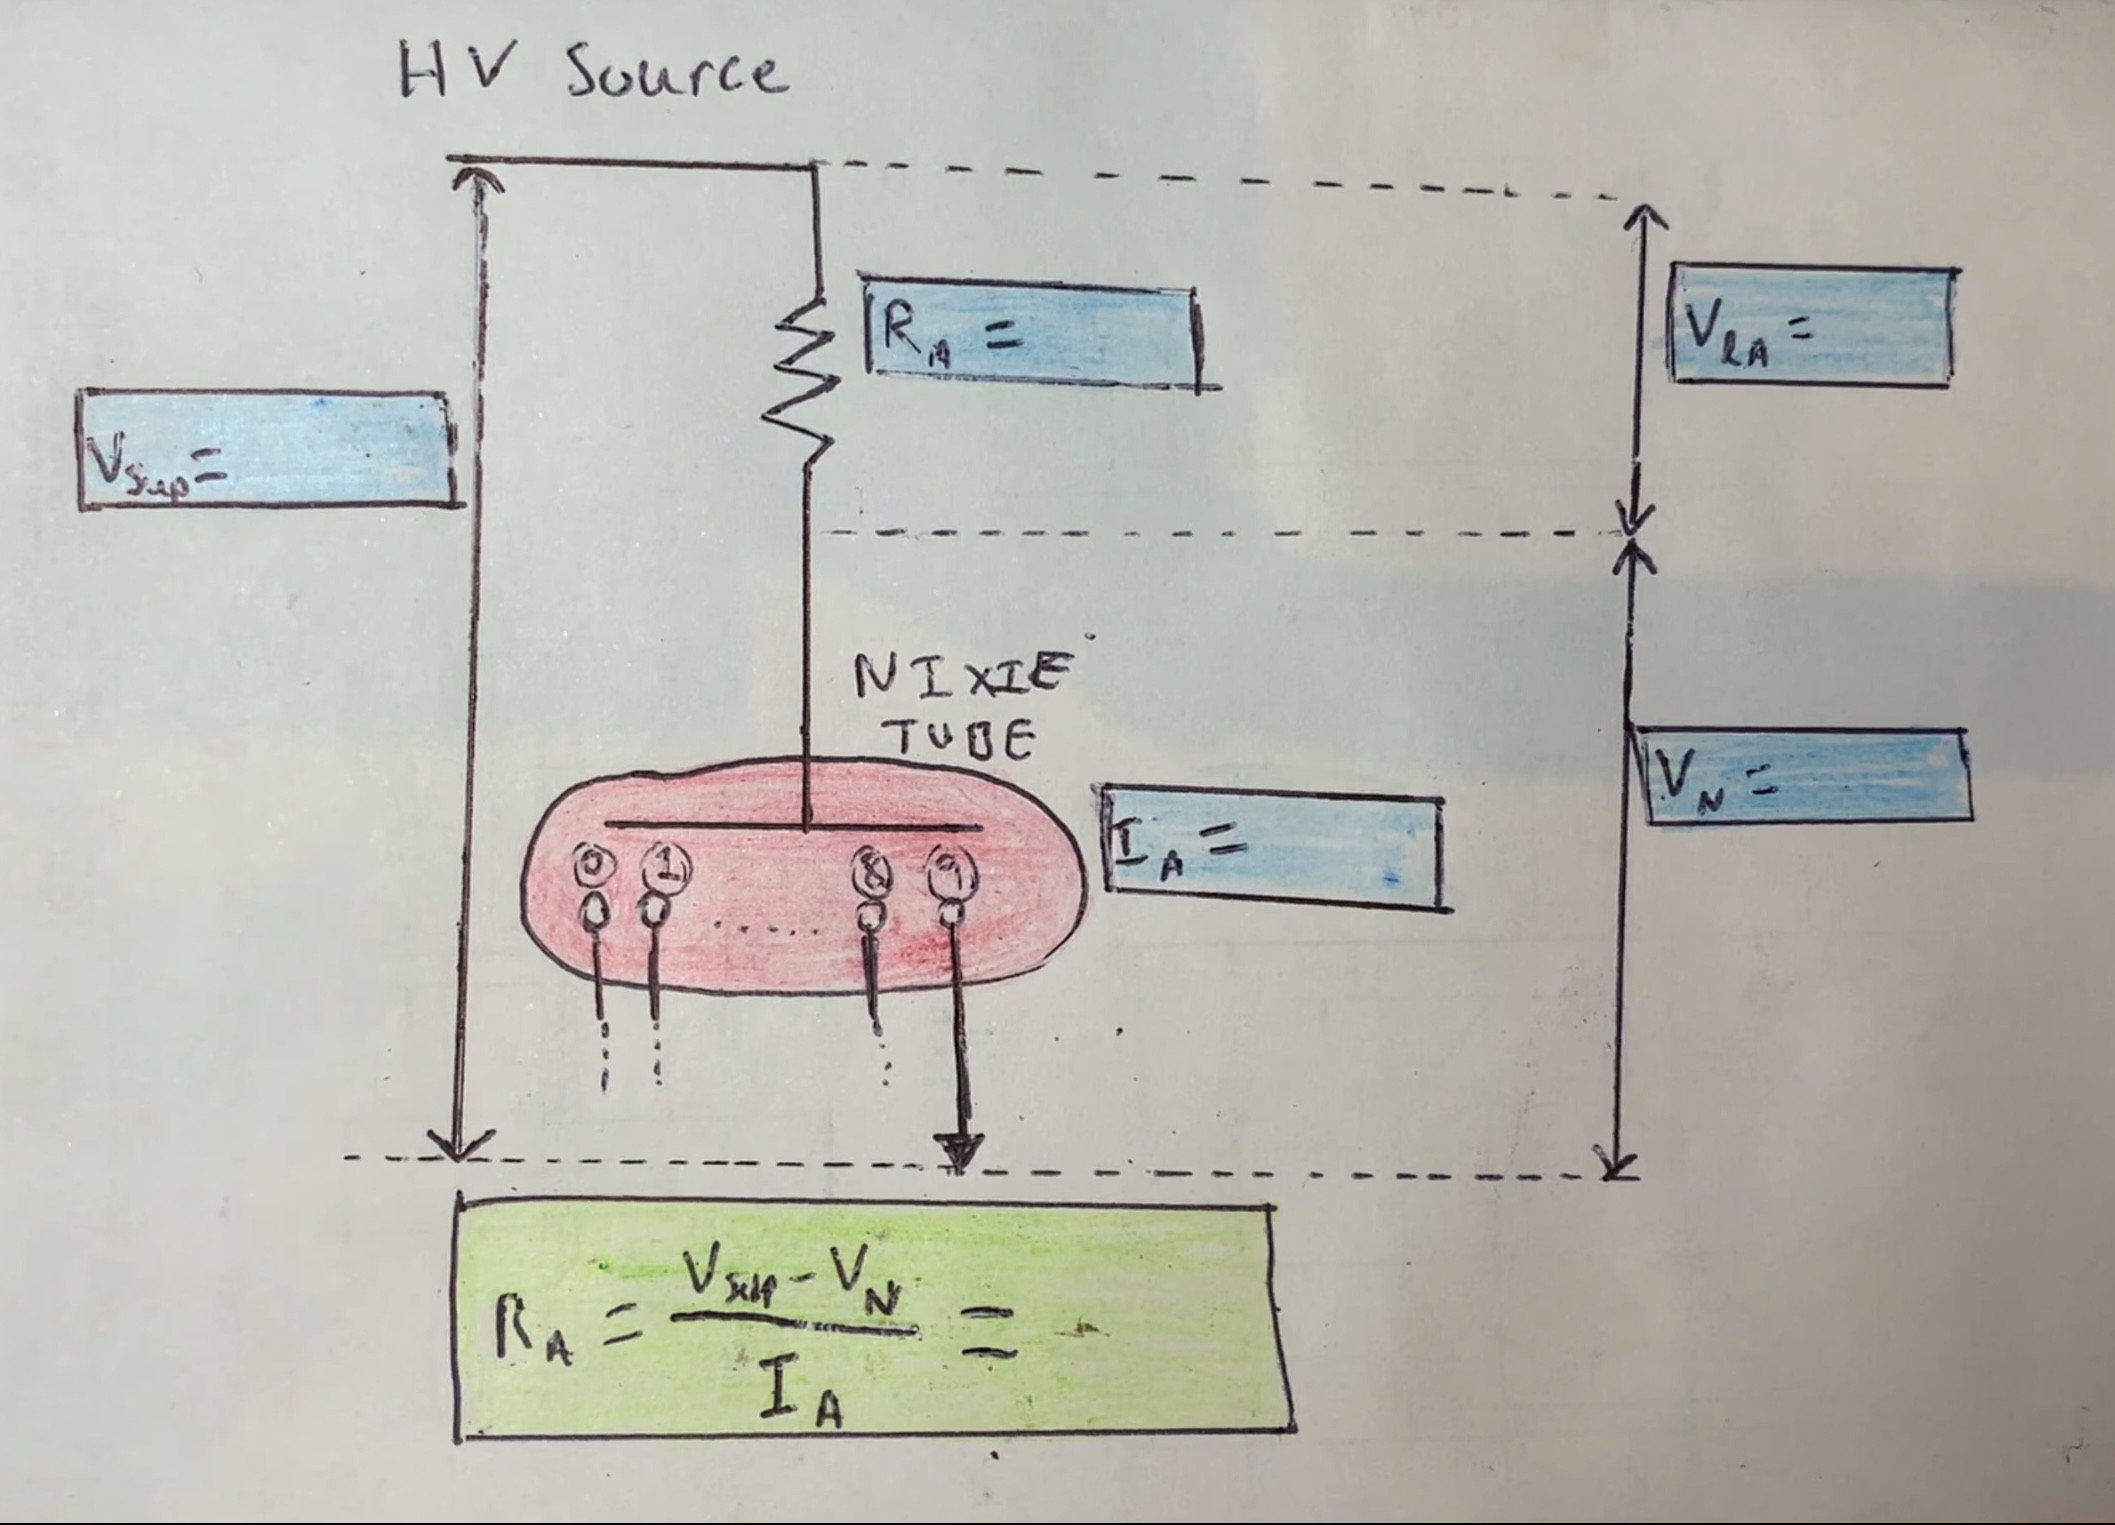
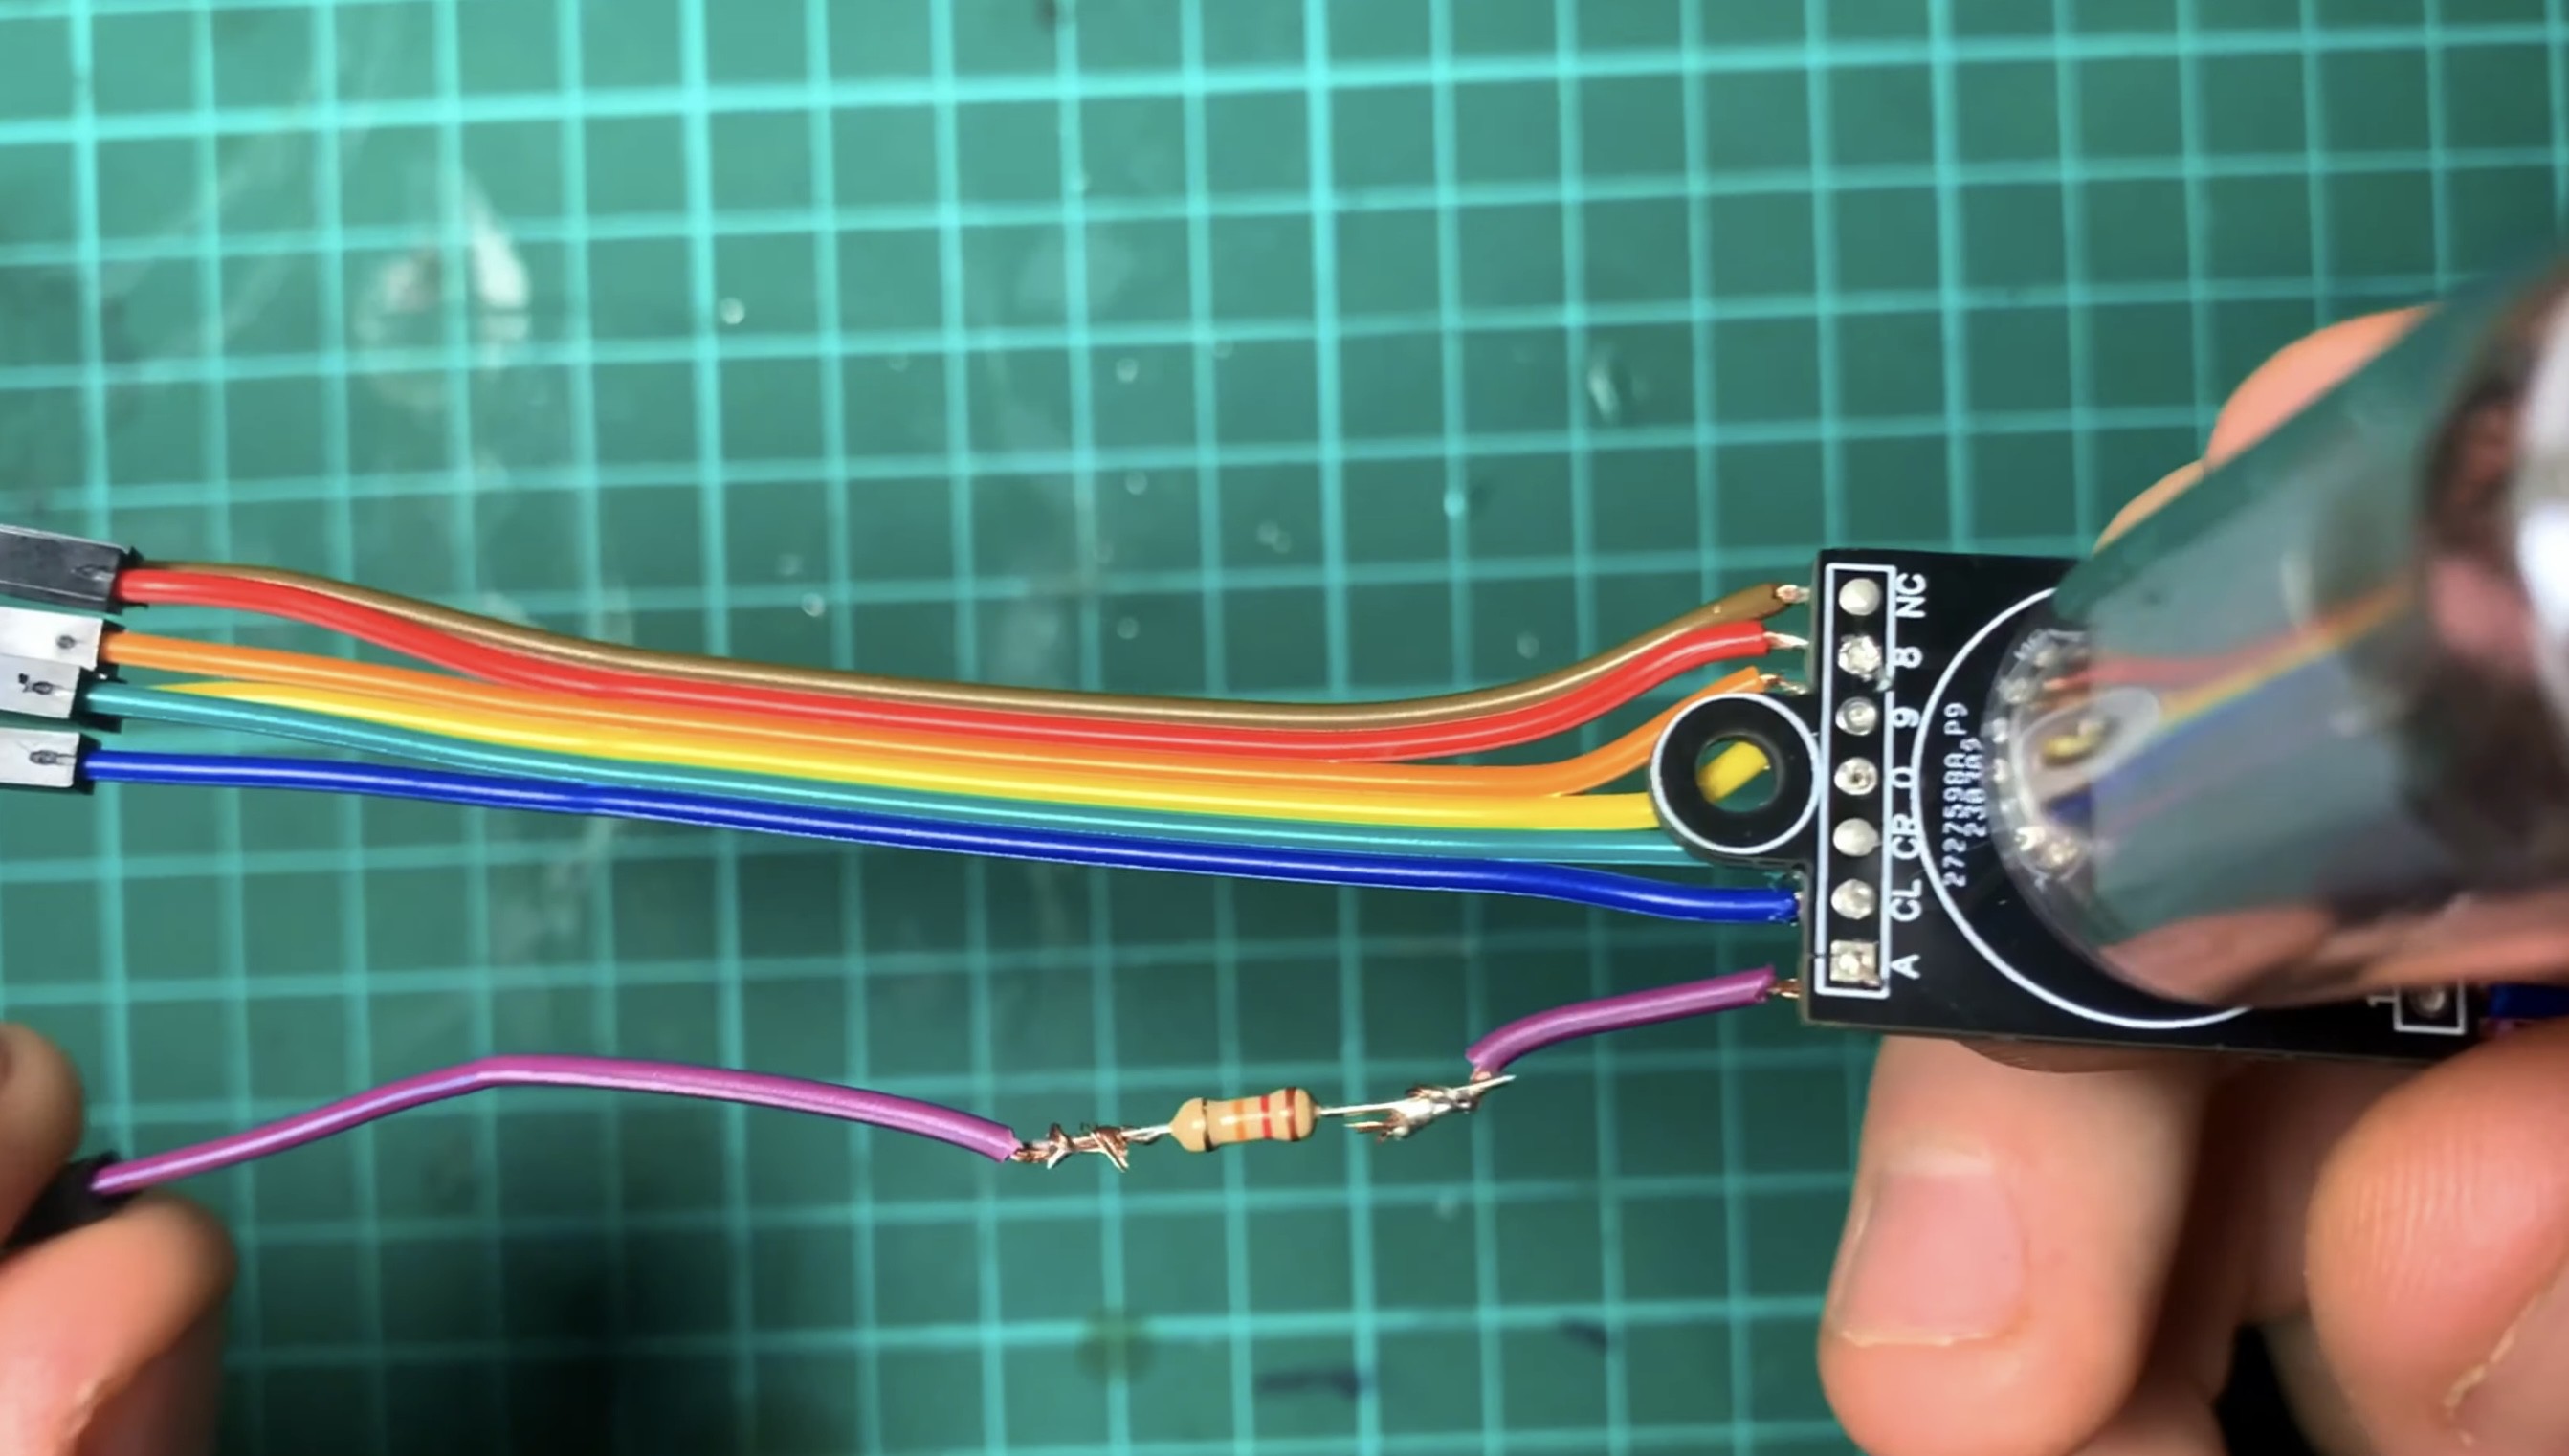
b. Mount the Nixie tube on a small PCB and connect a 12K ohm resistor.
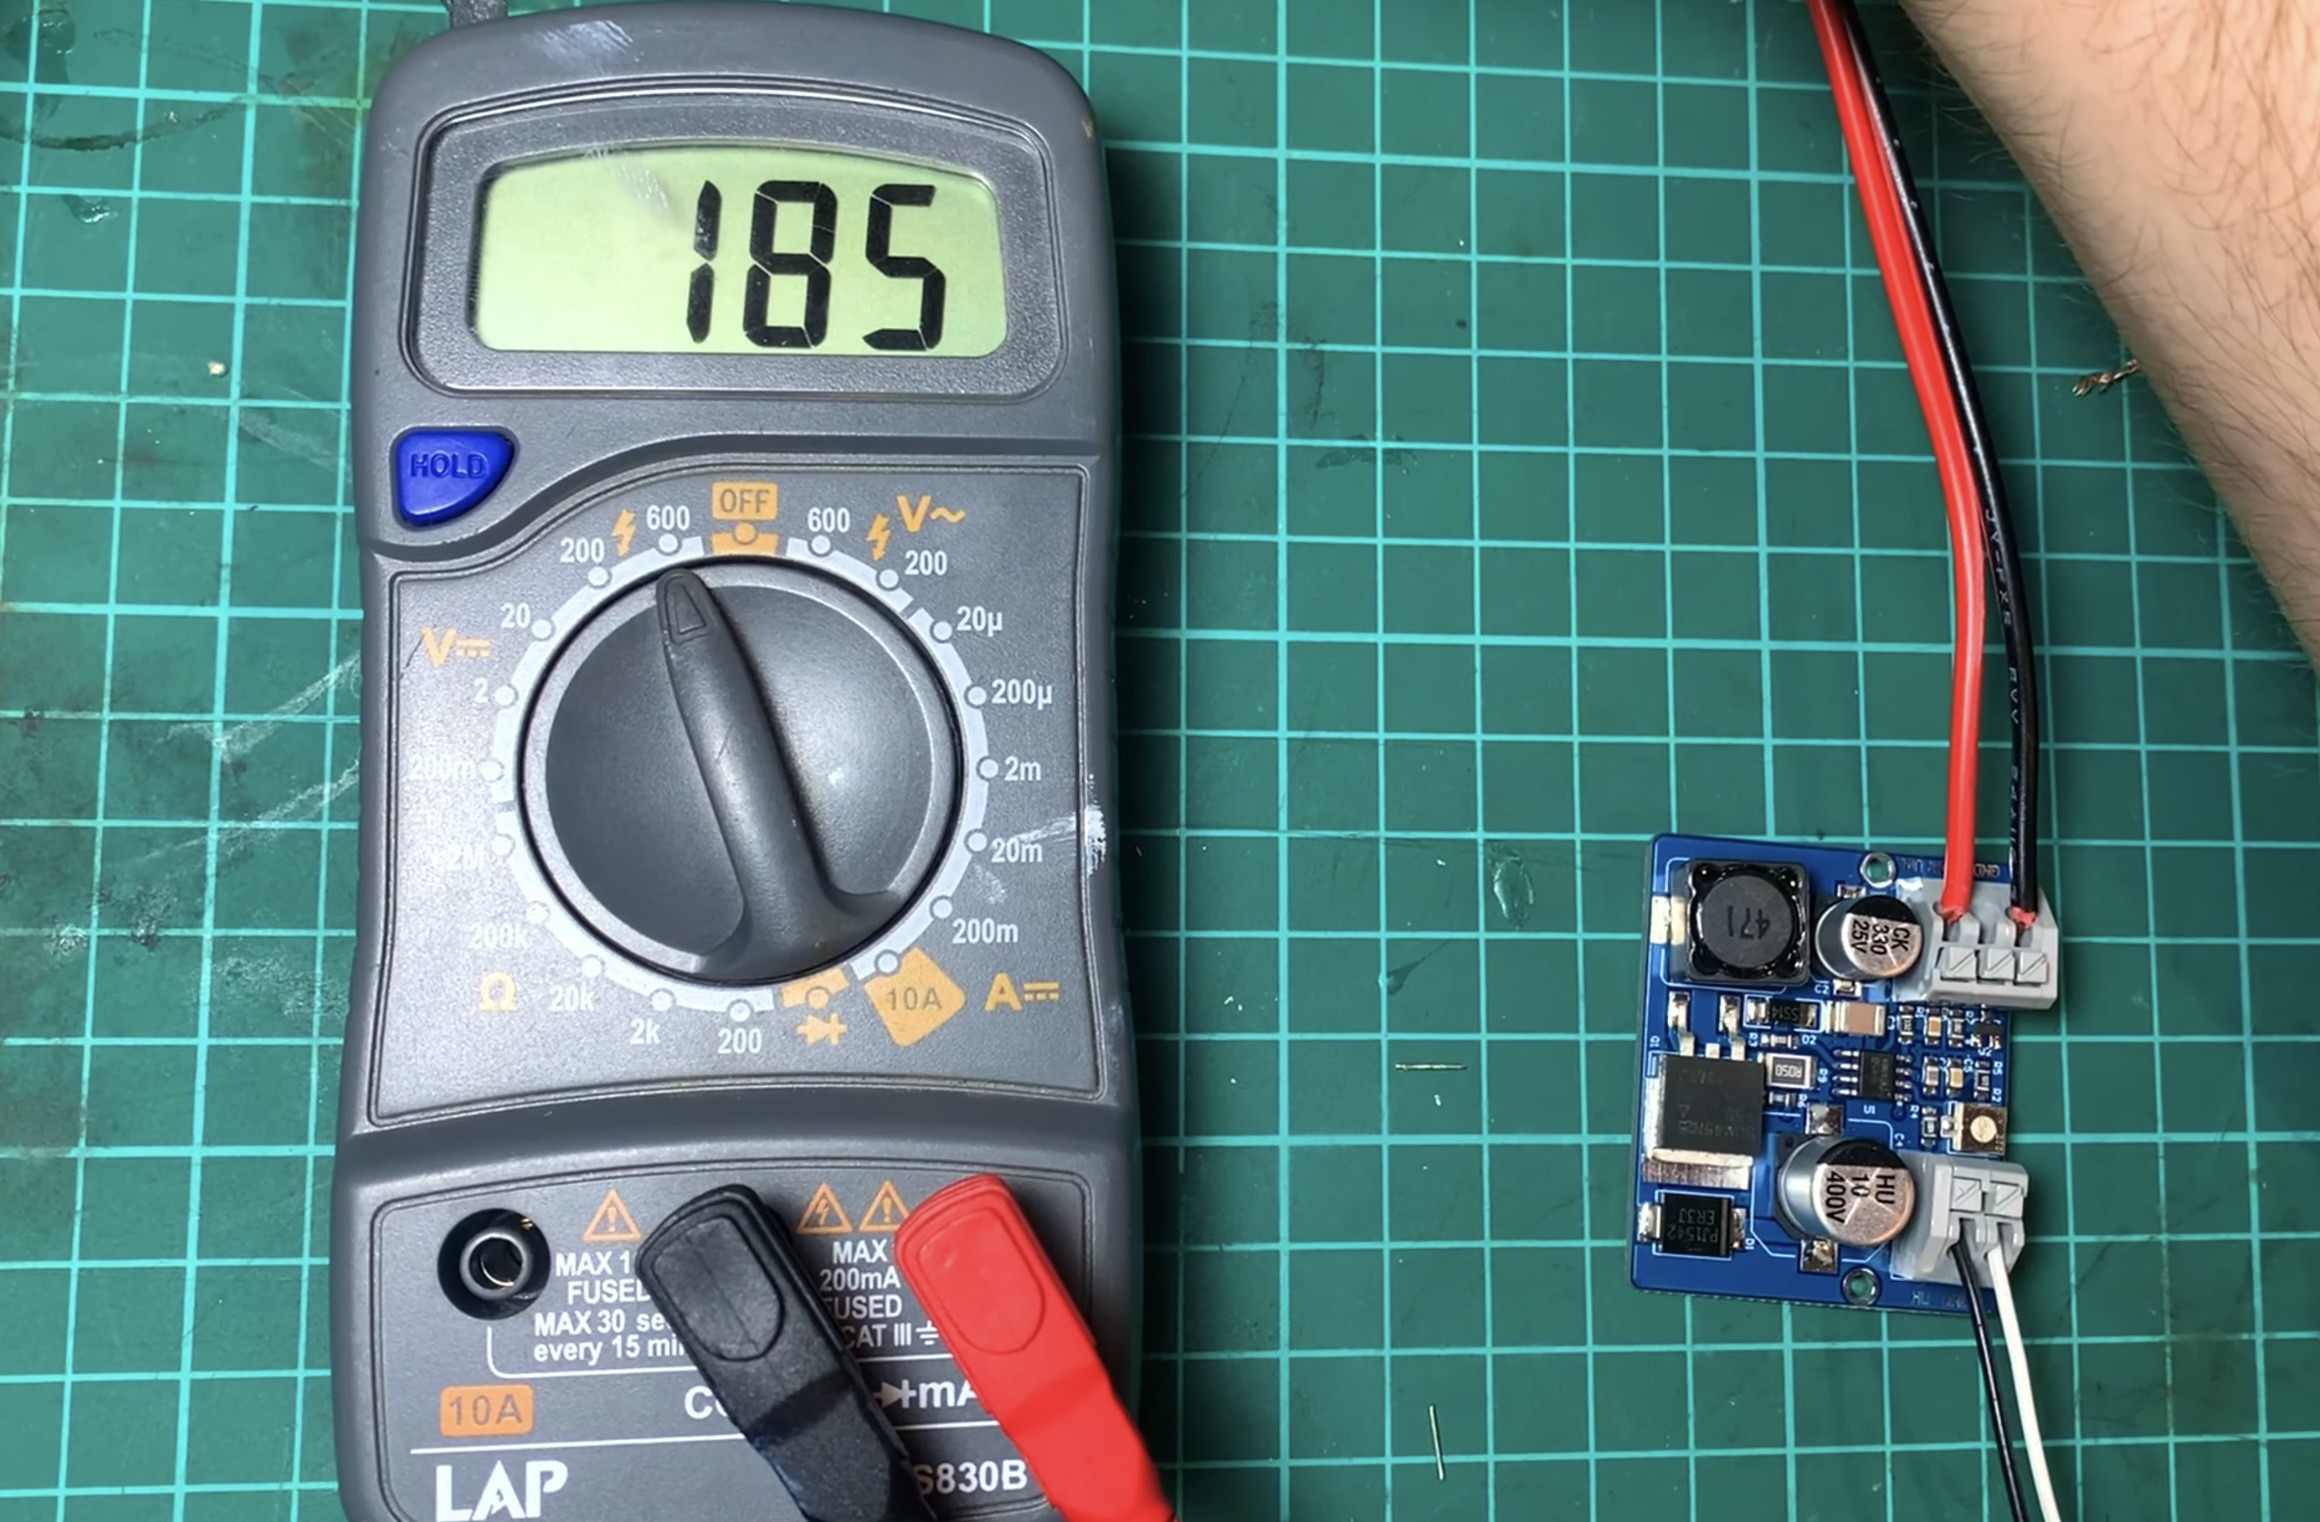
c. Set up a boost module to provide the necessary voltage (180V) for the tube.
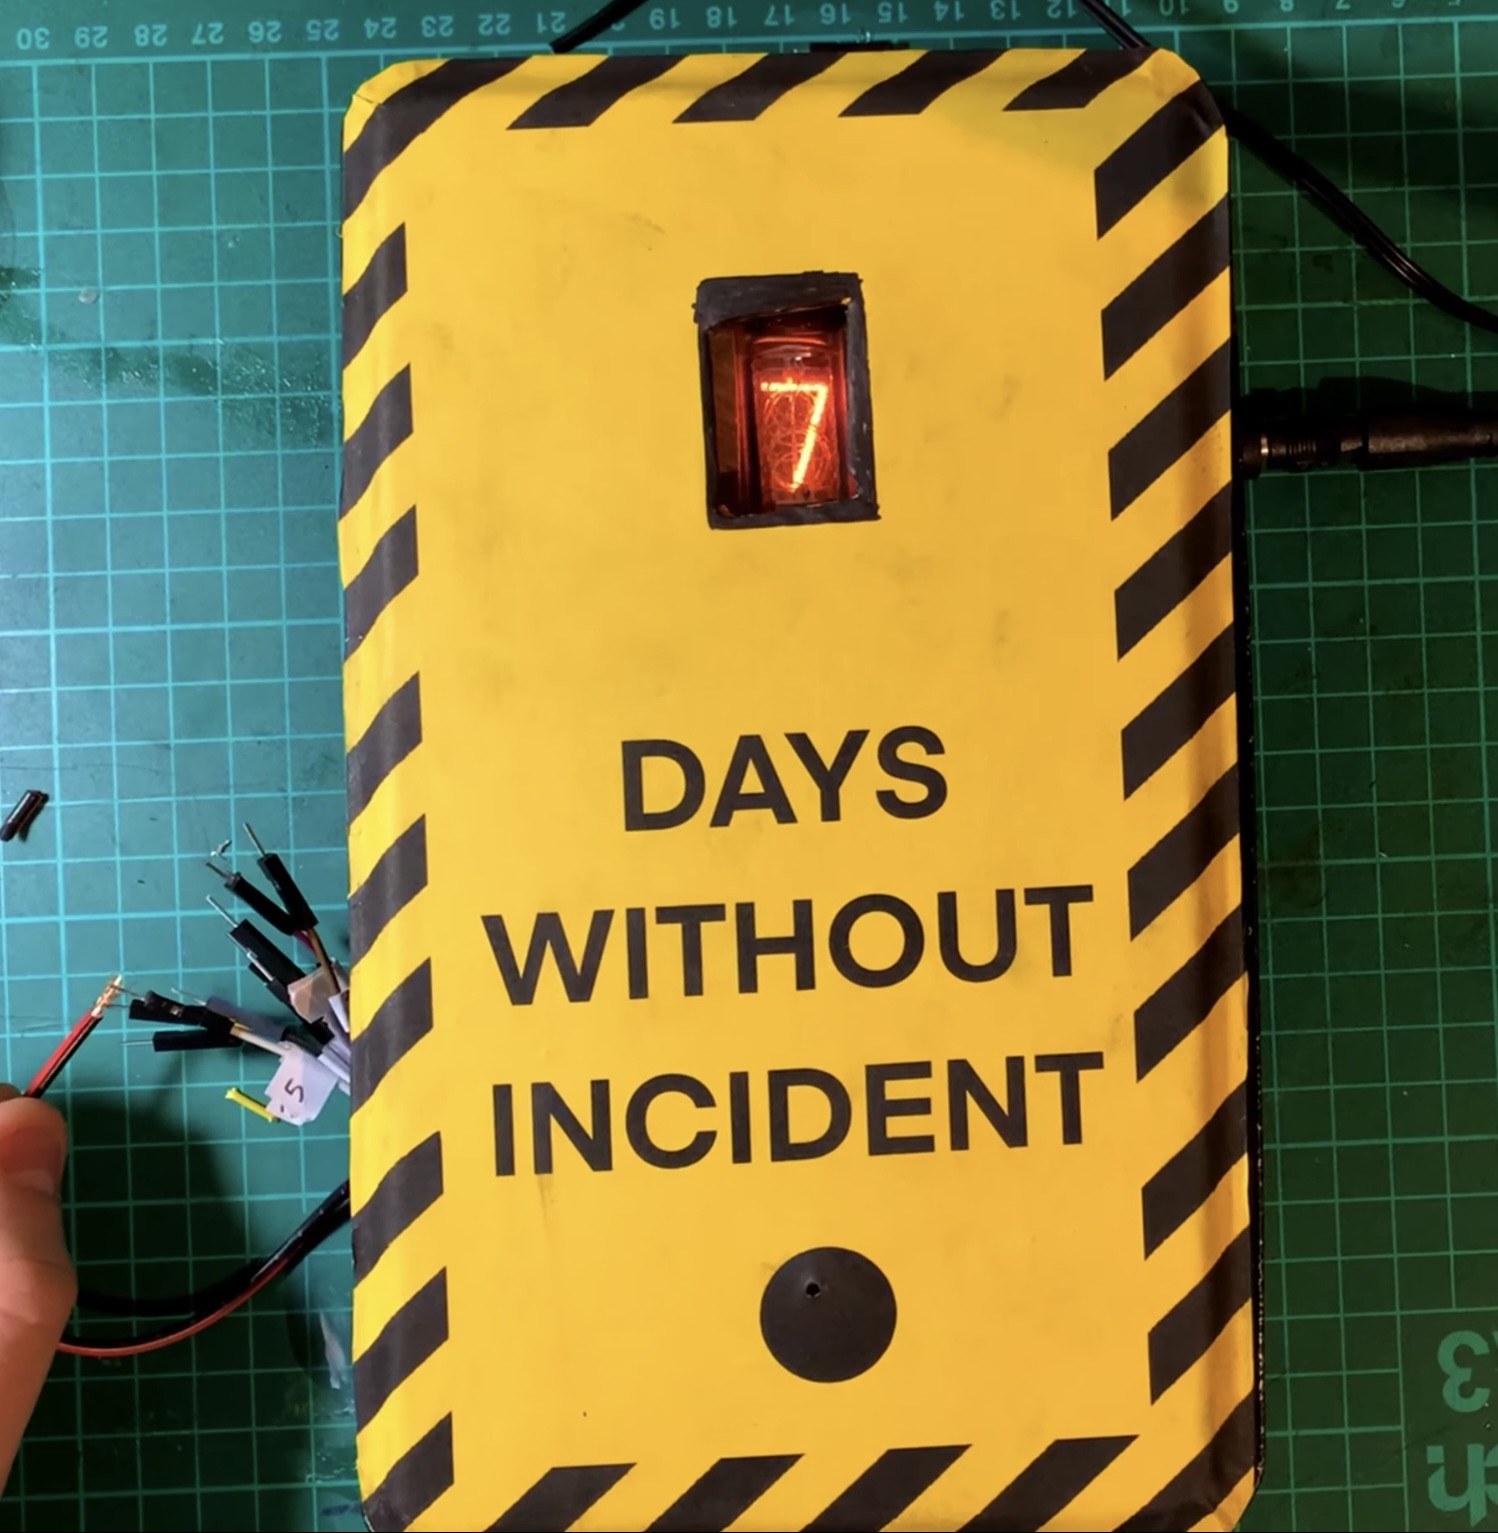
6. Building the Display Housing:
a. Spray paint a box black to serve as the housing for the Nixie tube.
b. Attach an appropriate sign for display.
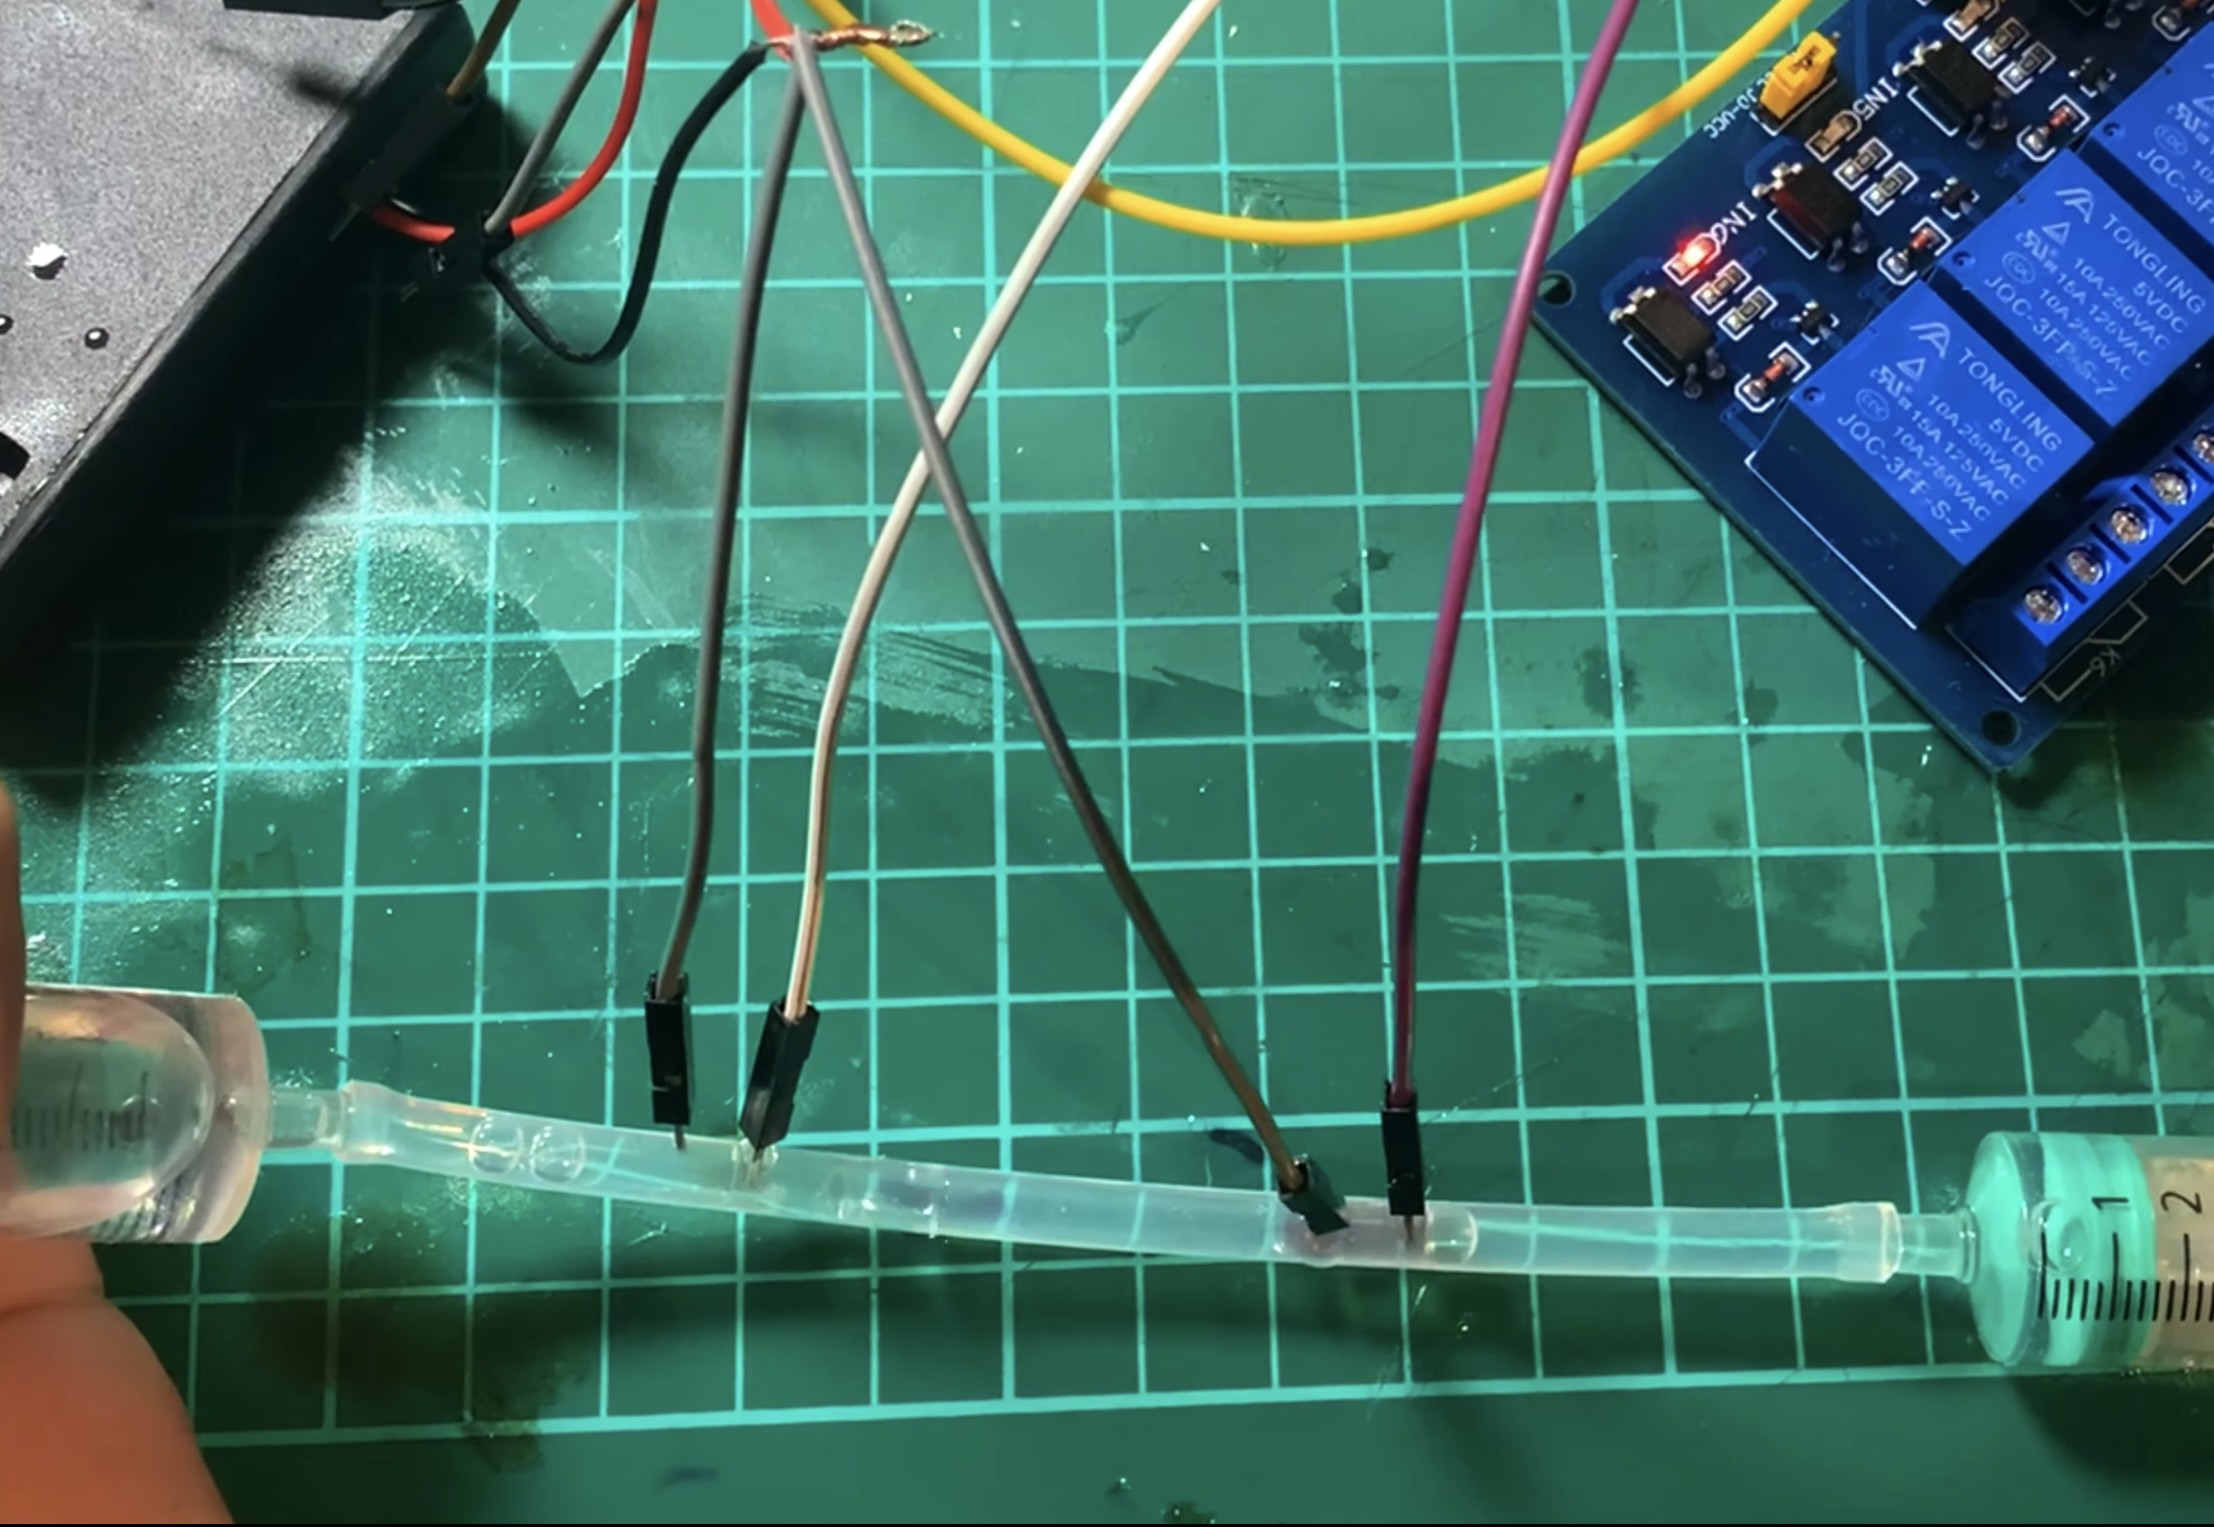
7. Connect Relays to the Plastic Tube:
a. Fill the mineral oil reservoir and pull it through the plastic tube.
b. Add a few centimeters of conductive gel to the tube.
c. Observe the movement of the gel and test its functionality.
Conclusion:
This project documents my foray into the realm of unconventional electronics. Its unique blend of a specially formulated conductive gel and low-trigger relays opens up a world of possibilities for circuit design and control applications. This project has potential applications in fields such as soft robotics, wearable electronics, and interactive art installations. Its flexibility and adaptability make it interesting despite its faults. I would love to hear any tinkerers ideas for applications/modifications to this conductive gel circuit technology.
Discussion:
By thickening a saltwater solution with xanthan gum and incorporating low-trigger relays, the project overcomes limitations and enables unique control applications. However, the voltage inefficiency of the gel remains a challenge for scaling up to higher voltages, but using relays solved this problem in the nixie tube case. There are several potential applications where this project may be of some utility;
- Flexible and Customizable Circuits: The gel can be shaped and molded into various forms, enabling the creation of unconventional circuit layouts for specific applications.
- Adaptive Electronics: By selectively activating or deactivating sections of the gel wire, different functionalities can be achieved.
- Soft Robotics: The conductive gel could be integrated into soft robot designs, acting as a distributed control...

 Subhajit
 GNbyma
 adesh manhar ramkissoon
 MaBe42