Schematic of the LED driver is ready. I proceed to design the PCB. First I defined the size of the board and the spacing of the mounting holes. This is quite important, because the case has limited dimensions and the PCBs must fit idelly into the mounting points.
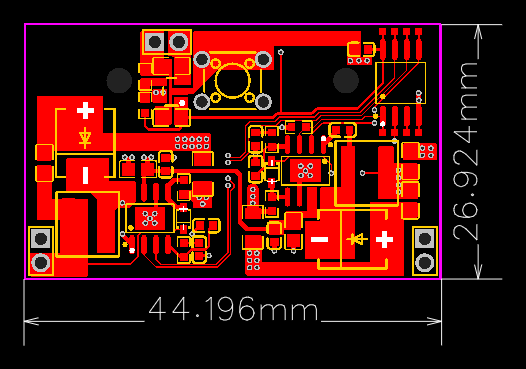
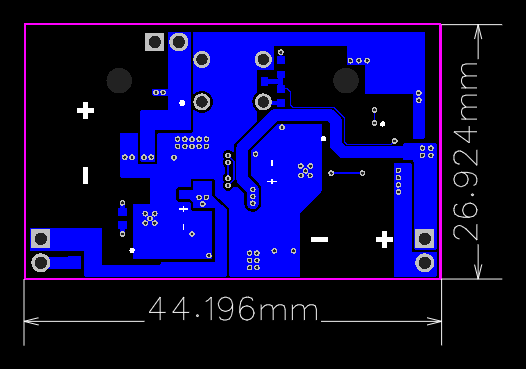
The PCB design ready. During the design I remembered the tact switch button, which will change the brightness of the LEDs. Its position on the board is quite important. The button must perfectly match the plastic key, which is located in the enclosure.
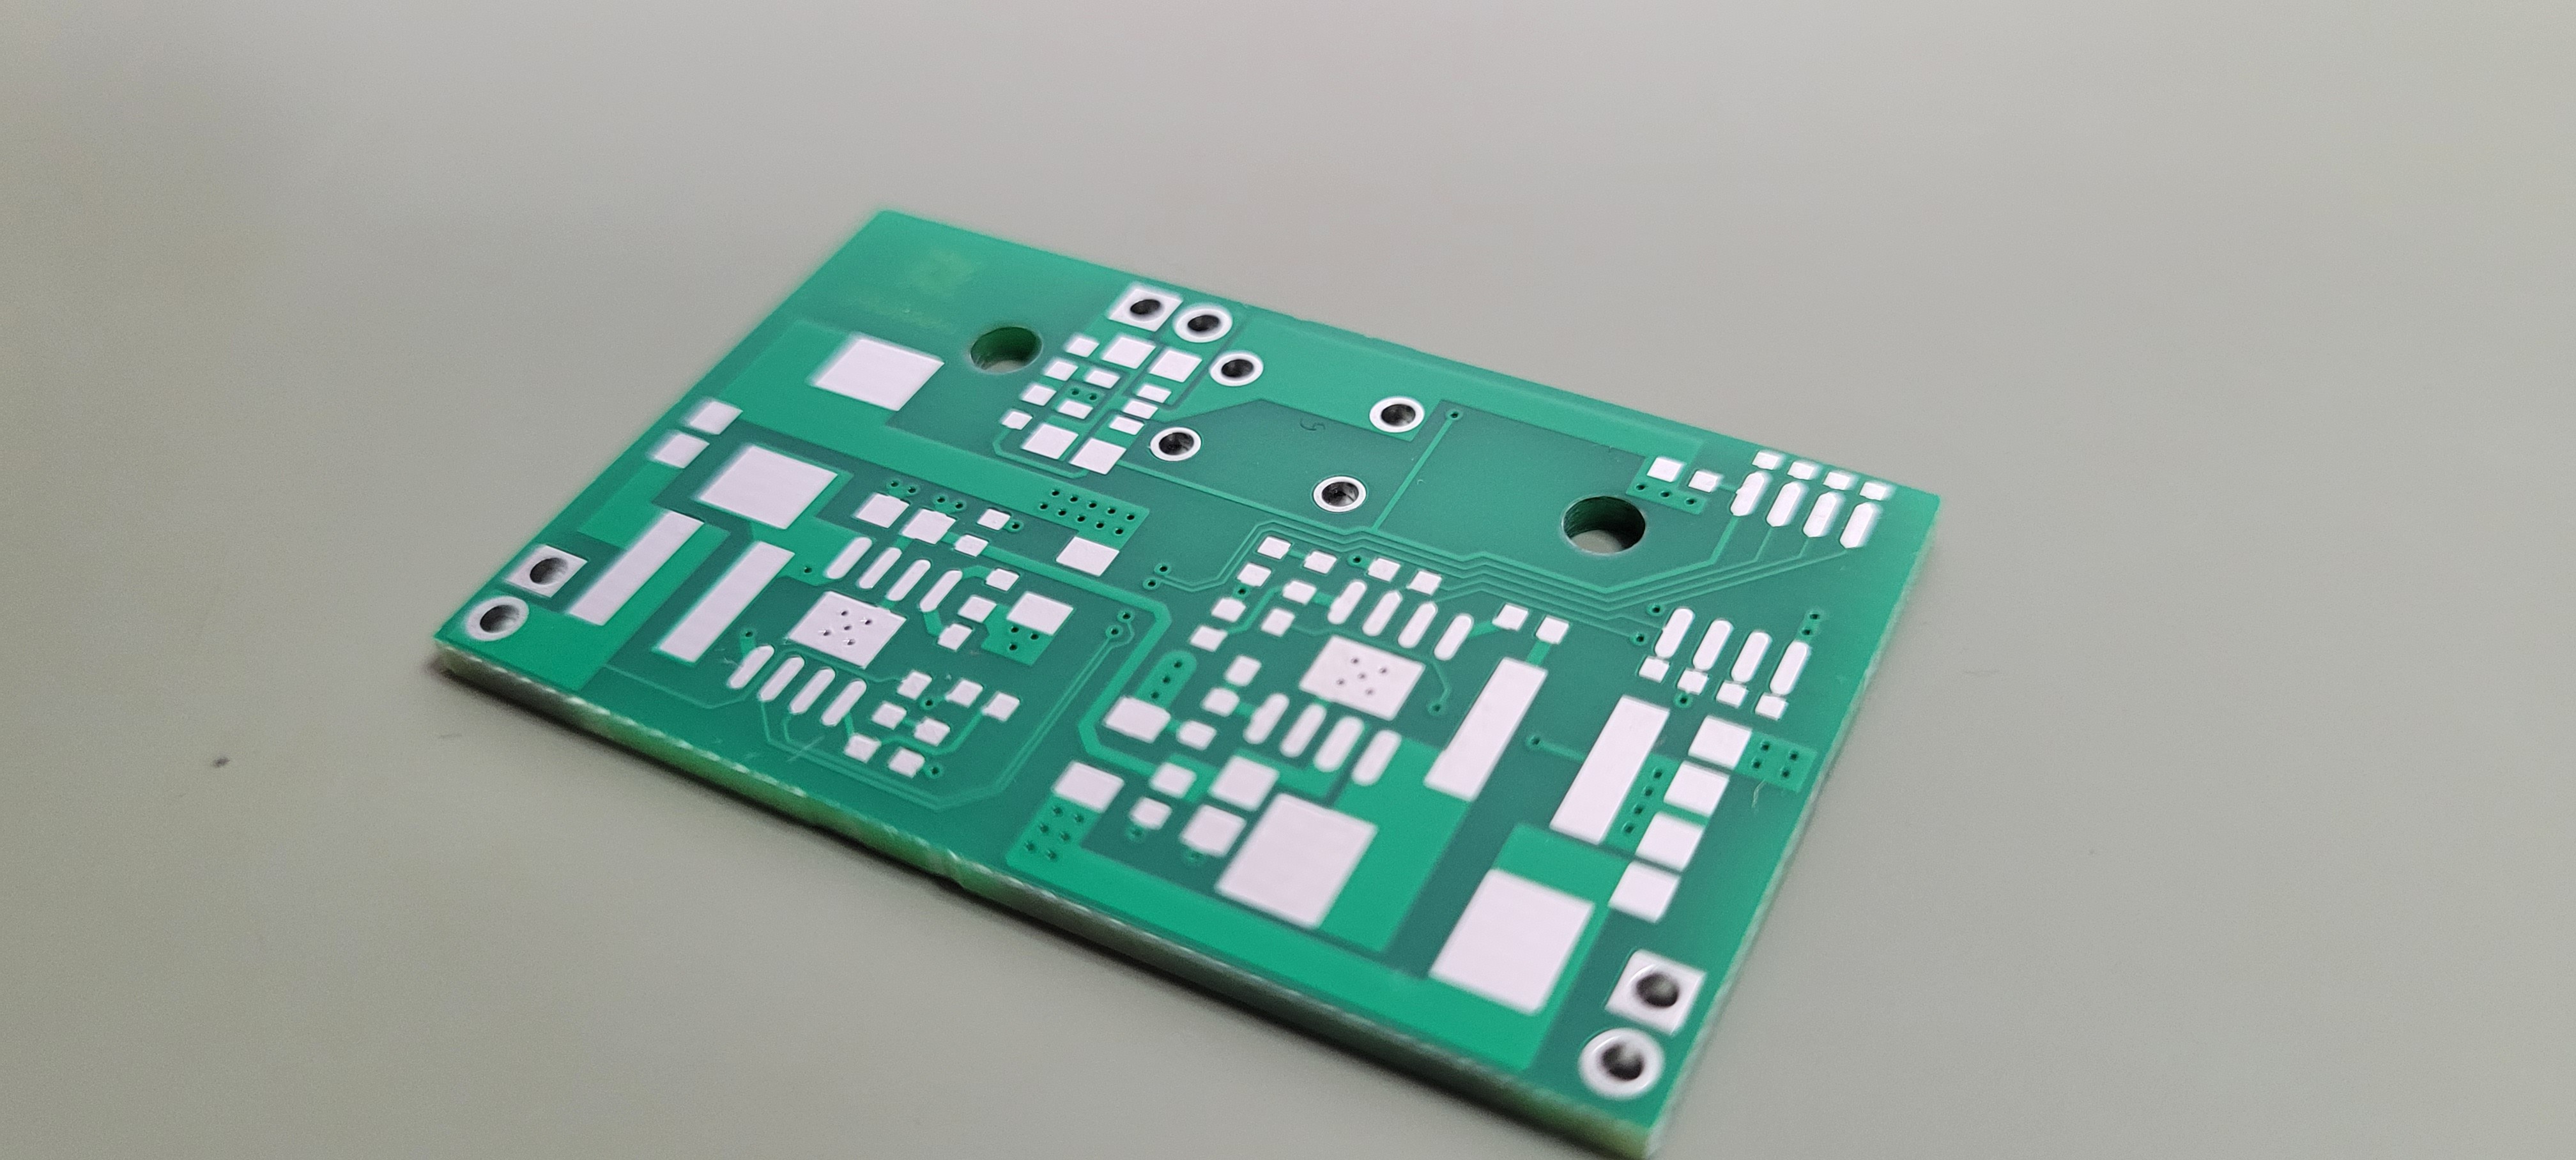
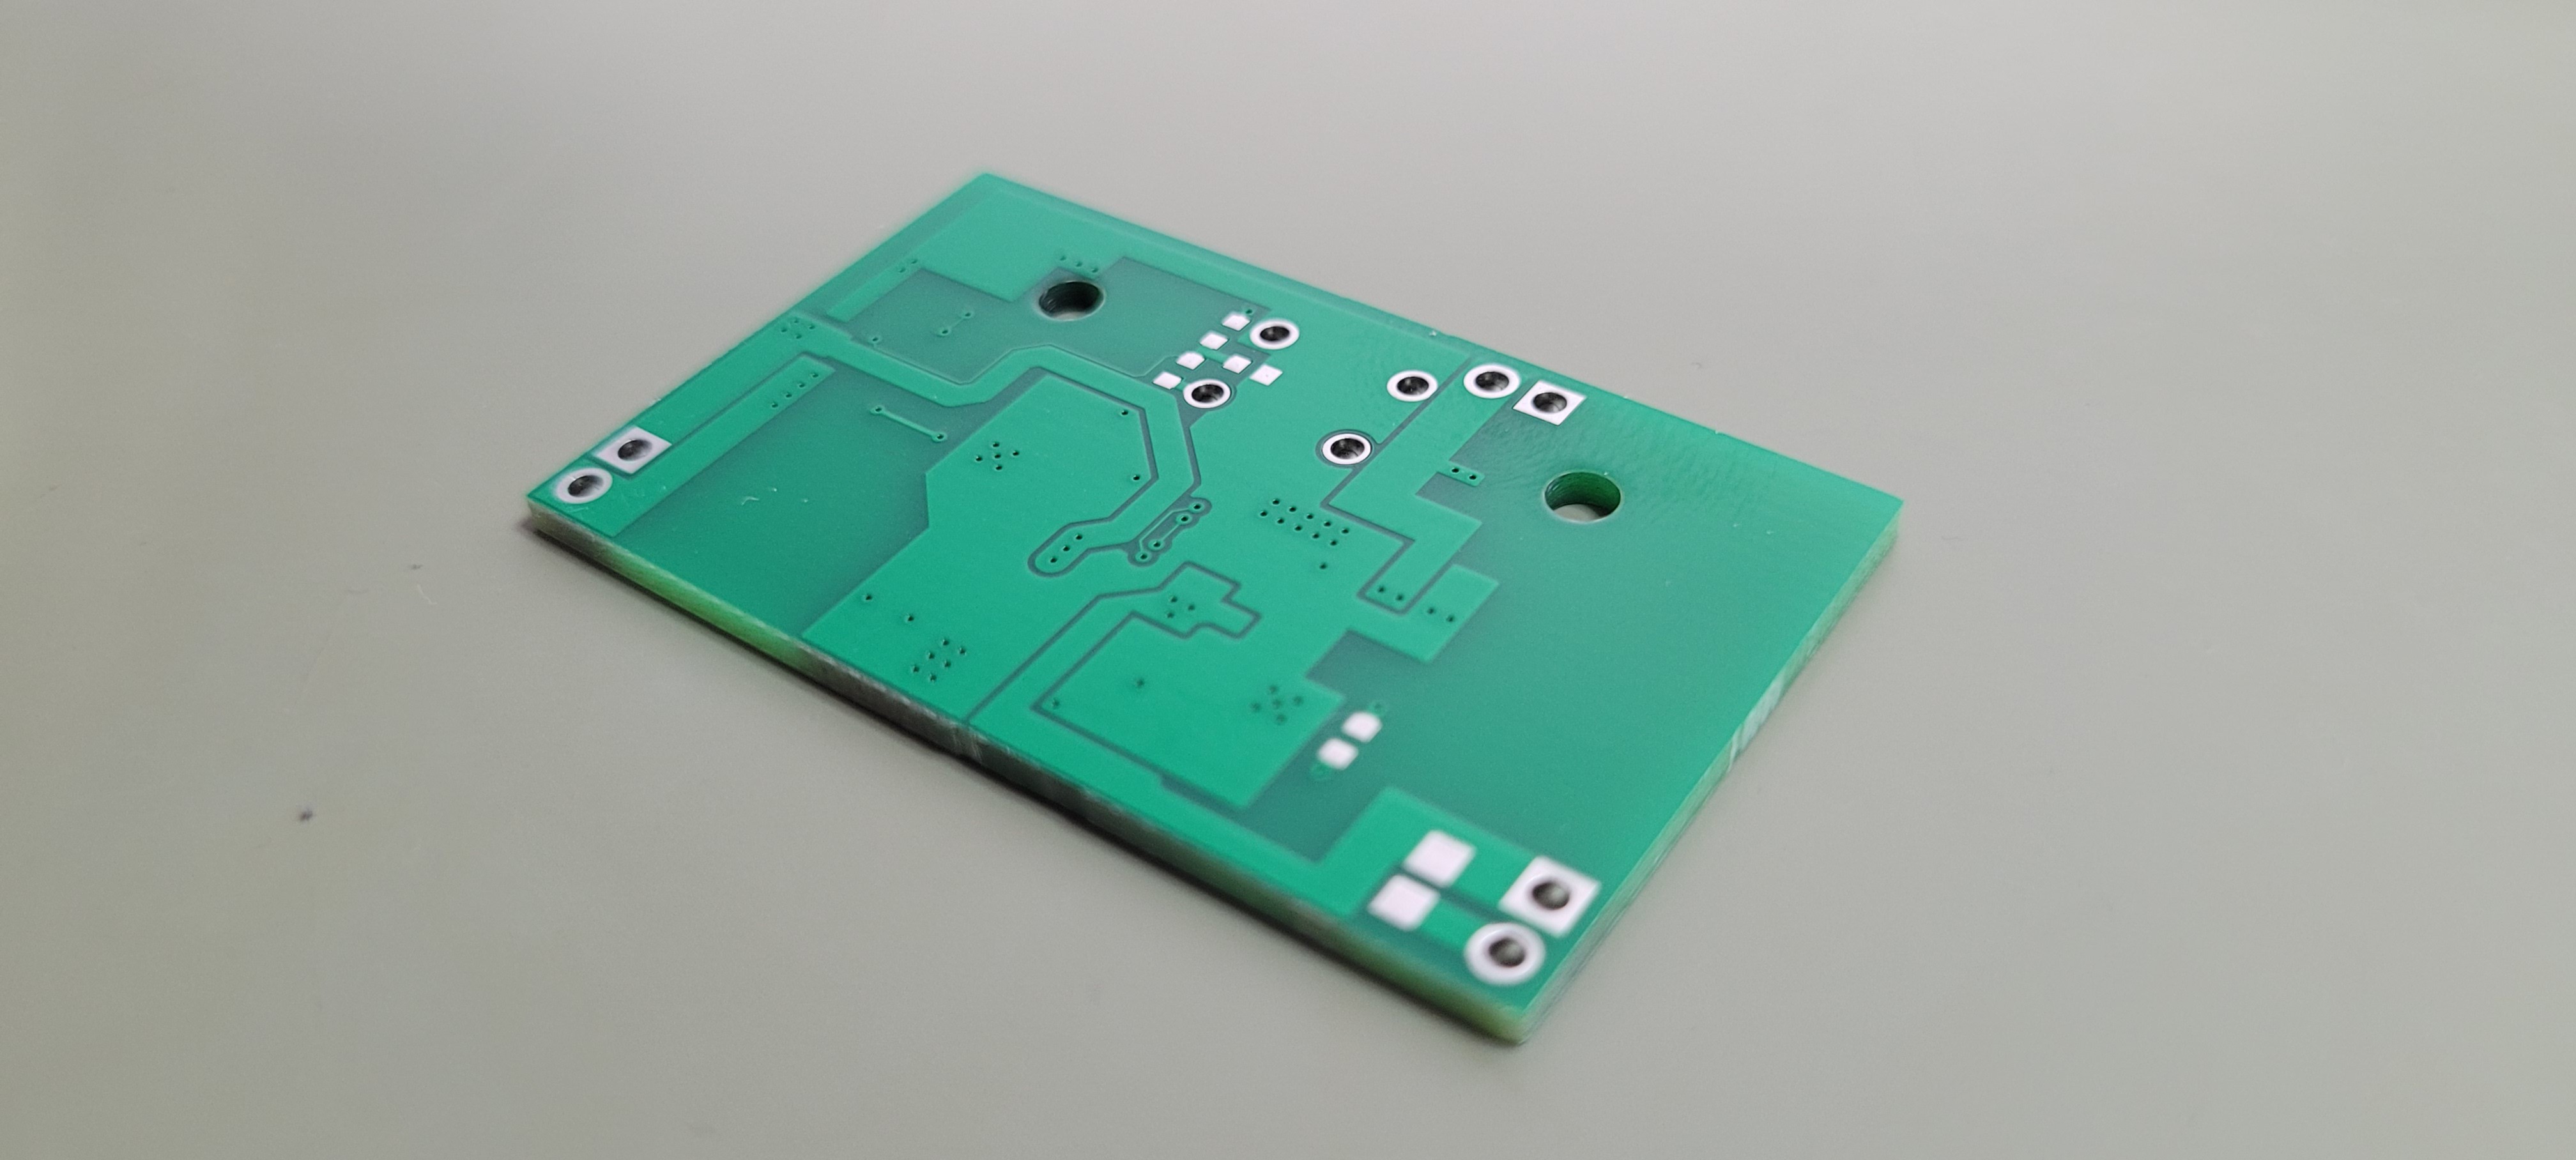
I ordered a quick PCB production from the JLCPCB factory. This time the color of the soldermask does not matter much. I chose the green color because the factory offers the fastest lead time. This color is popular.
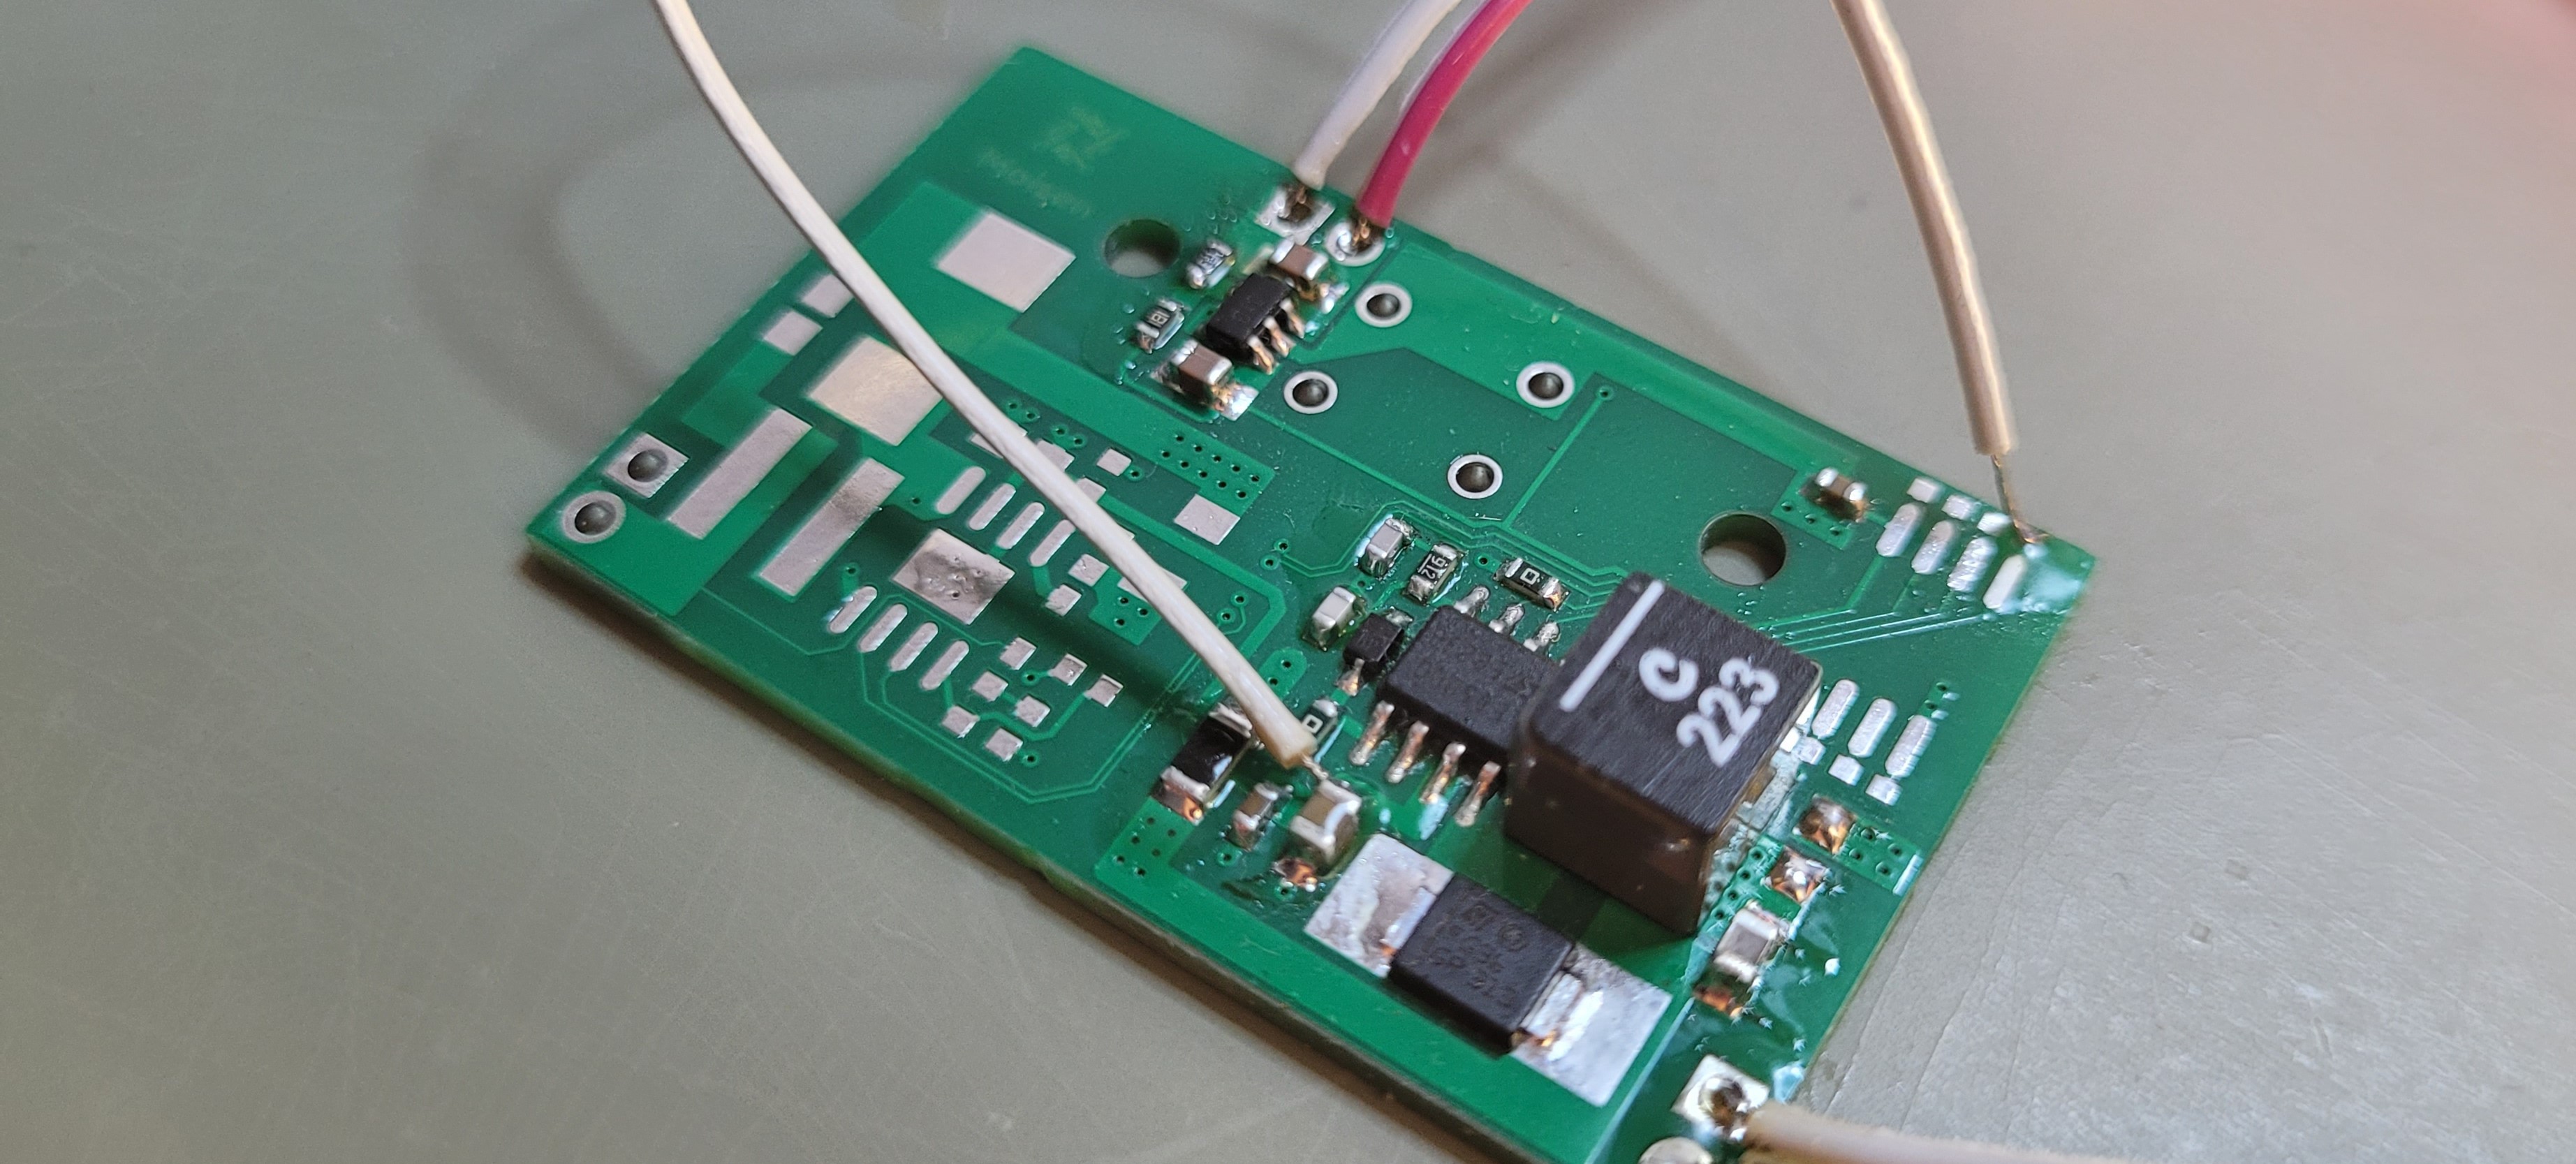
I received a shipment of PCBs. In the meantime, I ordered the required electronic components. Below is a photo with the first channel assembled. I am now proceeding with testing.
Discussions
Become a Hackaday.io Member
Create an account to leave a comment. Already have an account? Log In.