I recently updated the instructions to clarify some changes that we made to our K40 before I designed this Z axis. It affected the way I designed this, so the Z axis may need to be modified depending on your z axis. However if you have a stock K40, it should be easy to modify it. We essentially trimmed down the air intake for the exhaust fan to give us more room in the Y axis.
The Z axis has been working flawlessly at River City Labs ever since I built it. I did notice that I haven't been able to get the full z axis length out of it, but it hasn't really been a big problem. The belt starts to slip when it gets to about Z-40mm, but no one at RCL has needed to engrave something that is larger than 40mm so it hasn't been a problem. I am not entirely sure why the belt slips, but if I ever created a second version of this, I would adjust the belt path to hopefully eliminate that and allow the pulleys to get a stronger grip on the belt.
I also just added a new Z min endstop holder called "Z min endstop holder Longer.stl" to the github. It allows the Z min endstop switch to stick out farther allowing you to home the z axis to the top of your material. This makes it easy to get your material at the proper focal length. Essentially we home to the top of the material, and then move the z axis down a known amount to the proper focal point for our lens. You can then move your material anywhere else on the bed knowing that it's at the proper distance from the lens. (assuming your bed is fairly level) This is an example of our homing G-code in Laserweb4
G28.2 ;home all move z-1 (the z-1 is set up in the smoothie config)
G91 ;relative positioning
G0 Z7.0 ;move z to focal point (the focal point for our lens with the Z-1 already taken into account. Your focal distance will likely vary)
G90 ;absolute positioning

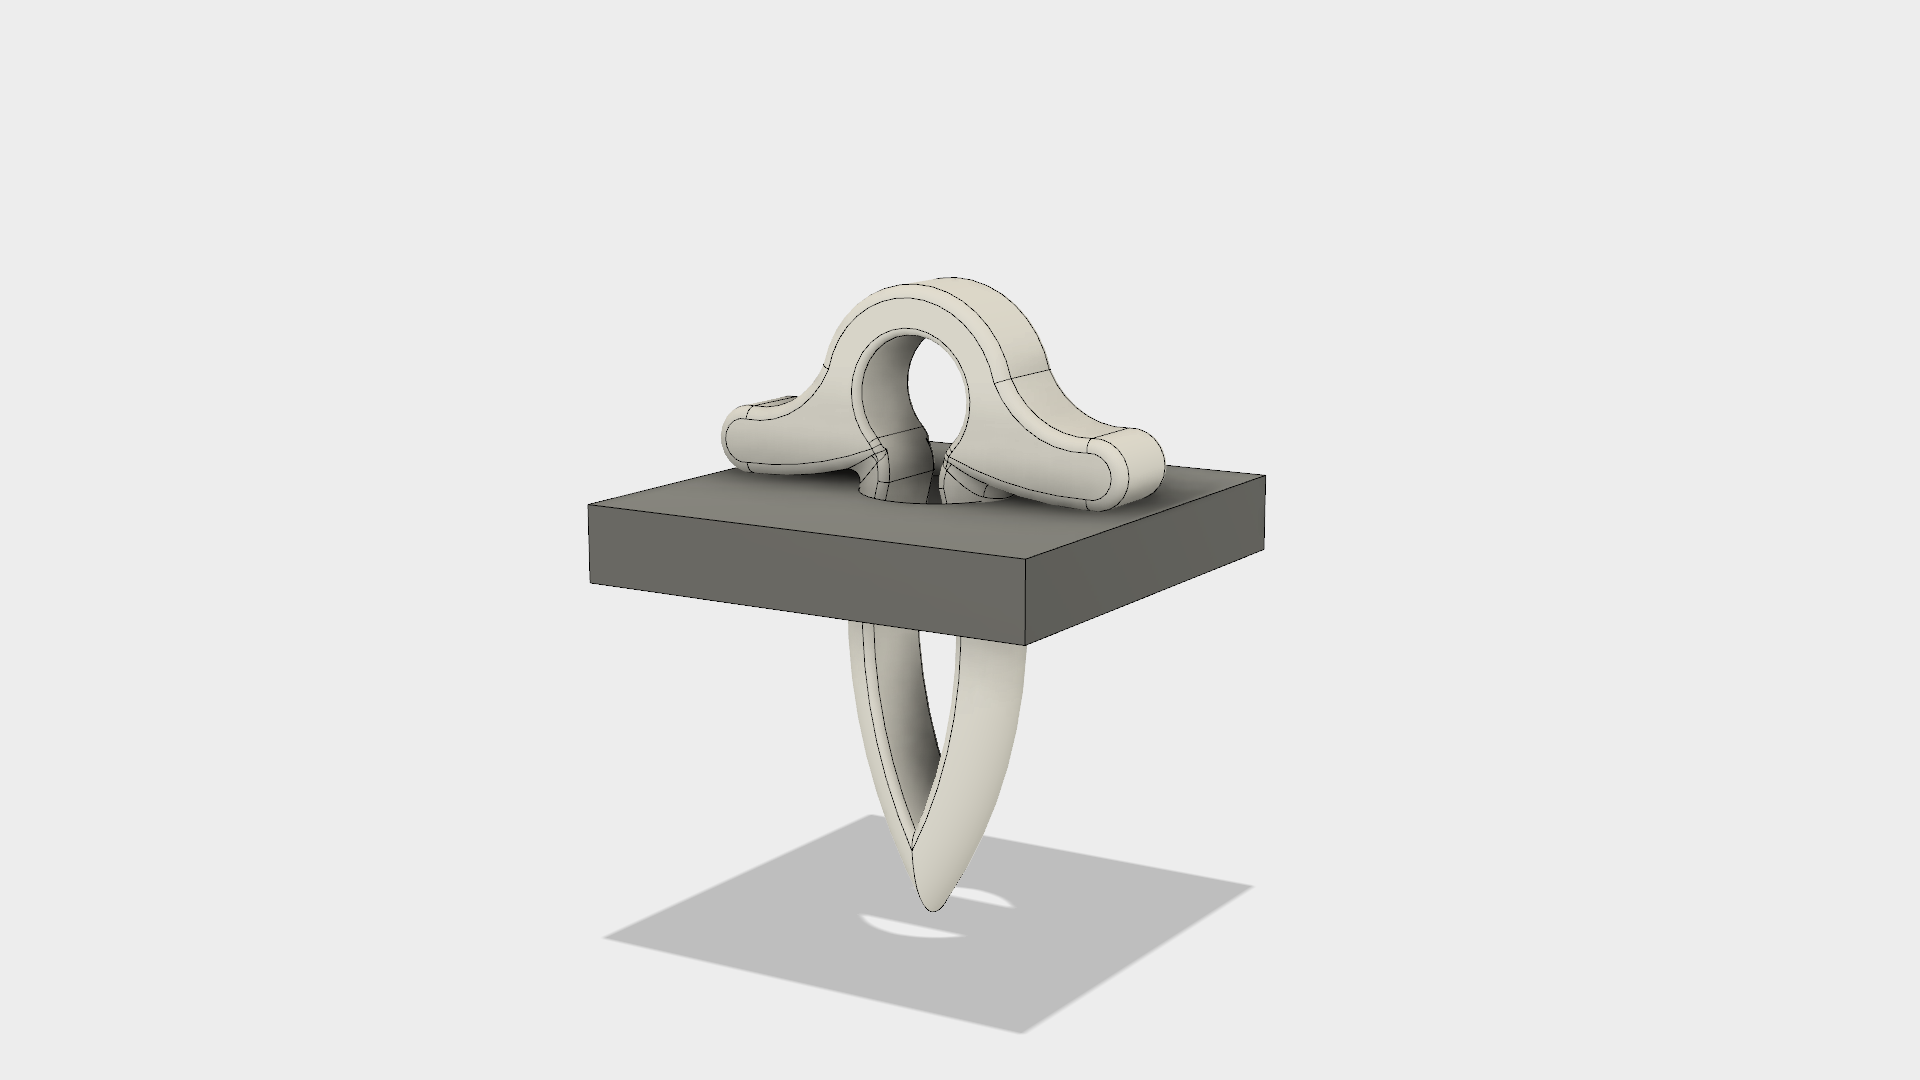
I also added a new .stl file on the github for some 3d printed pegs that can hold down materials (leather, fabric) or help align materials by pushing them through the 1/4" holes in the aluminum bed. They are press fit, and they work great! Normally people use magnets, but since I chose an aluminum bed, I had to come up with a different solution, and I think they work even better than magnets.
Discussions
Become a Hackaday.io Member
Create an account to leave a comment. Already have an account? Log In.