 Abraham Limpo
As I mentioned a couple posts ago, my original plan was to use LCDproc, an old but still available linux app that communicates with a plethora of LCD models, including a free atmel based implementation (the "serializer"), which later was adapted to arduino.
Unfortunately, LCDproc is meant to be used in 20x4 LCD screens, which are much nicer, but also too big to fit inside a single 5 1/4 inch bay, unless you implement a bespoke PCB like what matrix orbital does (and even then mount the 20x4 in a double bay, though they have a very nice graphical LCD which, if I lived in US, i'd probably would have bought).
Fortunately, what LCDproc does is simply sending HD44780 commands through the serial port, which the arduino then "parallelizes" - in our case, "nibbleizes" as we are using 4 bit mode - for the screen to consume, so it should be trivial to write an application with your favourite language to talk to the screen. And because I had like 3 days left, I chose Javascript.
Node.js does not possess in-built serial port libraries, but there's a fairly light and decent one called serialport. Initial tests seemed promising, but I encountered a weird issue while testing in manjaro: It seems that the OS is creating the ttyUSB0 ports as read-only, even for the group (only the user, root, has write access). I had to modify the /udev/ to change the mode to "group RW" in order to run the app as user.
While I could procure much of the hardware info using the node libraries, systeminformation enormously simplifies the process of collecting the info, and thus the second part of the puzzle -how to get the info- was solved.
The app itself is a simple afair. Each "screen" is a self-contained function that fetches the info and sends the necessary commnands. The push of one of the two buttons increments or decrements the "active screen" counter, changing which screen is going to be displayed next.
The four screens I designed for the system:
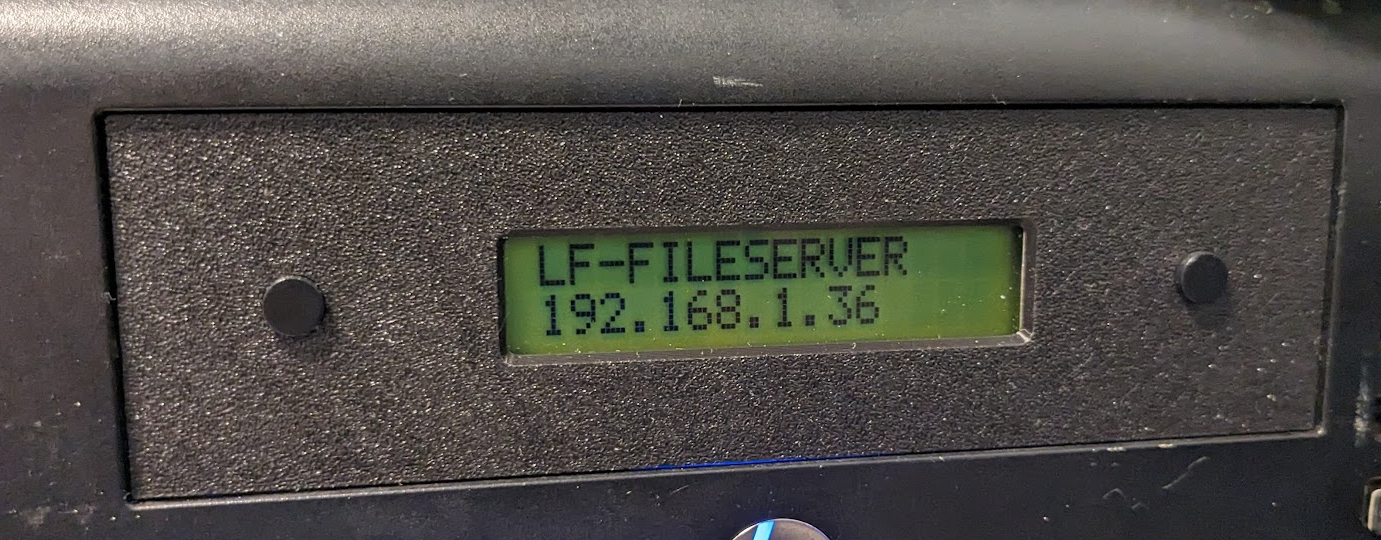
Screen 1: Hostname and current local IP
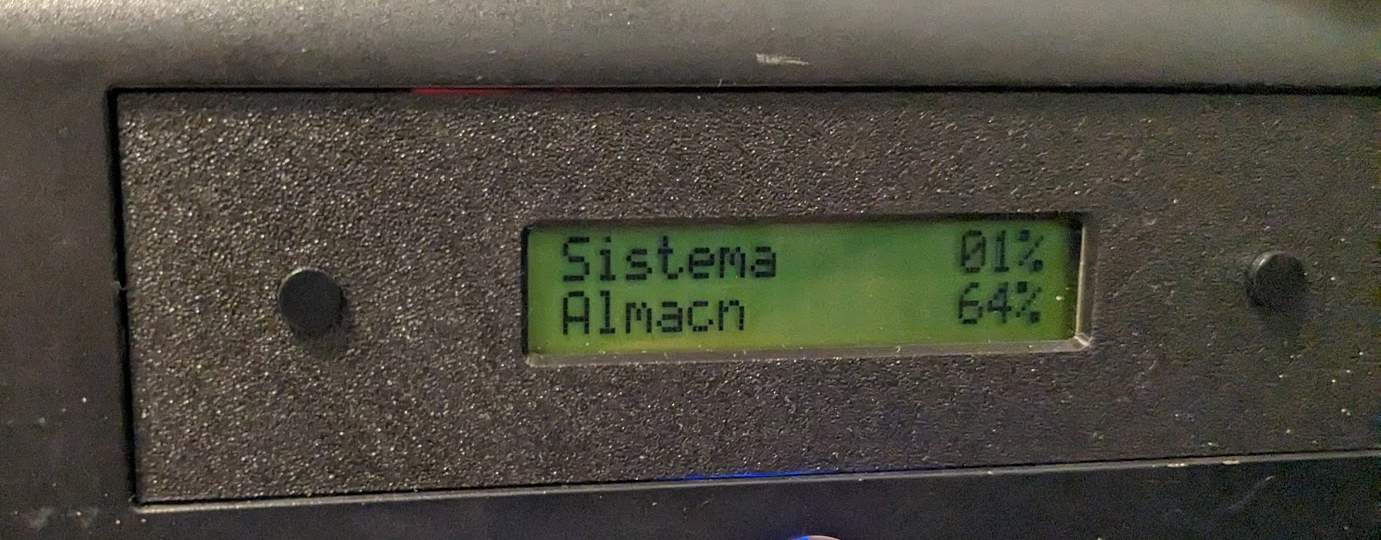
Screen 2: System and Storage Hard drive usage
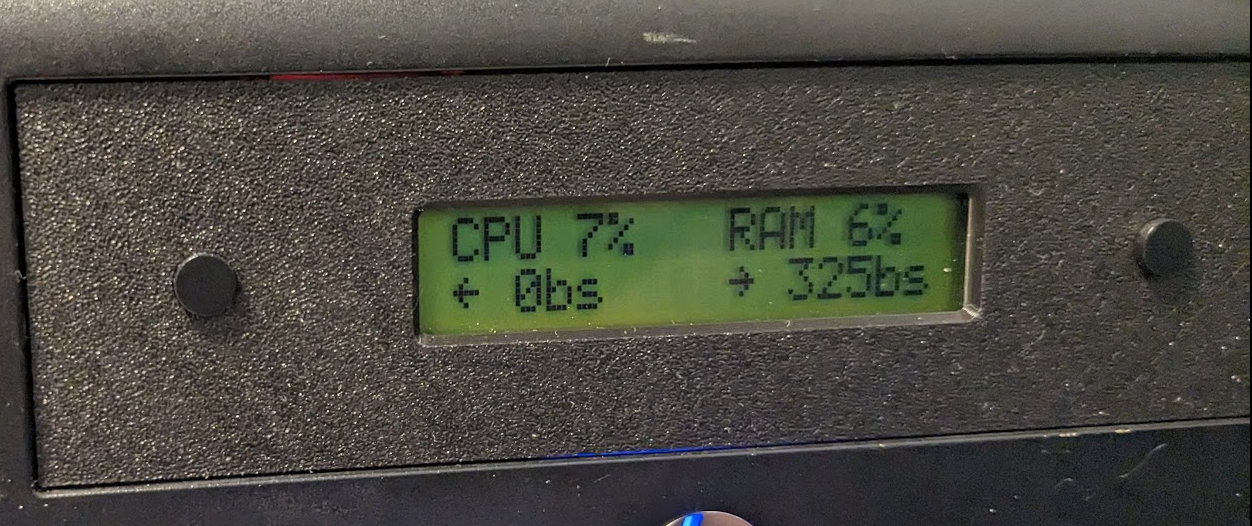
Screen 3: CPU and RAM usage, and upload and download speeds
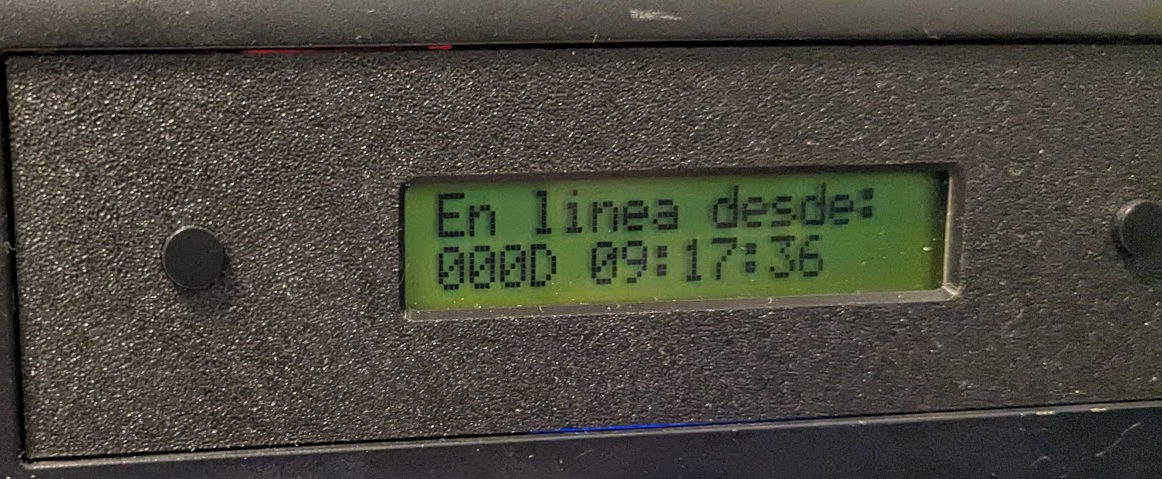
Screen 4: System Uptime
After setting up the app as a service (which also made redundant my udev fix, as the service ran as admin), the project was ready to be delivered, and with a day to spare!
Discussions
Become a Hackaday.io Member
Create an account to leave a comment. Already have an account? Log In.