 Steph
StephA fascinating aspect of PCB design is the need to find every part twice. For each part, the designer has to find both the physical object (available and in stock somewhere), and a digital representation of that part in the form of a library item inside the PCB design software.
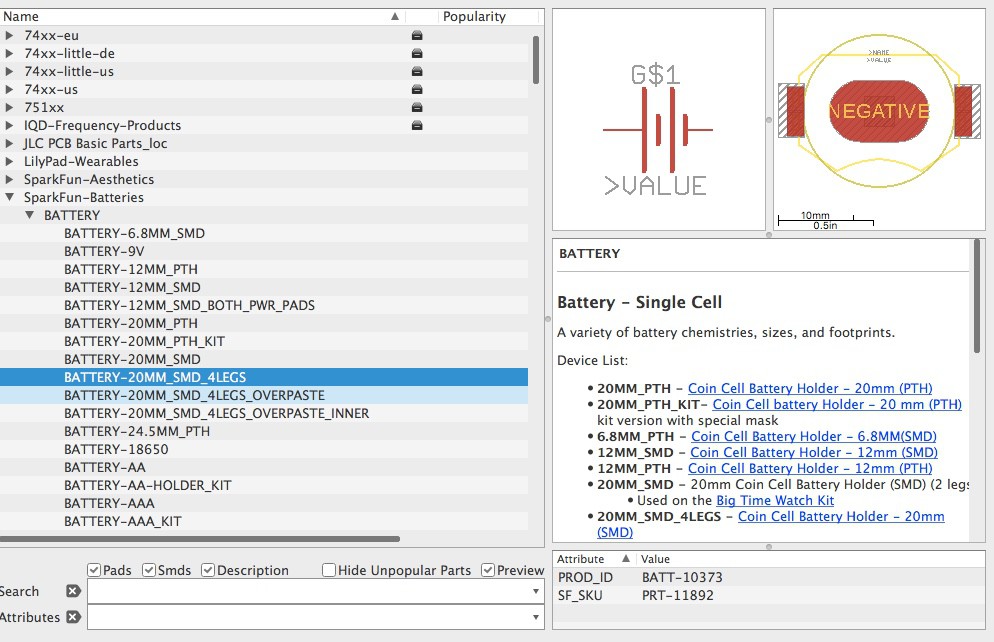
Of course, it is possible to create your own part in your own library but finding an existing part is much, much easier. I downloaded the library of parts that Sparkfun provides here, which is large enough to cover most needs while still being small enough that you can actually find what you are looking for.
I knew I wanted to use a coin cell battery for size and weight reasons. I chose the CR2032 because it's the most common size, used in everything from AirTags to Tamagotchis.
The CR2032 has a diameter of 20mm. Here's the section of the Sparkfun library covering battery holders, which lists six options for 20mm holders:
Sparkfun carries all these items in their store, which makes matching the real part with it's library part easy, but there's no requirement to buy from Sparkfun. The same component made by different manufacturers will often have compatible footprints, as interchangeability is an important design consideration.
After basing my design around a CR2032 holder footprint in the Sparkfun library, I bought a large batch of generic looking battery holders from a random retailer online. When they arrived, i was relieved to discover they fit just fine on the footprint i chose. It's likely that many straps across manufacturers will fit the footprint. If you're not sure if a part will fit, you can always check the dimensions listed in the datasheet against the dimensions of the footprint.
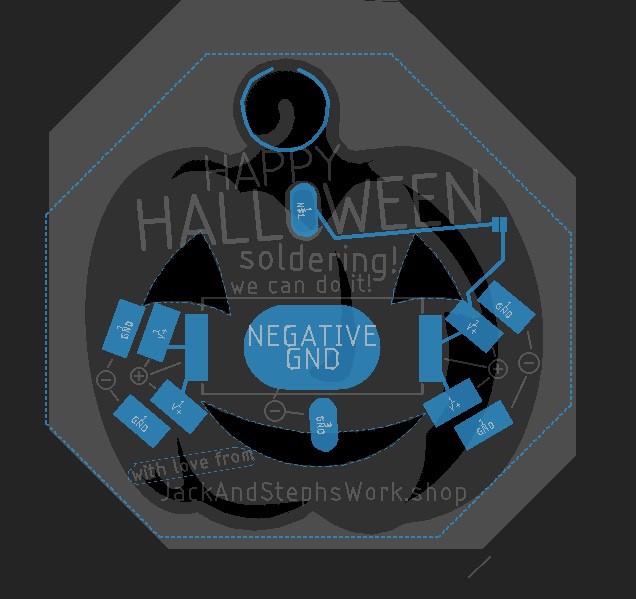
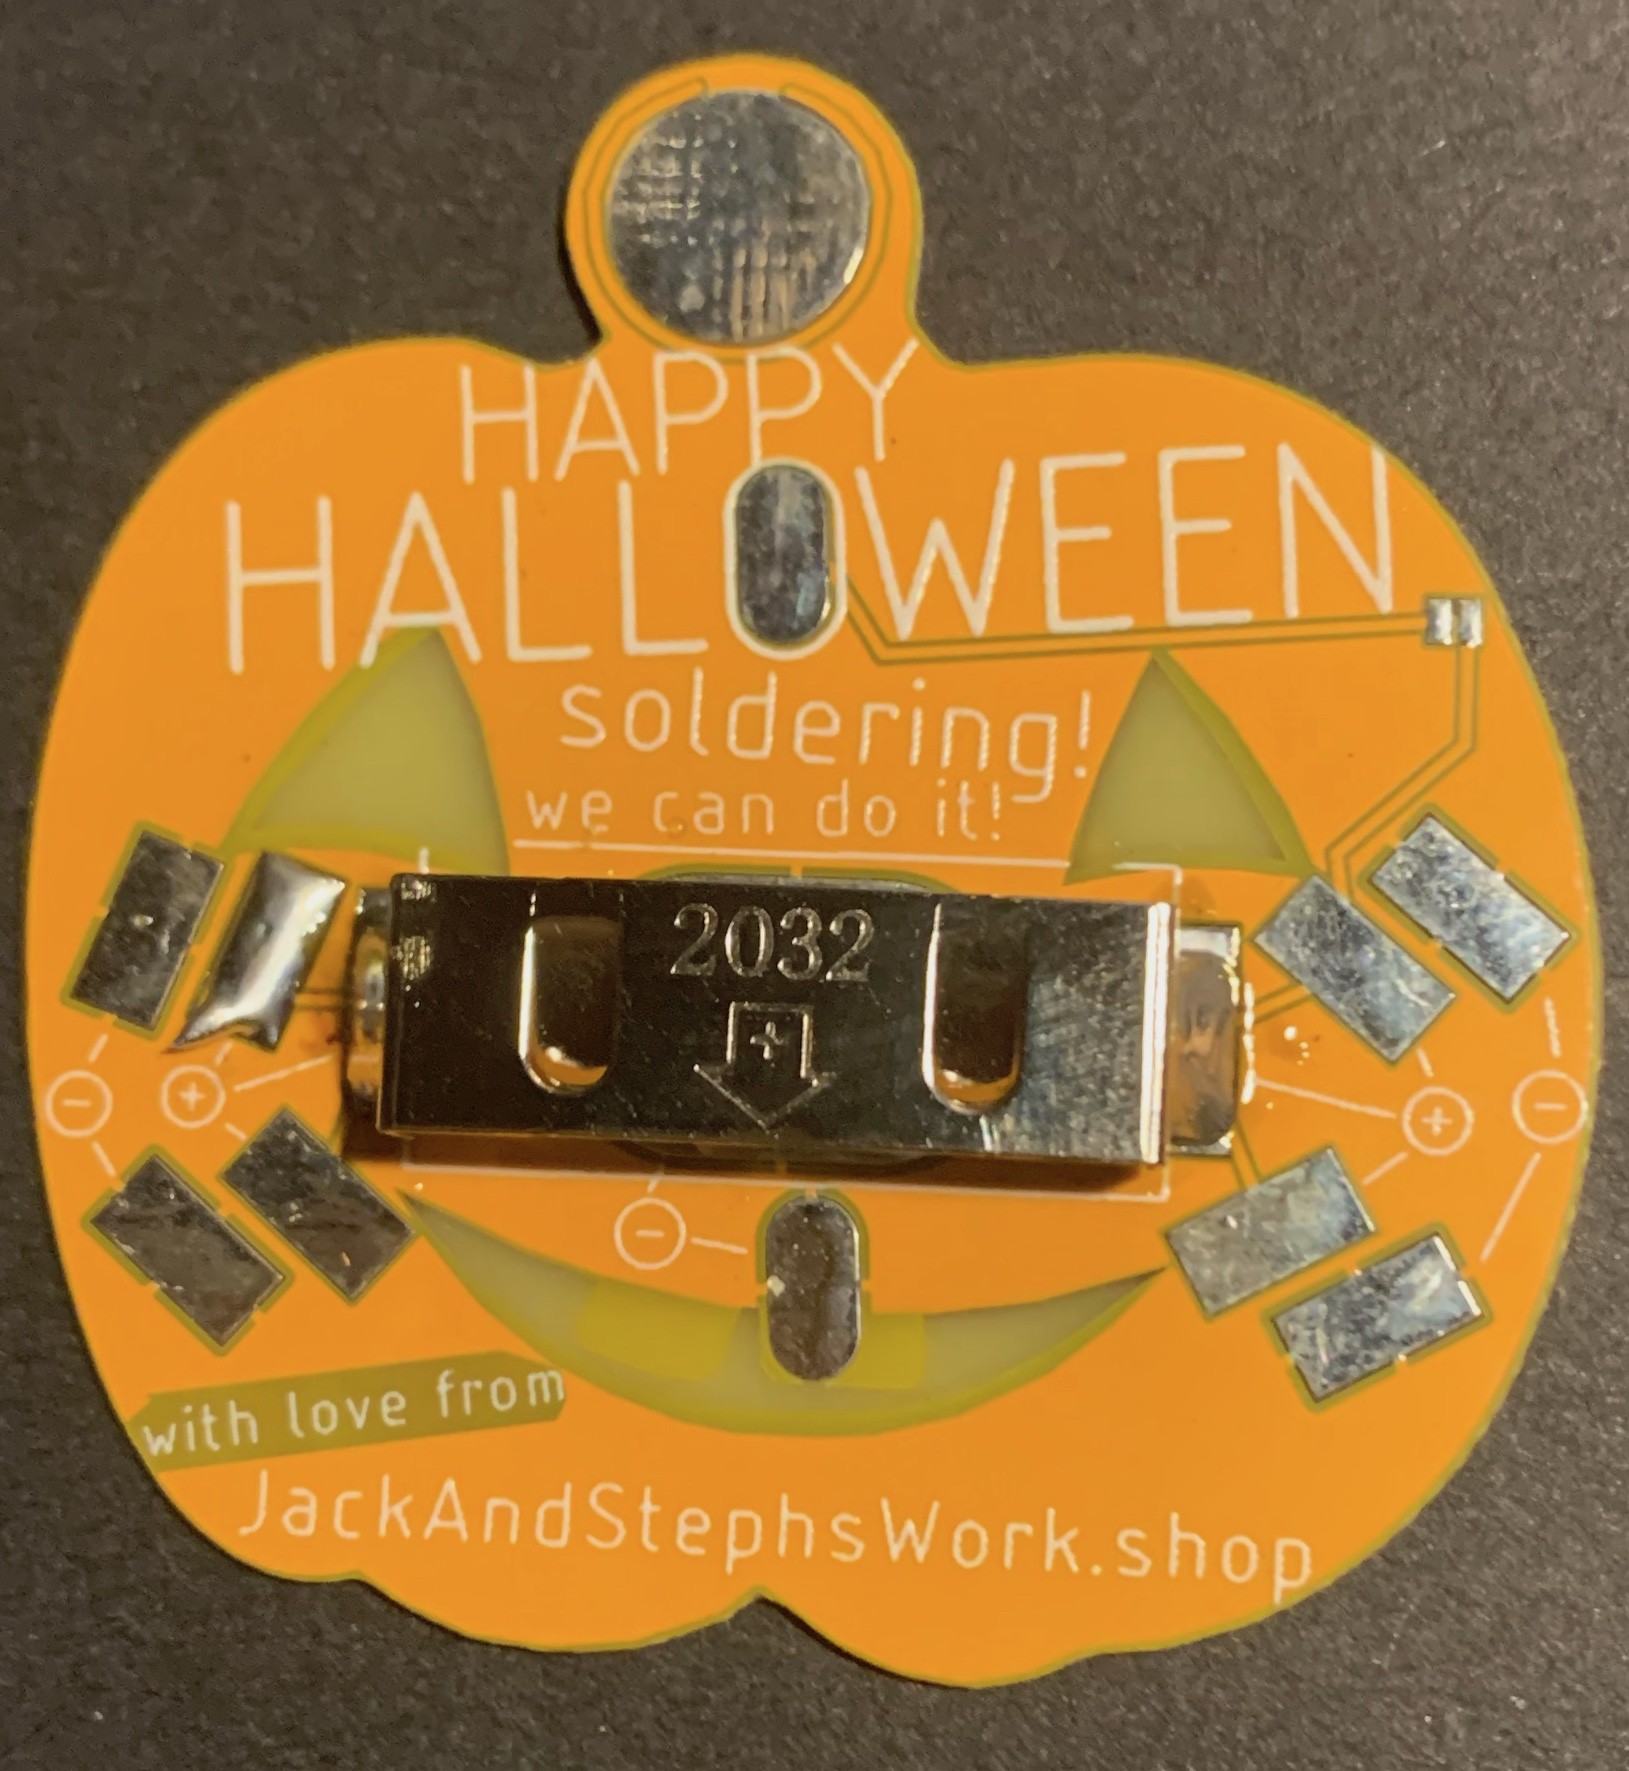
The other parts on the Flickering Pumpkin Pin require even less precision. The LEDs are meant to be through-hole mounted, but I didn't want to mar the artwork on the front surface, so instead the LEDs are laid sideways and soldered to smd pads. You can source them anywhere.
The only other part that needs to be soldered is the tie pin at the very top. I admit I looked in the library for a pre-made pin footprint, but didn't find one. Instead, I just made a 5mm circle on the "bottom stop" layer of the PCB, which prevents solder mask from being applied over the copper underneath. The pin itself is smaller than 5mm, but I chose that size for maximum compatibility- if some pins out there happen to have a wider base, they should still fit.
Speaking of compatibility, sharp eyed readers might have noticed a couple unused pads on the pumpkin pin. These pads allow a totally different type of battery holder (plastic) to be connected, in the event that the preferred holder (metal) is unavailable.
Discussions
Become a Hackaday.io Member
Create an account to leave a comment. Already have an account? Log In.