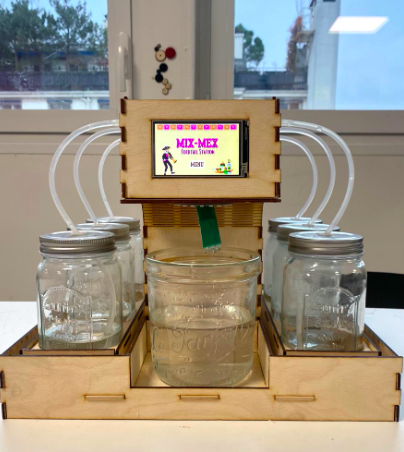
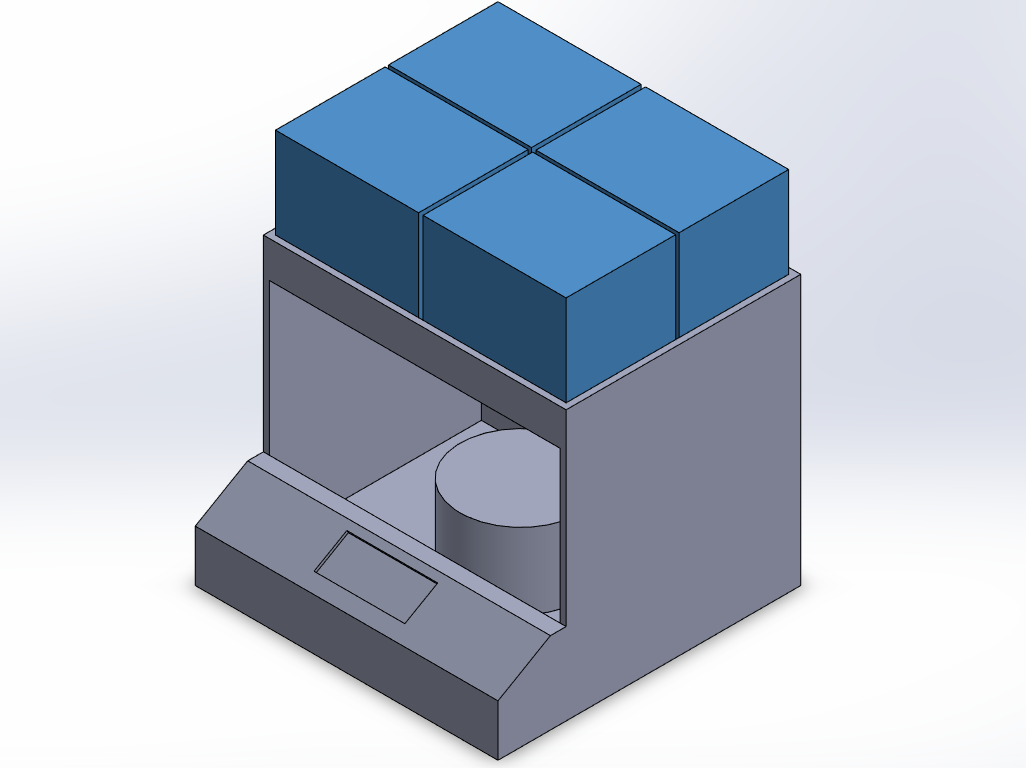
HOW IT WORKS?
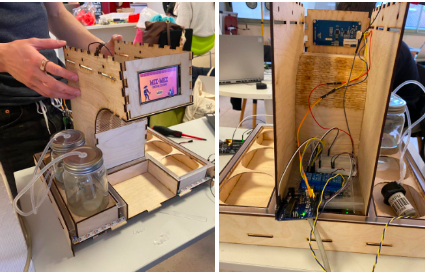
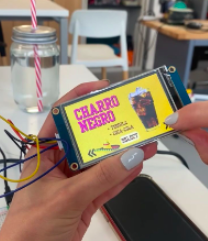
This cocktail maker machine has a high frontal touch screen that presents a mexican-themed menu, in which the user will be able to explore different cocktail options by pressing on the arrows shown on the bottom corners of the screen. Each page contains a different drink and its ingredients breakdown. The user can choose the desired cocktail by pressing on the “SELECT” button located in the bottom of the screen. This selection will serve as the input signal for the arduino.
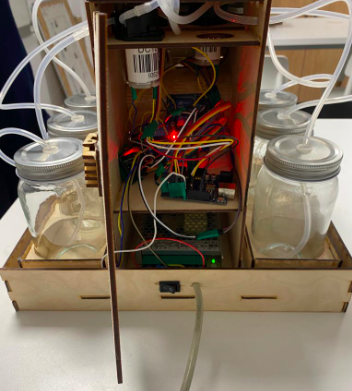
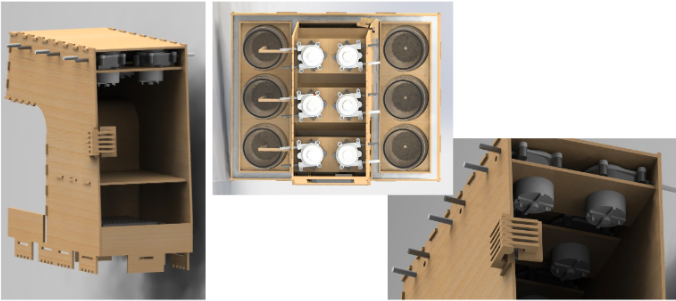
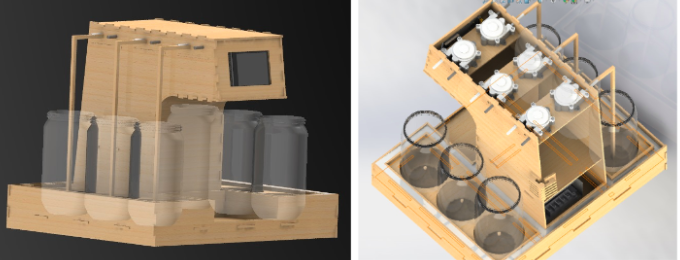
The main loop of the code constantly reads the signal of the touch screen, then, there is a specific function for each drink that activates relays to close the circuit of the corresponding pumps for an interval of time to pour the exact amount of each ingredient in the glass. This time depends on the specified amount of shots (each shot activates the pump for 10 sec.), and the name of the variable, linked to a pin in the arduino, which can be: rhum, tequila, coca-cola, grapefruit juice, lemon juice, or orange juice.
During this time, the screen shows a message that says “preparing your drink”, and then “ready!” to indicate the user to take their cocktail. At the end, the user can press the “Menu” button to go back to the main page and order another drink over and over again!


 c)
c)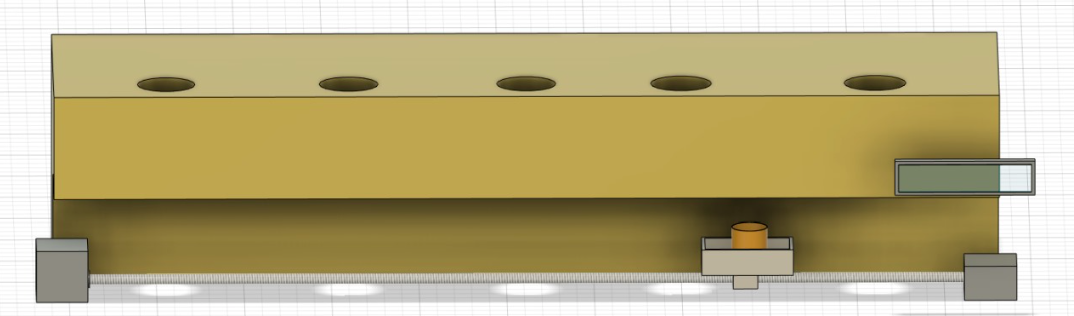

 Nickcasio
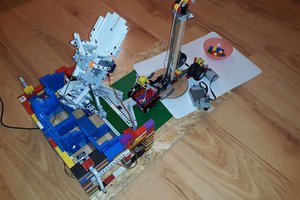

 Alden
Alden