For this project, I was inspired by this project: link
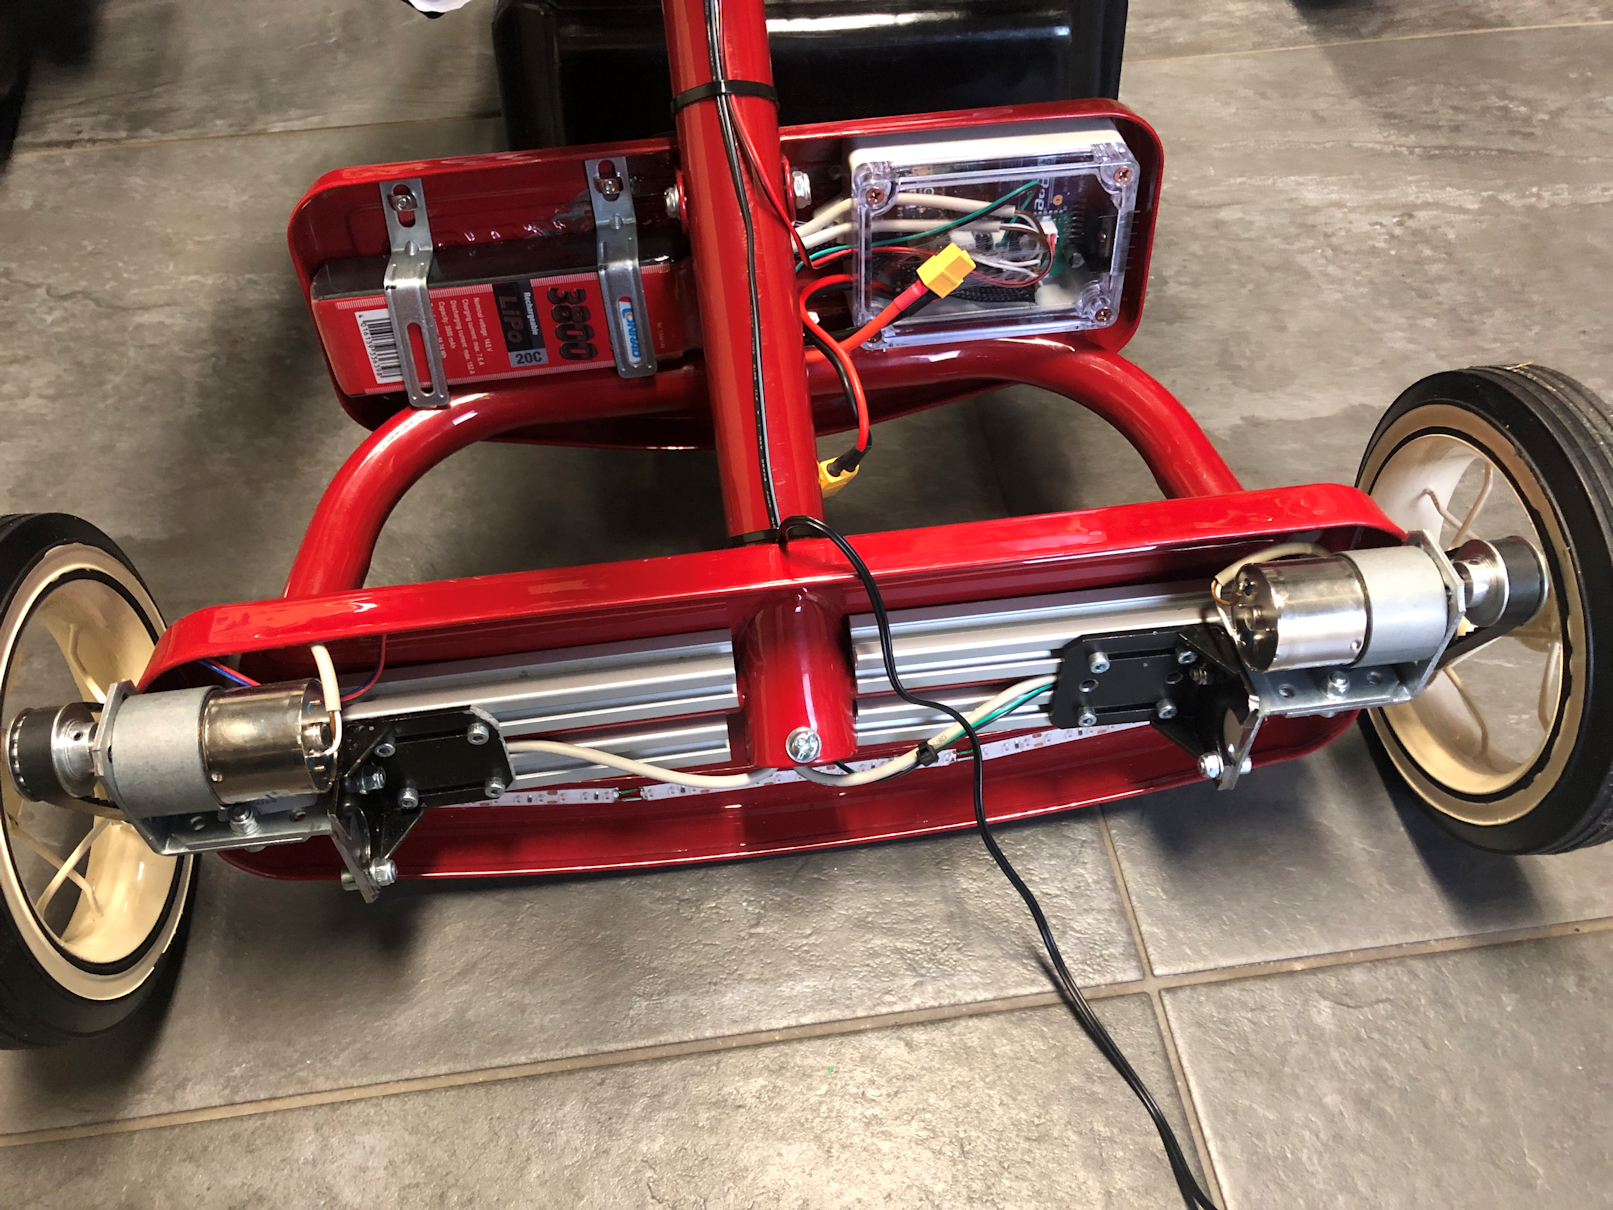
At first, I got my hands on a second hand radio flyer tricycle. The challenge was to add invisible motors and electronics to keep the illusion as realistic as possible. This was quite a challenge, since there is not really much space for putting motors inside.
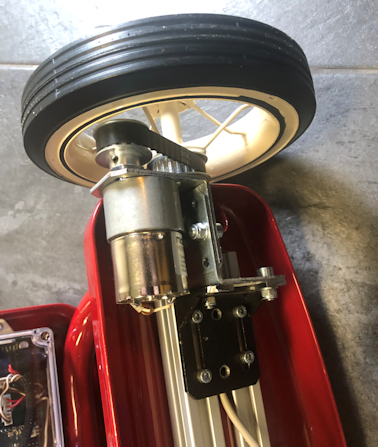
Two extrusion profiles are combined with a motor mount to clamp around the axis holder. Via this method it was possible to create a base without drilling holes in the tricycle frame. By coincidence the combination of motor mount and extrusion profiles fits perfectly. Then another two L-profiles where added to mount the motor. When you replace the standard axis end stops and replace it by this method:
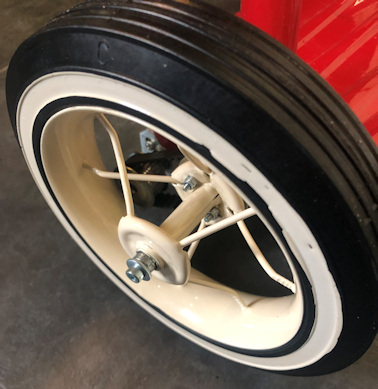
You get just enough additional space to mount a drive belt katrol between the wheel and tricycle chassis.
For steering, a 25KG servo that is hidden below the saddle is used. The servo is connected to the steer by a 5mm threaded axis using two bearing rod ends.

The control unit for the tricycle fulfils these functions:
- Wireless transceiver, using Xbee module
- Two motor drive outputs using L298N
- Two servo outputs
- One +12V led channel ouput
- MP3 player with speaker output by use of DFPlayer
- Needs to fit in water resistant housing
- As compact as possible so it can be hidden in the tricycle
- Based on Arduino micro
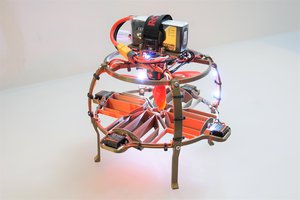
The control unit design looks like this:
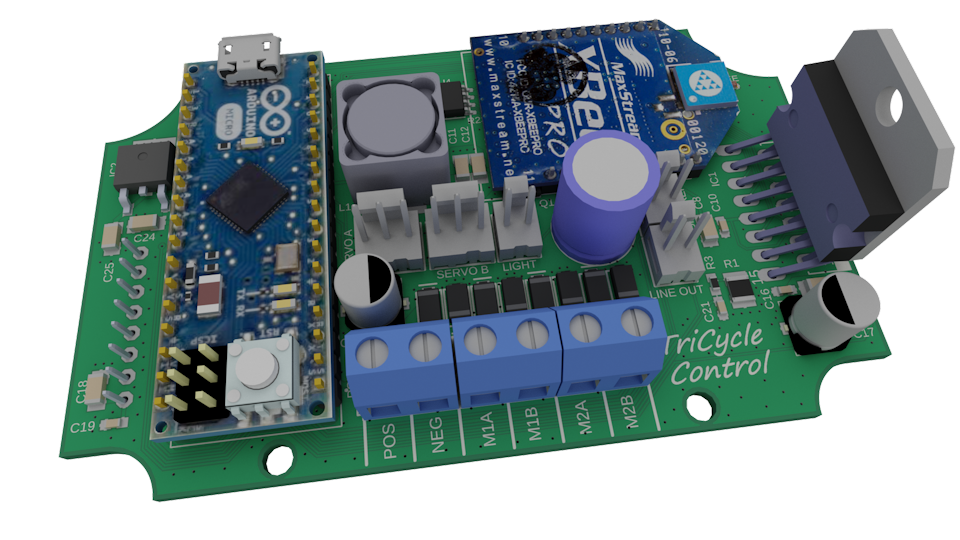
The DFPlayer is mounted on the bottom of the pcb, since there is some space available due to the plastic stand-offs of the plastic housing.

Picture of the end result:
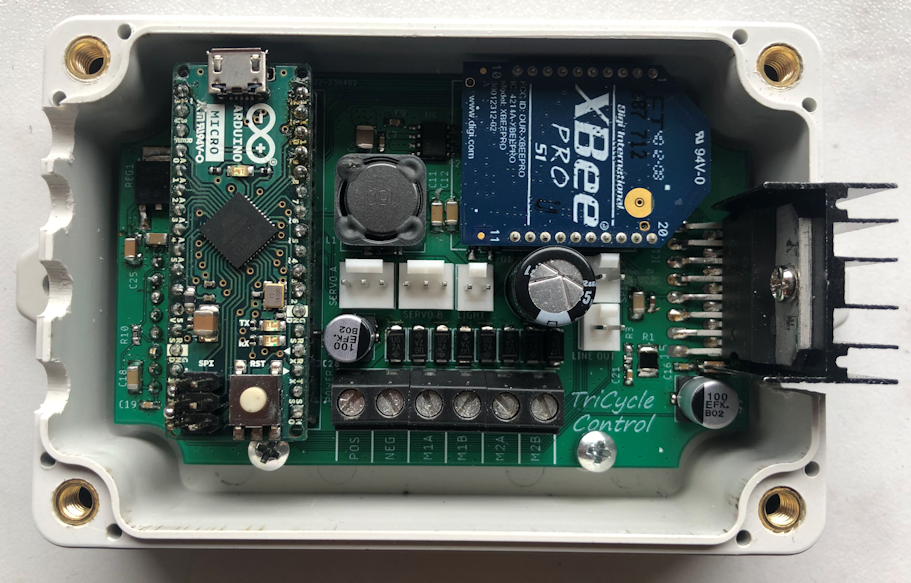
All the PCB design files are in the "files" section. Basically, the motors are controlled by the Arduino and L298N, the L298N is a two channel full bridge motor controller, that means each channel can control motor speed and direction seperatly. The L298N is directly supplied from the 14.1V battery, there is some voltage drop around 0.7V in the L298N, but it's still a bit more than the motor voltage rating, anyway it will work just fine. The servo cannot directly be controlled from the battery, since the max rating is around 7V, therefore a DC/DC converter is implemented based on the TPS54335A. This one has a SOIC package and is therefore easy to solder. The LED strip and LED eyes are also fed from this +7V. The Arduino micro only has a single UART that is used for the wireless communication, the UART to the DFPlayer is implemented using the SoftwareSerial lib. For the DFPlayer, there is a speaker out connector as well line-out connector, till now, only the speaker out is used.
The tricycle controller can be wirelessly controlled using this custom PS3 controller from an earlier project on HaD: LINK!

Most of the wires are fed through the frame of the tricycle so that they are hidden.
To make a flexible but still relatively strong skelet for the Billy puppet, 3/4" electricity tubes are used. The knees and elbow hinges are made like this:
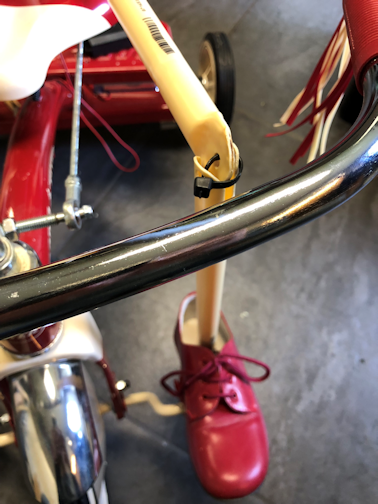
The shoes are fixed to the pedals by tyraps. A threaded M5 20cm long axis is mounted on the heel of the shoe to keep the plastic tube in vertical direction when pedaling. The complete skeleton looks like this:
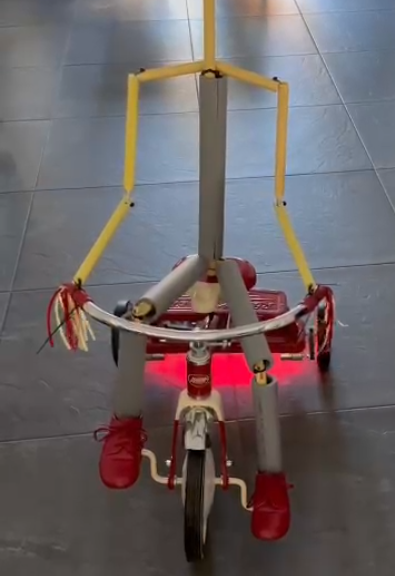
Total overview (still some work in progress):
Movies will follow!
 Benjamin Prescher
 Brian Brocken
 Vipin M